Other Cloud Autodiscoveries
Device42 supports discovery for a variety of cloud platforms beyond the major providers. Each cloud type has its own configuration options and discovery items.
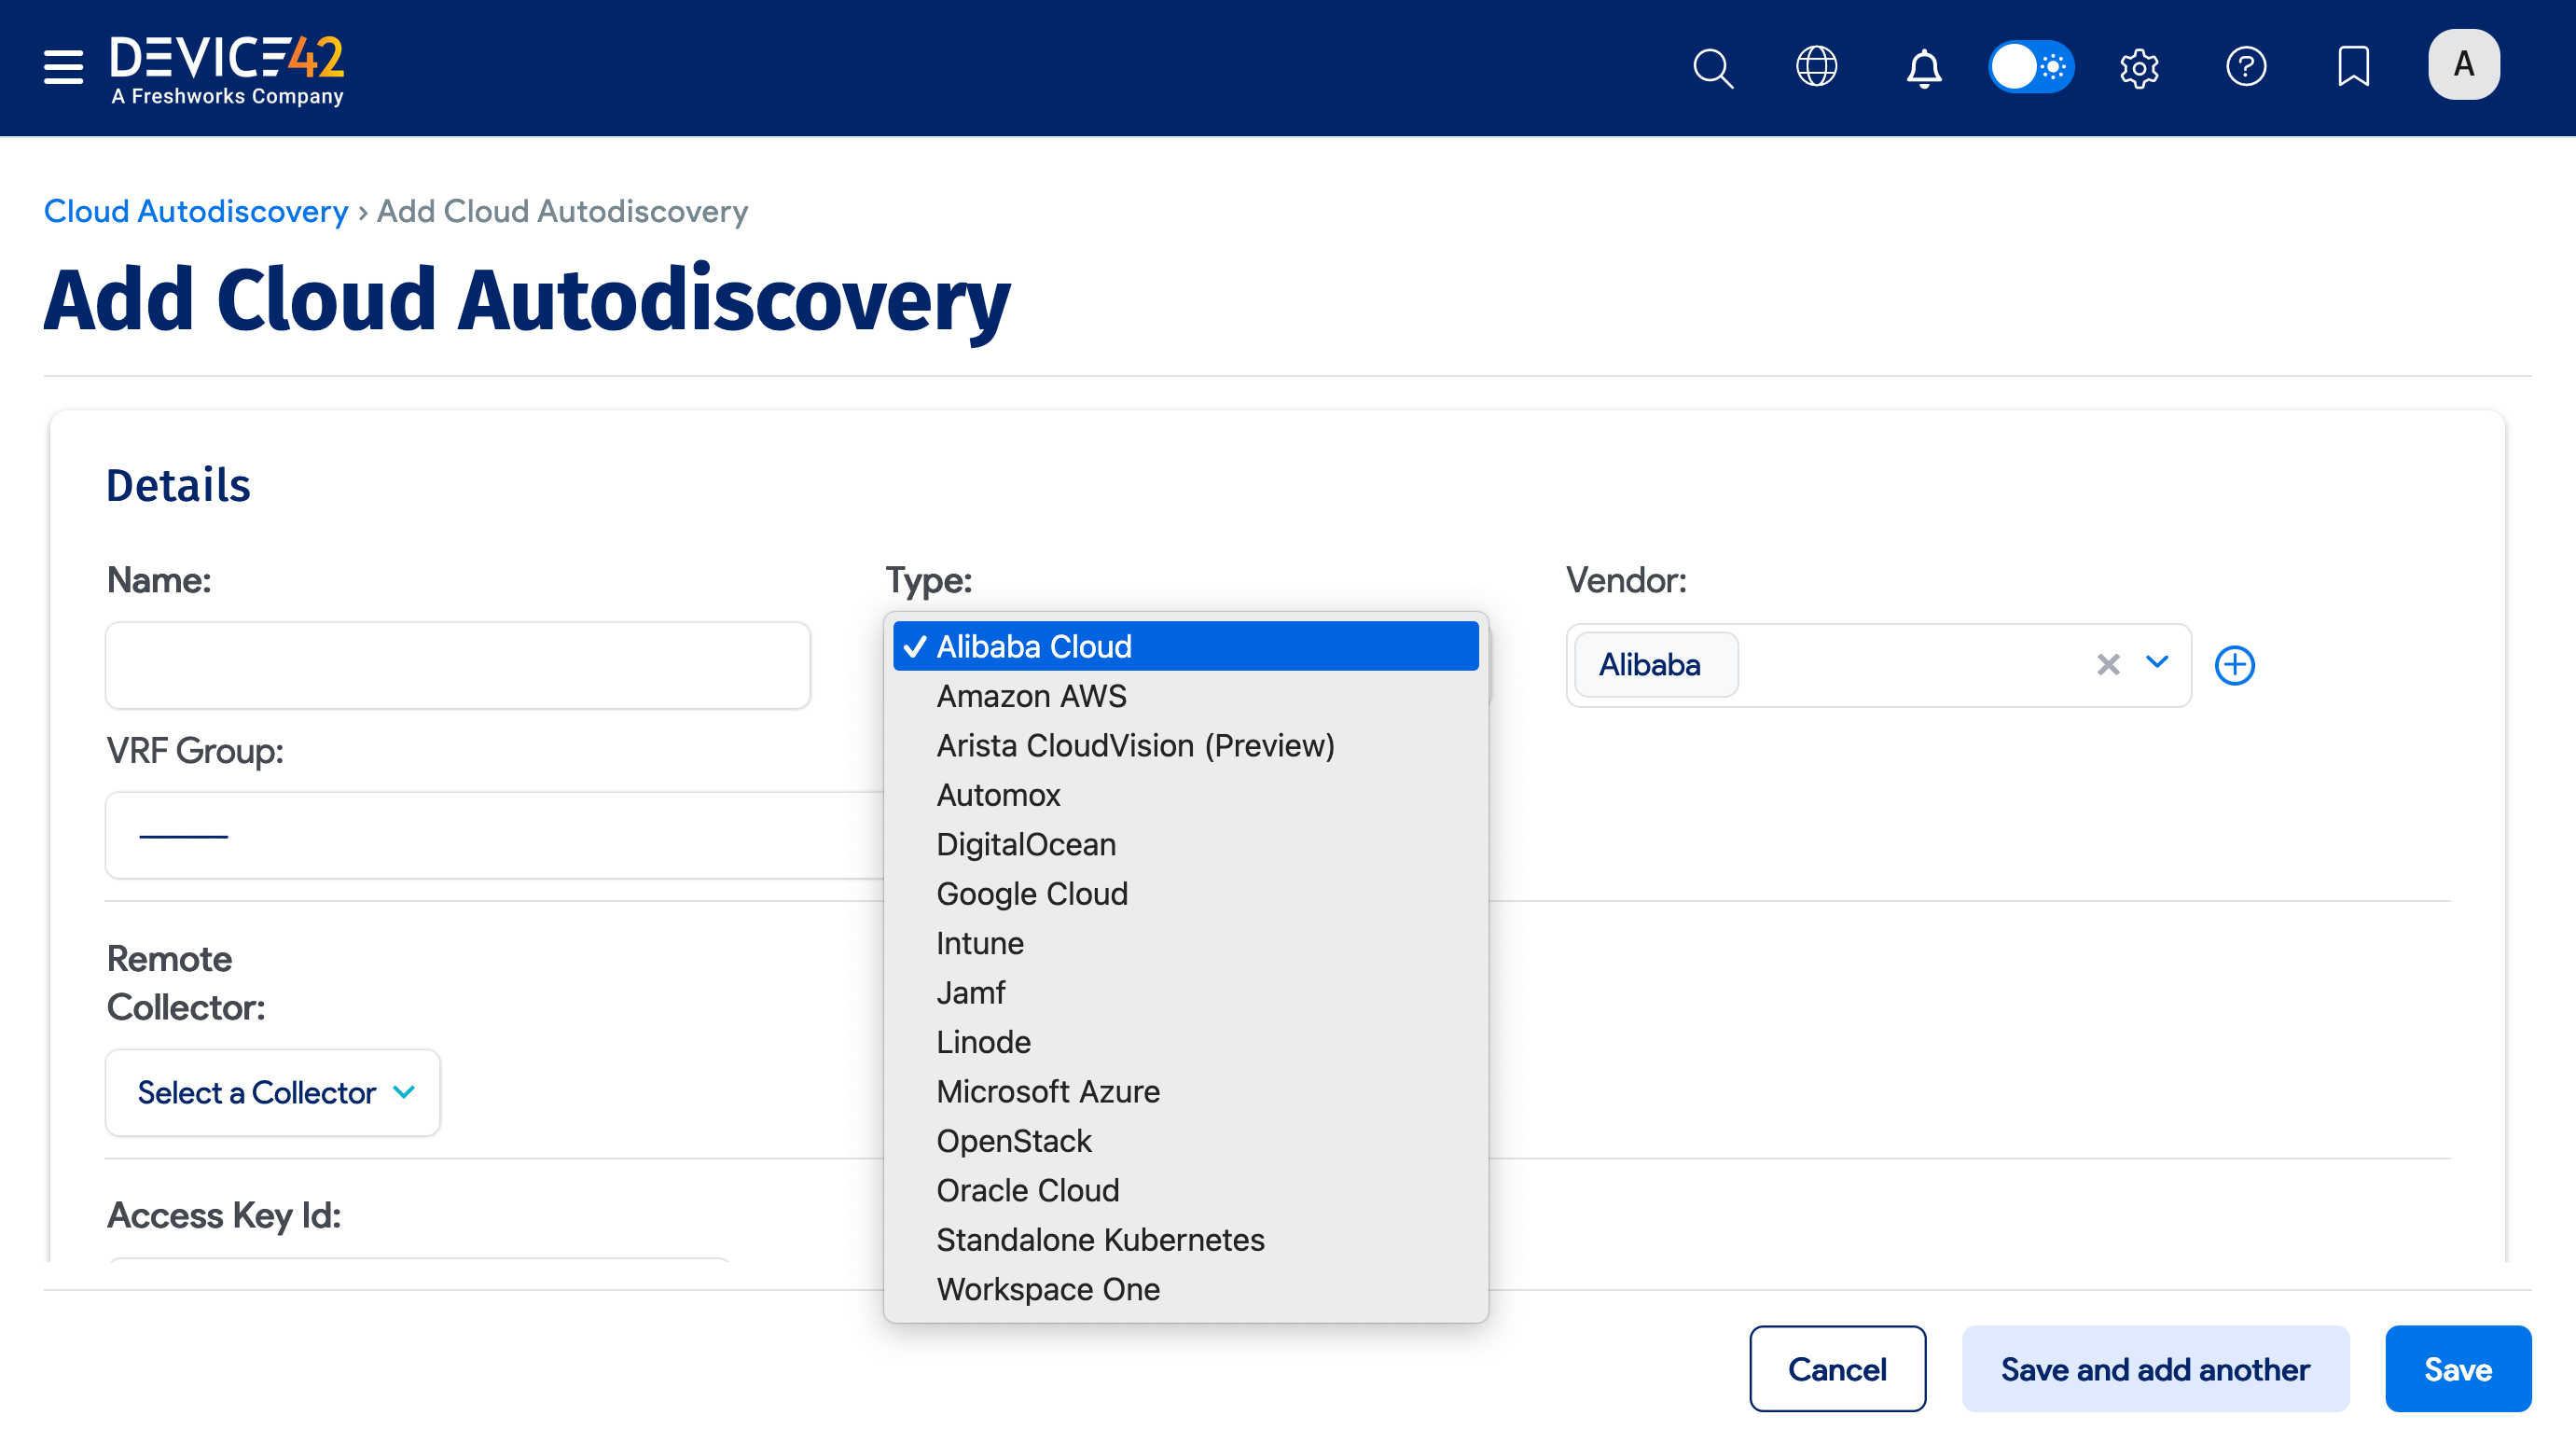
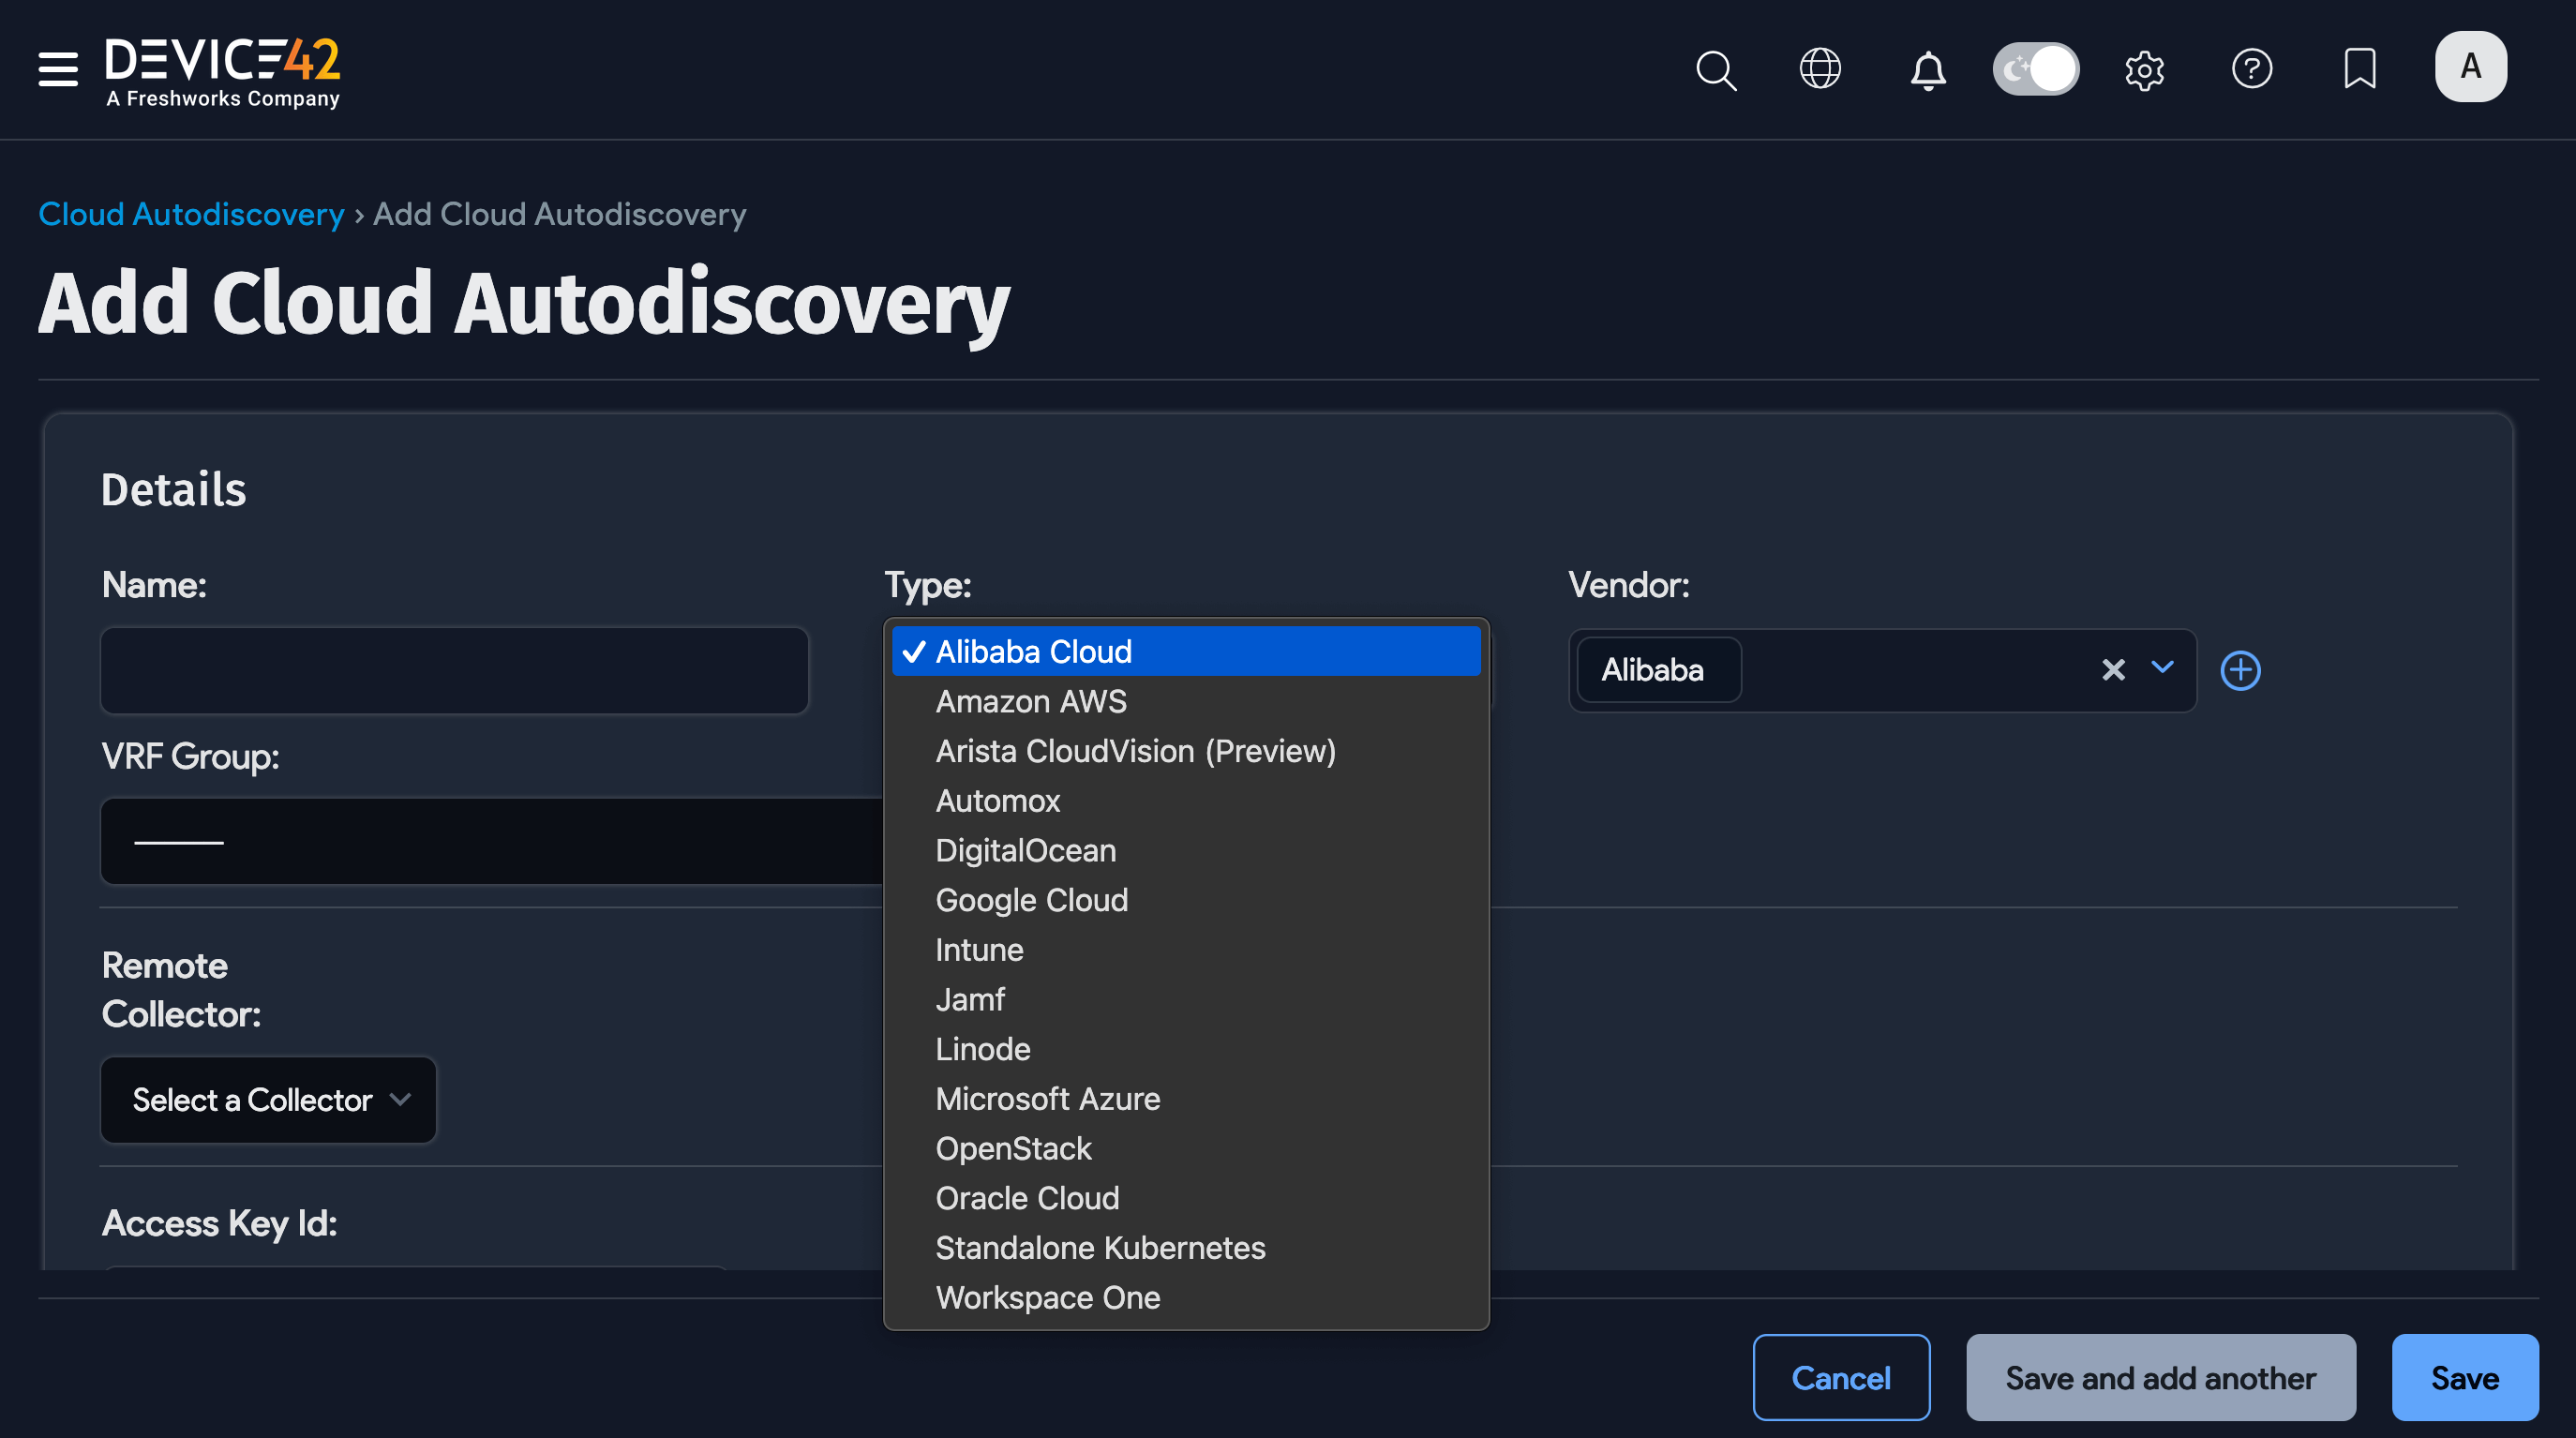
This page covers how to set up discovery jobs for these additional cloud platforms. For all cloud discovery jobs, navigate to Discovery > Cloud and click Create. Select a cloud platform from the Type dropdown:
- Alibaba Cloud
- Amazon AWS
- Arista CloudVision (Preview)
- DigitalOcean
- Google Cloud
- Intune
- Jamf
- Linode
- Microsoft Azure
- OpenStack
- Oracle Cloud
- Standalone Kubernetes
Alibaba Cloud Discovery
Alibaba Cloud discovery gathers infrastructure information and monitors network traffic during execution for Application Dependency Mapping. A read-only Alibaba role is sufficient, as discovery performs no changes to the cloud infrastructure.
| Cloud Service or Object Name | Where To Locate in Device42 | Accessed API | Information Generated |
|---|---|---|---|
| VMs | Devices > All Devices | http://ecs-cn-hangzhou.aliyuncs.com | Type, name, OS, notes, RAM, CPU, serial number |
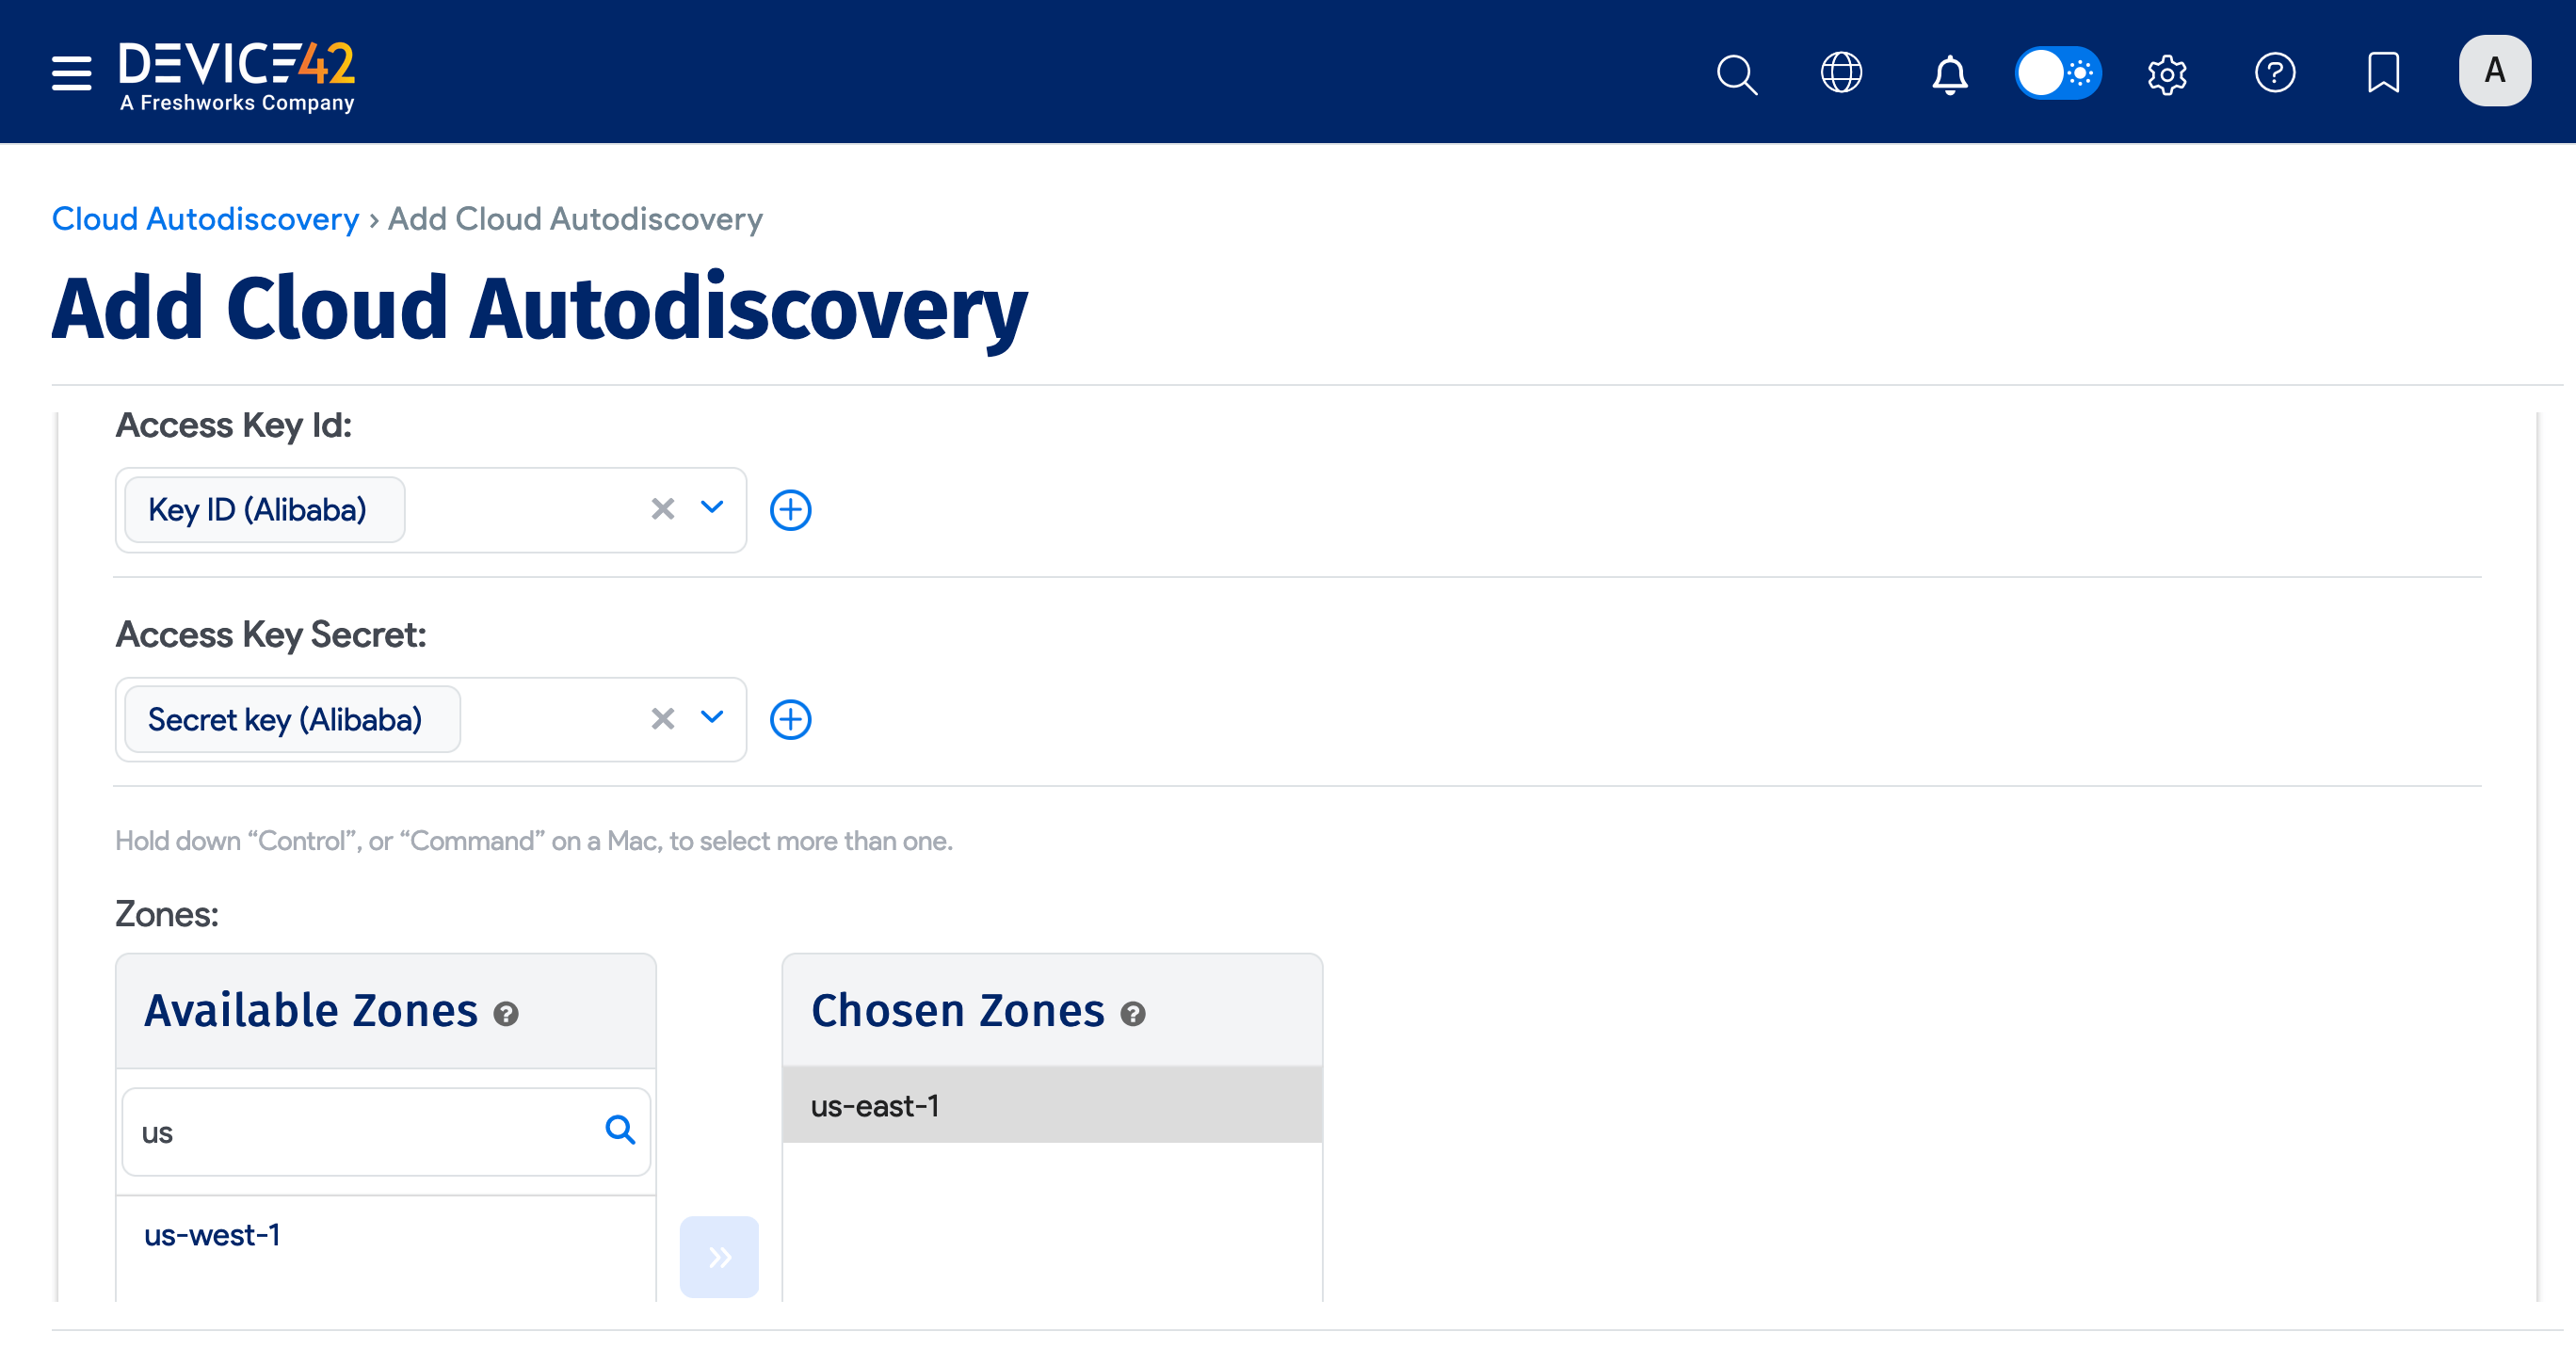
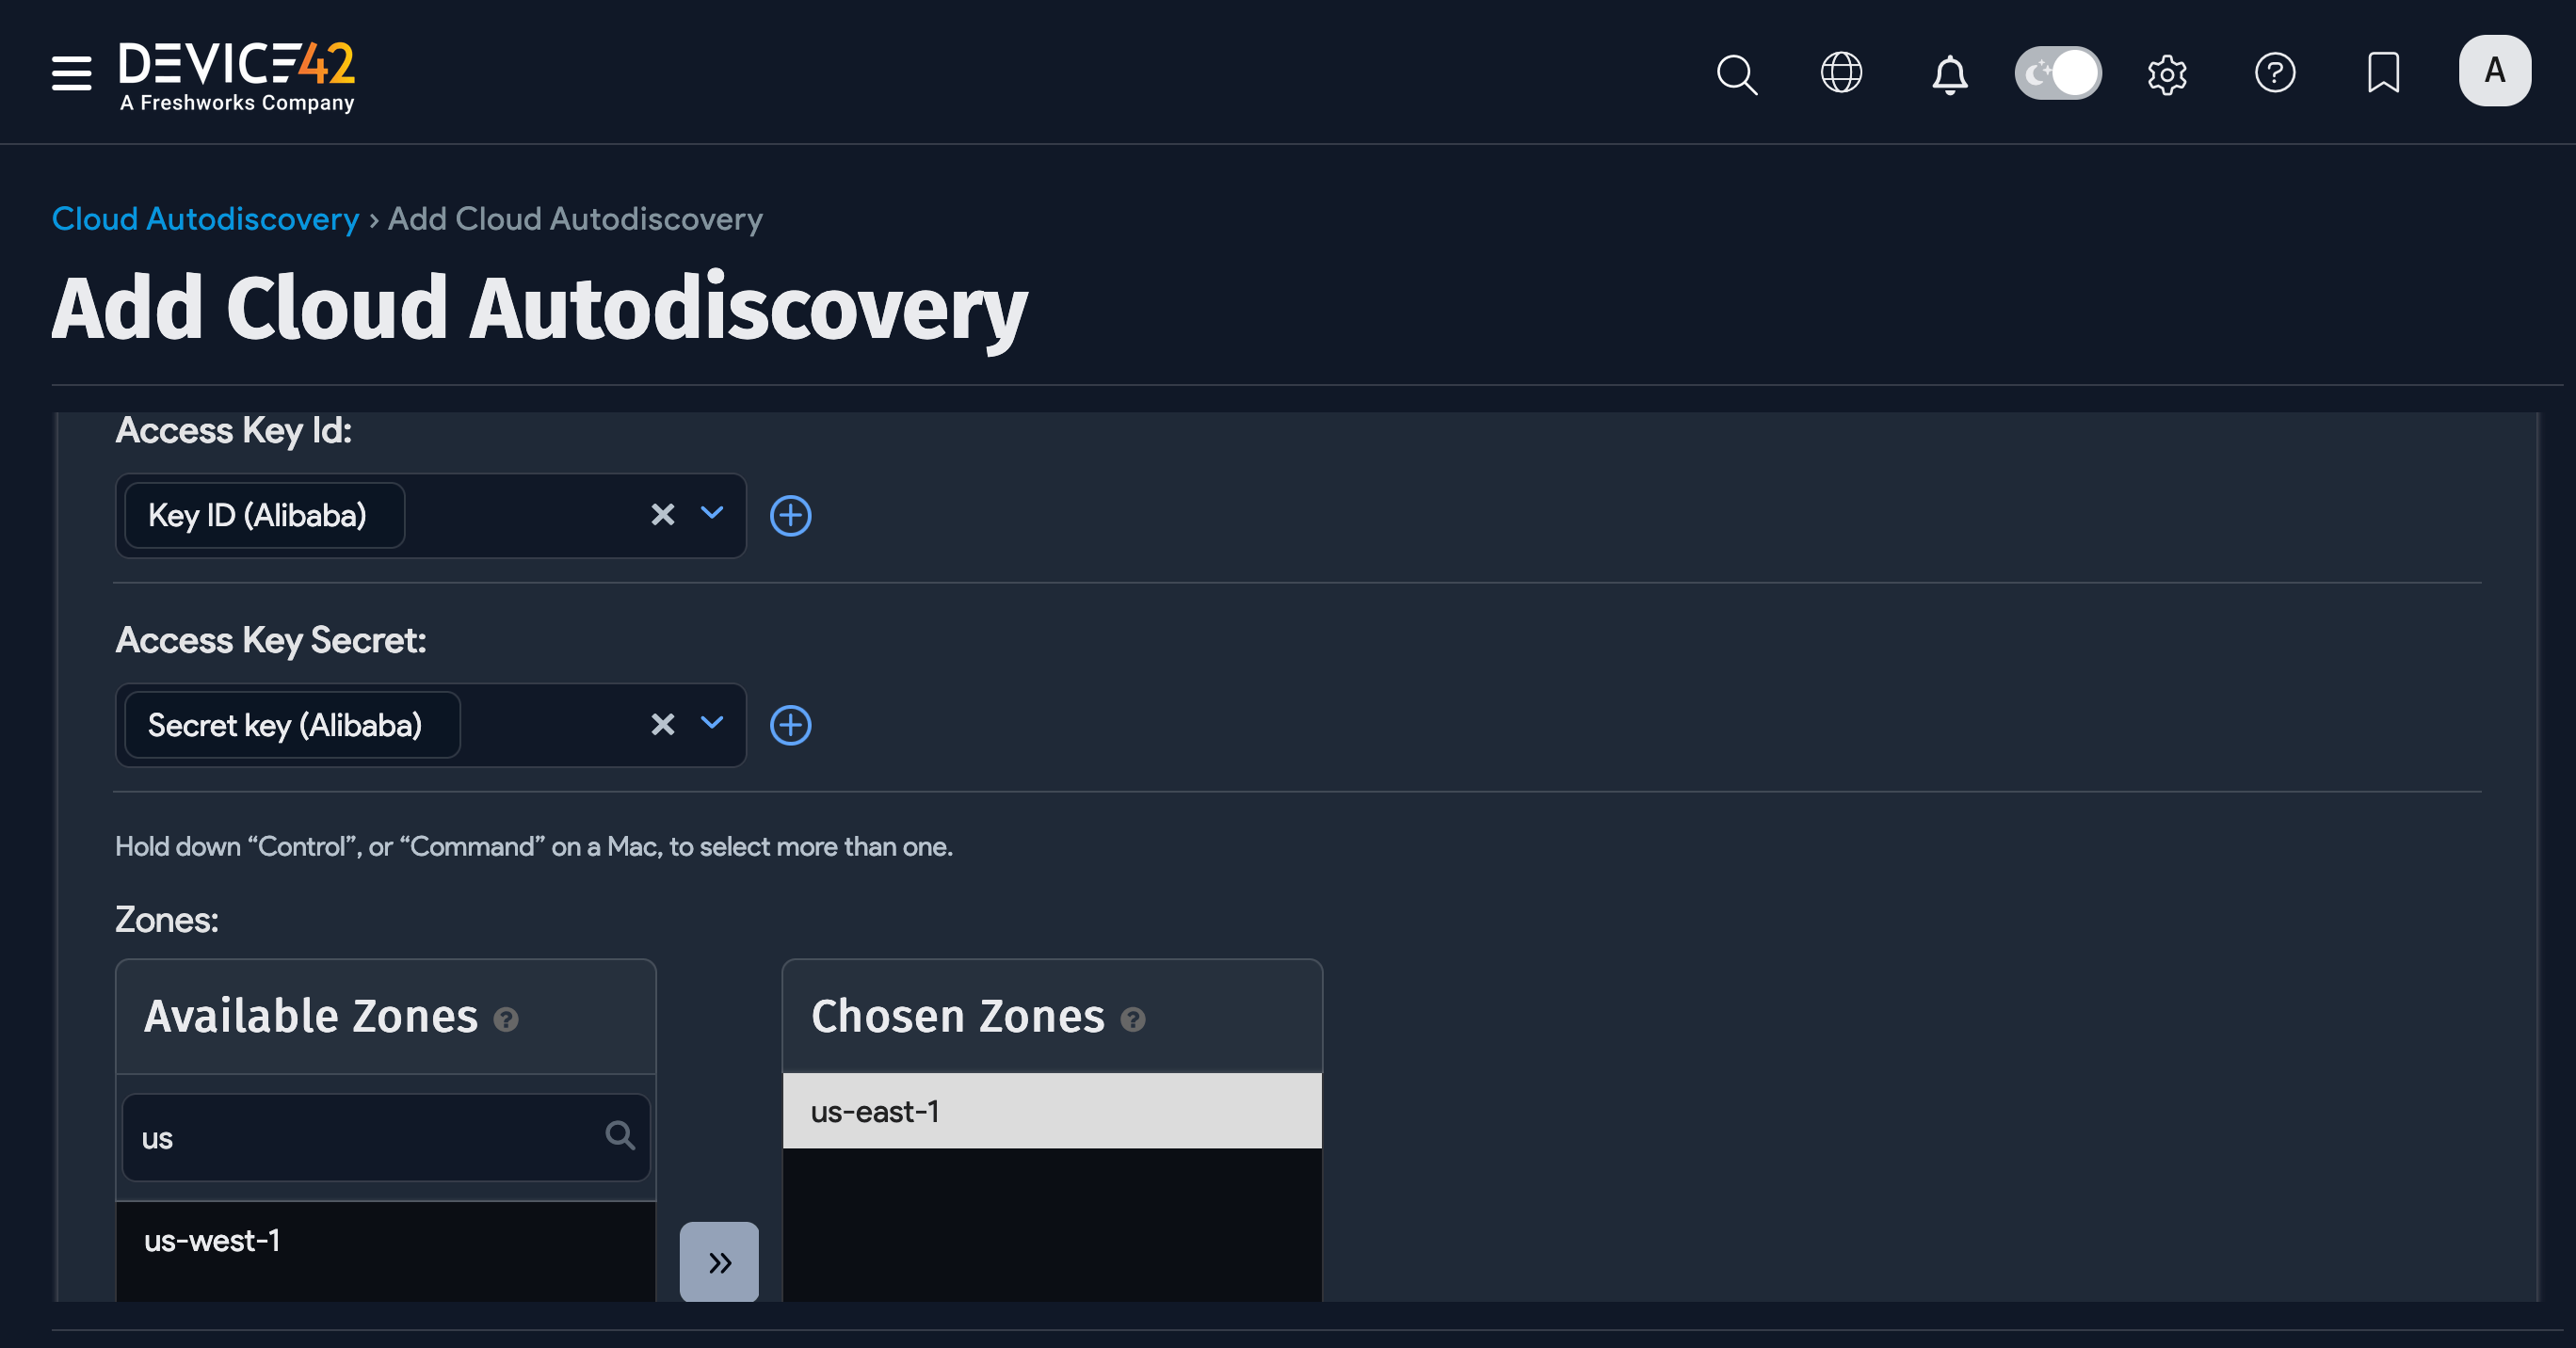
Select Alibaba Cloud from the Type dropdown menu, name your discovery job, and include both your Access Key Id and Access Key Secret.
Select one or more zones from the Available Zones for the discovery.
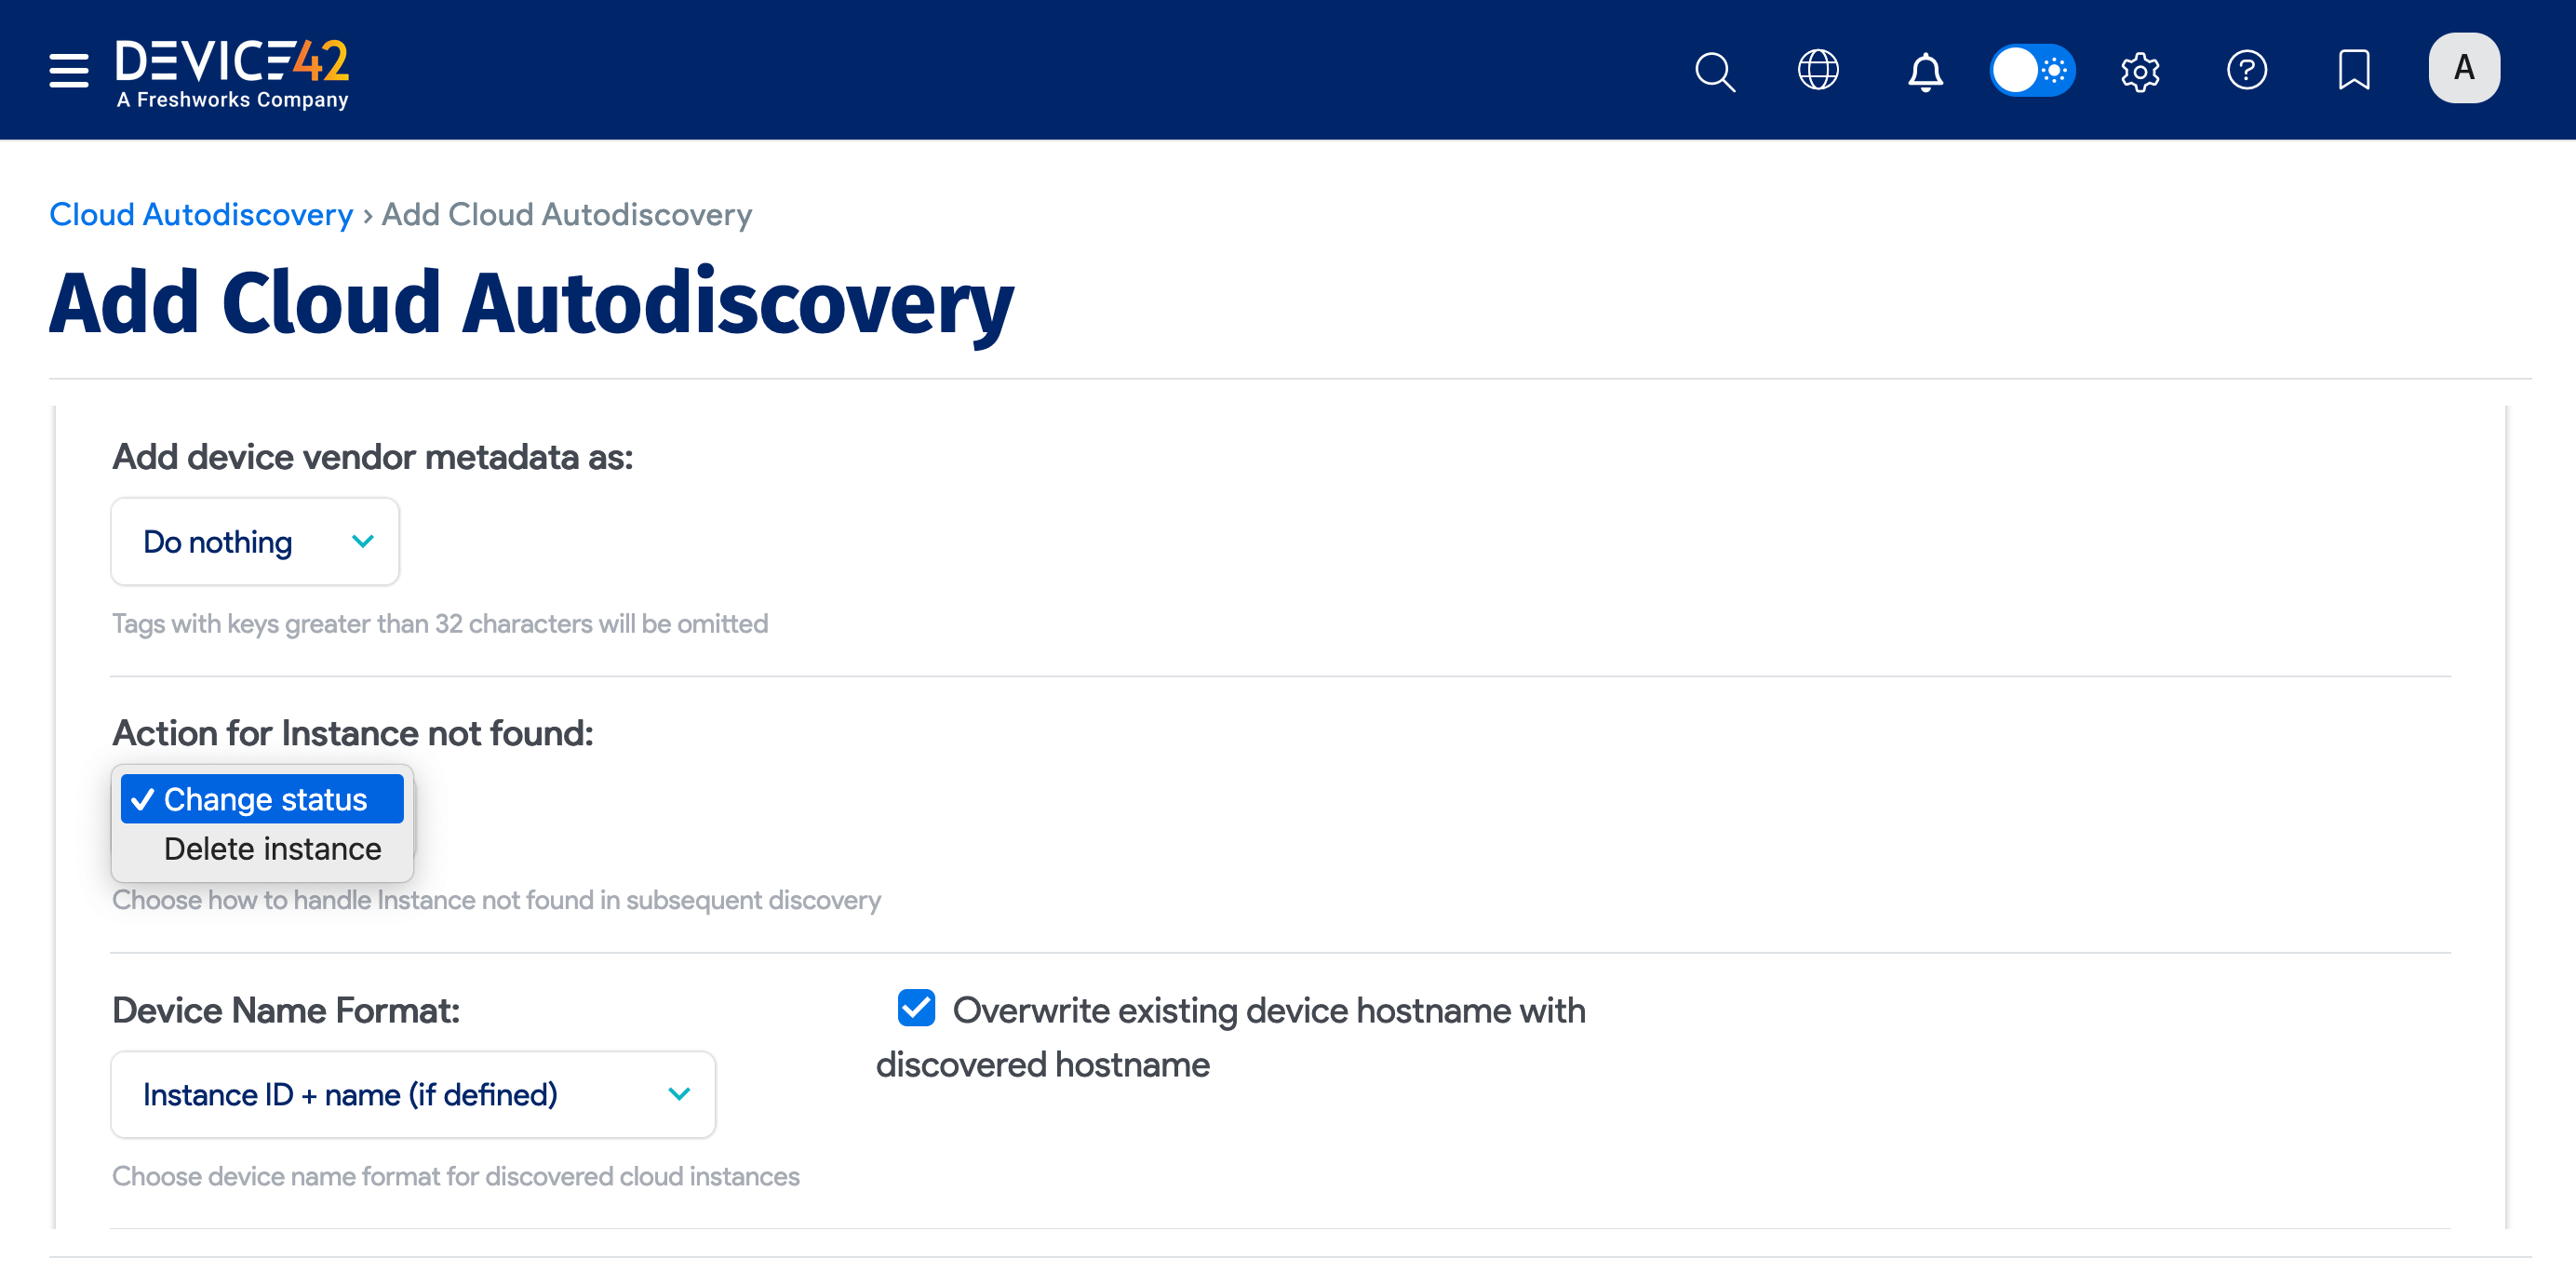
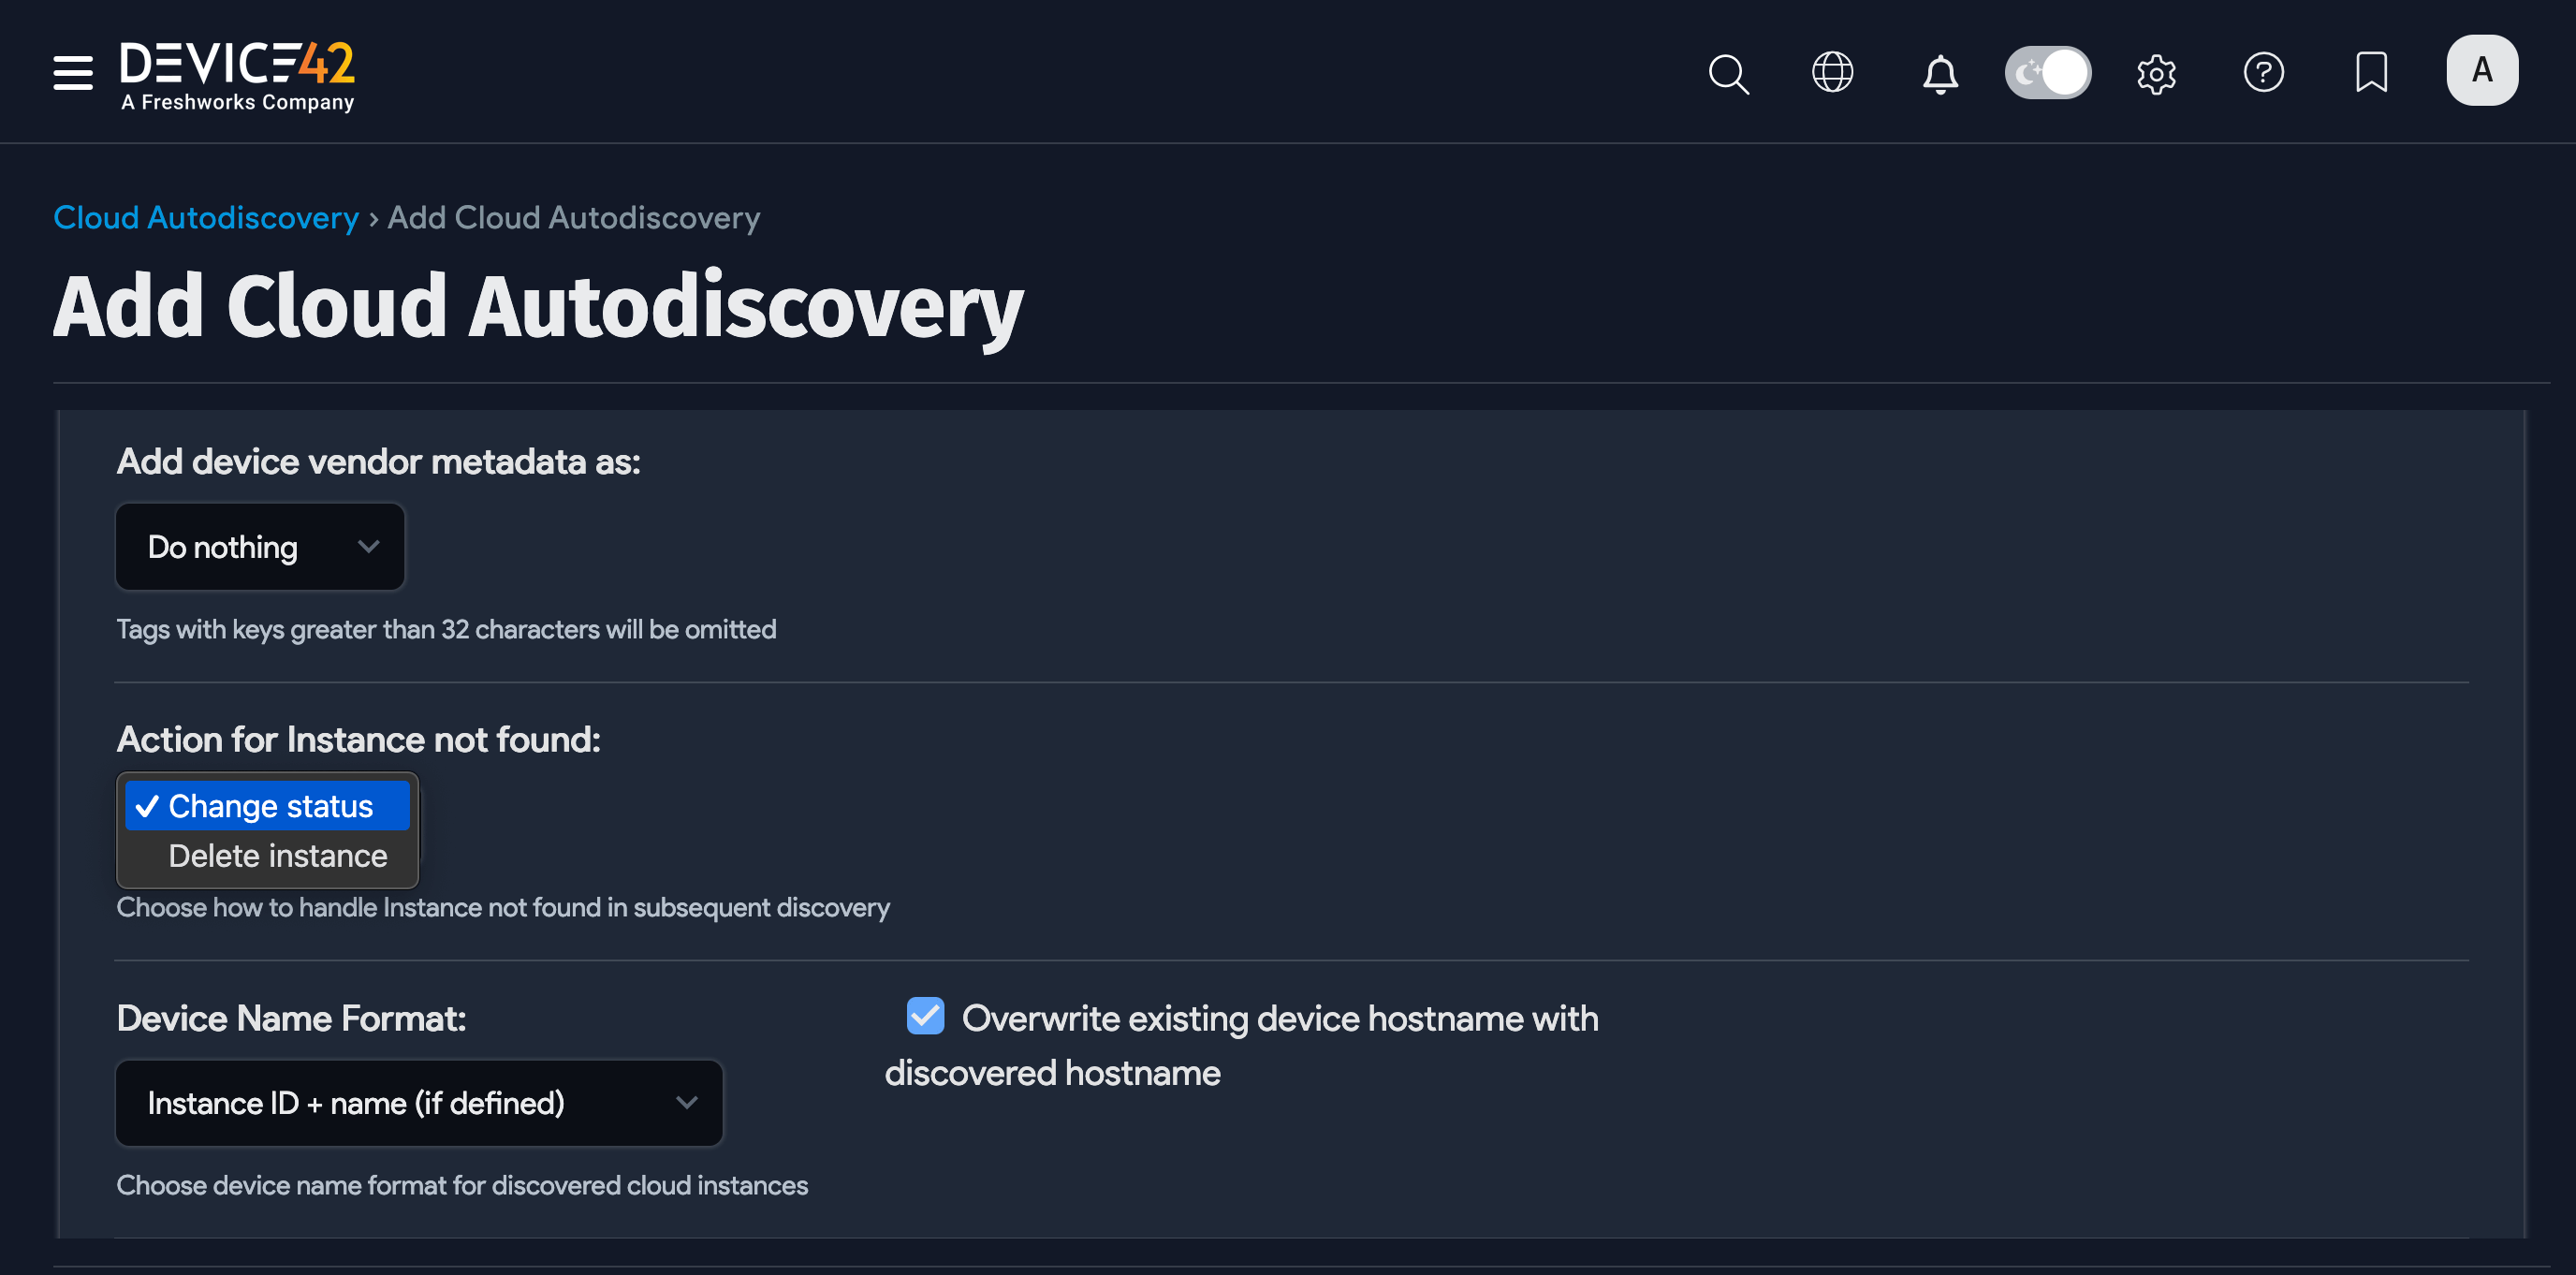
Select an option for Action for Instance not found and select a Device Name Format.
Optionally, you can set the Service Level of the job to be applied to the discovered items. For example, Development, Deployment, or Production. You also have the option to create a regular schedule, determining when the job will run.
Click Save and click Run Now to run the job immediately. You can also run the job from the Cloud Autodiscovery list page.
Arista CloudVision Discovery
| Cloud Service or Object Name | Where To Locate in Device42 | Accessed API | Information Generated |
|---|---|---|---|
| Network infrastructure | Devices > All Devices | https://\<IP-address\>/api/resources/ | Device ID, device status, dashboard configs, and so on |
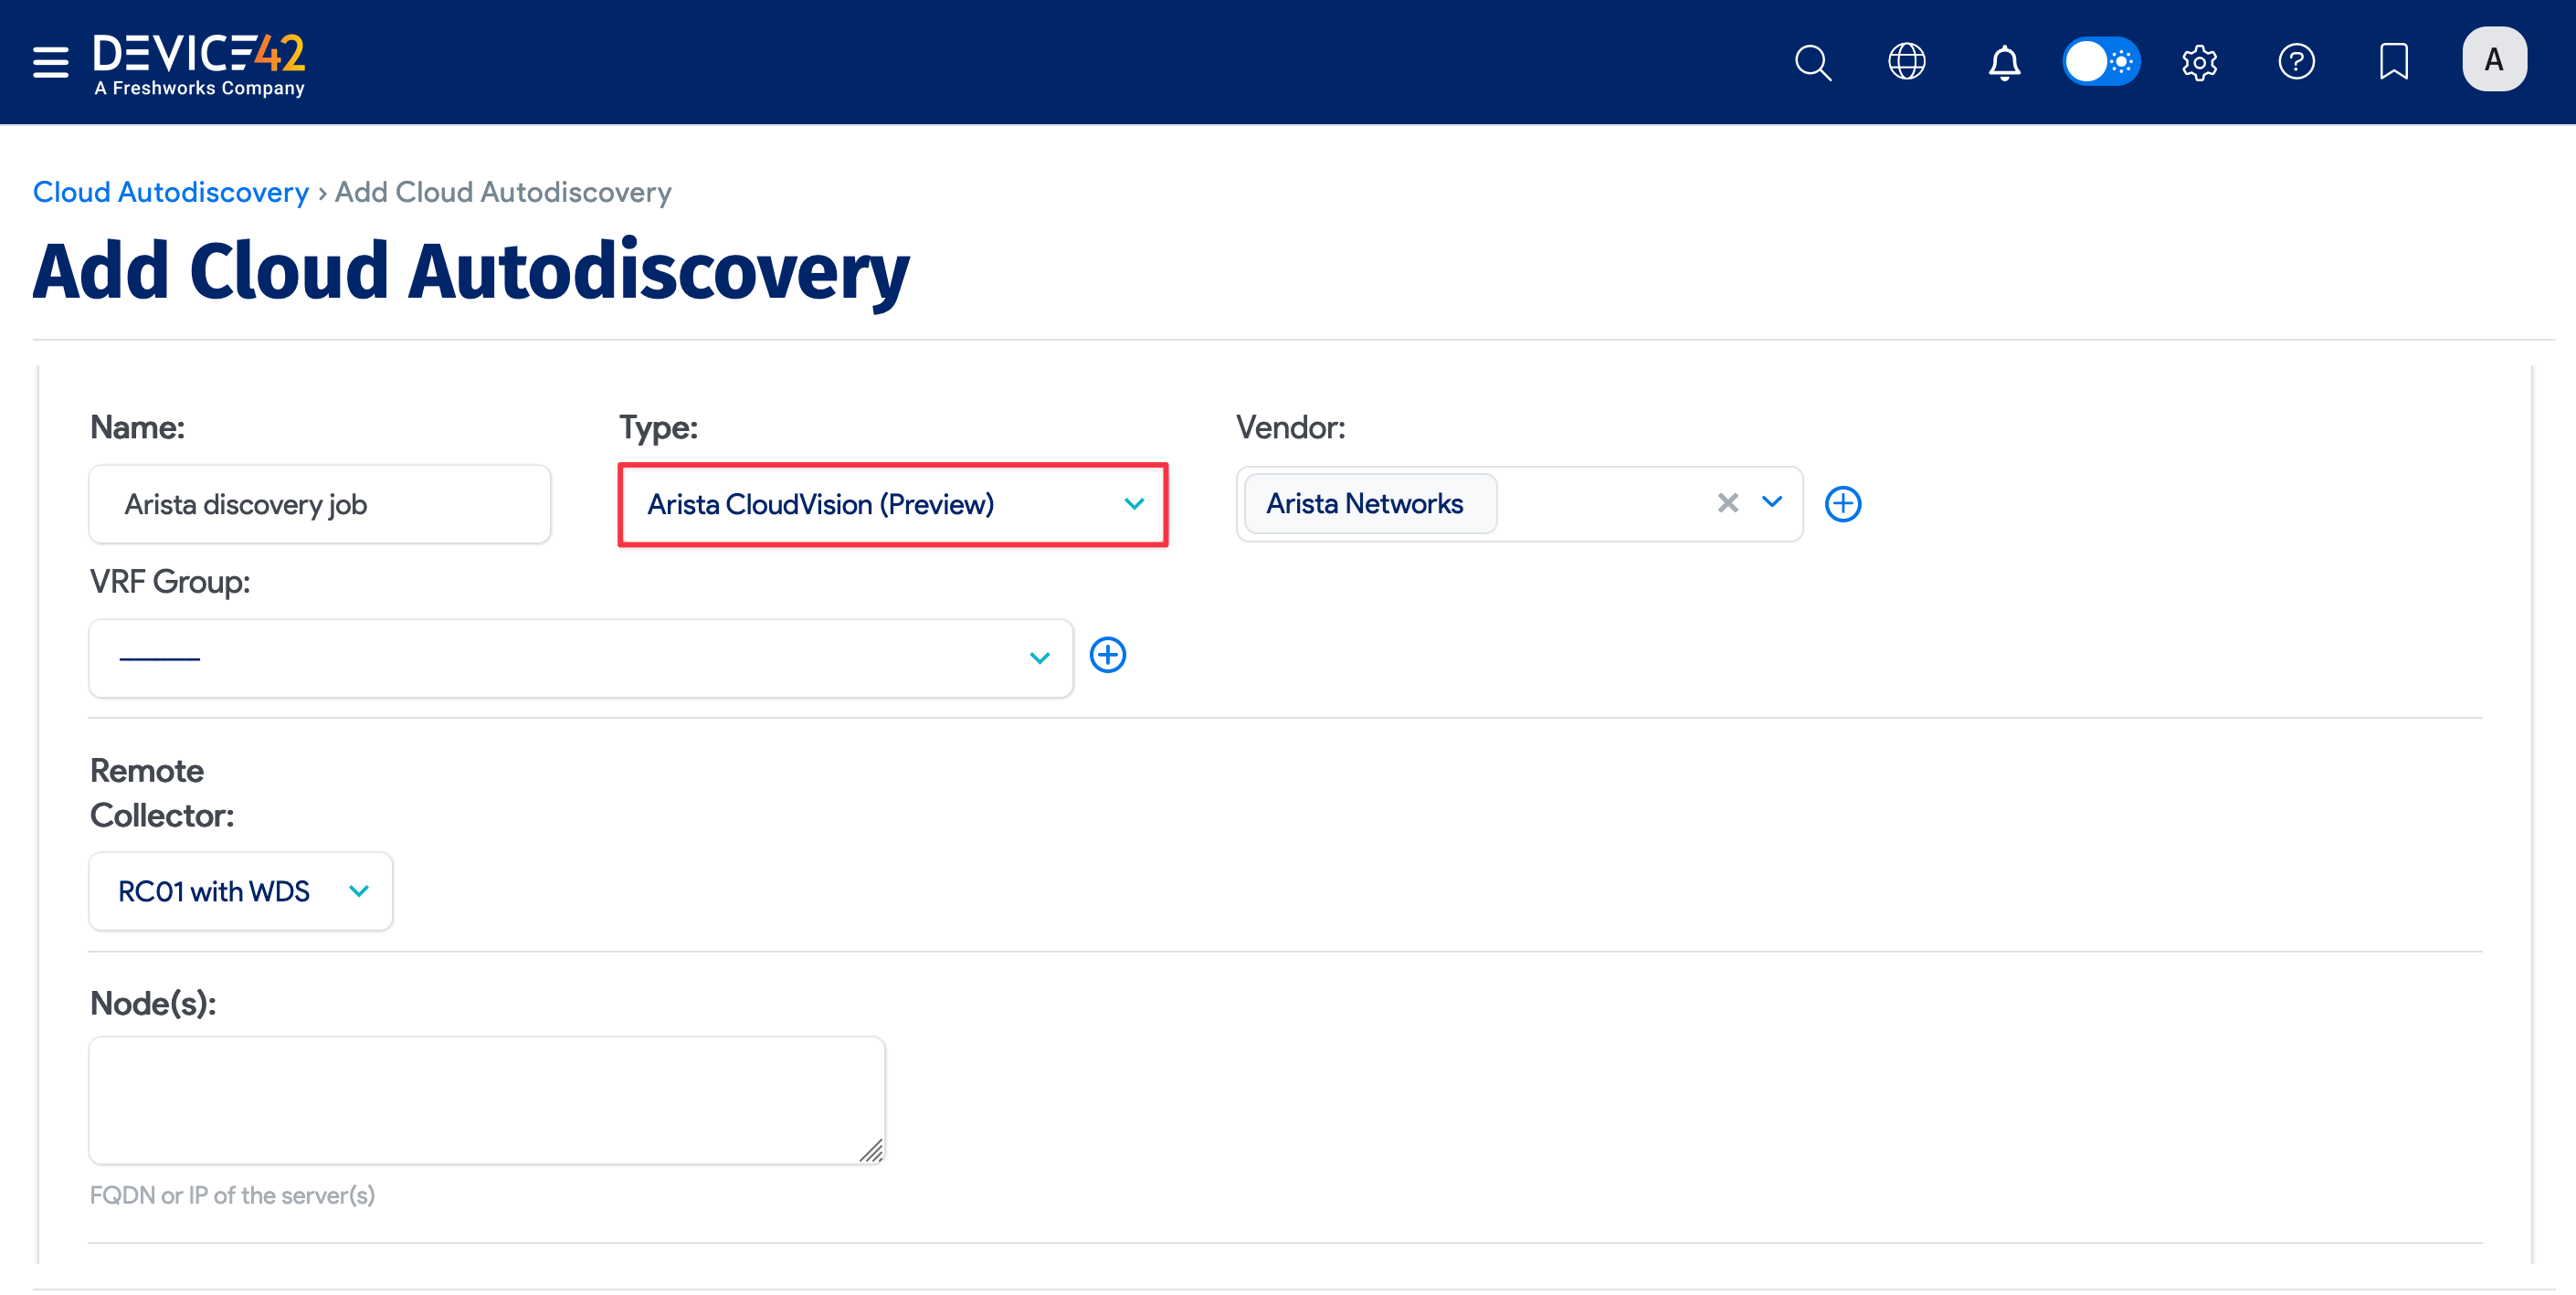
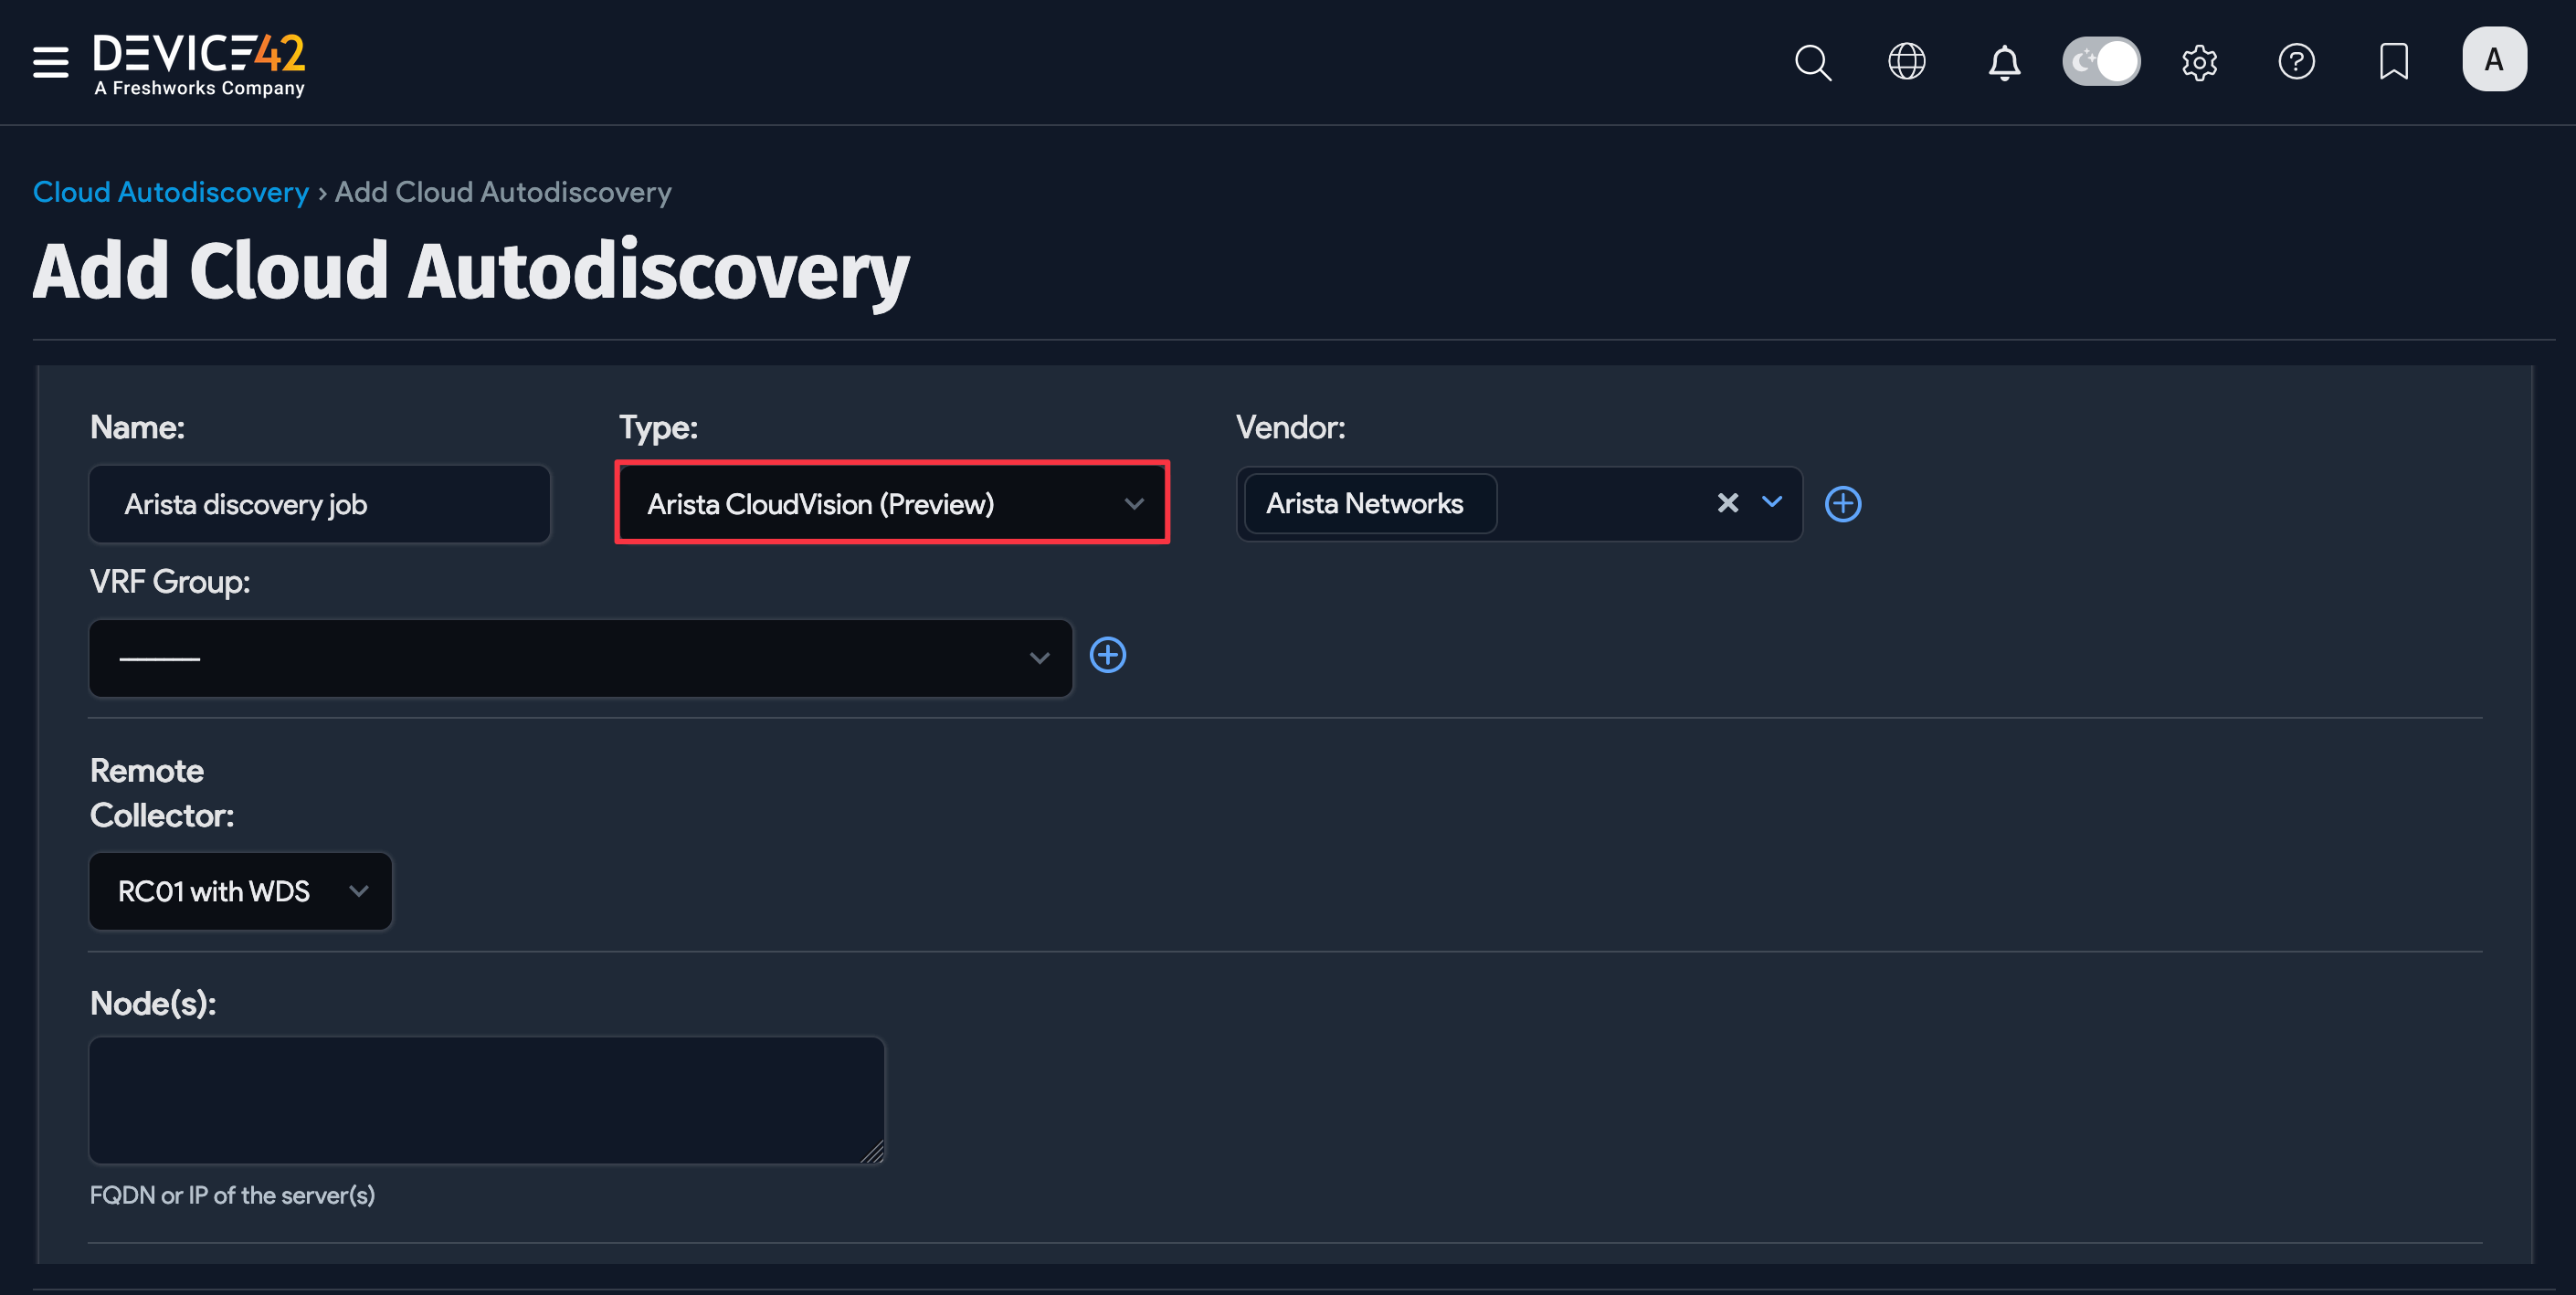
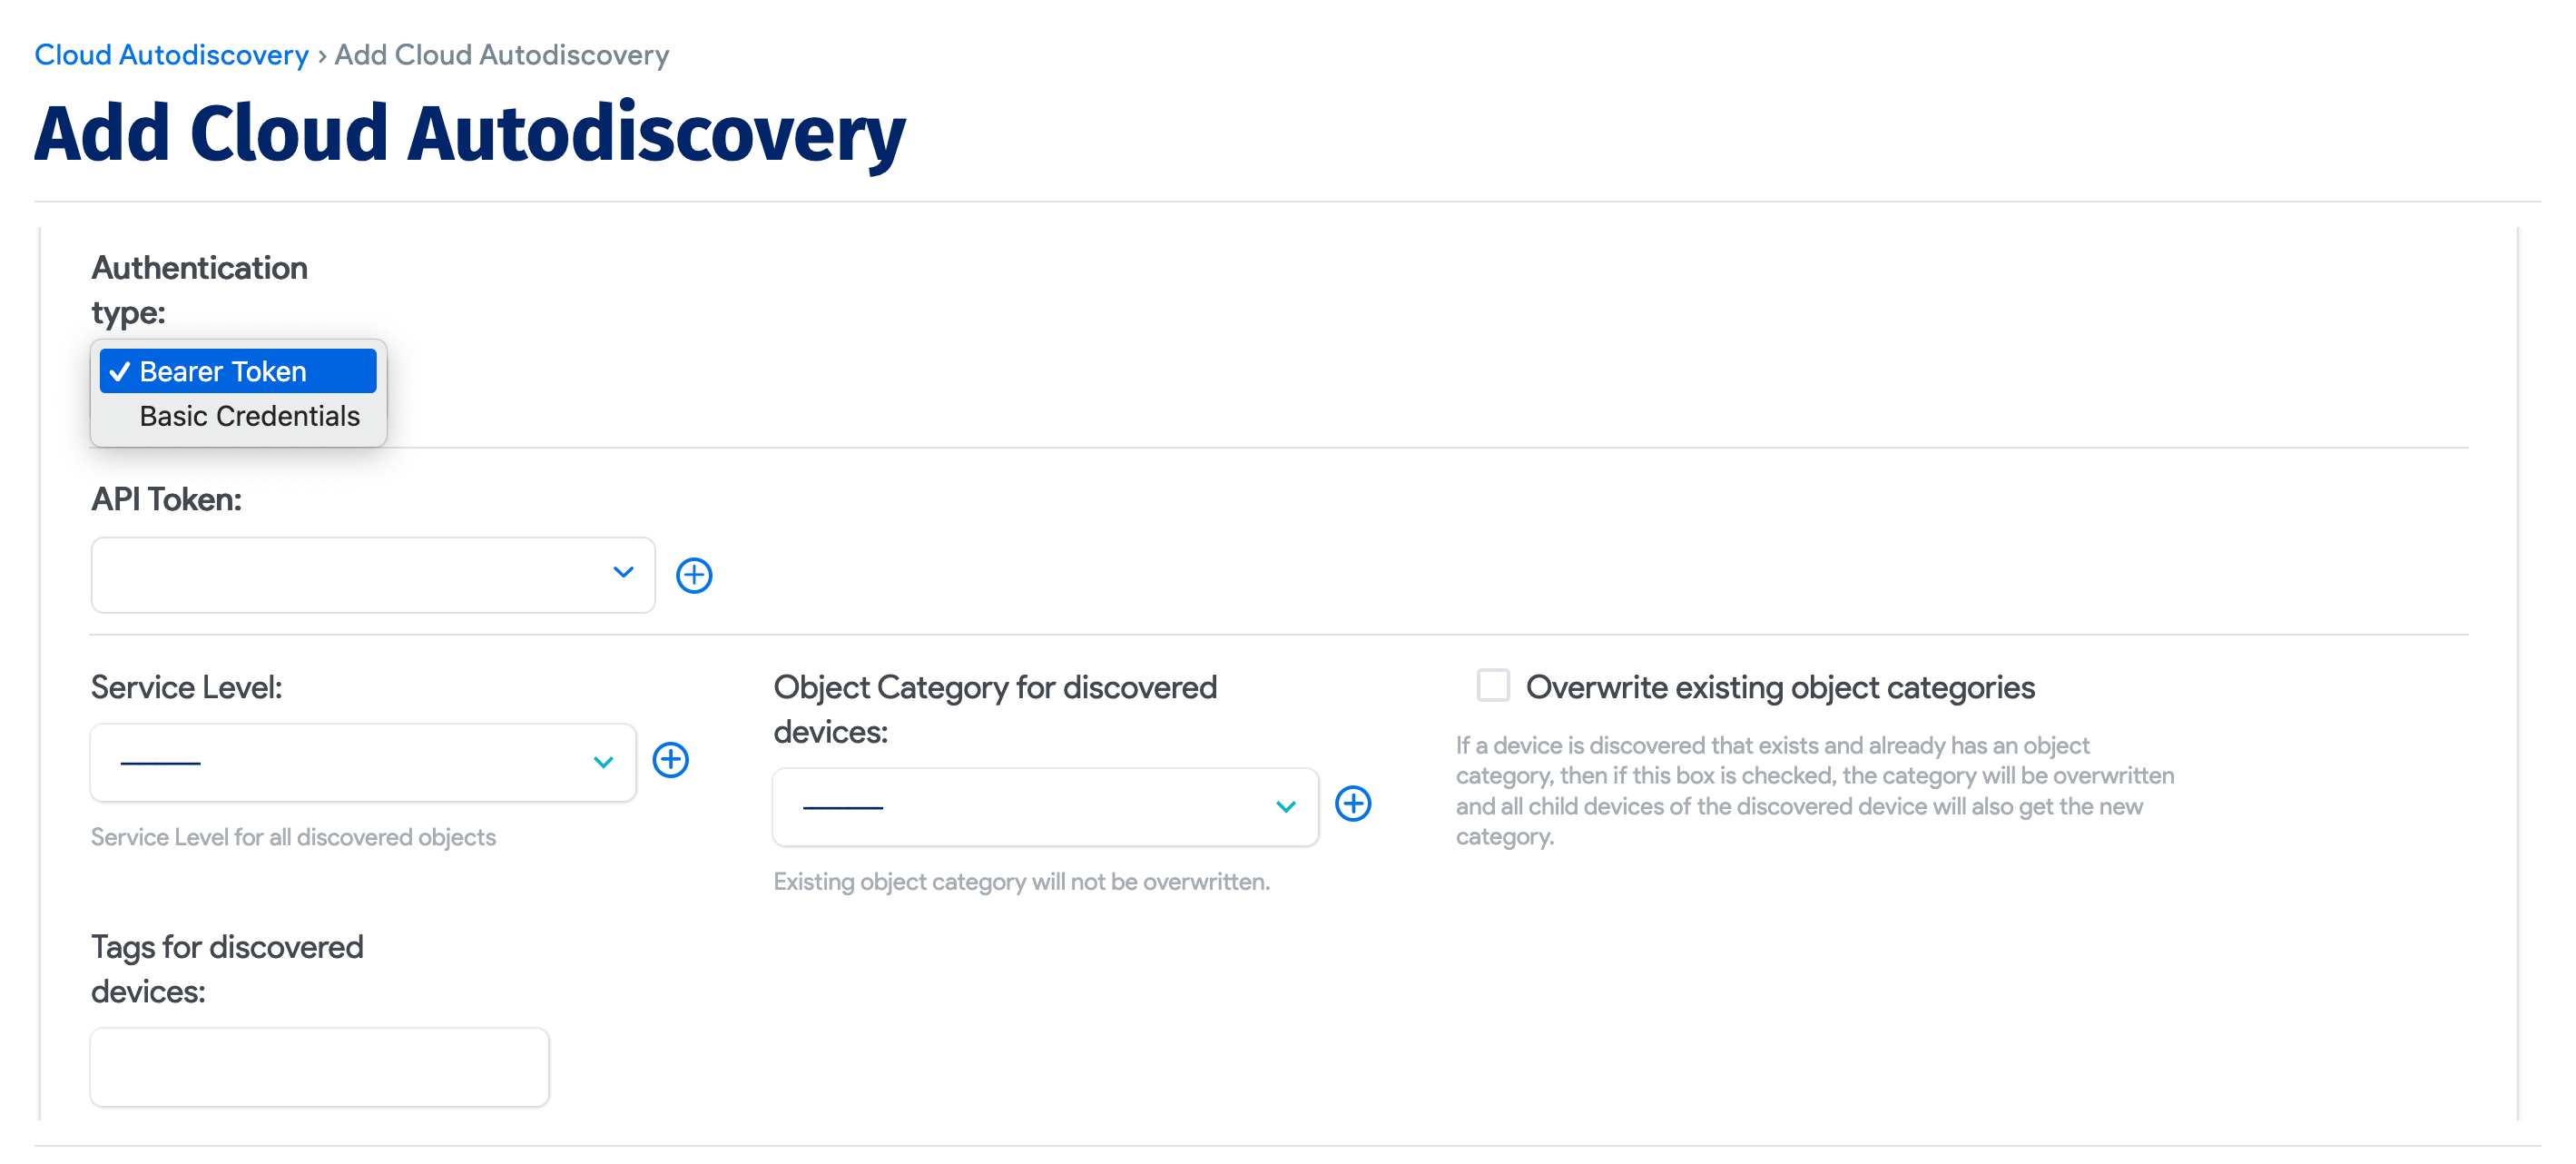
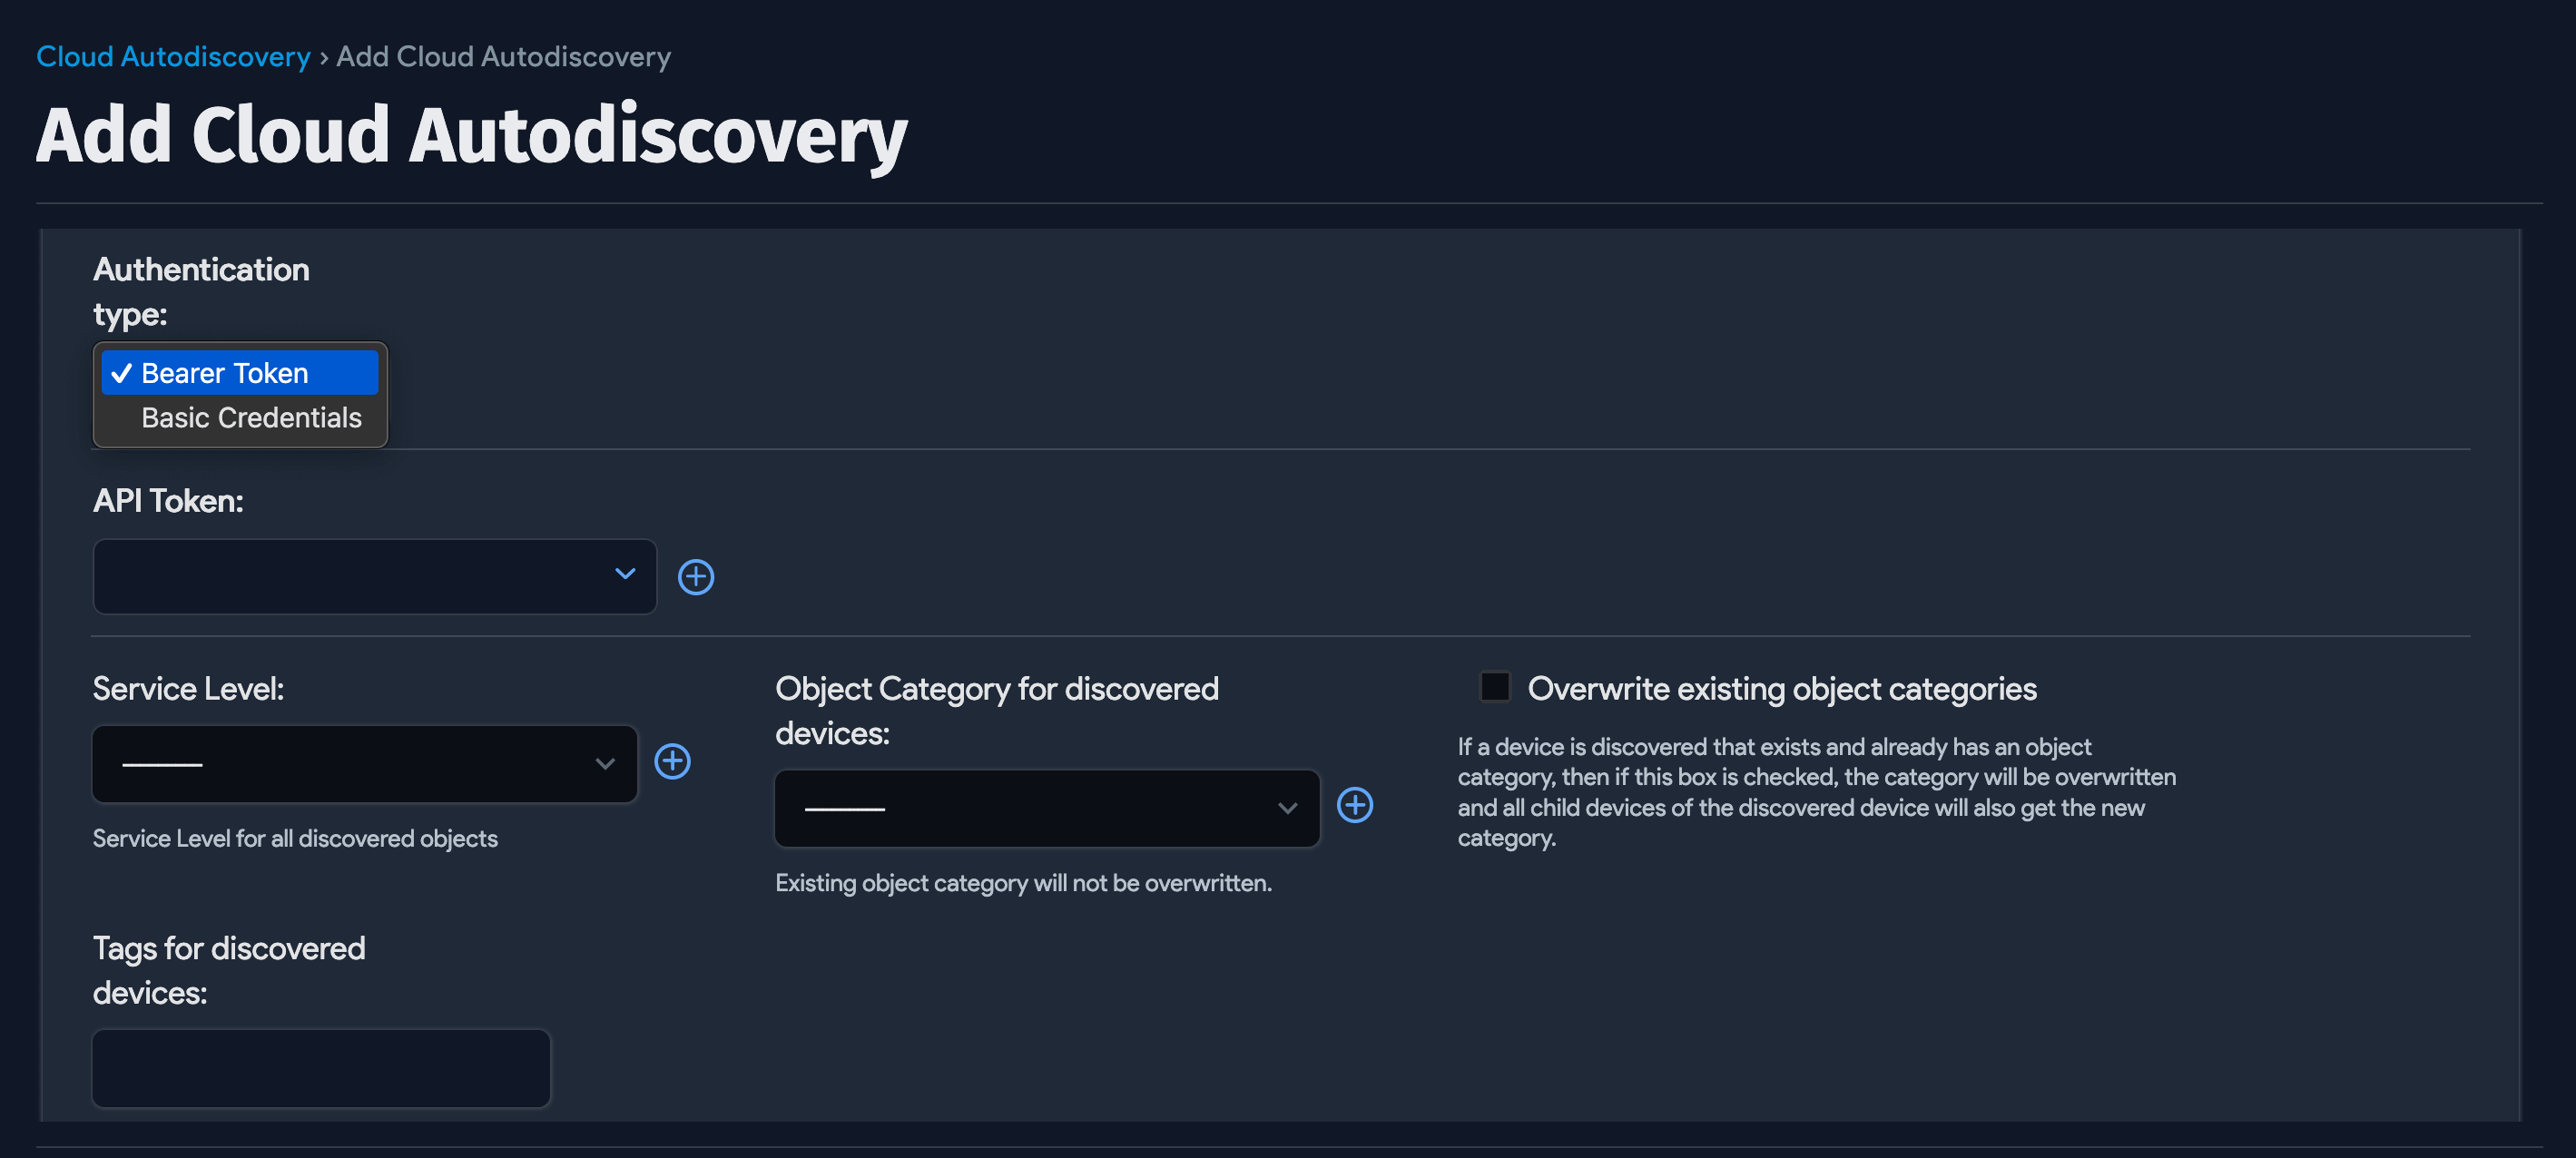
Name the discovery job and select Arista CloudVision (Preview) from the Type dropdown menu. Select a Remote Collector and add the server IP address or FQDN in the Node(s) textbox.
Select Bearer Token from the Authentication type dropdown menu to add your API token, or select Basic Authentication to add your username and password.
Optionally, add a Service Level, select an Object Category, and add Tags for discovered devices. Tags are useful metadata that categorize the discovered items for searching, filtering, and ADM Calculation Rule purposes.
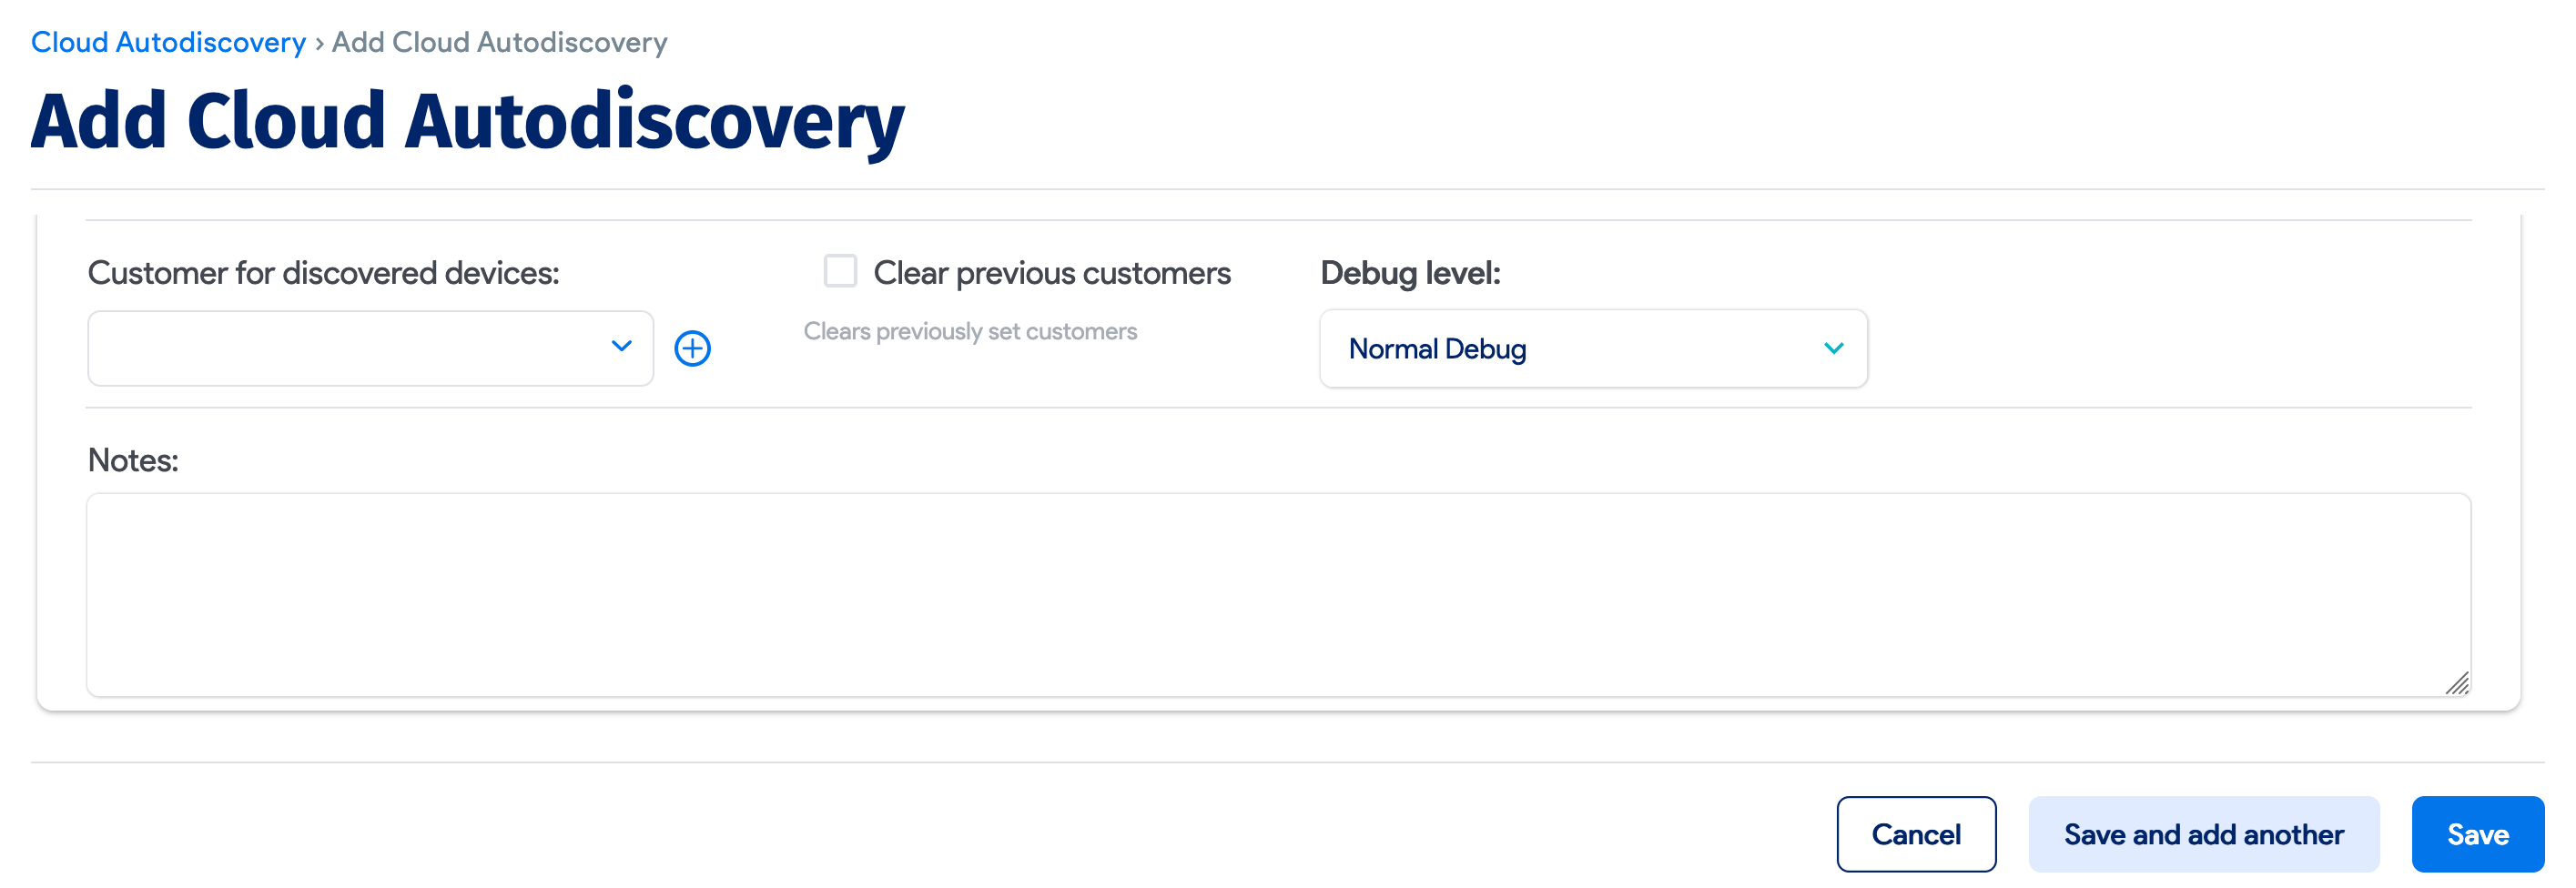
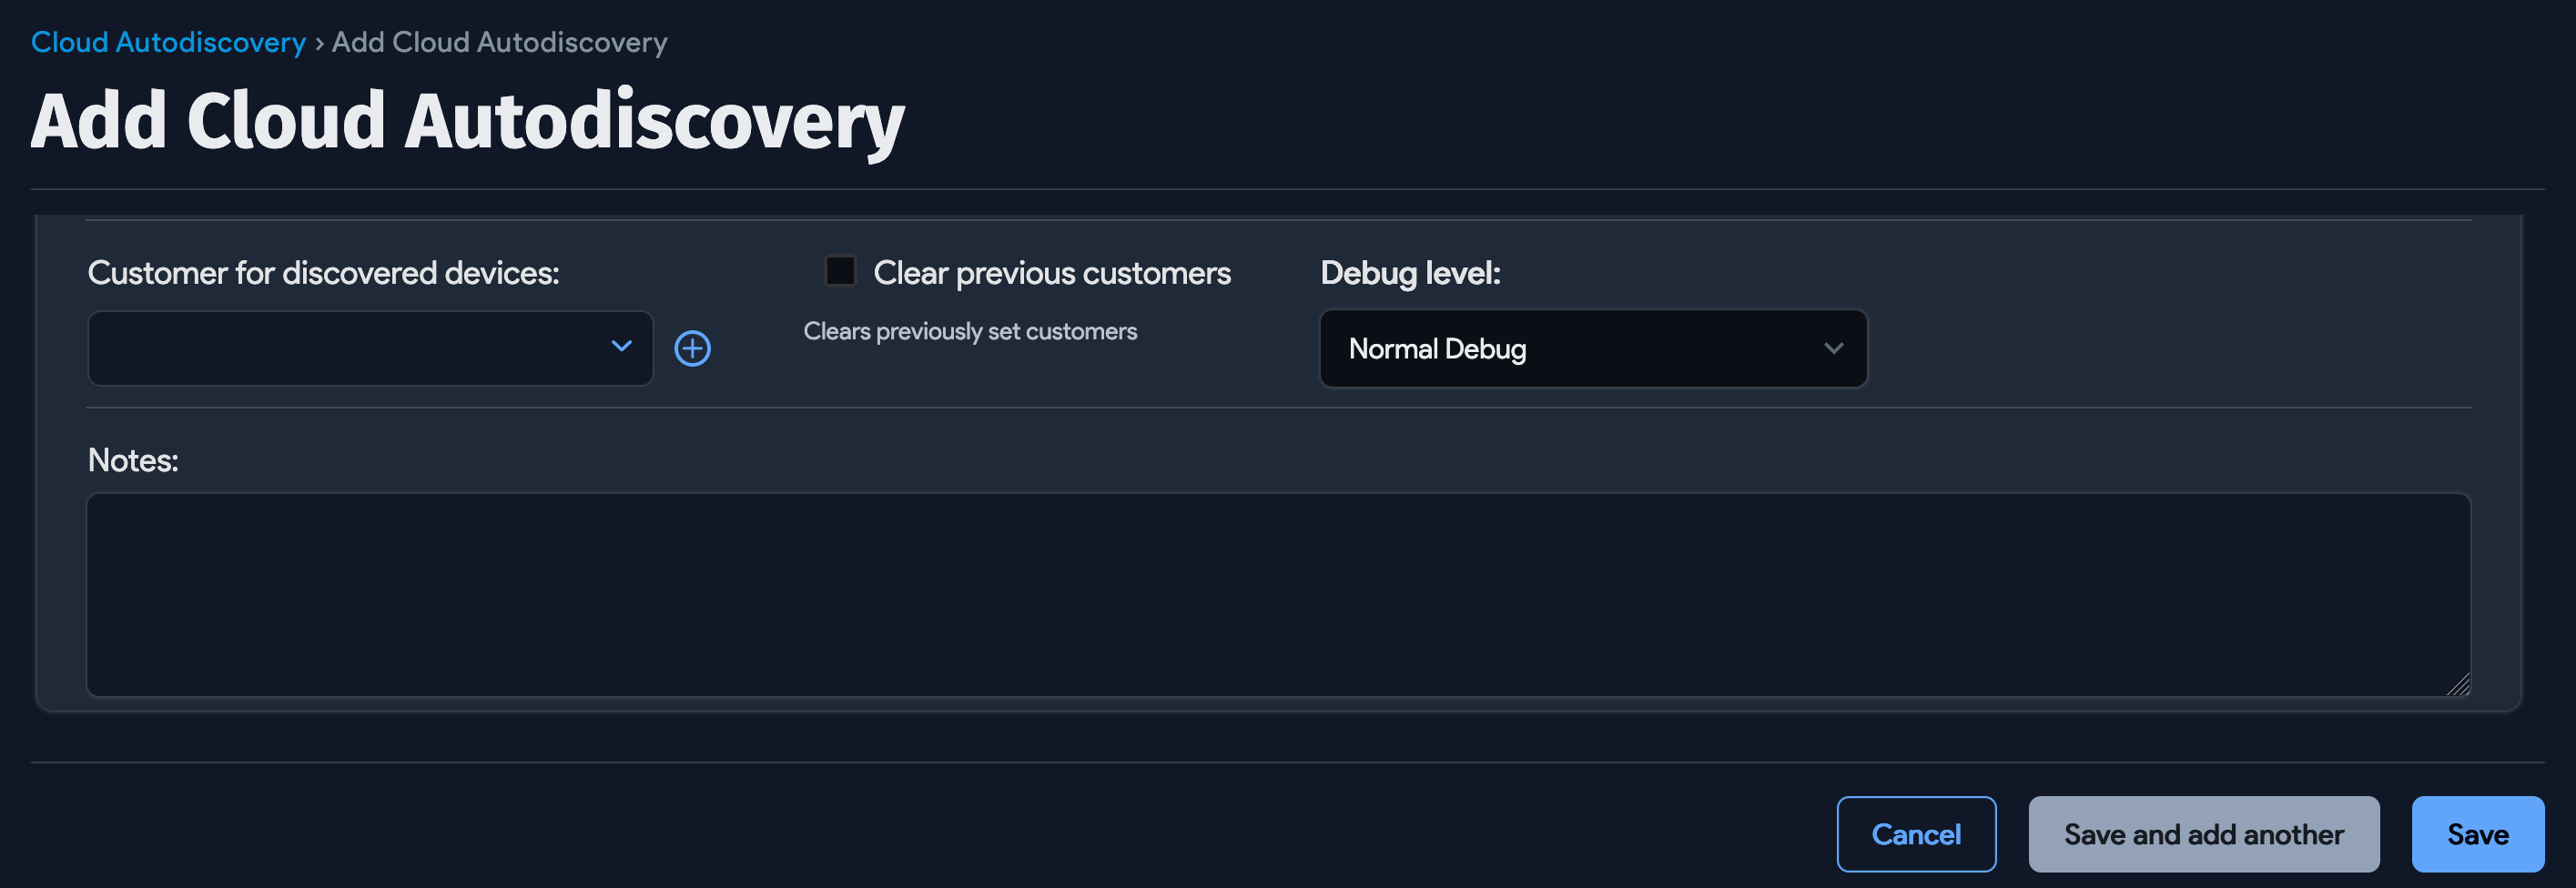
Select or add a Customer for discovered devices and configure your error logging preferences from the Debug level dropdown menu.
Save the job and click Run Now on the job details view or the Cloud Autodiscovery list page to run the job immediately.
DigitalOcean Discovery
Device42 discovers DigitalOcean Droplets as virtual devices.
| Cloud Service or Object Name | Where To Locate in Device42 | Accessed API | Information Generated |
|---|---|---|---|
| Droplets (VMs) | Devices > All Devices | https://api.digitalocean.com | Type, name, RAM size, CPU count, HDD Size, Tags, OS, and so on |
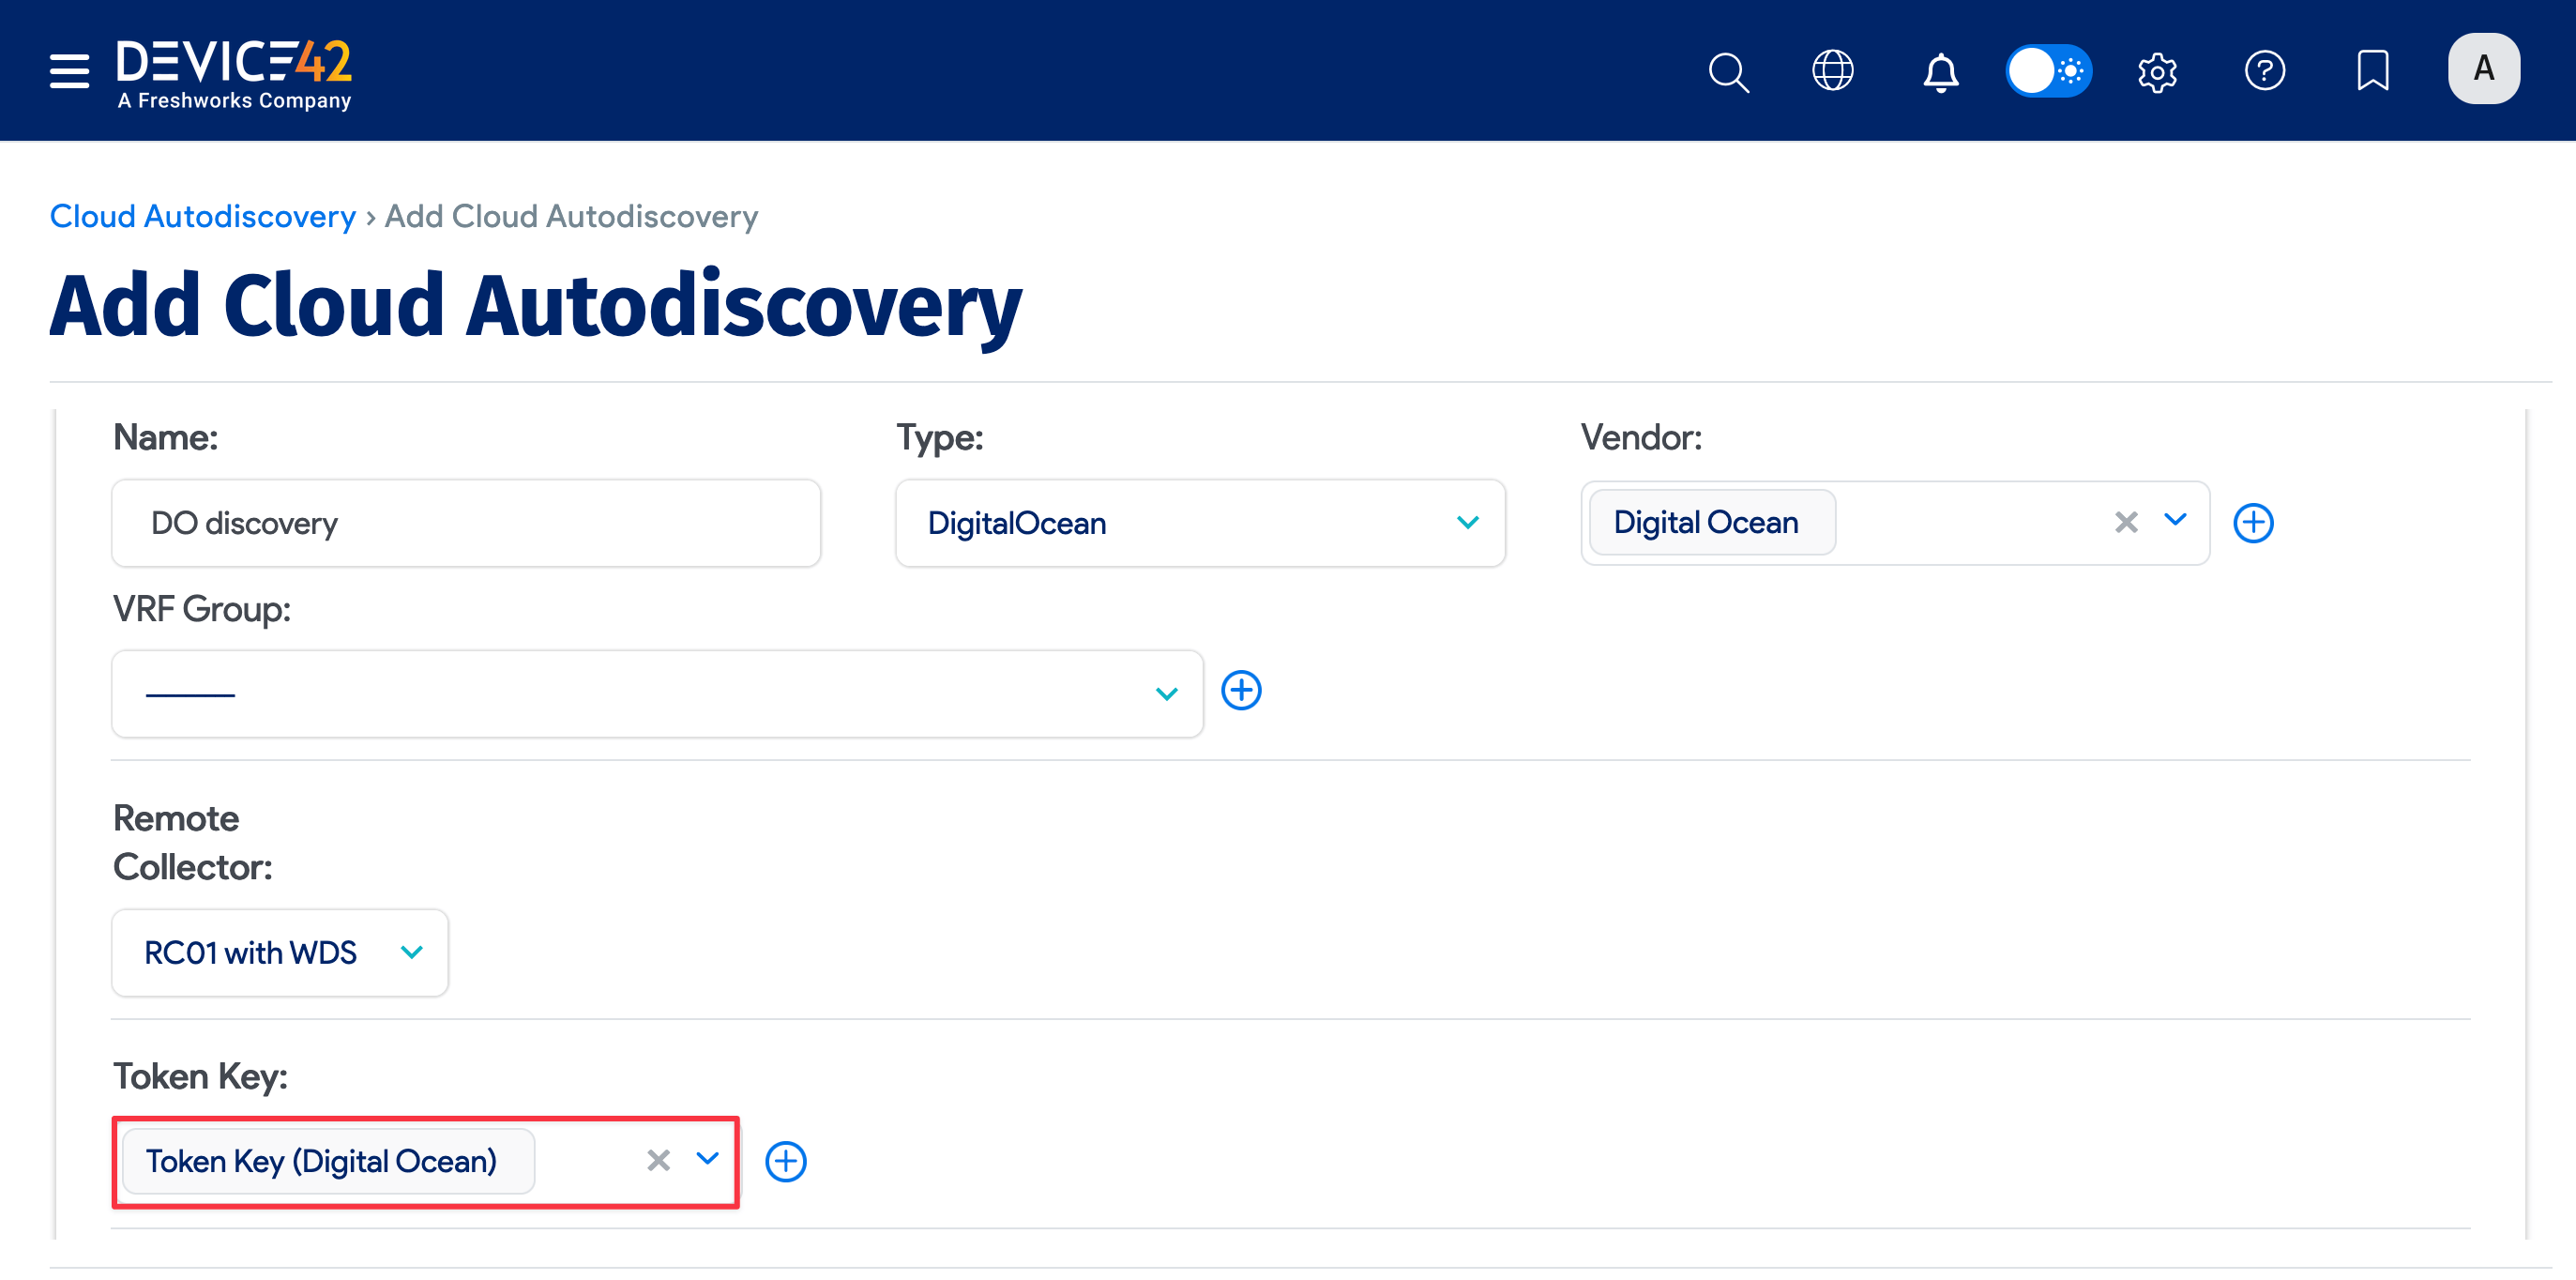
Name the job, select DigitalOcean from the Type dropdown menu, and enter a Token Key. Then select any other options you want for the discovery job.

Optionally, you can set the Service Level of the job to be applied to the discovered items. For example, Development, Deployment, or Production. You also have the option to create a regular schedule, determining when the job will run.
Click Save and then Run Now to run the job immediately. Or run the job using the Run Now button on the Cloud Autodiscovery list page.
Linode Discovery
Device42 discovers Linode instances as virtual devices.
| Cloud Service or Object Name | Where To Locate in Device42 | Accessed API | Information Generated |
|---|---|---|---|
| VMs | Devices > All Devices | https://api.linode.com/v4/linode/instances https://api.linode.com/v4/linode/instances/[linodeId]/disks https://api.linode.com/v4/linode/instances/[linodeId]/ips https://api.linode.com/?api_action=api.spec | Name, type, RAM, OS, HDD serial number and size, IP, and so on |
You will need your API key to access Linode:
-
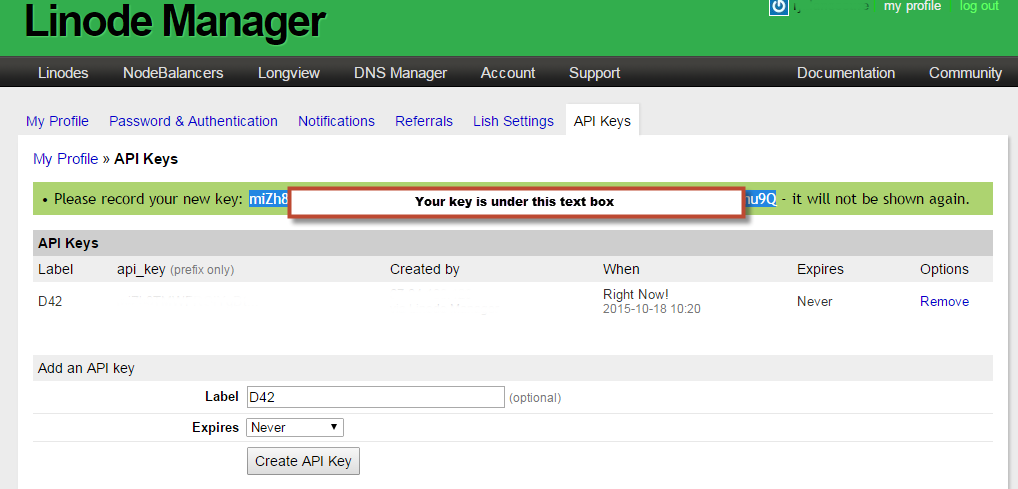
To create a Linode API Key, go to your Linode console.

-
Select My Profile and navigate to API Keys. From here, you can create the API key that Device42 needs to gain access to your Linode account.
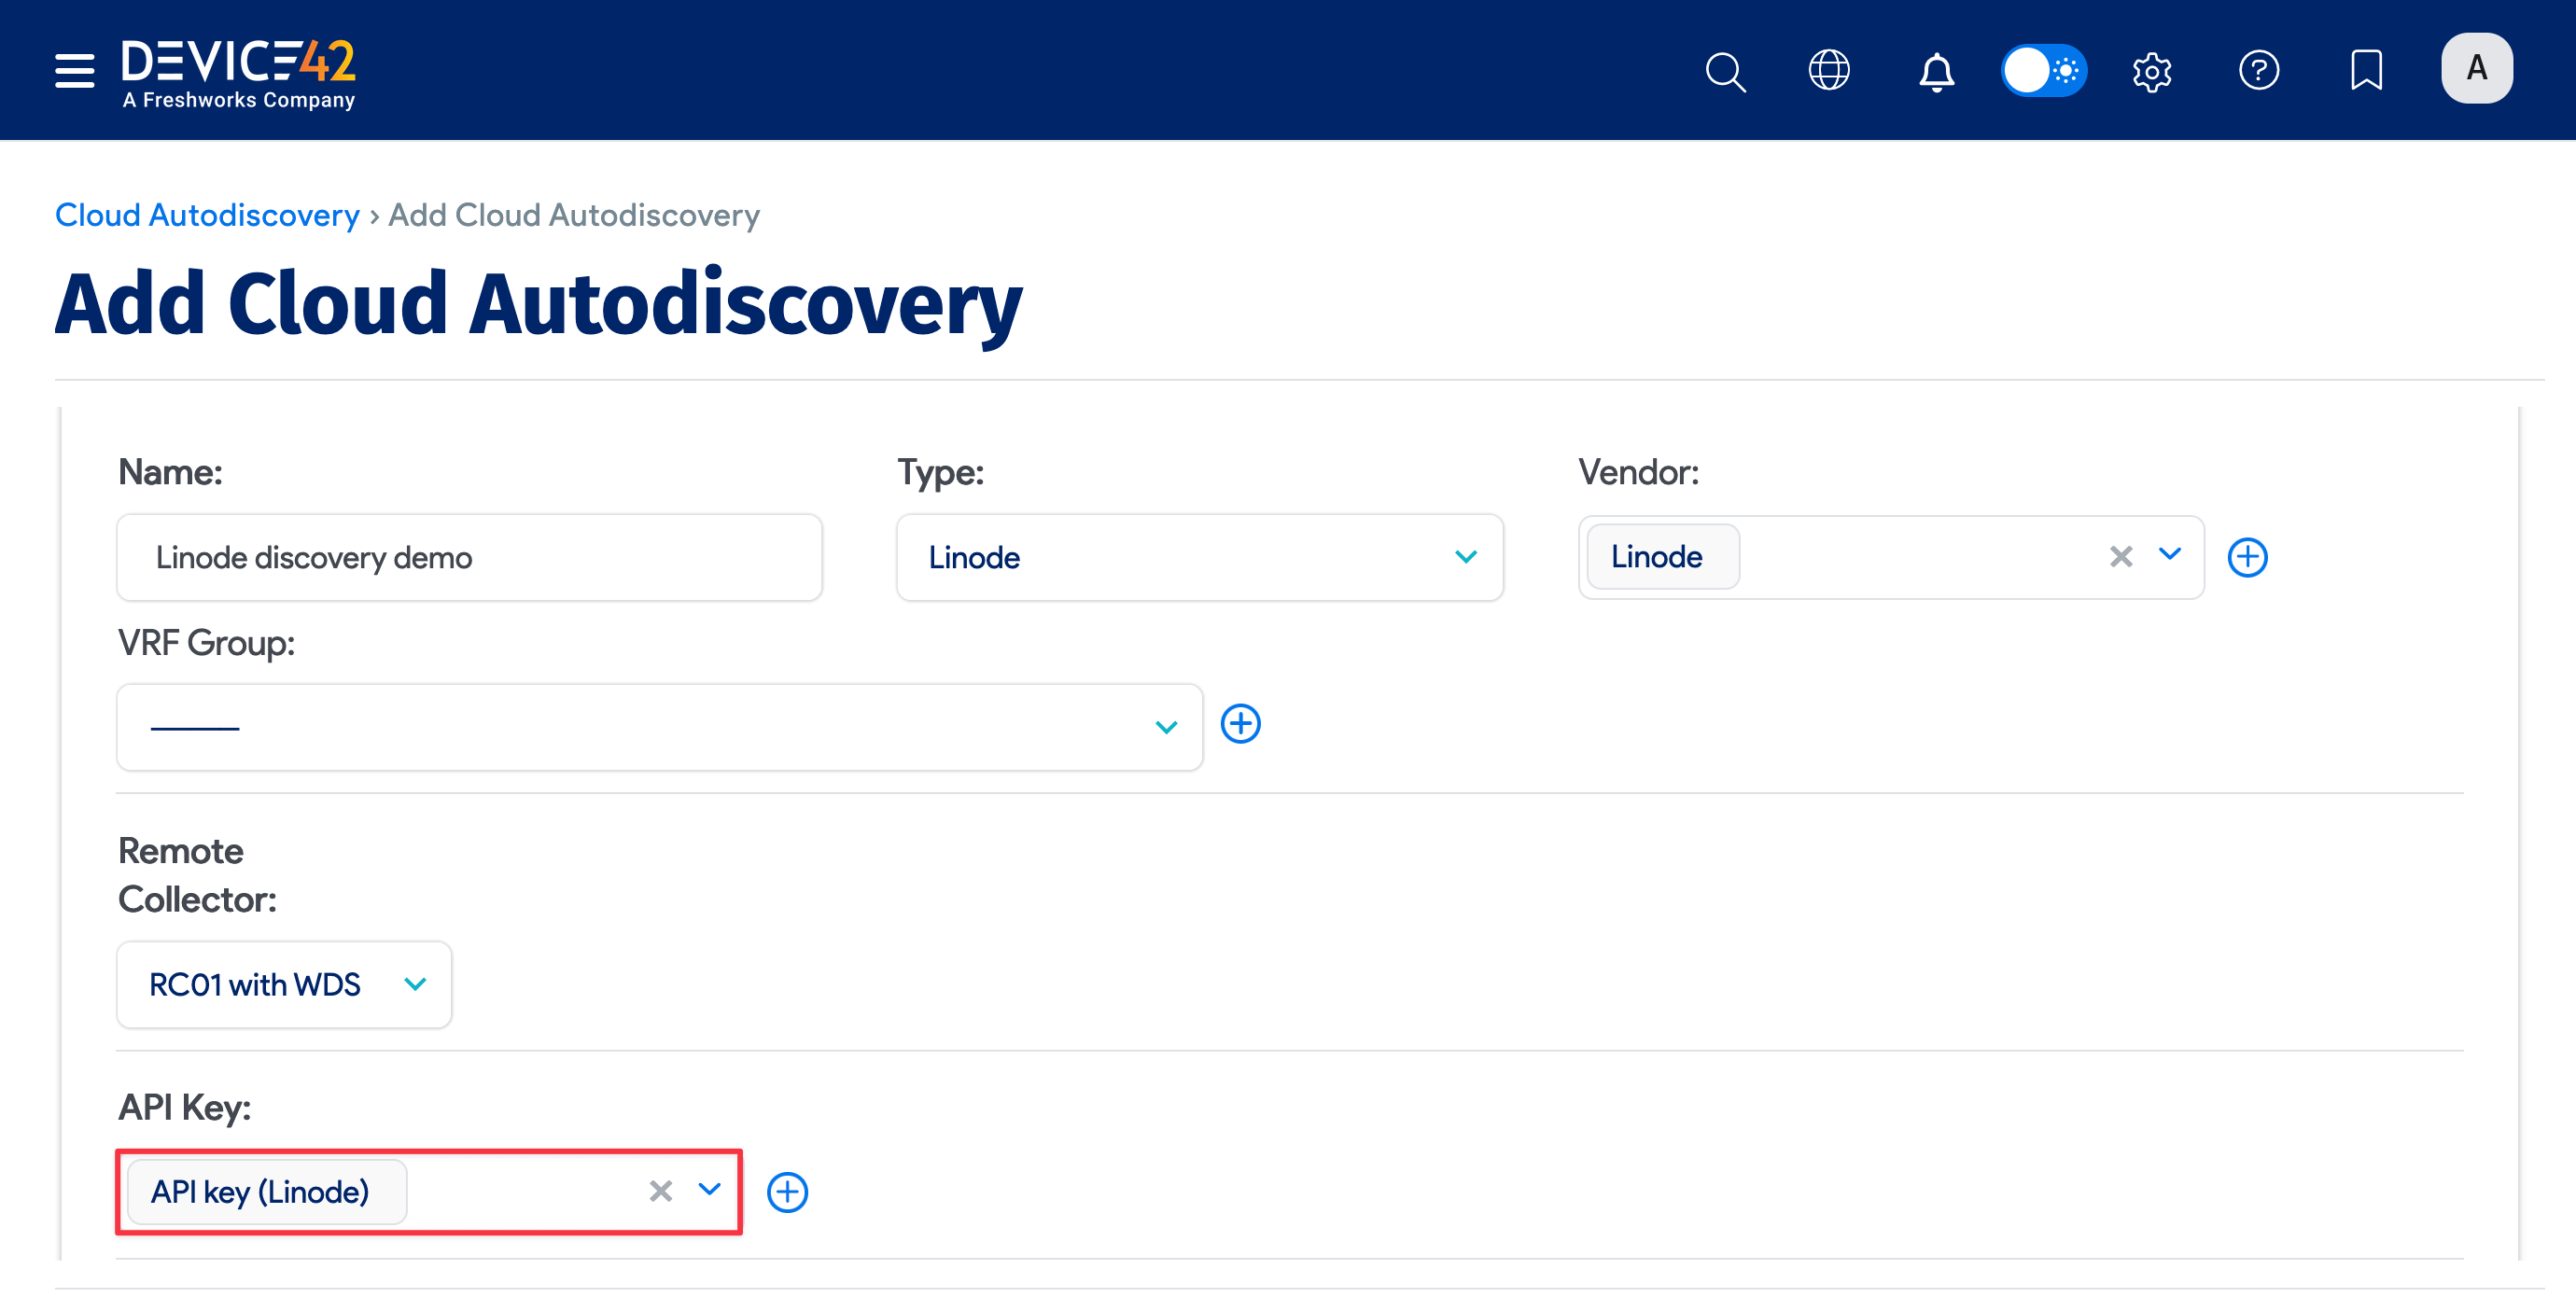
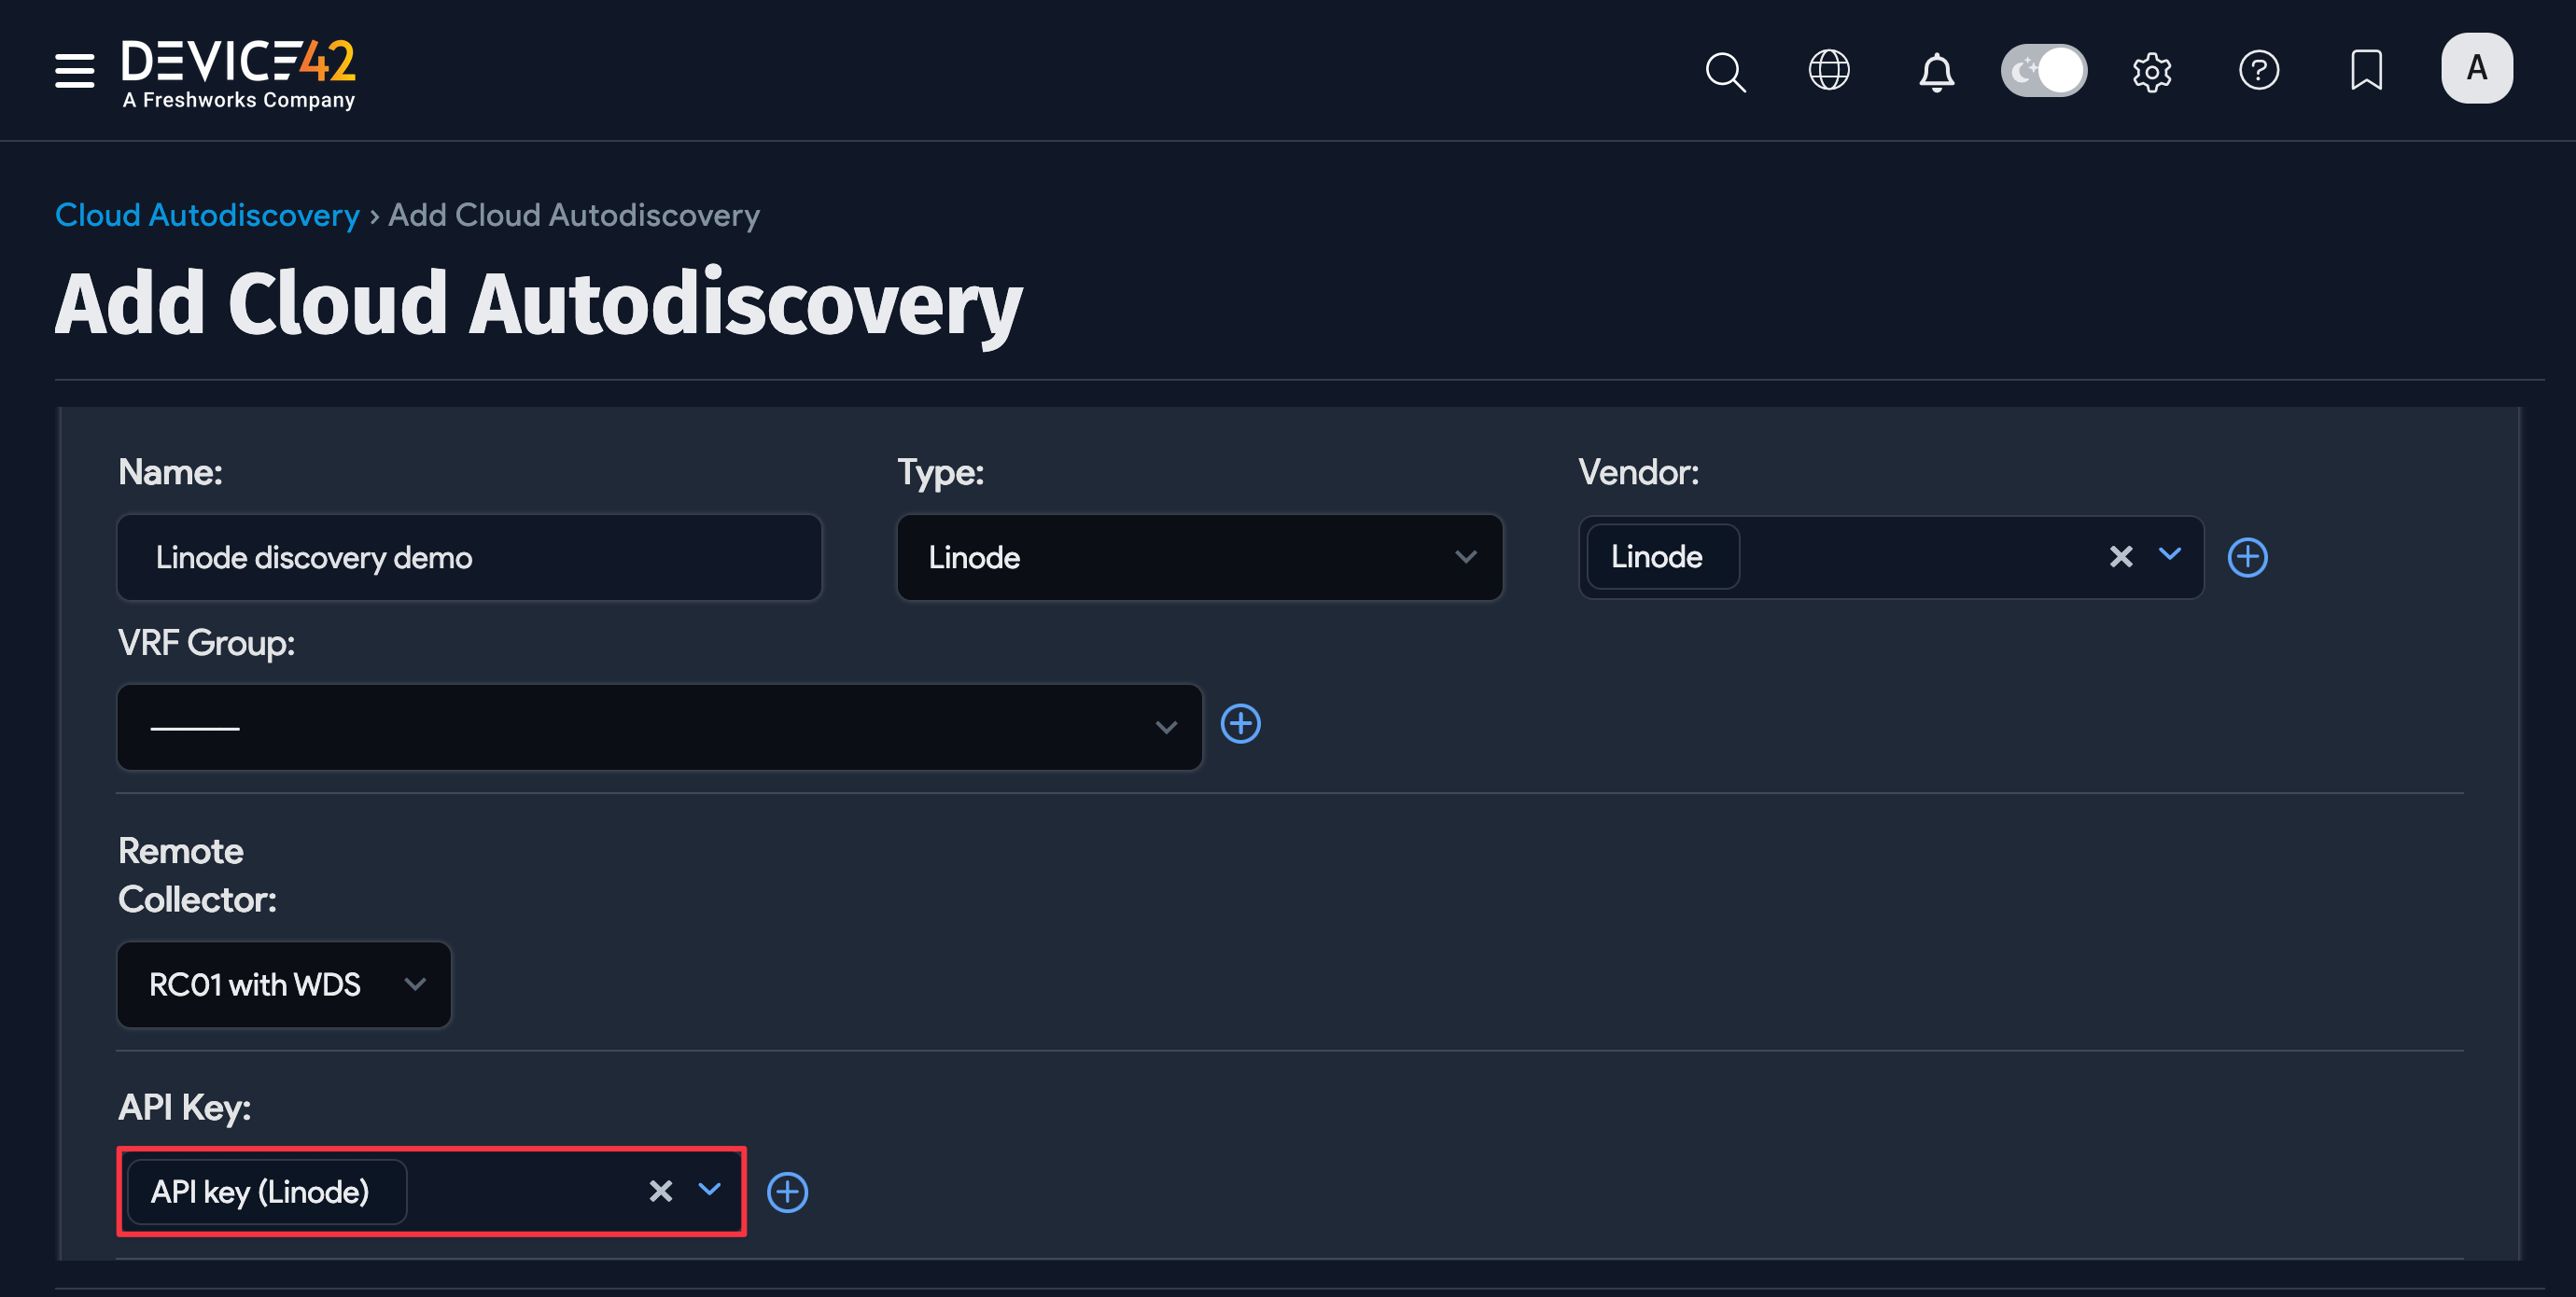
From Device42, click Create on the Cloud Autodiscovery list page and then select Linode from the Type dropdown menu. Enter your Linode API key by clicking the plus icon to create a new Device42 Secret.
Optionally, you can:
- Add a Vendor. Vendors can be user-defined or populated by the data Normalization and Enrichment Service as part of discovery.
- Choose a VRF Group. All IPs found will be placed in subnets in the chosen VRF group. This is useful if you have duplicate IPs in your internal network.
- Select which Action for Instance not found Device42 should take. If you select Delete Instance, then each time this discovery job runs, any devices previously created for this account that are not found by the latest discovery job will be deleted. This ensures that Device42 remains in sync with Linode. Otherwise, you could have Device42 cloud instances that no longer exist in Linode.
- Set the Service Level of the job to be applied to the discovered items. For example, Development, Deployment, or Production.
- Create a regular schedule to determine when the job will run.
Click Save and Run Now to run the job immediately. You can also run the job manually at any time by clicking the Run Now button on the Cloud Autodiscovery list page.
OpenStack Discovery
OpenStack Discovery Items
| Cloud Service or Object Name | Where To Locate in Device42 | Accessed API | Information Generated |
|---|---|---|---|
| Hosts | Devices > Unknown Devices | v2: /v2.0/tokens, /v2.0/tenants, /v2.1/<tenant_id>/os-hypervisors/detail, /v2.1/<tenant_id>/flavors/detail, /v2.1/<tenant_id>/servers/detail, v3: /v3/auth/tokens, /v3/projects | Name, memory, CPU count, IP, MAC, and so on |
| VMs | Devices > All Devices | Same as above | Type, name, RAM, UUID, IP, MAC, and so on |
Minimum Permission Requirements for OpenStack Discovery
The user or user group should be attached to the project and have the following permissions described in policy.json:
"os_compute_api:os-hypervisors""os_compute_api:os-extended-server-attributes"
Get Details for OpenStack Discovery
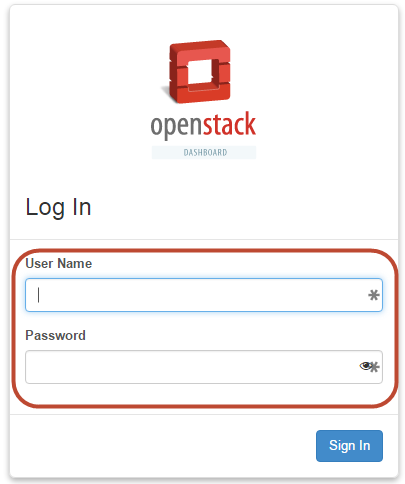
Device42 needs your OpenStack User Name (username@UserDomainID:ProjectDomainName), Password, and Project Name.
-
Log in to OpenStack and take note of your User Name and Password.
-
When you log in to OpenStack, the Overview screen displays a list of projects.
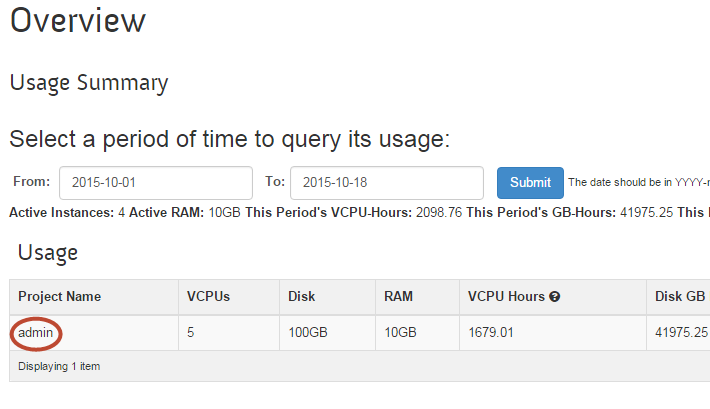
-
Enter the name of the project you want to access in the Device42 Project Name field.
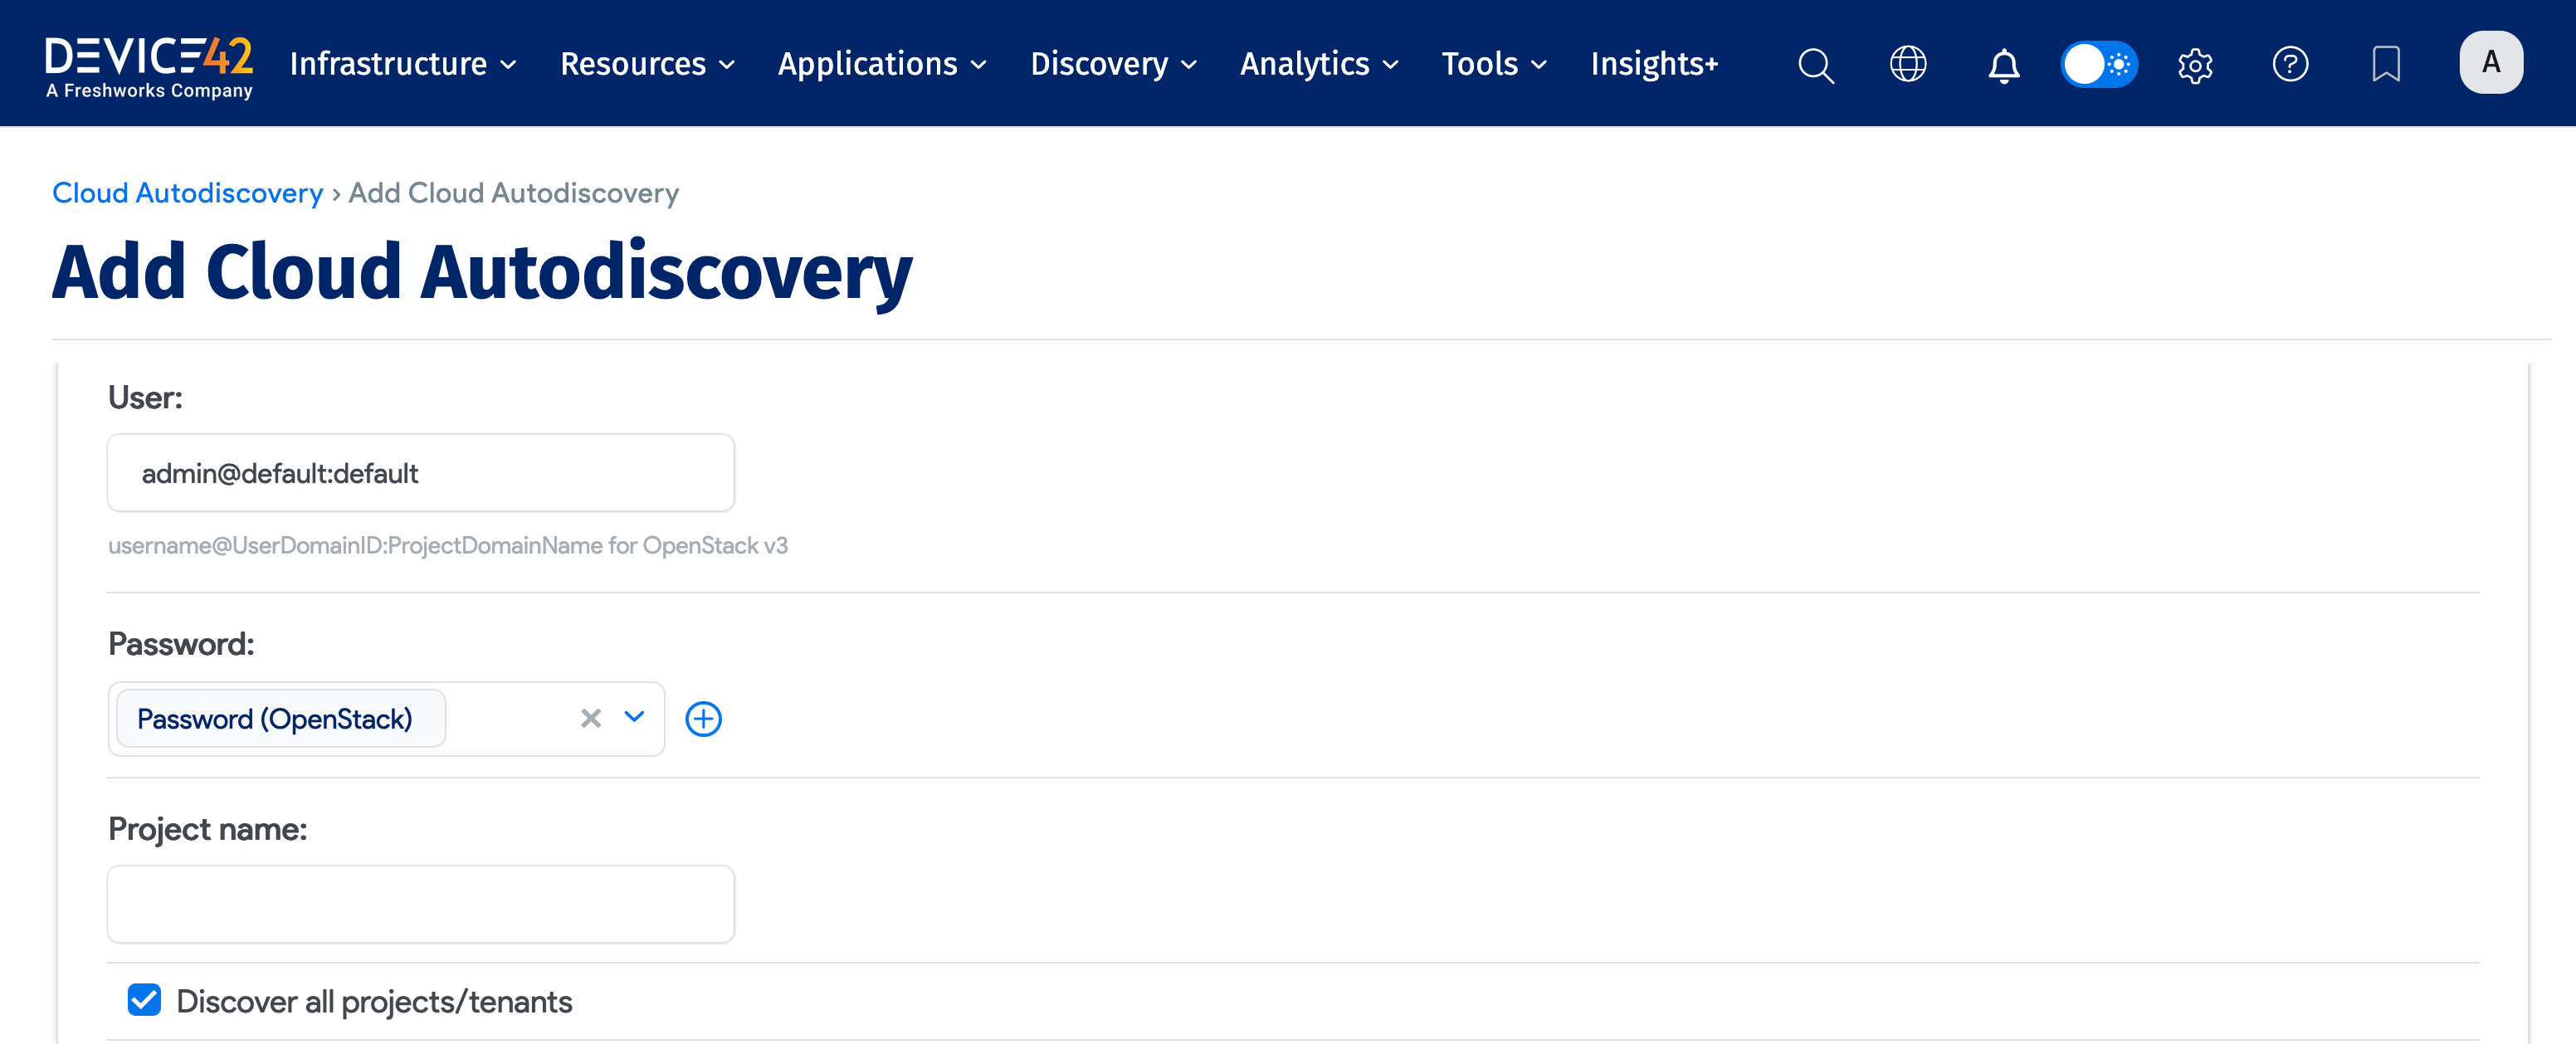
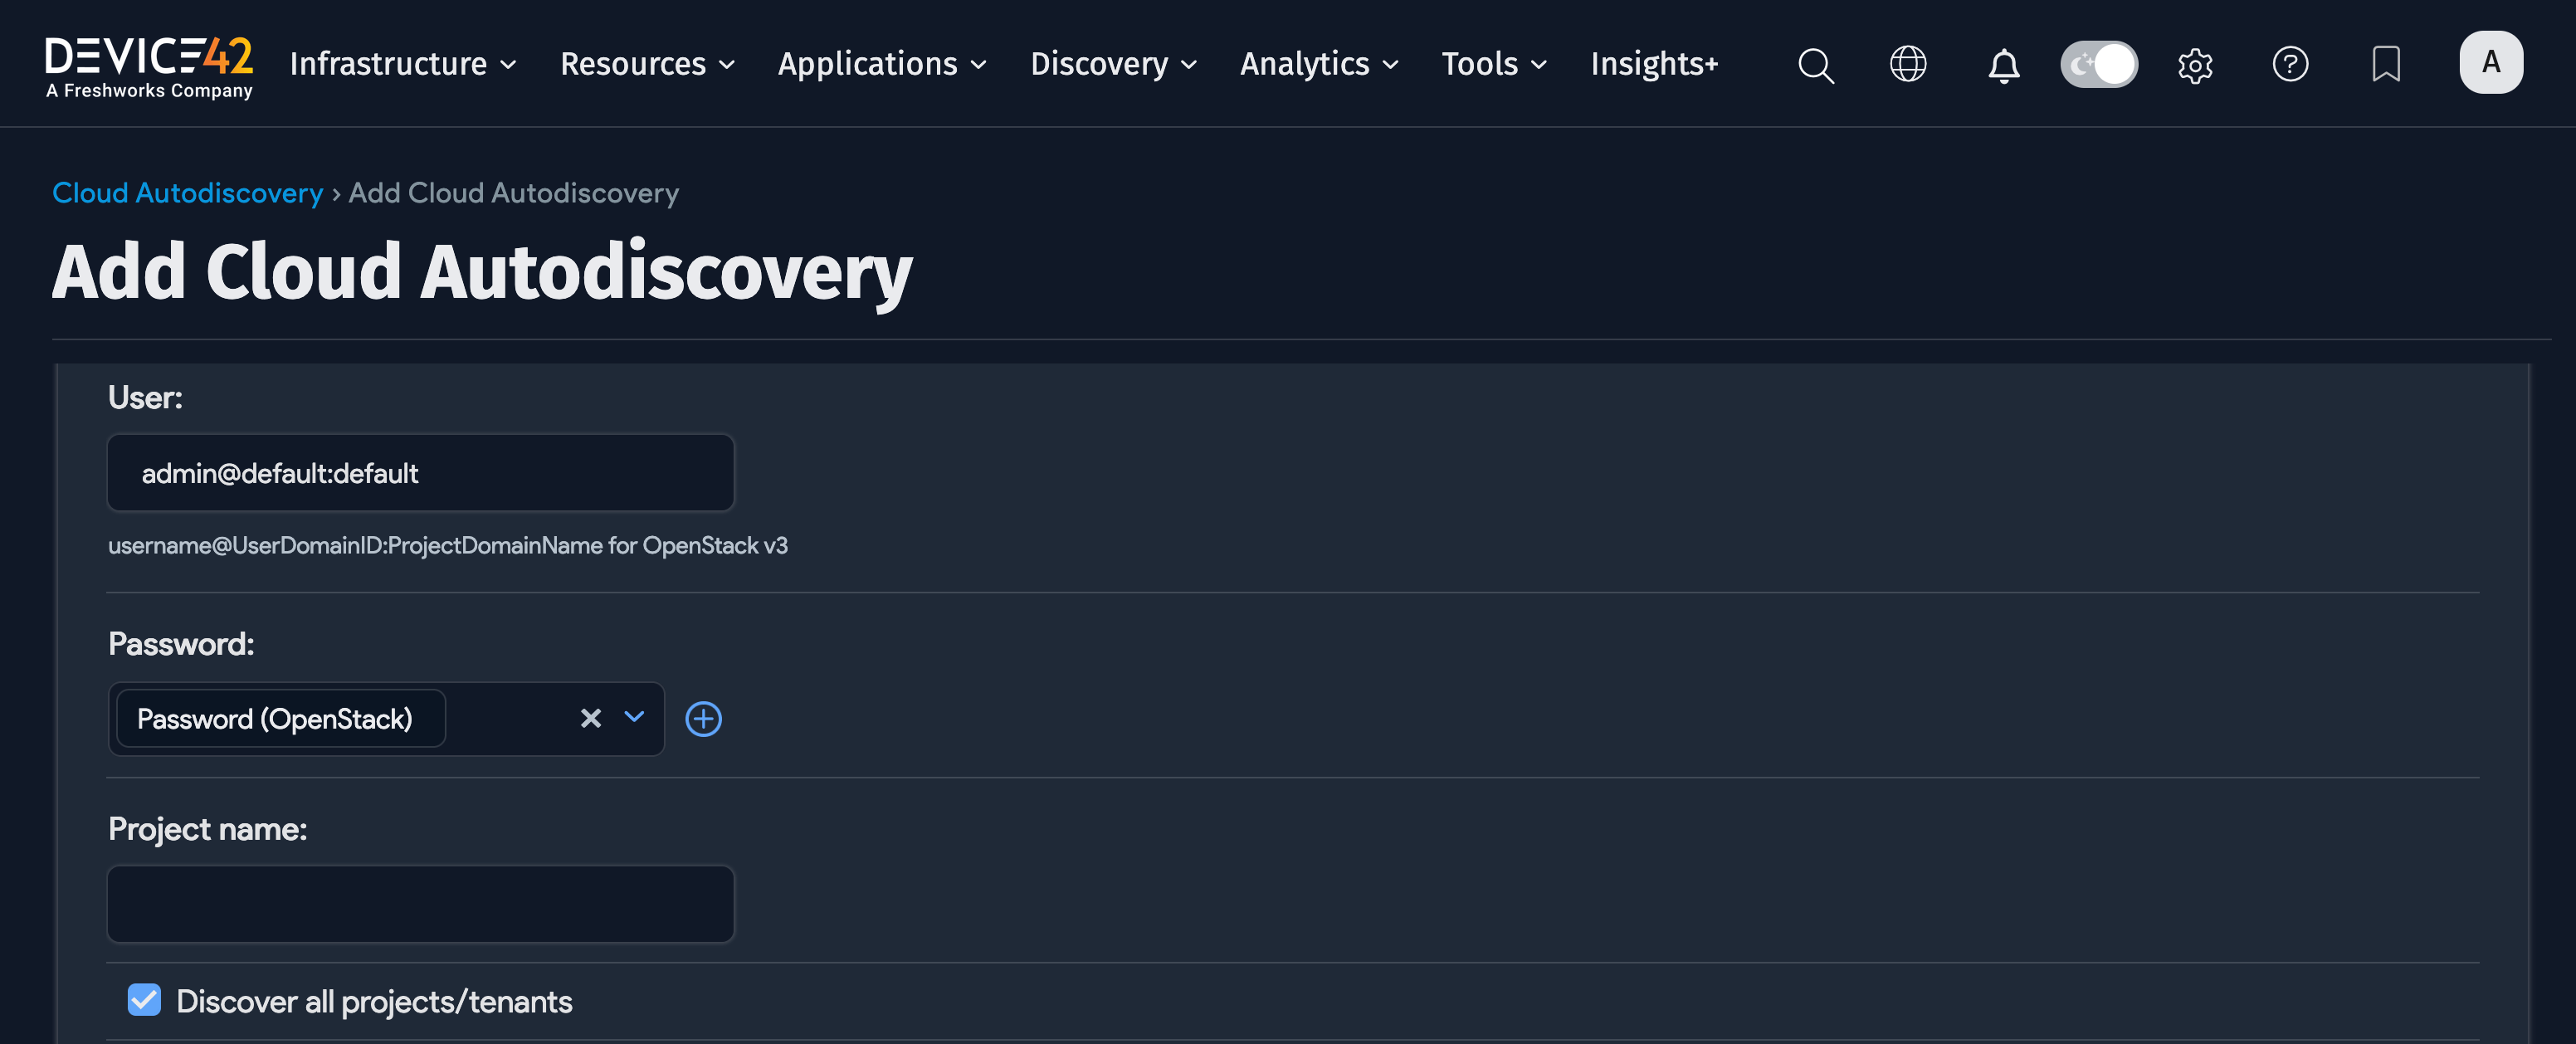
Create an OpenStack Discovery Job
Select OpenStack from the Type dropdown menu, and fill in the User name, Password, and Project name fields.
If you disable Discover all projects/tenants, then the Project Name is required. When Discover all projects/tenants is enabled, Device42 will discover resources across all available projects, making the specific project name unnecessary.
Optionally, you can:
- Add a Vendor. Vendors can be user-defined or populated by the data Normalization and Enrichment Service as part of discovery.
- Choose a VRF Group. All IPs found will be placed in subnets in the chosen VRF group. This is useful if you have duplicate IPs in your internal network.
- Select which Action for Instance not found Device42 should take. If you select Delete Instance, then each time this discovery job is run, any devices previously created for this account that aren't found by the latest discovery job will be deleted. This ensures that Device42 remains in sync with OpenStack. Otherwise, you could have Device42 cloud instances that no longer exist in OpenStack.
- Set the Service Level of the job to be applied to the discovered items. For example, Development, Deployment, or Production.
- Create a regular schedule to determine when the job will run.
Click Save and Run Now to run the job immediately. You can also run the job manually at any time by clicking the Run Now button on the Cloud Autodiscovery list page.
Oracle Cloud Discovery
Device42 discovers Oracle Cloud VMs and subnets.
| Cloud Service or Object Name | Where To Locate in Device42 | Accessed API | Information Generated |
|---|---|---|---|
| VMs | Devices > All Devices | https://iaas.<<zone>>.oraclecloud.com, https://identity.<<zone>>.oraclecloud.com | Service name, instance ID, status, location, and so on |
| Subnets | Network > Subnets | https://iaas.<<zone>>.oraclecloud.com, https://identity.<<zone>>.oraclecloud.com | Network, mask, name |
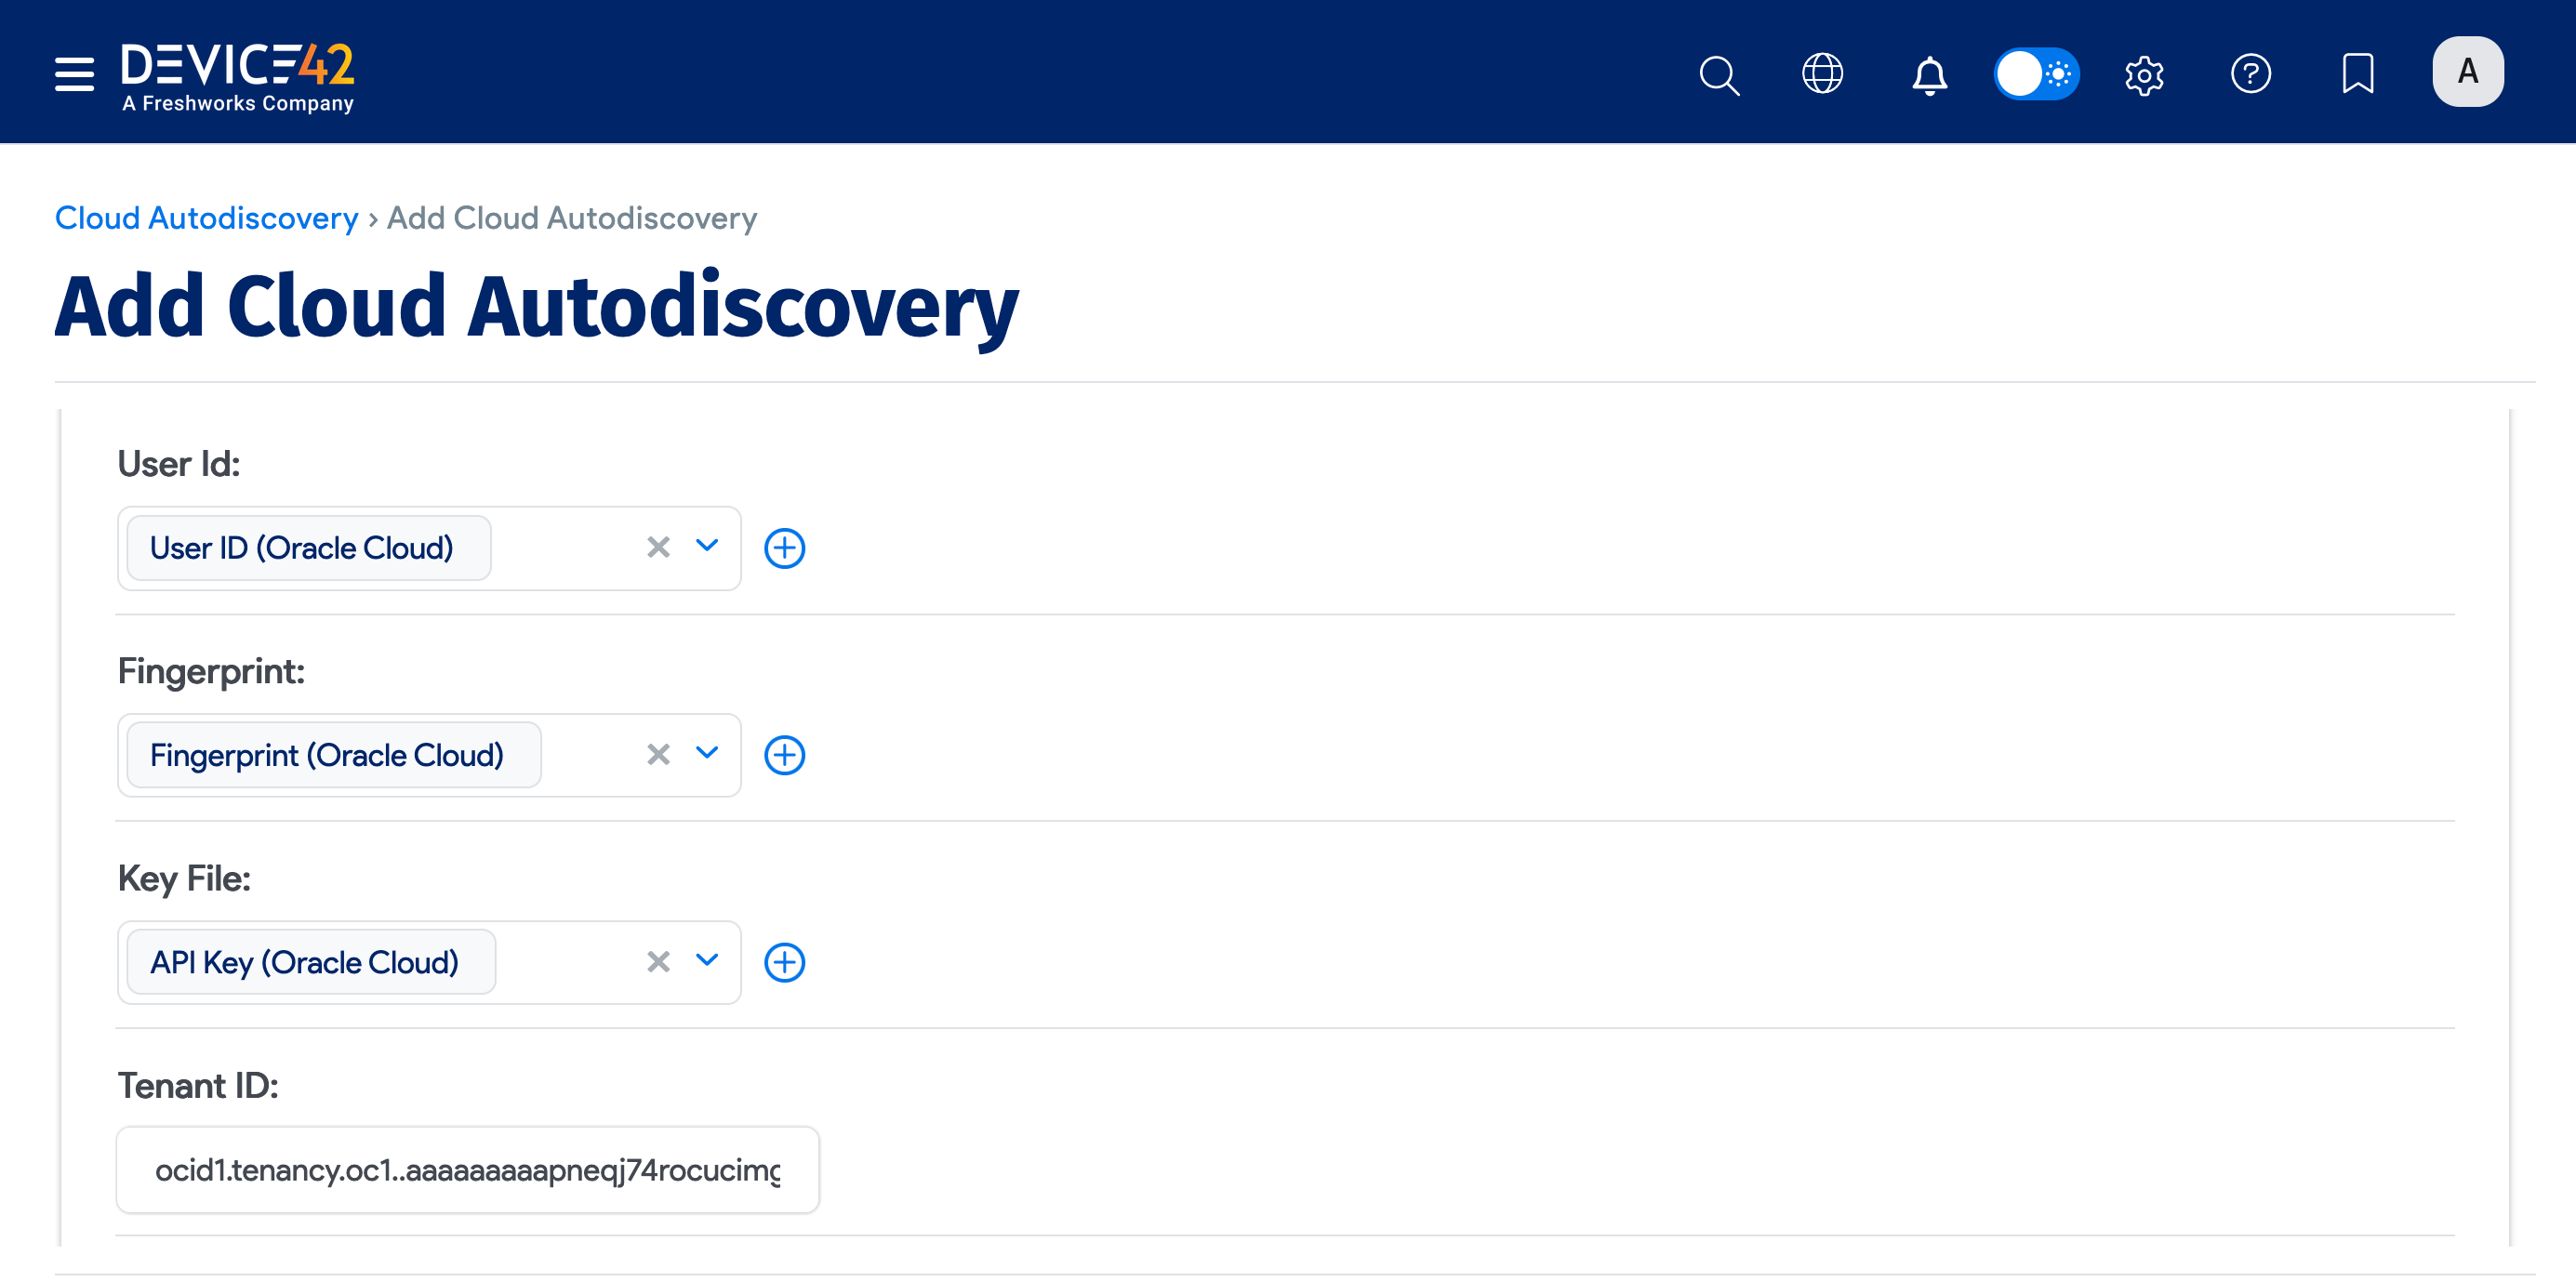
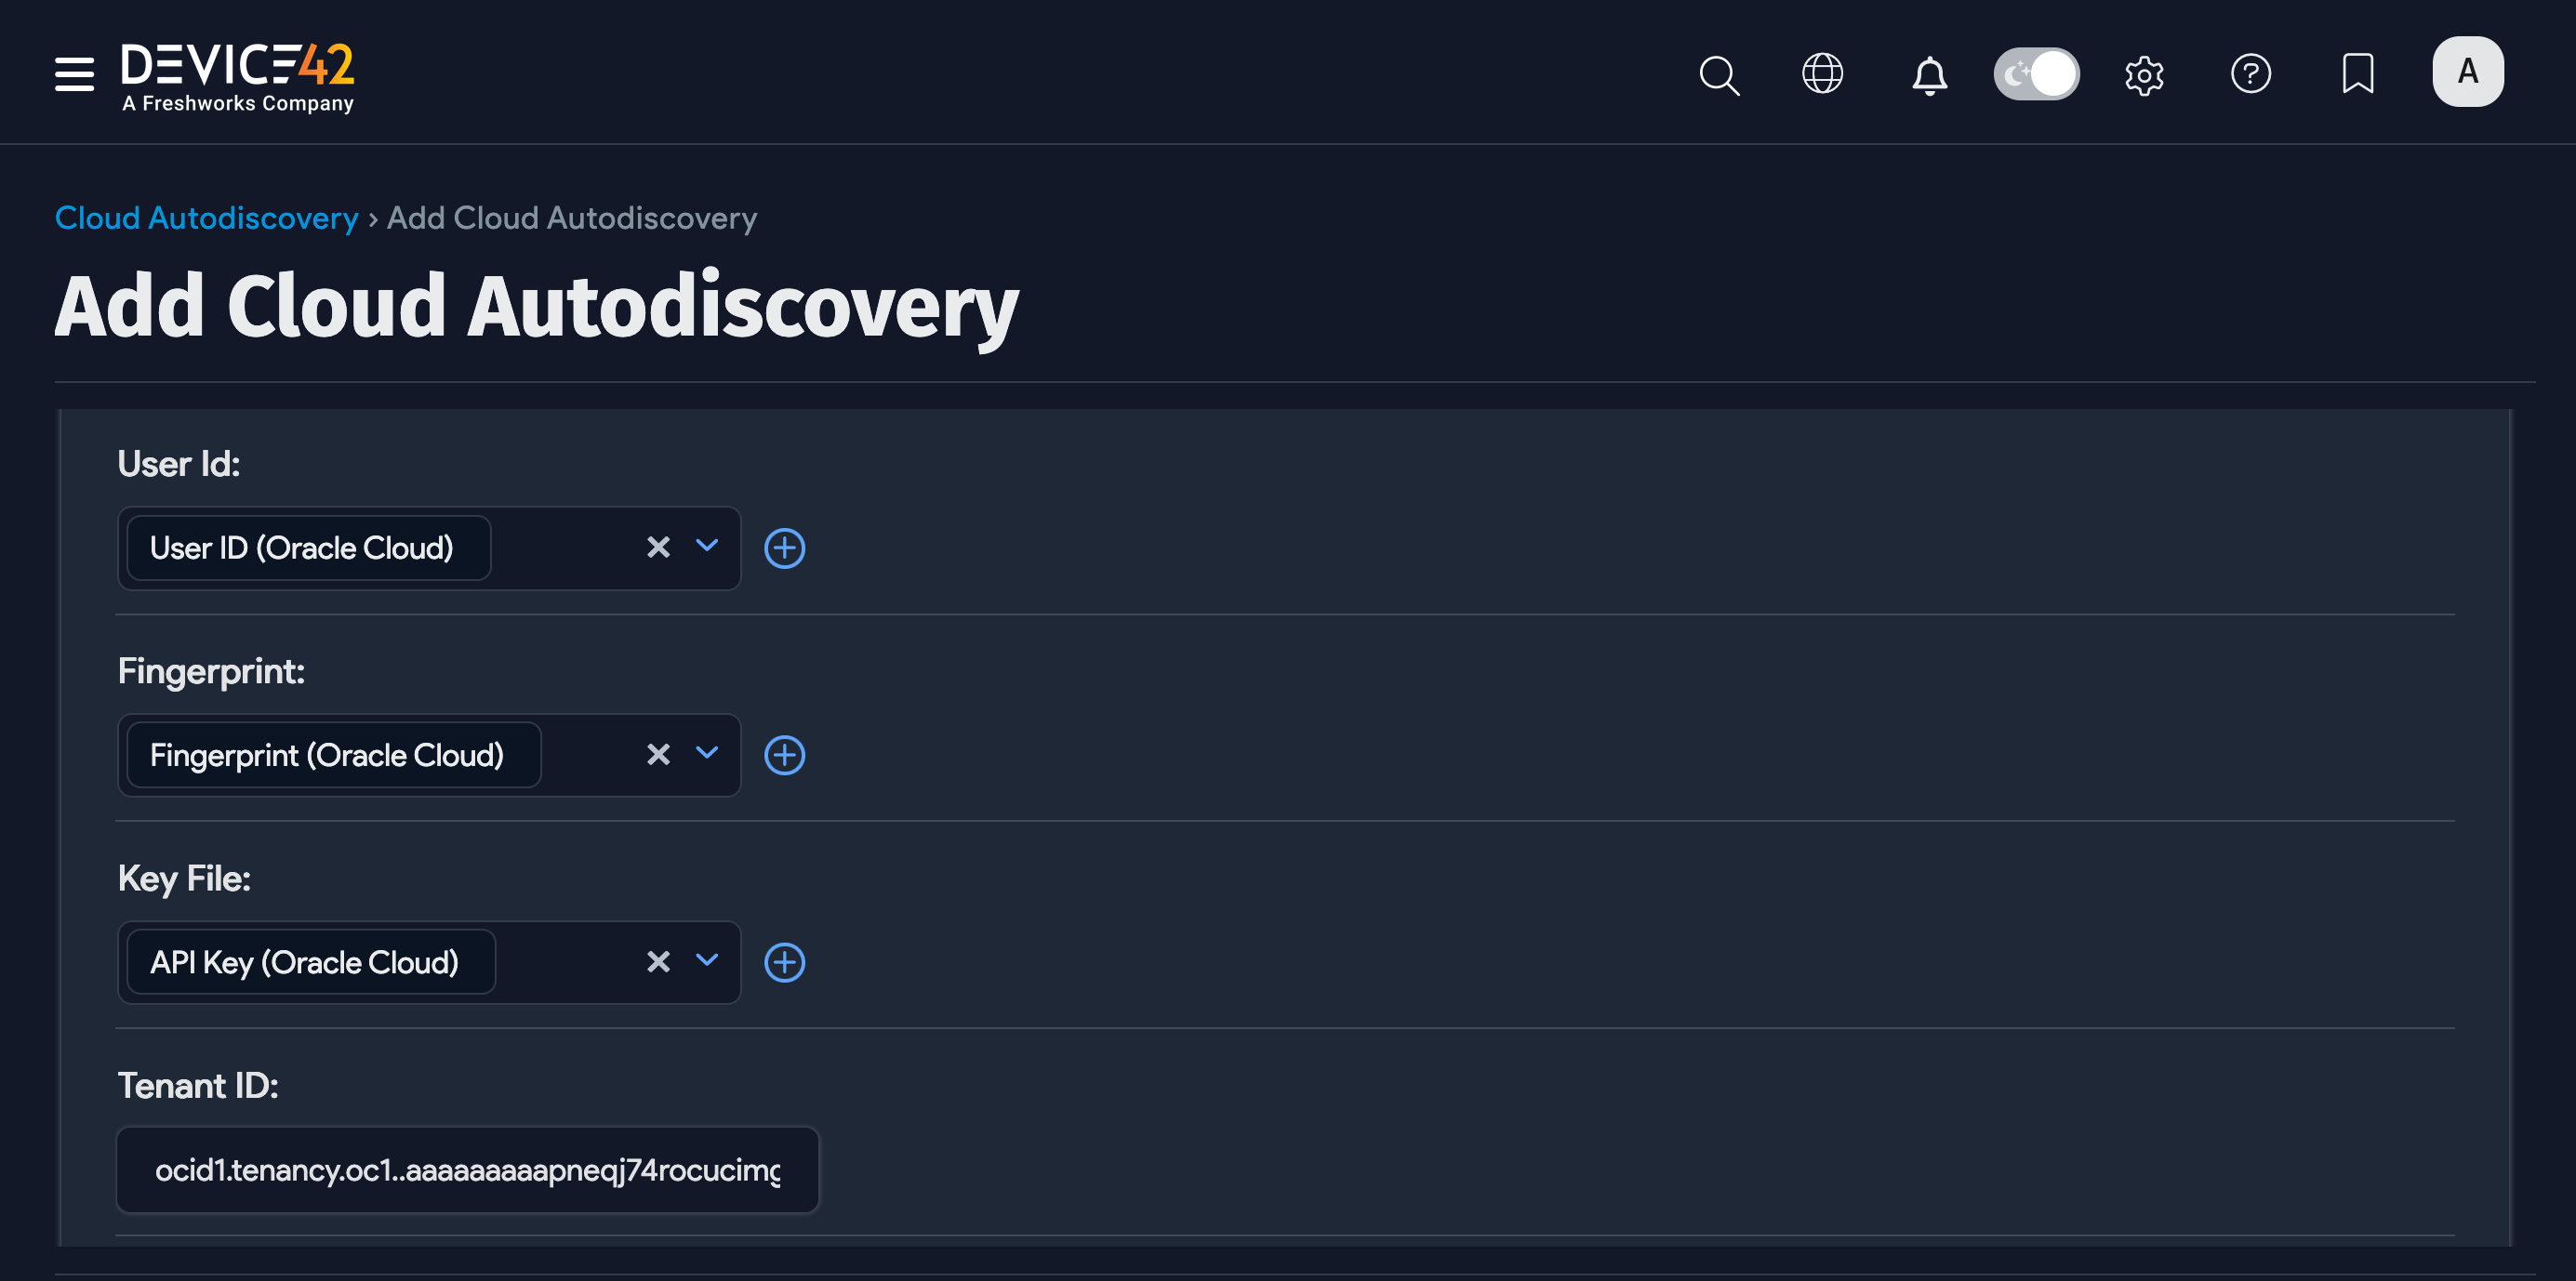
Name the discovery job and select Oracle Cloud from the Type dropdown menu. Enter details for the following fields:
- User Id
- Fingerprint (if applicable)
- Key File
- Tenant ID
- Zones
Optionally, you can:
- Add a Vendor. Vendors can be user-defined or populated by the data Normalization and Enrichment Service as part of discovery.
- Choose a VRF Group. All IPs found will be placed in subnets in the chosen VRF group. This is useful if you have duplicate IPs in your internal network.
- Select a Remote Collector.
- Set the Service Level of the job to be applied to the discovered items. For example, Development, Deployment, or Production.
- Create a regular schedule to determine when the job will run.
Scroll down the page to see some of the additional options.
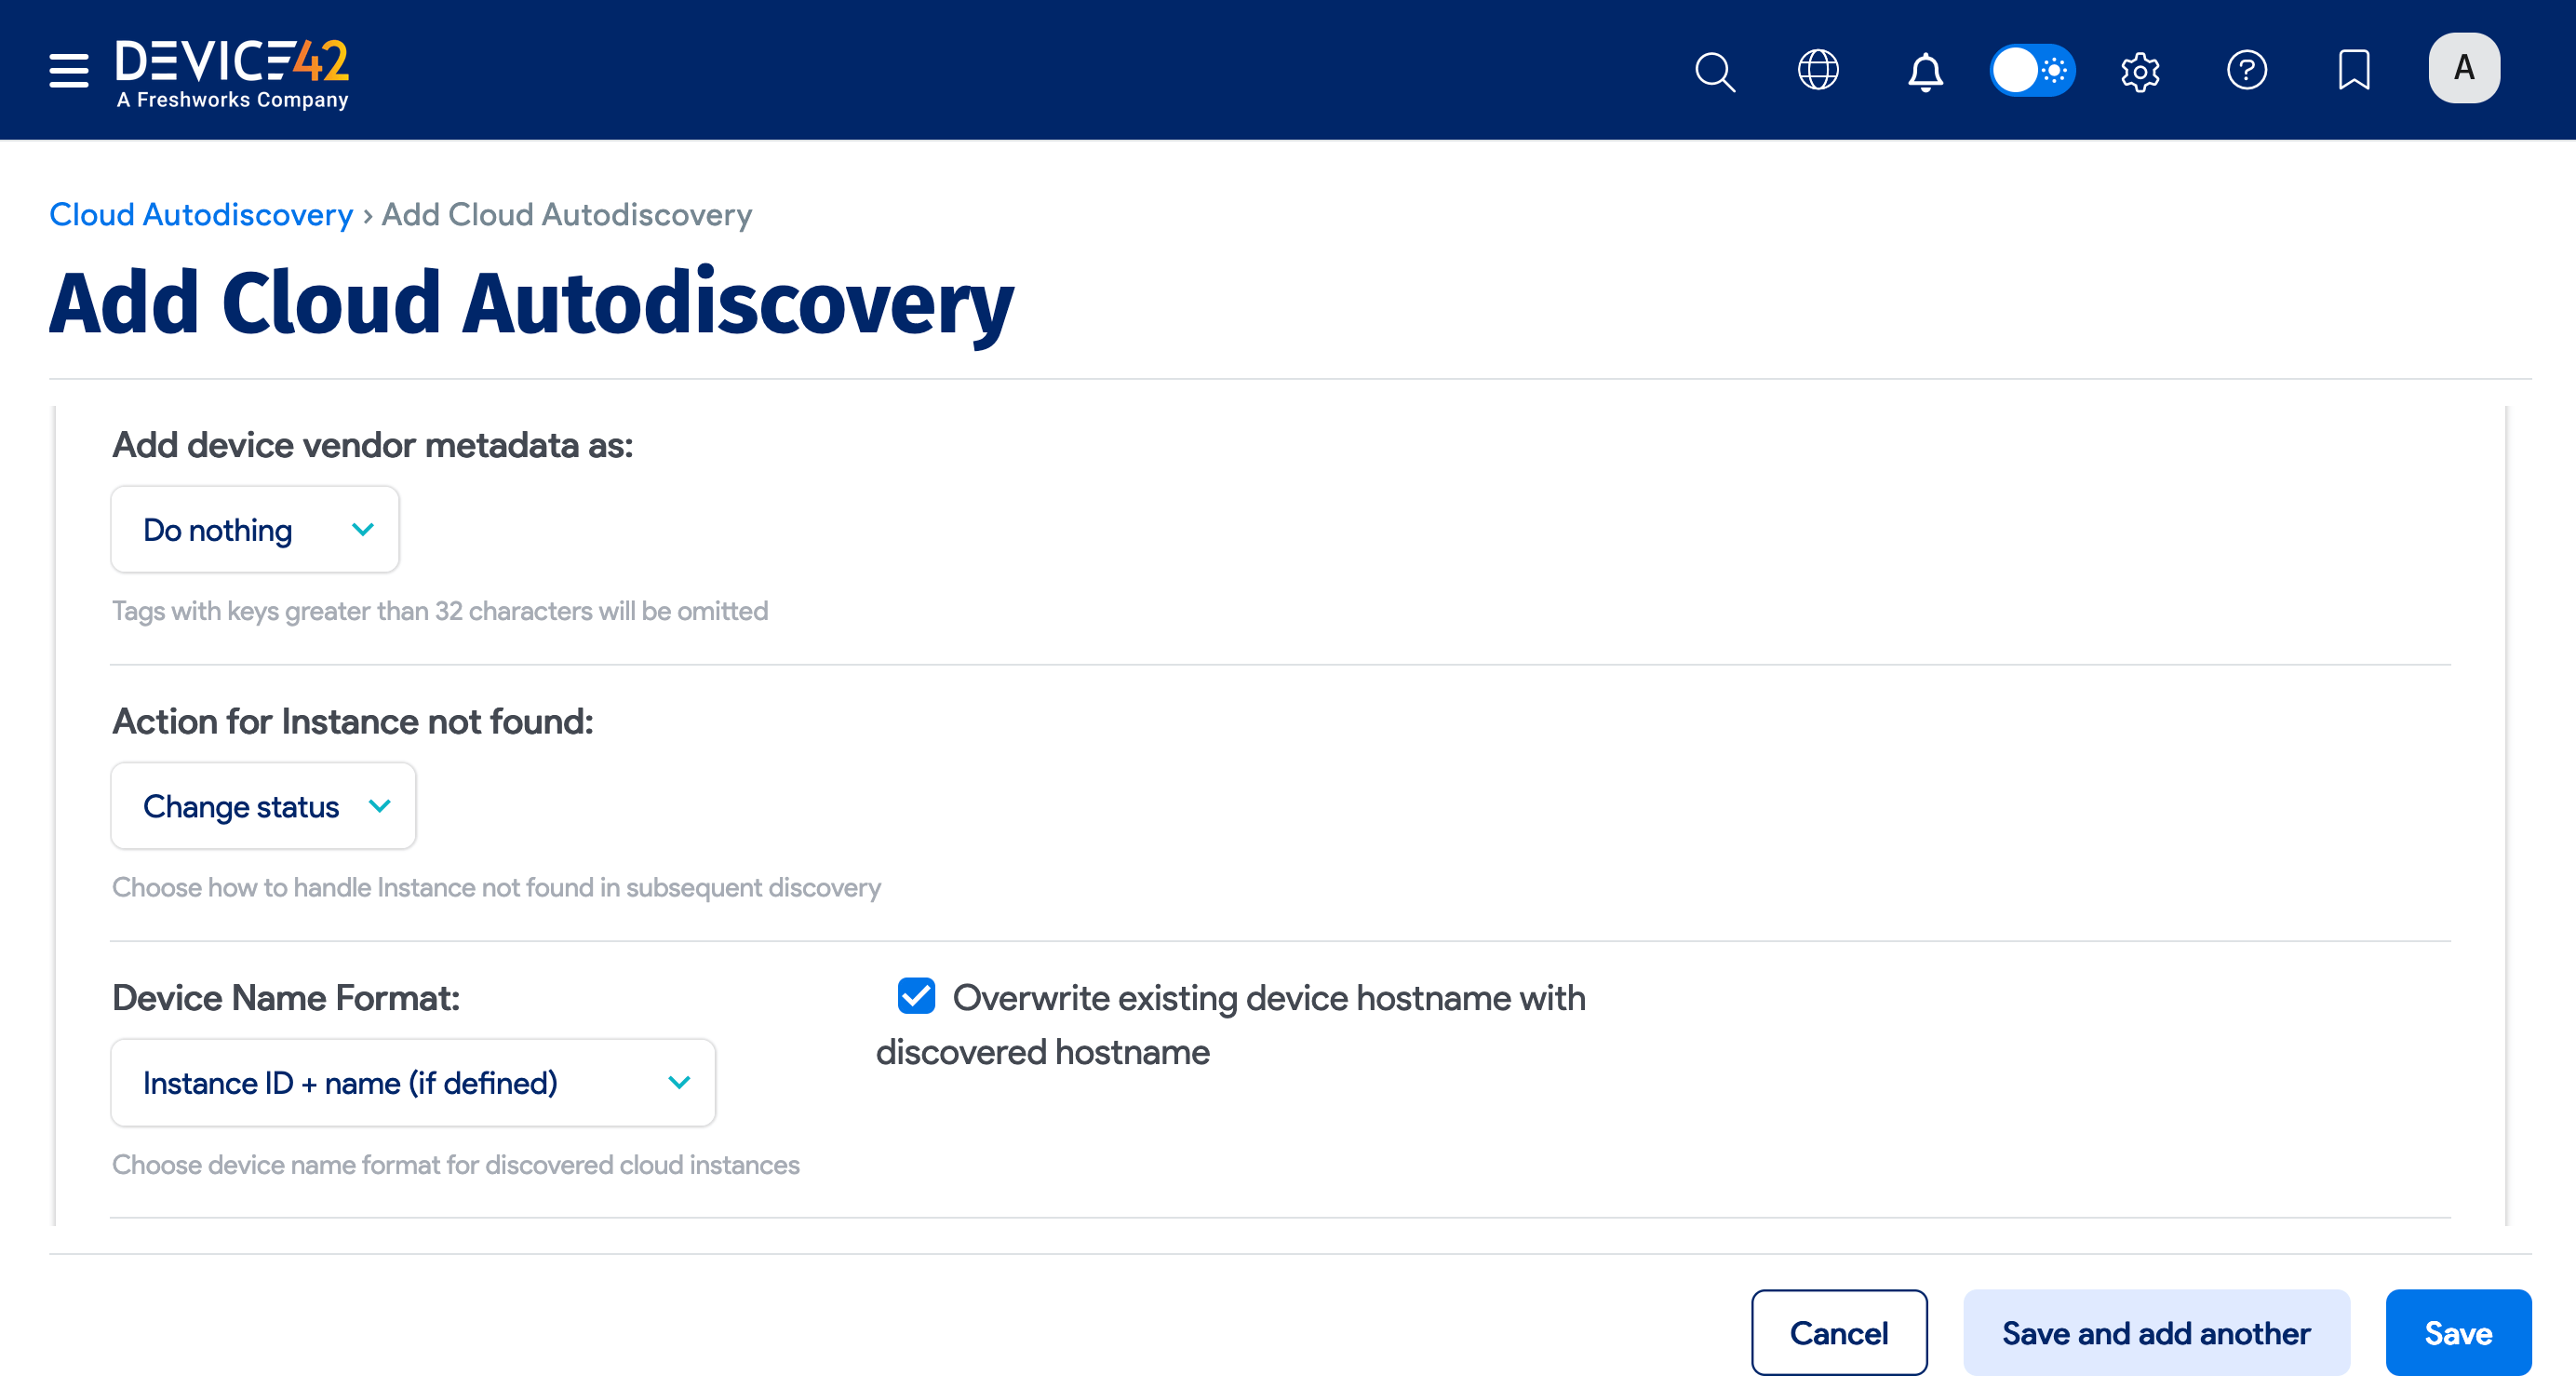
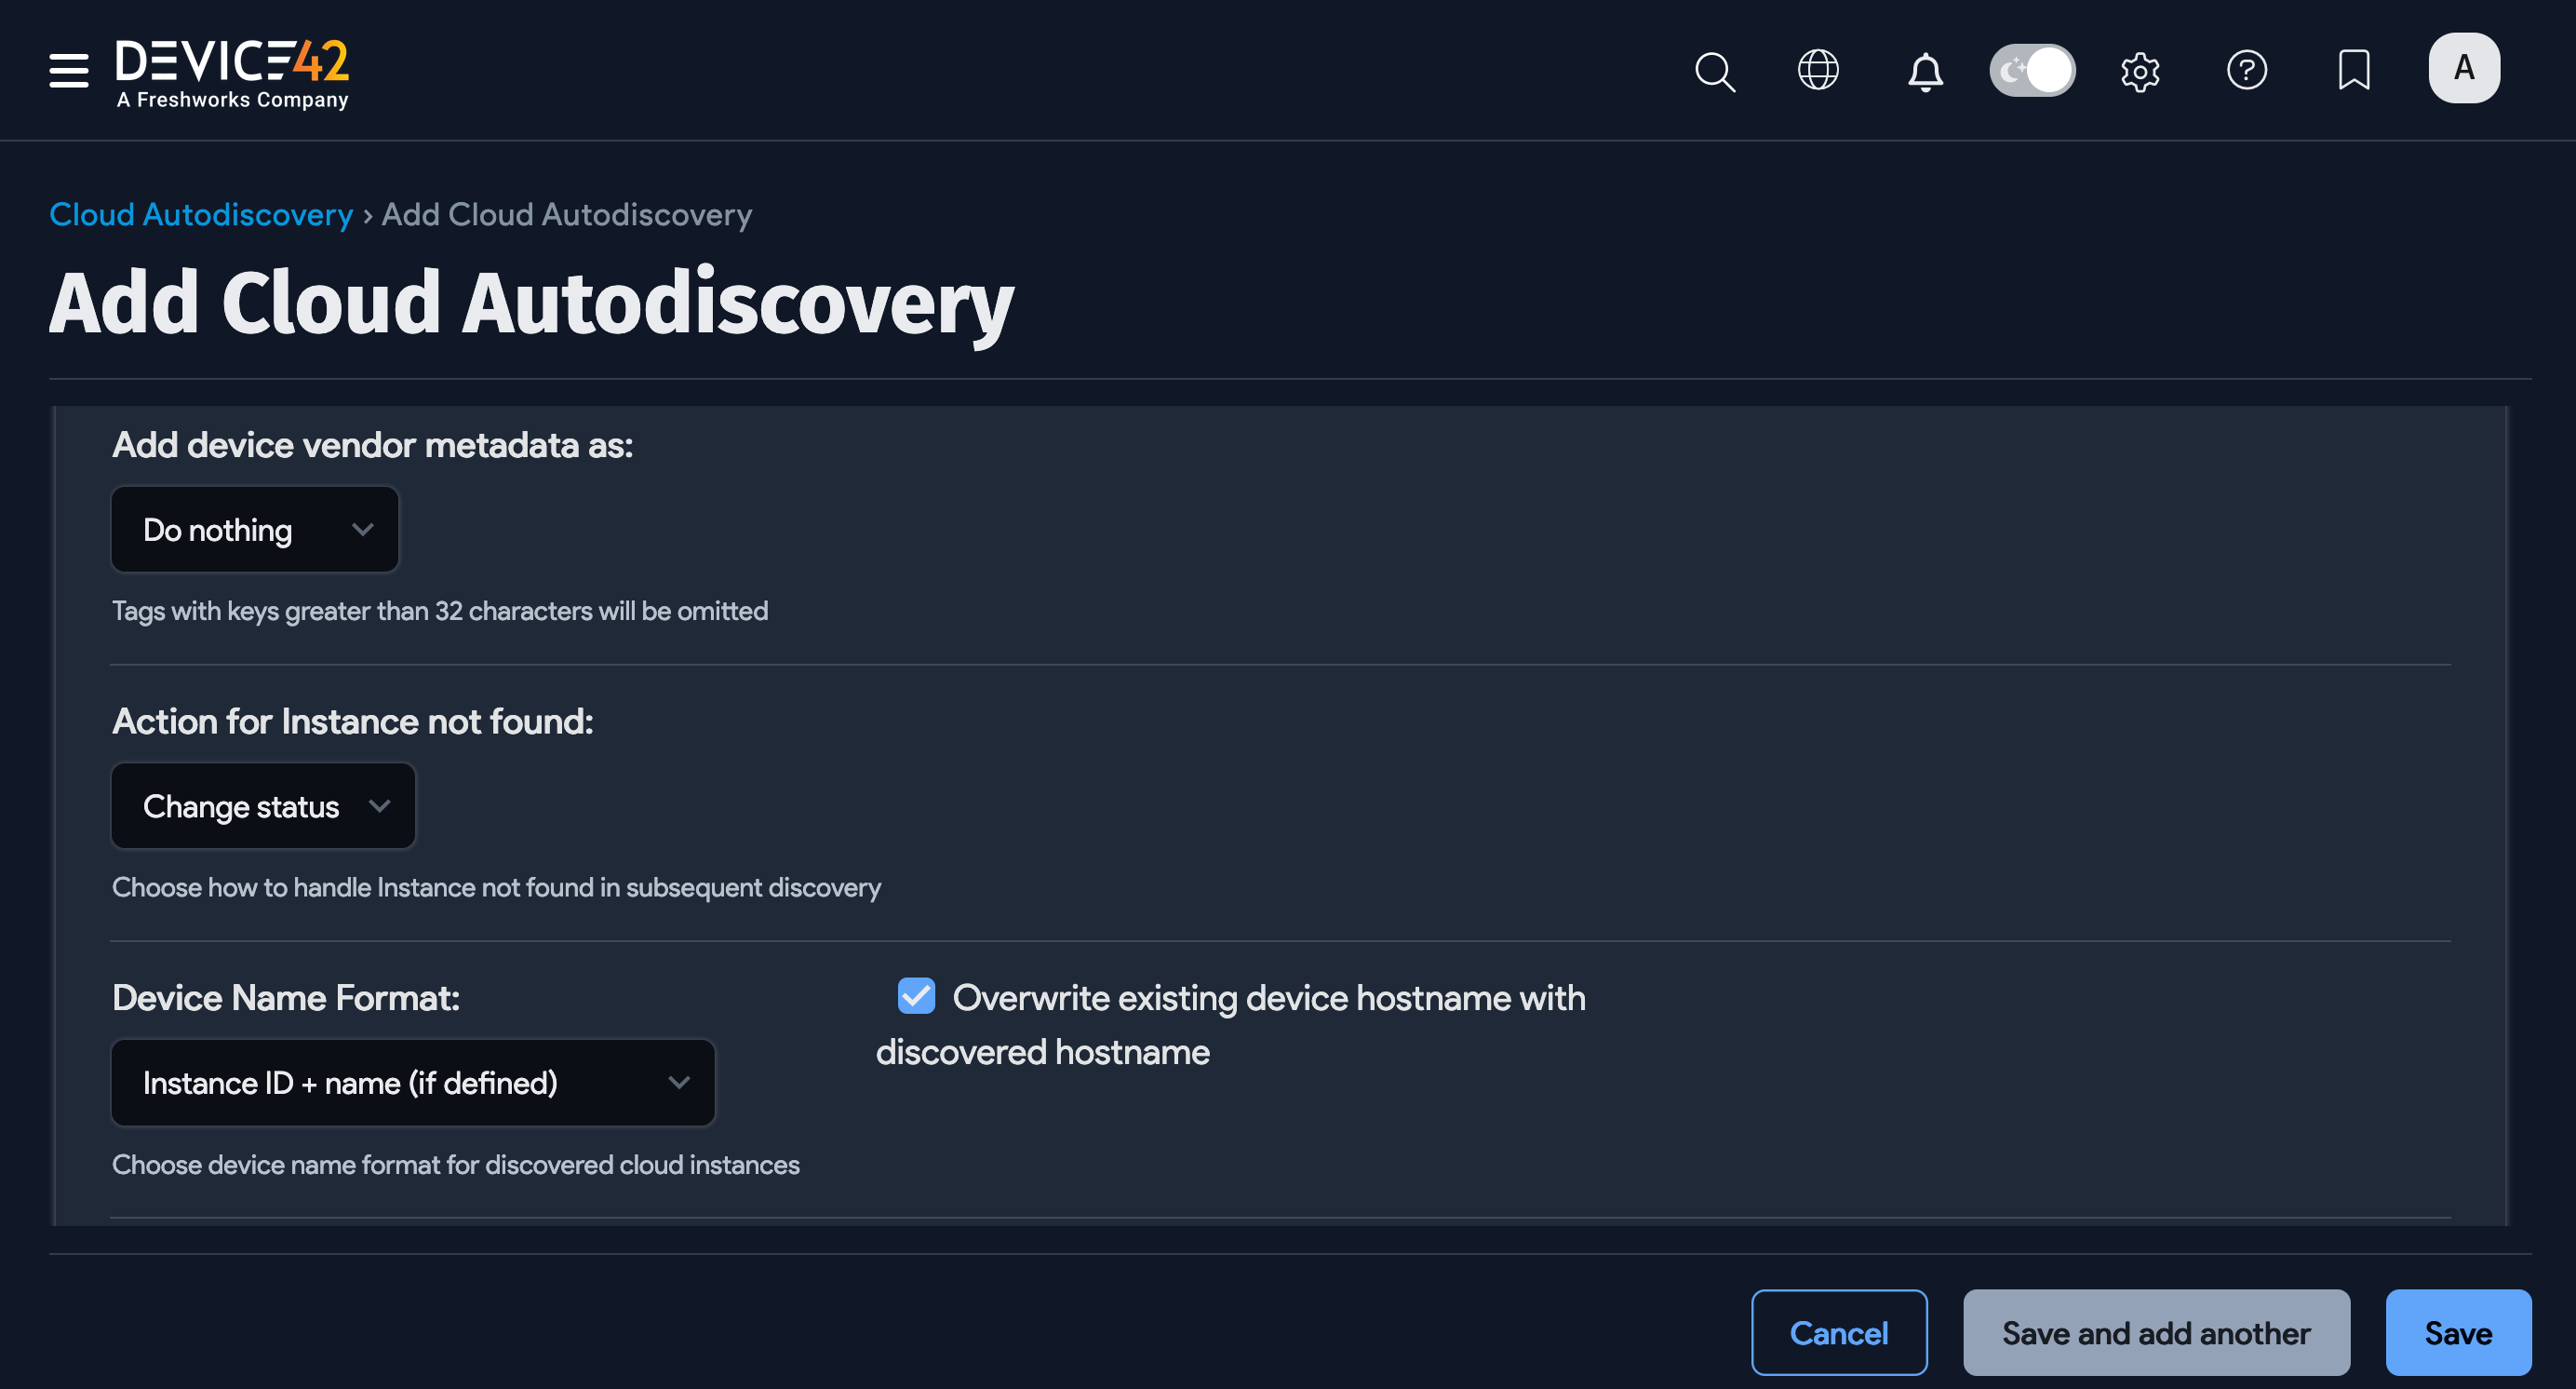
Click Save and Run Now to run the Oracle discovery job immediately. You can also run the job manually at any time by clicking the Run Now button on the Cloud Autodiscovery list page.