TCP Port Scan Autodiscovery
TCP port scan discovery accelerates the discovery process by pre-scanning a specified range of IP addresses. Device42 determines which machines exist, which ports the machines have open, and whether they are running *nix or Windows.
When the scan is complete, Device42 uses the resulting TCP scan data to create or update a discovery job for the qualifying IPs. This page covers how to configure TCP port scan settings and schedule scans.
Create a TCP Port Scan Job
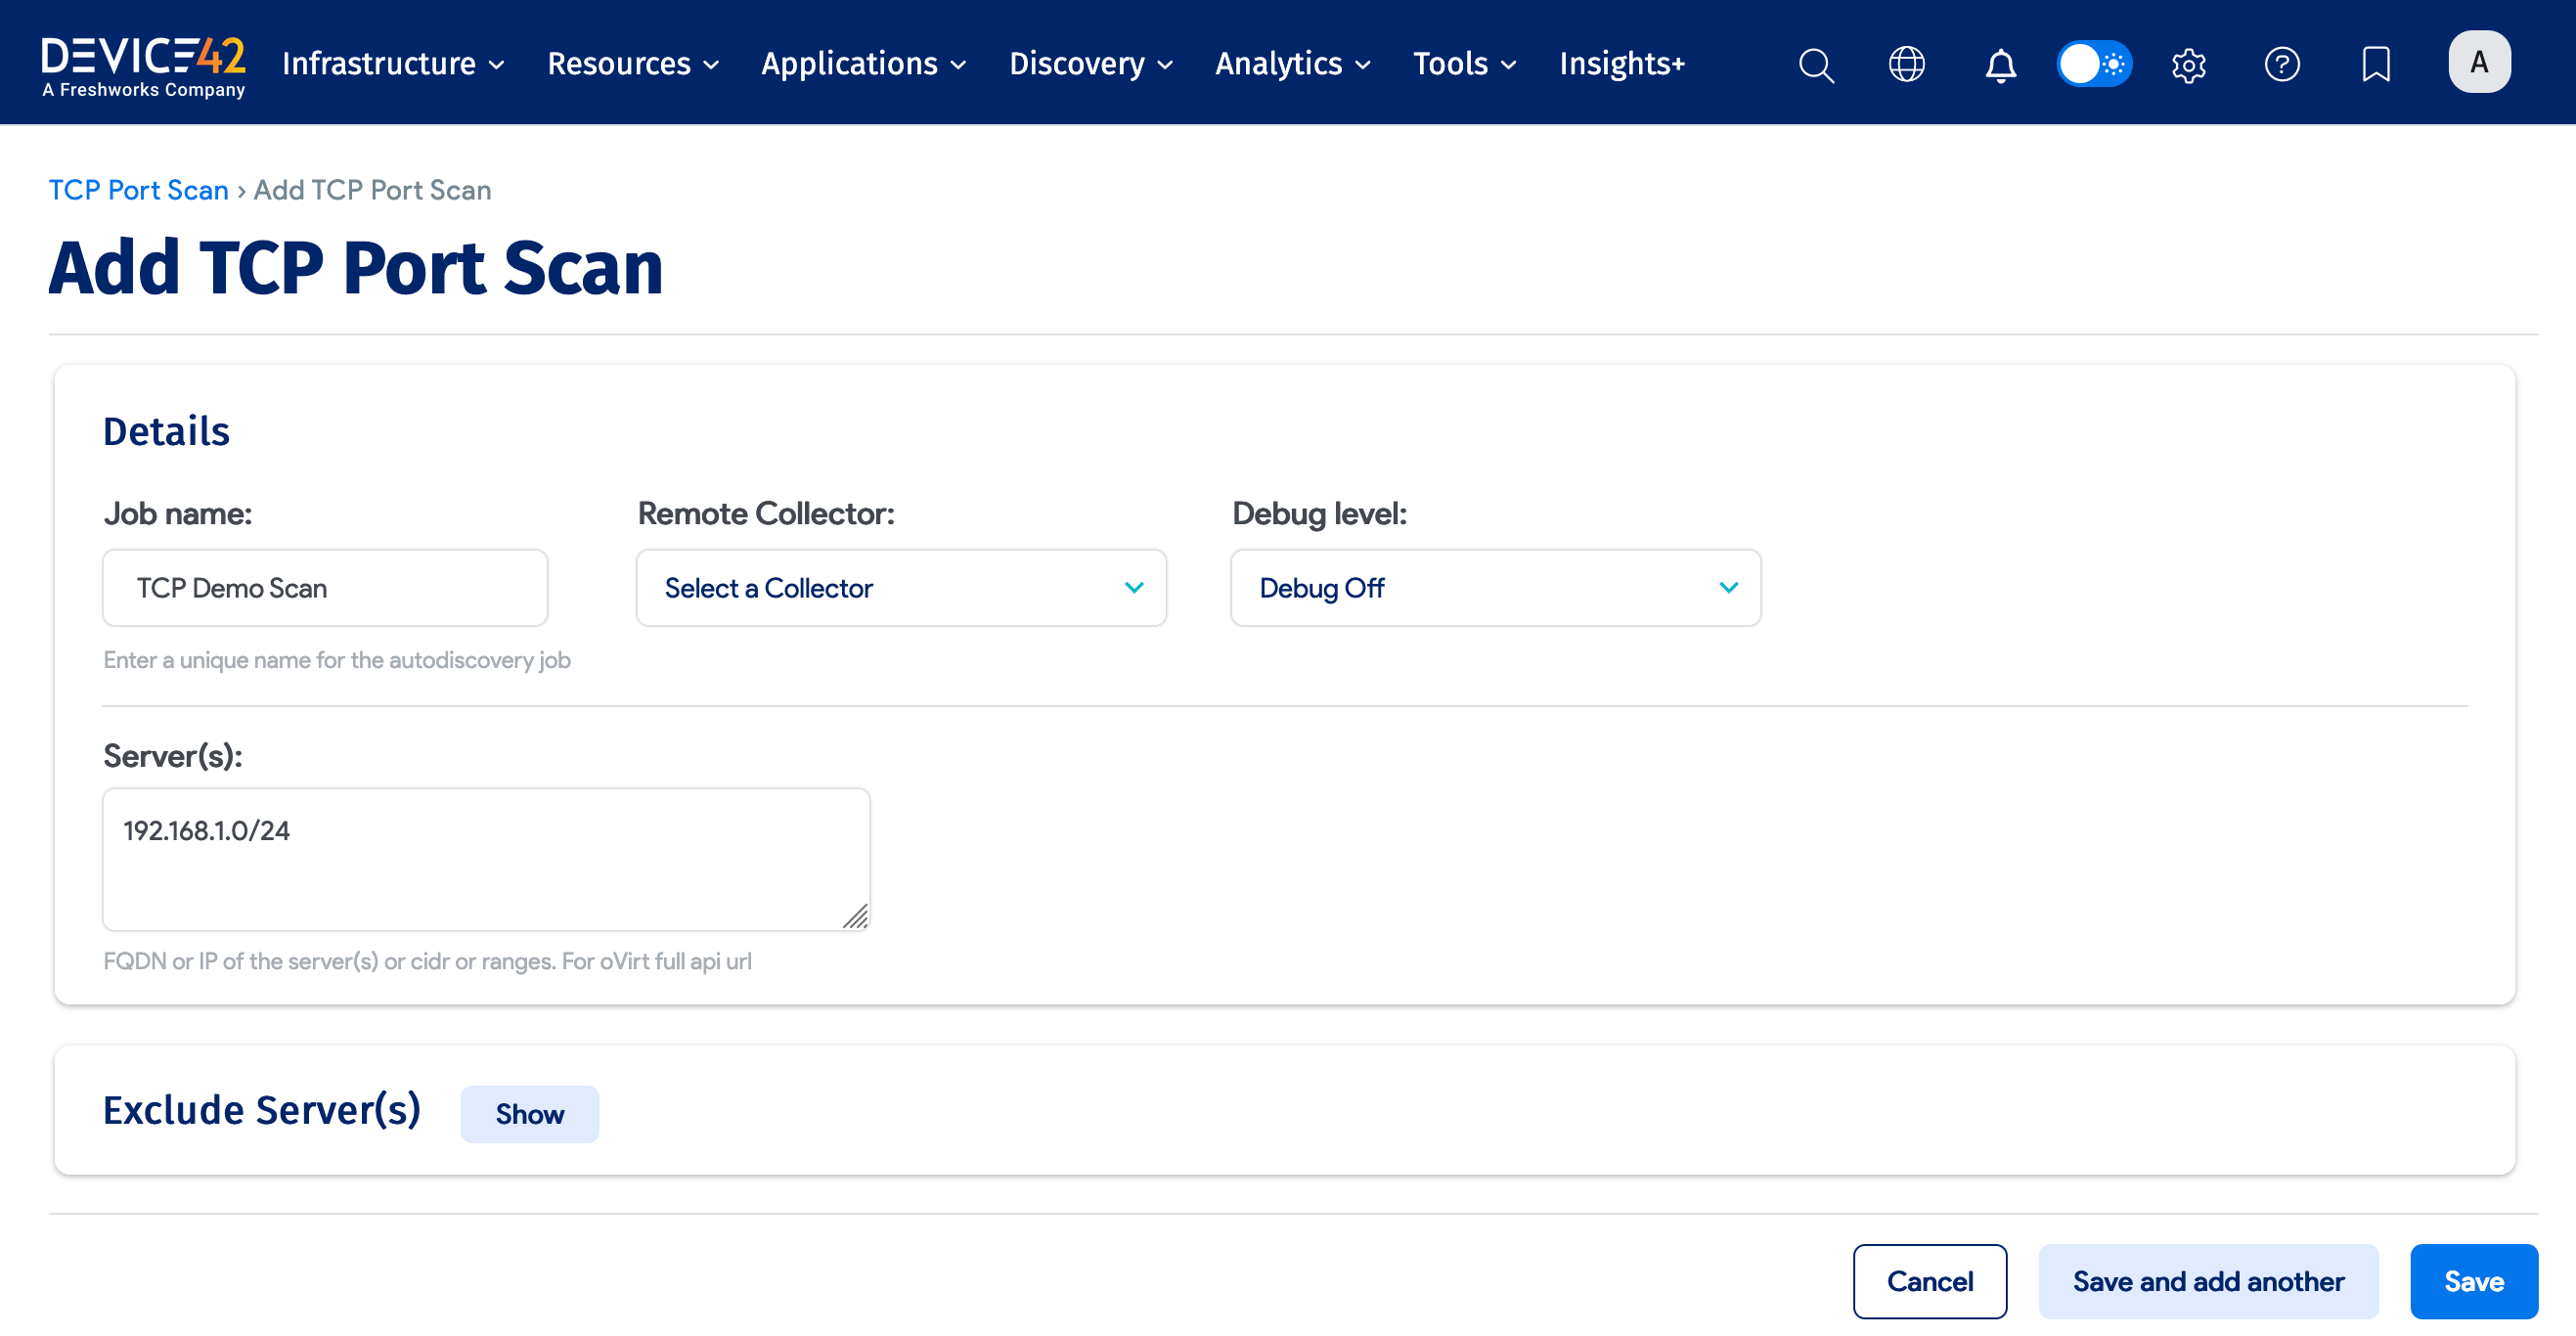
The result of a TCP port scan is a new discovery job. Navigate to Discovery > TCP Port Scan and click Create.
Provide the range of FQDN or IP addresses for the Server(s) and specify which Remote Collector with Windows Discovery Service (WDS) to run the scan on. Optionally, add any servers to exclude from the scan.
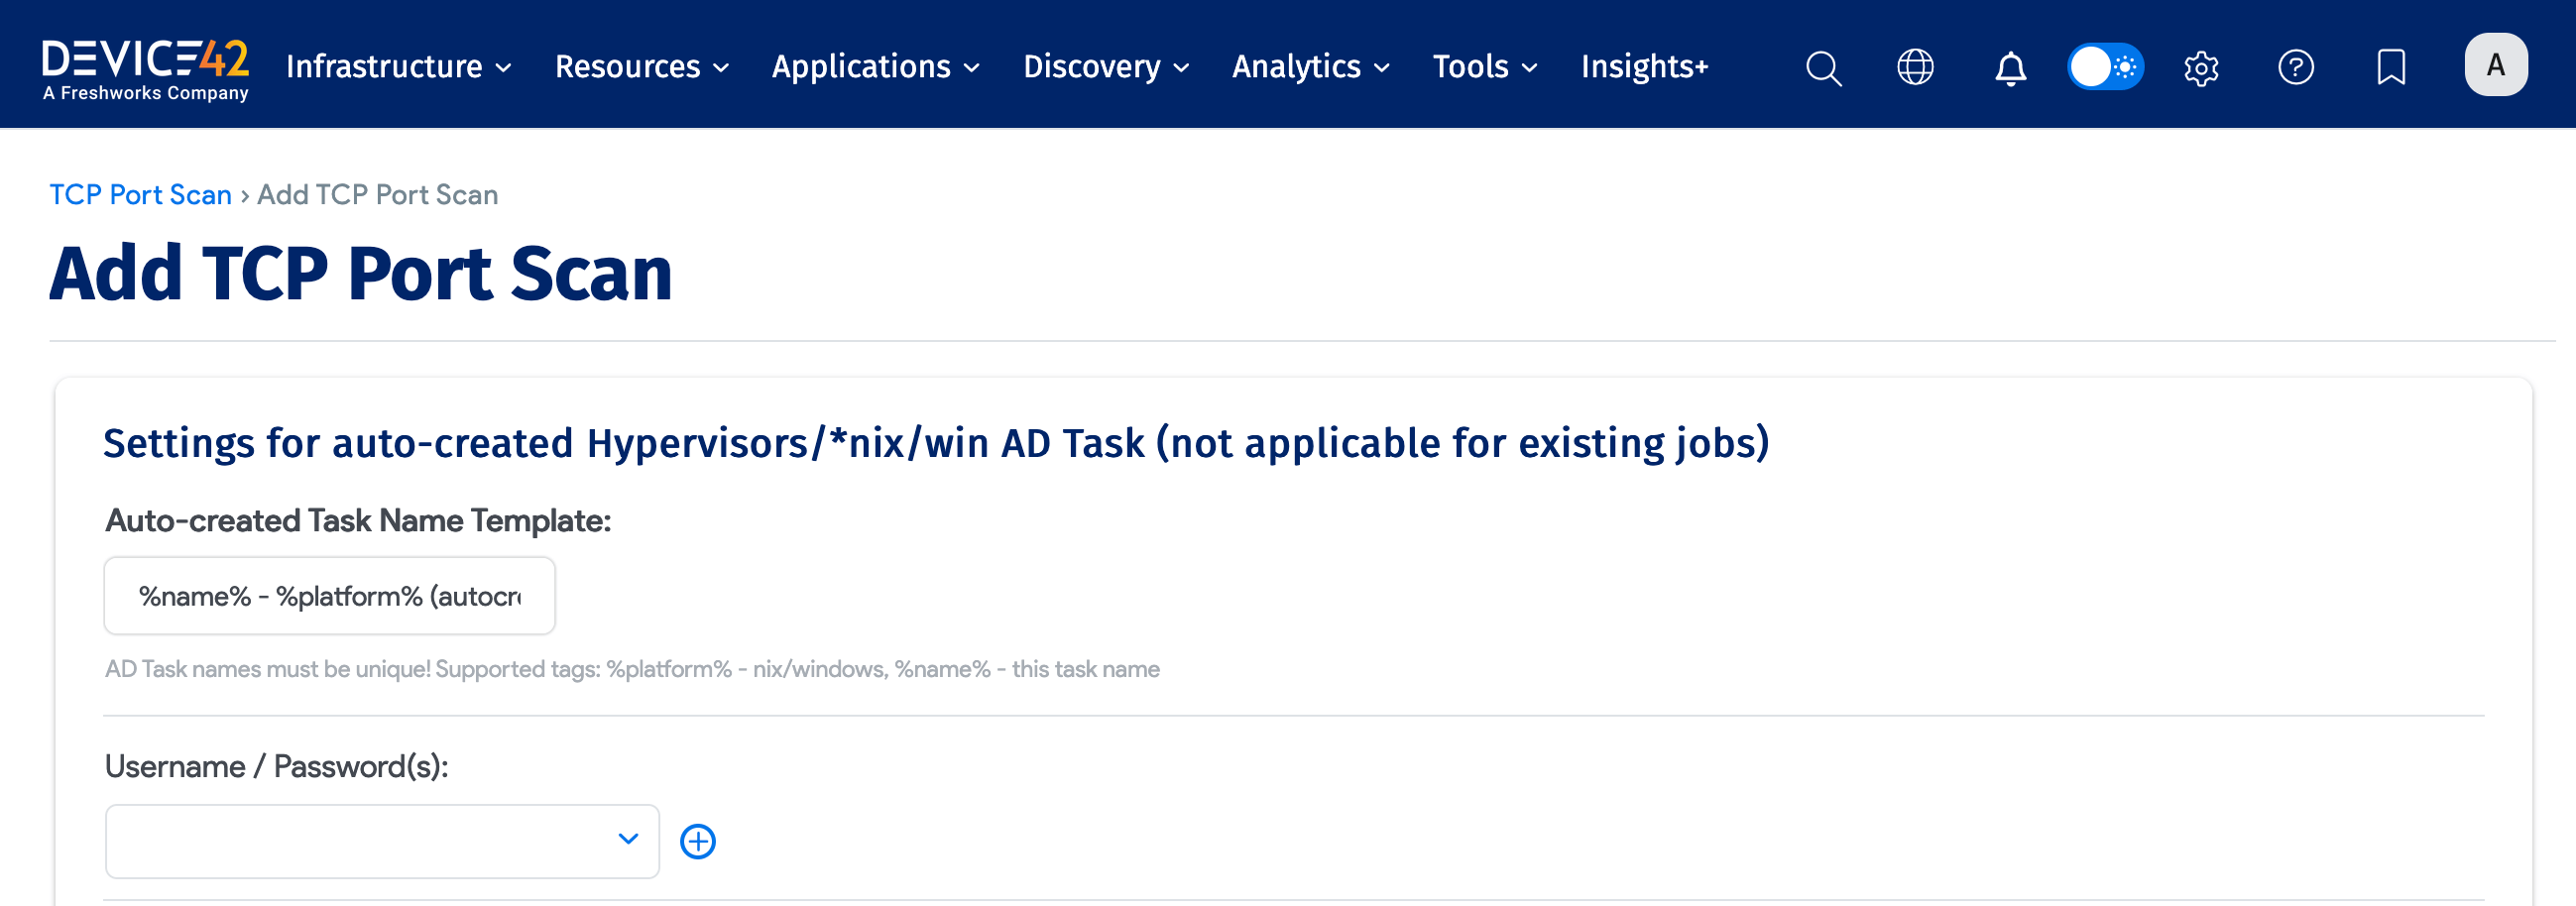
Under Settings for auto-created Hypervisors/*nix/win AD Task, provide the settings for the *nix or Windows discovery job to be created with. Device42 creates the appropriate discovery job with the provided naming template and specified settings, and maintains the list of servers based on the results of each TCP port scan run.
-
Define the naming template pattern used to generate unique names for the created discovery jobs. Include any credentials required for accessing the target servers under the Username / Password(s) field.
-
Configure the settings for discovery of virtual environments.


-
Use the Device name format settings to set your naming preferences for discovered devices and specify the scope of the data to be collected.


-
Specify the settings for the discovery of software and services, which include two cloud service options (Discover ProviderID/Cloud ID and Use provider token).


- Store Application Components Config Files: See the Application Components page for more information.
-
Apply naming conventions to the discovered devices. Select Strip domain suffix to drop everything after the first period (
server.domain.combecomesserver), and optionally select Use the server as the device name.

-
Change the service level to the specified level when no VM is detected, assign the discovered devices to a VRF group, and associate specific customers with the discovered devices.


-
Allow the generated discovery jobs to Collect database server information.


-
Configure the metadata settings by selecting an Object Category for discovered devices and entering Tags for discovered devices. Tags are useful with the Device42 Application Dependency Mapping feature.


-
If you select Enable Resource Utilization Tracking for Device, select an interval from the Resource Utilization Sampling Interval dropdown. The default period is ten minutes (600 seconds). The discovery job cannot be saved unless an interval is specified. See the Resource Utilization page for more information.
New secrets added to TCP port scans will not be added to their corresponding hypervisors, *nix, or Windows discovery jobs.
Run or Schedule the Job
You can schedule TCP port scans similarly to all other discovery jobs.
Select + Add another Autodiscovery Schedule when editing a job to create a run schedule.
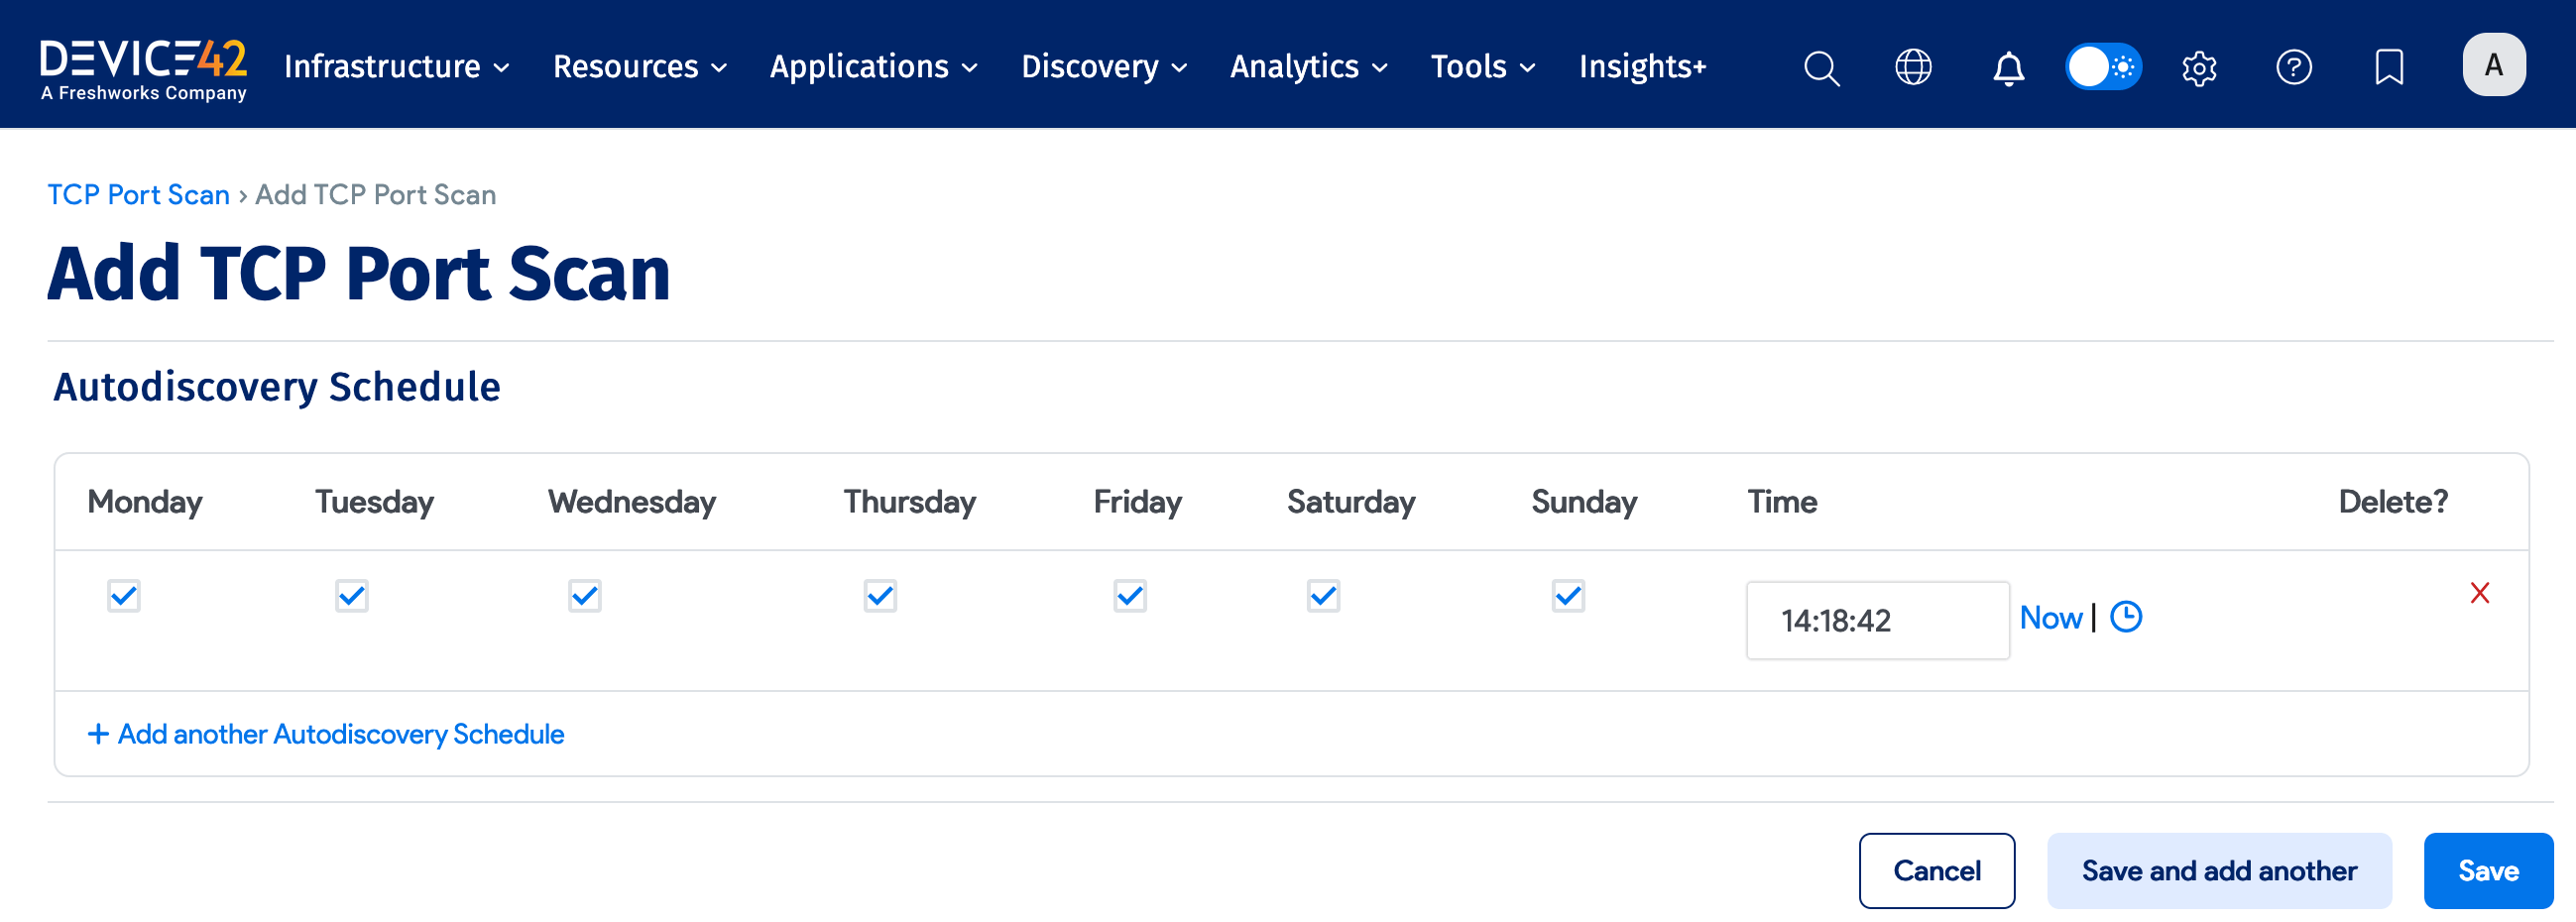
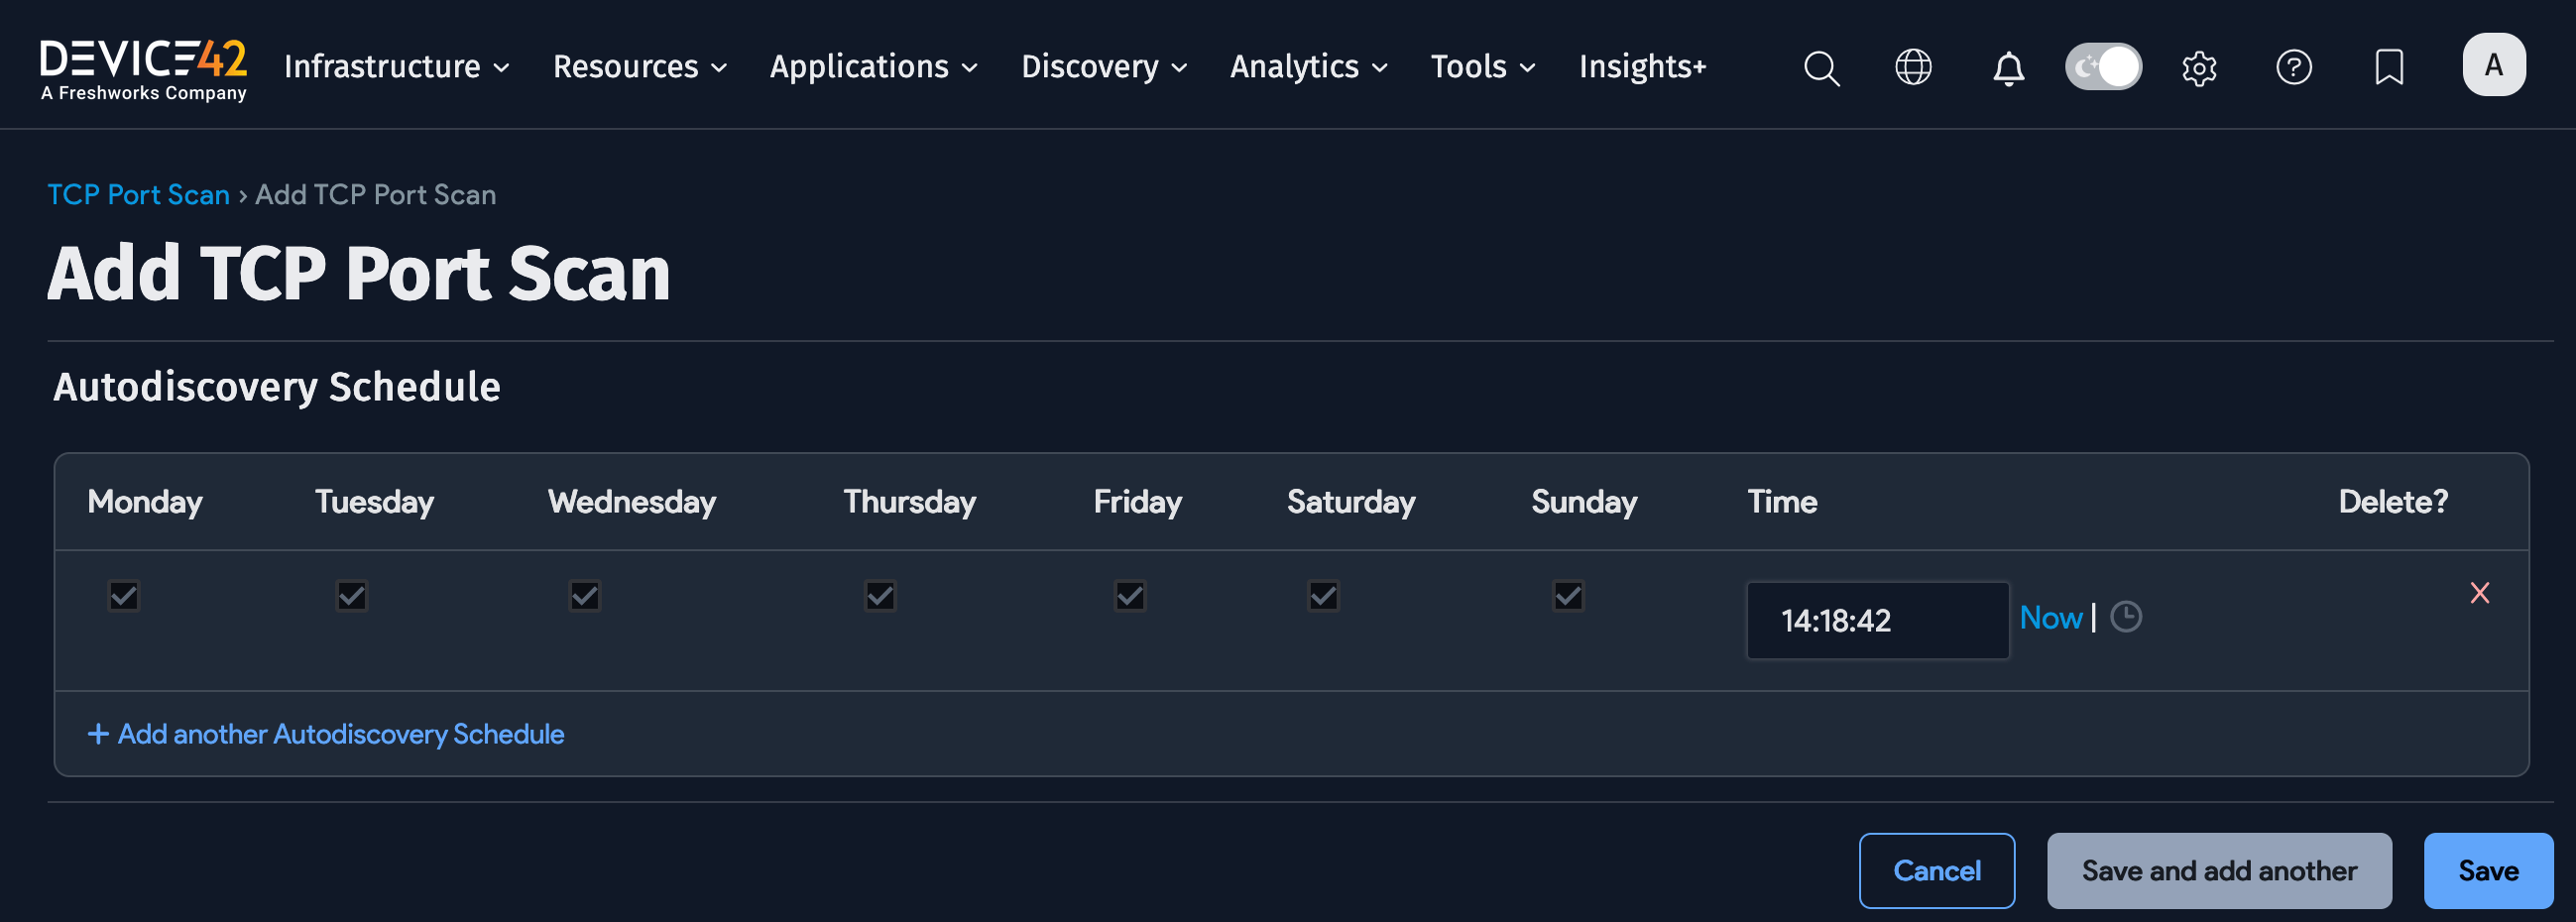
Setting the schedule on a TCP port scan job schedules the TCP port scan job itself, but not the discovery jobs created as a result of that TCP port scan.
After saving the job, click Run Now to run the job immediately. You can also run the job from the list page.
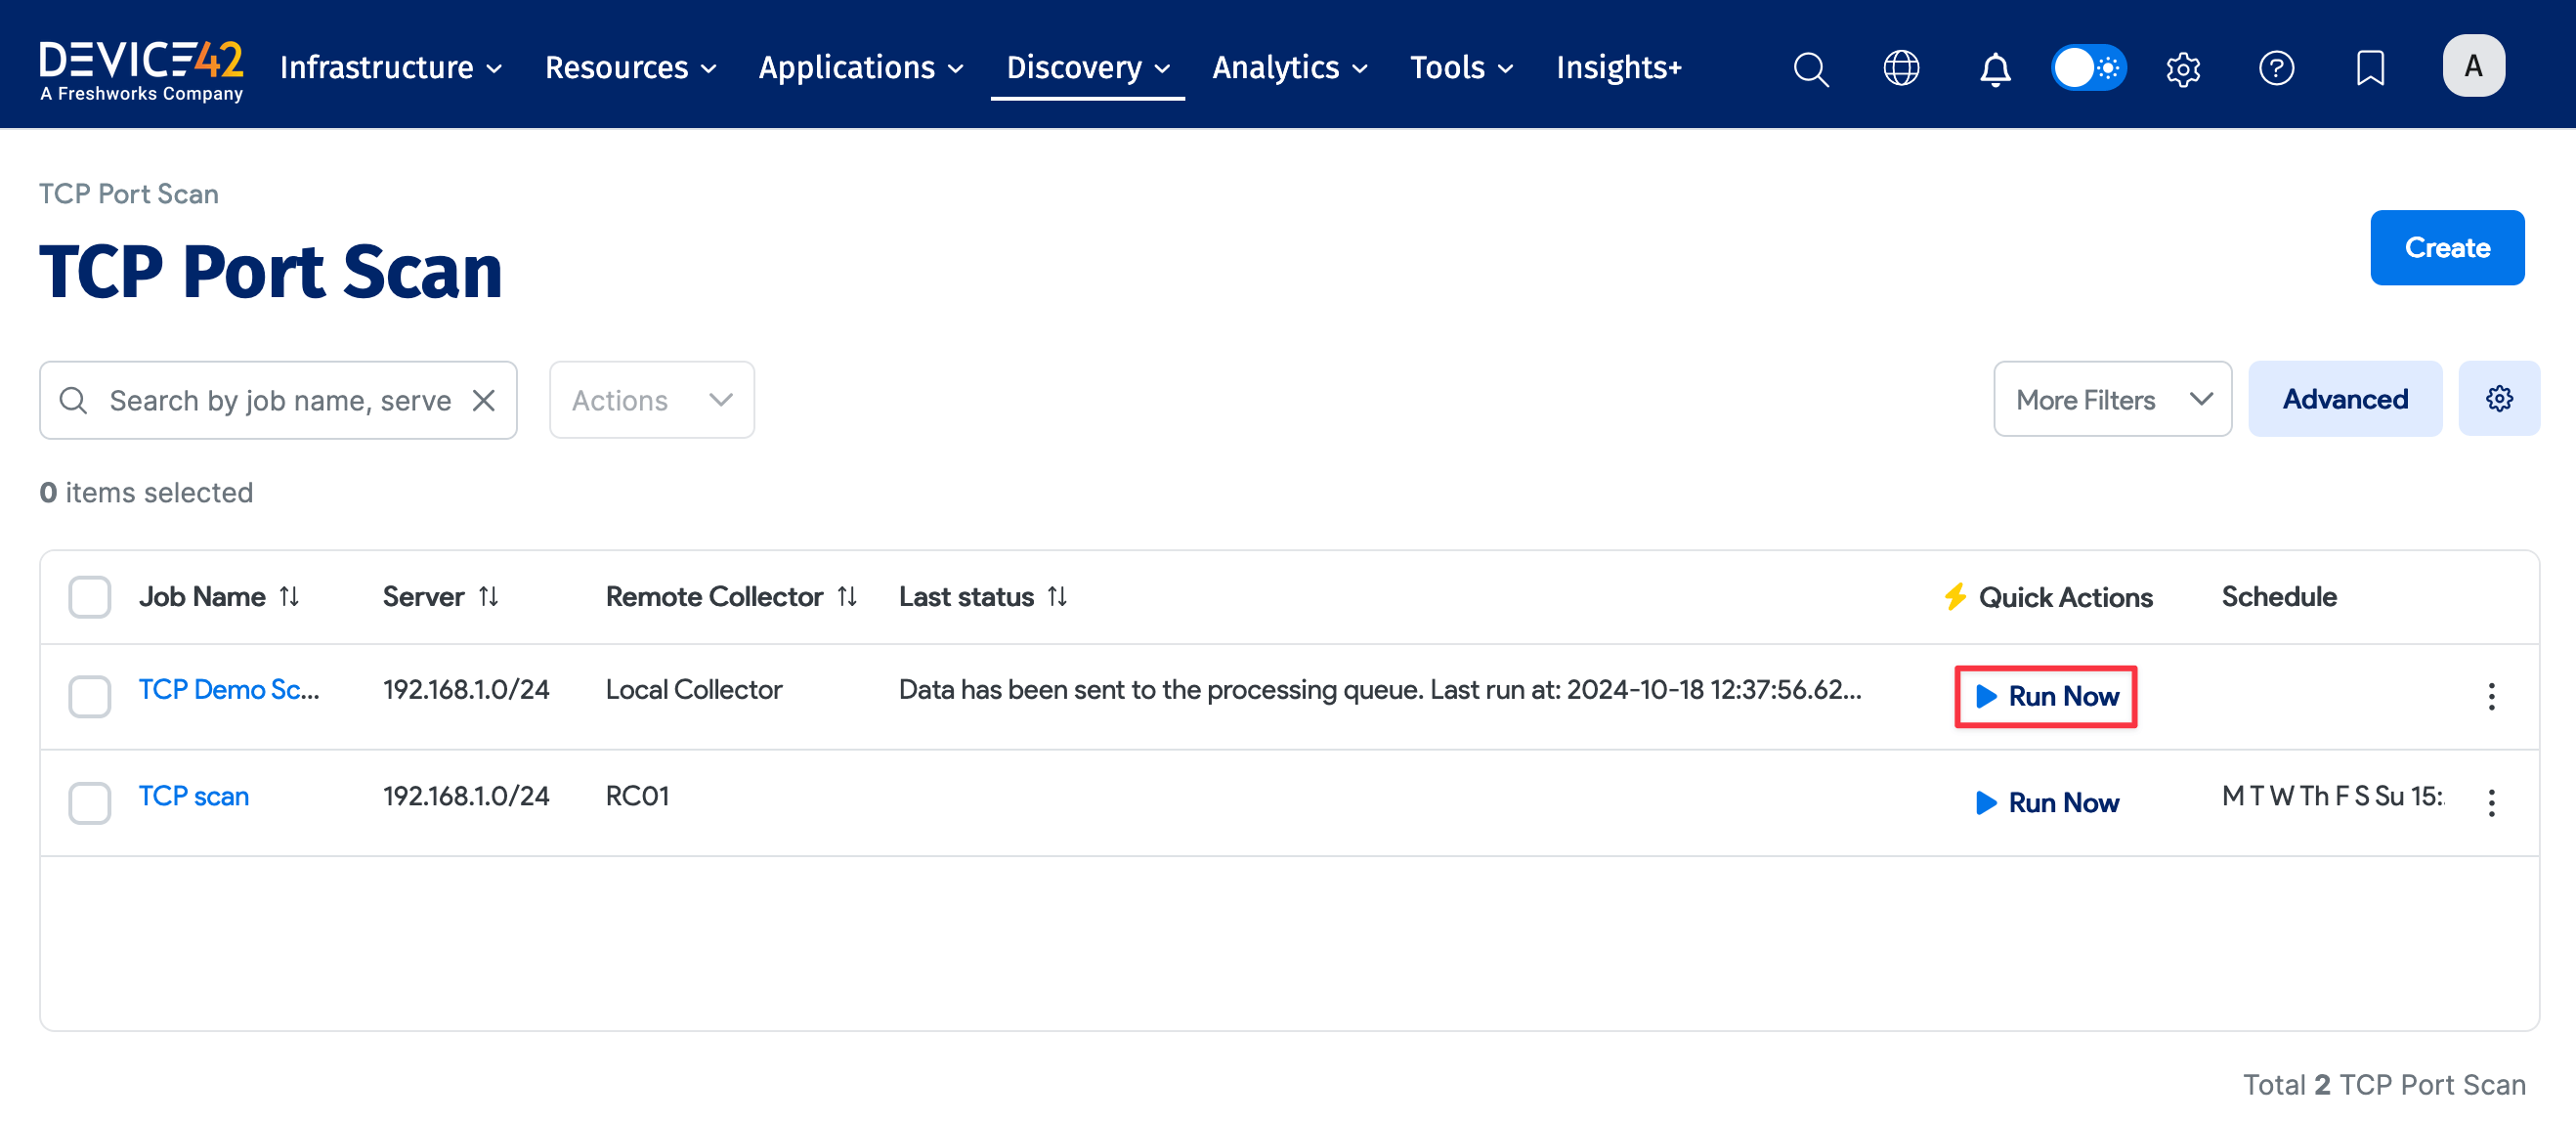
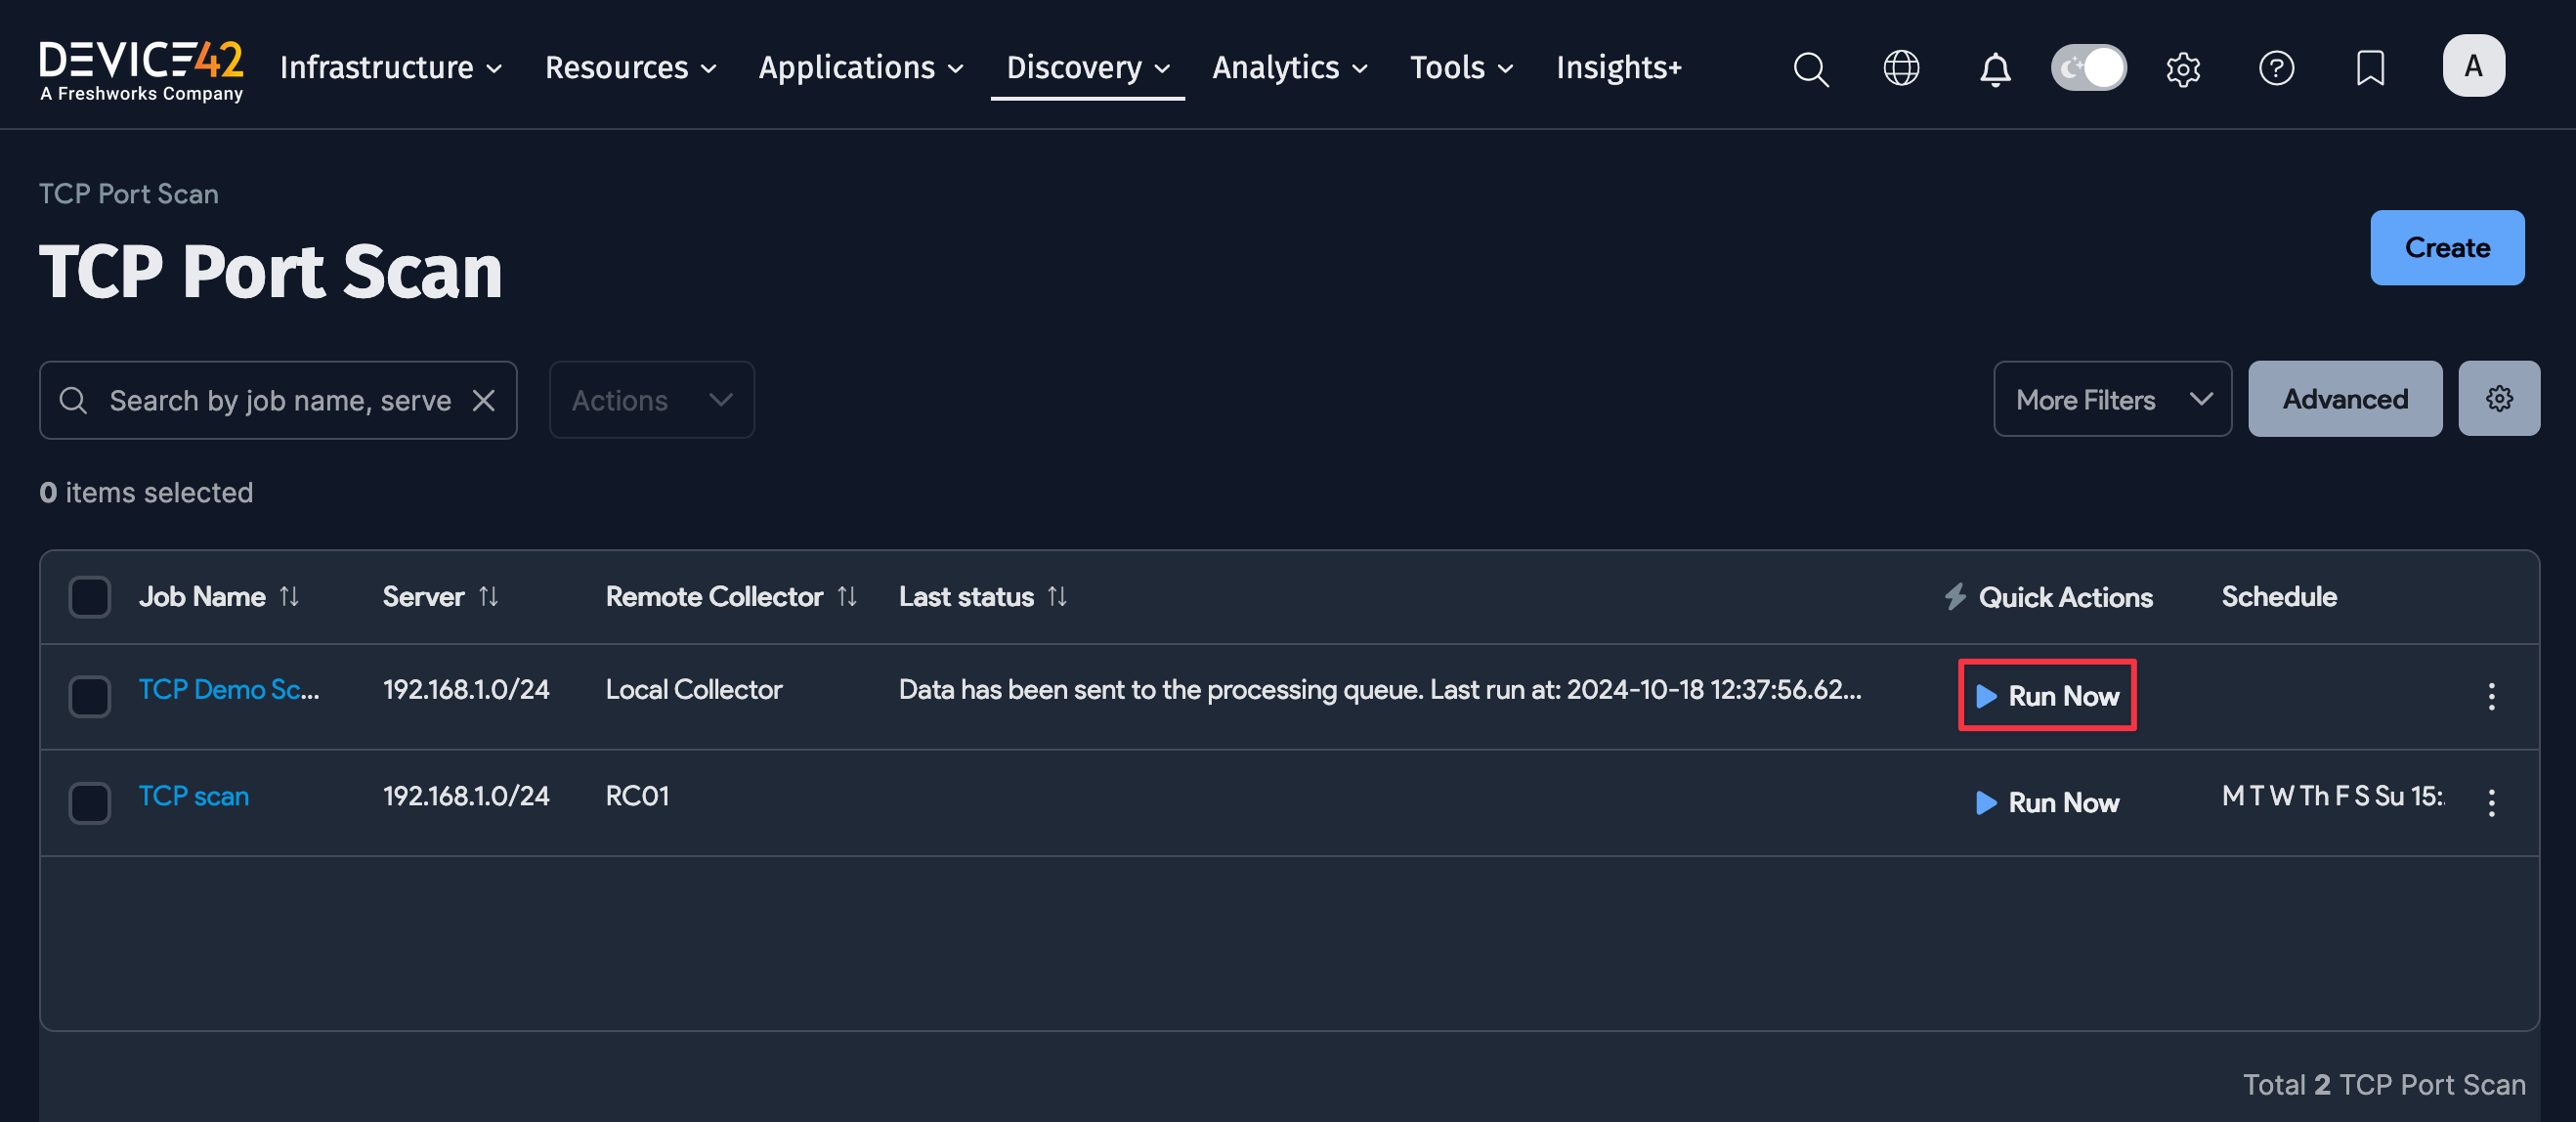
Newly created jobs will not run on the first day they are created, to prevent an excessive number of jobs from running simultaneously. To run a job after its initial creation, click Run Now next to the job.