Storage Arrays Autodiscovery
Device42 storage array discovery identifies and returns storage arrays from a wide range of vendors, including Dell/EMC, HP, IBM, NetApp, Pure Storage, and more. Discovered resources include resource details, related resources, and topology maps.
This page lists the supported storage array platforms, links to vendor-specific discovery details, and explains how to create and schedule a storage array discovery job.
Storage Array Platforms
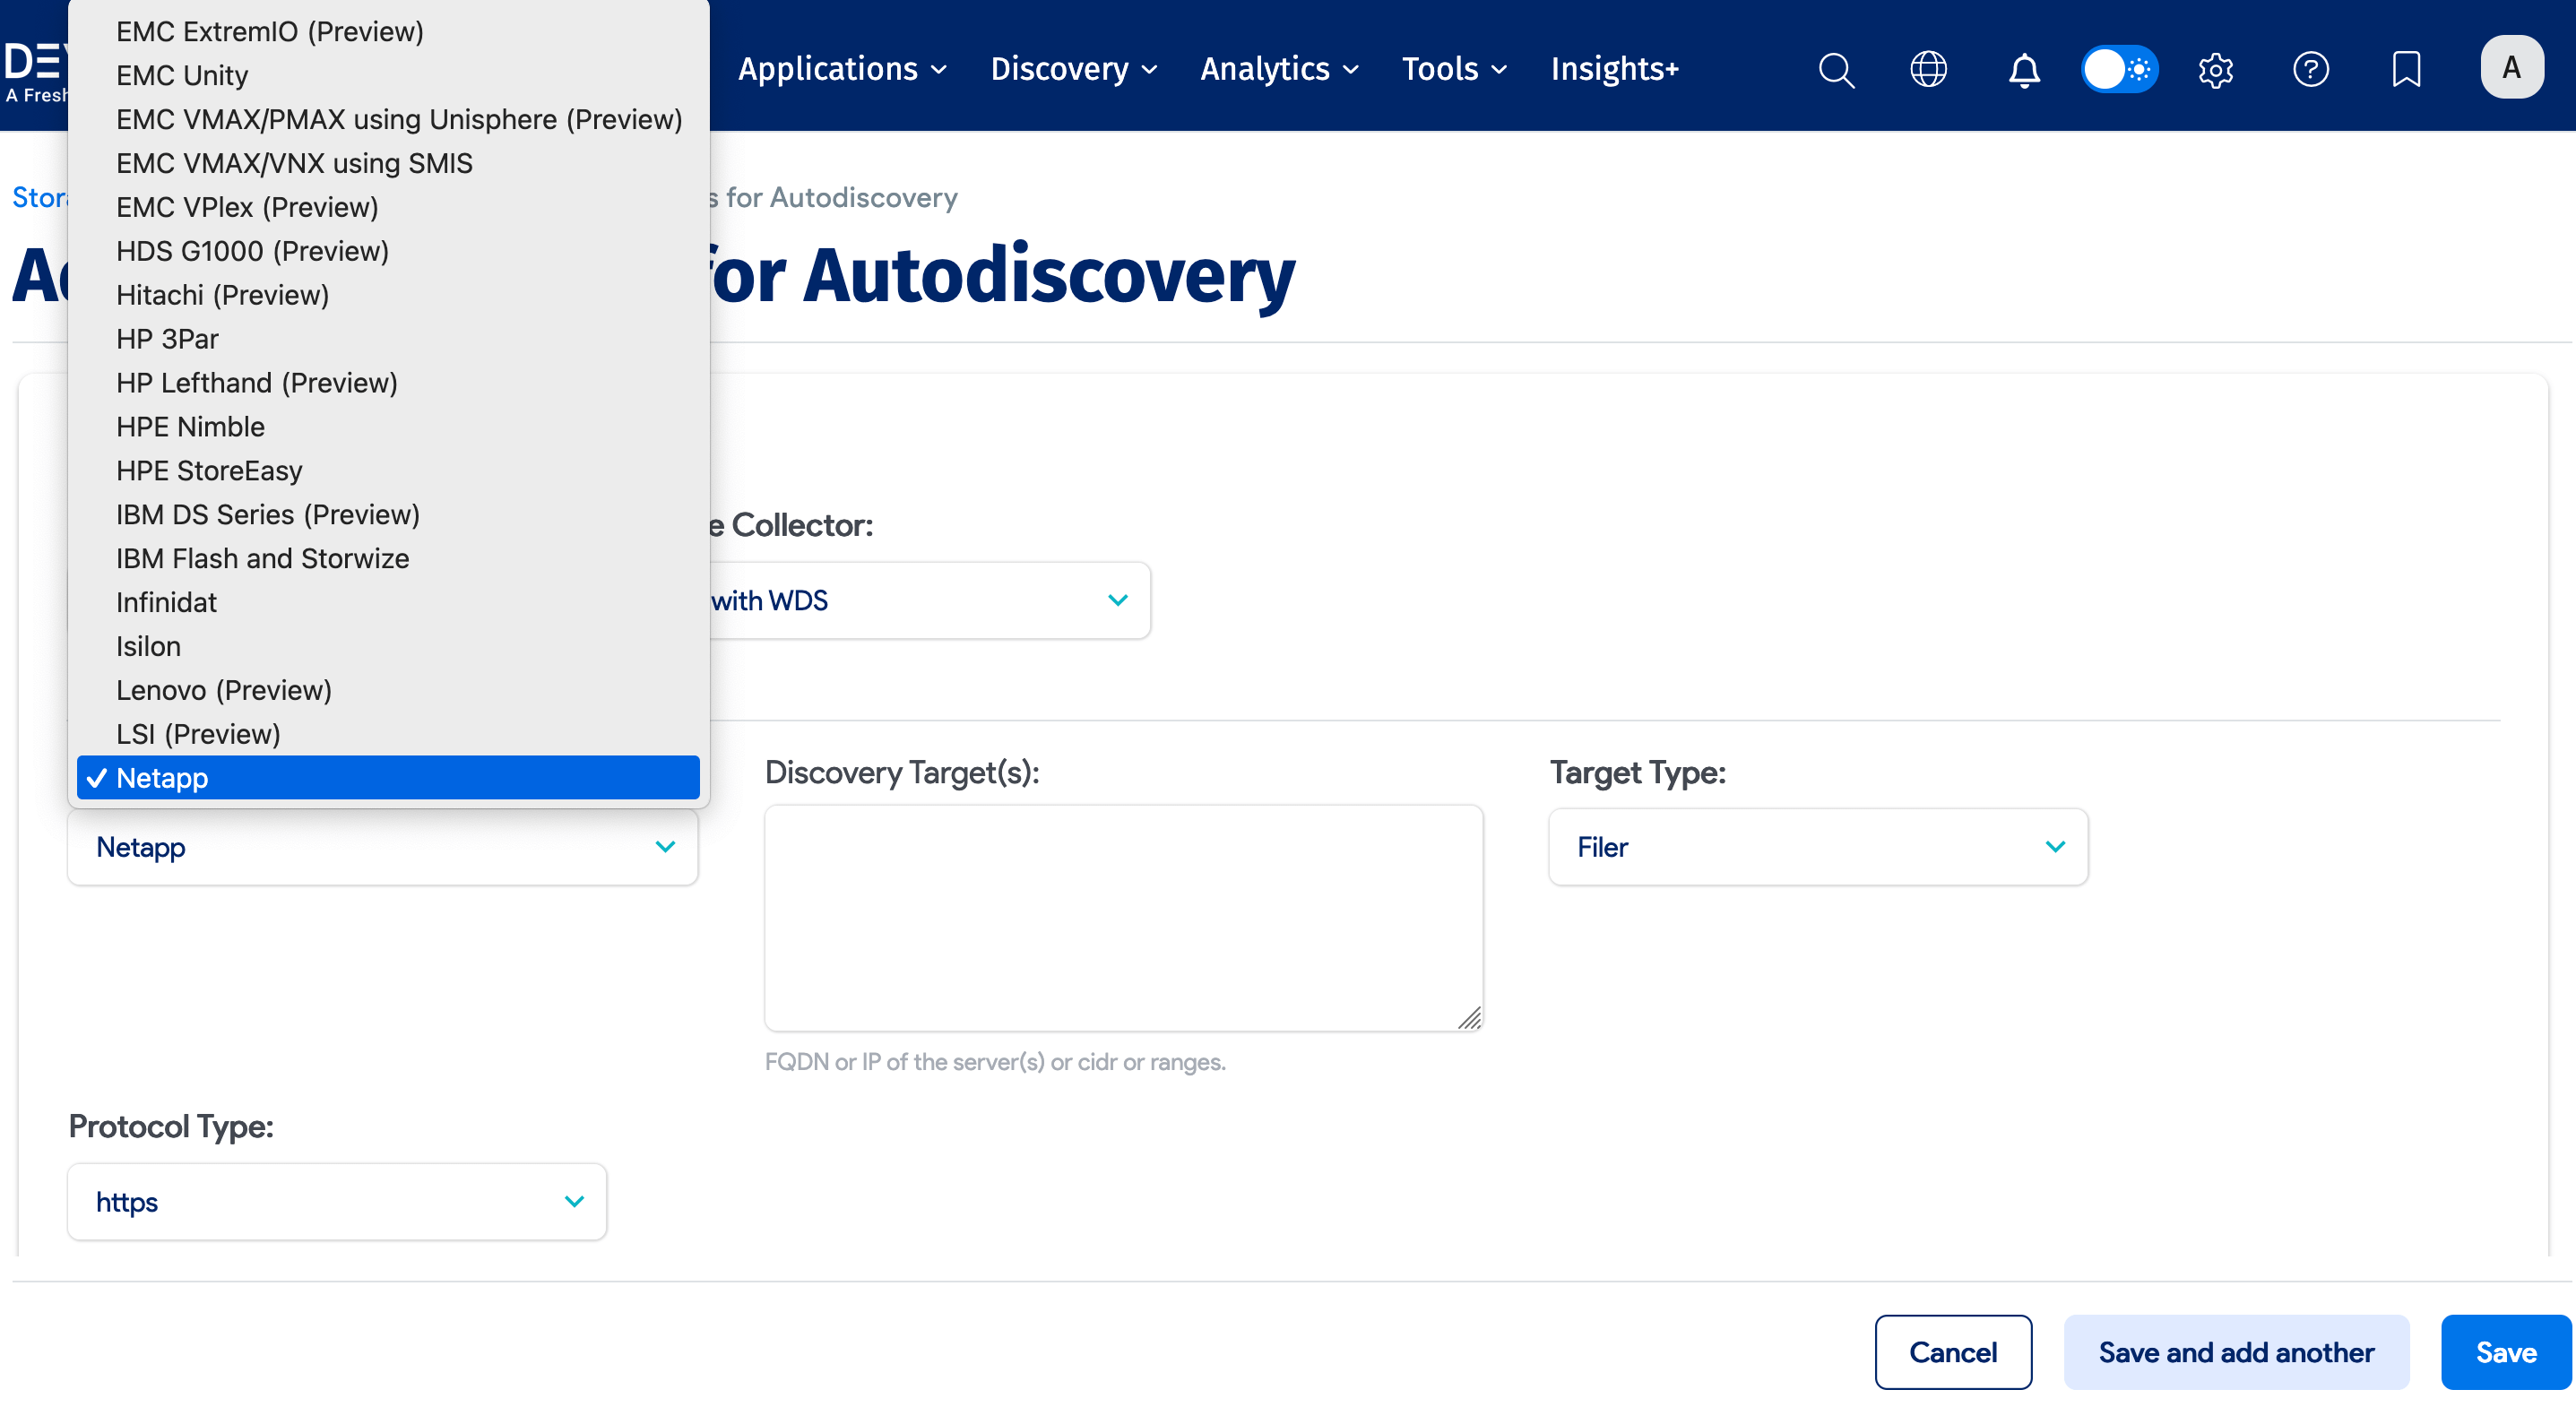
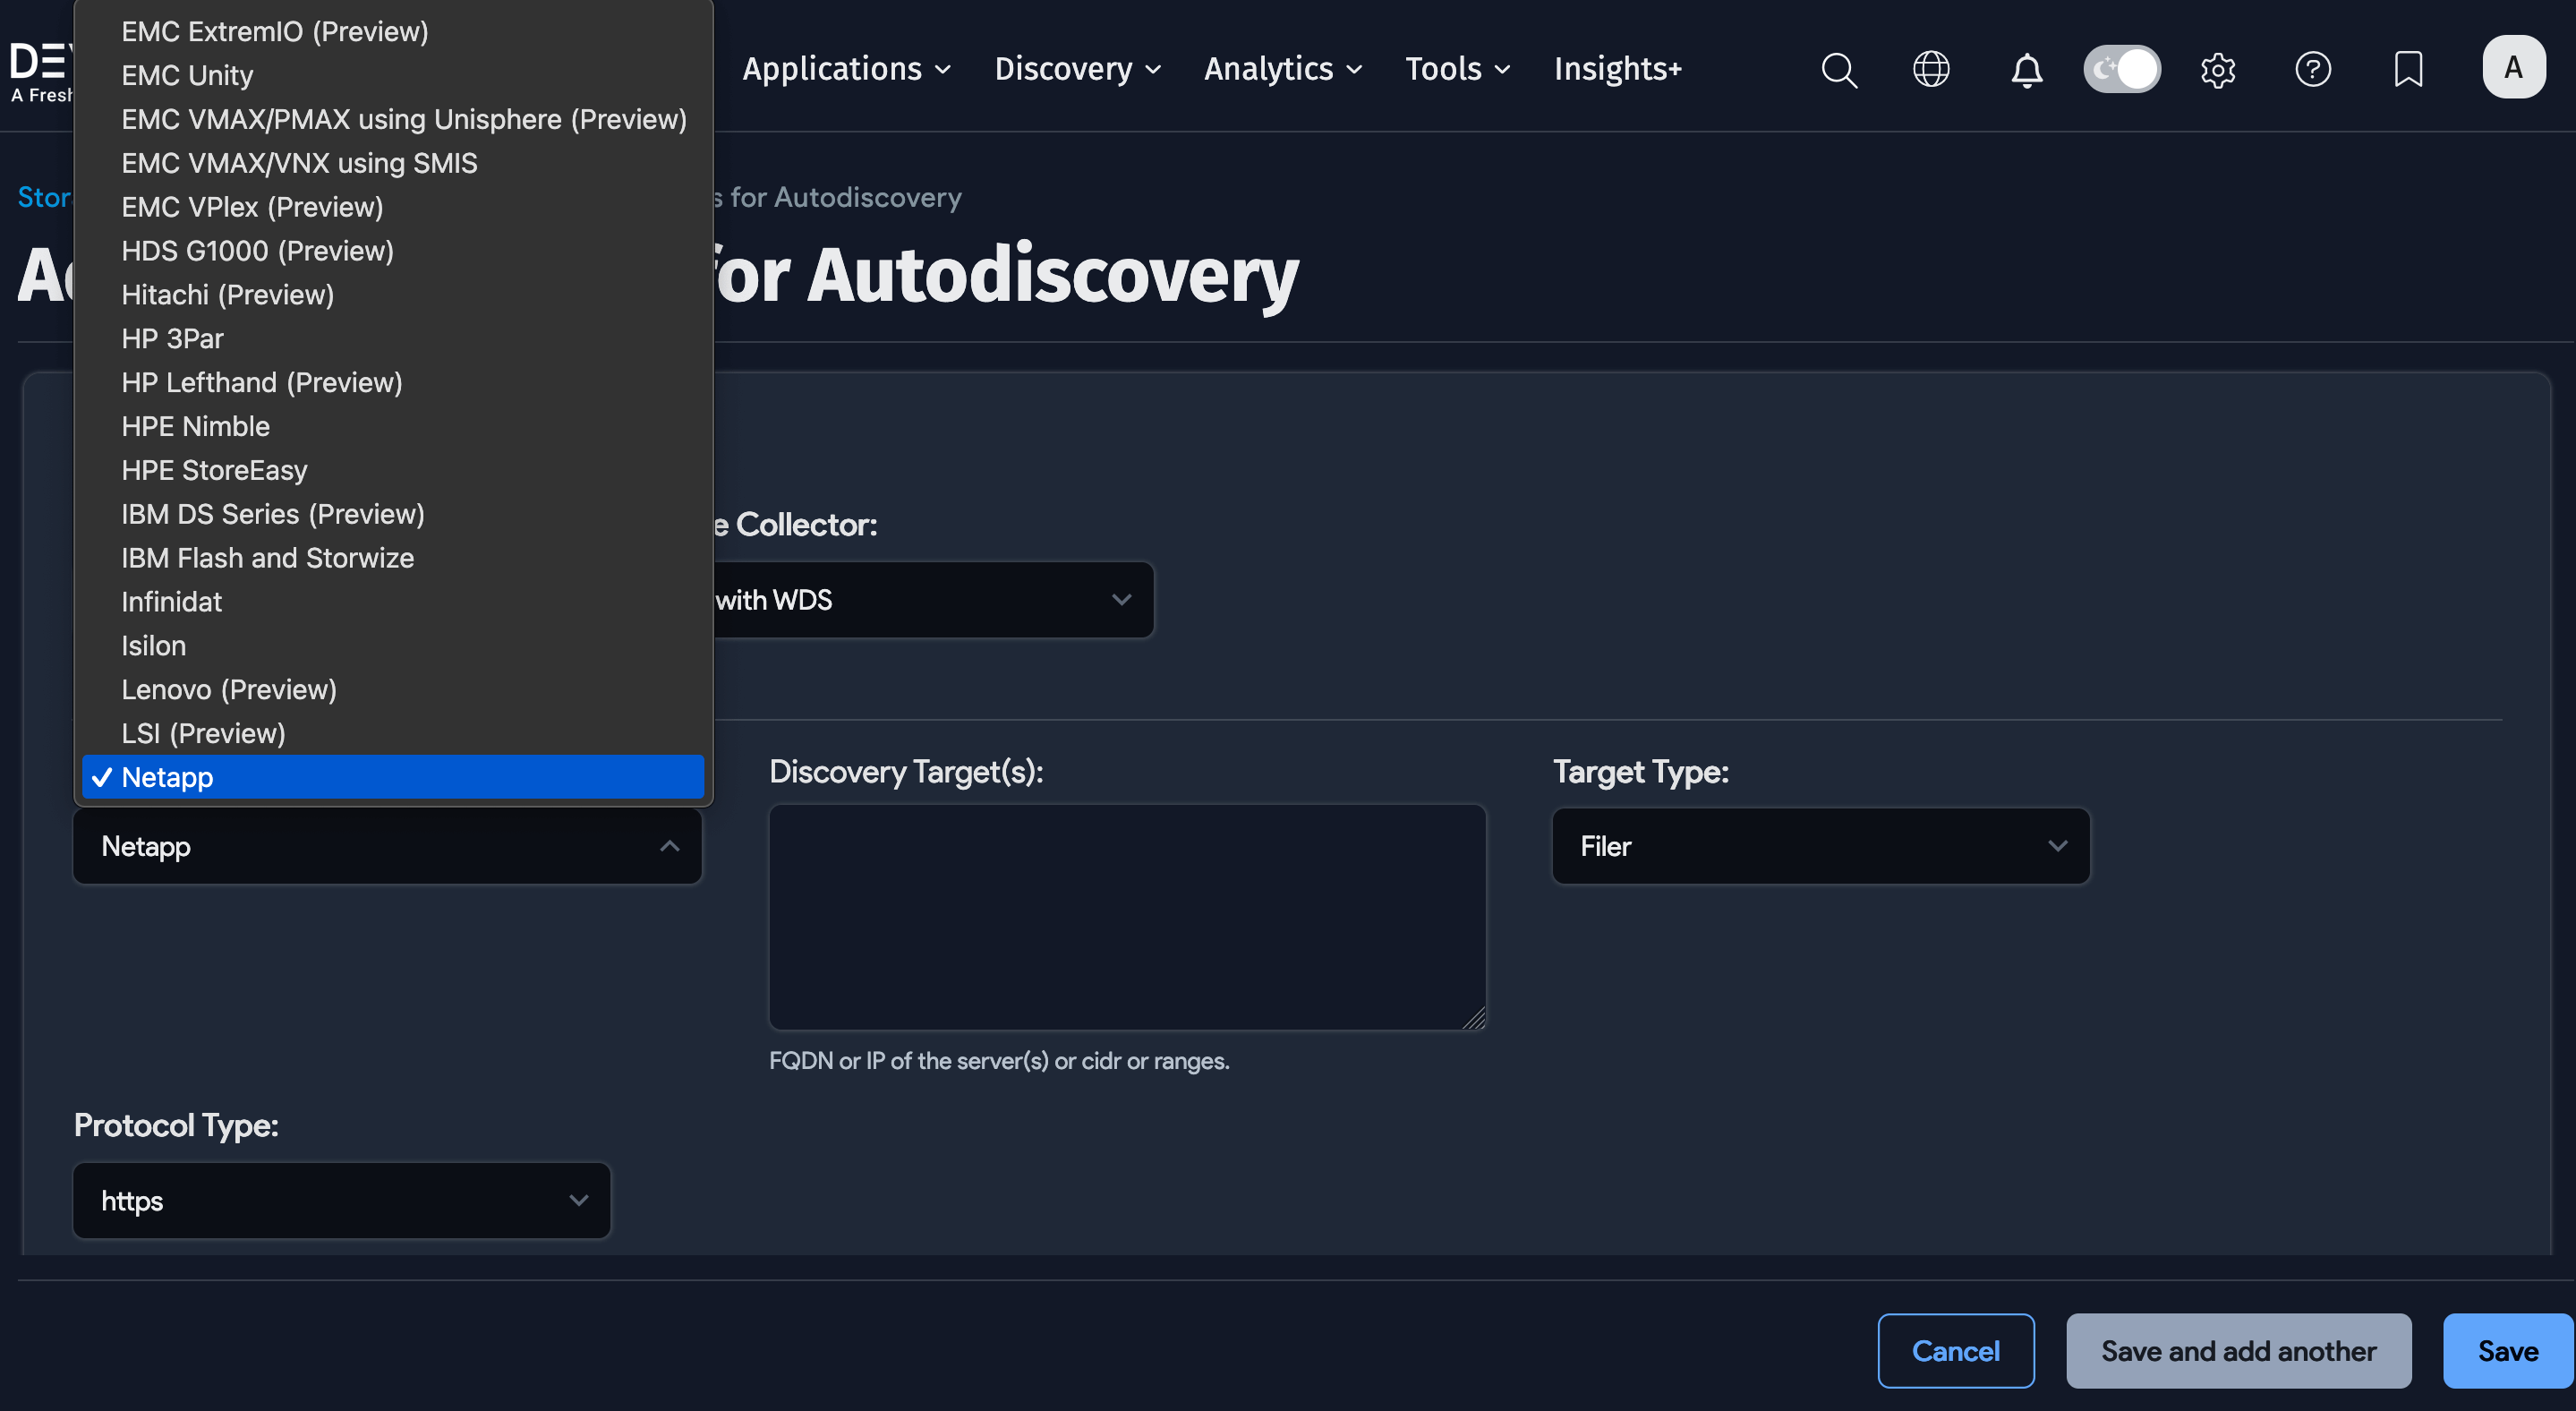
Click the Platform dropdown to view and select the available storage array types for a discovery job.
To see discovered storage arrays on the Devices list page, discover them using SNMP SAN/Server discovery.
The "(Preview)" tag in the Platform list indicates that the array has not been fully tested due to limited access to testing equipment. Full functionality cannot be guaranteed for preview platforms, and additional versions or configurations may not be discovered. The list is updated as more testing is completed.
The following platforms are supported:
| Celerra (Preview) | EMC VPlex (Preview) | Lenovo (Preview) |
| Dell Compellent | HDS G1000 (Preview) | LSI (Preview) |
| Dell EqualLogic (Preview) | Hitachi (Preview) | Netapp |
| Dell PowerStore (Preview) | HP 3Par | Nutanix |
| EMC Data Domain | HP Lefthand (Preview) | Oracle ZFS |
| EMC ECS (Preview) | HPE Nimble | Pure Storage |
| EMC ExtremIO (Preview) | HPE StoreEasy | Purity FlashBlade (Preview) |
| EMC Unity | IBM DS Series (Preview) | Recoverpoint (Preview) |
| EMC VMAX/PMAX using Unisphere | IBM Flash and Storwize | Tintri (Preview) |
| EMC VMAX/VNX using SMIS | Infinidat | UCS (Preview) |
Vendor-Specific Discovery Details
The following pages provide additional information about access protocols and minimum permissions for each vendor.
Dell/EMC Arrays
See Dell/EMC Discovery for details on the following arrays:
- Dell Compellent
- Dell PowerStore
- VNX or VMAX using EMC SMIS Provider
- EMC Data Domain
- EMC Unity
- Isilon
HP Arrays
See HP Discovery for details on the following arrays:
- HP Nimble
- HPE StoreEasy
- HP 3PAR
IBM Arrays
See IBM Discovery for details on the following array:
- IBM V7000/Storwize
Lenovo Arrays
See Lenovo Discovery for details on the following arrays:
- ThinkSystem DE2000
- ThinkSystem DE4000
- ThinkSystem DE6000
- All newer ThinkSystem arrays
All Other Storage Arrays
See All Other Storage Discovery for details on the following arrays:
- Infinidat
- Netapp Filers
- Nutanix
- Oracle ZFS
- Pure Storage
Create a Storage Array Discovery Job
Select Discovery > Storage Arrays from the main menu to display the Storage Arrays discovery list page, and then click Create.
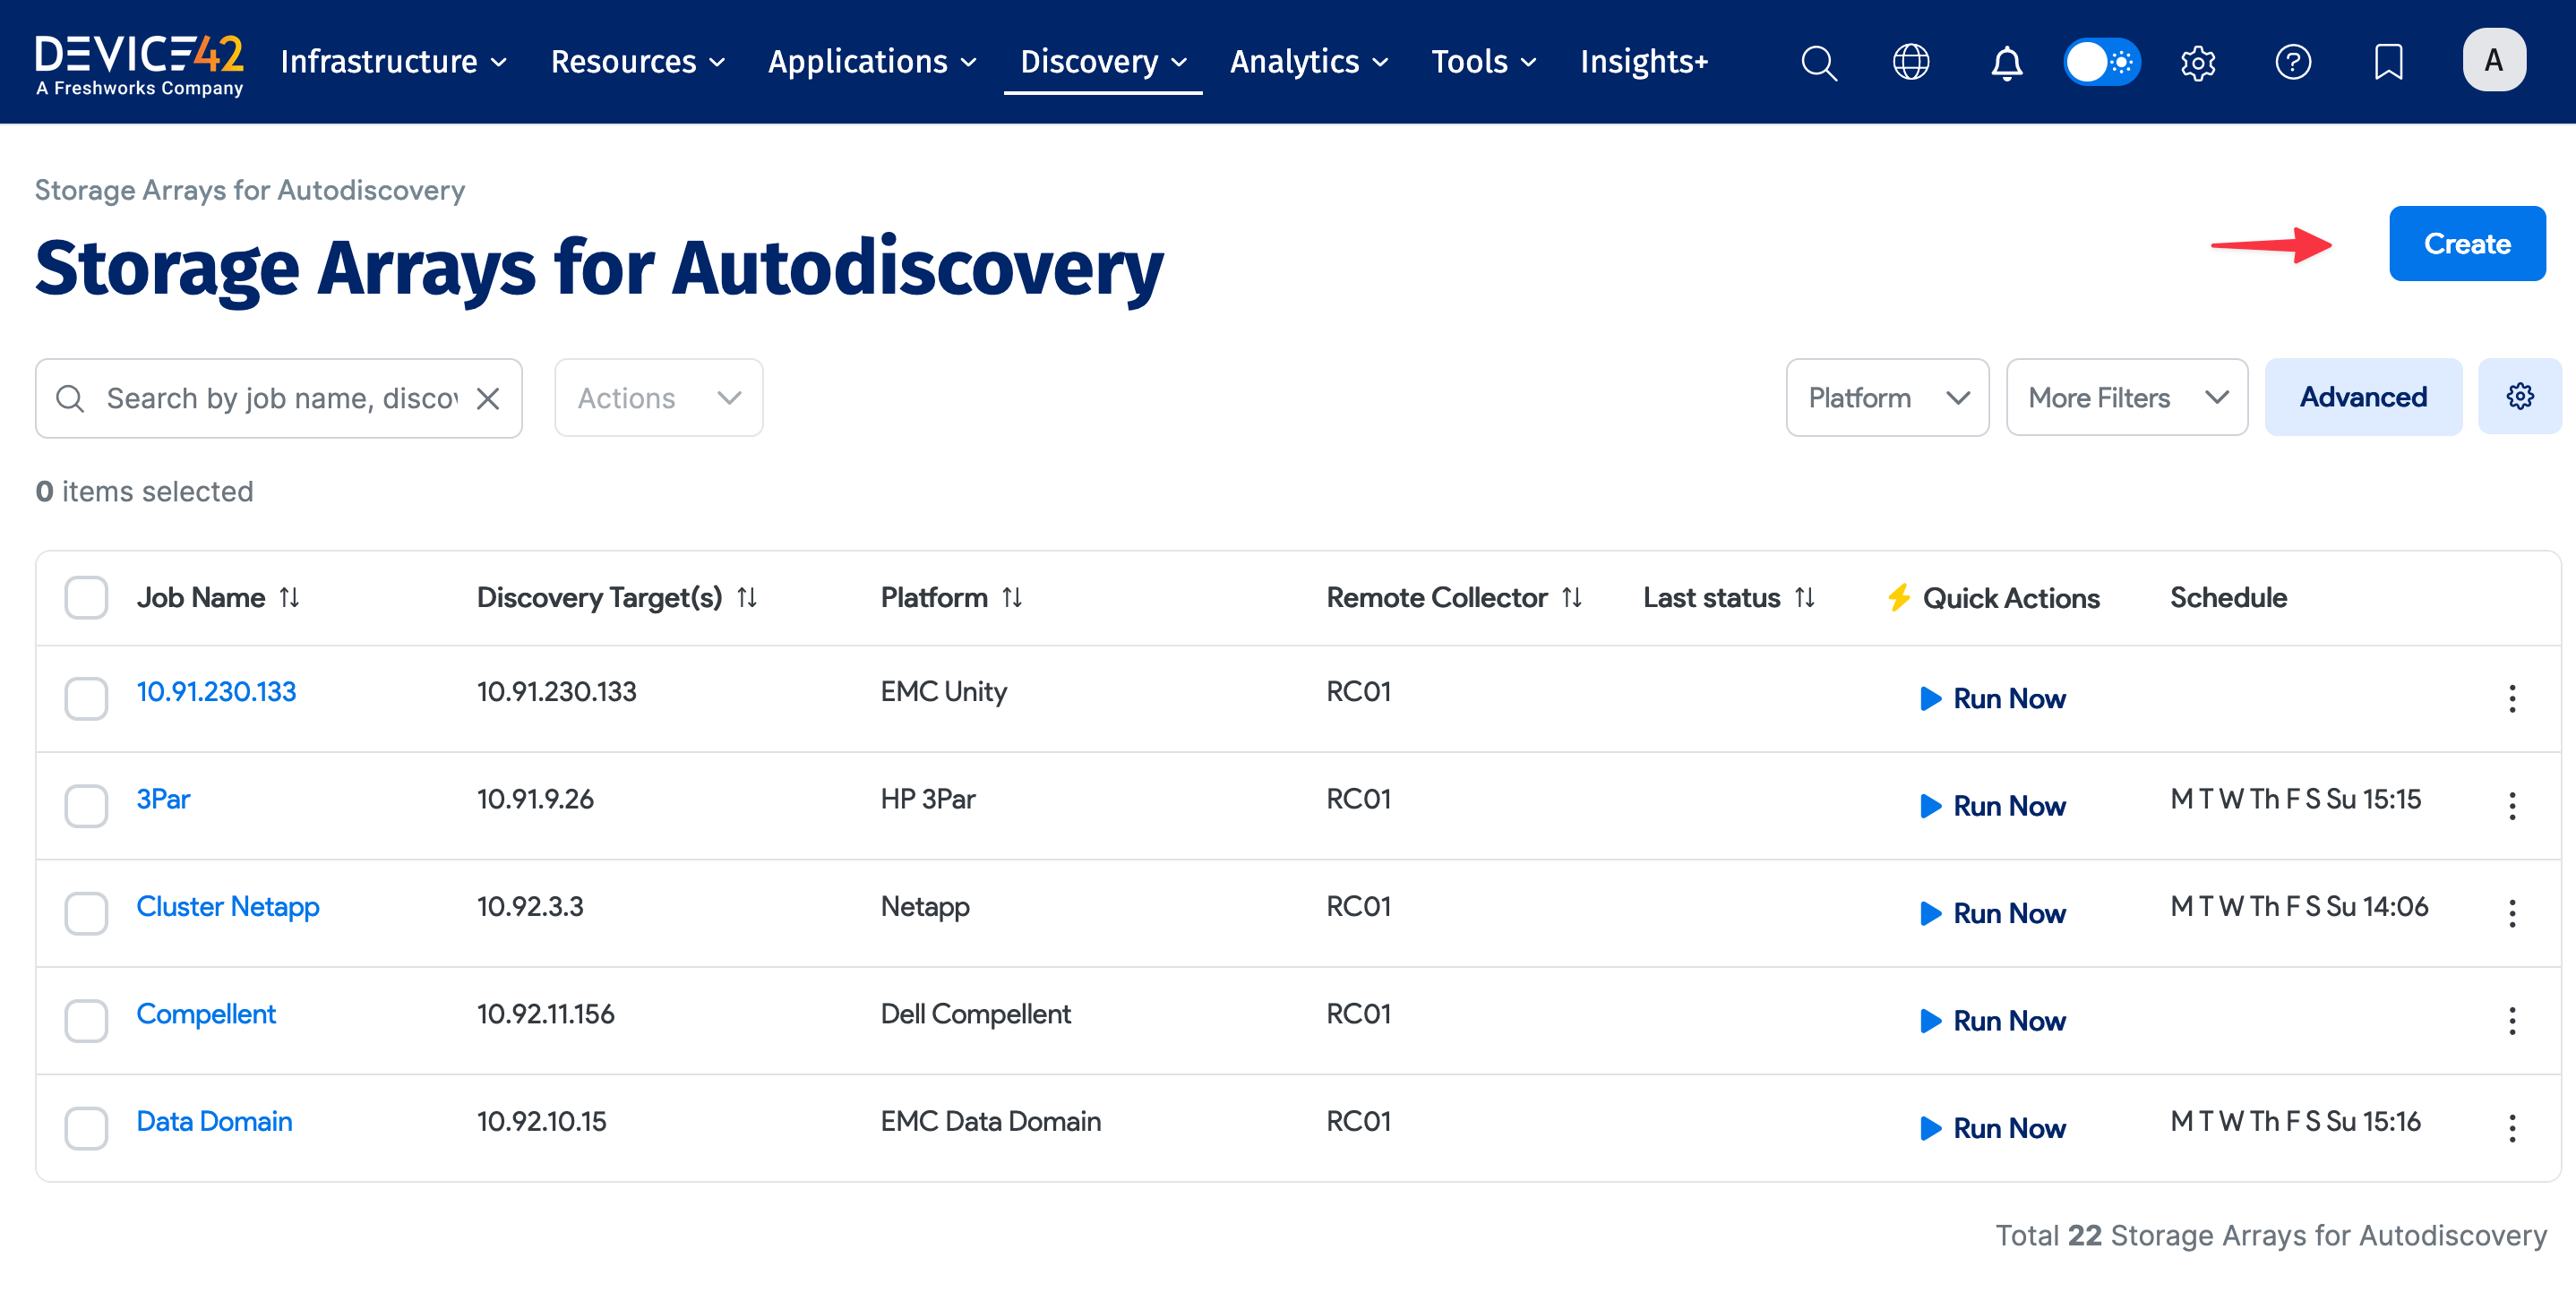
Enter or select the following information for the discovery job:
- Job Name: A unique name for the job.
- Remote Collector: The RC to use for the job. An RC is required for storage array discovery.
- Platform: The storage array platform or vendor.
- Discovery Targets: The FQDN, IPs, CIDR, or ranges of the target servers.
- Target Type: Select Filer, DFM, or OCUM. Available options depend on the platform selected.
- Protocol Type: Select HTTPS, HTTP, or insecure-HTTPS. Available options depend on the platform selected.
- Enable Performance Data Collection: Toggle performance data collection on or off.
- Performance Data Sampling Interval: The time interval for data sampling (if performance data collection is enabled).
- Action for Storage Array Not Found: How to handle unfound storage arrays in subsequent discovery — Keep Array Resource or Delete Array Resource.
- Discovery Target(s) Credential(s): The username and password for the discovery job.
Click Save when done. Use the Run Now button to run the job immediately, or run it from the Storage Array list page.
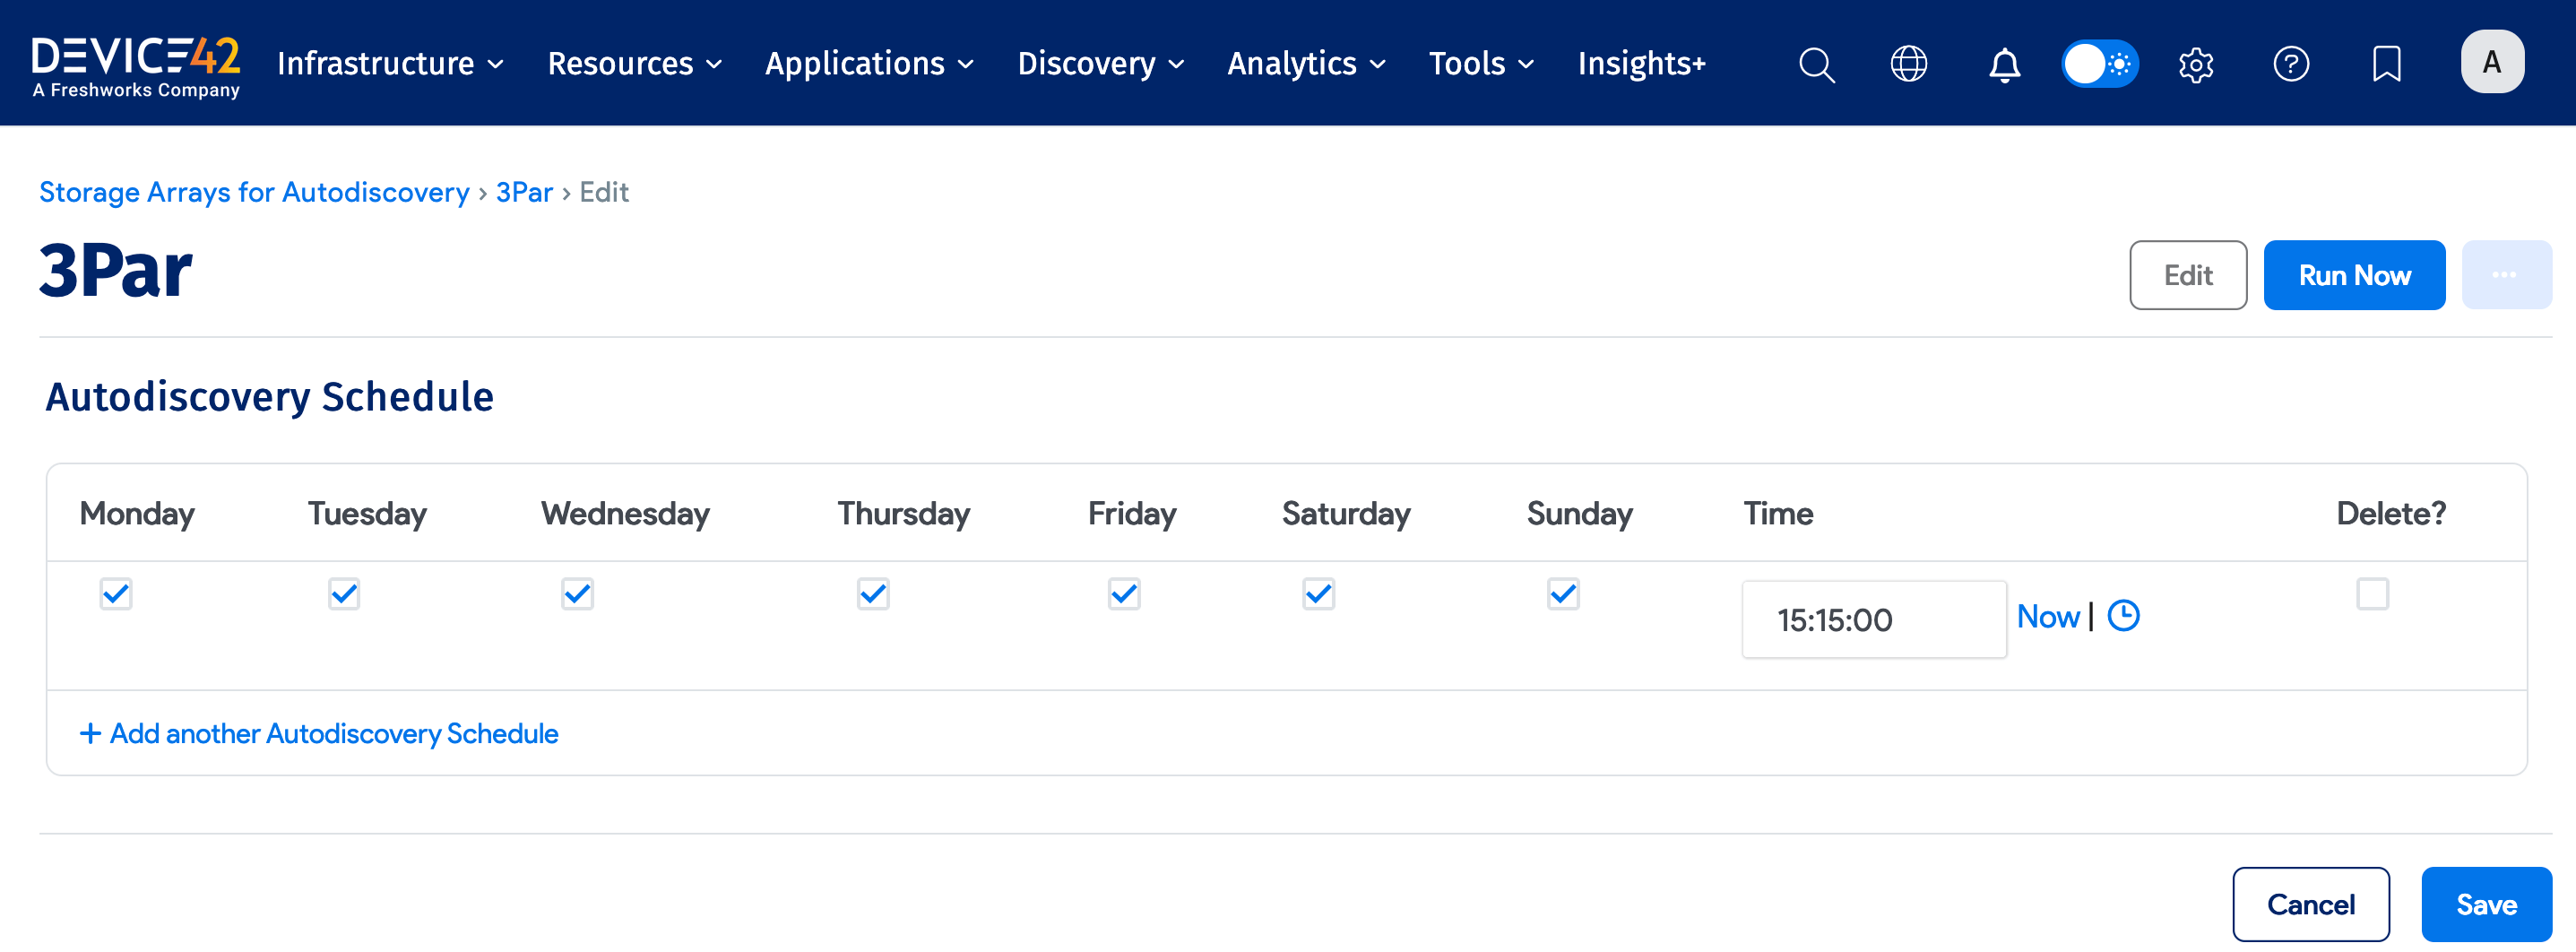
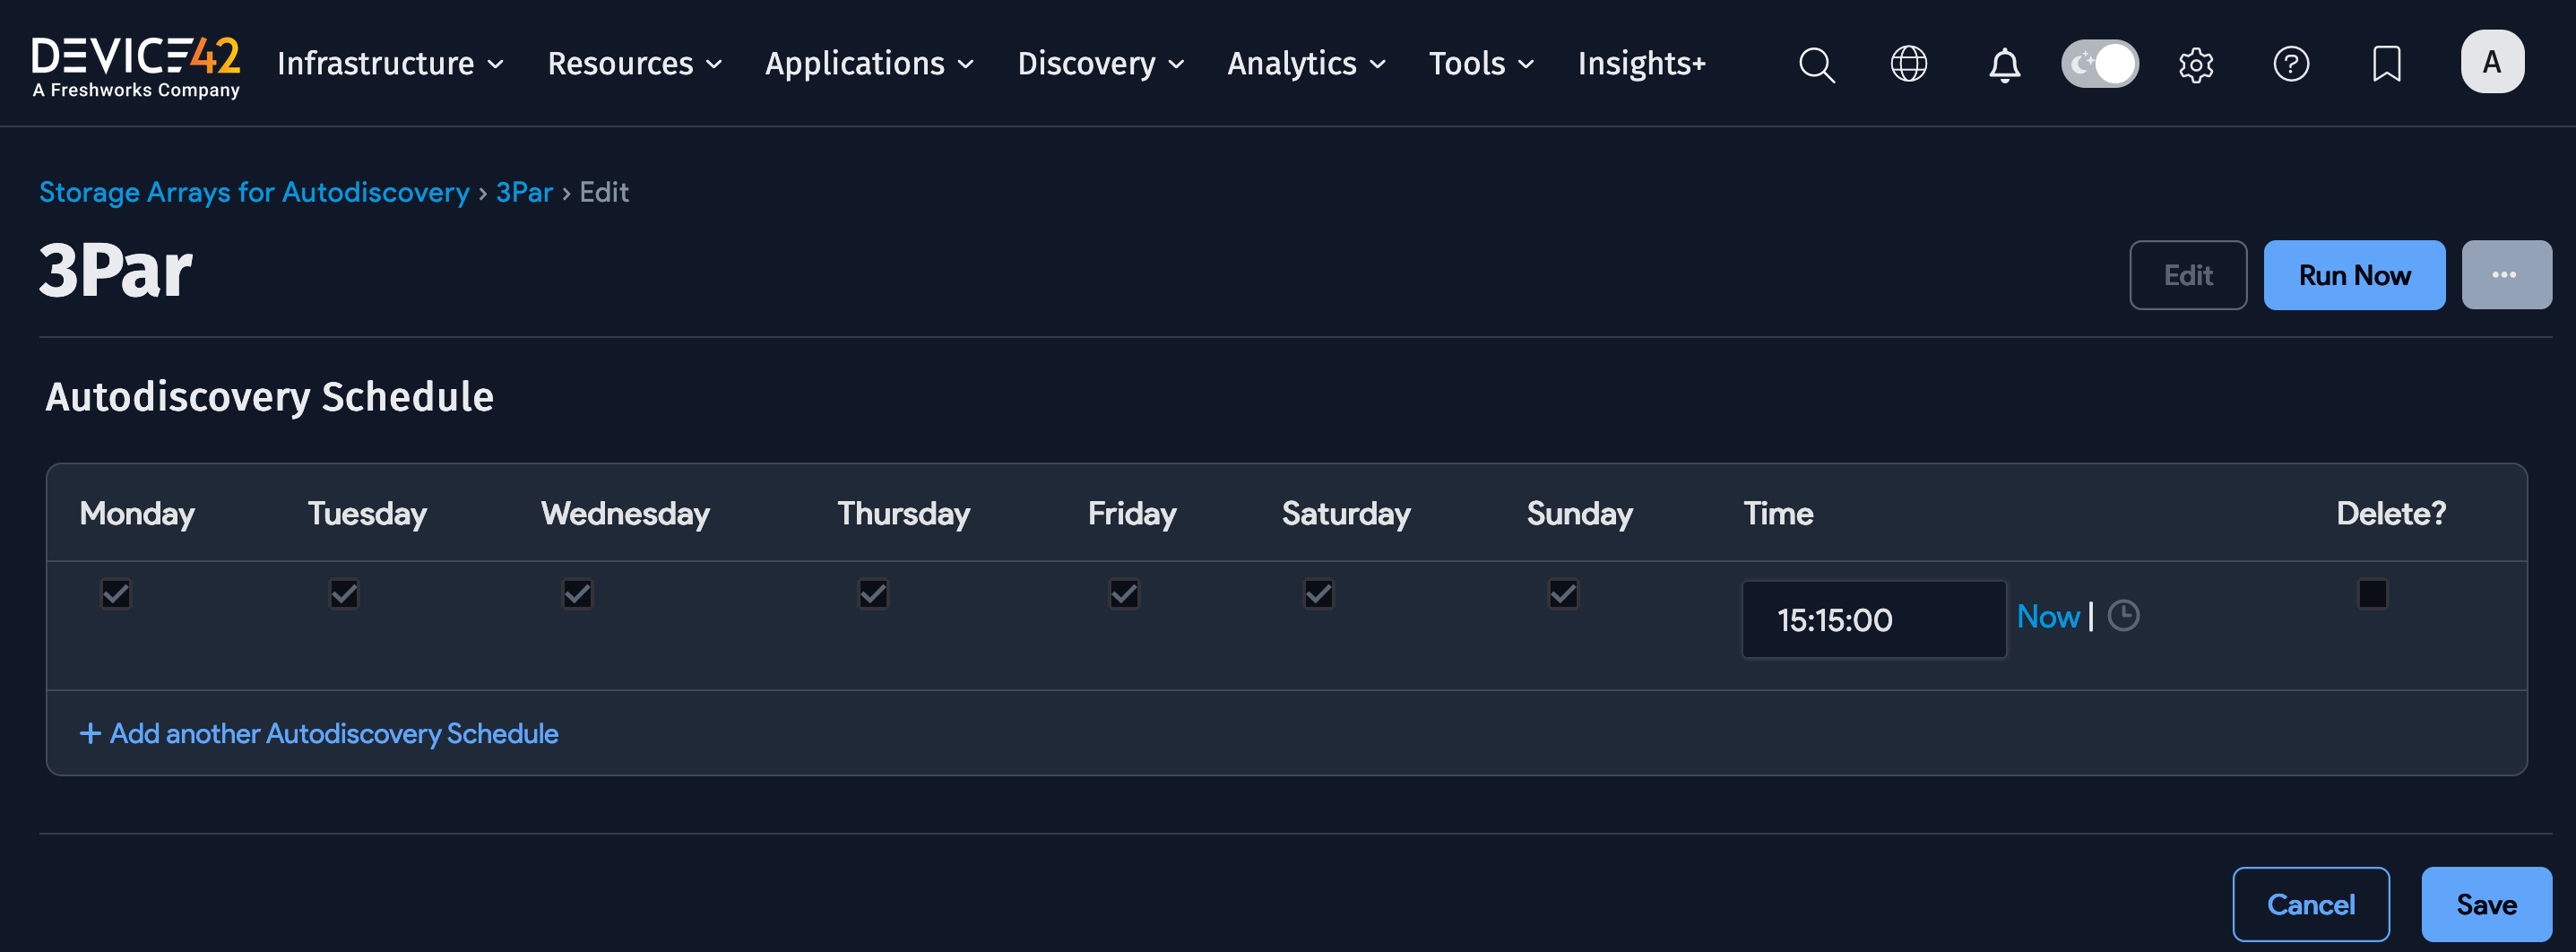
Schedule the Job
Use the Autodiscovery Schedule section to schedule when the job runs. You can create multiple schedules for each job, specifying the days and times.
Newly created jobs will not run on the first day they are created, to prevent too many jobs from running simultaneously. To run a job after its initial creation, click the Run Now button.