AWS Autodiscovery
The Device42 AWS autodiscovery feature ensures you have full visibility into your AWS environments. This visibility gives you insight into your total AWS consumption, allowing you to optimize spending and services consumed. New discoveries are added all the time based on the needs of our customers.
Viewing Discovered AWS Items
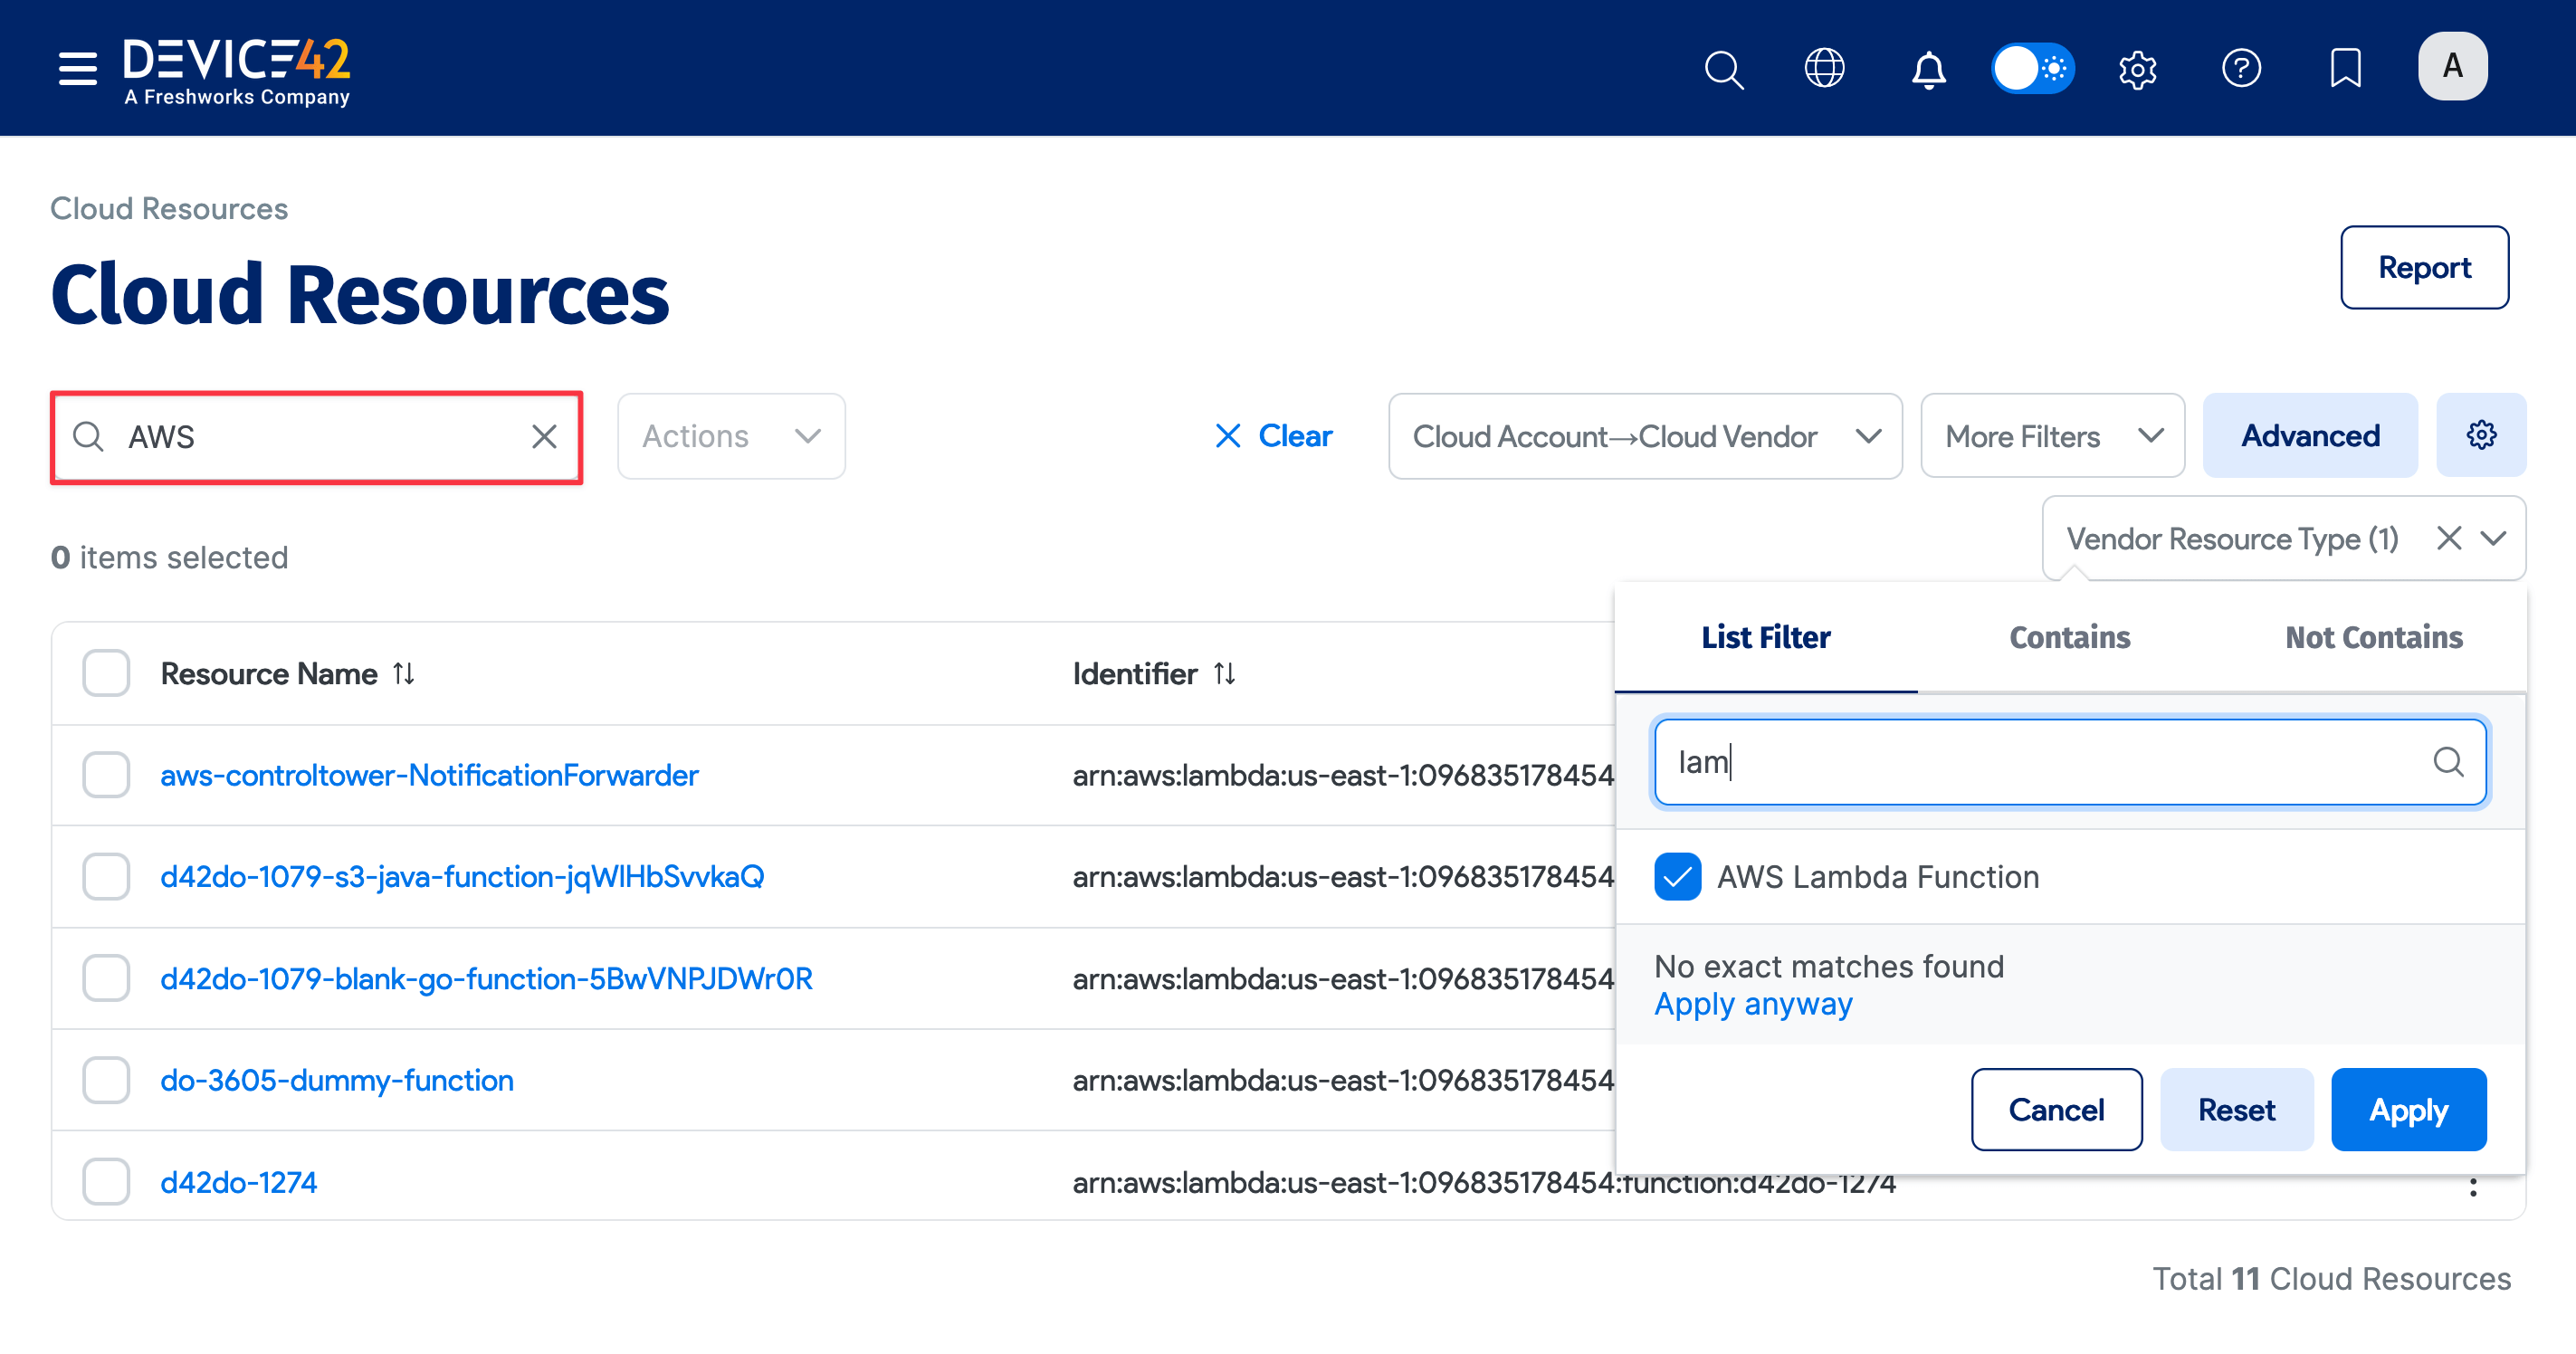
You can view the discovered AWS items by navigating to the list page under Resources > Cloud Resources. Use the search bar on the left or click on one of the column dropdown menus to filter for specific AWS discovery item fields.
For example, click the Vendor Resource Type dropdown menu and start typing a discovery item type in the search bar. Filter by a segment of the item field name using the advanced Contains search bar or use the Not Contains criteria to filter by exclusion.

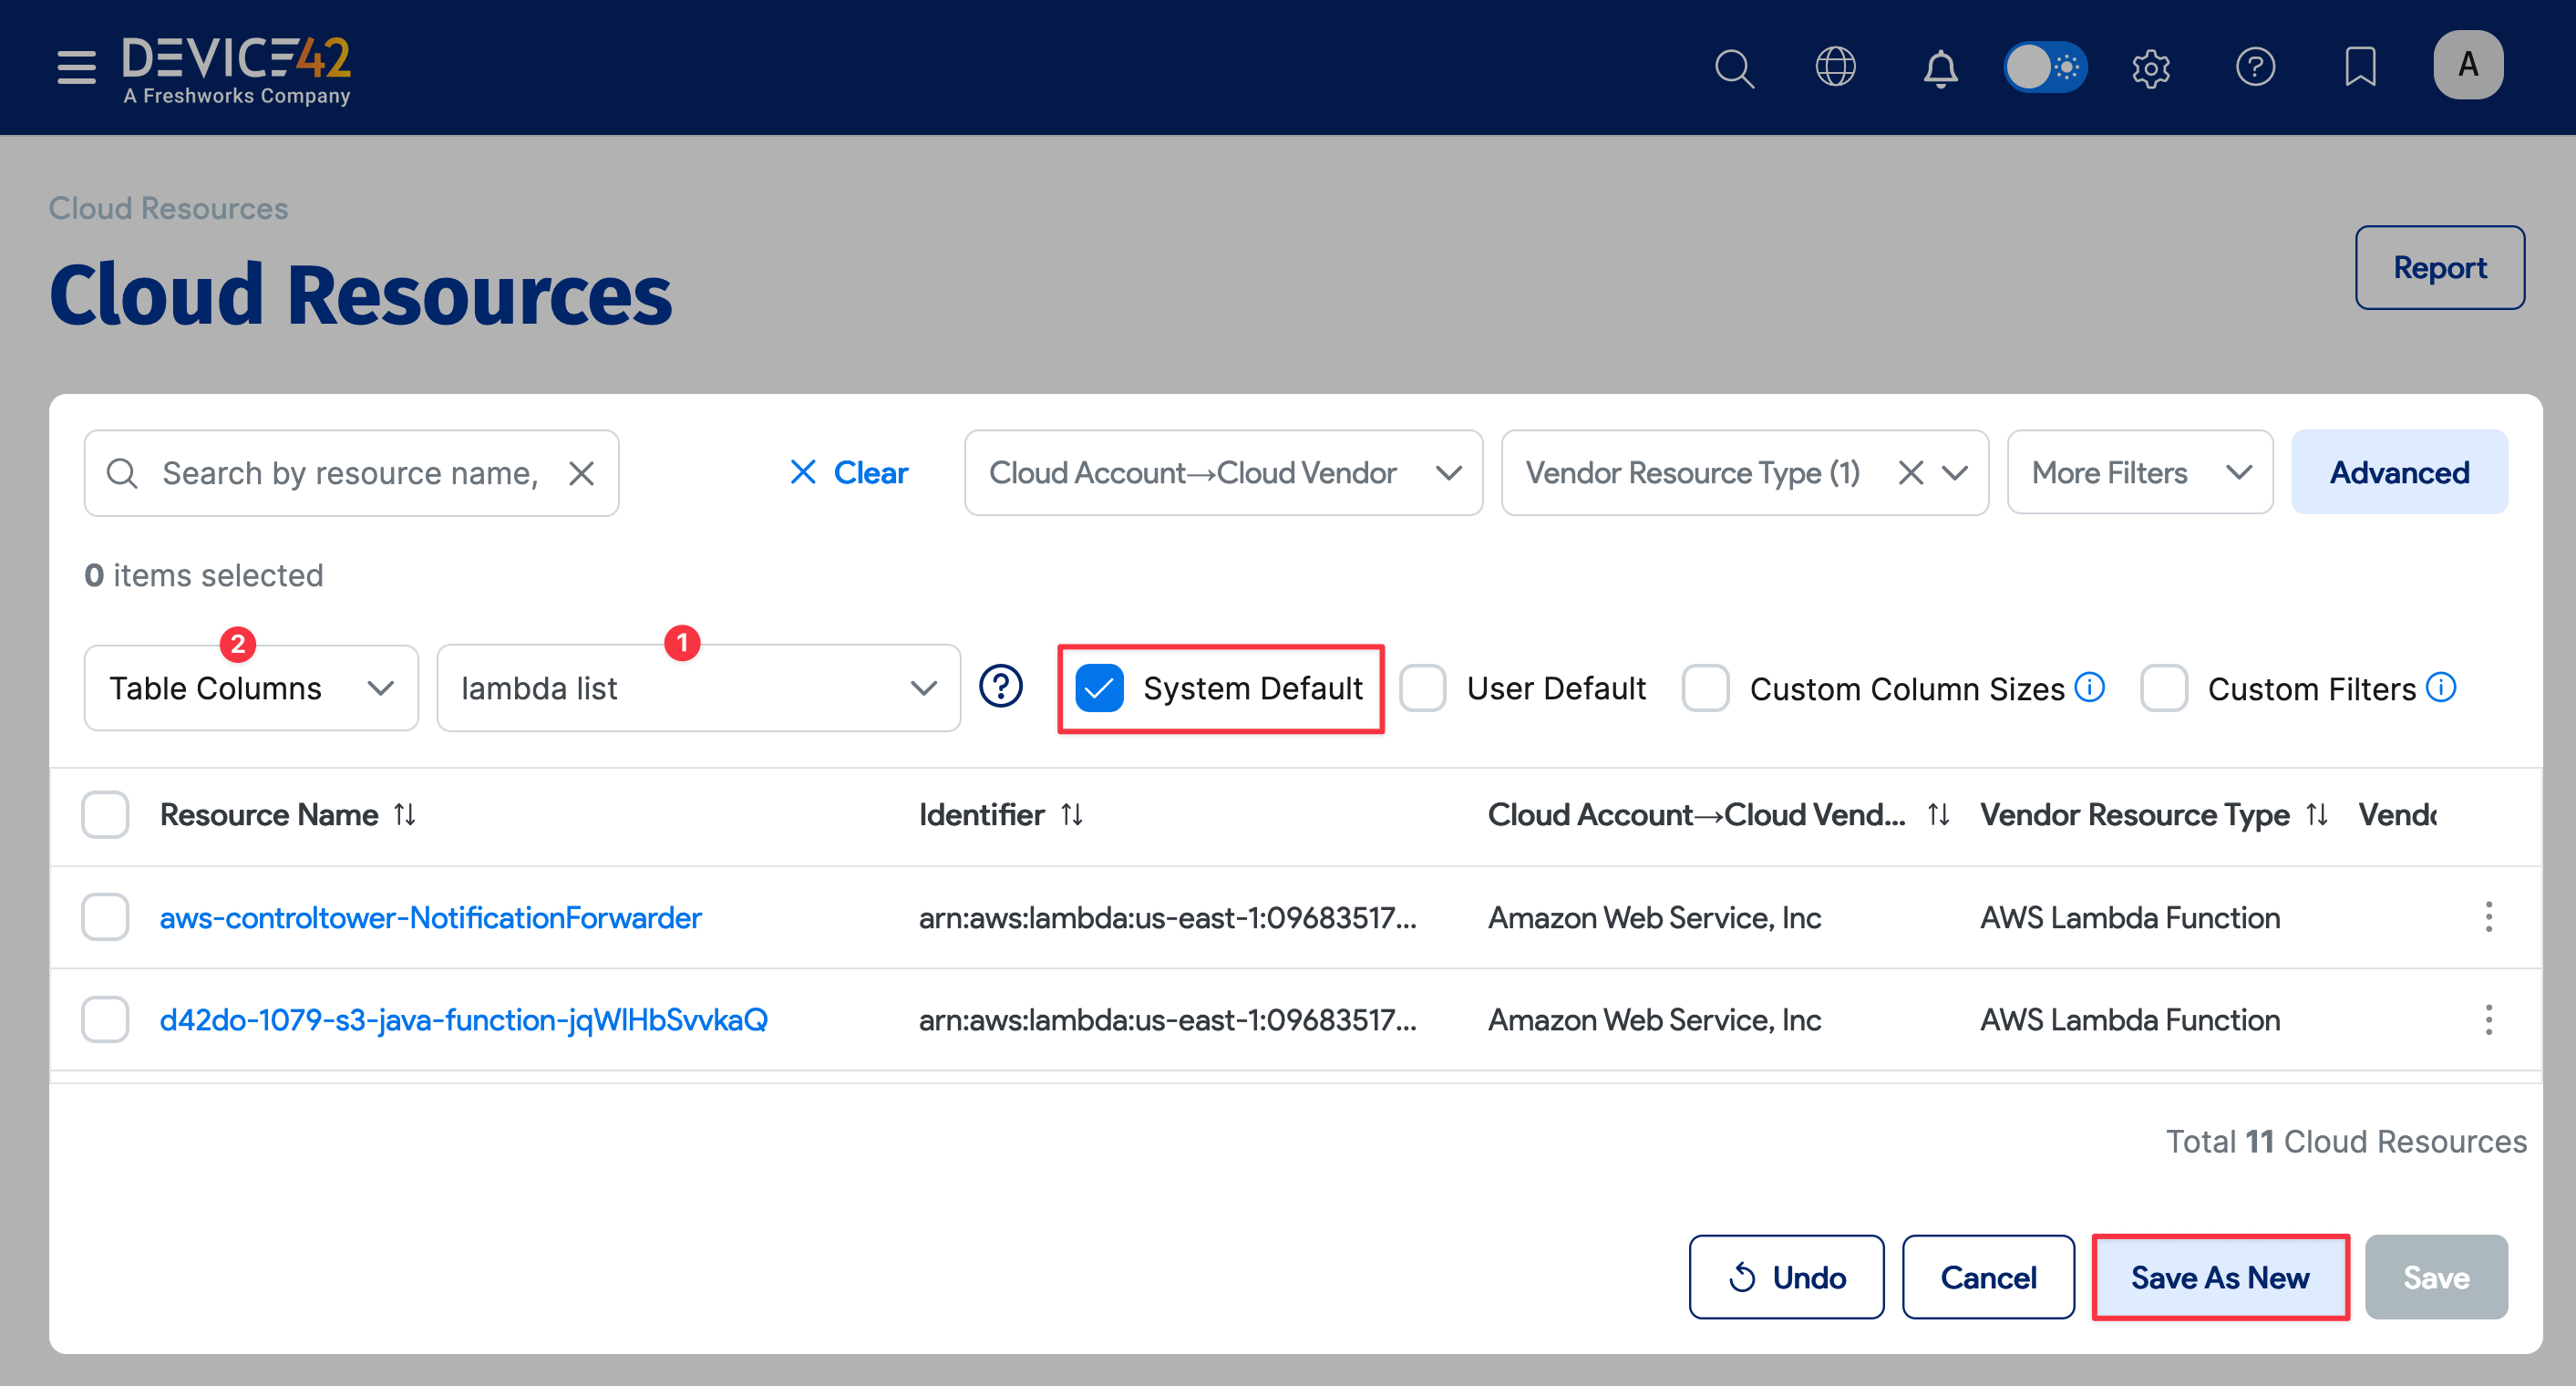
You can save your search to apply it later without repeating the search steps. Click the gear icon on the right, name your search (1), and click the Save As New button.
To change which columns are displayed, click Table Columns (2) and select and deselect the columns from the list.
If you want to keep this list page setup as the default view, select the System Default box.

Getting Started with AWS Autodiscovery
To create an AWS Autodiscovery job, you will need to:
- Prepare your AWS Account. You can use the example IAM policy below.
- Have your AWS Access Key ID and Secret Key ready. Device42 uses these to perform discovery.
Follow AWS best practices for managing IAM credentials, including strong passwords, regular rotation, and the principle of least privilege.
For more information, see Best Practices for Managing AWS Access Keys on Amazon.
Initiating an AWS Discovery
- Select Discovery > Cloud from the main menu and then click Create at the top right of the Cloud Autodiscovery list page.
- Enter a Name for the job.
- Select Type > Amazon AWS from the dropdown menu.
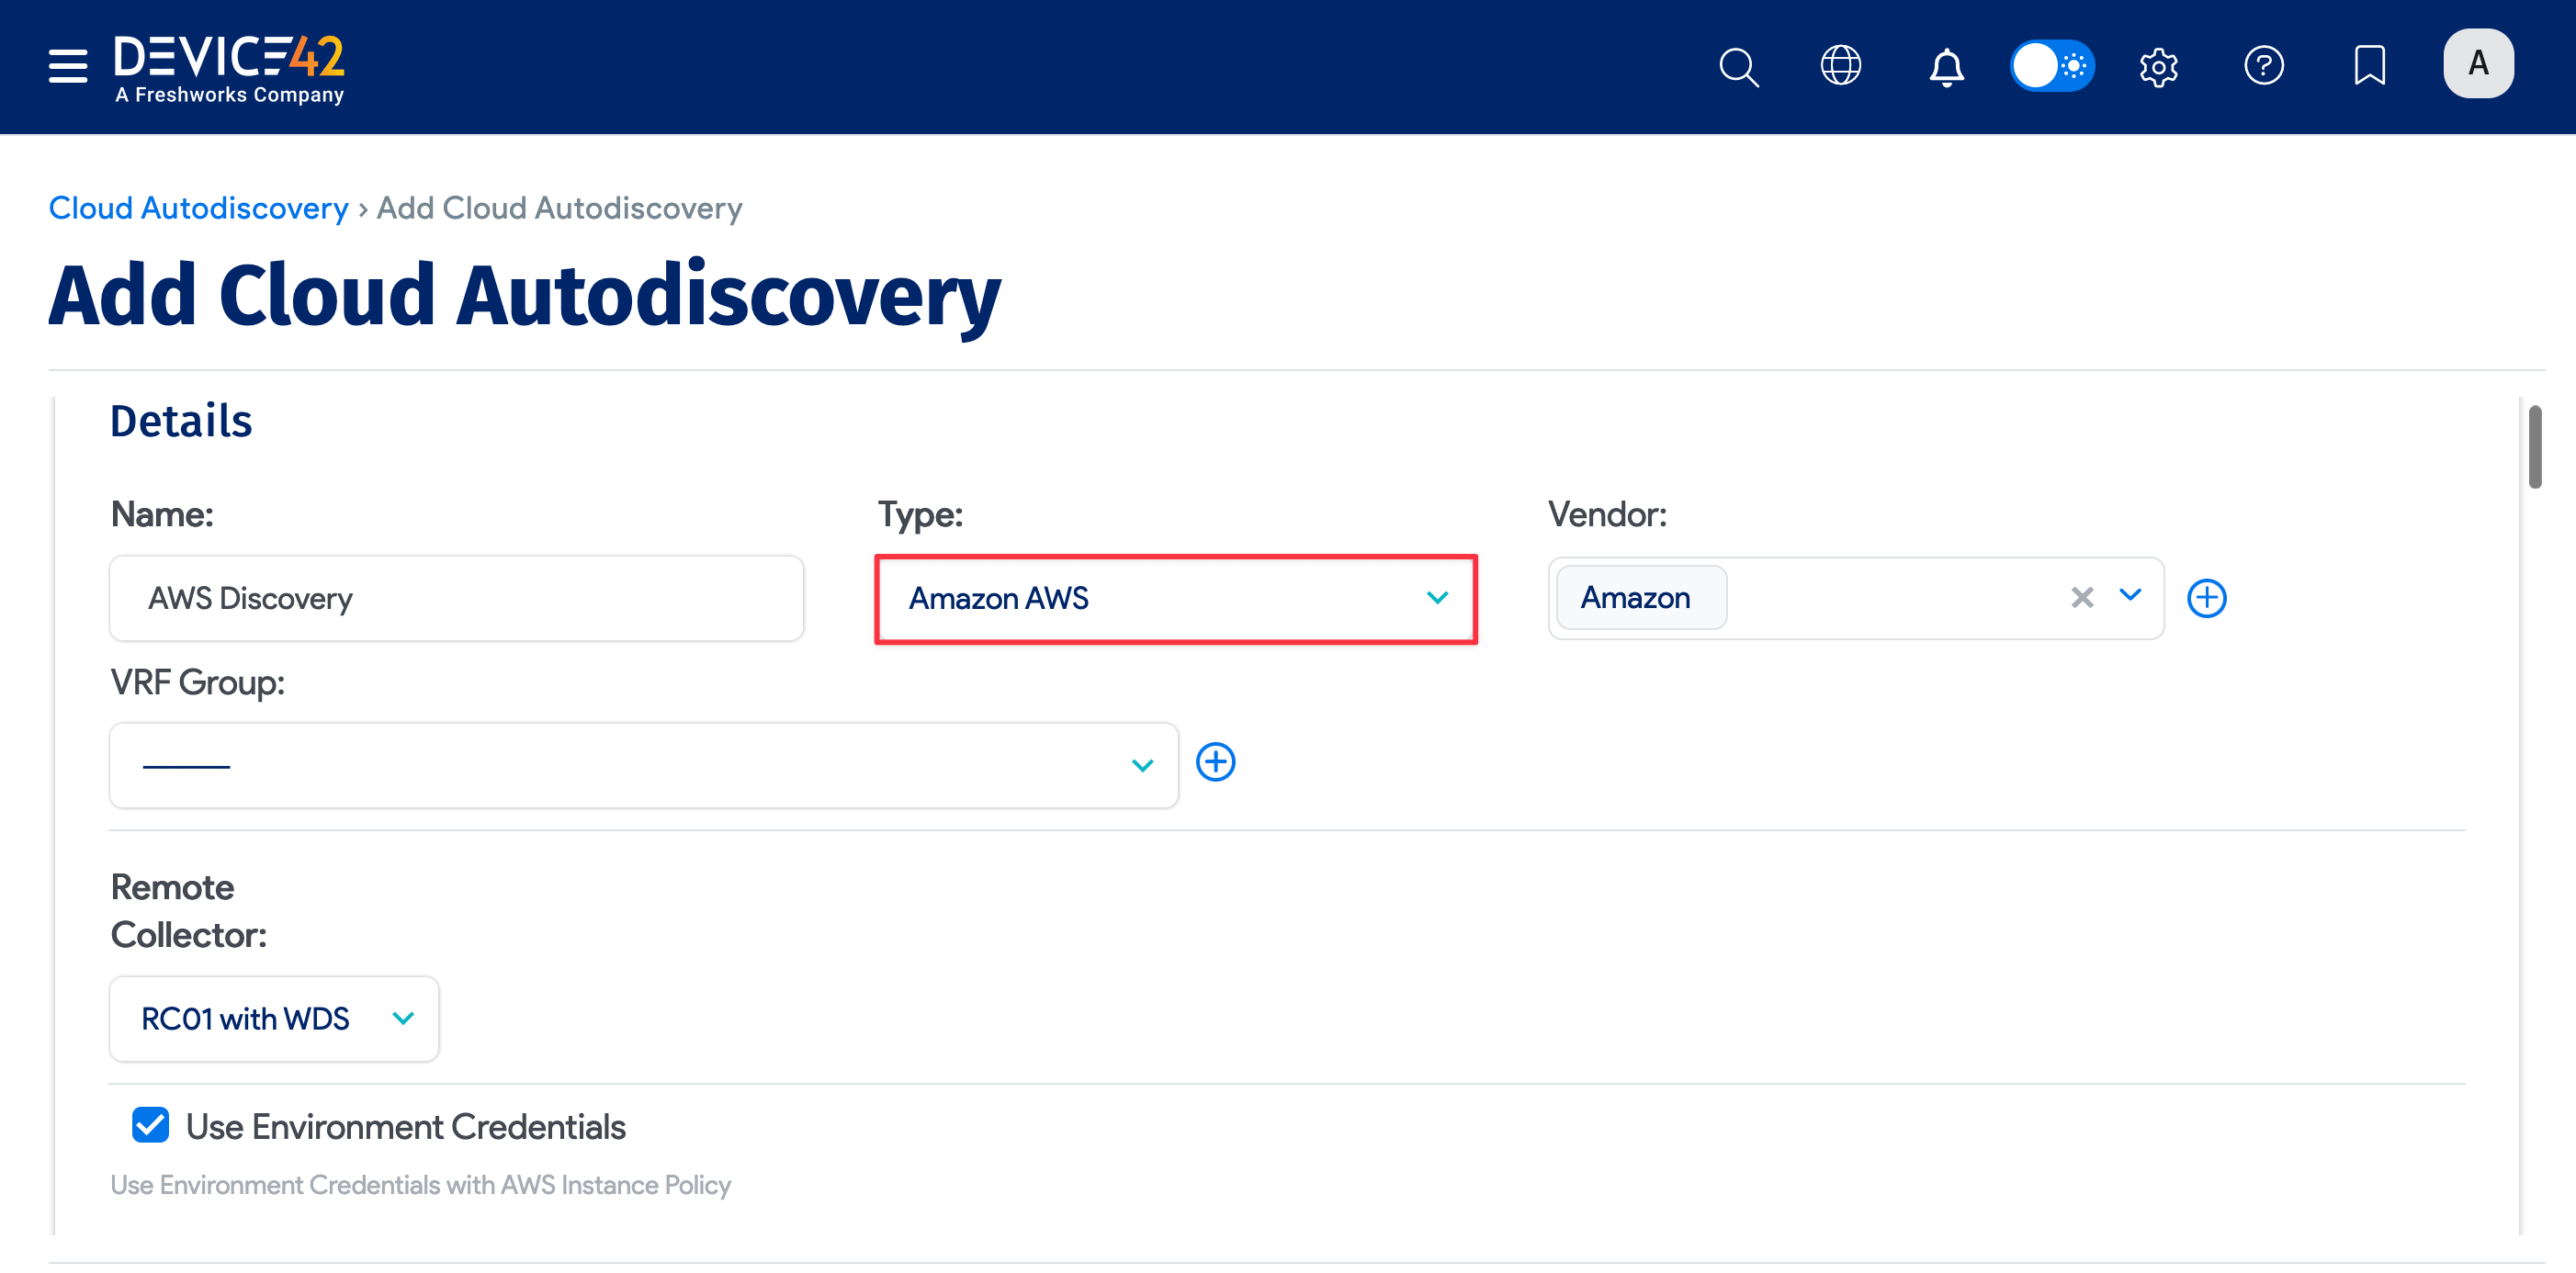
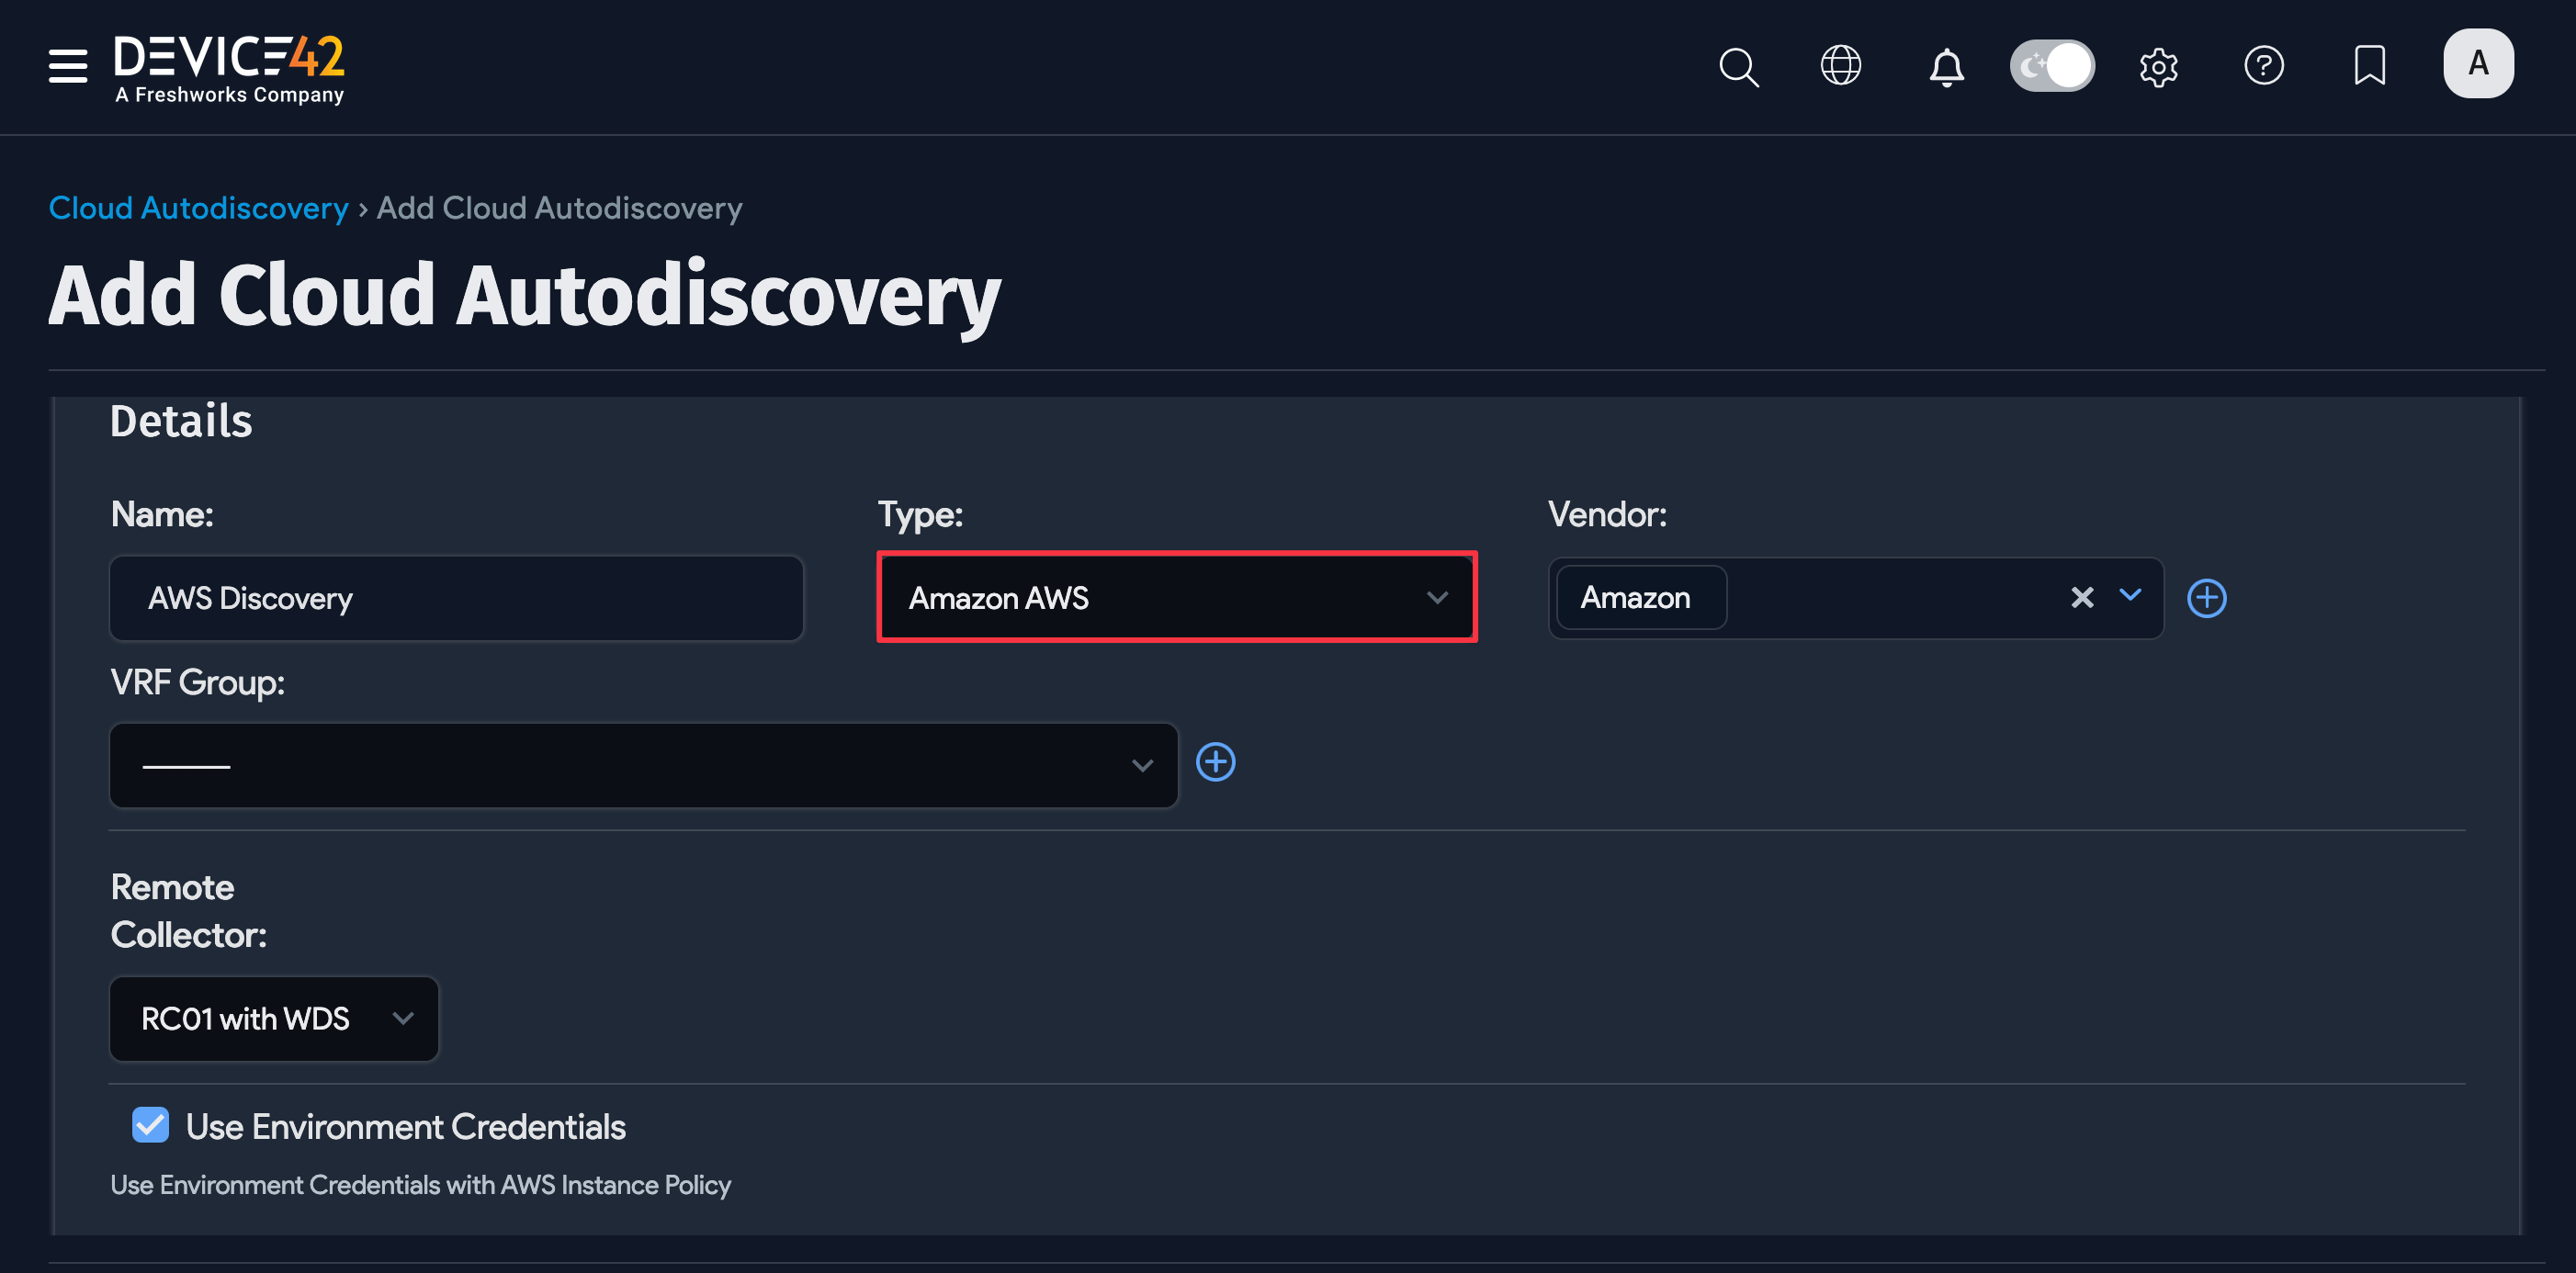
- Select the Remote Collector for the job.
- Select Use Environment Credentials (see Setting Up Environment Credentials below), or add your Amazon Access Key ID and Secret Key for the account(s) to be discovered. Click the magnifying glass icon and Add Password in the upper-right corner. Enter your Access Key ID or Secret Key in the field labeled Password. Device42 uses encryption to store the keys.
- Select Discover Main Account to discover the main AWS account in addition to any AWS Roles accounts you select.
- Select the Available AWS Roles for the account(s) you want to discover using the arrow to add them to the Chosen AWS Roles list.
Note: See Defining AWS Roles below for instructions on creating the AWS Roles that Device42 displays for AWS cloud discovery jobs.
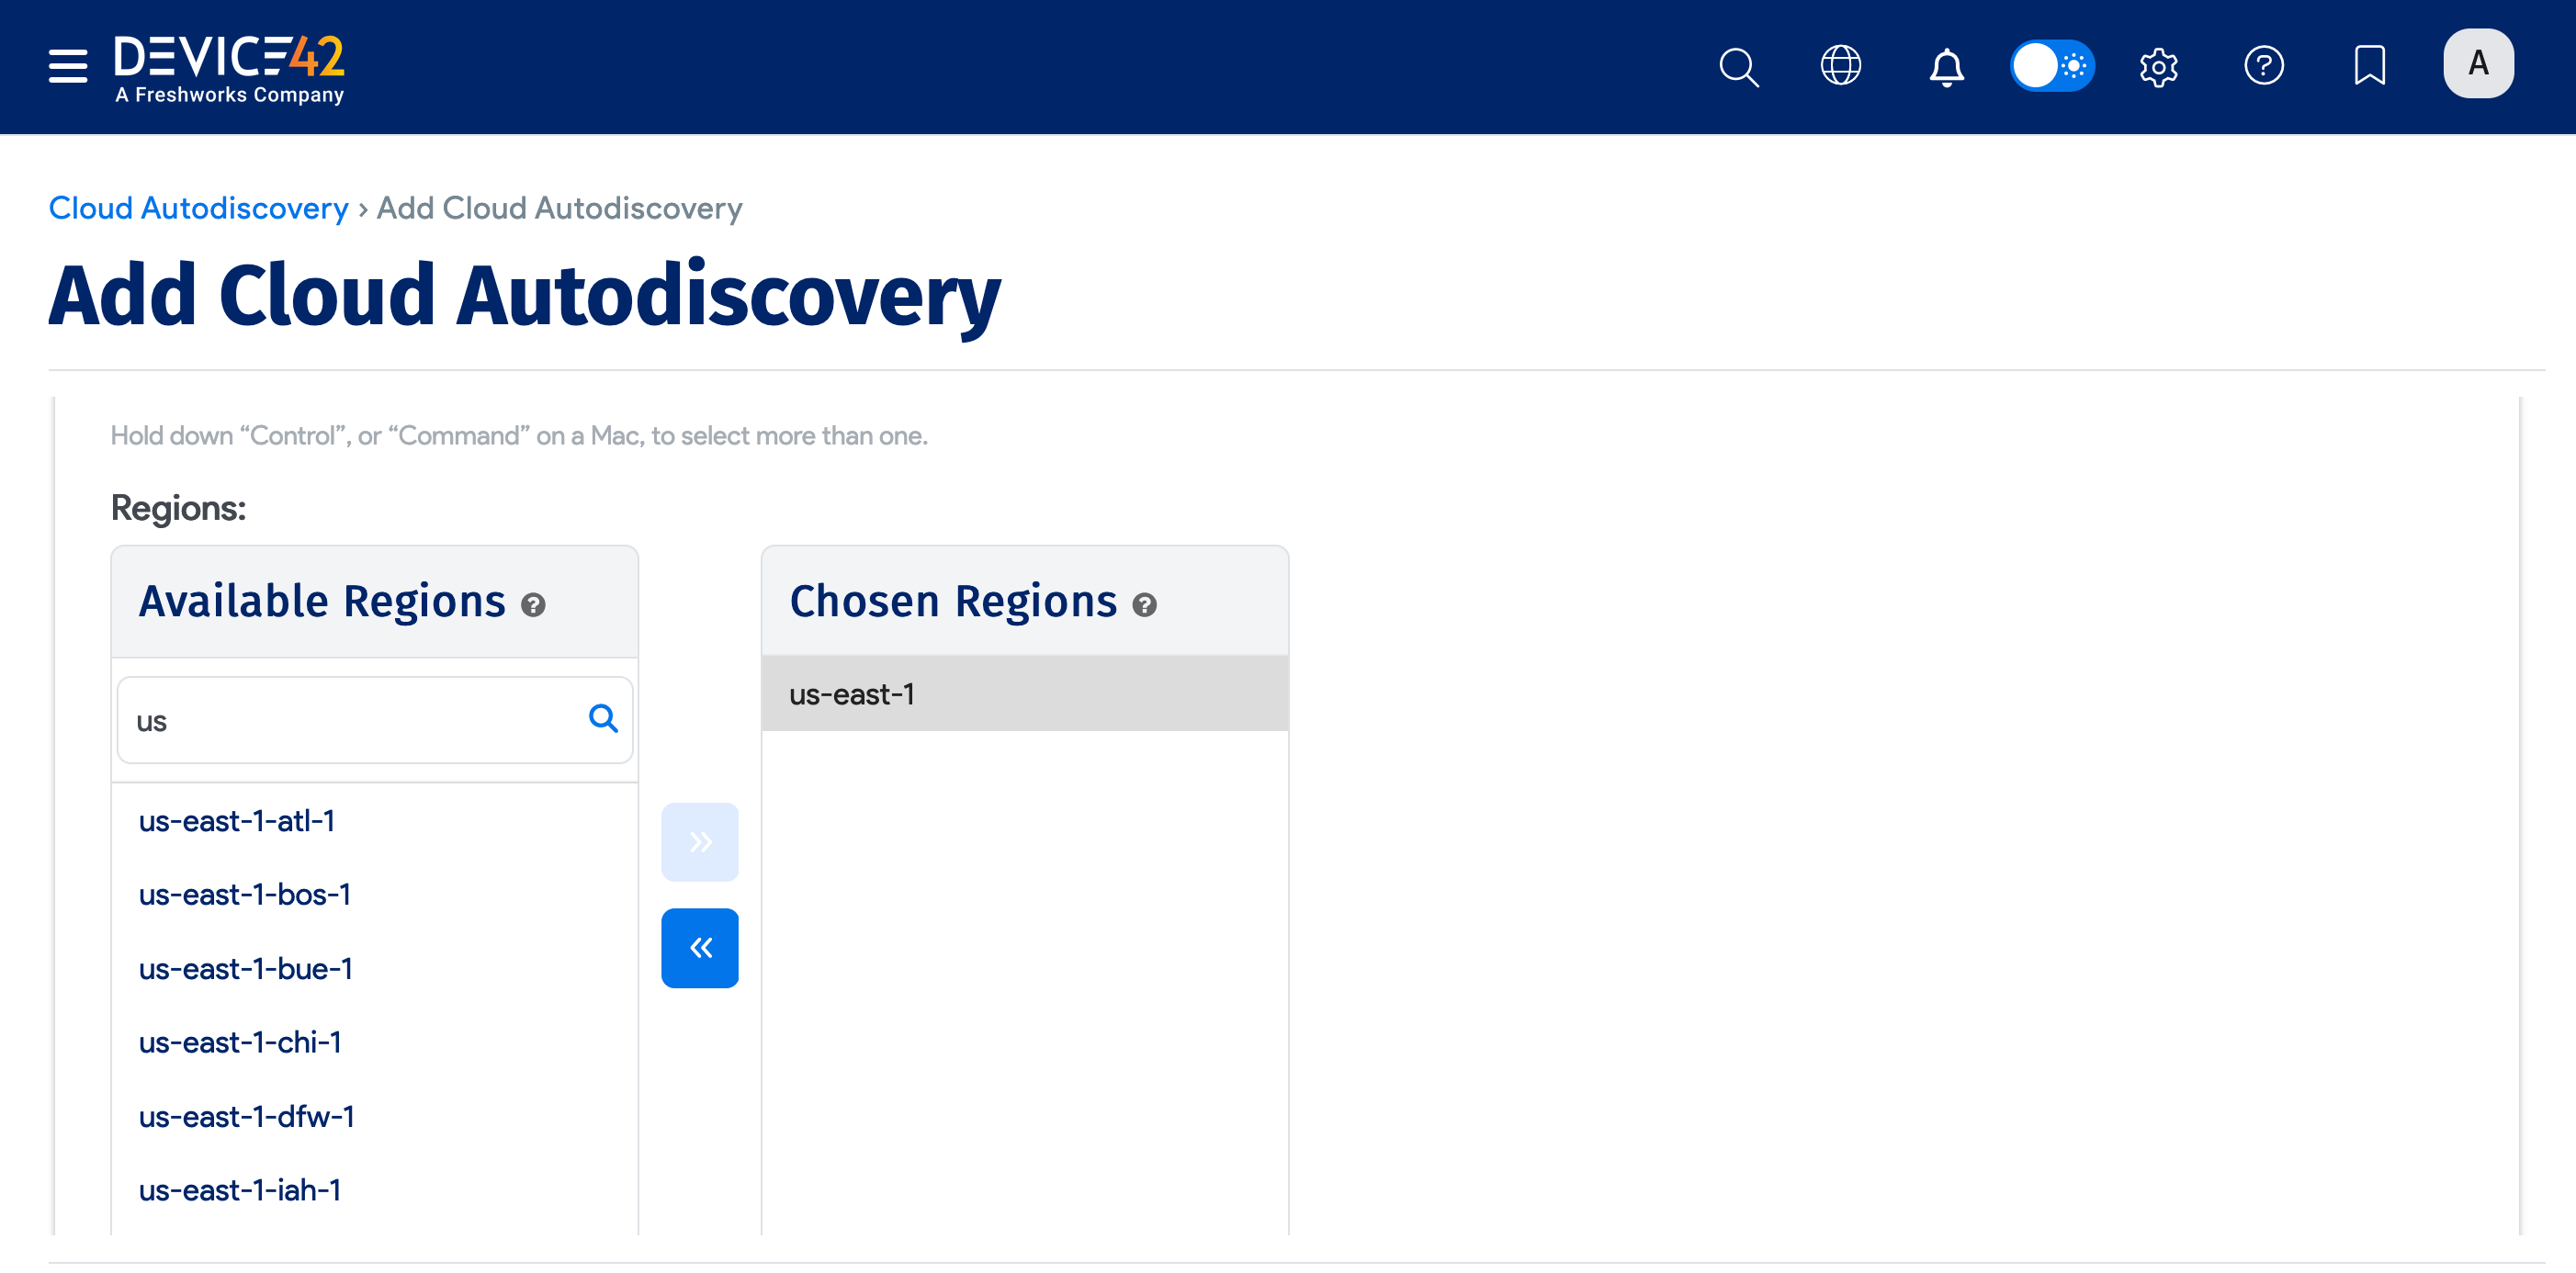
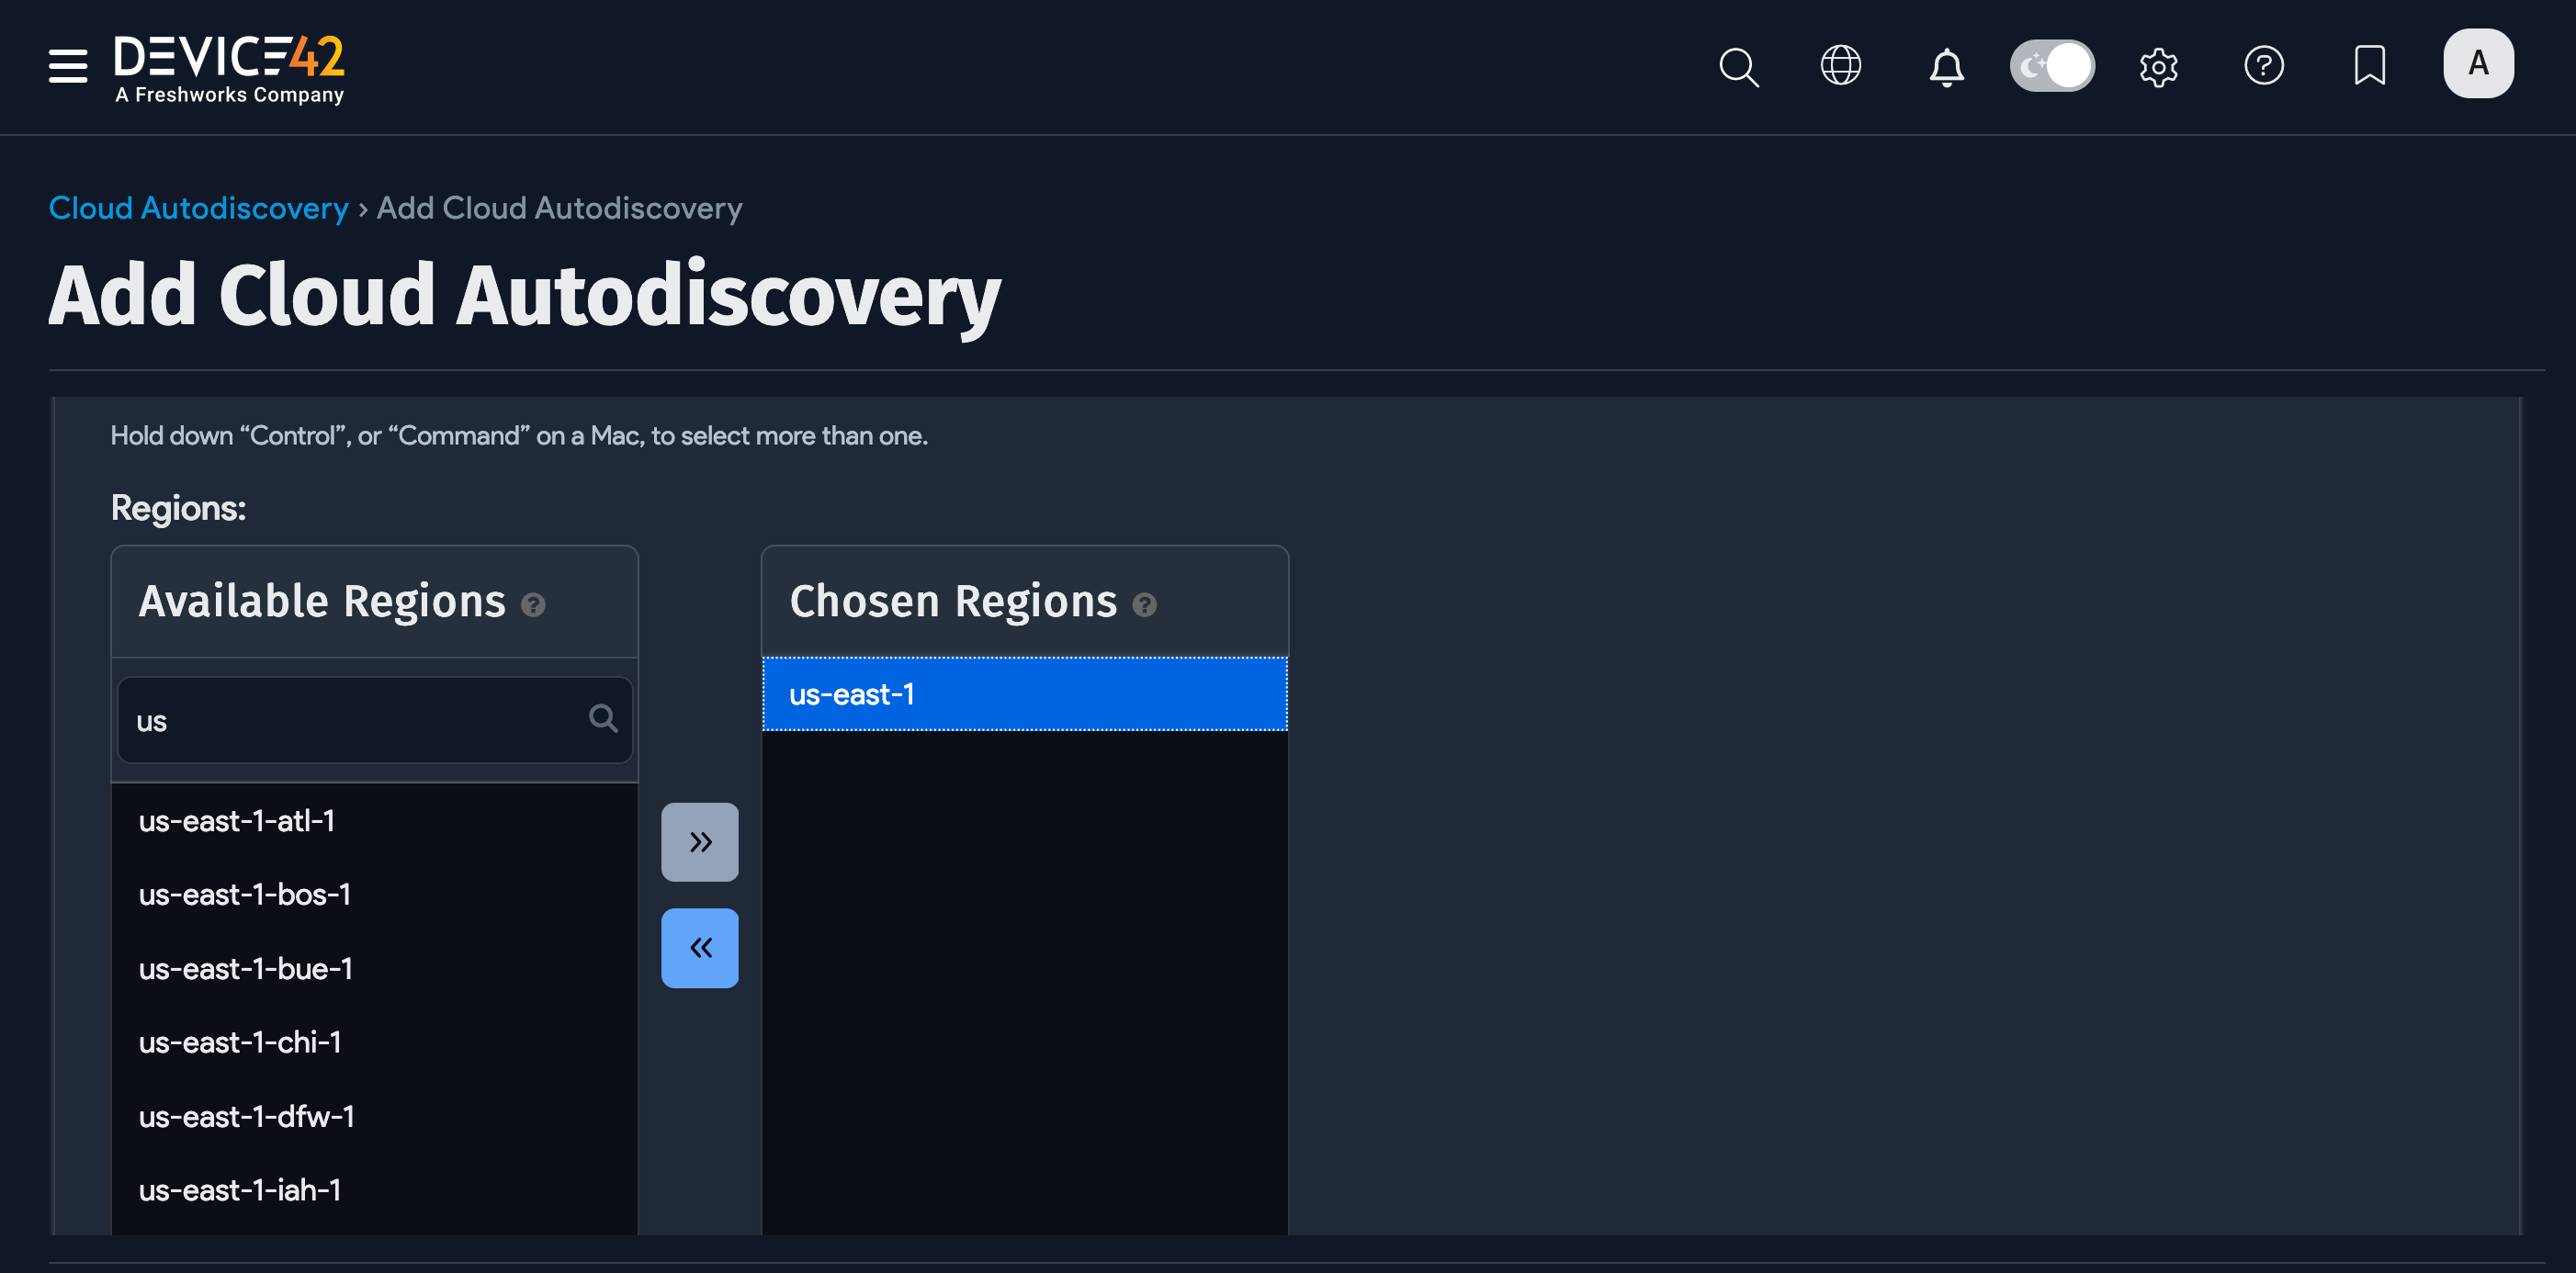
- Choose one or more Amazon regions to search.
- You can also use Add vendor metadata as to specify the format for vendor metadata, choose an Action for Instance not found in subsequent discoveries, select Device Name Format options, and add Tags for discovered devices.
- Check Kubernetes Discovery to discover Kubernetes clusters hosted on your cloud platform.
- Check Extended Summary Discovery to discover the full breadth of resources within your AWS Environment. These resources will be displayed in the Cloud Resources section with a limited dataset.
- Optionally, you can set the Service Level of the job to be applied to the discovered items.
- Add object categories, tags, and a customer for discovered devices.
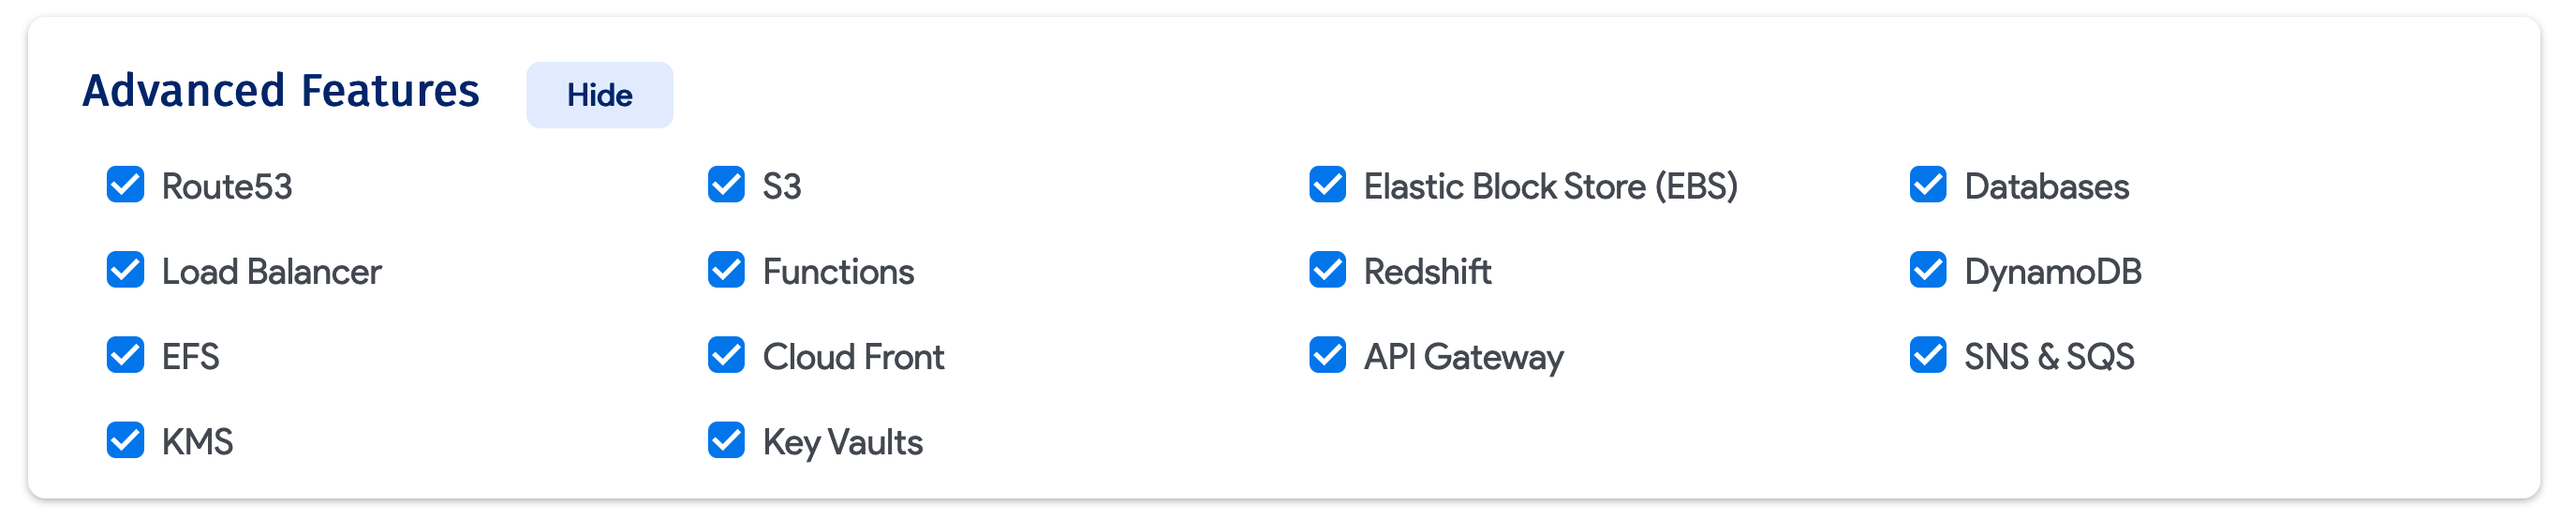
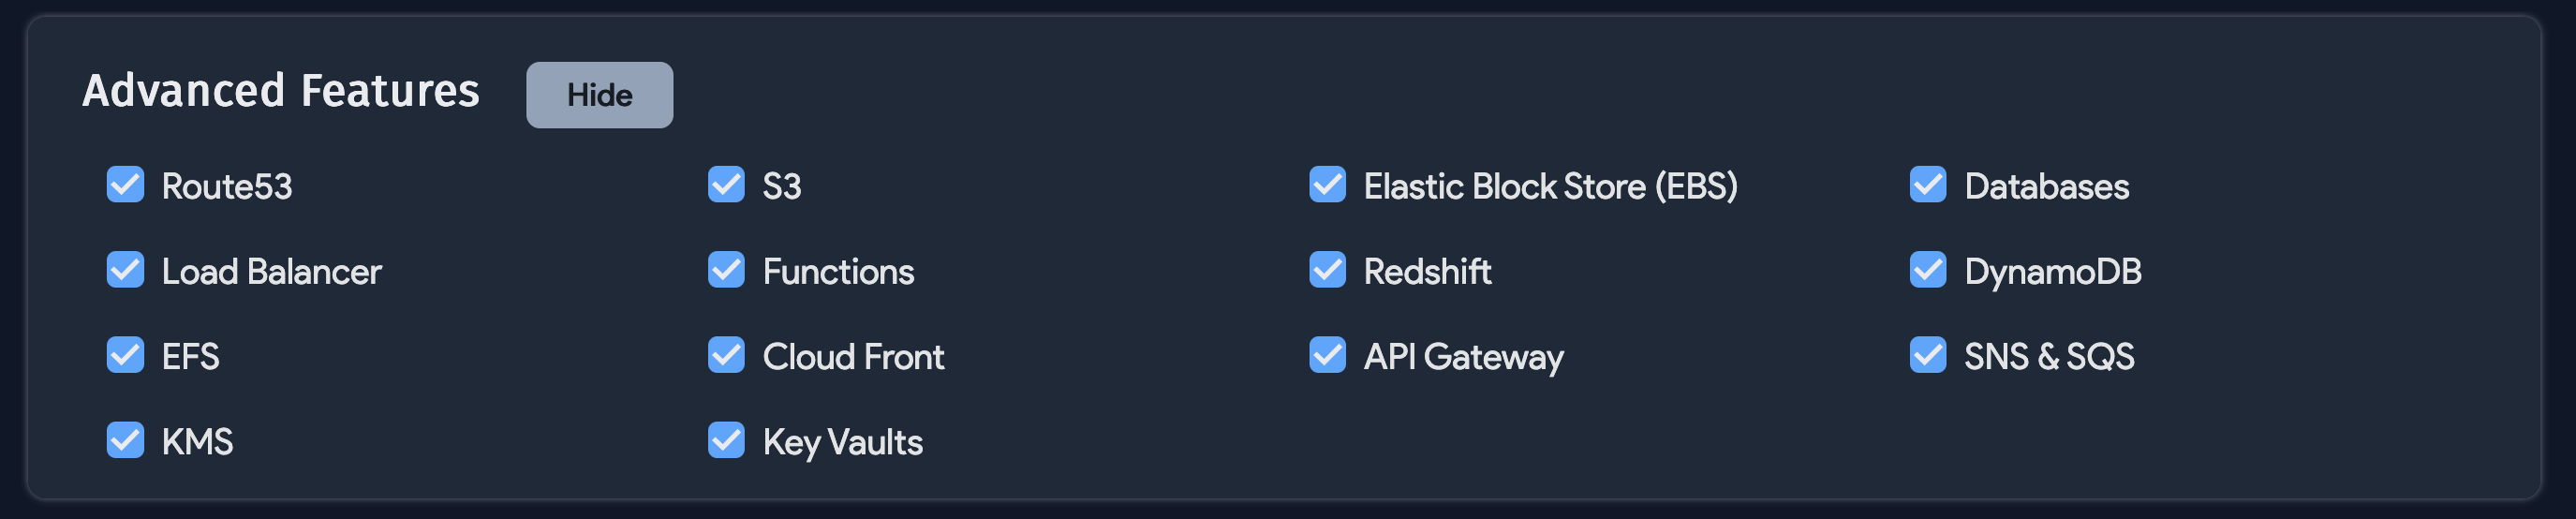
- Scroll down the page to the Advanced Features (Show) tab and select the types of resources you want the job to discover (for example, Route53, S3, EBS, and Databases).
- Add an optional Autodiscovery Schedule to schedule the job.
- Add the Admin Groups for the job.
- Click Save or Save and continue editing to save the discovery job.
- To run the job immediately, go to the Cloud Discovery list page and click Run Now.
Defining AWS Roles
Device42 includes an editor to define or edit the AWS Roles displayed for Amazon AWS cloud autodiscovery jobs. Follow the steps below to view and add AWS Roles:
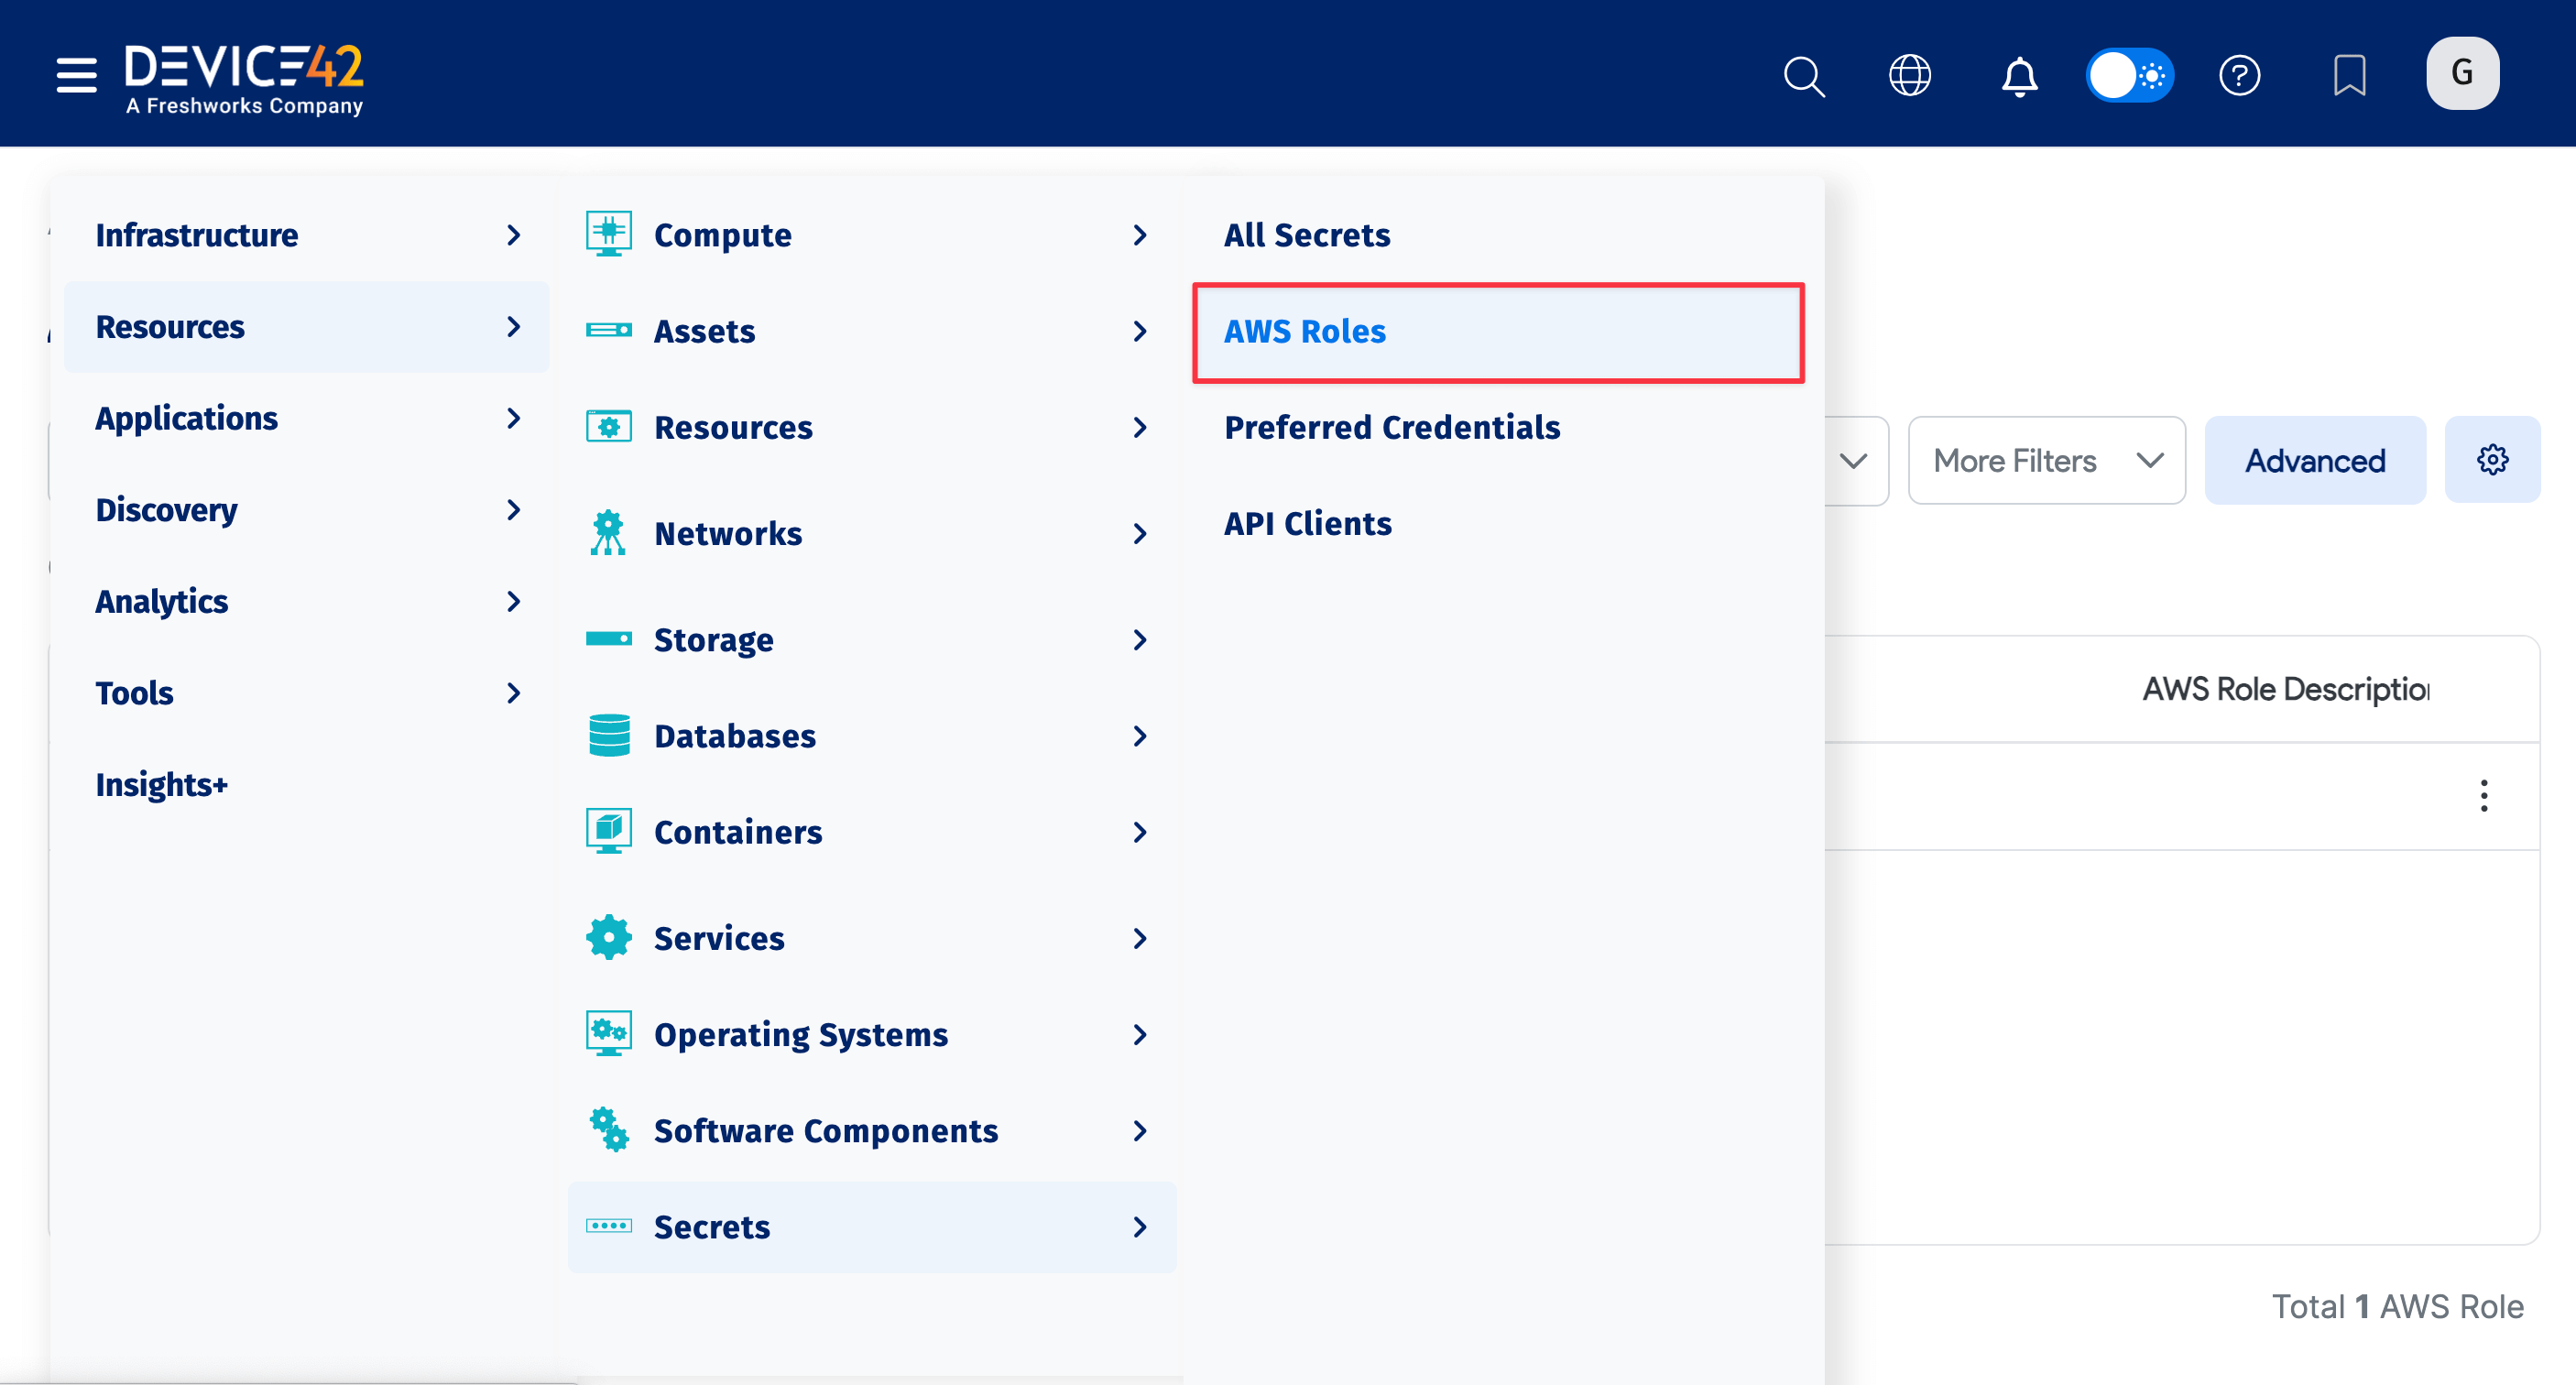
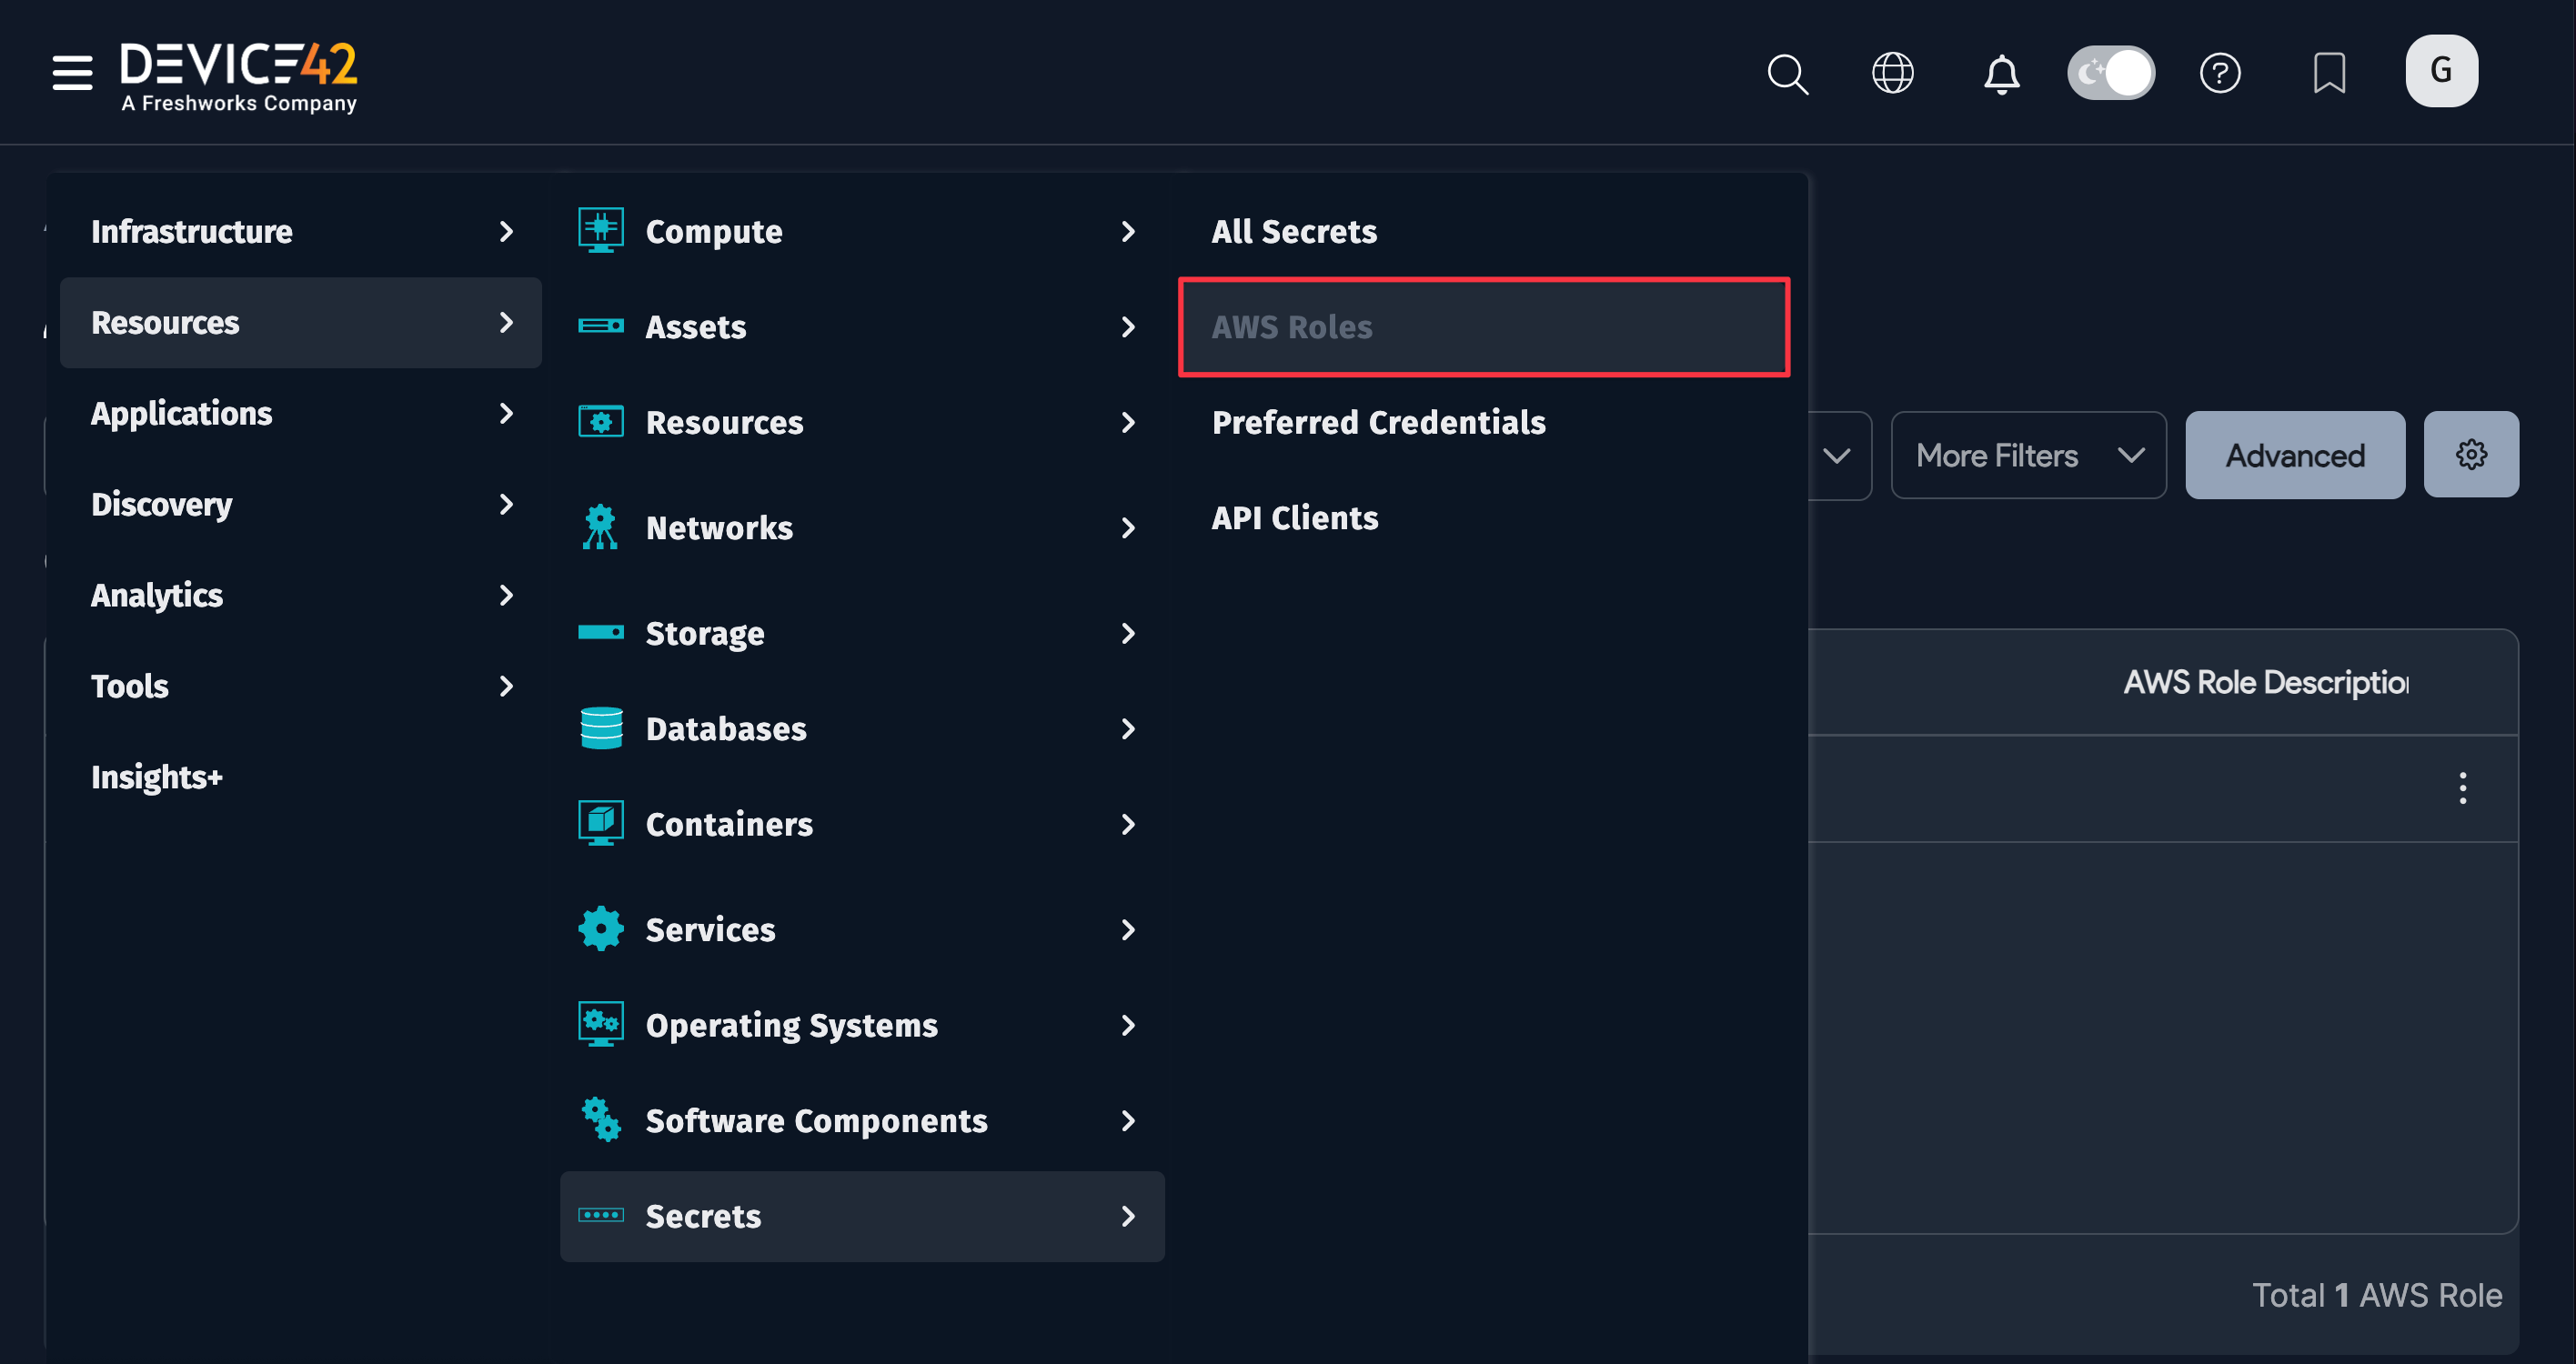
- Select Resources > Secrets > AWS Roles from the main menu.
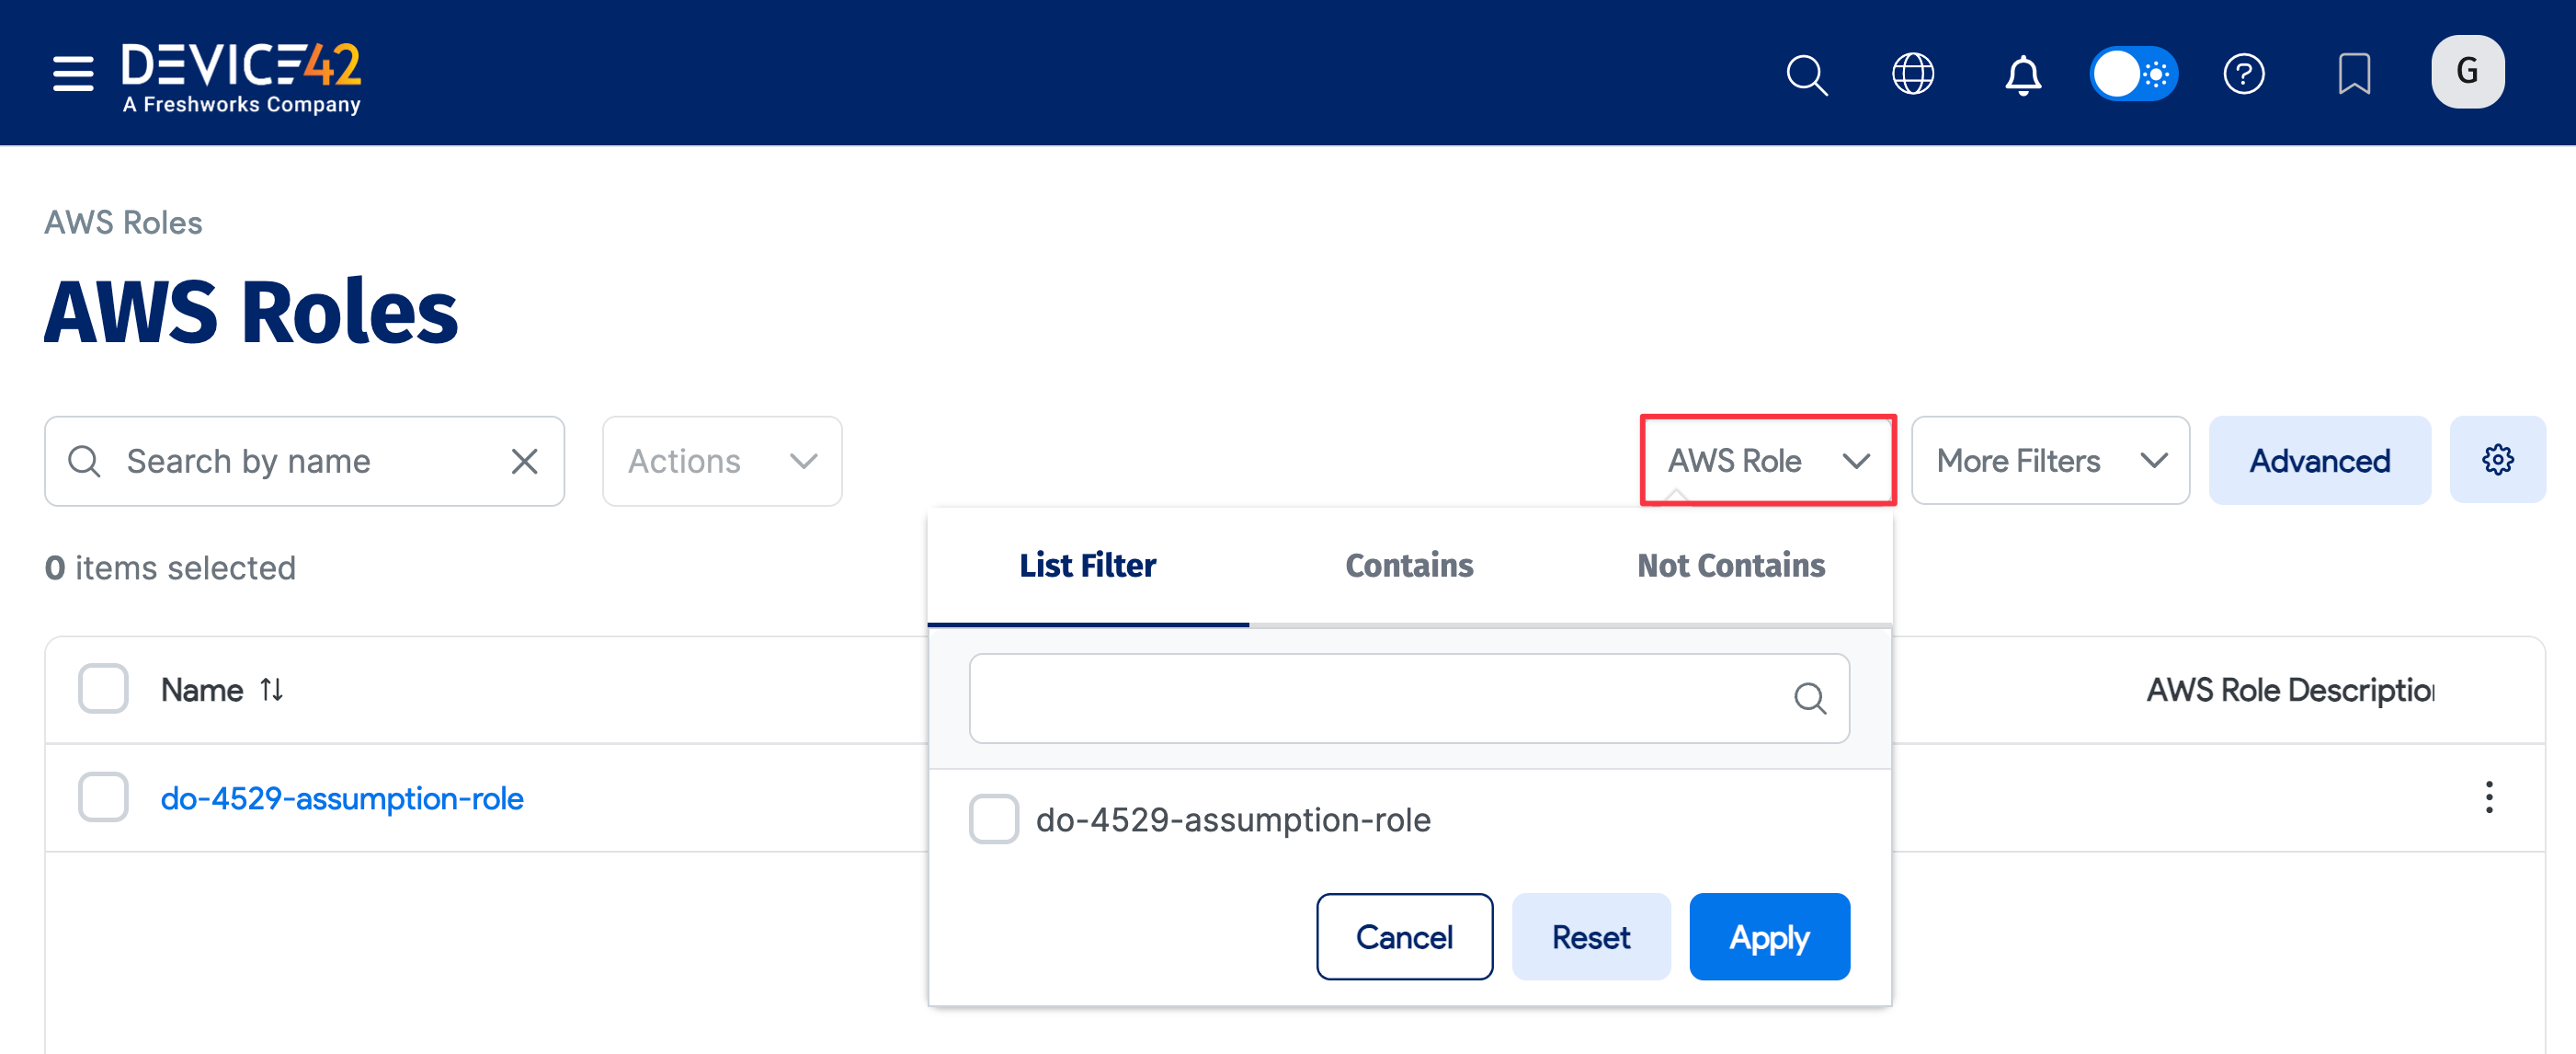
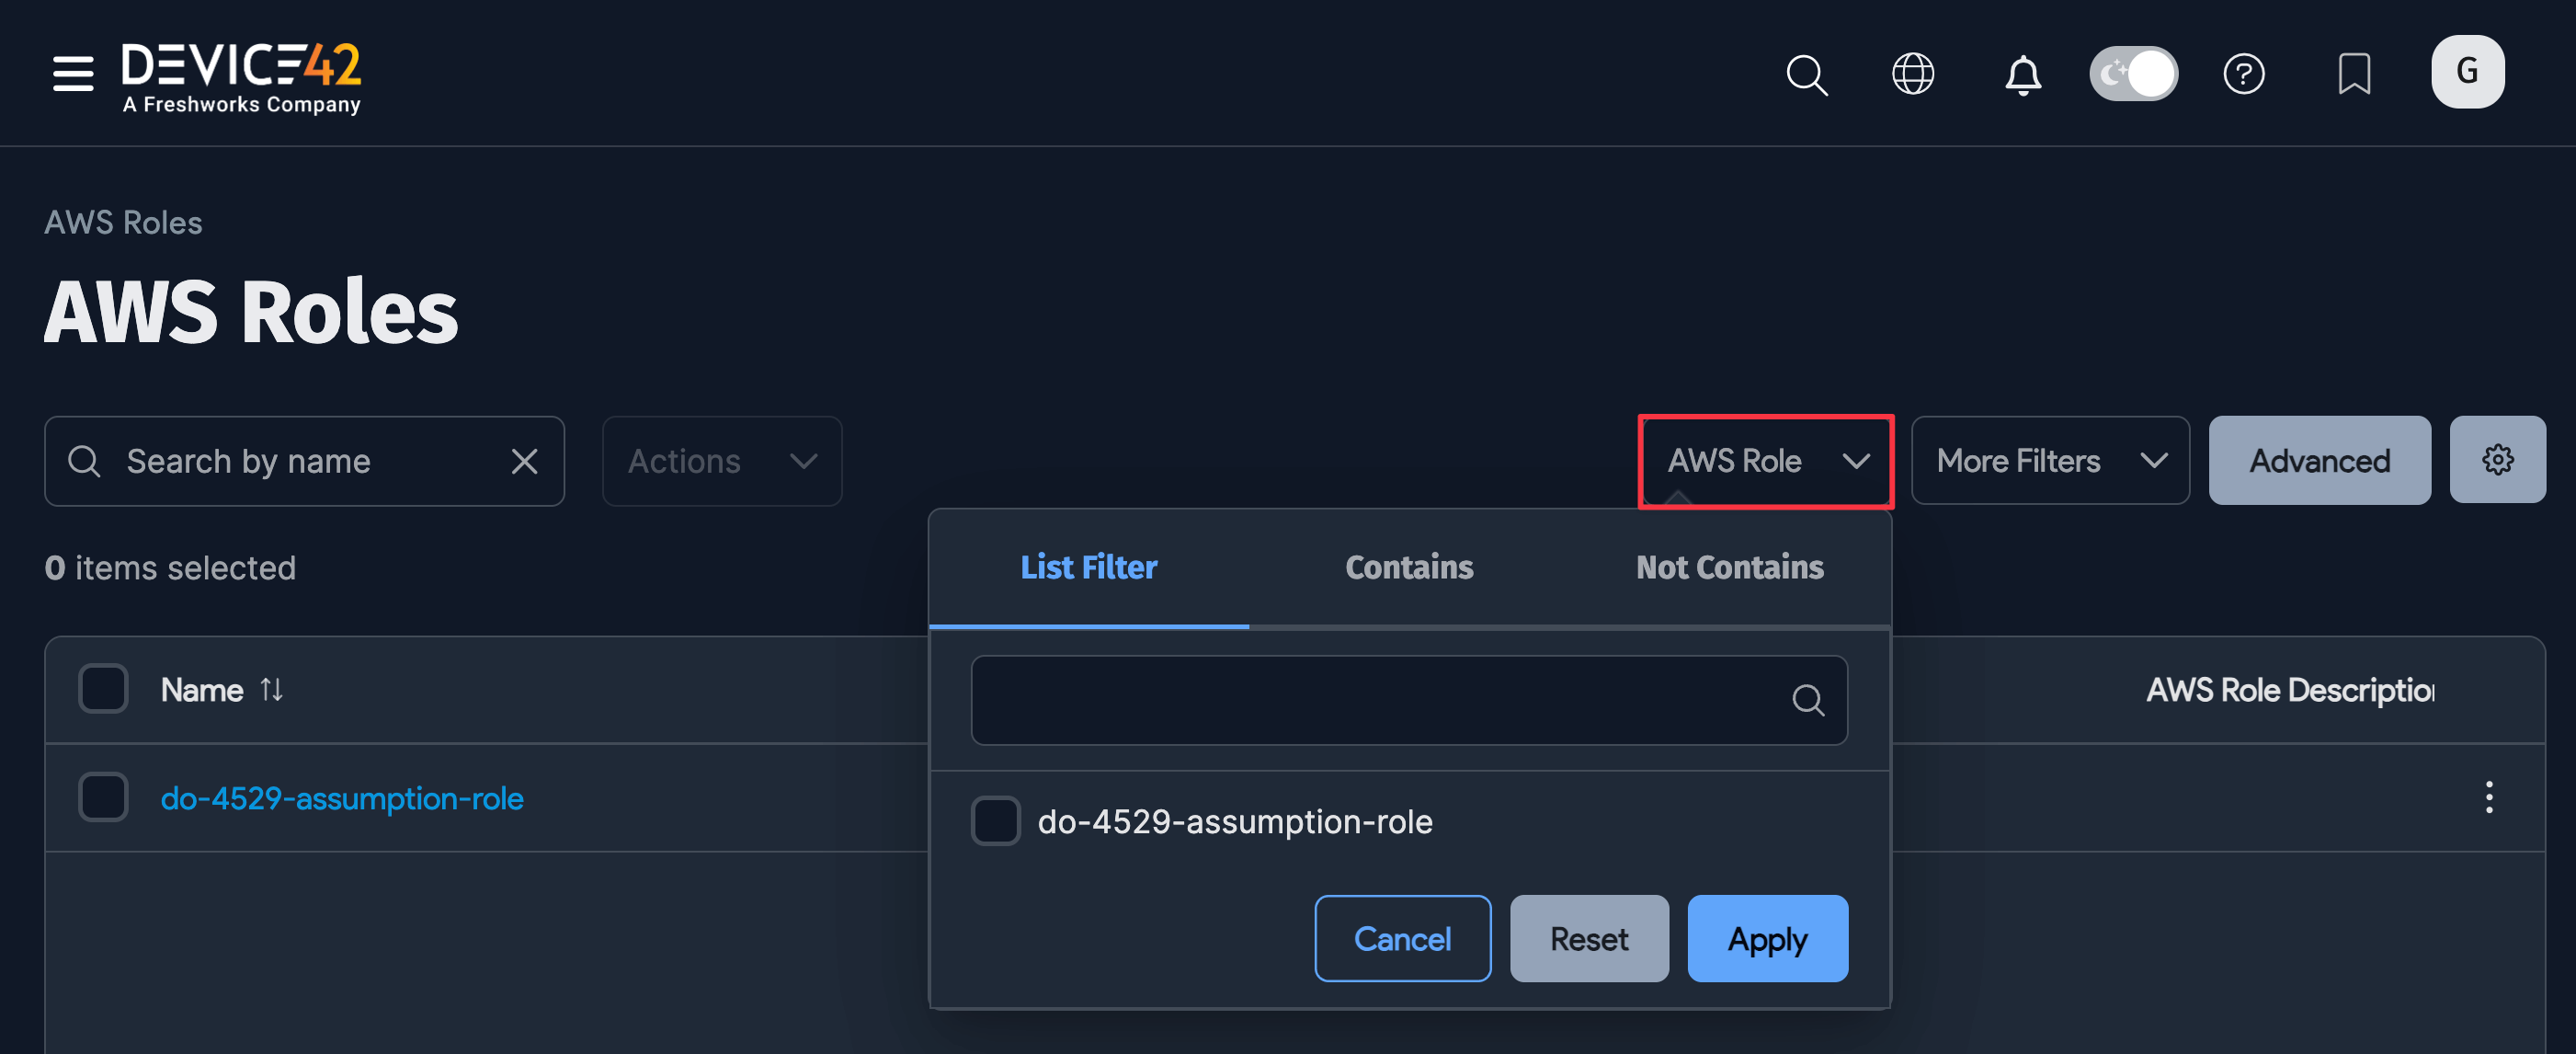
- Use the AWS Role dropdown to select a role to display or click Advanced to construct more specific searches. See Advanced Search Feature for instructions.
- Click Create at the top right to add a new role.
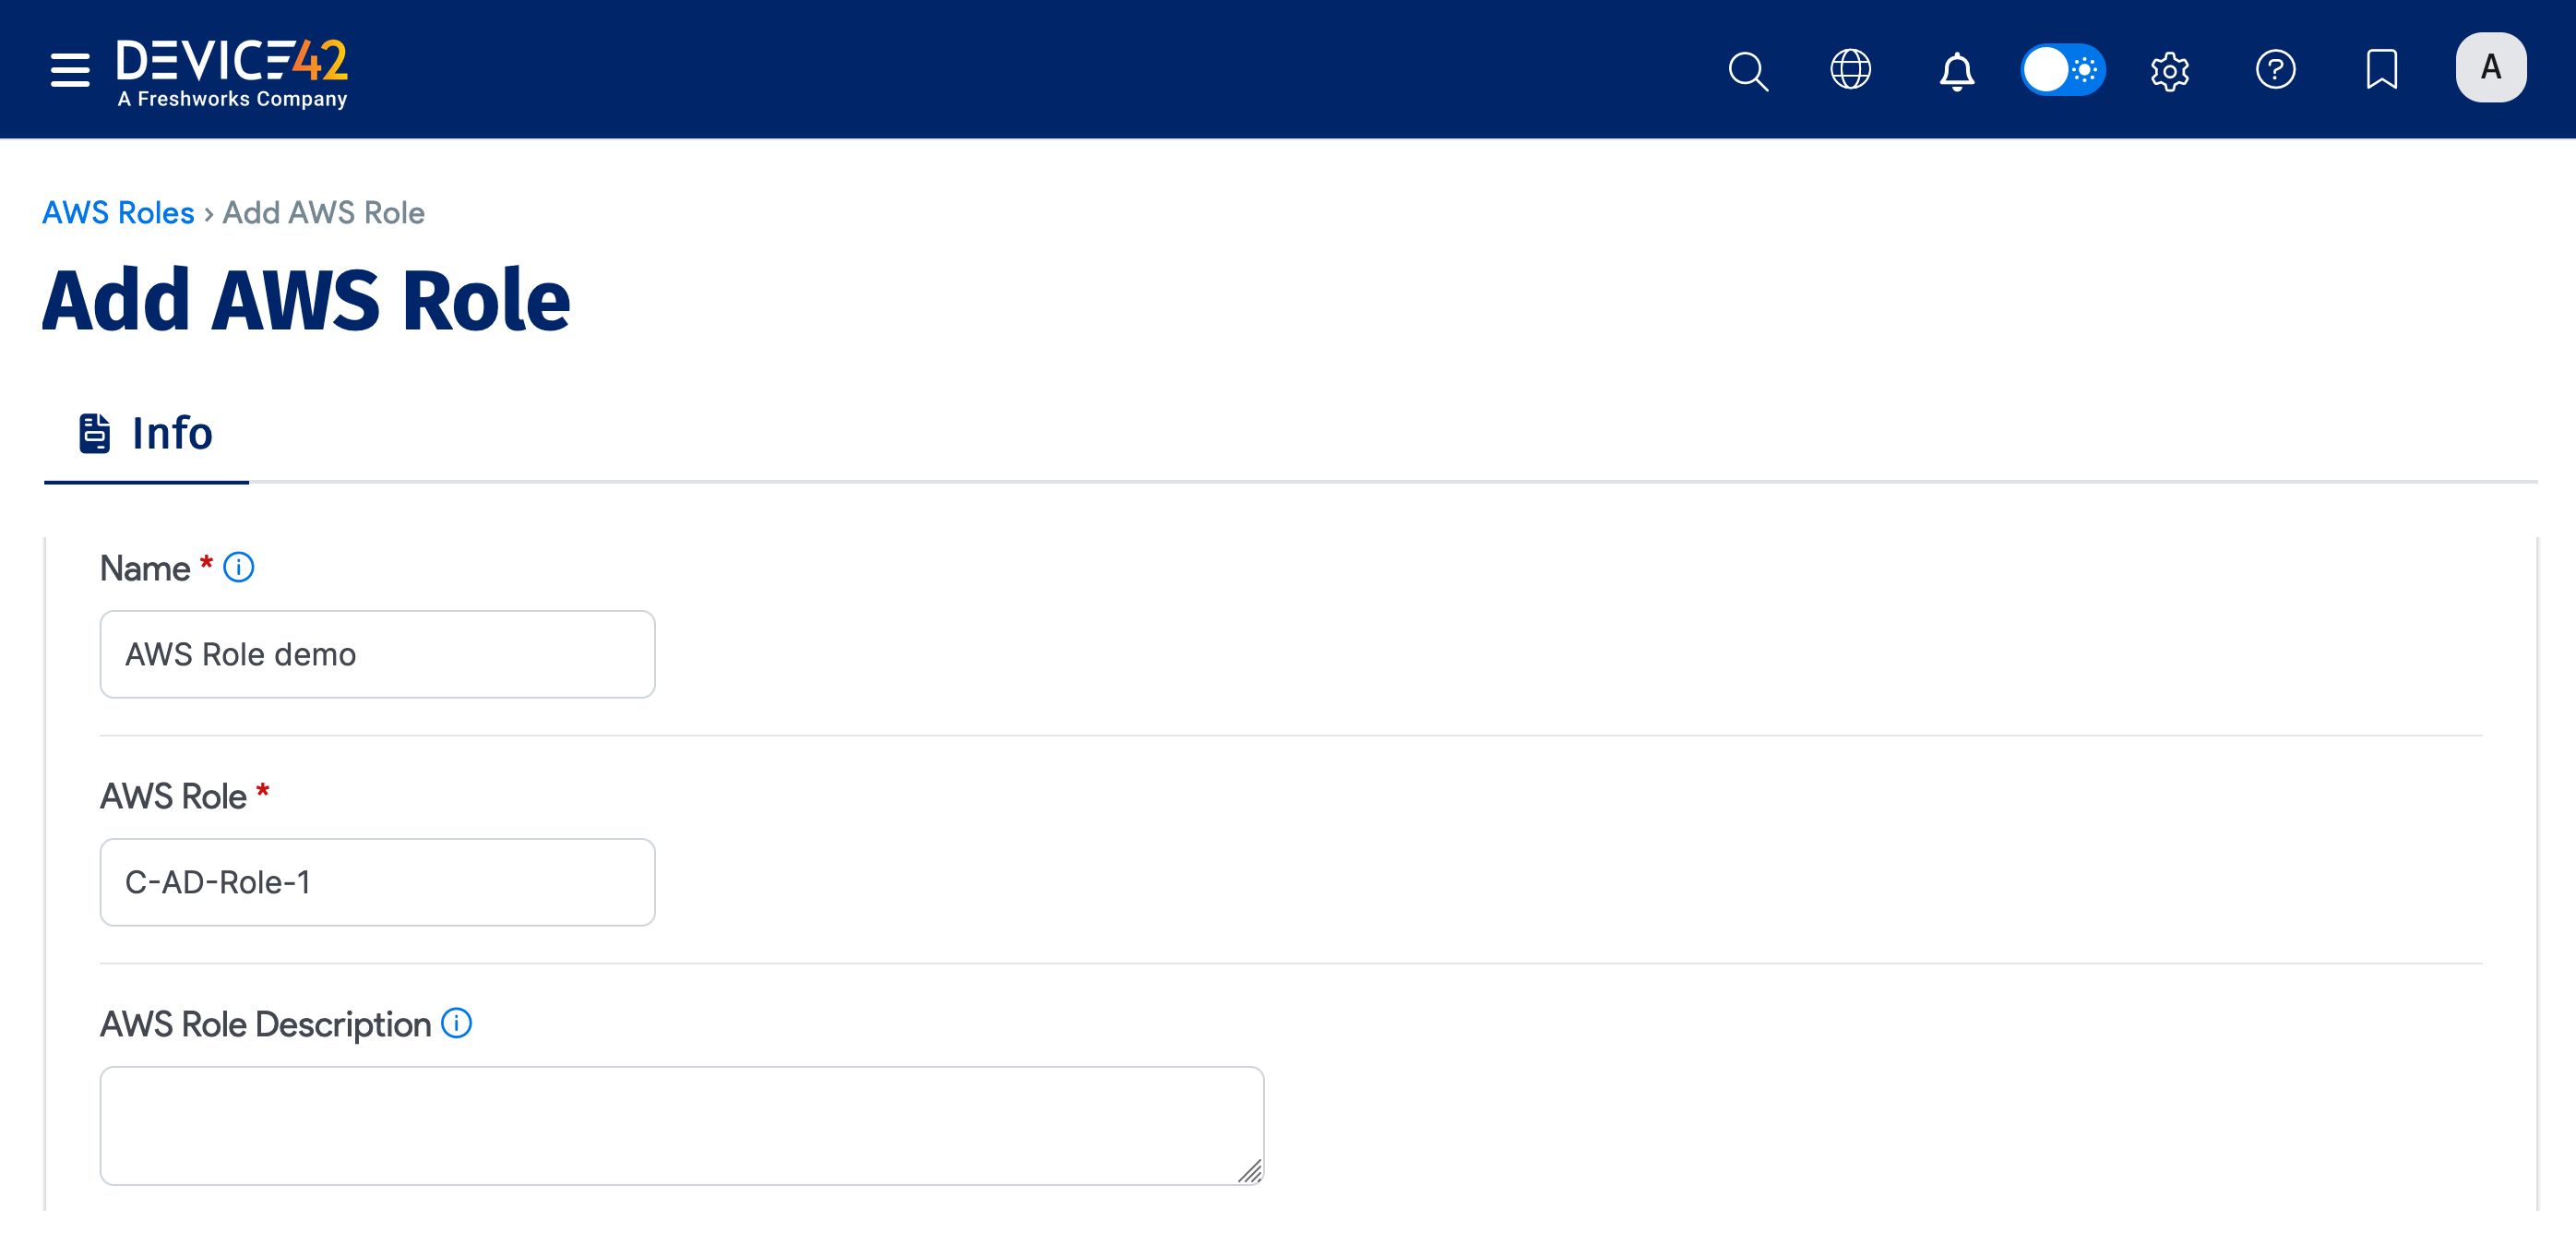
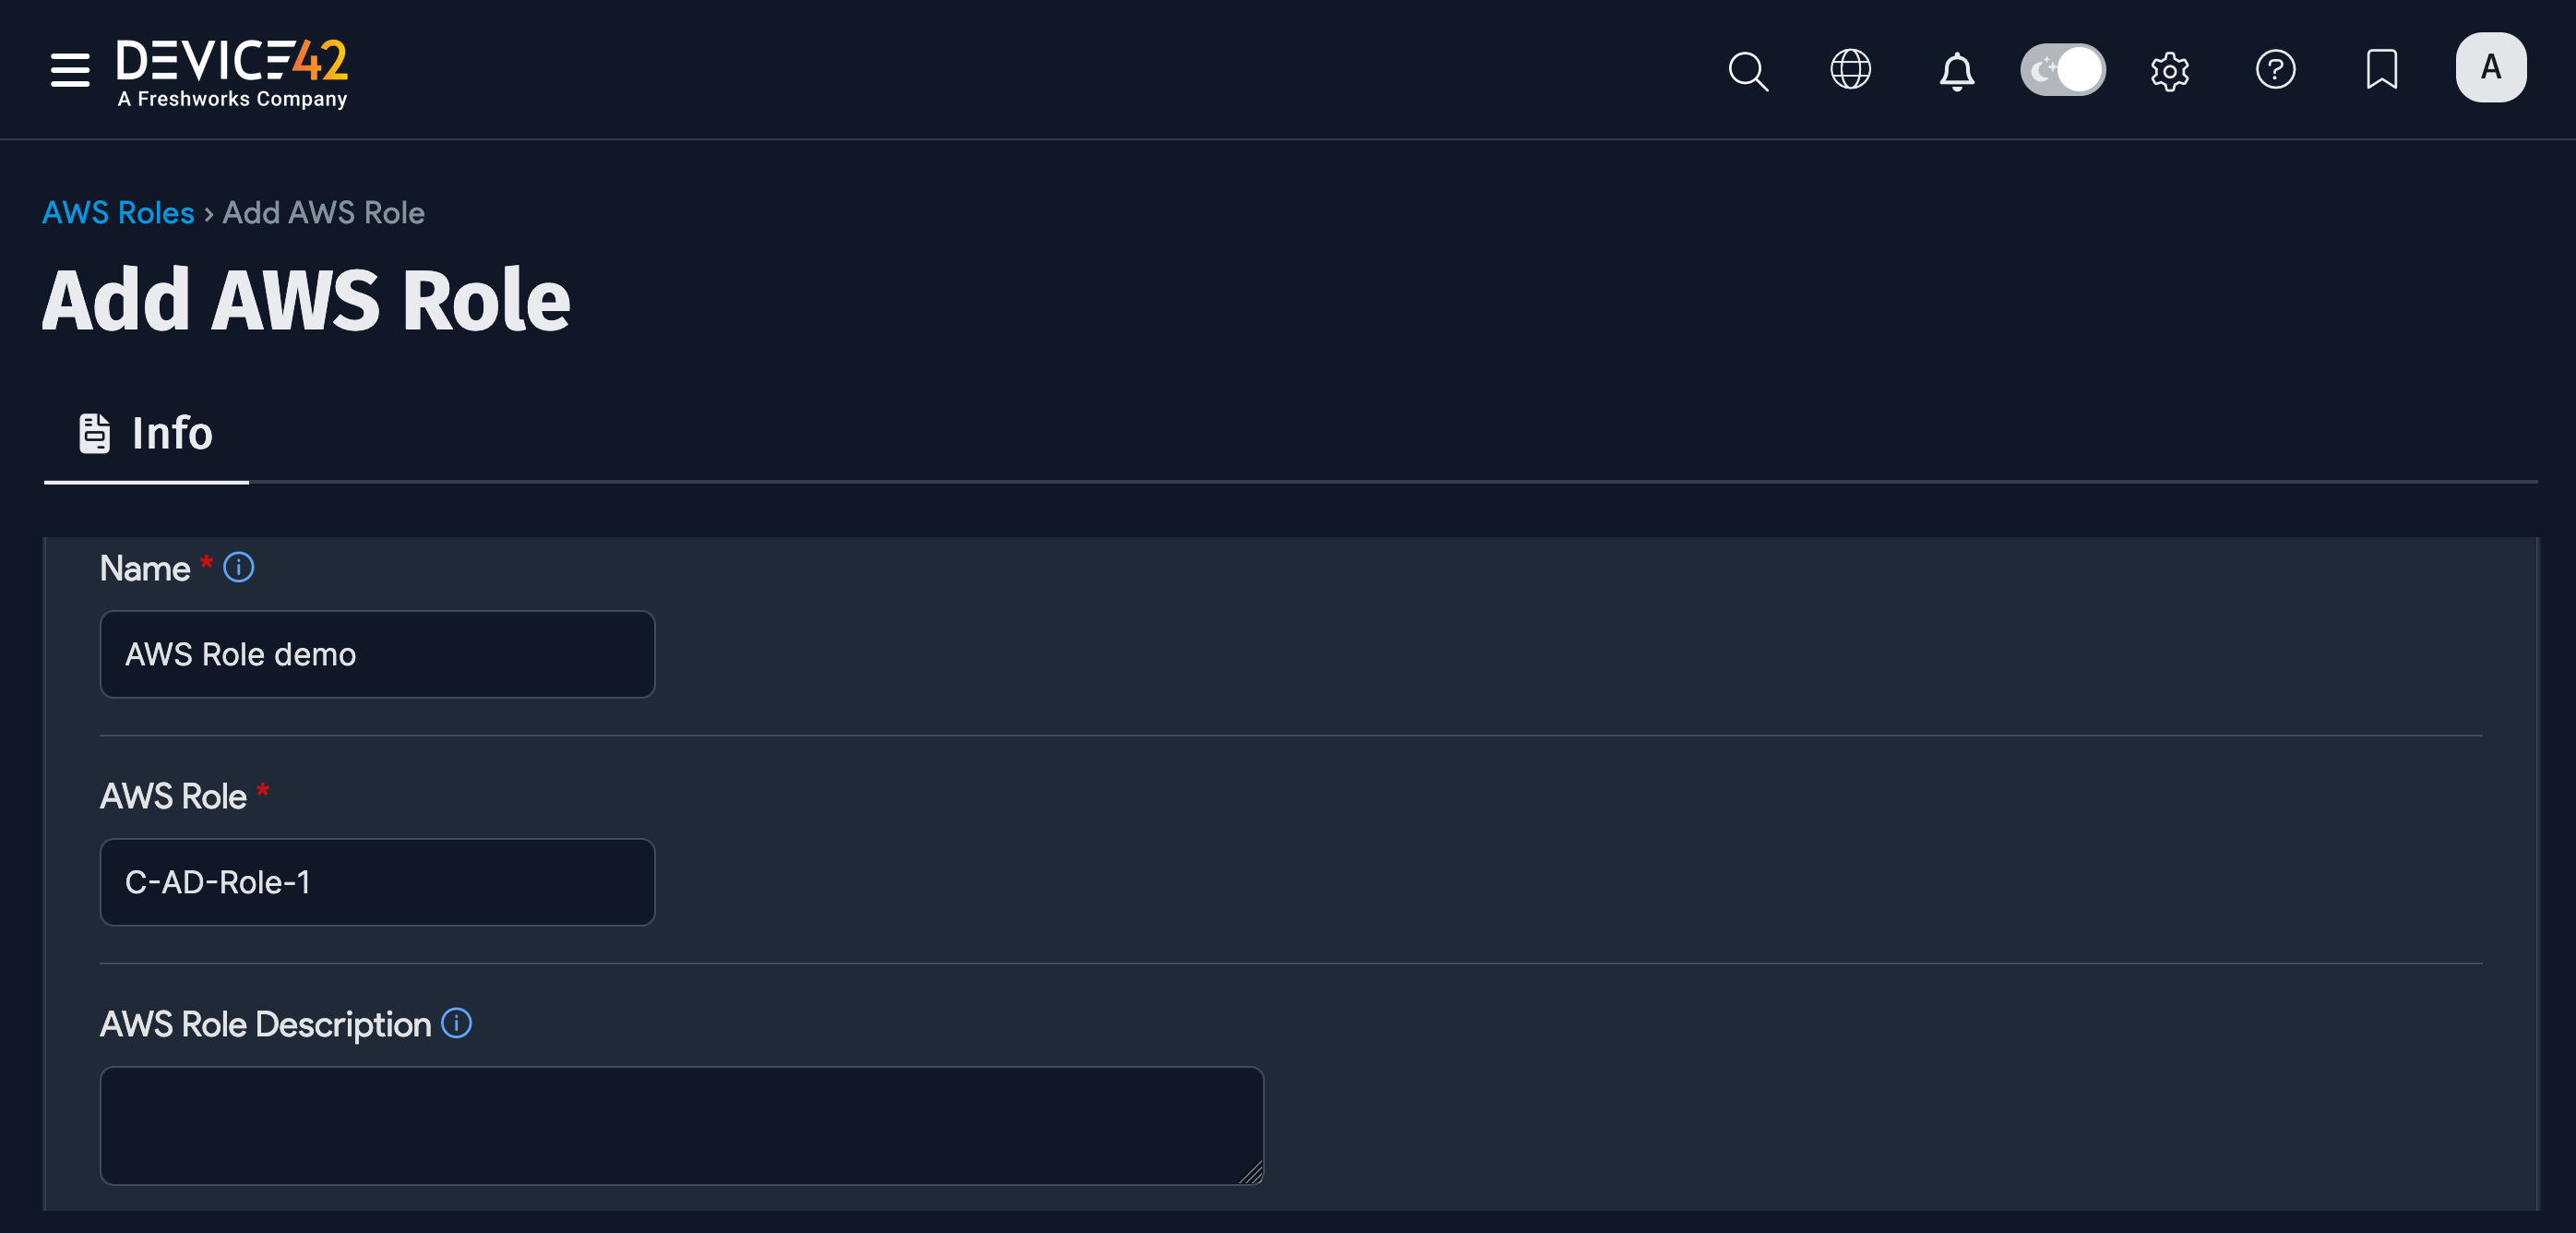
- Enter a Name for the role.
- Enter the AWS Role label and an optional AWS Role Description.
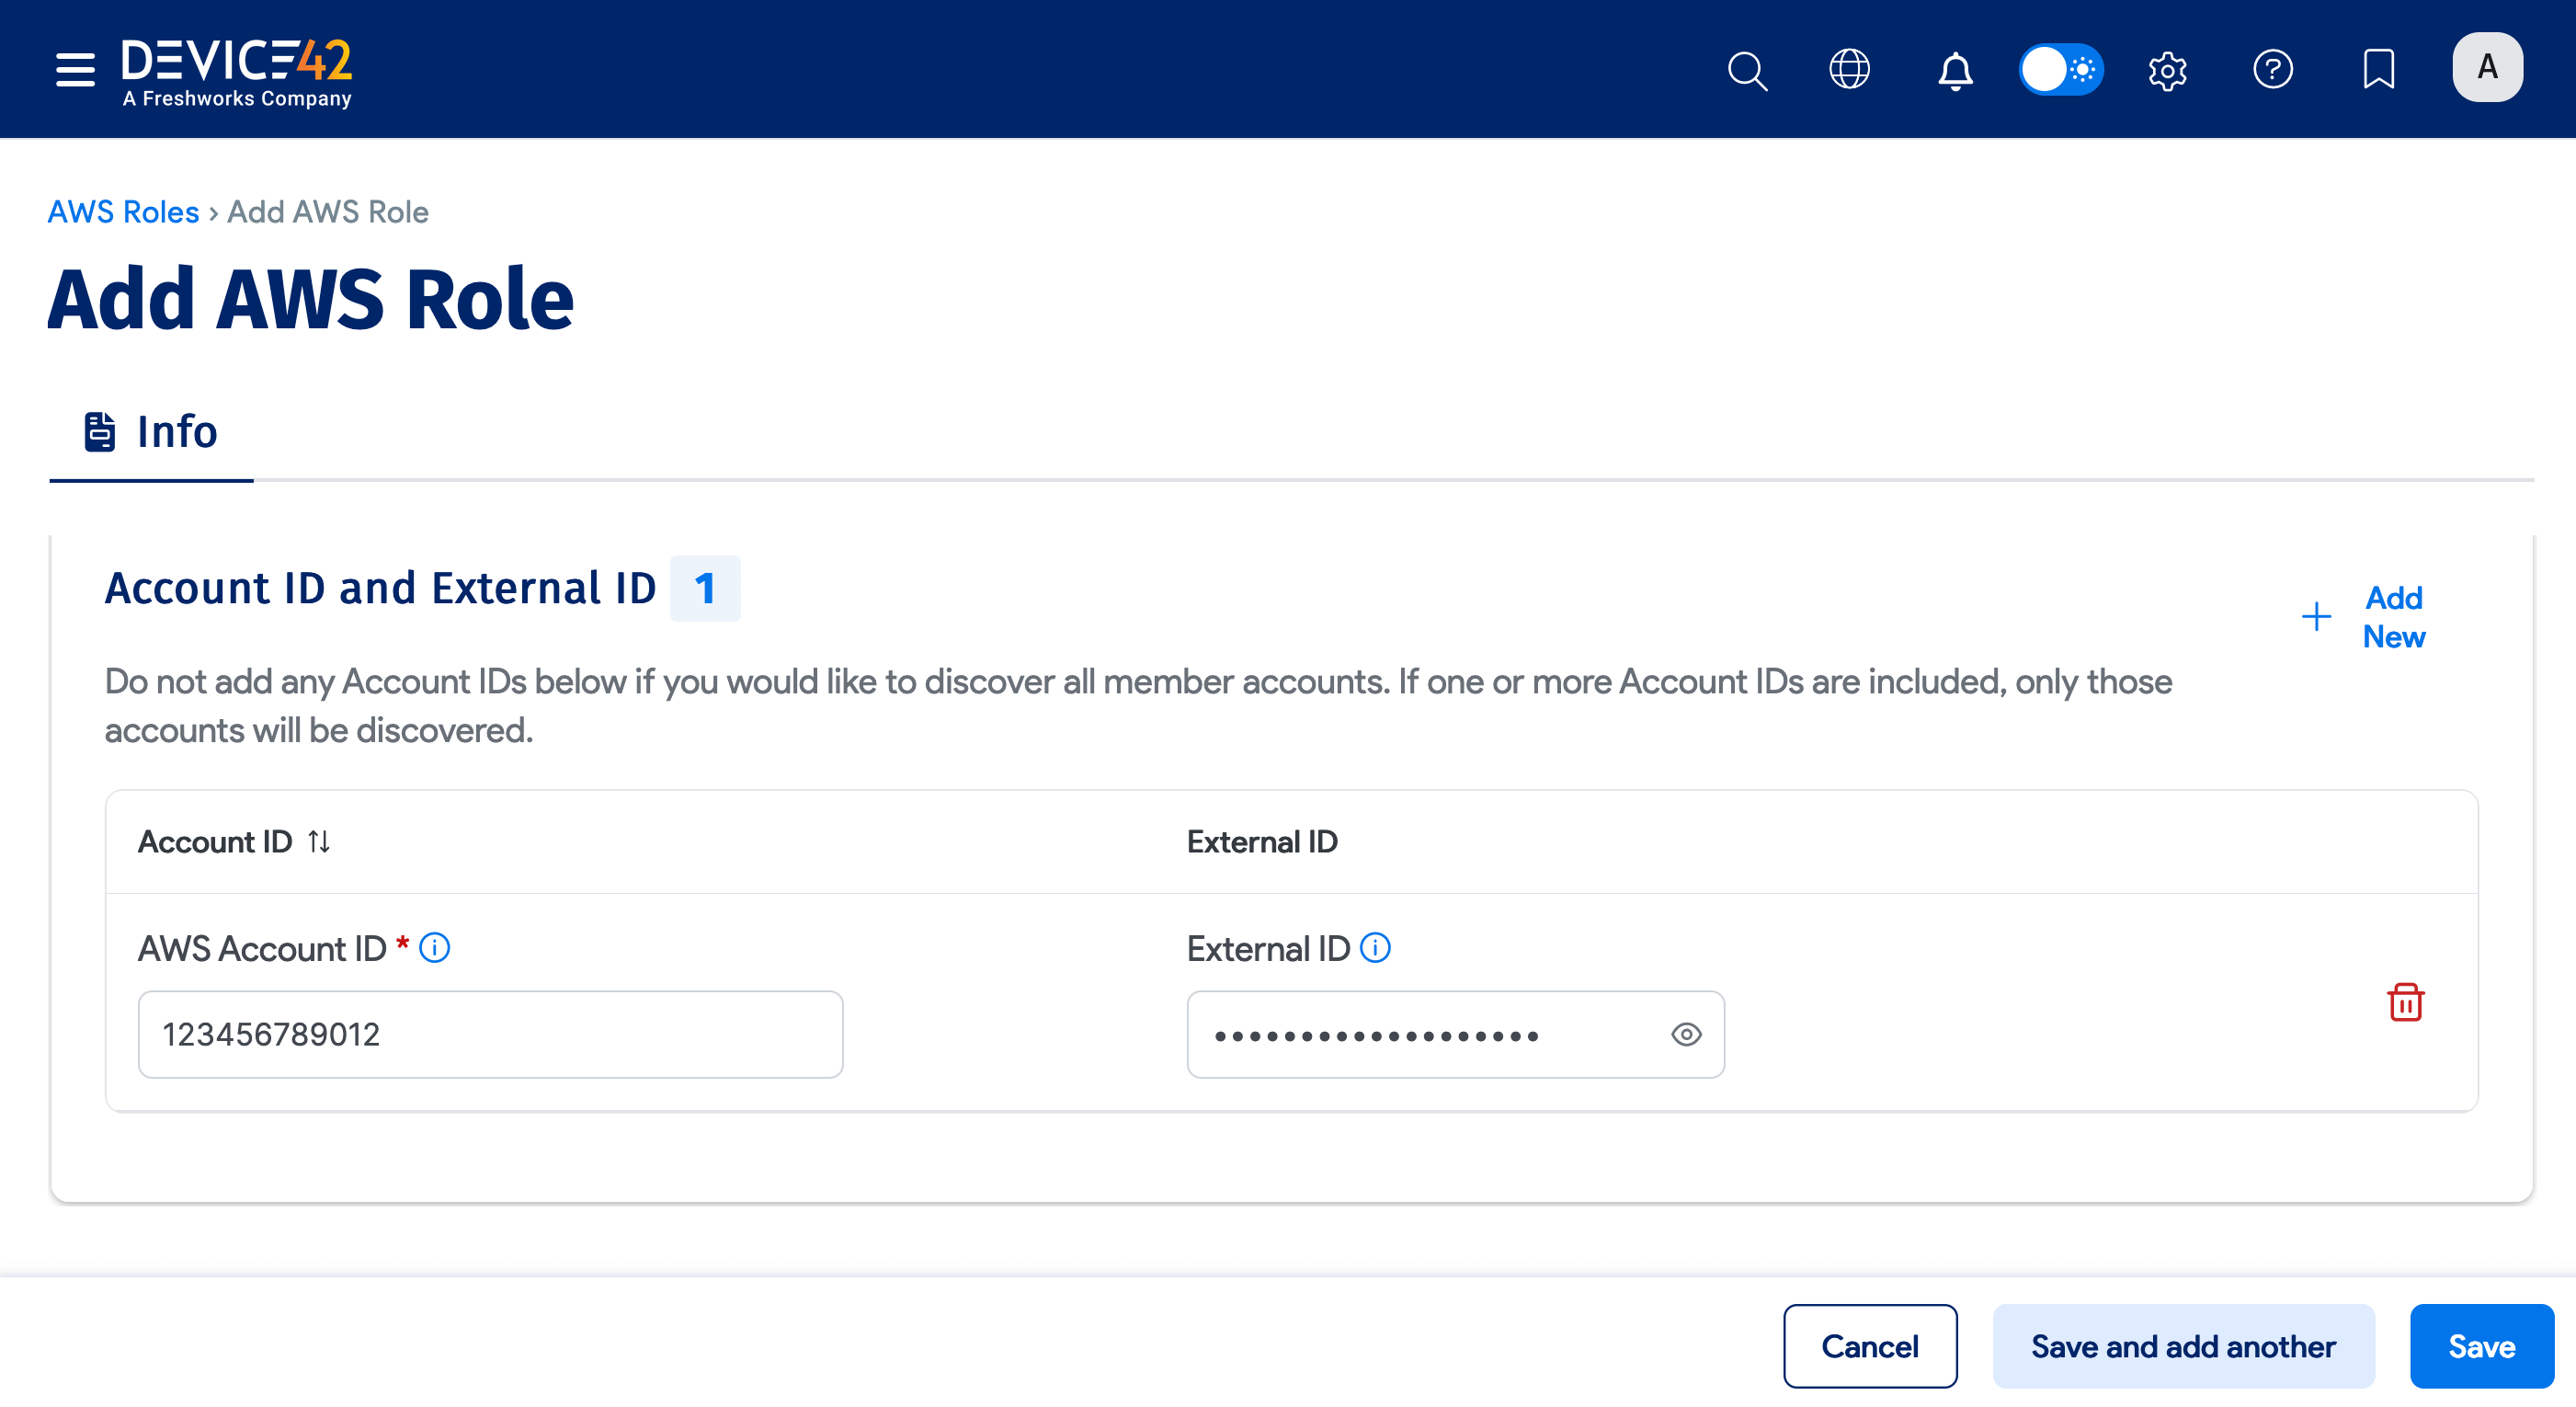
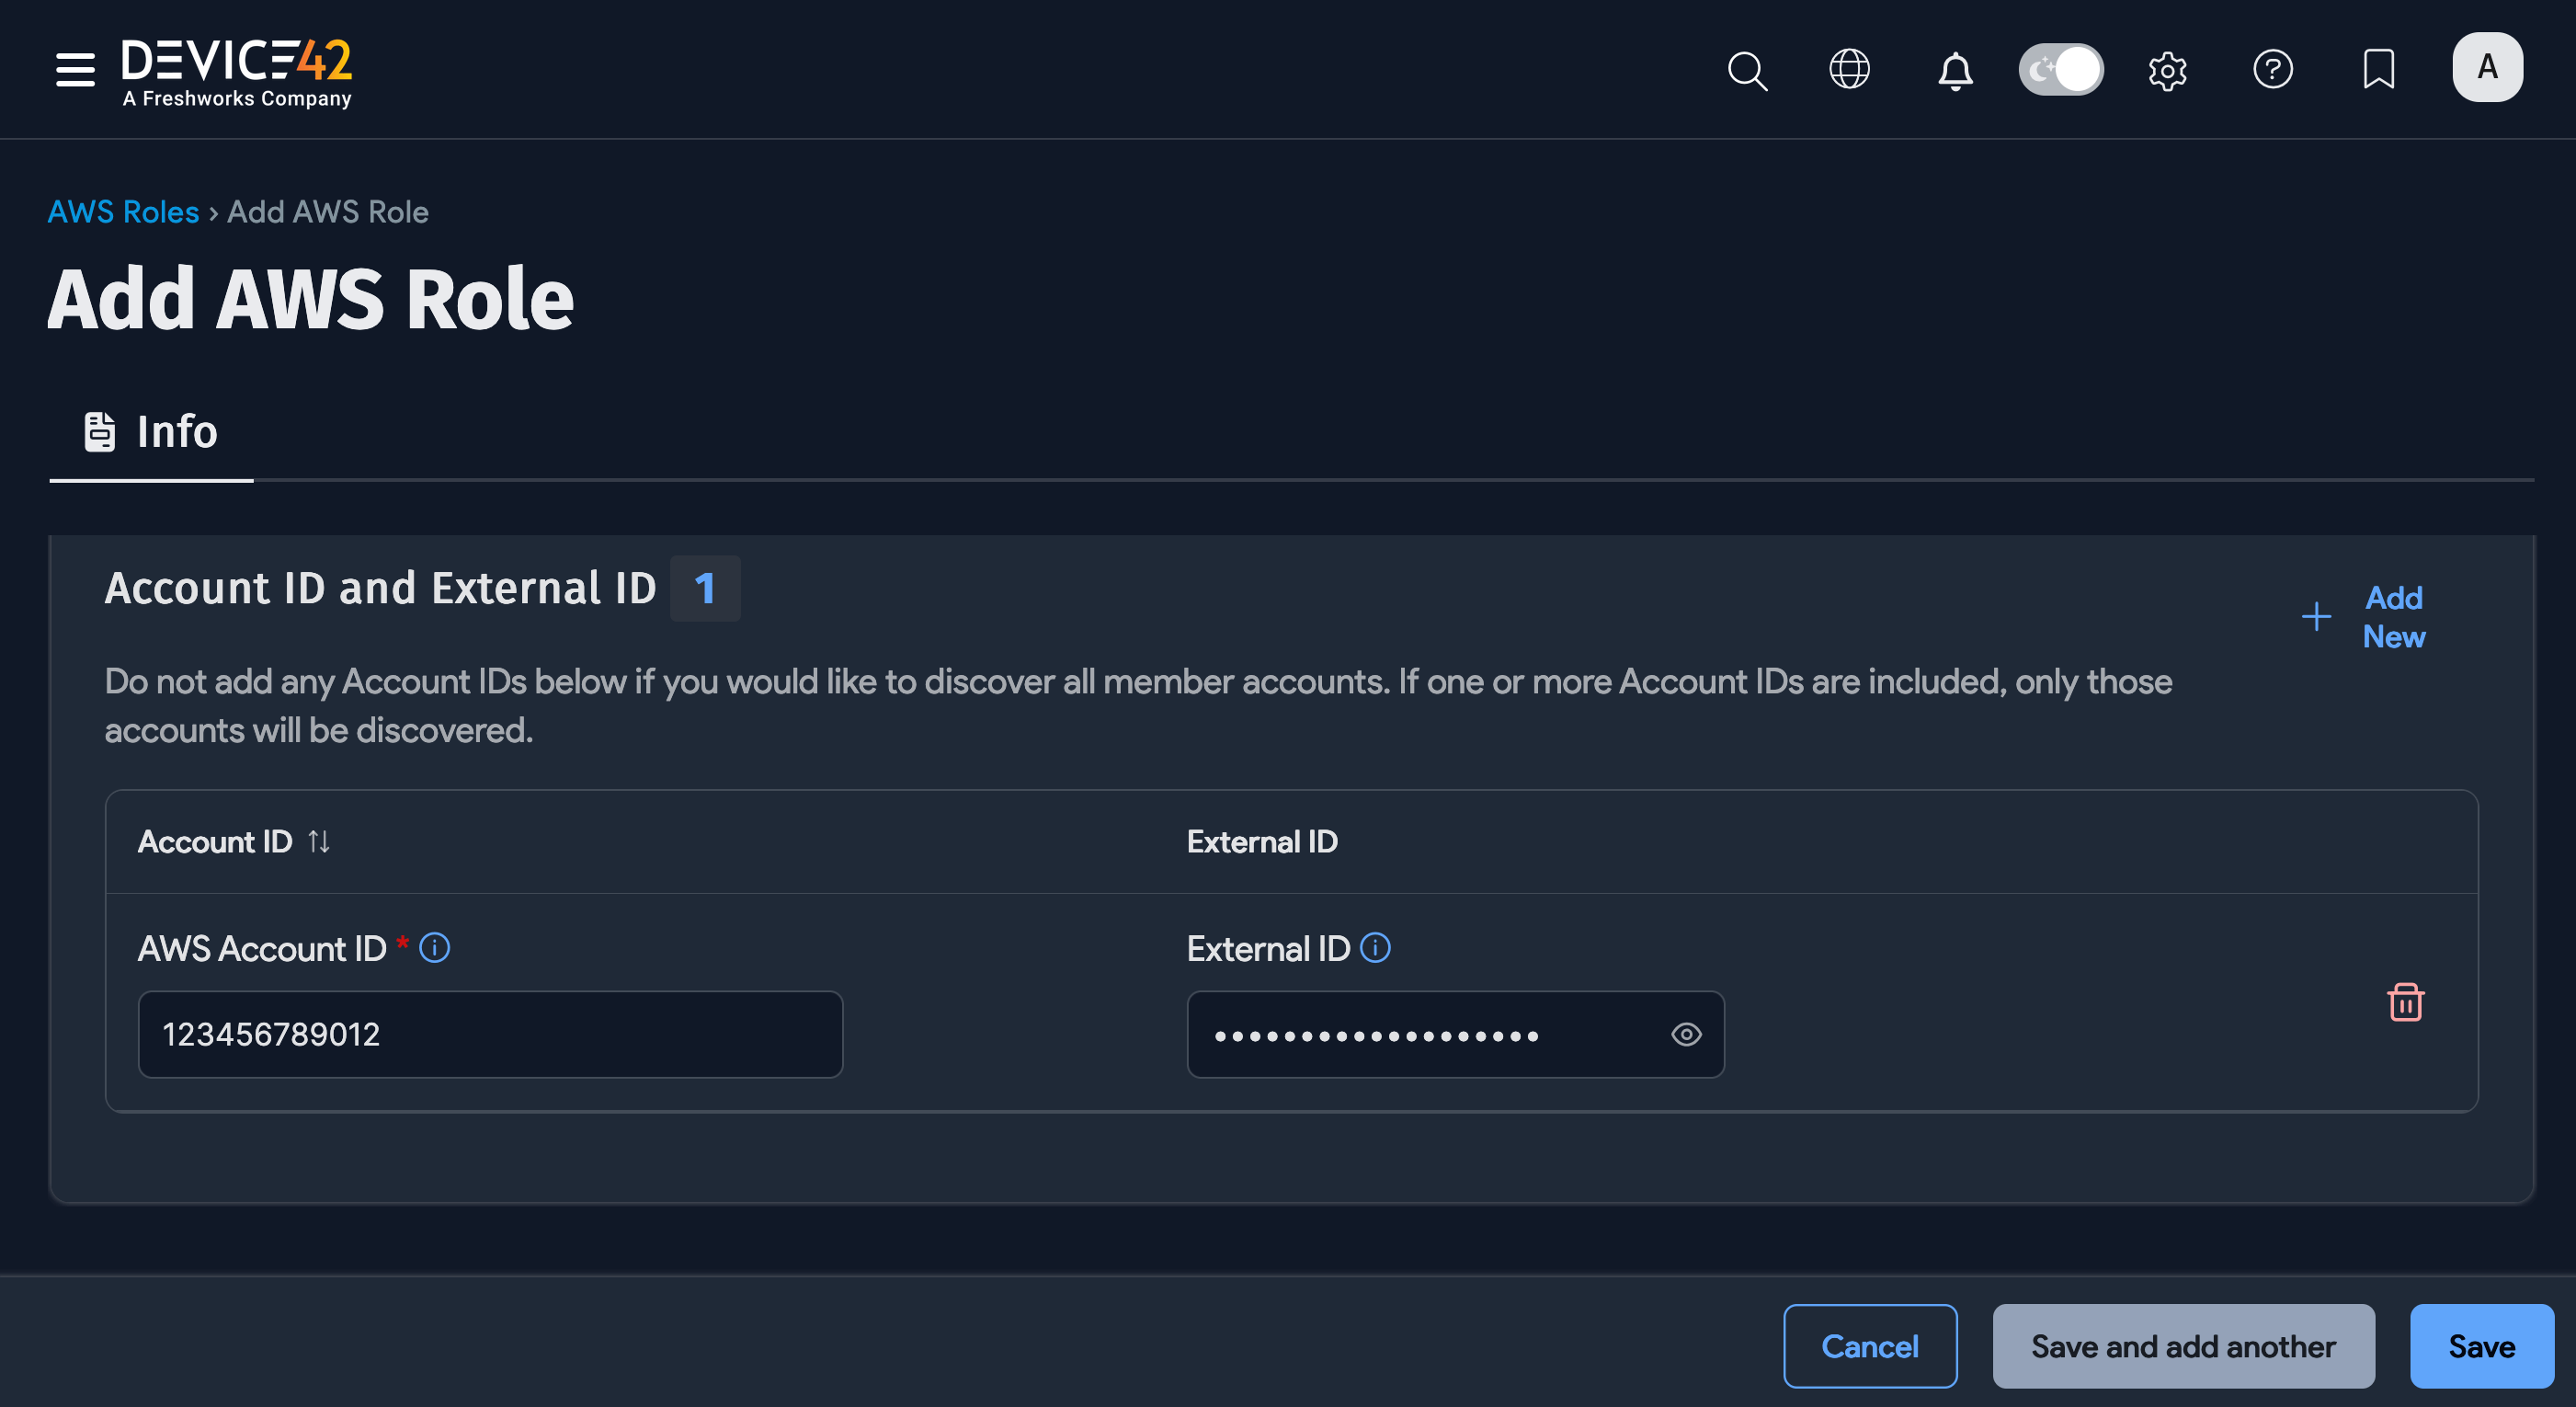
- In the Account ID and External ID section, click + Add New.
- Add the Account ID and External ID. Click the eye icon to show or hide the field. Click the trash can icon to remove the entries.
- Click Save to save the role.
Device42 adds the new AWS Role to the roles list; it will also appear in the Available AWS Roles list when you create or edit an Amazon AWS cloud autodiscovery job.
The following steps are required if you are looking to leverage the AWS switch (Assume) Role on the API calls to scan other AWS accounts.
From the Main Account:
- Create a role within IAM using the Another AWS Account option.
- Enter the Account ID and select the Require External ID option. MFA is not required at this time.
- Use the example IAM policy needed for discovery.
From the sub- (or separate) account:
Assign a user to a role that has already been granted access as described in Grant Access to the Role.
Setting Up Cross-Account Role Assumption
You can discover all sub-accounts and add them to the discovery process using Dynamic Account Discovery.
Before setting up the roles, complete these prerequisites:
- Create a role with no accounts associated with it.
- Use the role in the discovery with the key pair associated with it.
Option 1: Root Account Key Pair
- The key pair user must be deployed into the organization’s root account.
- This user's policy must have the following rights, at minimum:
sts:assumeroleorganizations:listaccounts
- A role must be added to all accounts where discovery is desired, with the same role name used in every account where discovery is desired.
- The Device42 discovery policy must be granted to the role.
- For role config within Device42, do not add any accounts to the role.
- At this time, we cannot use dynamic account discovery to discover roles that use external ID values.
Option 2: Main Account Role or Direct Policy
If you don't want to follow the steps above, you can either:
- Make the assumable role available in the main account. Dynamic discovery will pull it in if no accounts are listed, or if the main account is included in the manually added list of IDs.
- Or also attach the Device42 discovery policy to the user directly. Select the Discover main account box on the job.
Discovered Services and Required Permissions
Note that some Discovery items require enabling the feature and cannot be discovered otherwise.
| Cloud Service/Object Name | Where in Device42 | Accessed API | Information Generated | Permission(s) Required |
|---|---|---|---|---|
| API Gateway | Resources --> All Resources | apigateway._region_.amazonaws.com | Cloud vendor, cloud account, etc. | apigateway:GET |
| AWS Account Name (fallback) | Infrastructure --> Cloud Accounts | iam.amazonaws.com | Cloud account alias | iam:ListAccountAliases |
| CloudFront | Resources --> All Resources | cloudfront.amazonaws.com | Cloud vendor, cloud account, status, tags, etc | cloudfront:ListDistributions, cloudfront:ListTagsForResource |
| DynamoDB | Resources --> All Resources | dynamodb.region.amazonaws.com | Backup details, contributor insights, tables, limits, etc. | dynamodb:DescribeGlobalTable, dynamodb:DescribeLimits, dynamodb:DescribeTable, dynamodb:ListGlobalTables, dynamodb:ListTables |
| EC2 Instances | Resources --> All Devices | ec2.region.amazonaws.com | Service name, instance id, status, location, etc. | ec2:Describe* |
| Elastic Block Storage (EBS) | Resources --> All Resources | ec2.region.amazonaws.com | Lists, rules, tags, etc. | ec2:Describe* (EBS is part of EC2) |
| ElastiCache Nodes | Resources --> All Resources | elasticache.region.amazonaws.com | Account info, status, location | elasticache:Describe* |
| Elastic File System (EFS) | Resources --> All Resources | elasticfilesystem.region.amazonaws.com | File system, access points, mount targets | elasticfilesystem:DescribeAccessPoints, elasticfilesystem:DescribeAccountPreferences, elasticfilesystem:DescribeFileSystems, elasticfilesystem:DescribeMountTargets |
| Elastic Load Balancer (ELB) | Resources --> All Resources | elasticloadbalancing.region.amazonaws.com | Attributes, description, rules, tags, target groups | elasticloadbalancing:Describe* |
| Lambda | Resources --> All Resources | lambda.region.amazonaws.com | Name, ARN, code size, memory, runtime | lambda:GetAccountSettings, lambda:GetFunction, lambda:GetPolicy, lambda:List* |
| KMS | Resources --> All Resources | kms.region.amazonaws.com | Region, categories, access points, ACLs, notes, tags, custom fields | kms:DescribeKey, kms:ListKeys, kms:ListResourceTags |
| Kubernetes (EKS) | Resources --> All Resources | eks.region.amazonaws.com | Containers, nodes, clusters | eks:DescribeCluster, eks:DescribeNodegroup, eks:DescribeUpdate, eks:ListClusters, eks:ListNodegroups, eks:ListUpdates |
| RDS Instances | Resources --> All Resources | rds.region.amazonaws.com | Account info, status, location | rds:Describe*, rds:ListTagsForResource |
| Redshift | Resources --> All Resources | redshift.region.amazonaws.com | Backup details, contributor insights, tables, limits | redshift:DescribeClusters, redshift:DescribeReservedNodes |
| Route 53 | Resources --> All Resources | route53.amazonaws.com | Type, content, tags | route53:ListHostedZones, route53:ListResourceRecordSets, route53:ListTagsForResource, route53domains:ListDomains |
| S3 | Resources --> Storage --> Cloud Storage | *.s3.region.amazonaws.com s3.region.amazonaws.com *.s3.amazonaws.com s3.amazonaws.com | Storage utilization, bucket, bucket policies | s3:GetAccessPointPolicyStatus, s3:GetBucketAcl, s3:GetBucketLocation, s3:GetBucketPolicyStatus, s3:GetBucketPublicAccessBlock, s3:GetBucketTagging, s3:GetEncryptionConfiguration, s3:ListAccessPoints, s3:ListAllMyBuckets |
| Security Group (AWS) | Resources --> Cloud Resources | ec2.region.amazonaws.com | Region, identifier, owner ID, Vpc Id, etc. | ec2:DescribeSecurityGroups |
| SNS | Resources --> All Resources | sns.region.amazonaws.com | Topic, endpoints, attributes, subscriptions | sns:GetTopicAttributes, sns:ListTagsForResource, sns:ListTopics |
| SQS | Resources --> All Resources | sqs.region.amazonaws.com | Queues, tags, queue attributes | sqs:GetQueueAttributes, sqs:ListQueues, sqs:ListQueueTags |
| Subnets | Network --> Subnets | Subnets | ec2:DescribeSubnets (Subnets are part of EC2) | |
| VPCs | Resources --> VPC | vpc.aws-region.amazonaws.com | Attributes, AZs, Auth rules, etc. | ec2:DescribeVpcs (VPCs are part of EC2) |
IAM Policy and Endpoints
Regular Discovery
- sts.amazonaws.com
sts.<region_name>.amazonaws.comorsts.*.amazonaws.com: Try these endpoints if you encounter an SSL certificate error.https://organizations.us-east-1.amazonaws.com: Only use this if one of the available features is enabled.
K8s cluster endpoints access per K8s RBAC setup
/api/v1/namespaces/kube-system/api/v1/nodes?watch=False/api/v1/services?watch=False/apis/apps/v1/deployments?watch=Falseor/apis/extensions/v1beta1/deployments?watch=False(depends on K8s version)/apis/networking.k8s.io/v1beta1/ingresses?watch=Falseor/apis/extensions/v1beta1/ingresses?watch=False(depends on K8s version)
Example IAM Policy (except for the K8s cluster endpoints, since it is controlled by K8s RBAC)
Click to expand code example
{
  "Version": "2012-10-17",
  "Statement": [
    {
      "Effect": "Allow",
      "Action": [
        "acm:DescribeCertificate",
        "acm:List*",
        "apigateway:GET",
        "autoscaling:Describe*",
        "cloudfront:ListDistributions",
        "cloudfront:ListTagsForResource",
        "cloudsearch:DescribeDomains",
        "cloudwatch:Describe*",
        "cloudwatch:GetMetricData",
        "cloudwatch:GetMetricStatistics",
        "cloudwatch:ListMetrics",
        "config:SelectResourceConfig",
        "dynamodb:DescribeGlobalTable",
        "dynamodb:DescribeLimits",
        "dynamodb:DescribeTable",
        "dynamodb:ListGlobalTables",
        "dynamodb:ListTables",
        "ec2:Describe*",
        "eks:DescribeCluster",
        "eks:DescribeNodegroup",
        "eks:DescribeUpdate",
        "eks:ListClusters",
        "eks:ListNodegroups",
        "eks:ListUpdates",
        "elasticache:Describe*",
        "elasticfilesystem:DescribeAccessPoints",
        "elasticfilesystem:DescribeAccountPreferences",
        "elasticfilesystem:DescribeFileSystems",
        "elasticfilesystem:DescribeMountTargets",
        "elasticloadbalancing:Describe*",
        "iam:ListAccountAliases",
        "kms:DescribeKey",
        "kms:ListKeys",
        "kms:ListResourceTags",
        "lambda:GetAccountSettings",
        "lambda:GetFunction",
        "lambda:GetPolicy",
        "lambda:List*",
        "logs:DescribeLogStreams",
        "logs:GetLogEvents",
        "organizations:DescribeAccount",
        "organizations:ListAccountsForParent",
        "organizations:ListOrganizationalUnitsForParent",
        "organizations:ListRoots",
        "organizations:ListTagsForResource",
        "rds:Describe*",
        "rds:ListTagsForResource",
        "redshift:DescribeClusters",
        "redshift:DescribeReservedNodes",
        "route53:ListHostedZones",
        "route53:ListResourceRecordSets",
        "route53:ListTagsForResource",
        "route53domains:ListDomains",
        "s3:GetAccessPointPolicyStatus",
        "s3:GetBucketAcl",
        "s3:GetBucketLocation",
        "s3:GetBucketPolicyStatus",
        "s3:GetBucketPublicAccessBlock",
        "s3:GetBucketTagging",
        "s3:GetEncryptionConfiguration",
        "s3:ListAccessPoints",
        "s3:ListAllMyBuckets",
        "sns:GetTopicAttributes",
        "sns:ListTagsForResource",
        "sns:ListTopics",
        "sqs:GetQueueAttributes",
        "sqs:ListQueues",
        "sqs:ListQueueTags",
        "tag:GetResources"
      ],
      "Resource": "*"
    }
  ]
}
AWS Tags and S3 Access Control
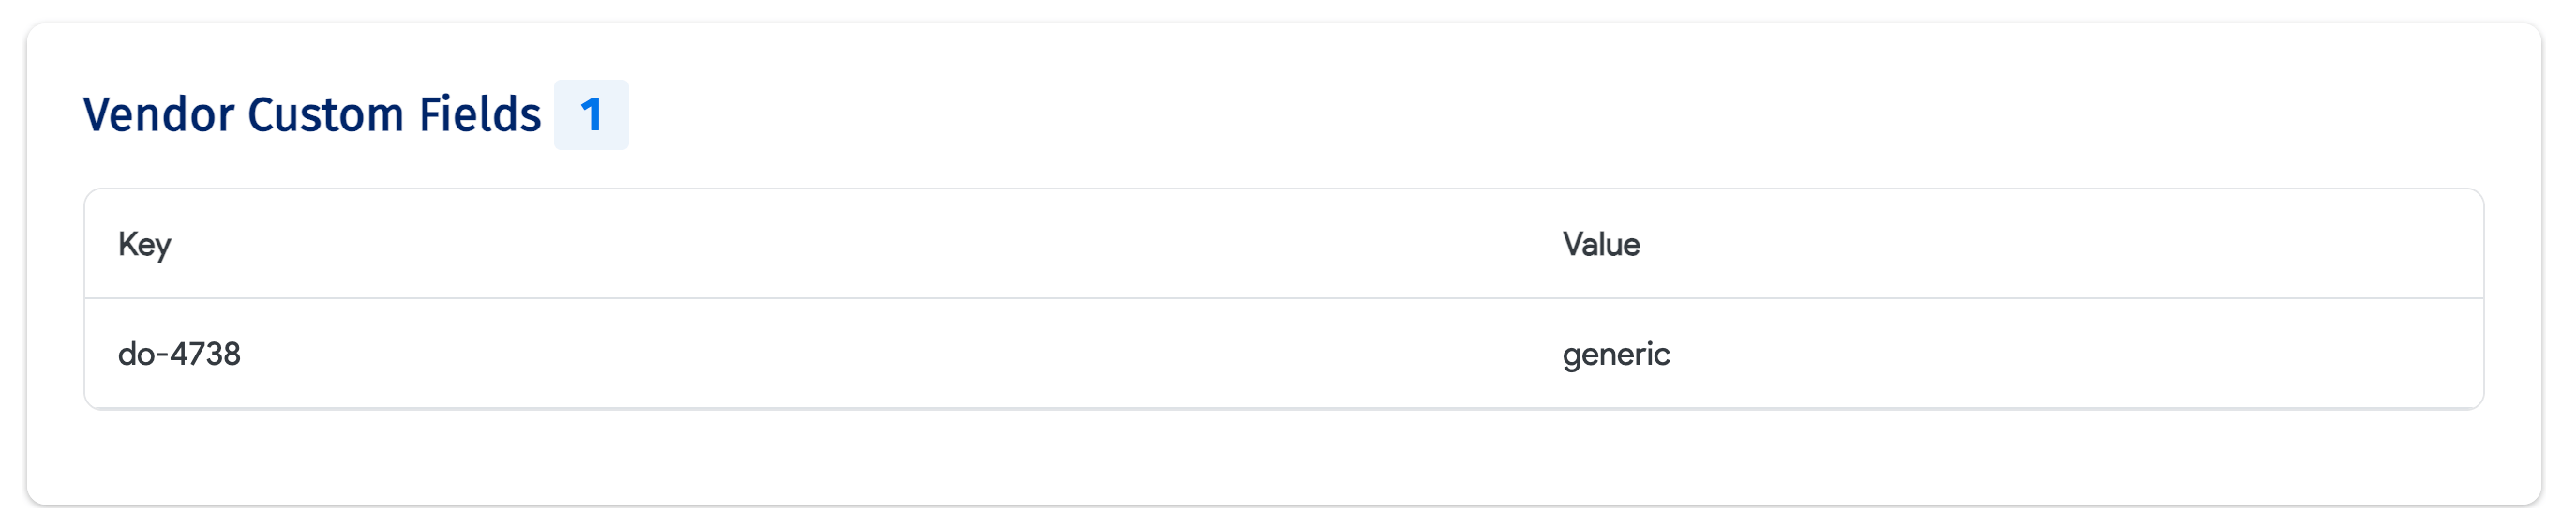
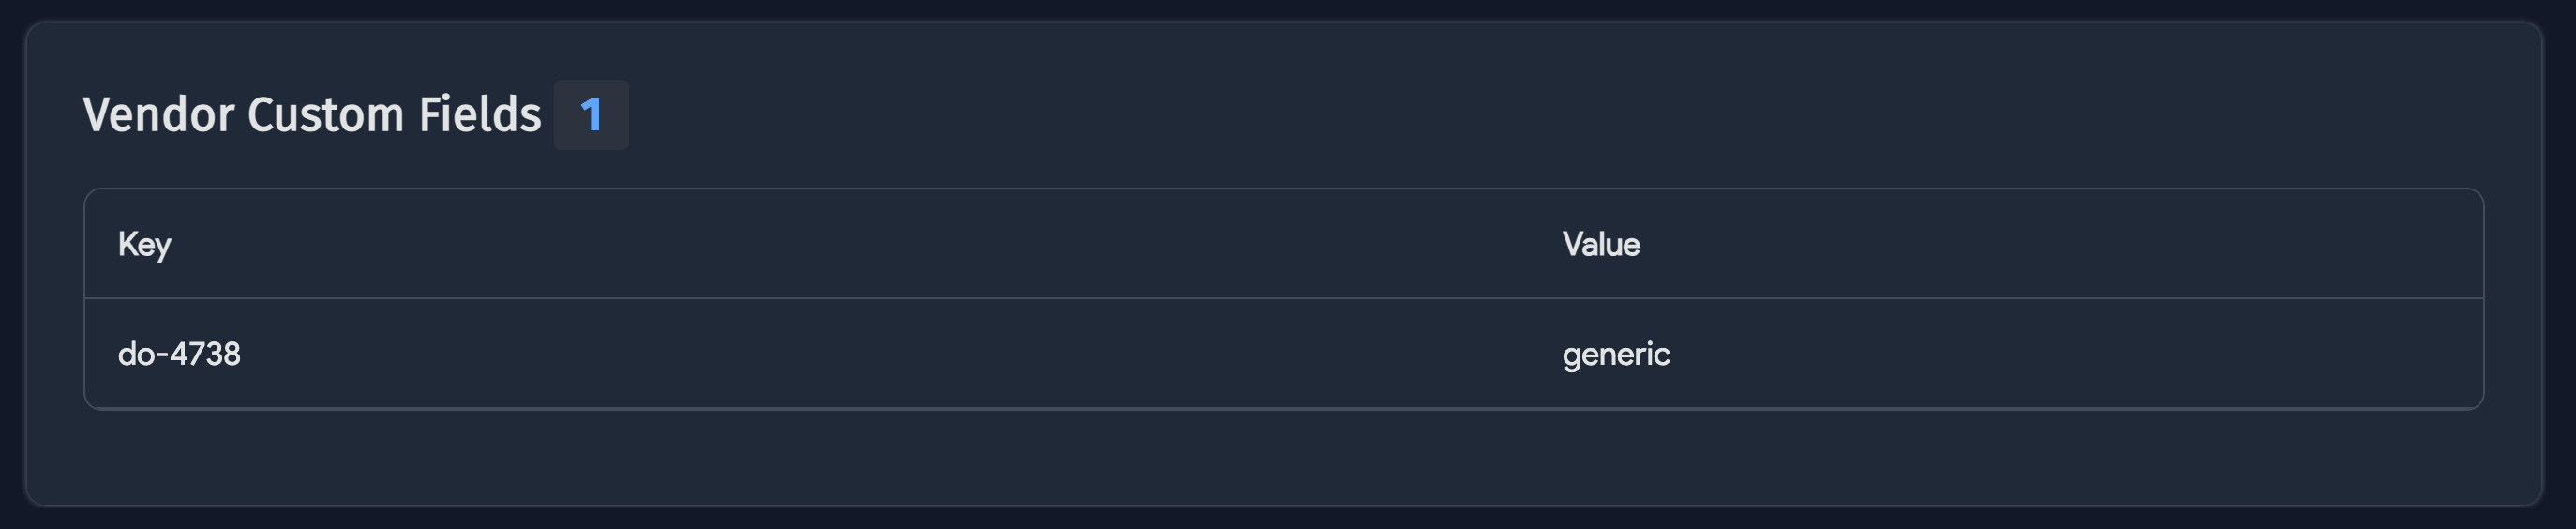
Organizations that use AWS tags can retrieve tags associated with each cloud account within AWS. Discovered tags are located under the Vendor Custom Fields field.
Device42 can discover information on the following S3 fields:
- Has Public Access Point
- Has Public ACL
- Has Public Policy
- Public ACLs Blocked
- Public Policies Blocked
A bucket can be public if it has Public Access Point, Public ACL or Public Policy. The Public ACLs Blocked and Public Policies Blocked flags can be independently controlled with settings in the AWS S3 console. When these flags are checked off, a user with the correct permissions can access the bucket.
Additional resources:
- See S3 Bucket policy examples for more details.
- Visit the block public access settings section for S3 access control options.
Multi-Account Discovery with AWS Roles
AWS Cloud Discovery jobs can use AWS roles to discover multiple accounts. When the job includes an AWS role, the discovery job dynamically retrieves accounts from AWS. A single role can discover multiple accounts, so you can either specify exact accounts to discover or leave the account empty to have the discovery job create cloud accounts automatically.
Credential-Free Discovery with EC2 Instance Profiles
You can perform AWS discovery without supplying any form of long-term, programmatic credentials by leveraging Instance Profiles or IAM roles for Amazon EC2 instances.
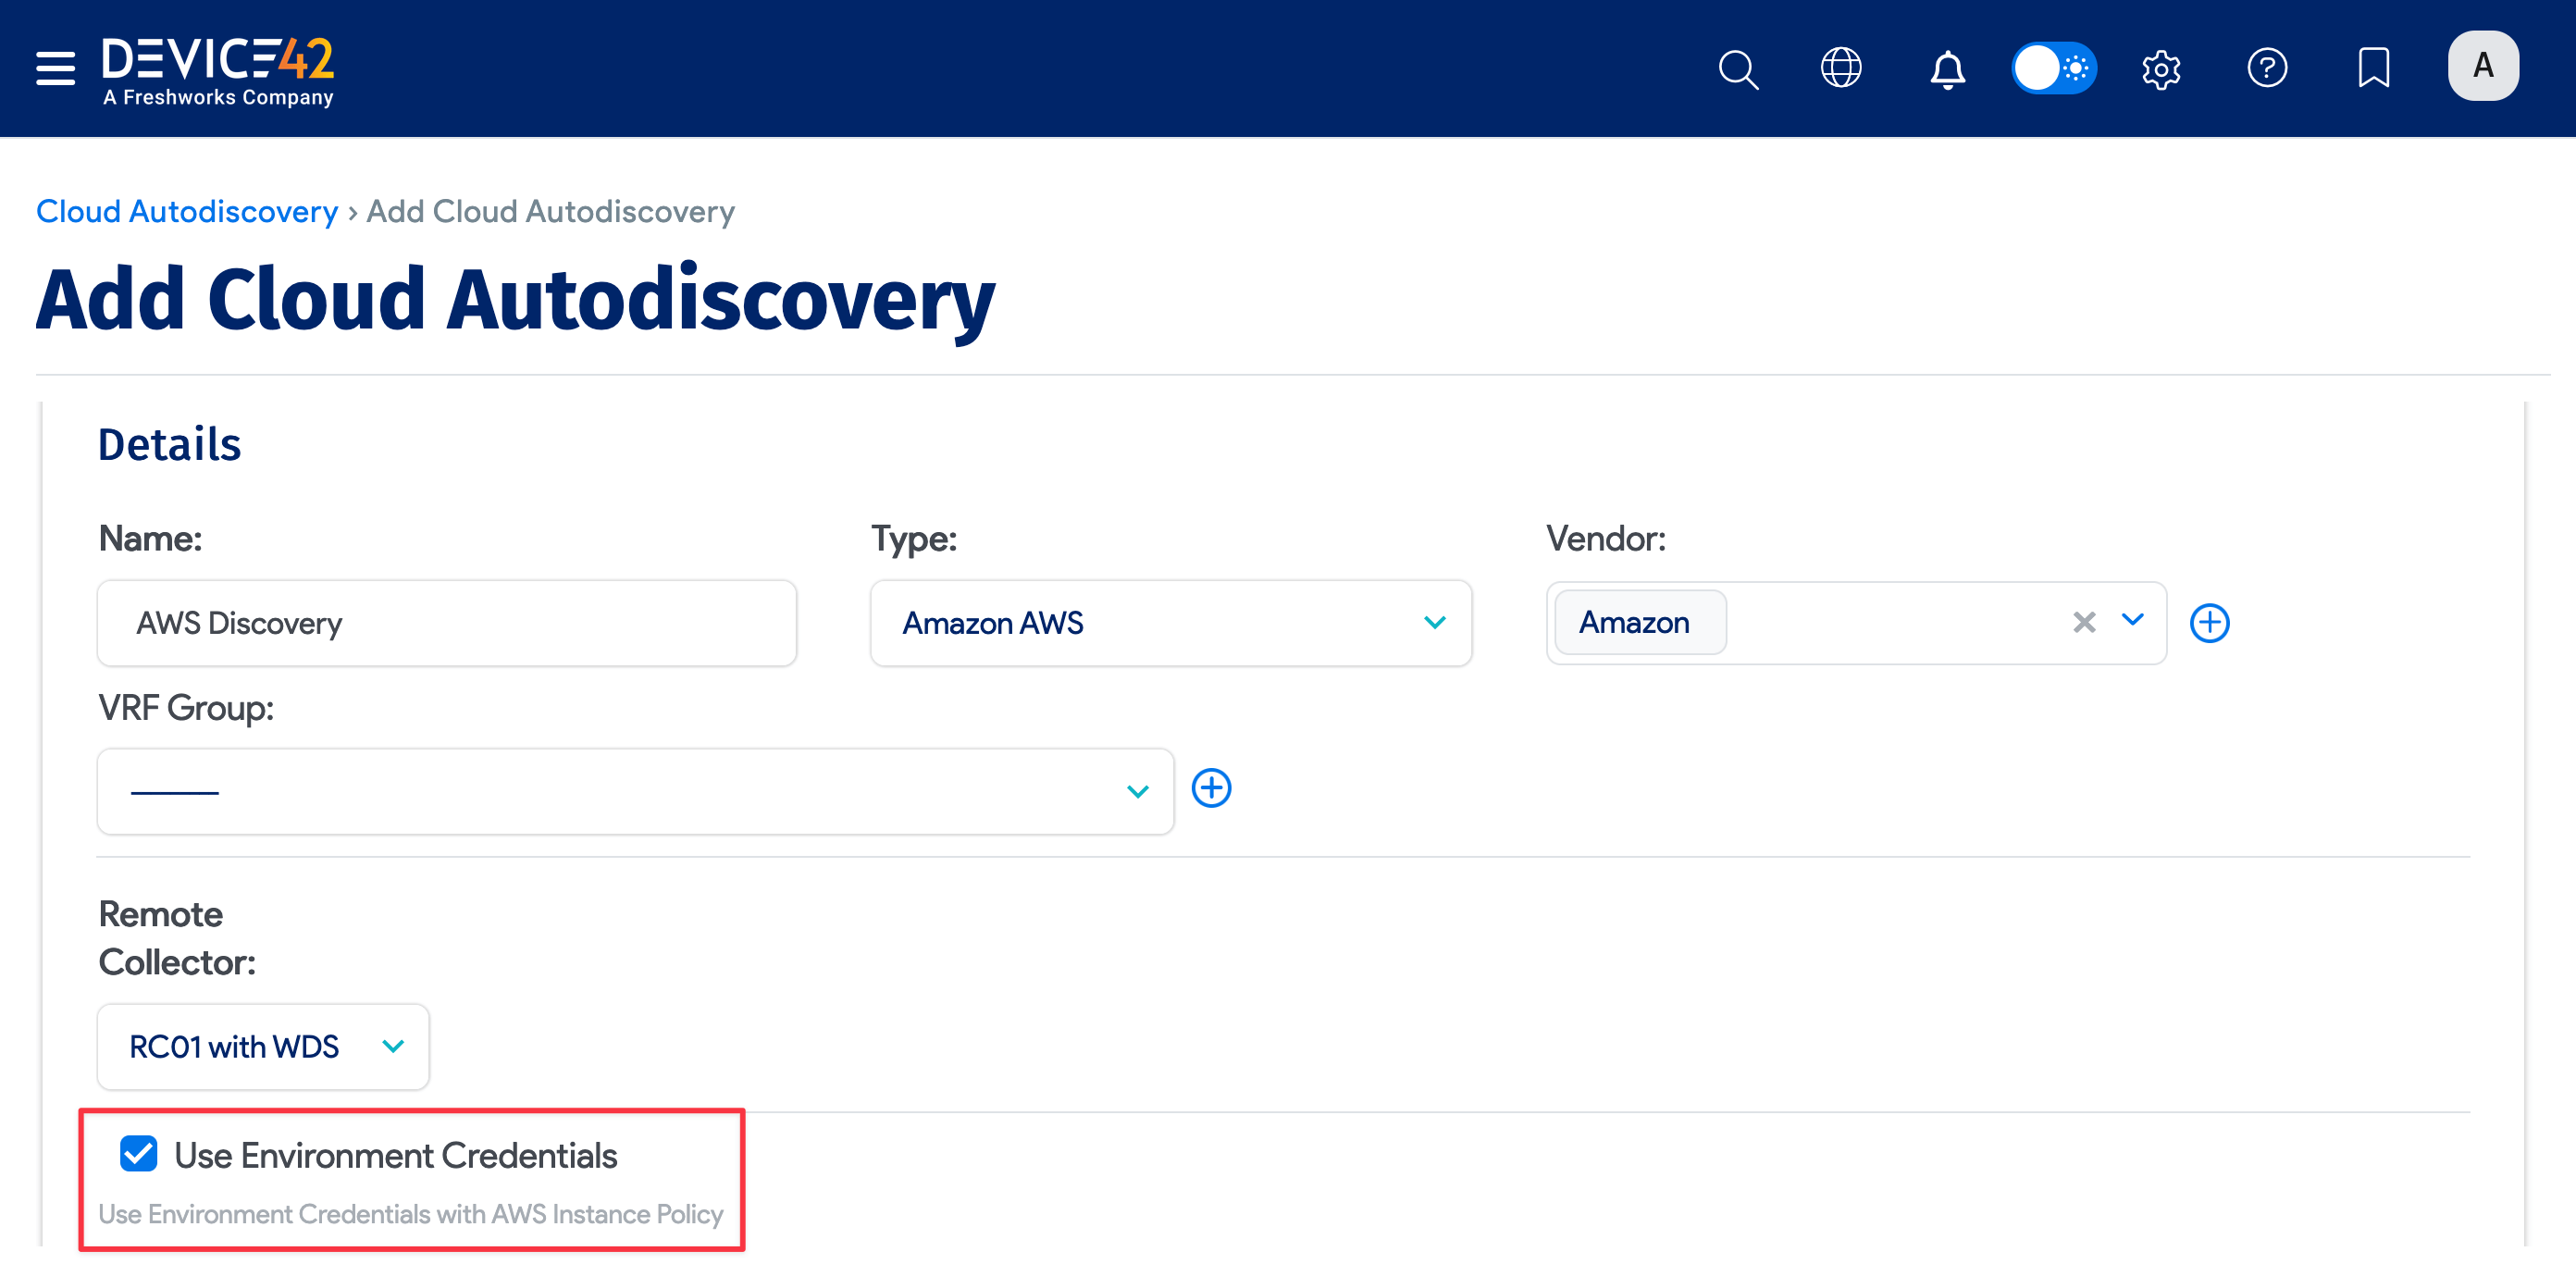
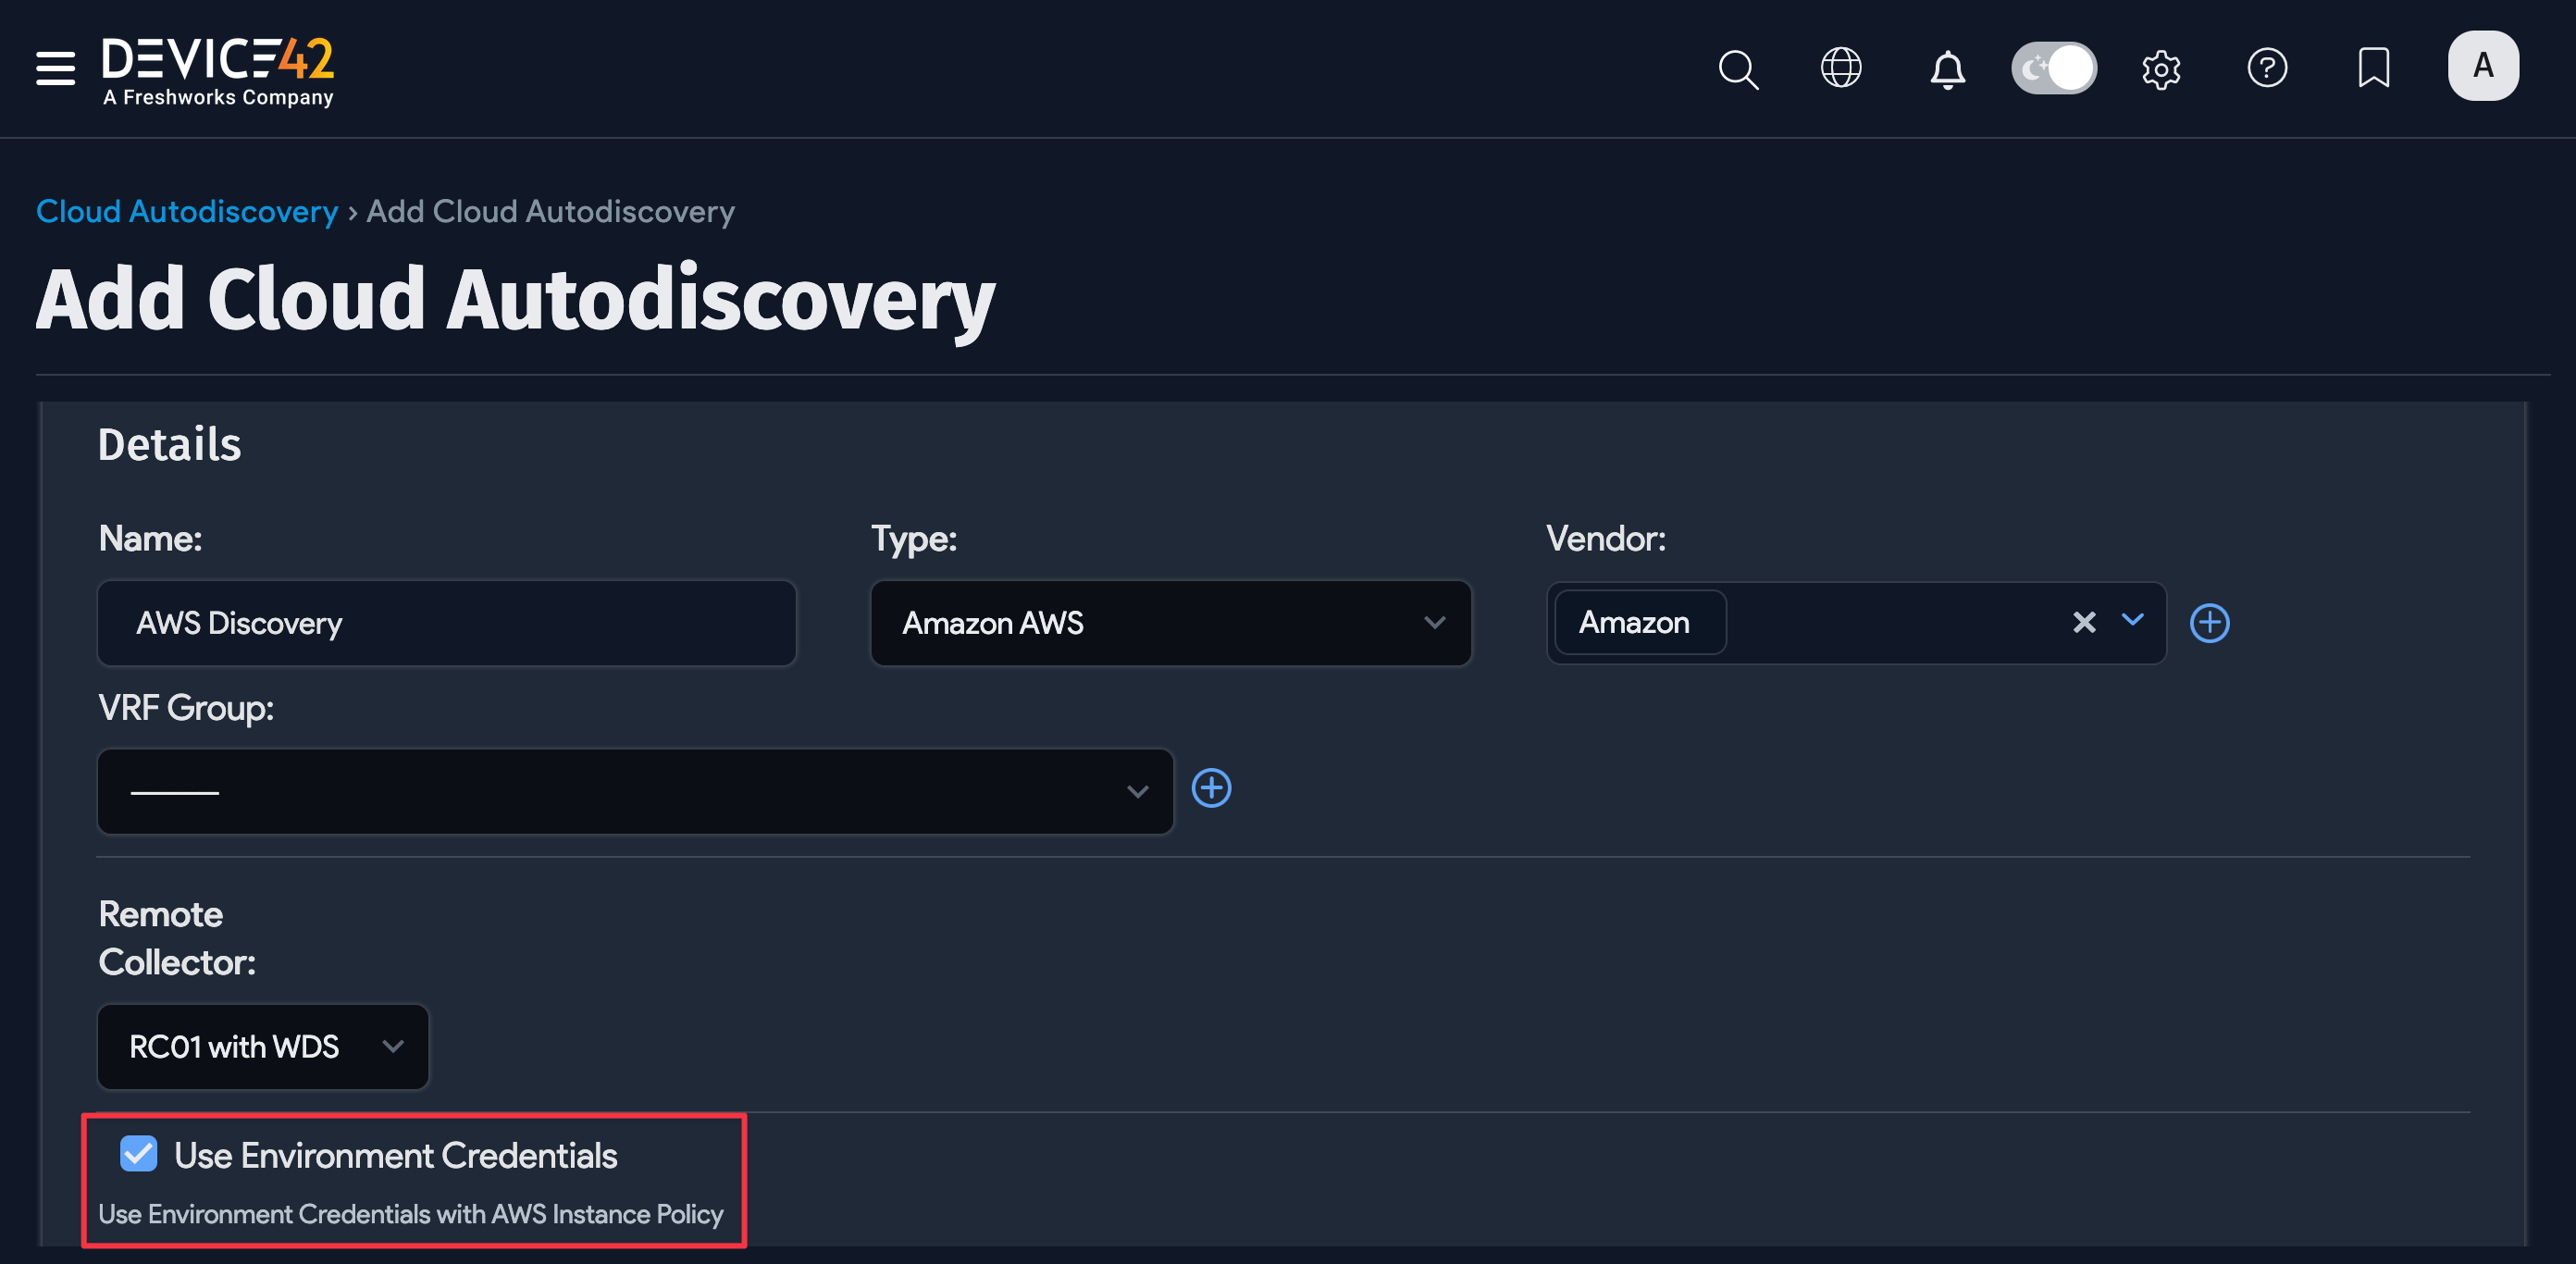
When Use Environment Credentials is enabled, the discovery job can be saved without selecting an Access Key ID or Secret Key in the job configuration. This is only possible when using an AWS-hosted Main Appliance or Remote Collector for discovery as it relies on internal AWS mechanisms.
Step 1: Deploy a Main Appliance or Remote Collector Within AWS
Deploy either a Device42 Main Appliance or Remote Collector as an EC2 instance in your AWS environment.
Step 2: Create a New IAM Policy
On the IAM Policy creation screen, click JSON in the policy editor and paste one of the policies below based on your desired discovery configuration.
Option 1: Single Account Discovery
Refer to the example discovery policy in the Discovered Services section.
Option 2: Role Assumption Using Static Account Discovery
This option is good if you need to specify External IDs when assuming roles, as Dynamic Account Discovery does not support role assumption using External IDs.
Example IAM Policy
{
    "Version": "2012-10-17",
    "Statement": [
        {
            "Effect": "Allow",
            "Action": [
                "sts:assumerole"
            ],
            "Resource": [
                "*"
            ]
        }
    ]
}
Option 3: Role Assumption Using Dynamic Account Discovery
This option is good if you want to discover resources in all member accounts without specifying individual Account IDs.
This requires the associated Remote Collector or Main Appliance to be deployed within the organization's root (management) account. See Setting Up Dynamic Account Discovery Roles for more details.
Example IAM Policy
{
    "Version": "2012-10-17",
    "Statement": [
        {
            "Effect": "Allow",
            "Action": [
                "sts:assumerole",
                "organizations:listaccounts"
            ],
            "Resource": [
                "*"
            ]
        }
    ]
}
When you've confirmed you have the appropriate permission set selected, click Next, give the policy a name and description, and click Create Policy.
Step 3: Create a New IAM Role
- On the IAM Role creation screen, select AWS service as the trusted entity type and EC2 as the service or use case. Click Next.
- On the add permissions screen, search for and select the policy created in Step 2. Click Next, give the role a name and description, and then click Create Role.
If you want to do the role preparation via the AWS CLI instead of the AWS Management Console, you can reference the trust policy below:
Example Trust Policy
{
    "Version": "2012-10-17",
    "Statement": [
        {
            "Effect": "Allow",
            "Action": [
                "sts:AssumeRole"
            ],
            "Principal": {
                "Service": [
                    "ec2.amazonaws.com"
                ]
            }
        }
    ]
}
Step 4: Attach the Role
- From the EC2 Instances list page, select the EC2 instance deployed in Step 1. Then click Actions > Security > Modify IAM role.
- From the "Modify IAM role" page, select the IAM Role created in Step 3 and click Update IAM role.
Step 5: Additional Configuration for Multi-Account Role Assumption
If you're configuring Single Account Discovery, no further steps are needed. If you've opted for Role Assumption using static or dynamic account discovery, continue with the steps below.
-
Create the discovery policy in each member account to be discovered. Follow Step 2 again, but this time, use the example discovery policy.
-
Create the discovery role in each member account to be discovered. Follow Step 3 again, but this time, select Custom trust policy instead of AWS service. Paste the trust policy below, then at the add permissions screen, search for and select the discovery policy created in the previous step.
Example Trust Policy
{
    "Version": "2012-10-17",
    "Statement": [
        {
            "Effect": "Allow",
            "Principal": {
                "AWS": "arn:aws:iam::ROOT_ACCOUNT_ID:role/EC2_D42_RC_ROLE"
            },
            "Action": "sts:AssumeRole"
        }
    ]
}
Replace the placeholder values with your own:
ROOT_ACCOUNT_ID— The root account ID where the role configured in Step 3 resides.EC2_D42_RC_ROLE— The name of the role in the root account to establish trust with.
Cloud Instance Statuses
All VMs in Device42 have their statuses normalized into one of three buckets: Running, Stopped, or Deleted. This allows for consistency regardless of which hypervisor or cloud is used.
Device42's statuses aren't mapped to the naming convention of the cloud provider. For example, in AWS, VM states include Running, Stopped, and Terminated. In Device42, the Terminated state is mapped to Deleted.