SNMP SAN/Server Autodiscovery
Use SNMP discovery for any SNMP-compatible device, including servers, SANs, and NAS devices. For SNMP network device discovery, see the Network Device Discovery page.
This page covers the discovery of servers and SANs via SNMP. This method also finds Windows and Linux servers, retrieving the name, MAC and IP addresses, and IP properties. For more detailed Linux and Windows server information, use the Linux and UNIX Server Discovery job instead. If the servers are Dell machines with Dell OpenManage installed, SNMP discovery also finds serial numbers, models, and other relevant details.
Device42 recommends running hypervisor server discovery using the specialized hypervisor job types. See the Windows and Hyper-V Discovery page and the Linux and UNIX Server Discovery page for more information.
NetApp, EMC, and Dell NAS or SAN Storage Discovery
Device42 discovers NetApp and EMC SANs, retrieving inventory data such as name, hardware model, serial number, OS, and MAC address.
For Dell storage devices, the Device42 community has contributed scripts that support API-level native discovery via Dell Storage Manager. See the Dell Storage Discovery blog post for more information, or visit the Device42 GitHub page for the script.
Create a NAS or SAN Storage Discovery Job
Navigate to Discovery > SNMP and click Create.
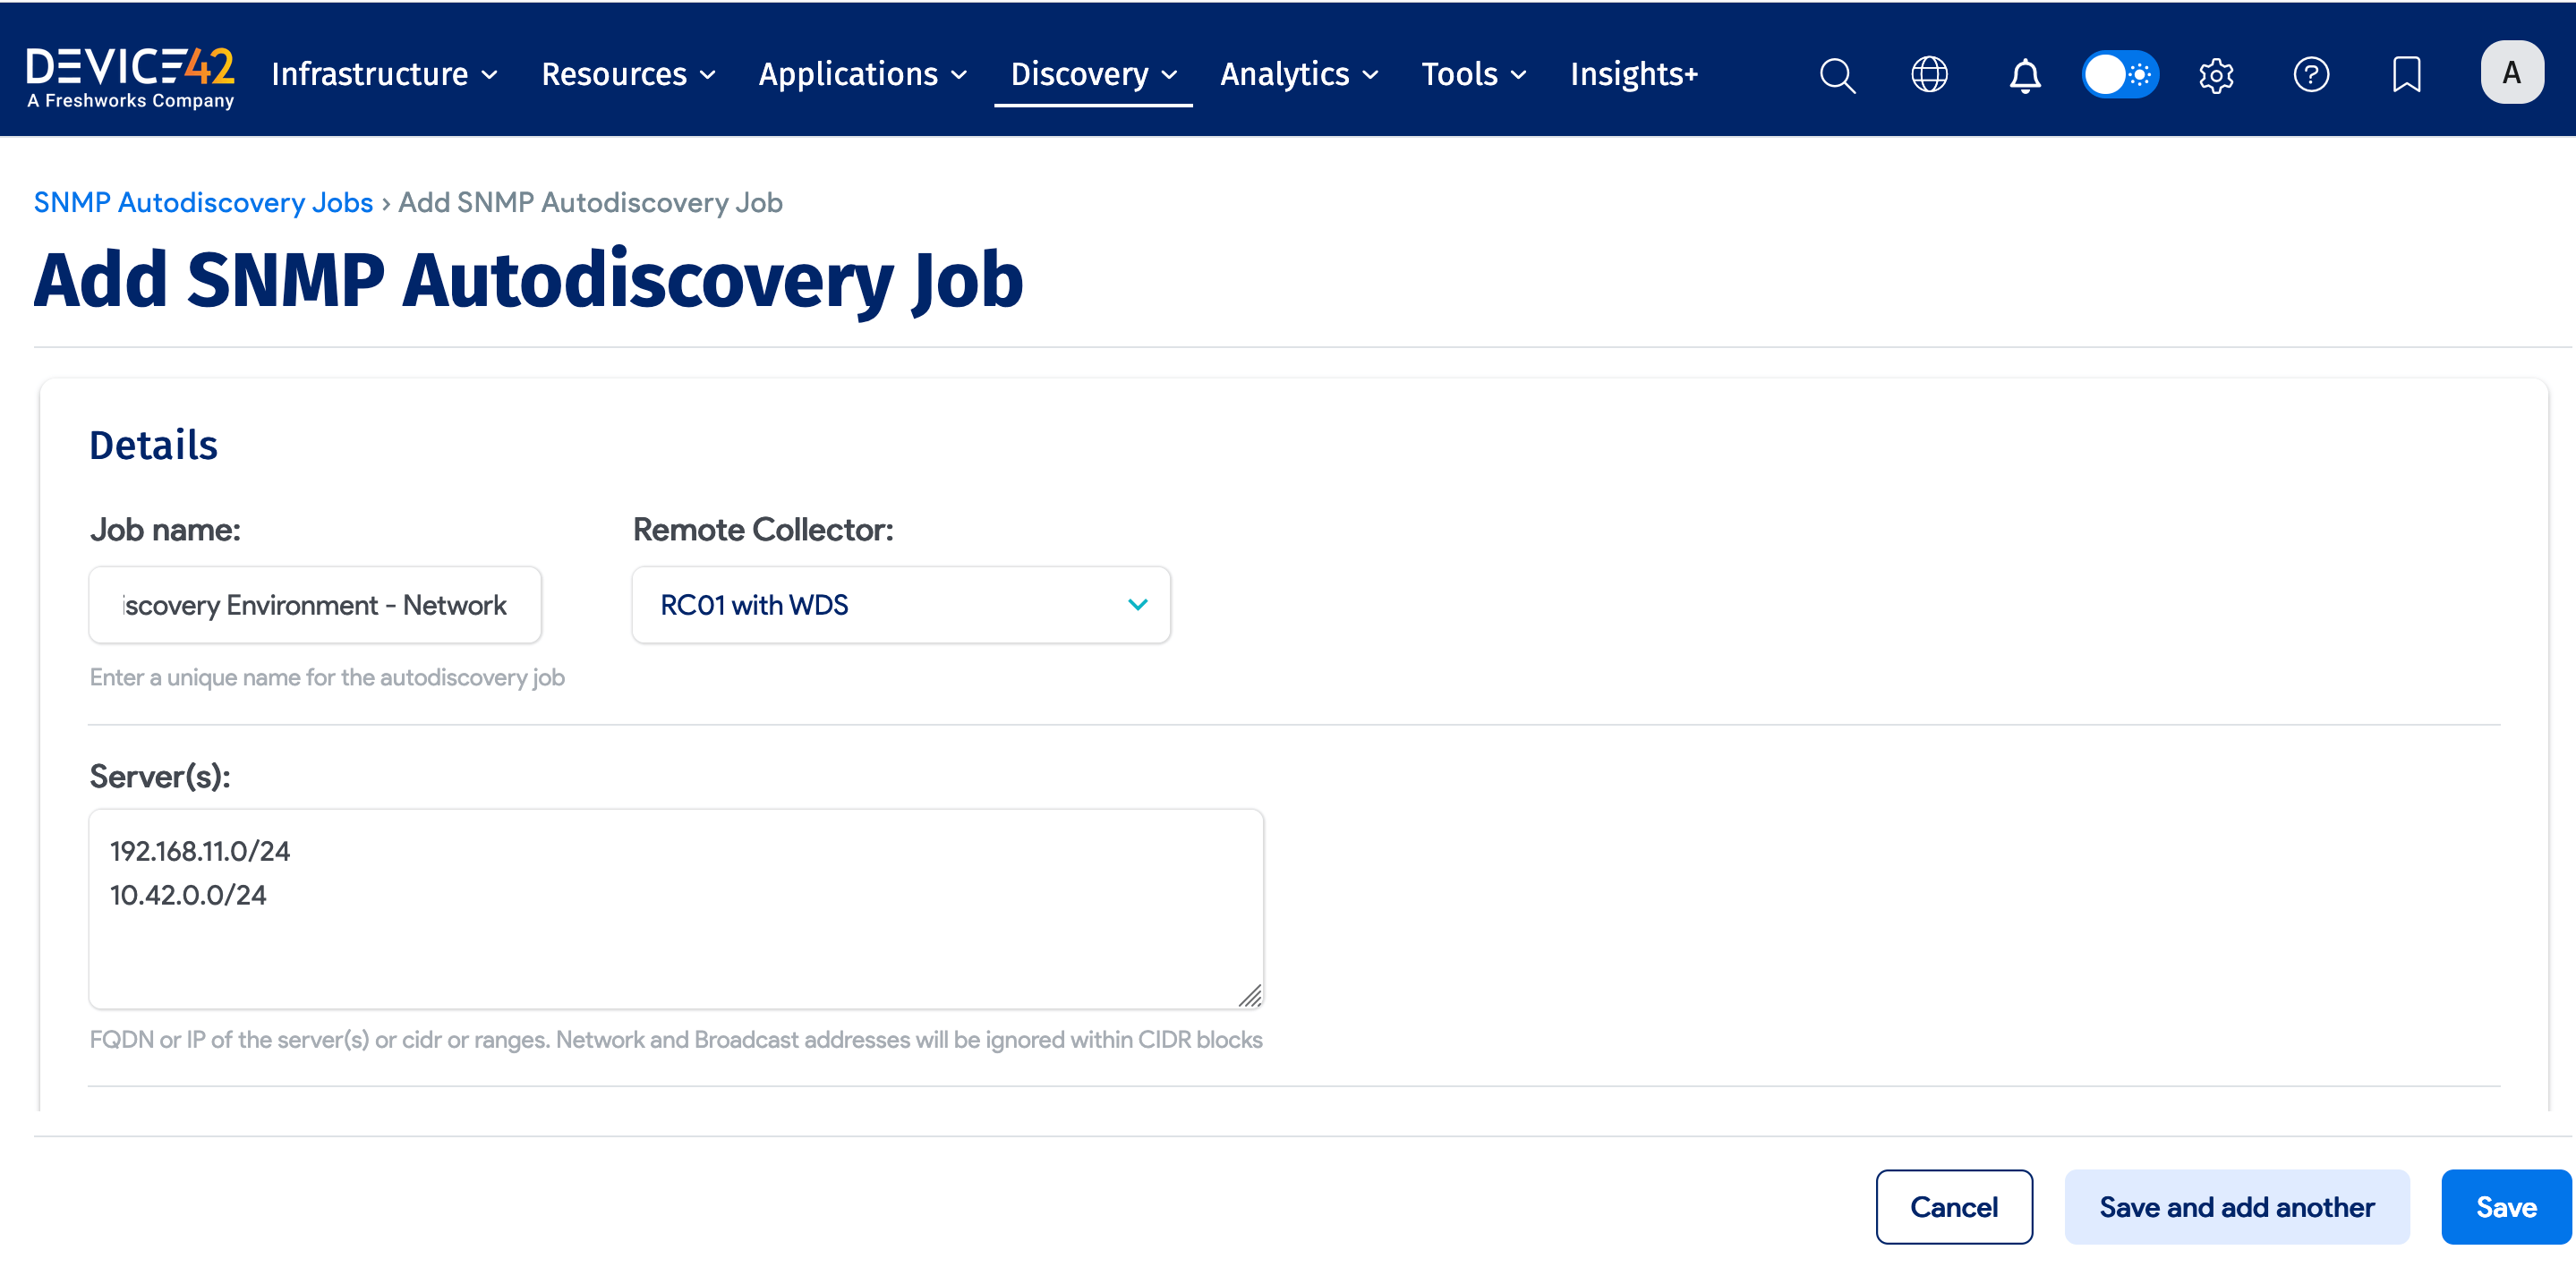
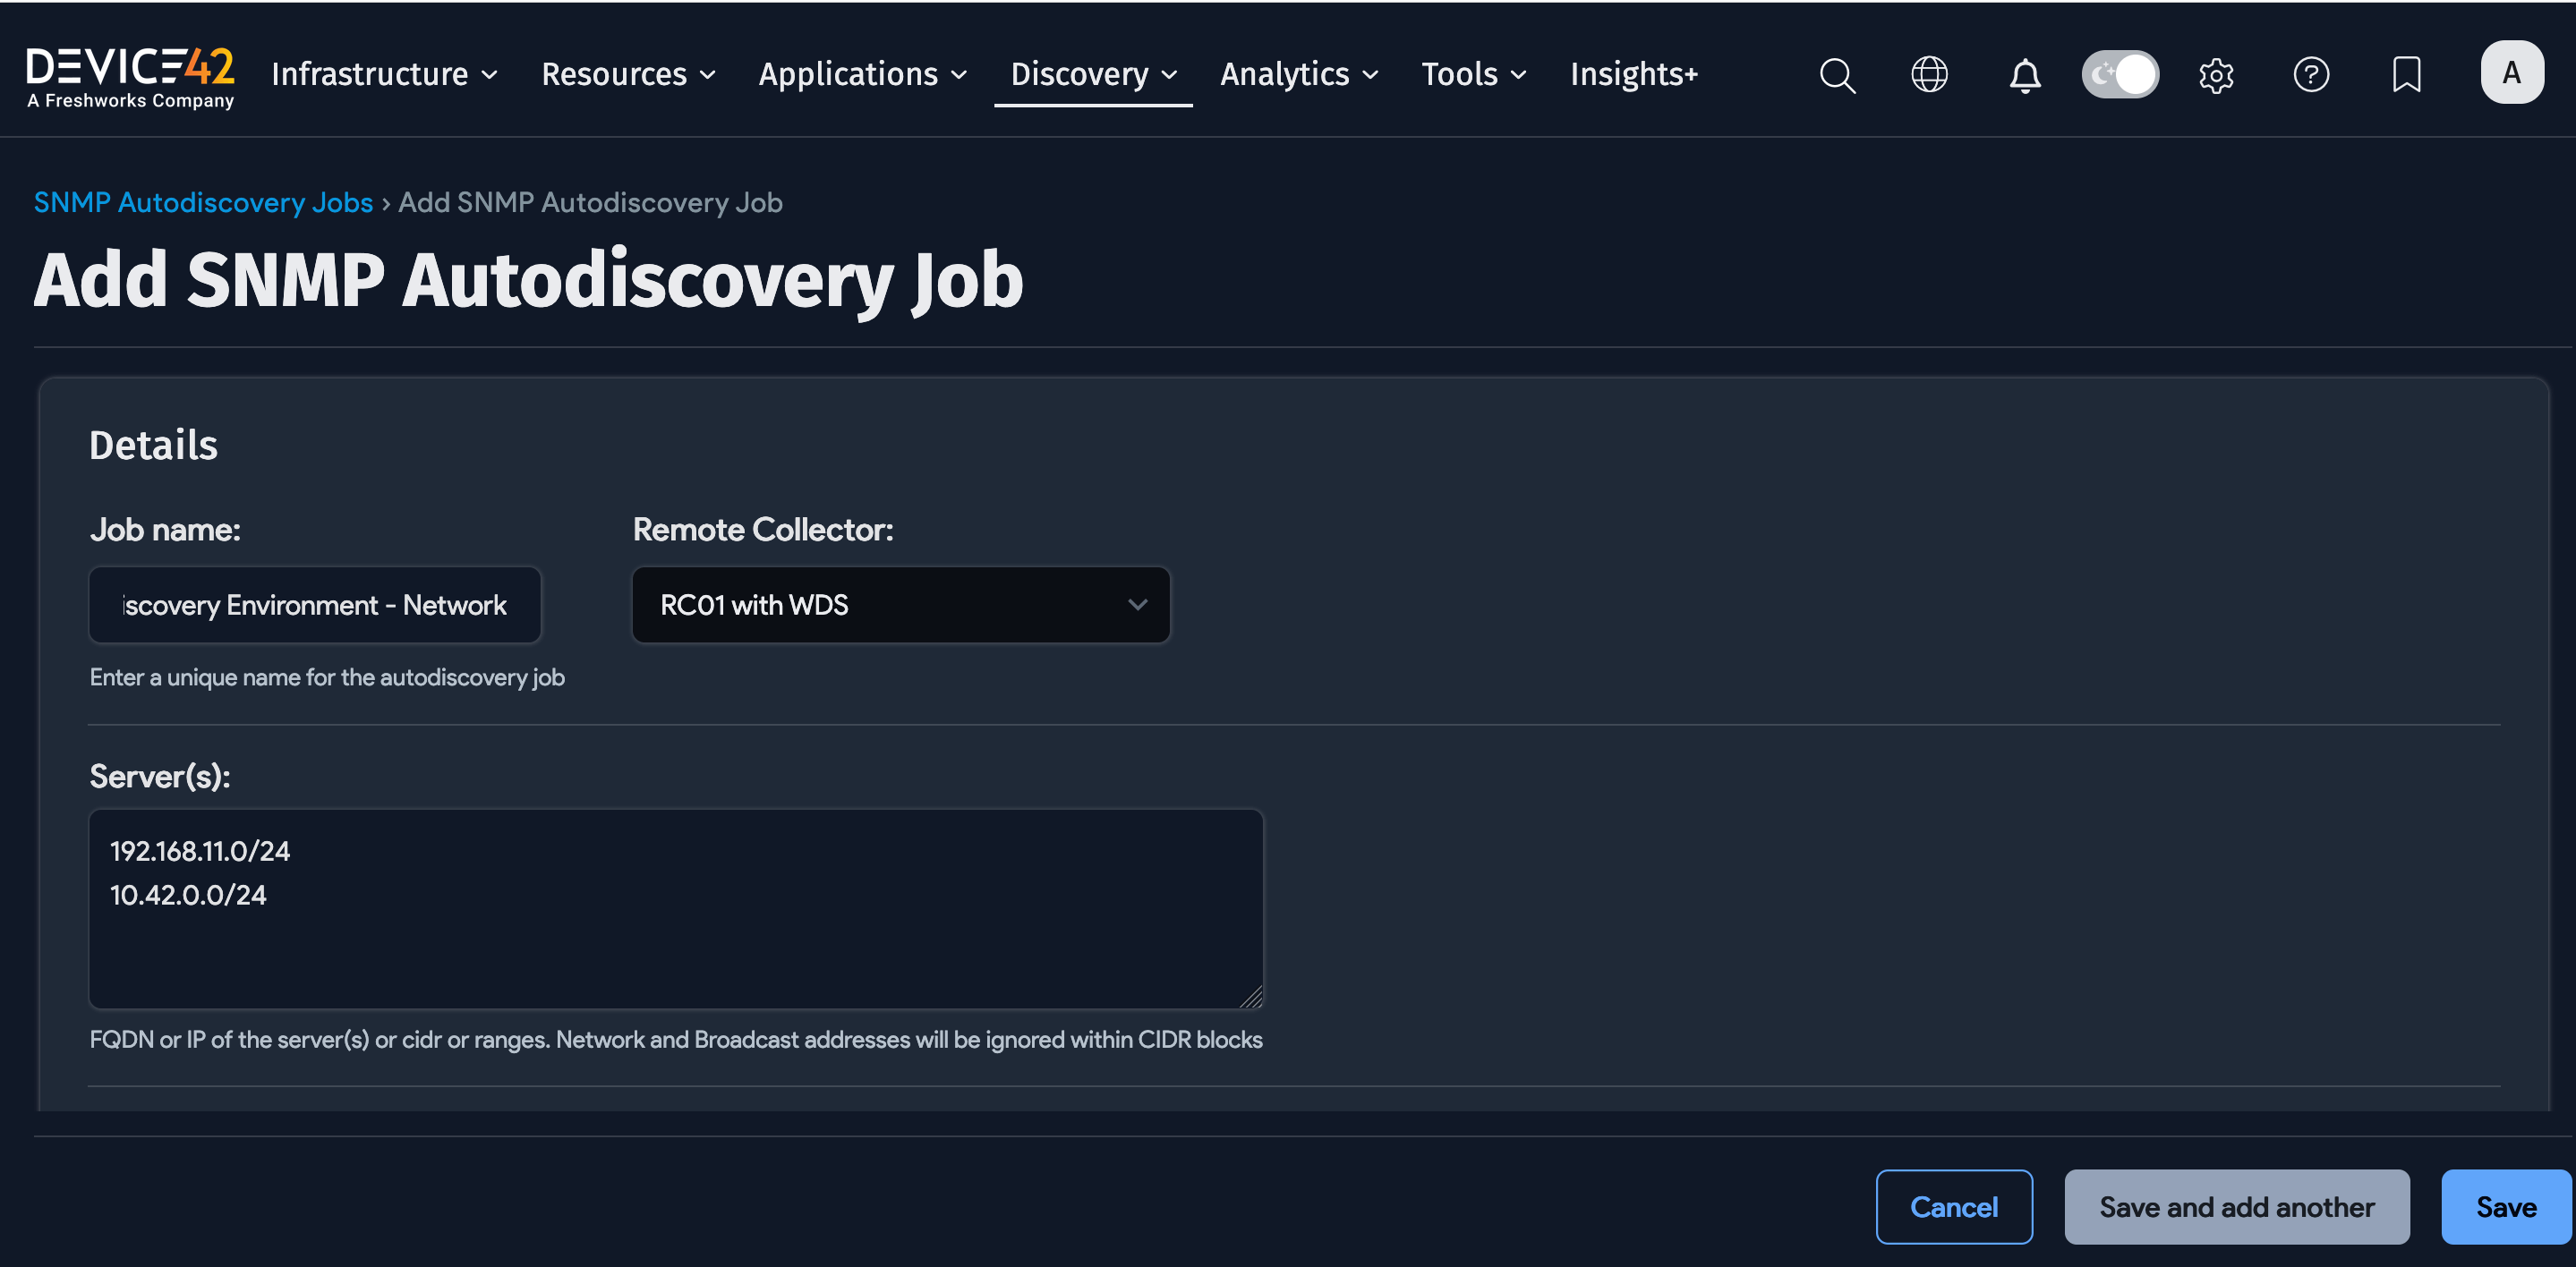
The discovery job takes the FQDN or IP addresses of the target servers. You can also list OIDs and operating systems to ignore during the discovery process.
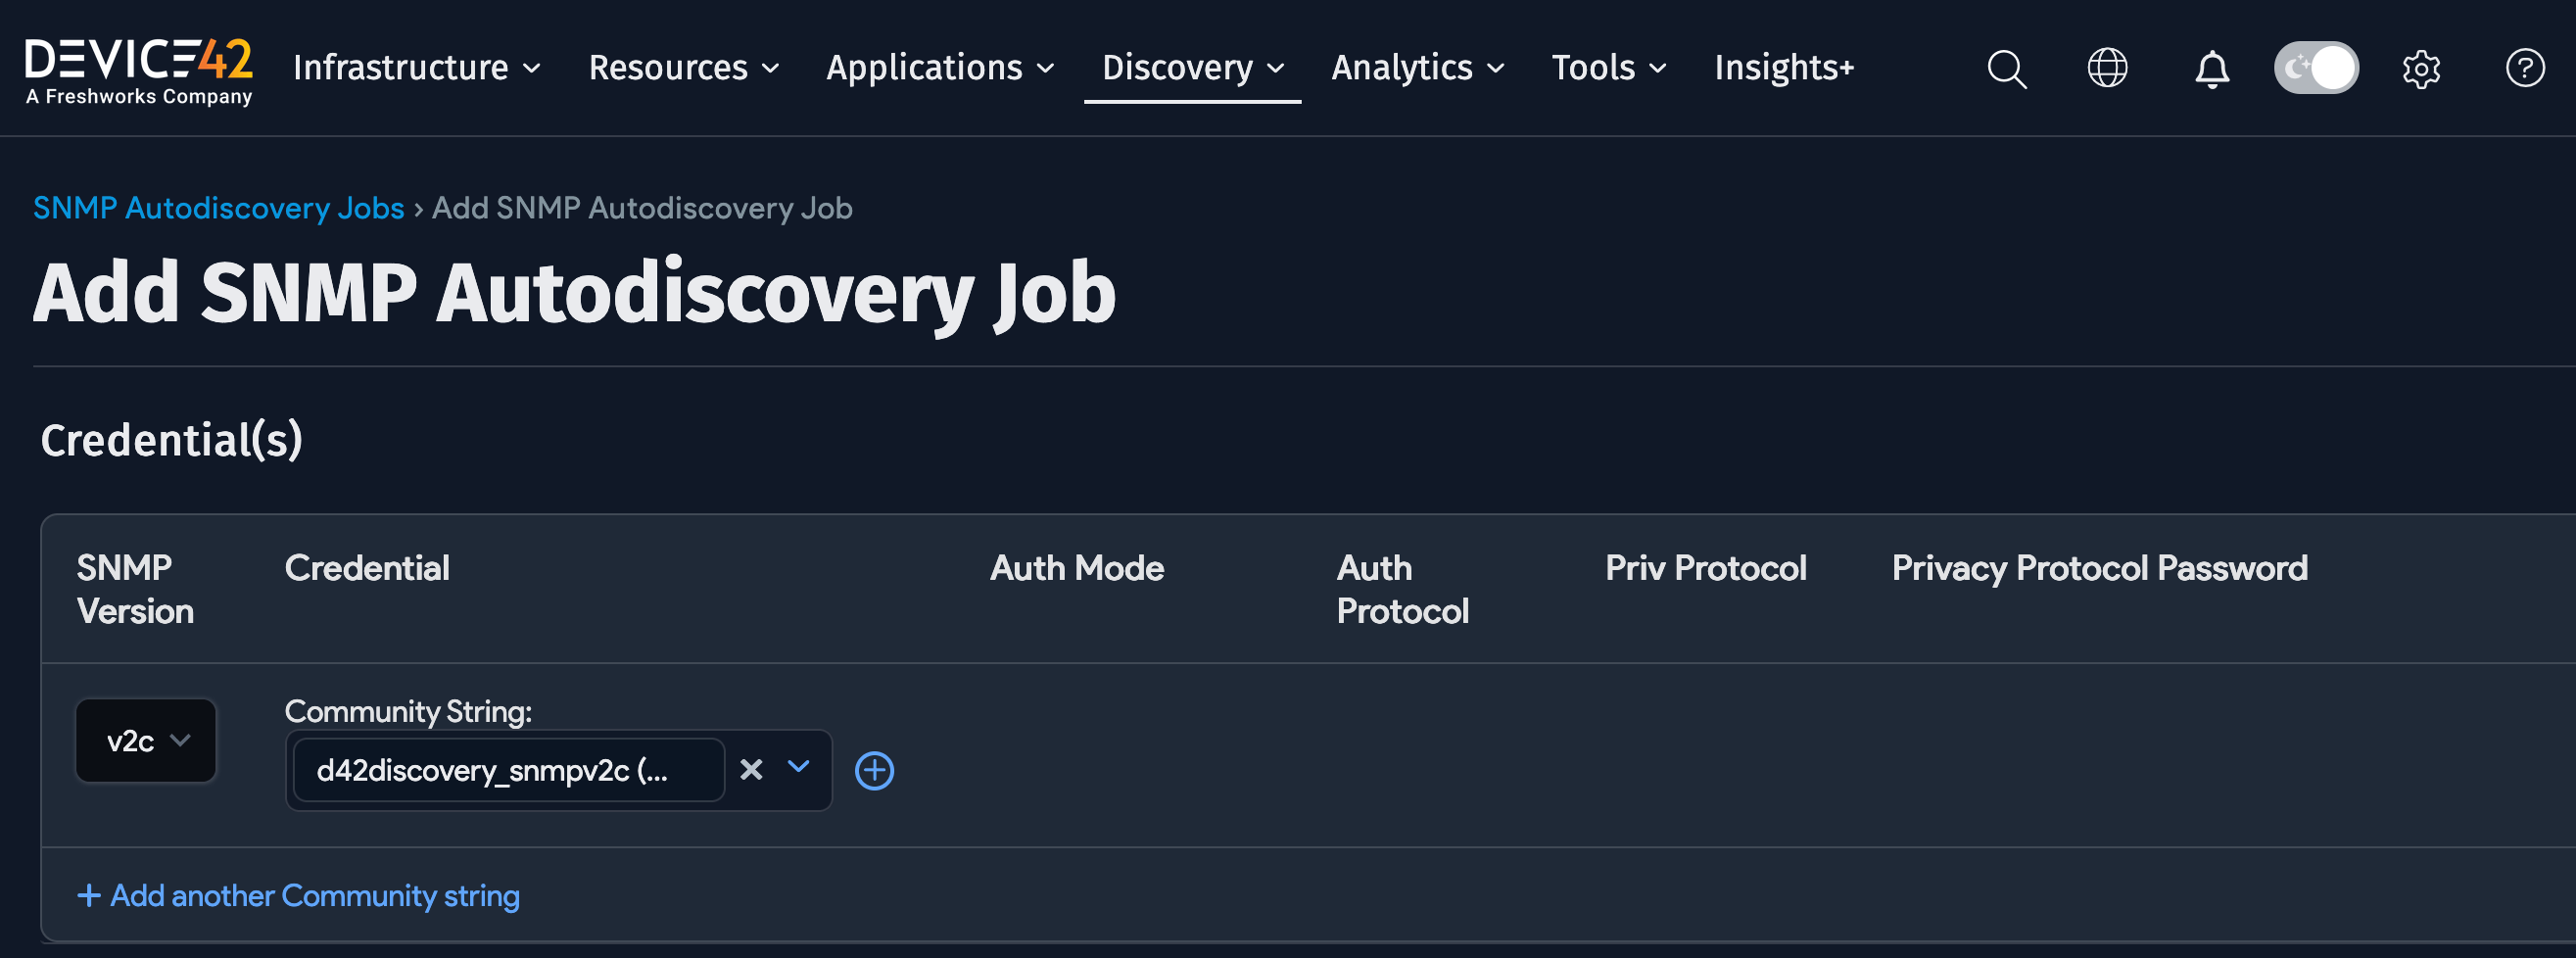
Under Credential(s), select the SNMP Version and add a Community String:

Schedule the Job
Click Add another Autodiscovery Schedule in the Autodiscovery Schedule section to create a run schedule for the job.


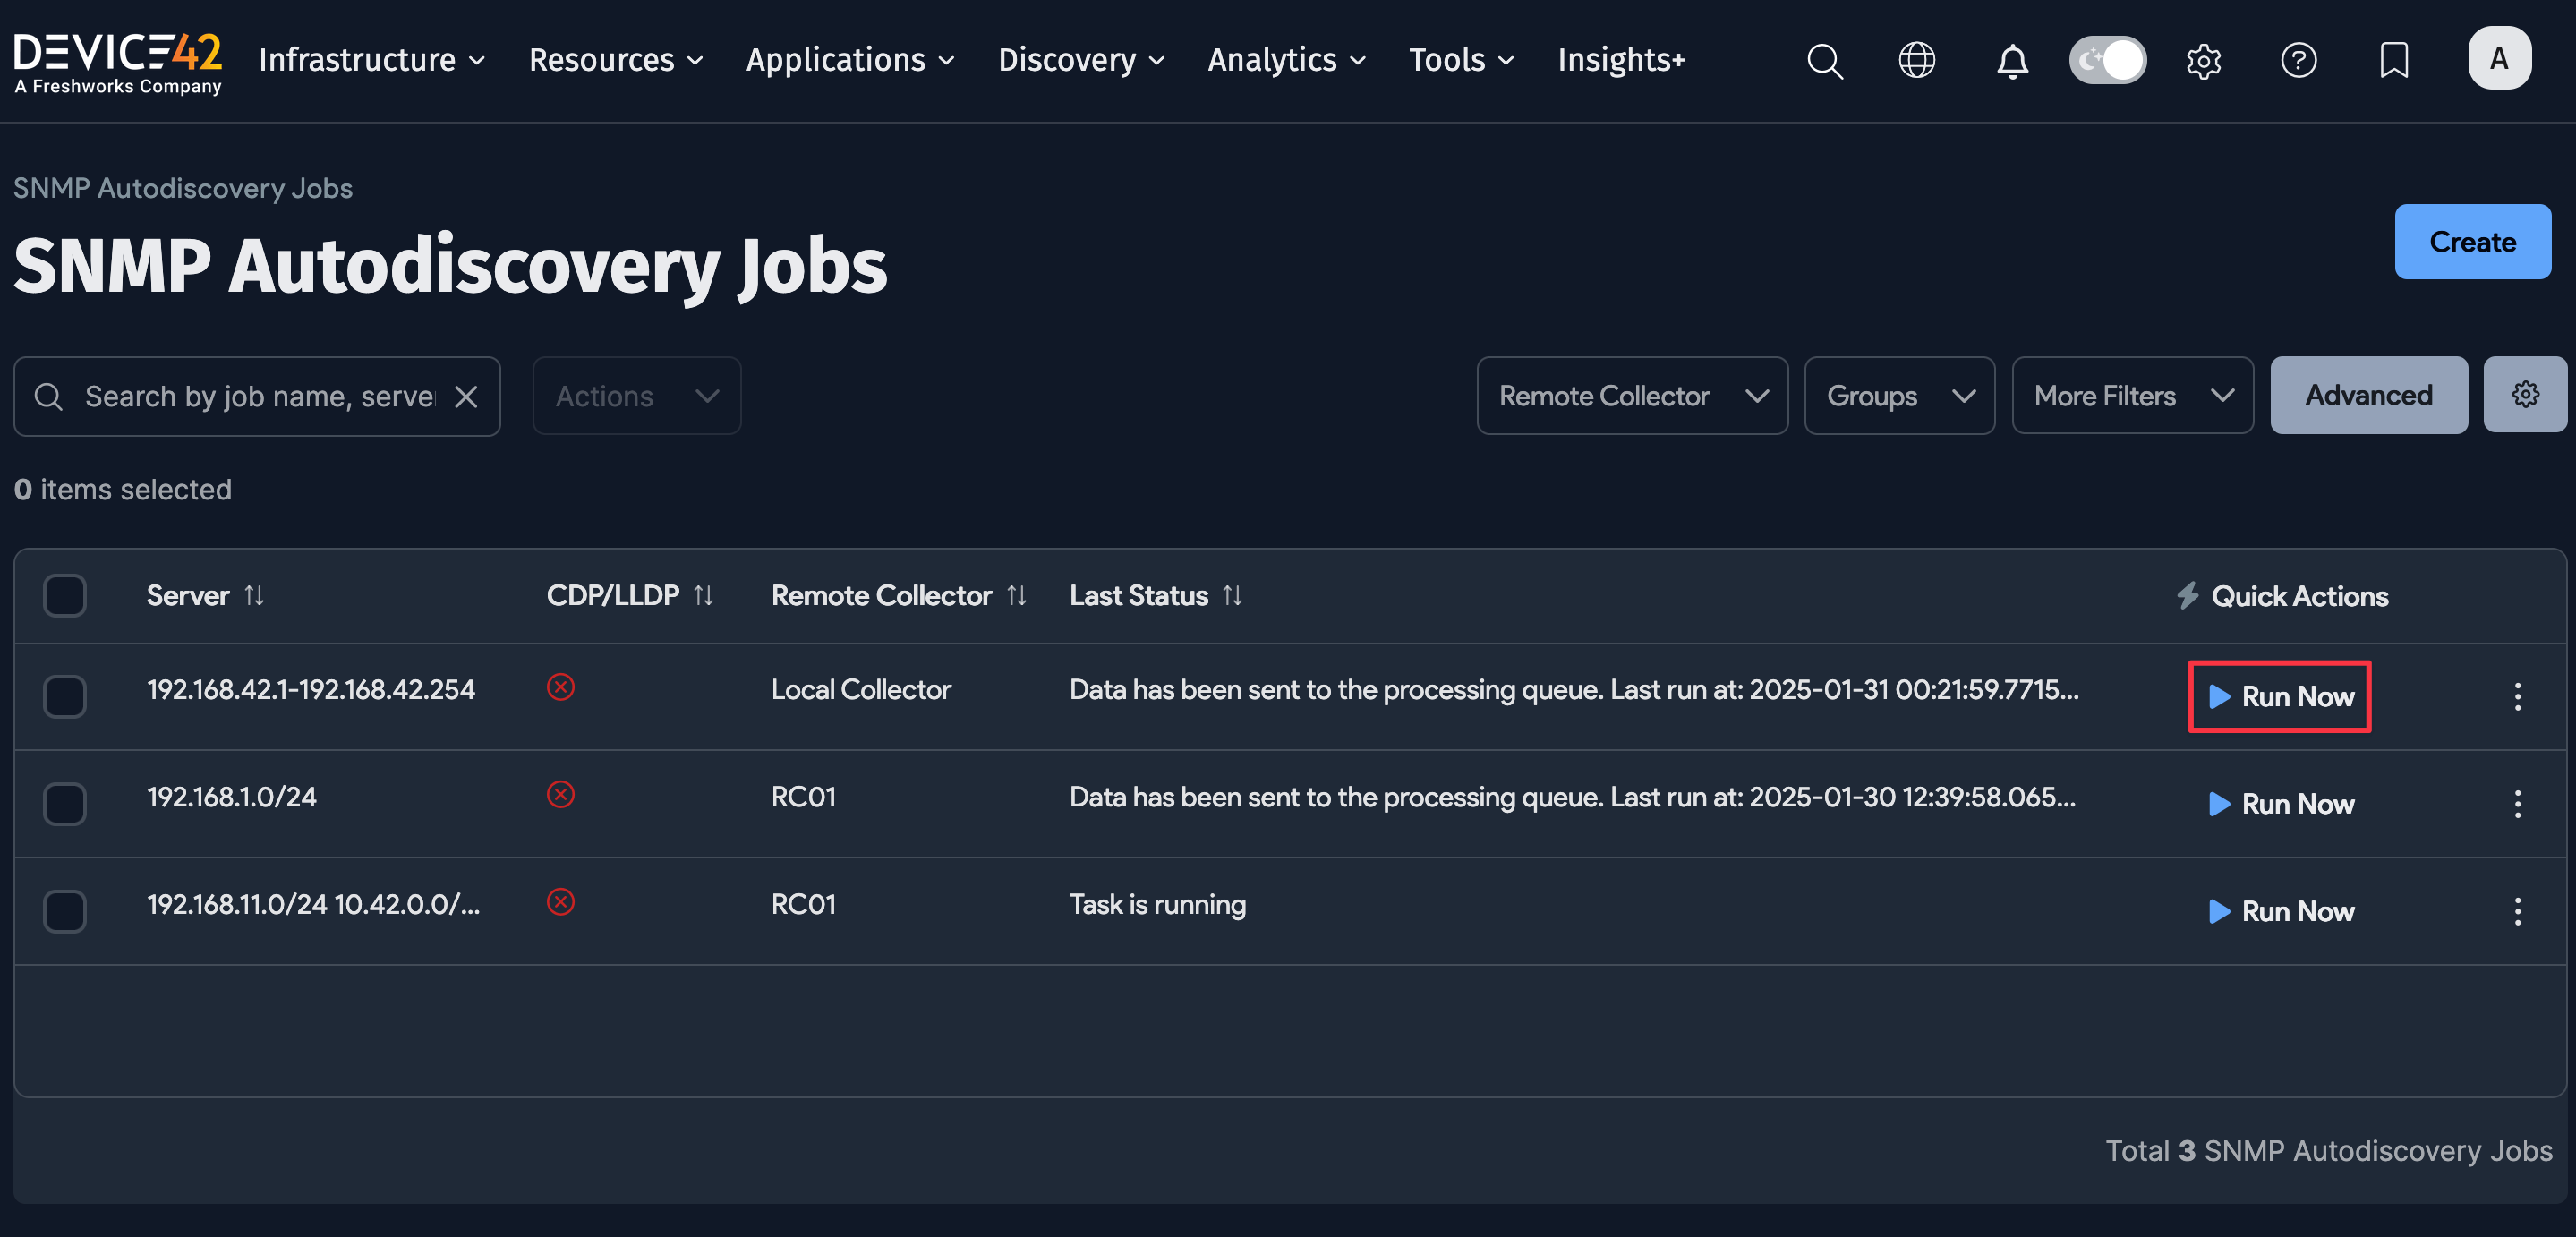
After saving the job, click Run Now to run the job immediately. You can also run the job from the list page at Discovery > SNMP.
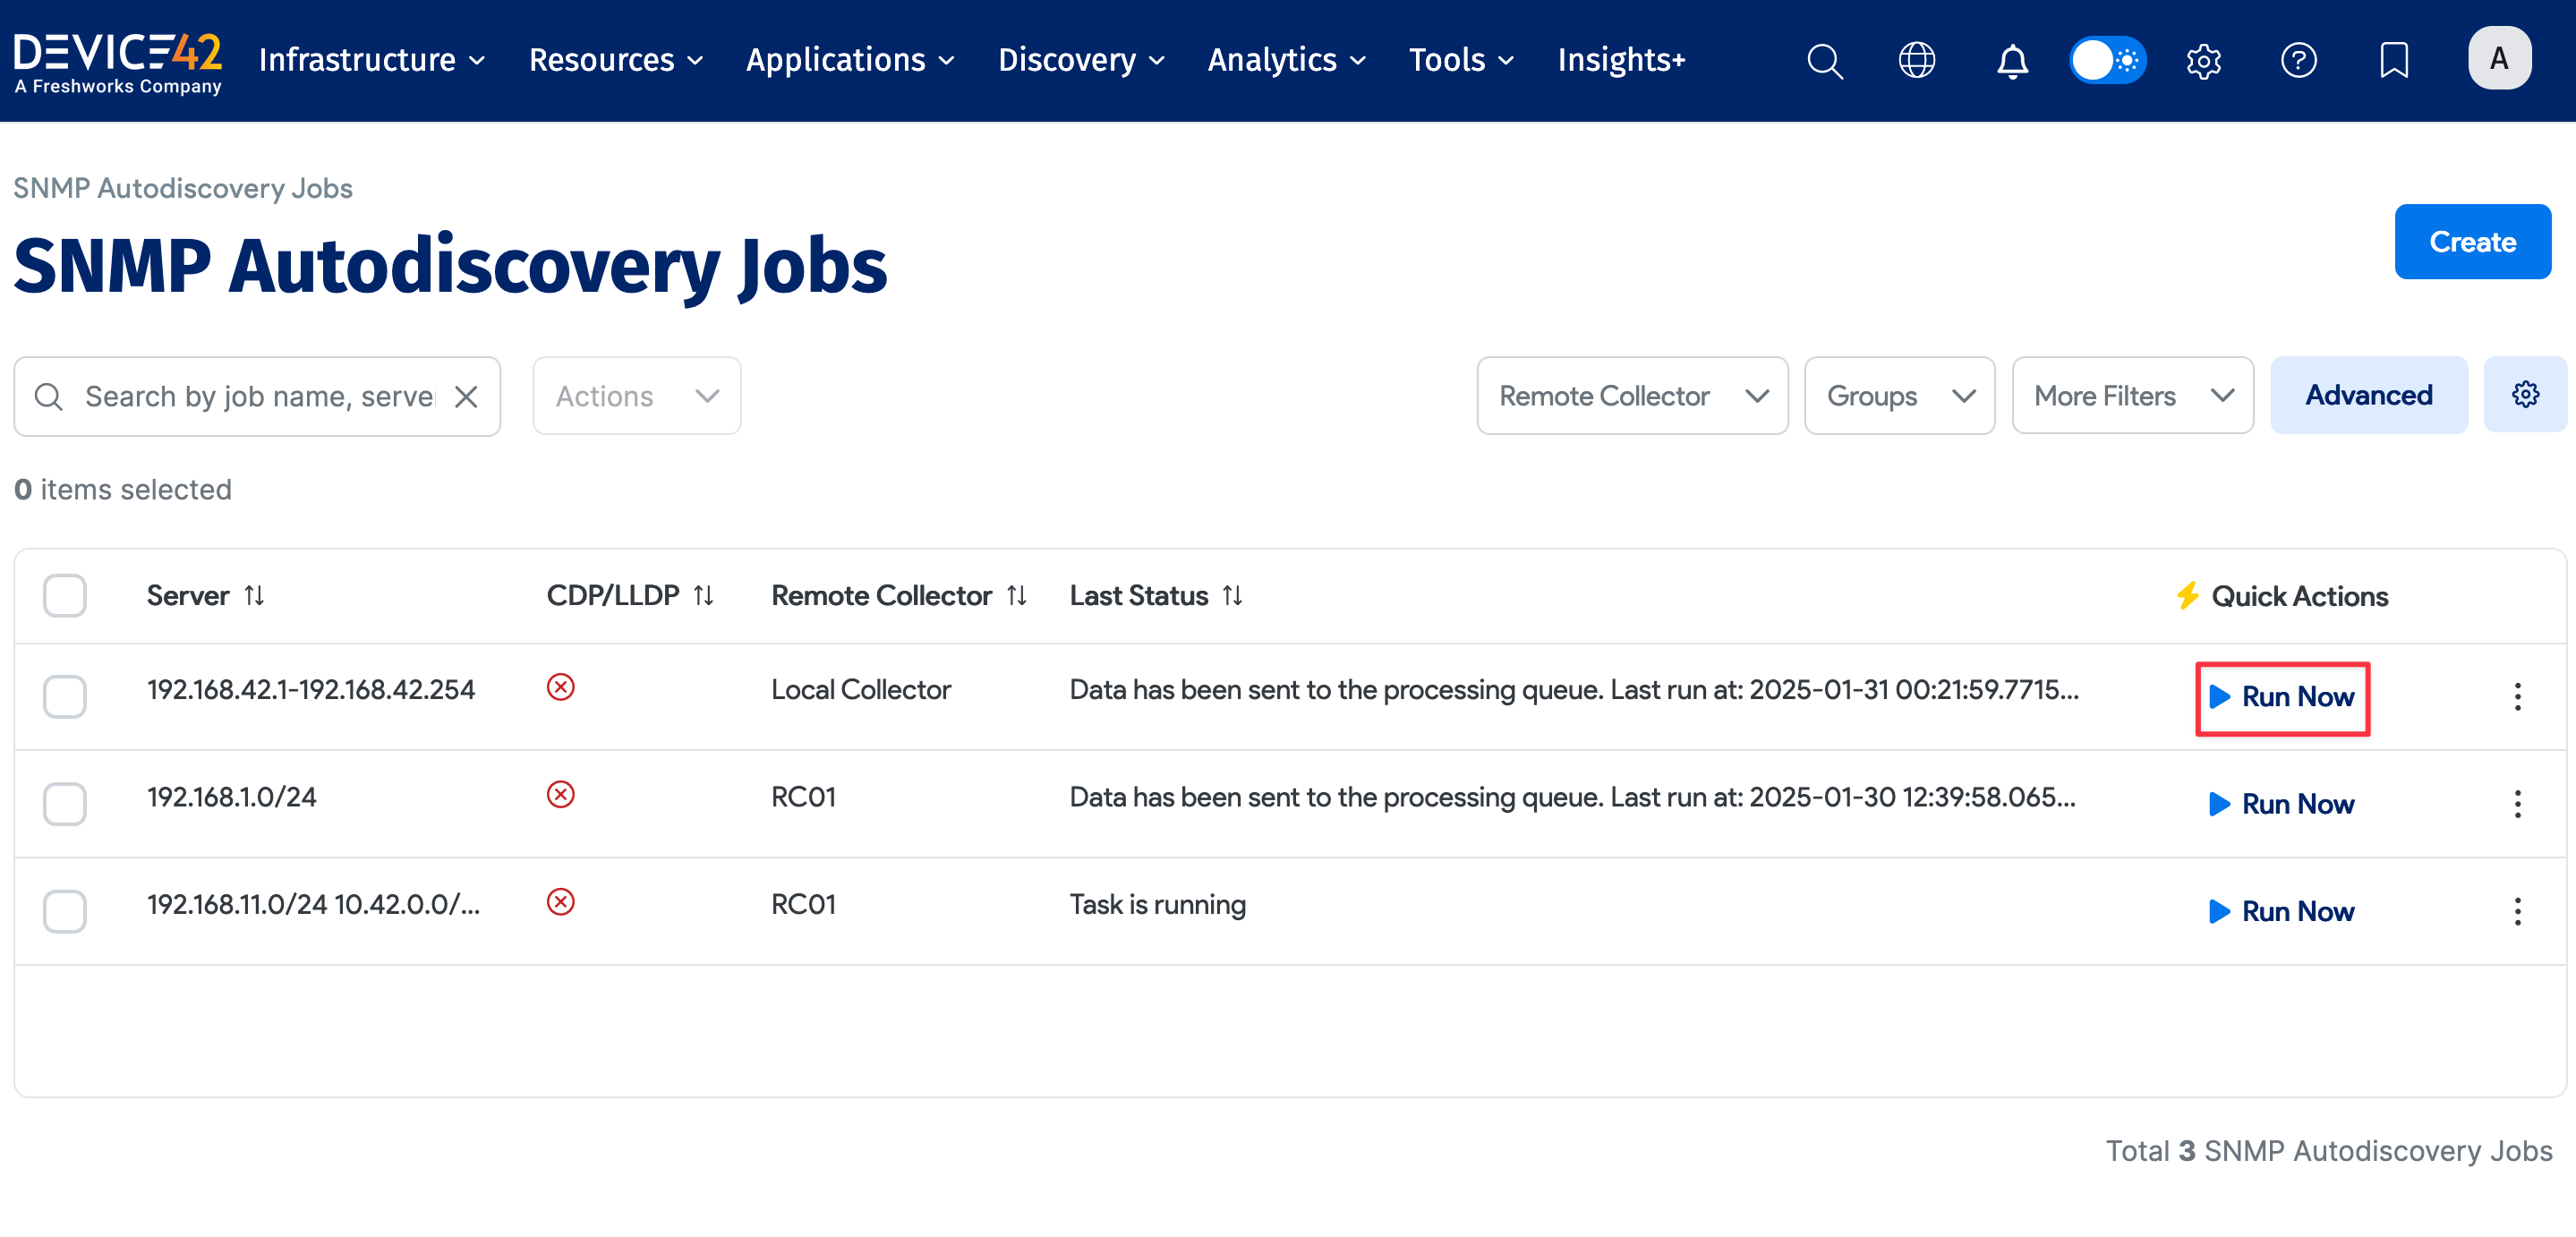
Newly created jobs will not run on the first day they are created, to prevent too many jobs from running simultaneously. To run a job after its initial creation, click the Run Now button.