View Storage Arrays
Storage arrays are identified and returned by Device42 storage array discovery jobs. You can view resource details, related resources, and topology maps for each discovered array.
This page covers how to view, filter, edit, and manage storage arrays, including resource maps and import or export options.
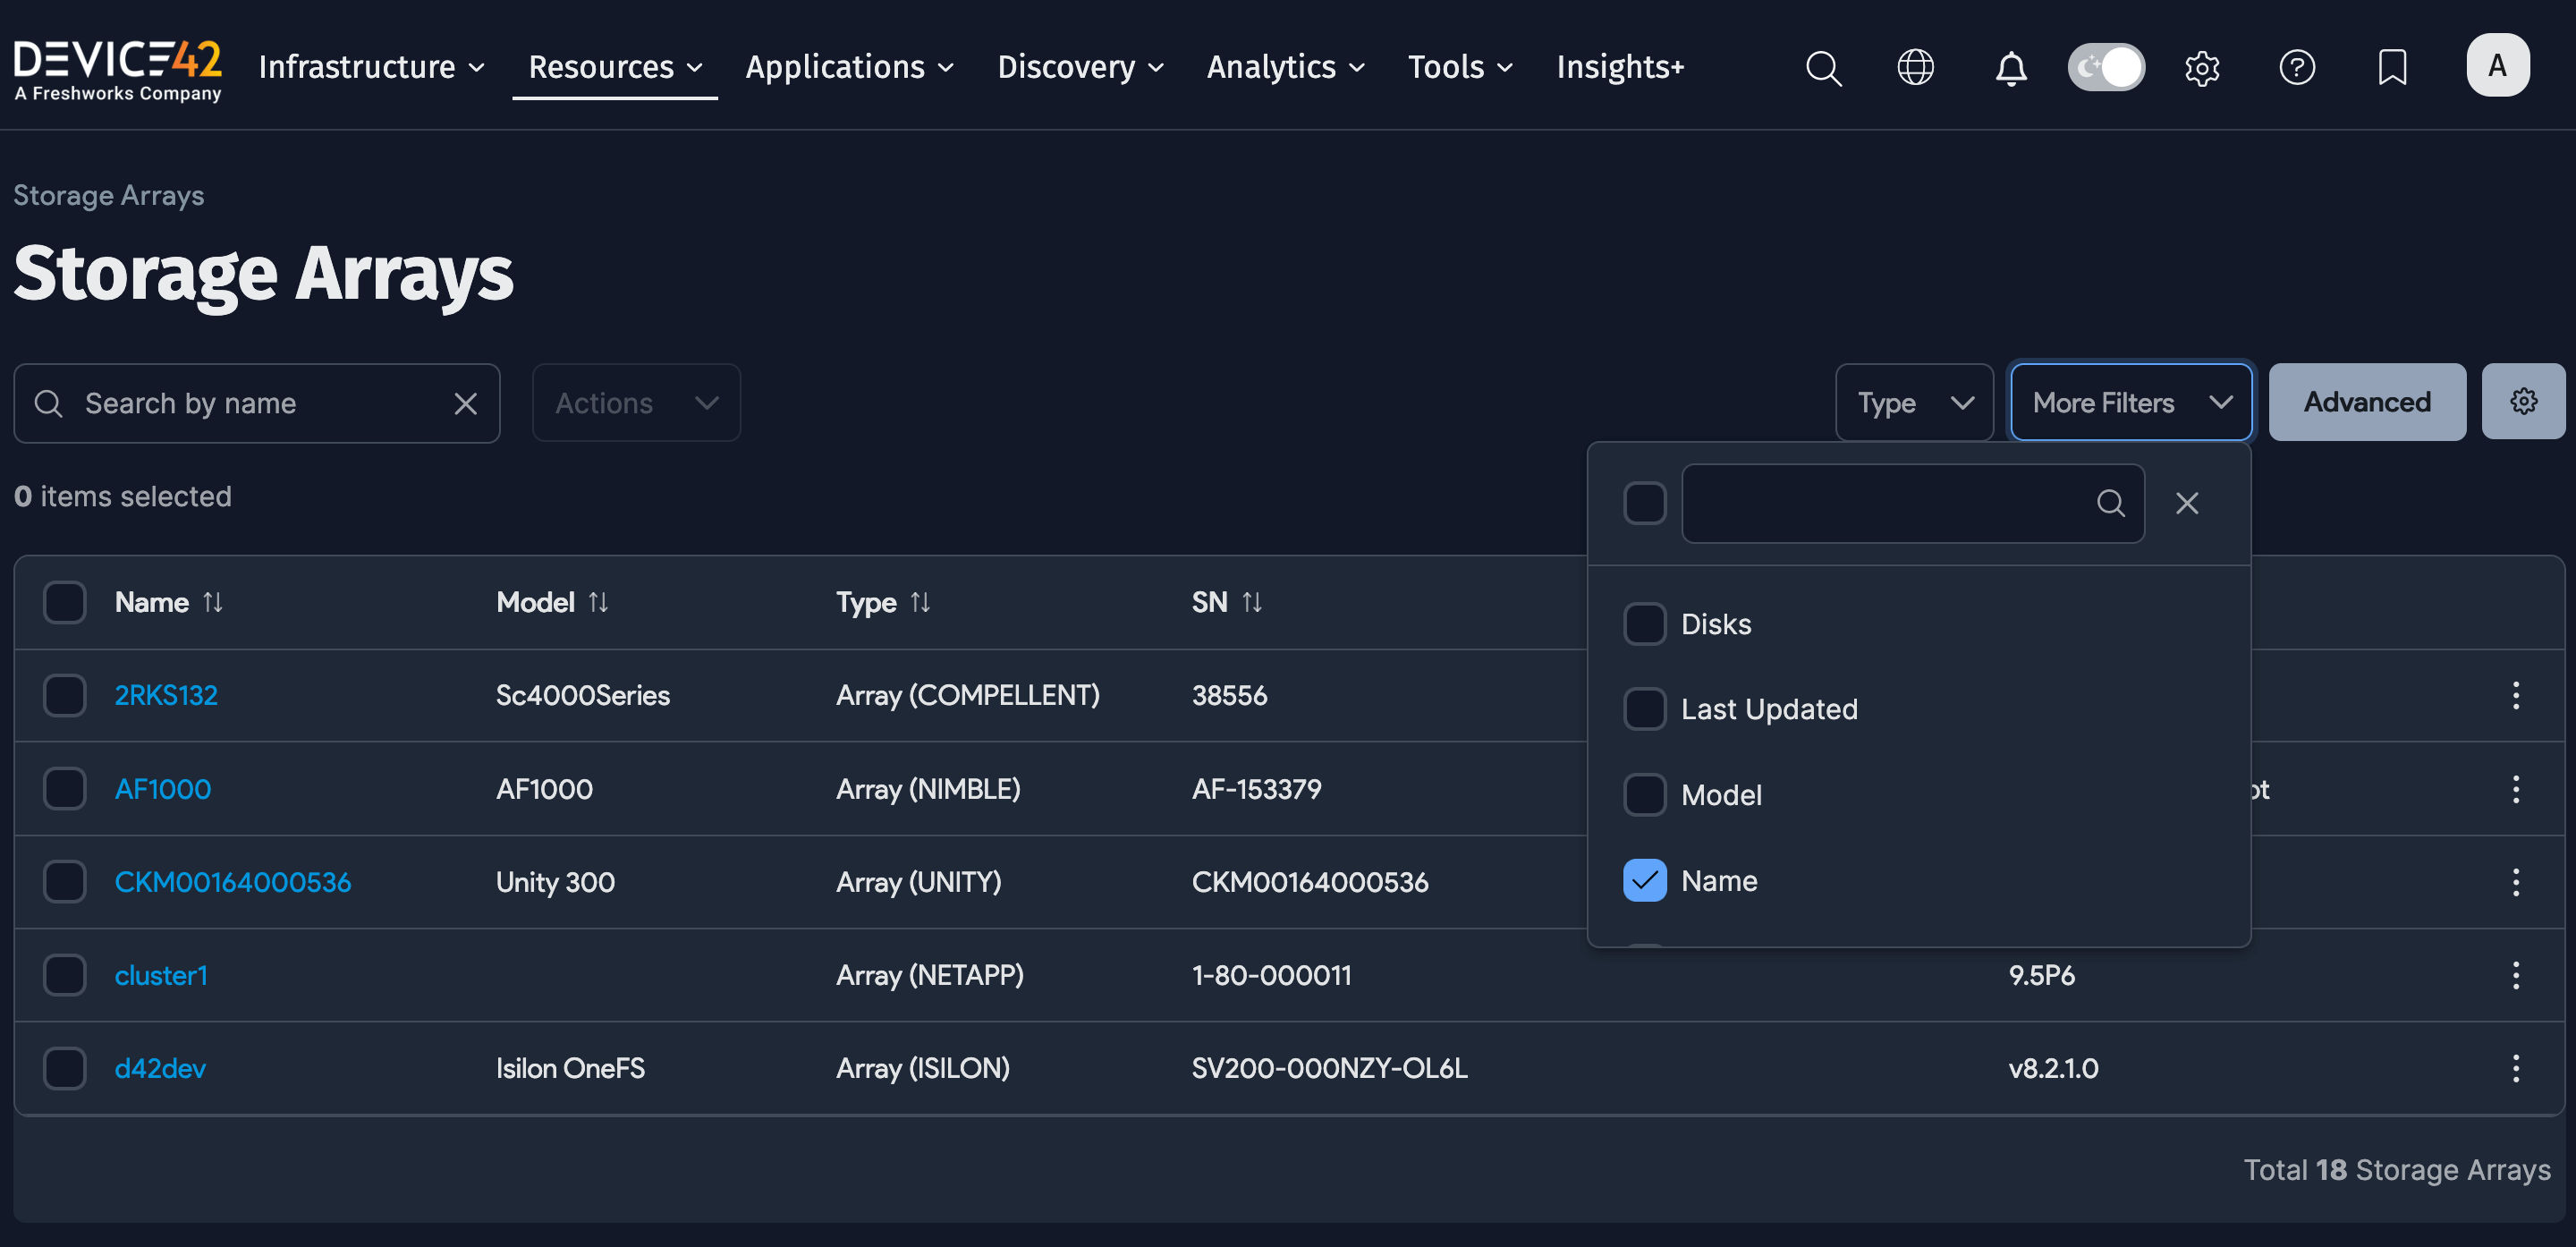
Storage Arrays List Page
Select Resources > Storage > Arrays from the Device42 menu to display the Storage Arrays list page.
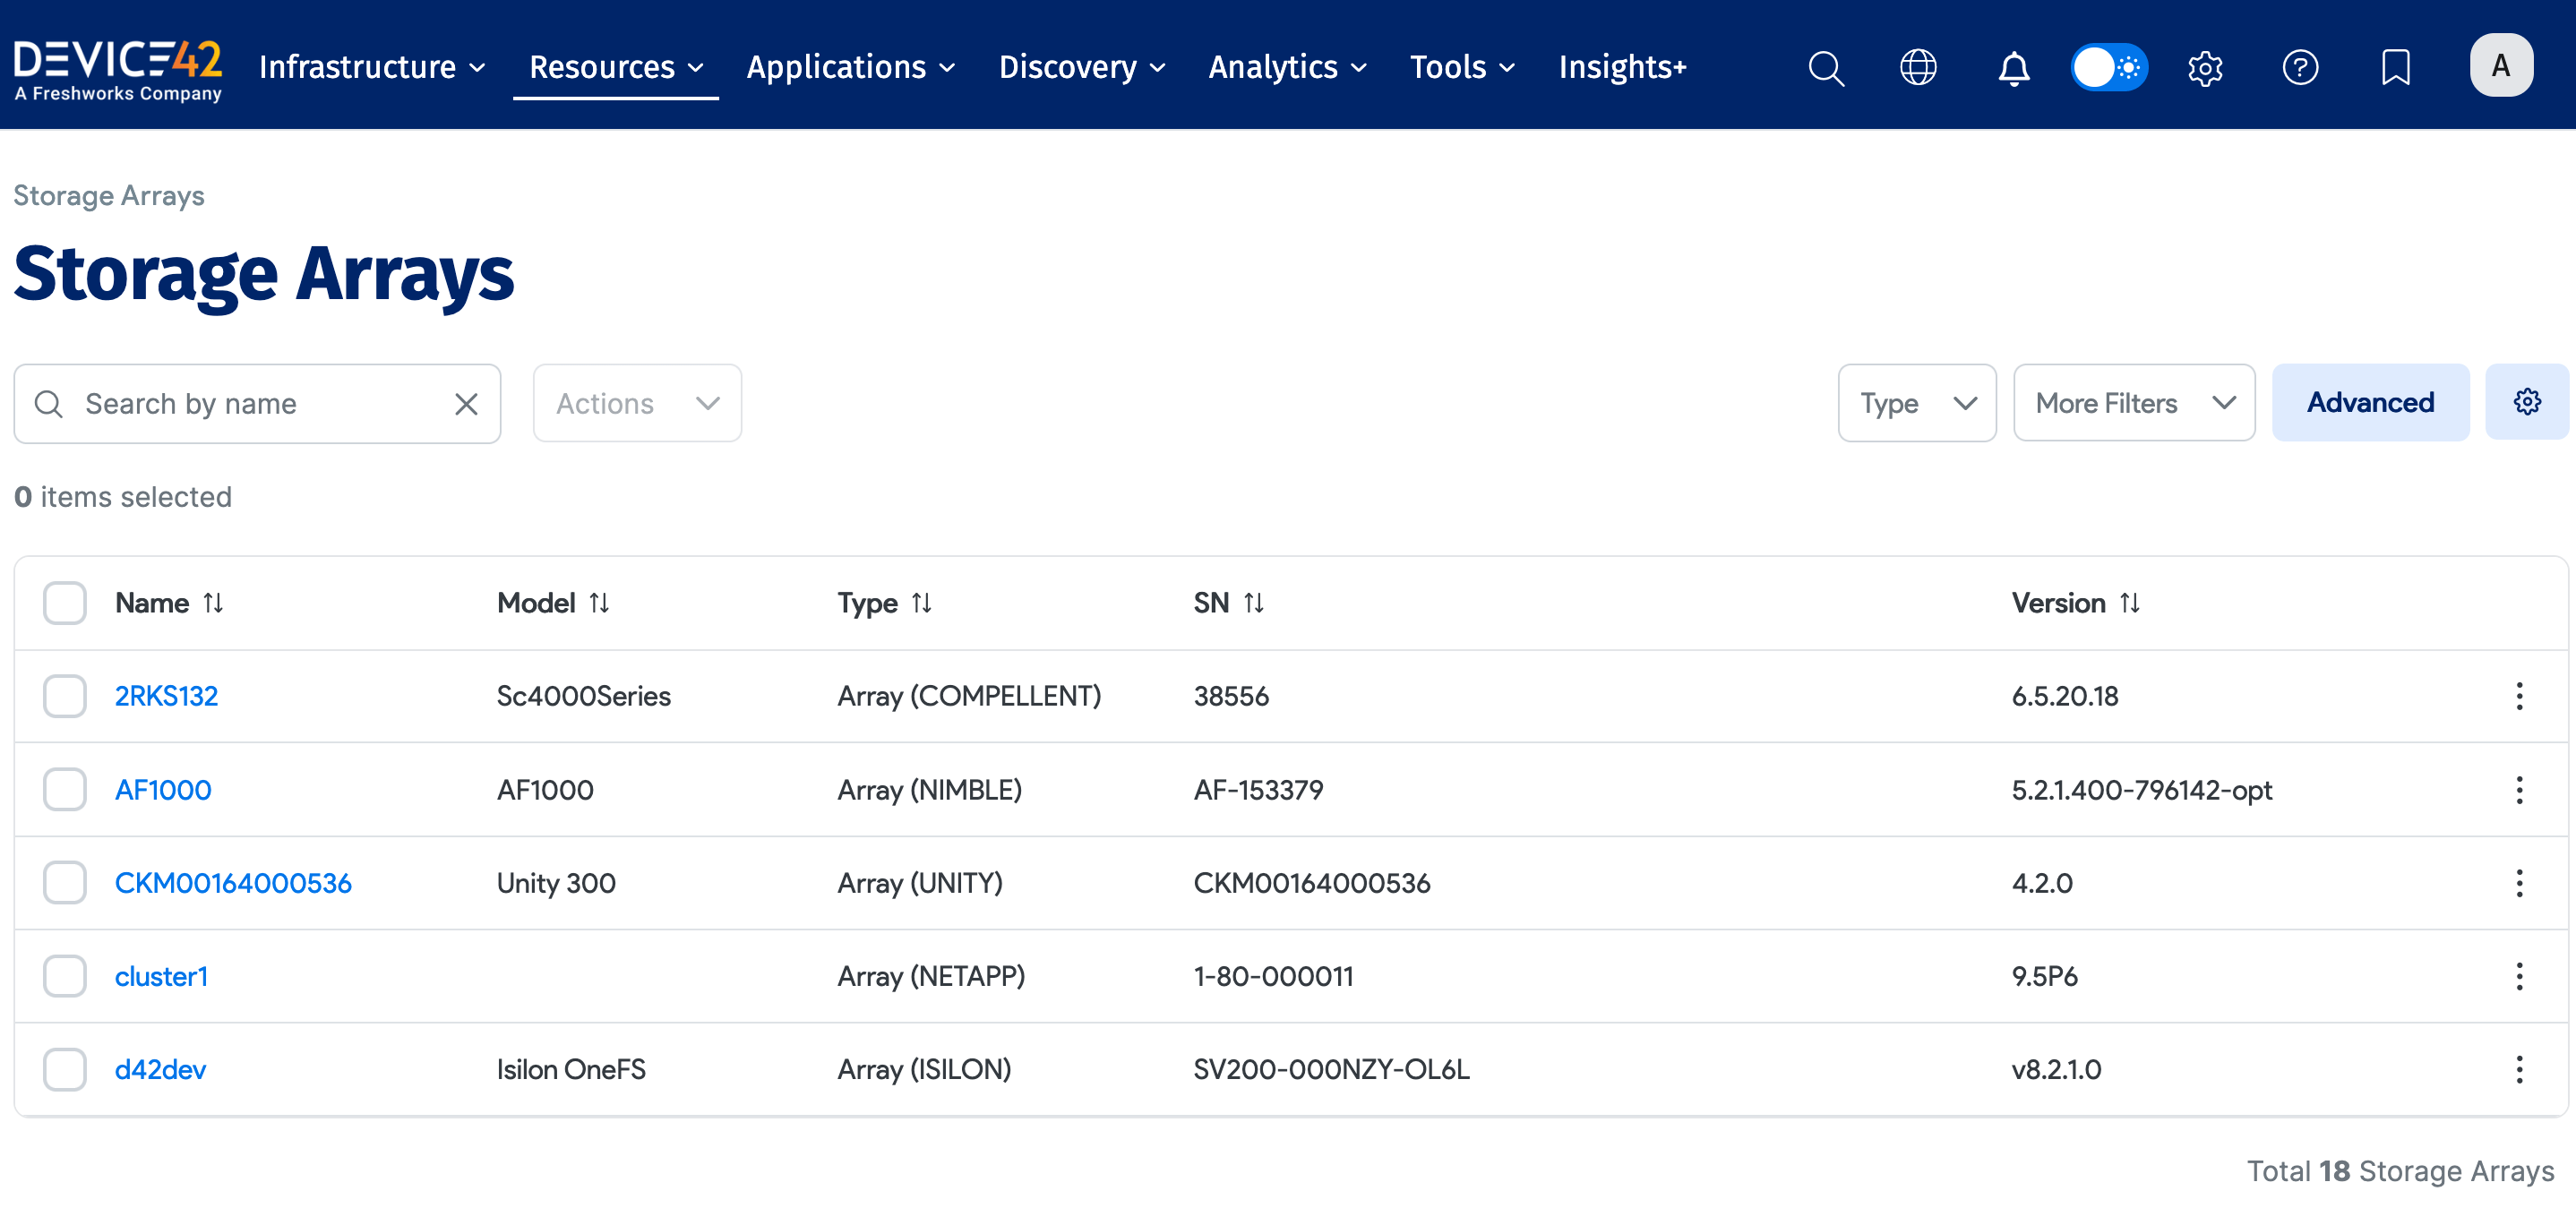
On this page, you can Search by name, filter the list by Type, and add More Filters.
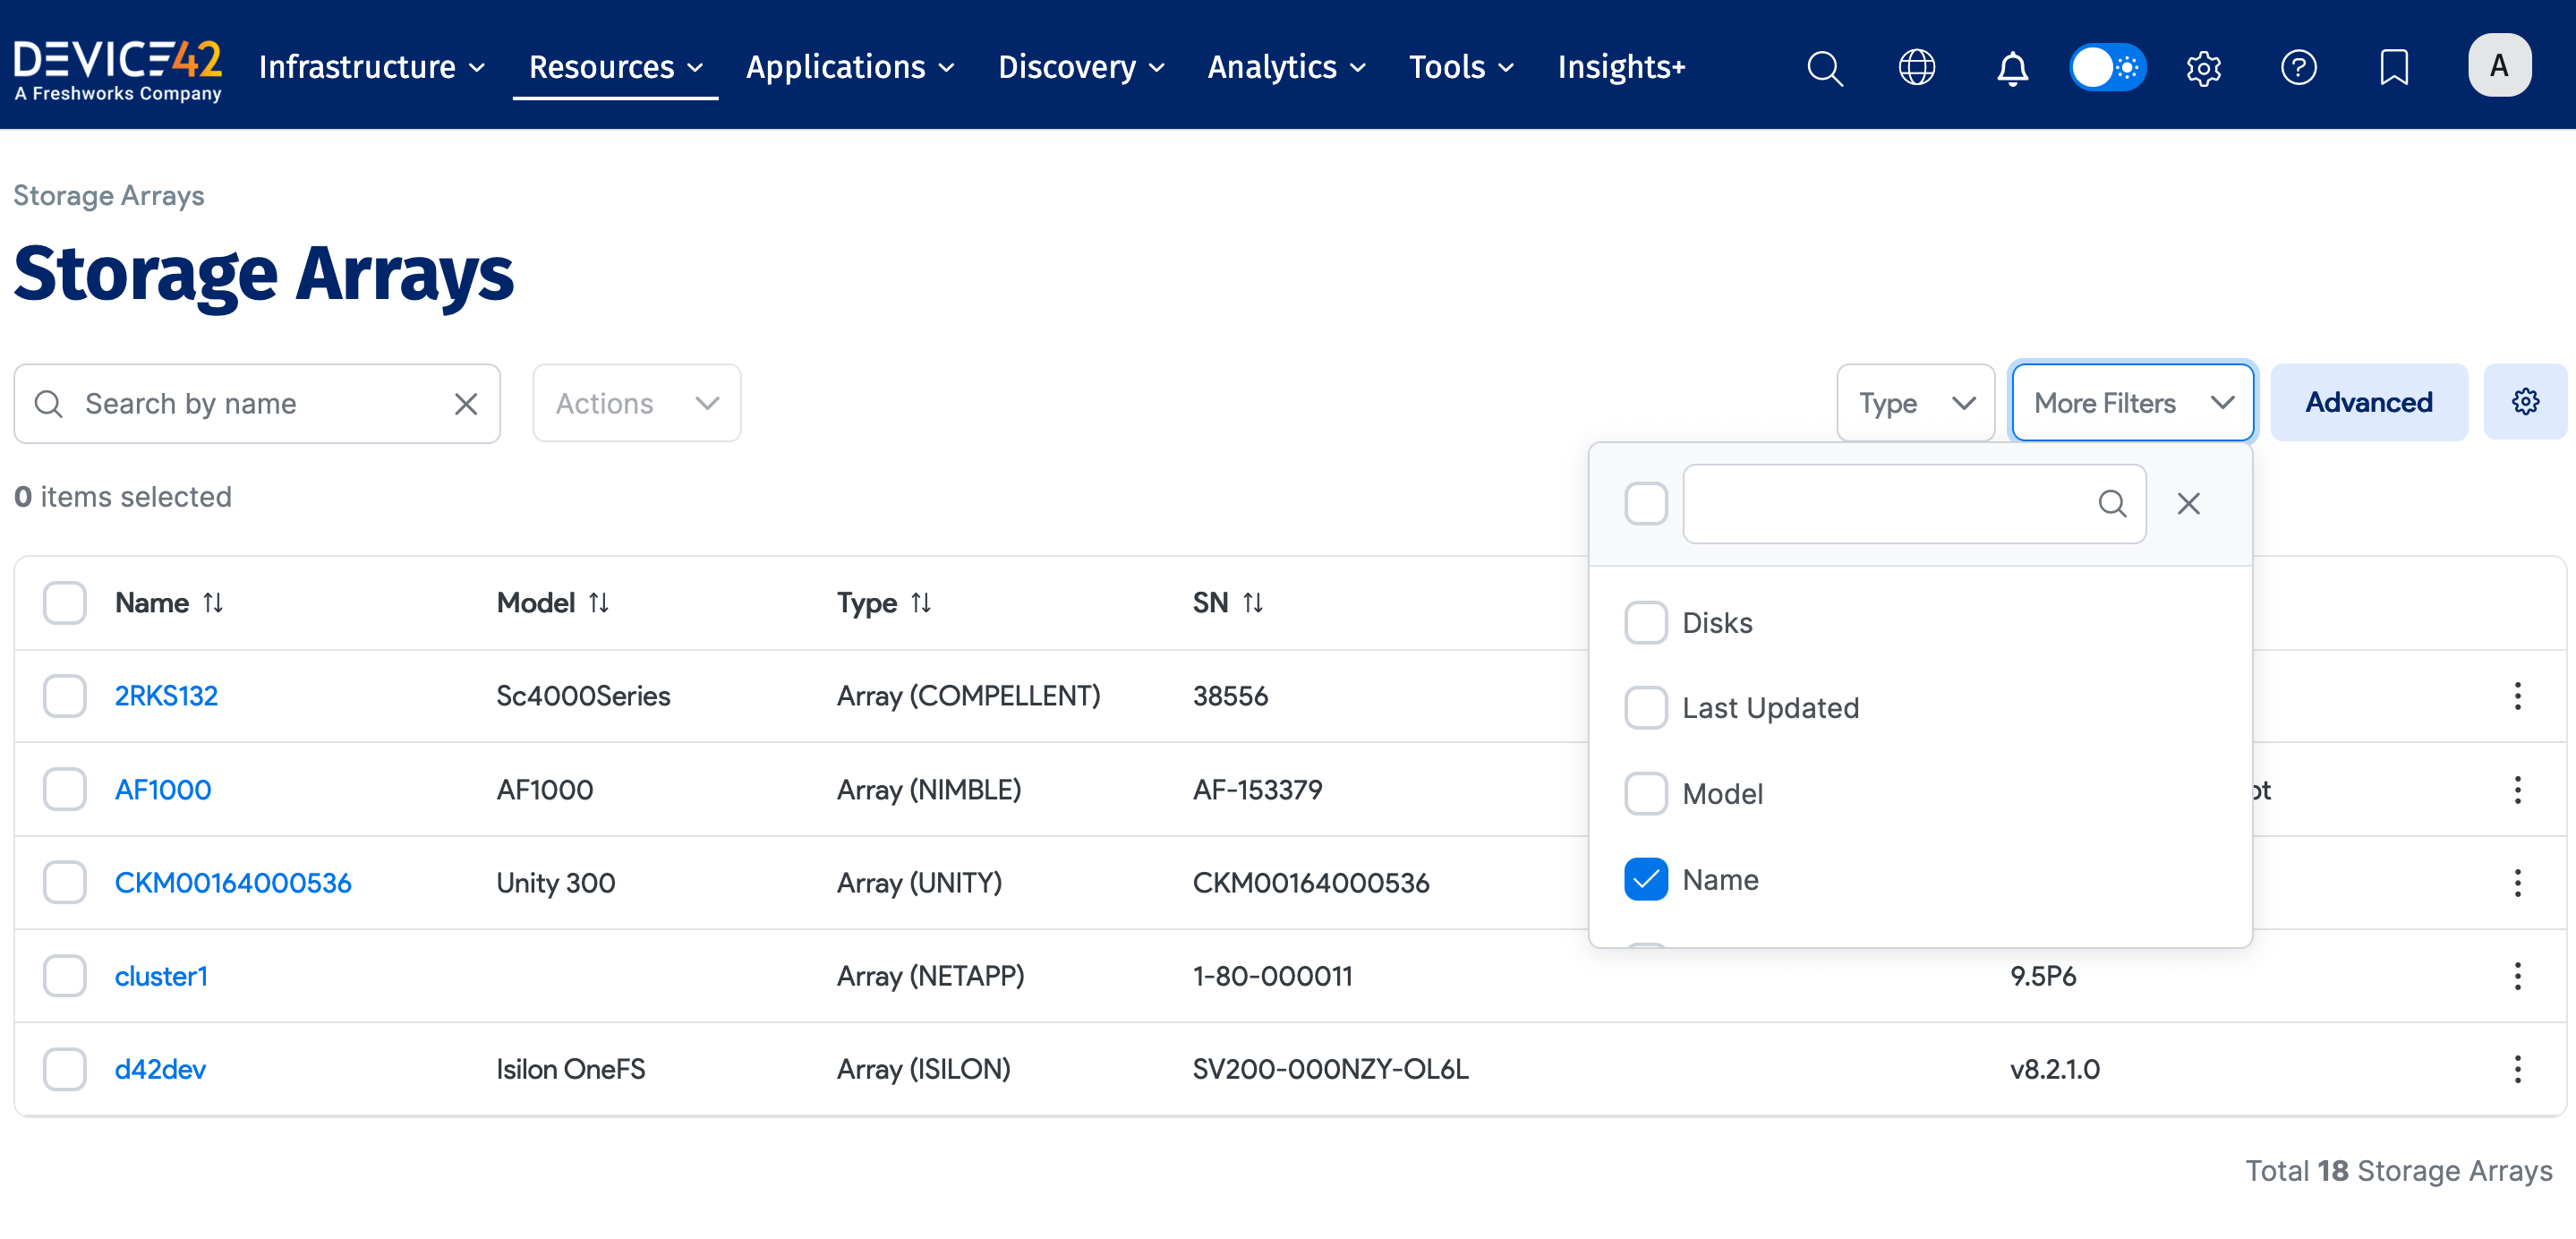
The Storage Arrays list page also includes an Advanced Search option you can use to construct more specific searches. See Advanced Search Feature for instructions.
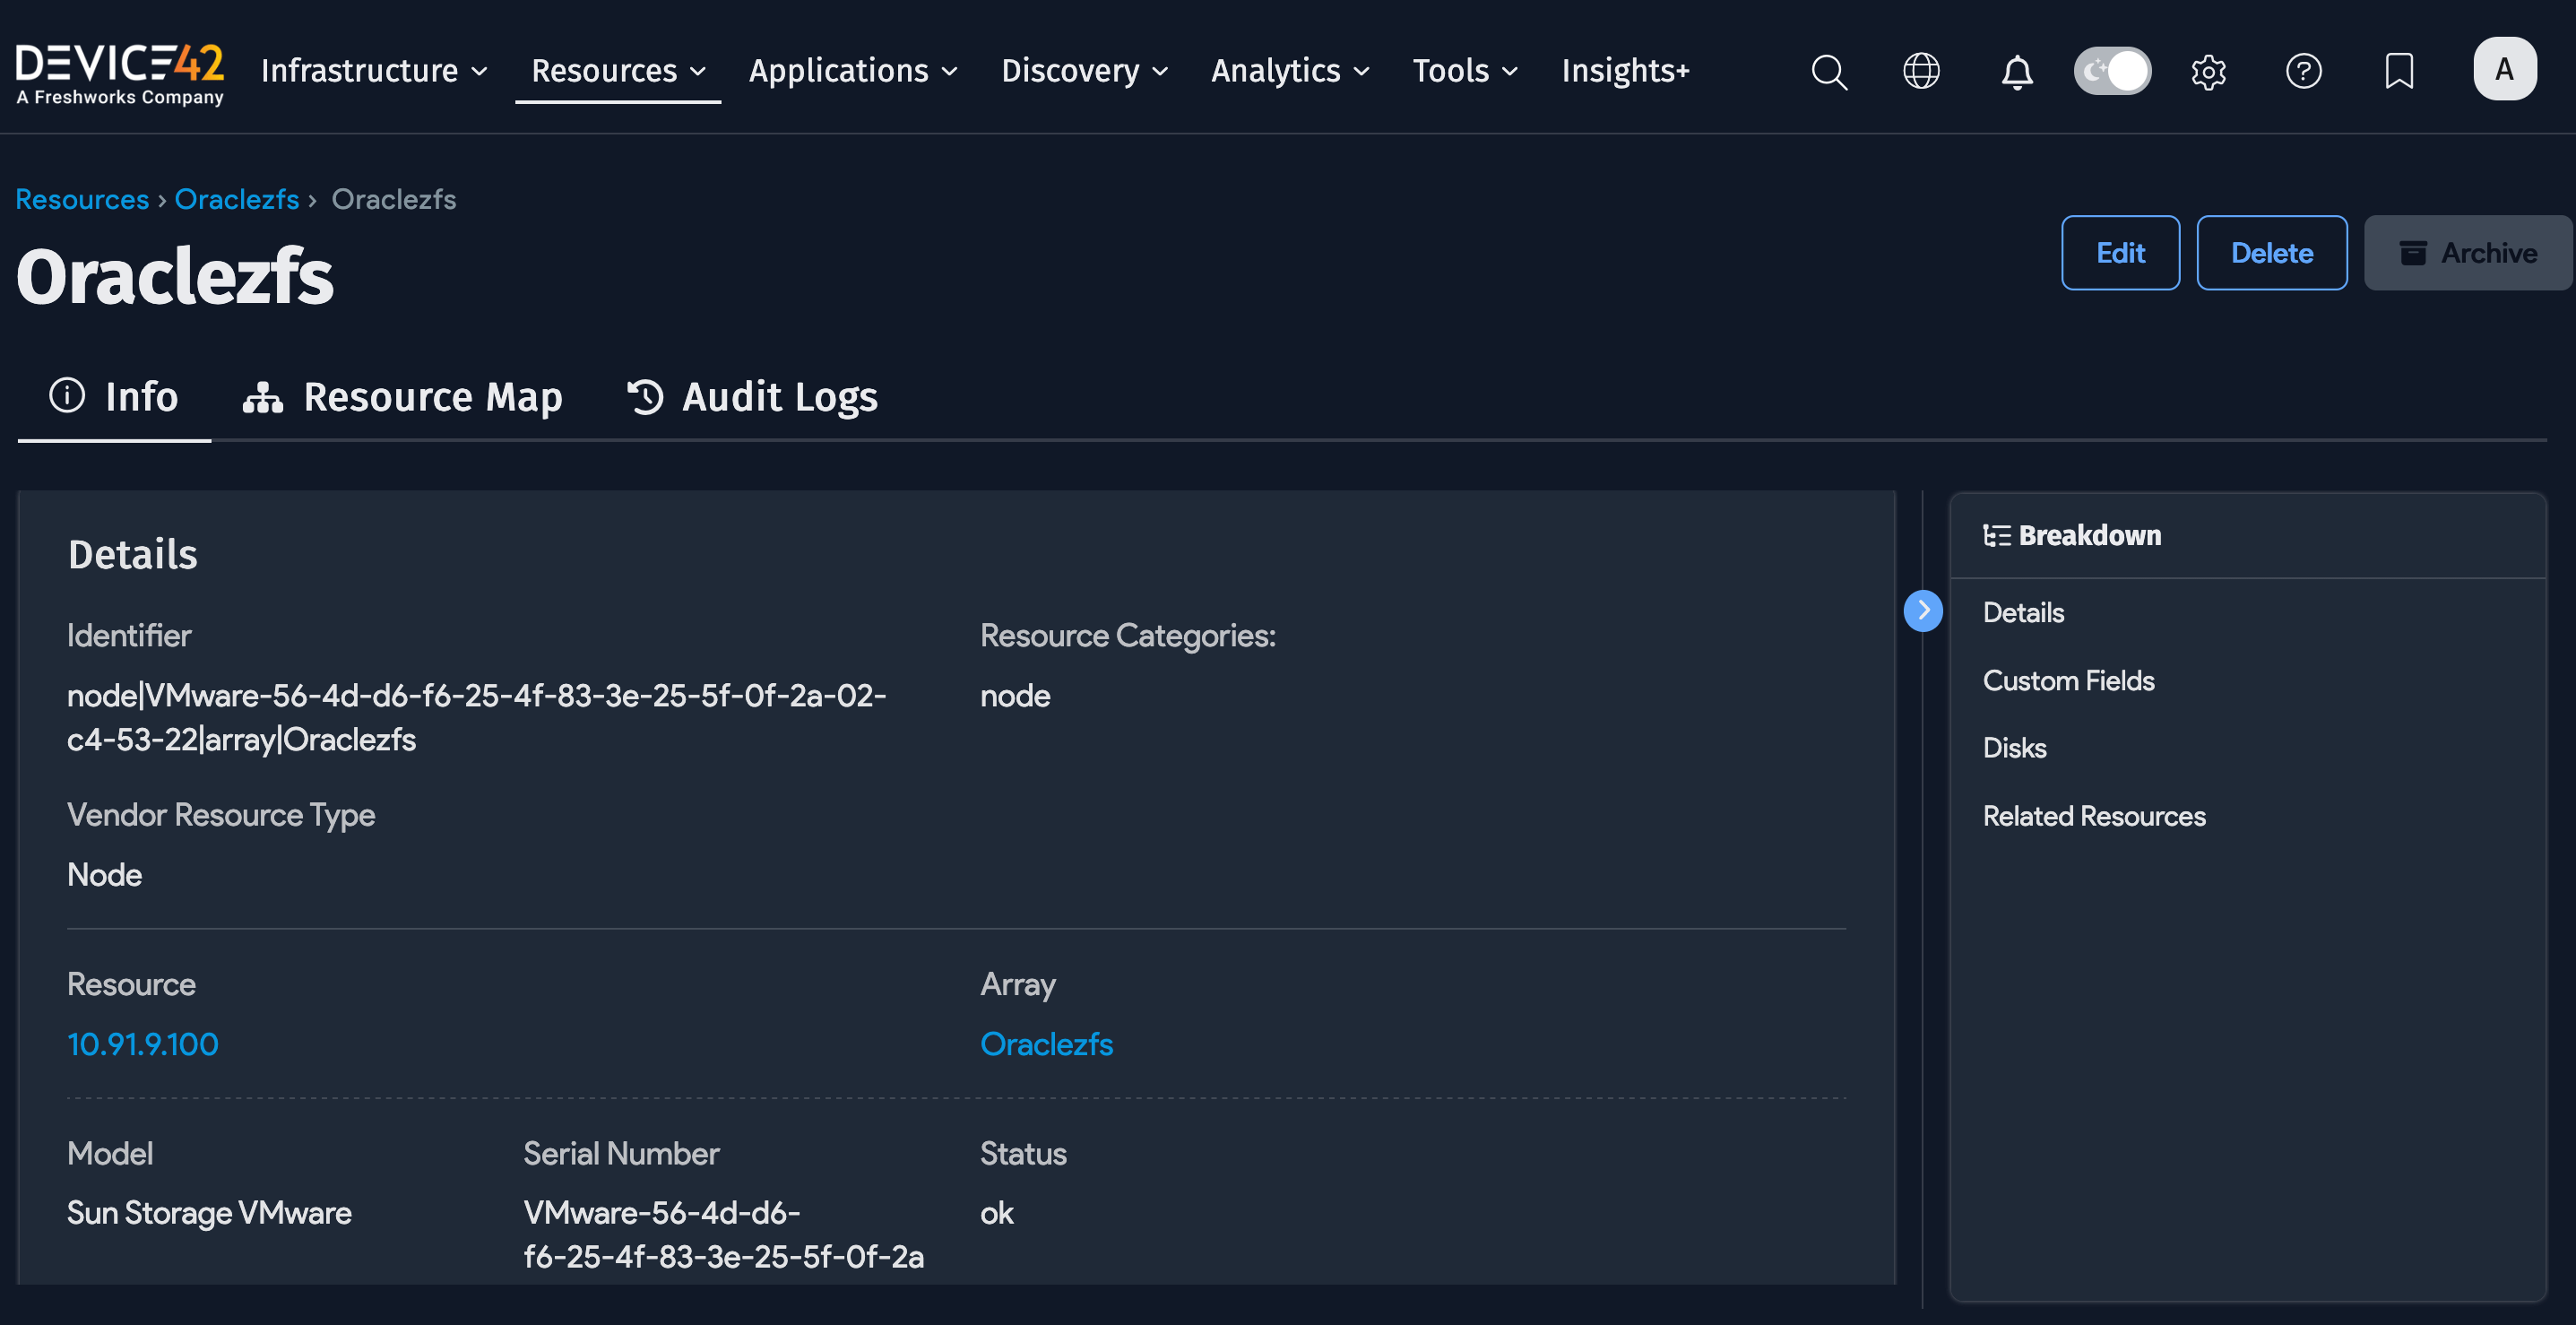
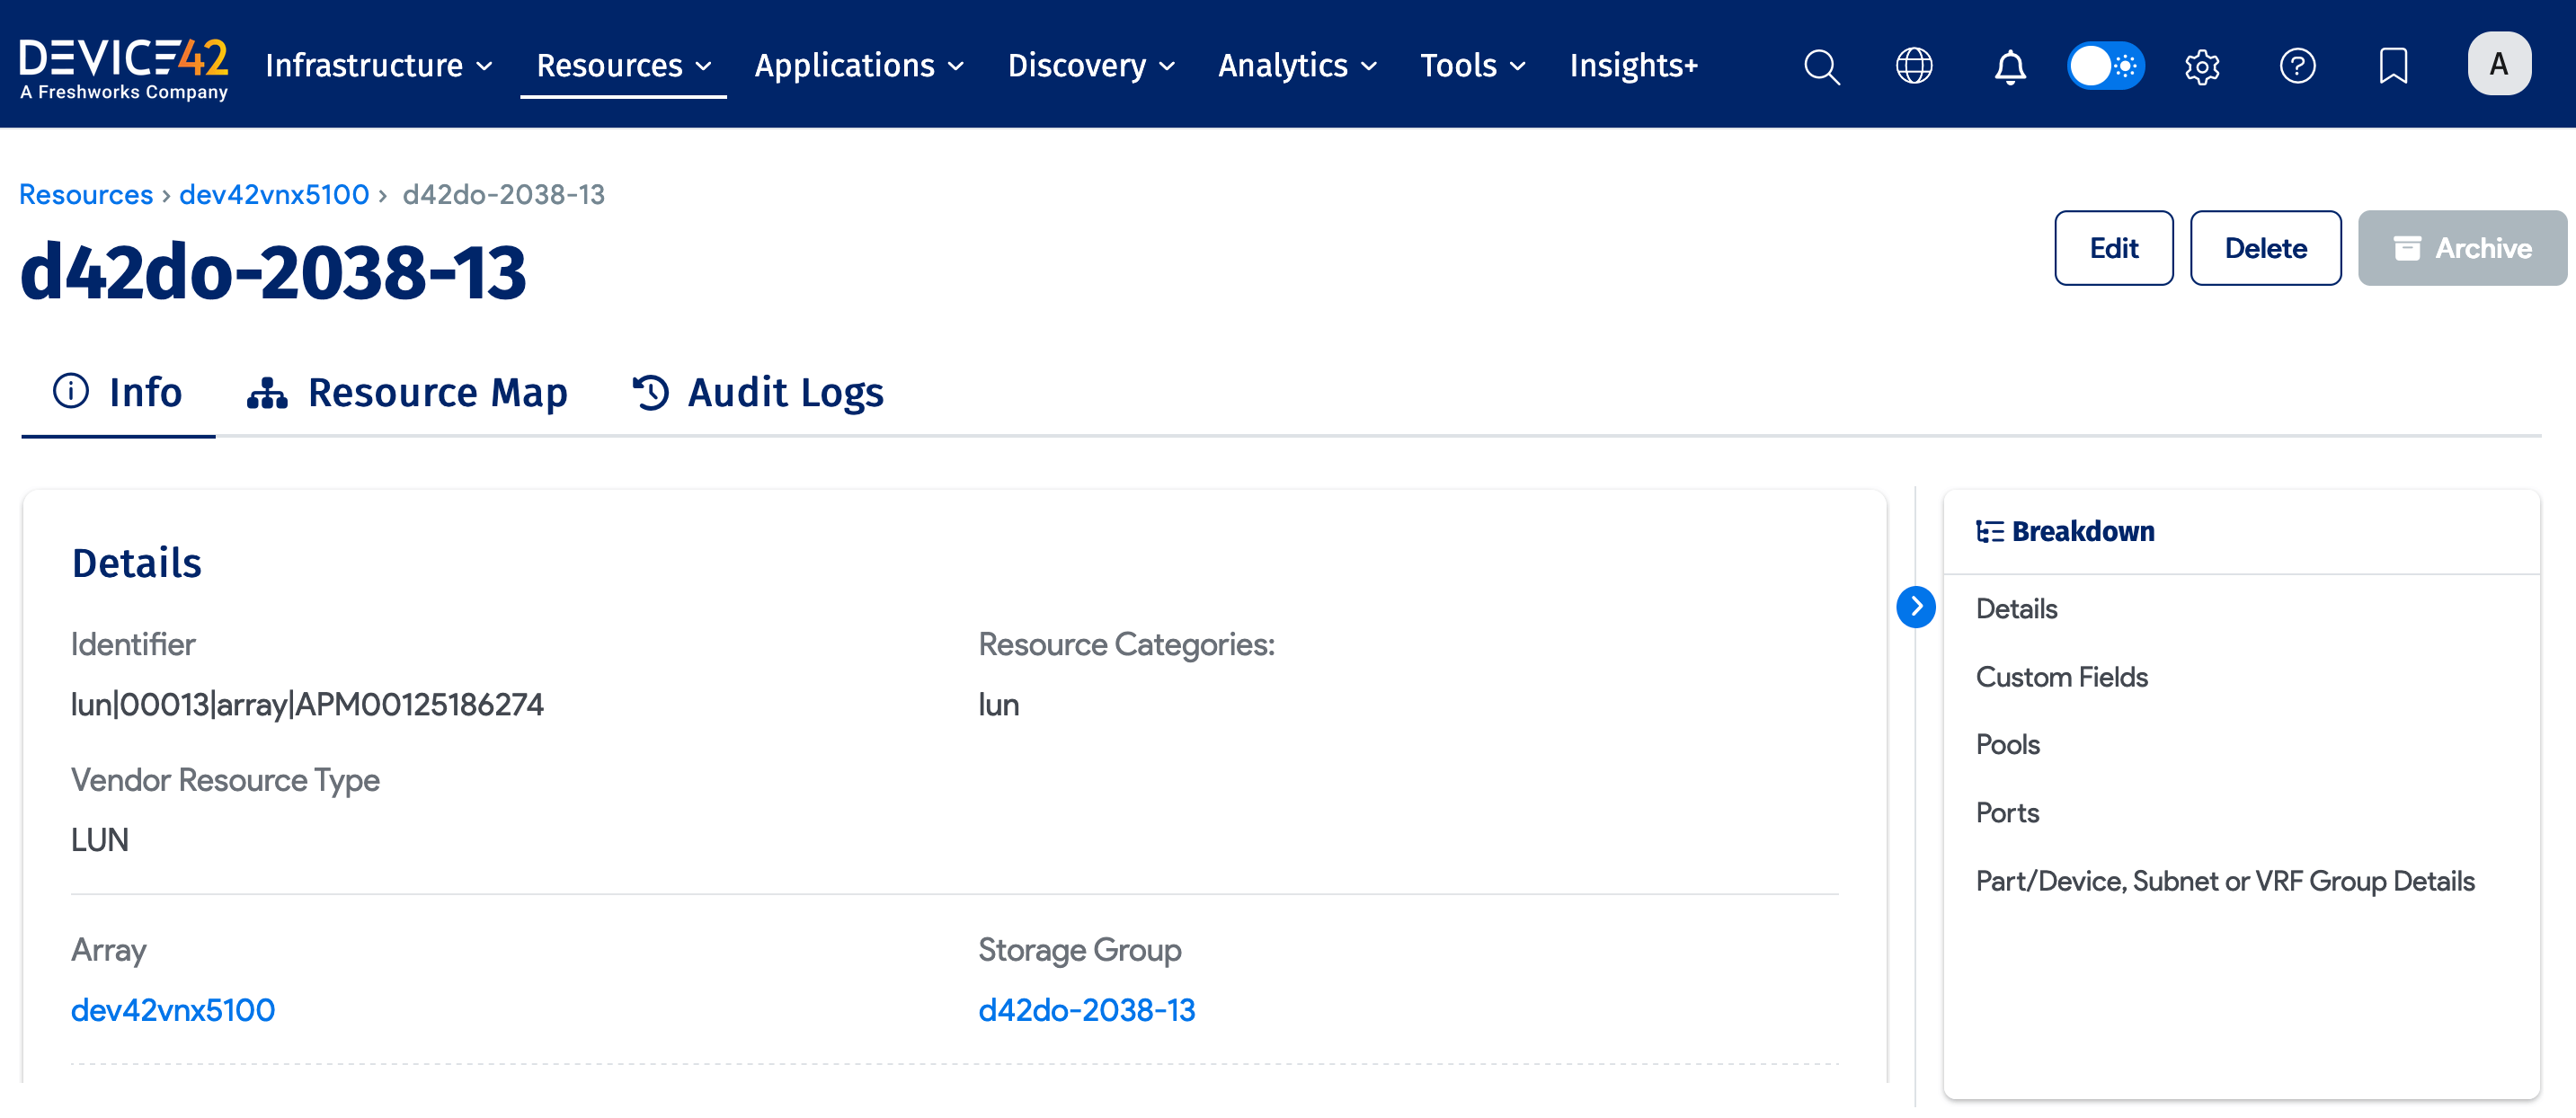
Click an array Name to see details about that array.
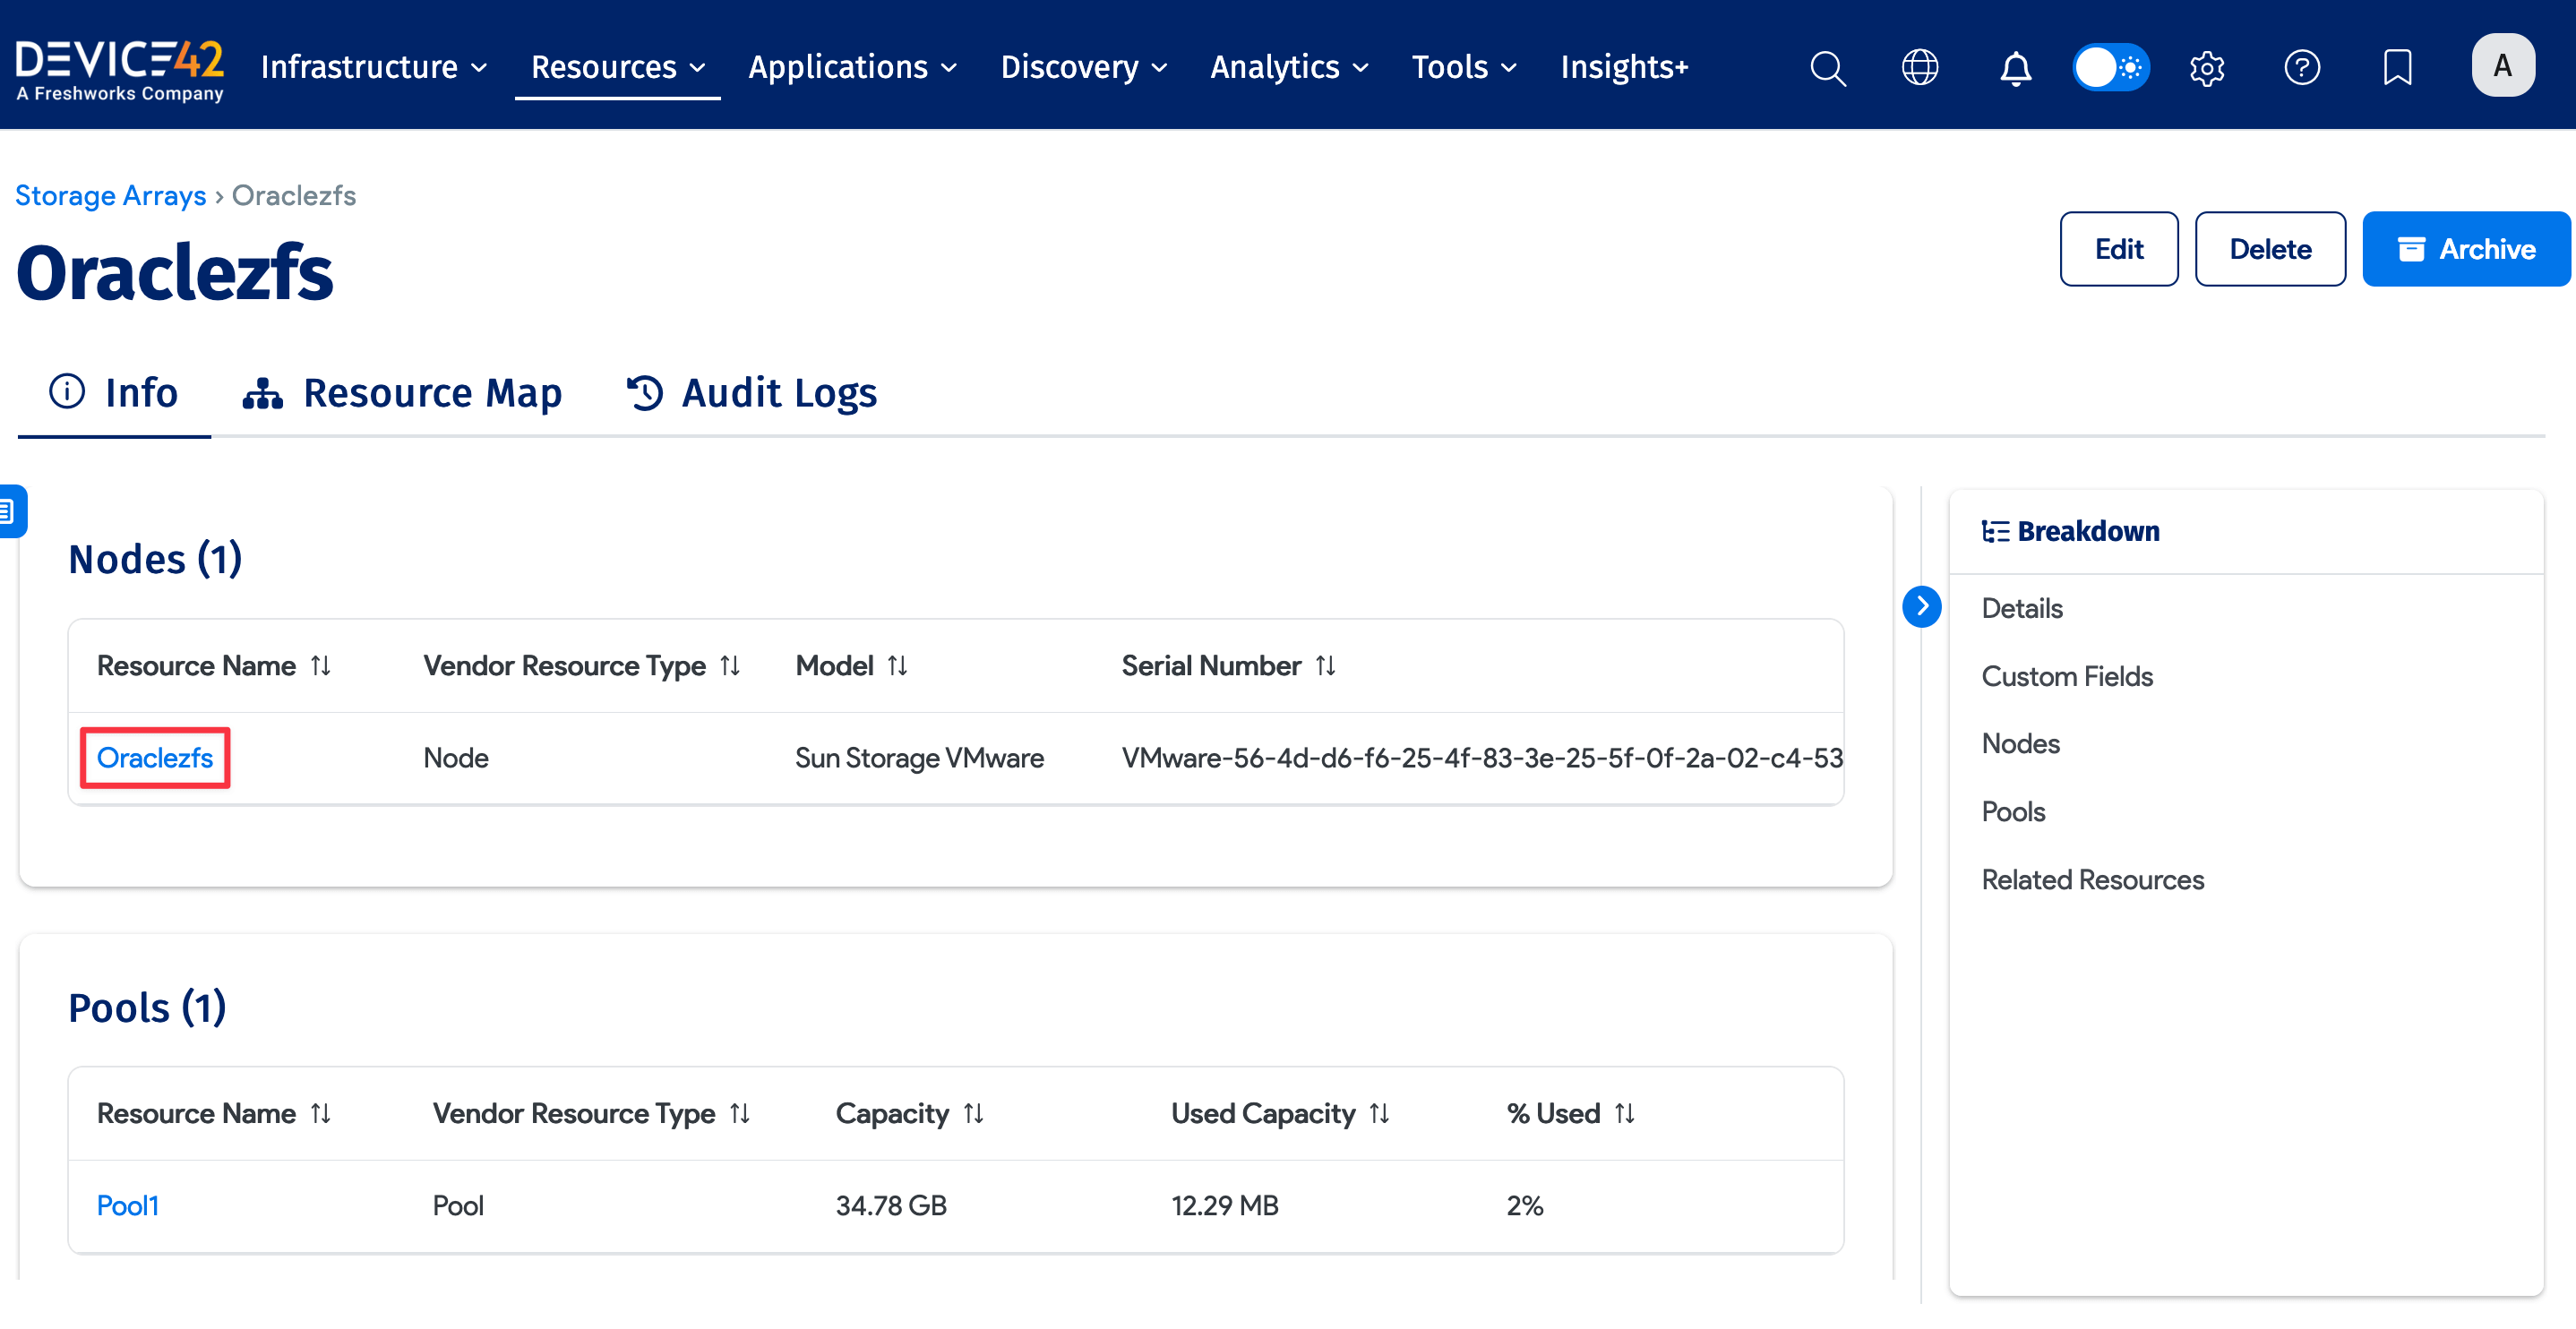
Use the links in the right panel to view related resources.

View Storage Arrays Mapped to Devices
Devices with attached storage arrays display links to those arrays in the Parts section of the device view page. The example below shows the Parts tab of a physical device with a link to storage.

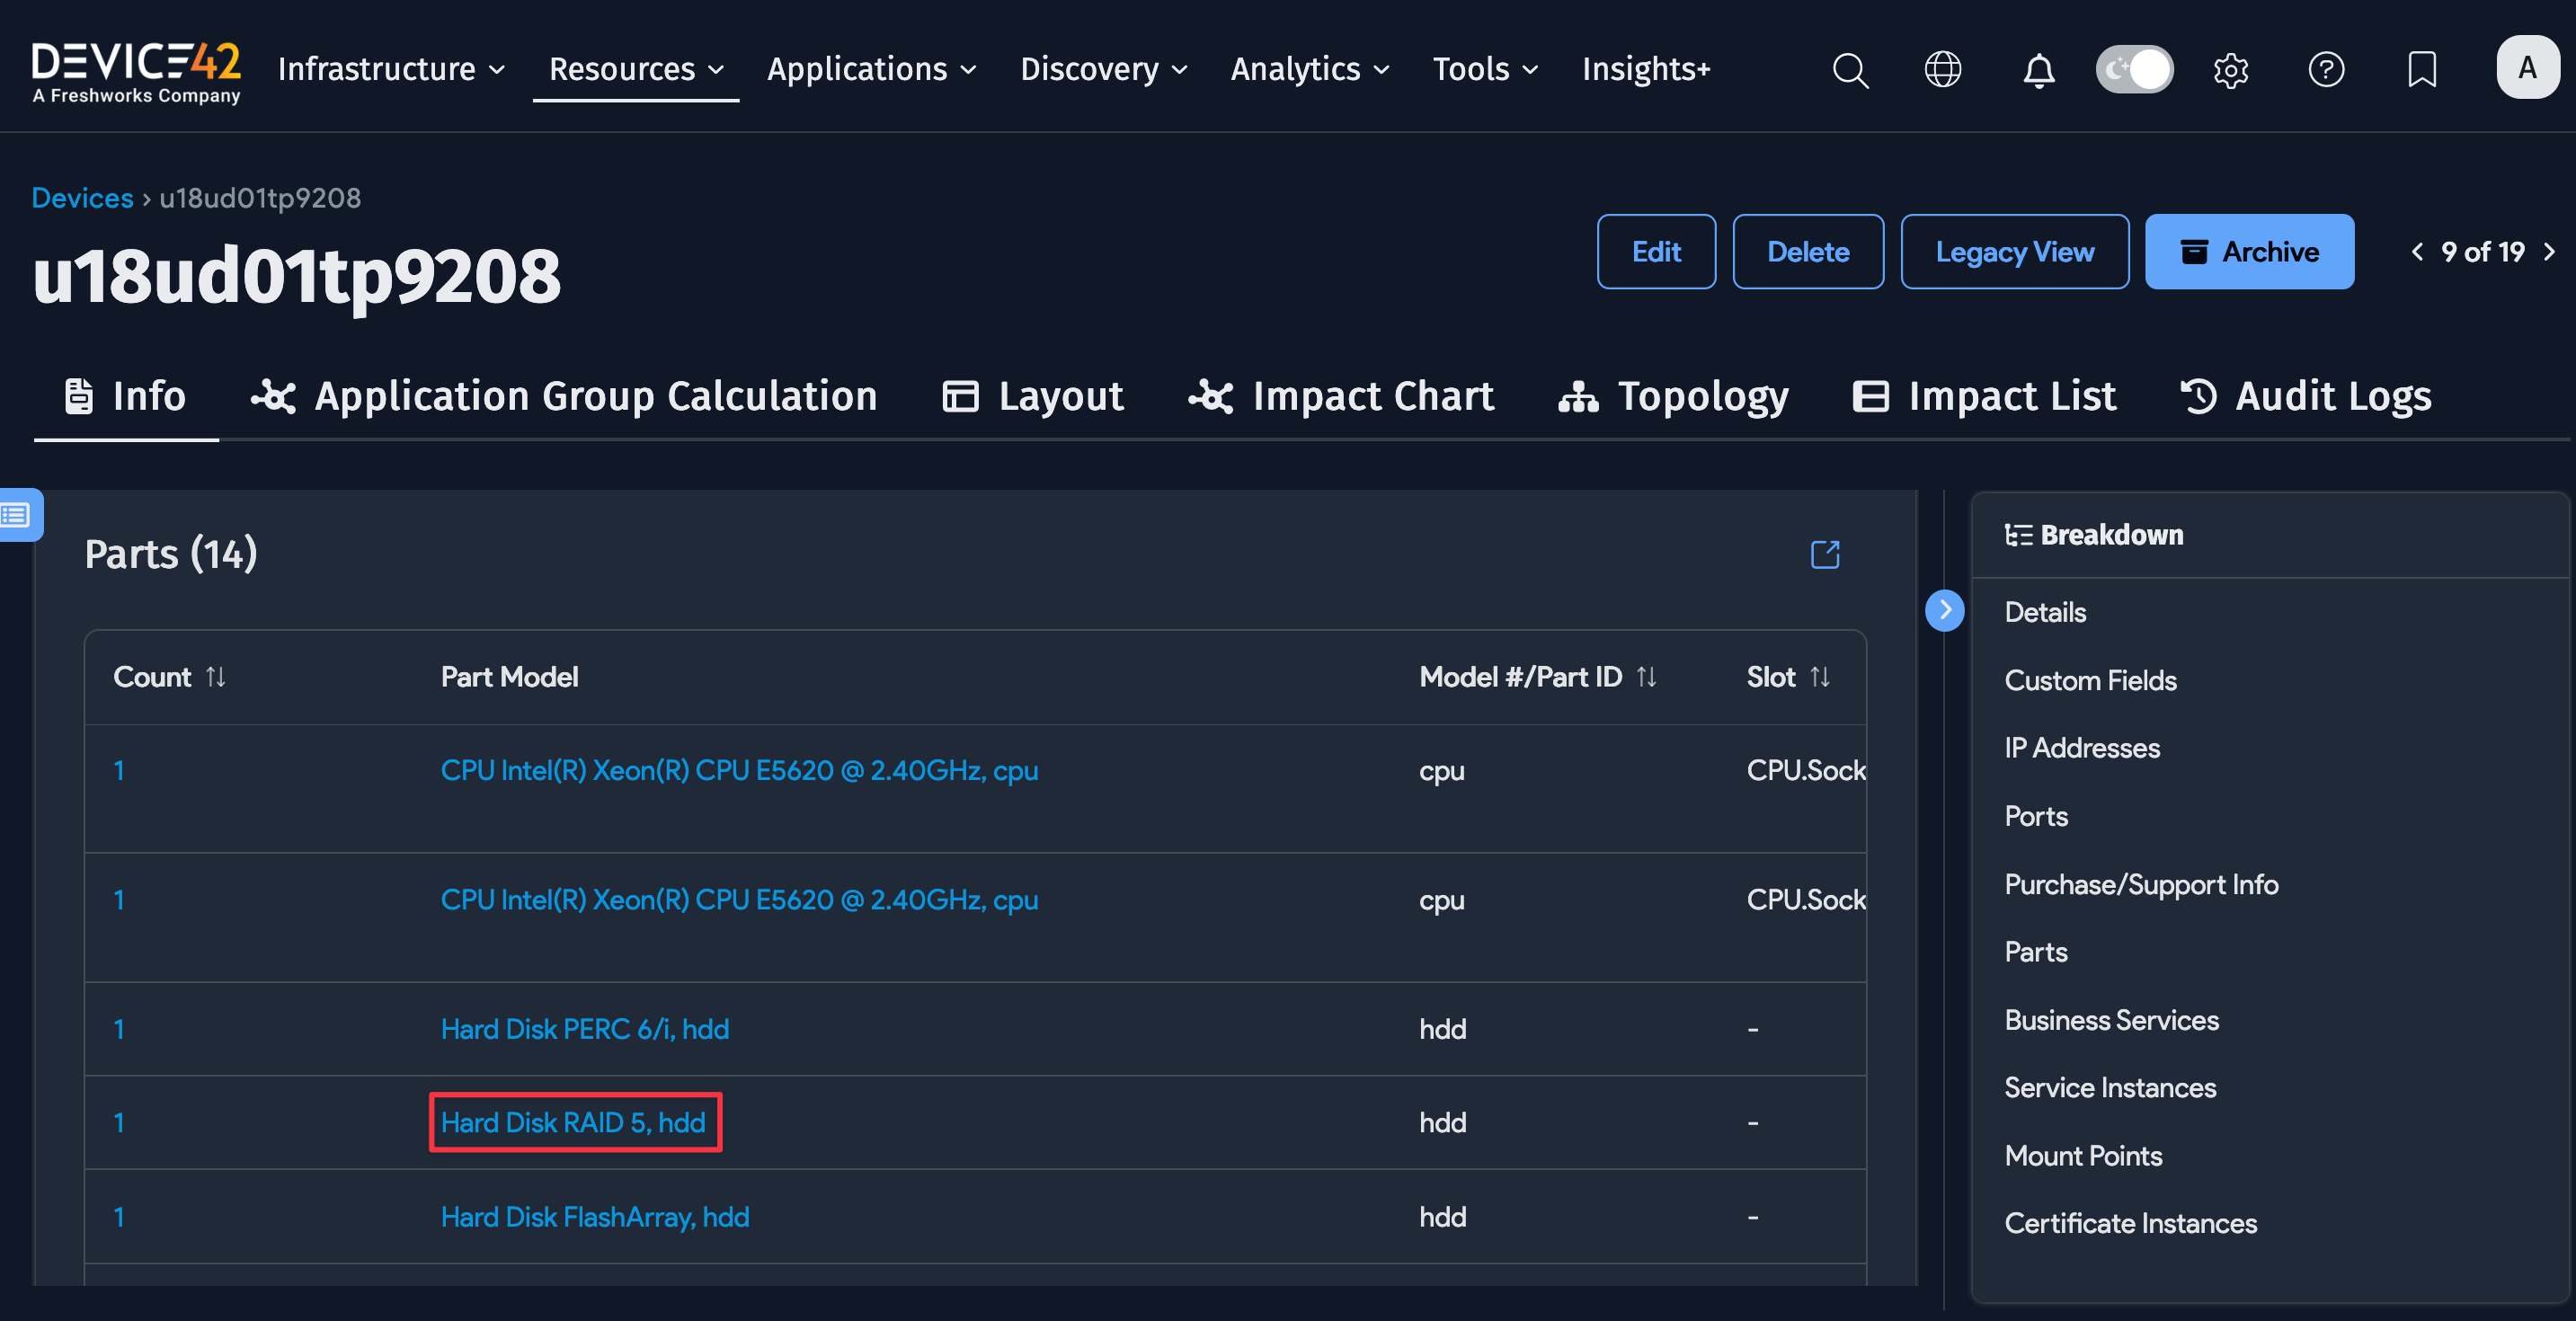
The Parts tab lists the attached storage arrays.
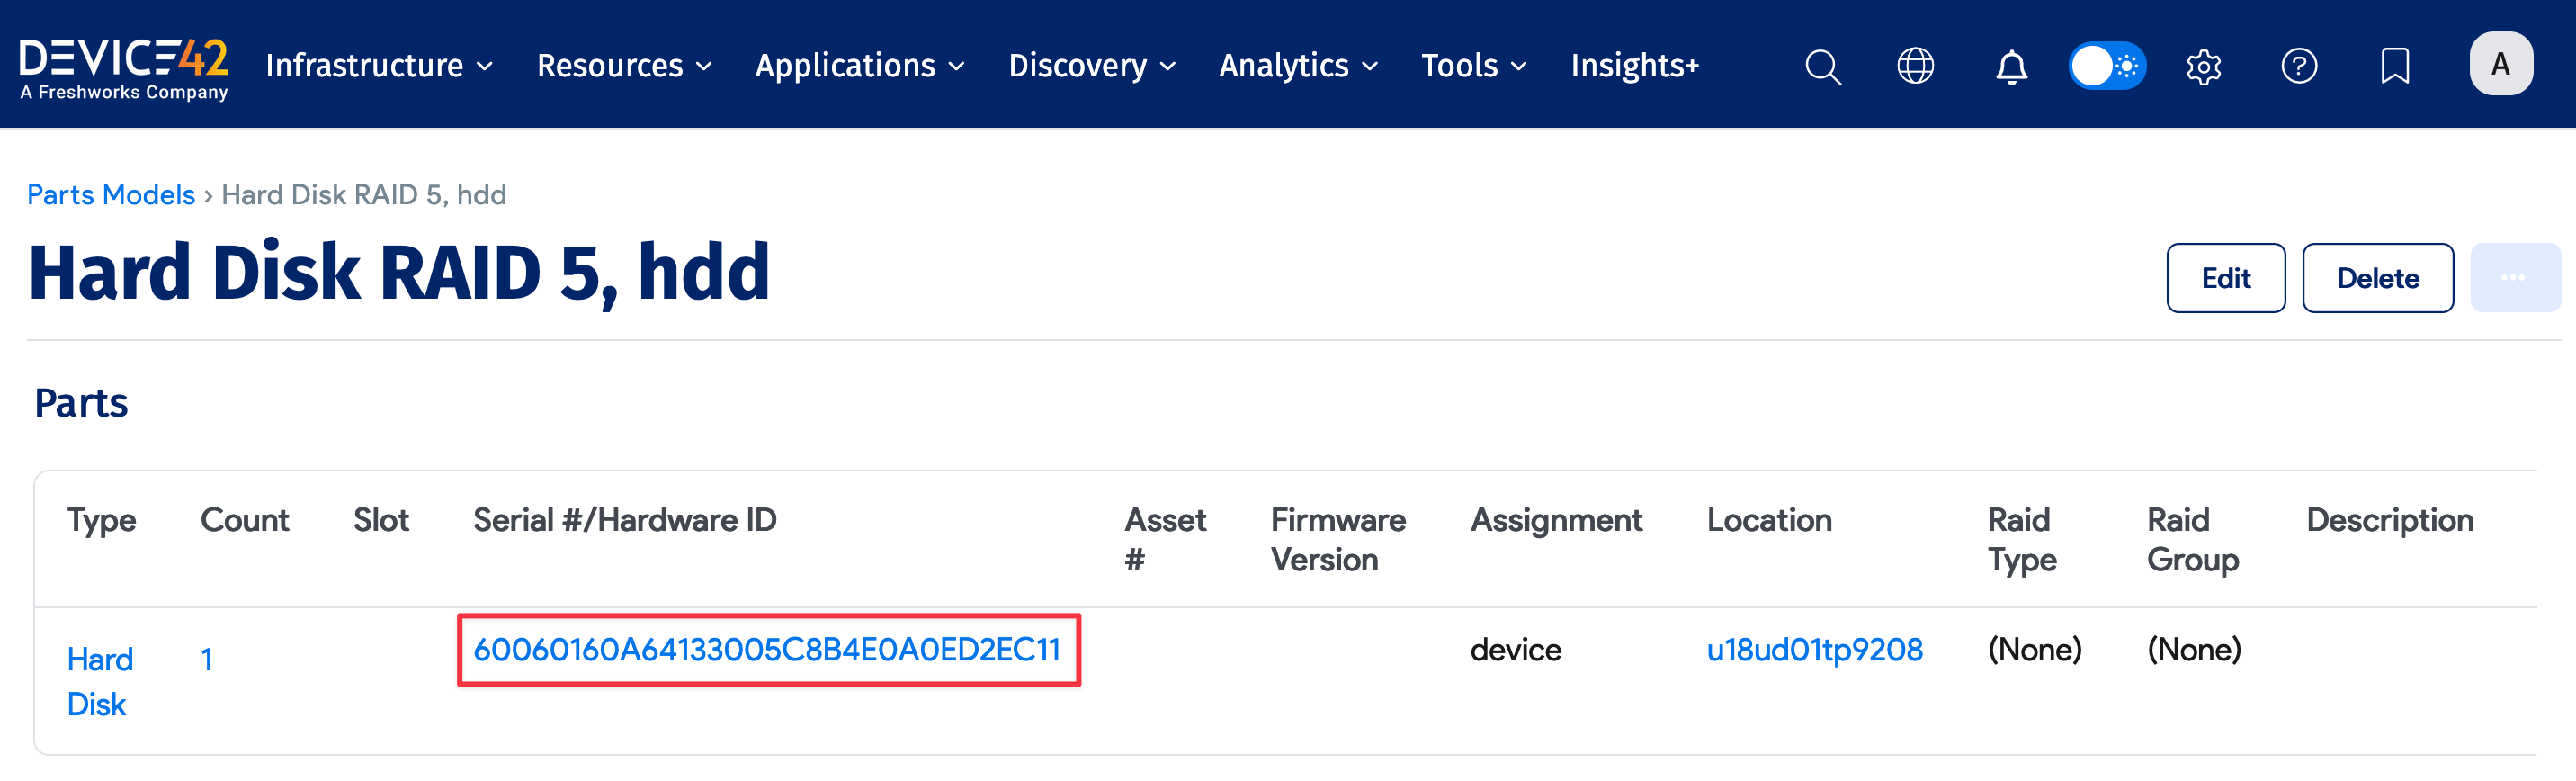
Click a Parts link to see that resource (in this case, a LUN).
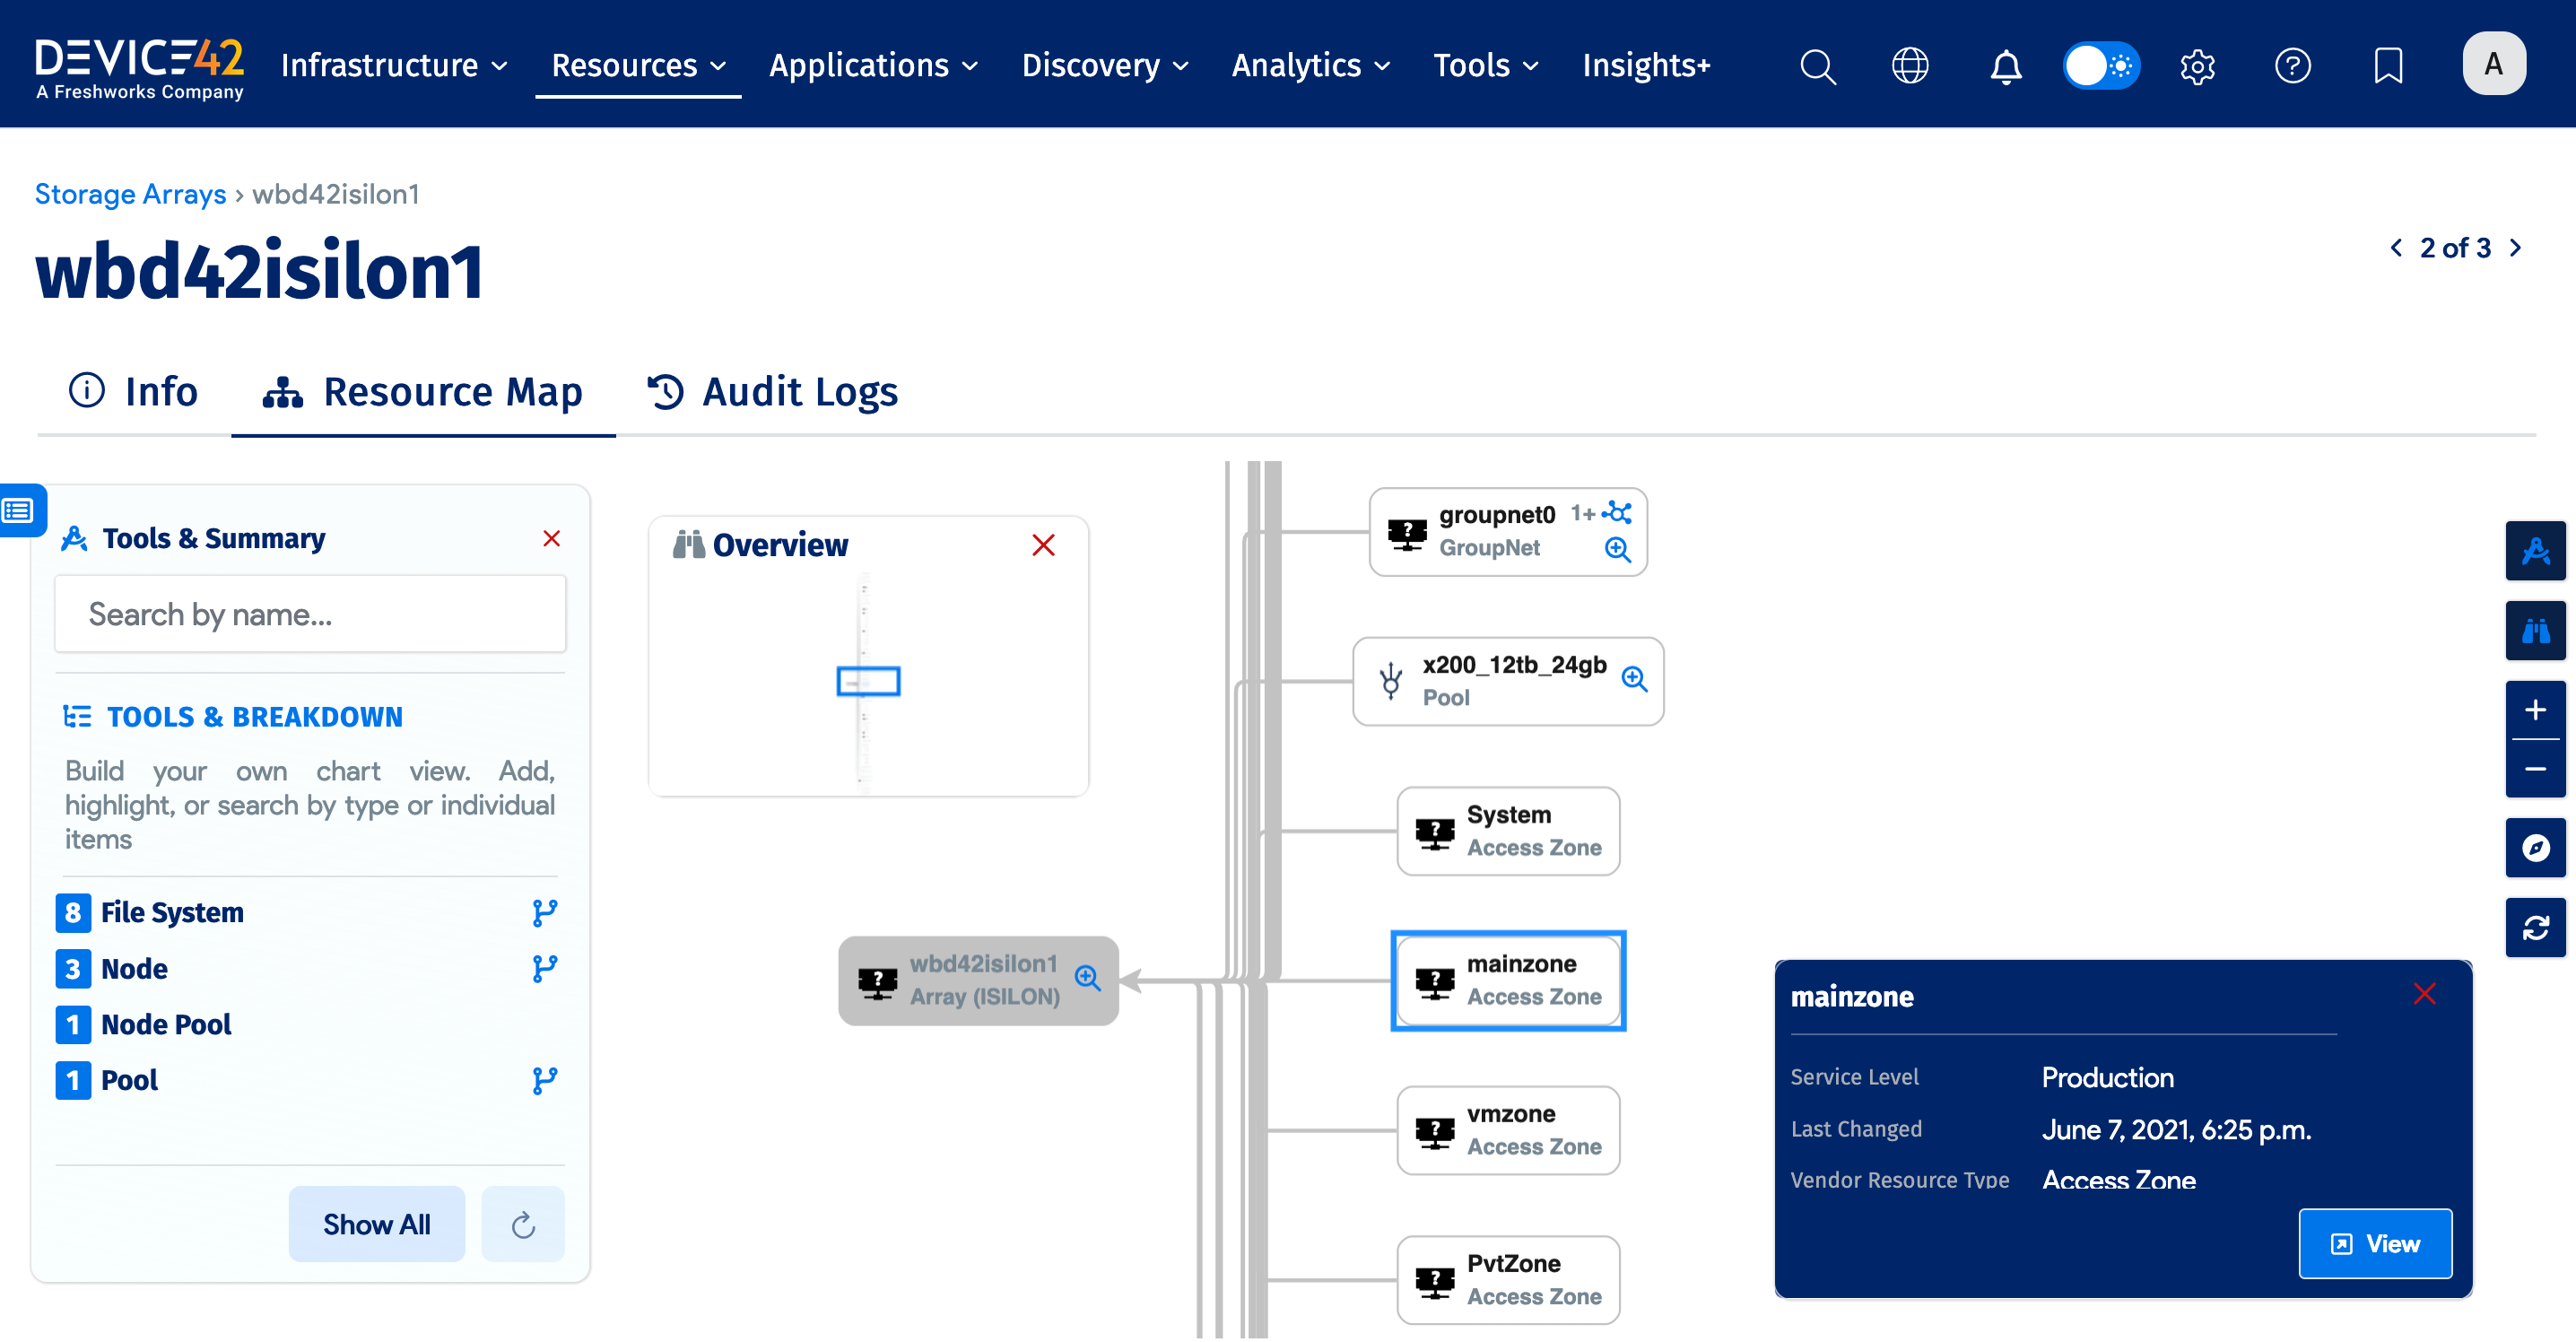
Resource Maps
Click Resource Map at the top left of the page to see the topology map for the array. Use the left panel to add, highlight, or search by type or individual items to customize the chart view.
Edit a Storage Array
Click Edit on the storage array view page to modify the following fields:
- Notes (1): Add or edit notes for the array.
- D42 Tags (2): Add or edit tags.
- In Service (3): Toggle the indicator on or off.
- Service Level (4): Select or add a service level value.
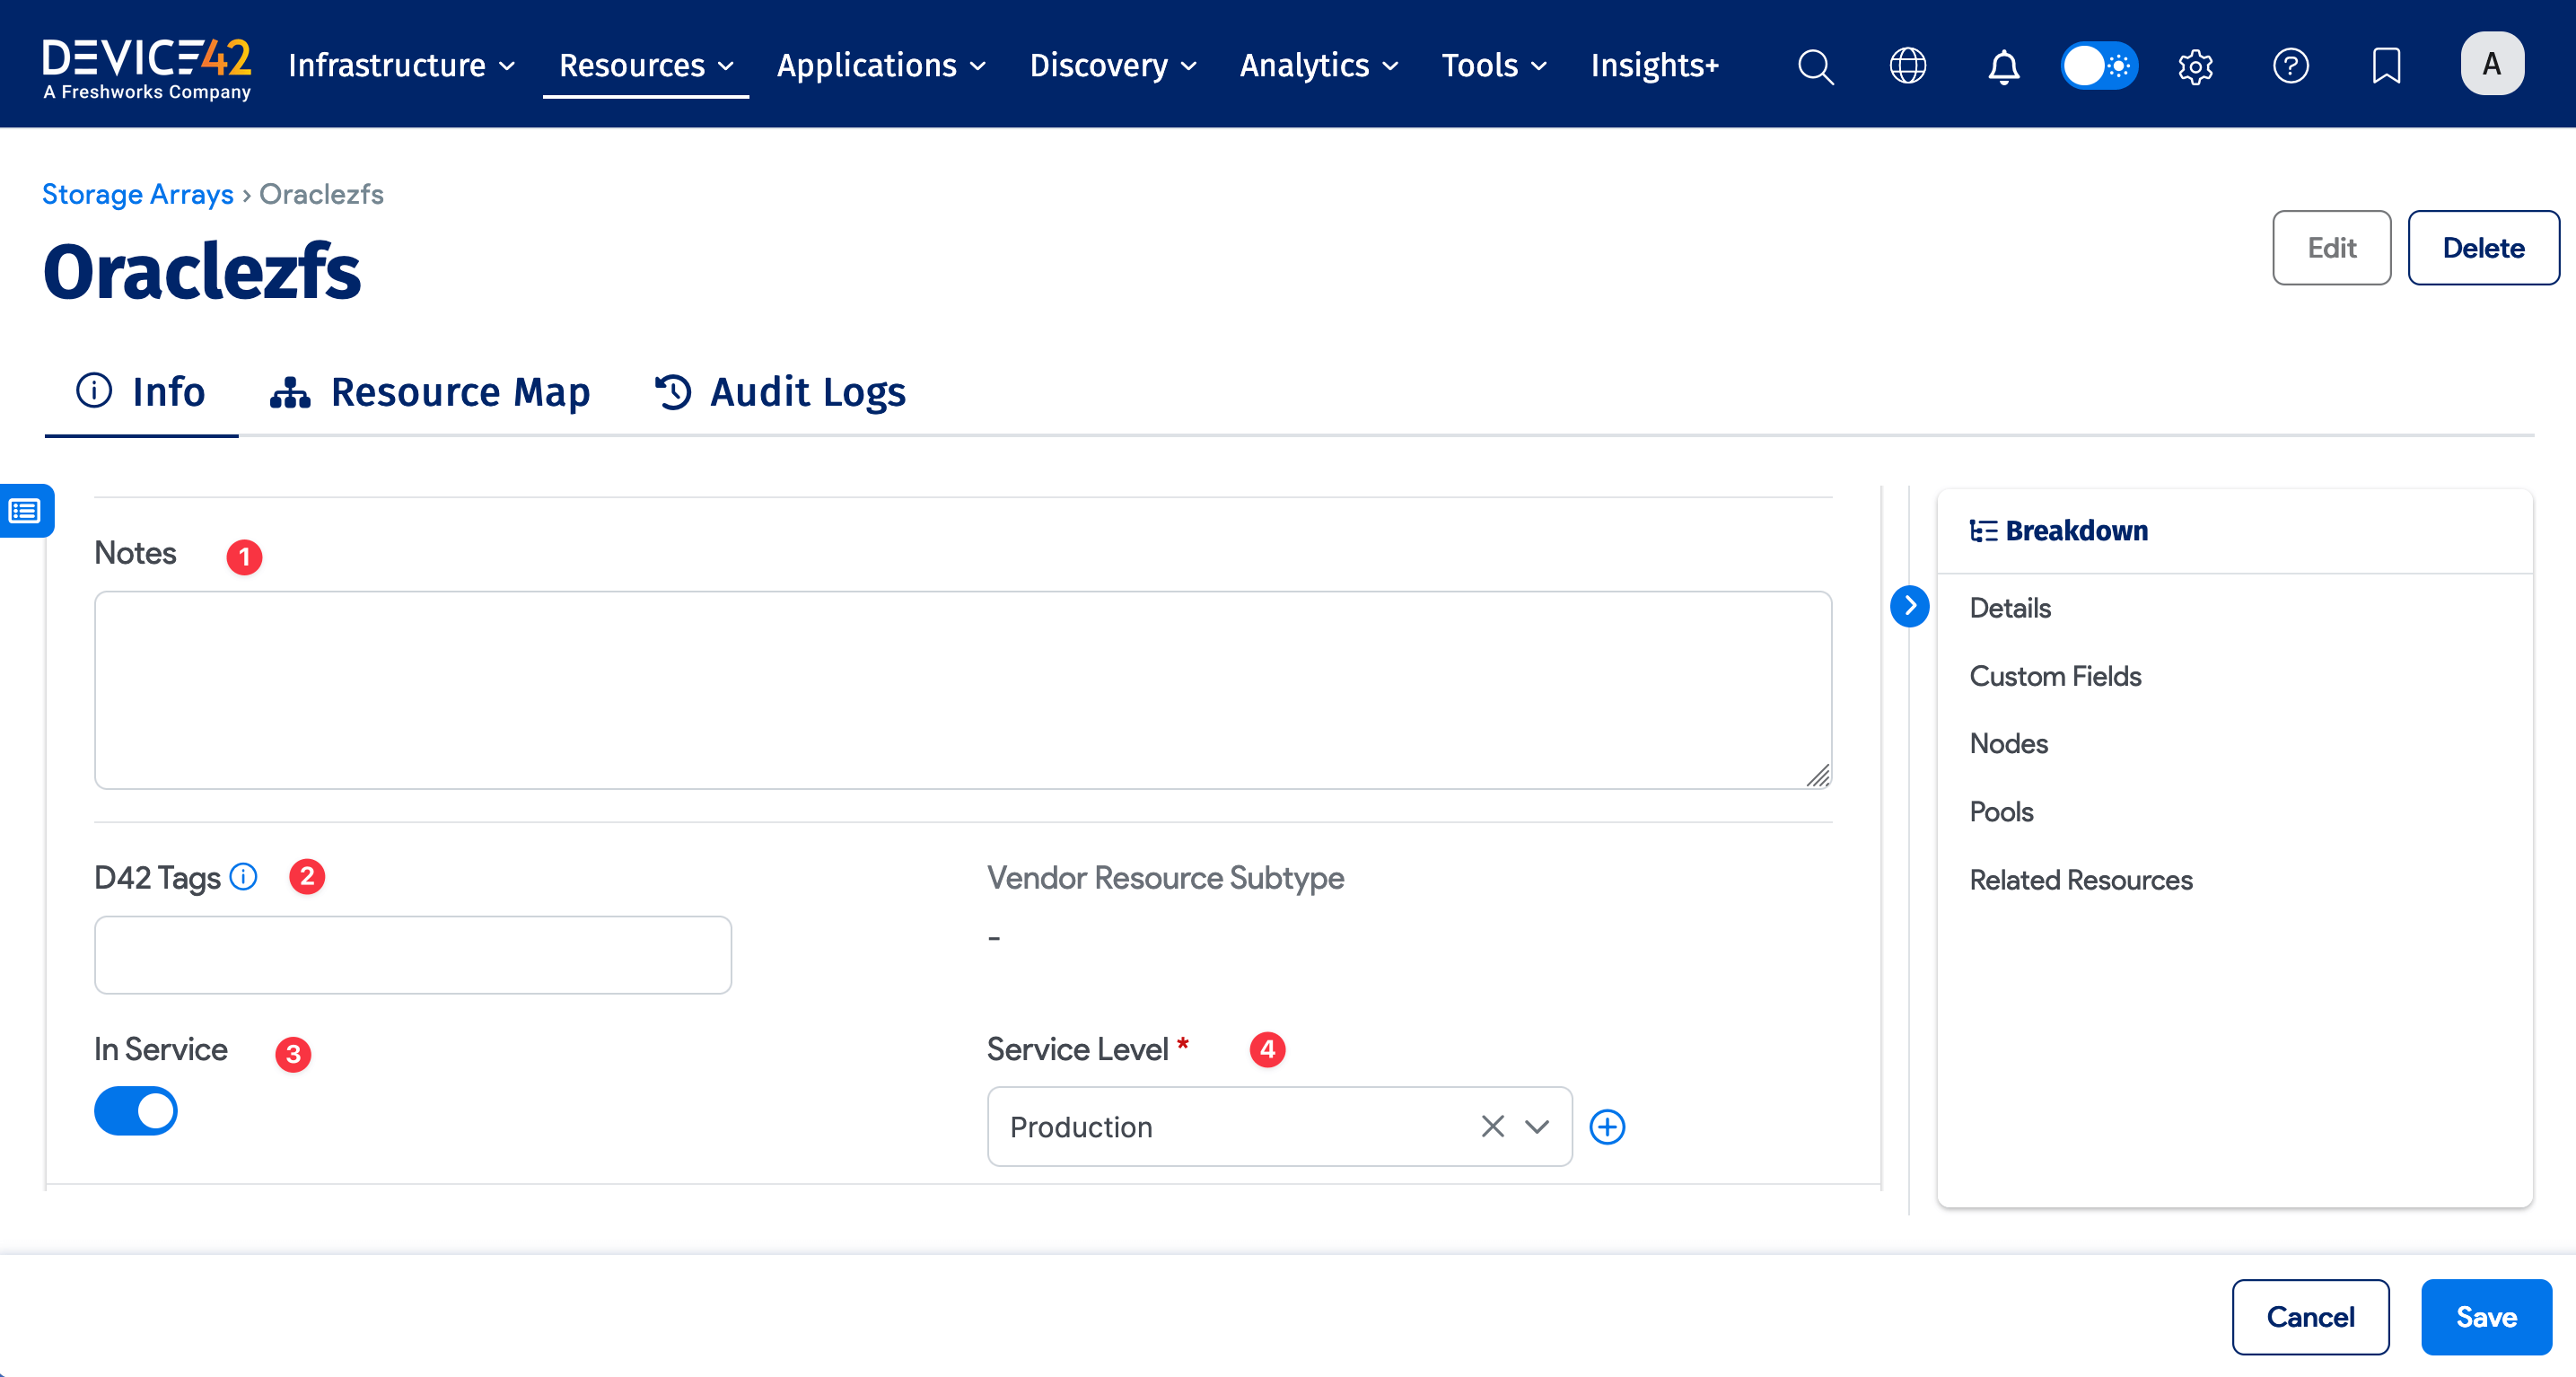
Click Save to save your edits or click Cancel to discard them.
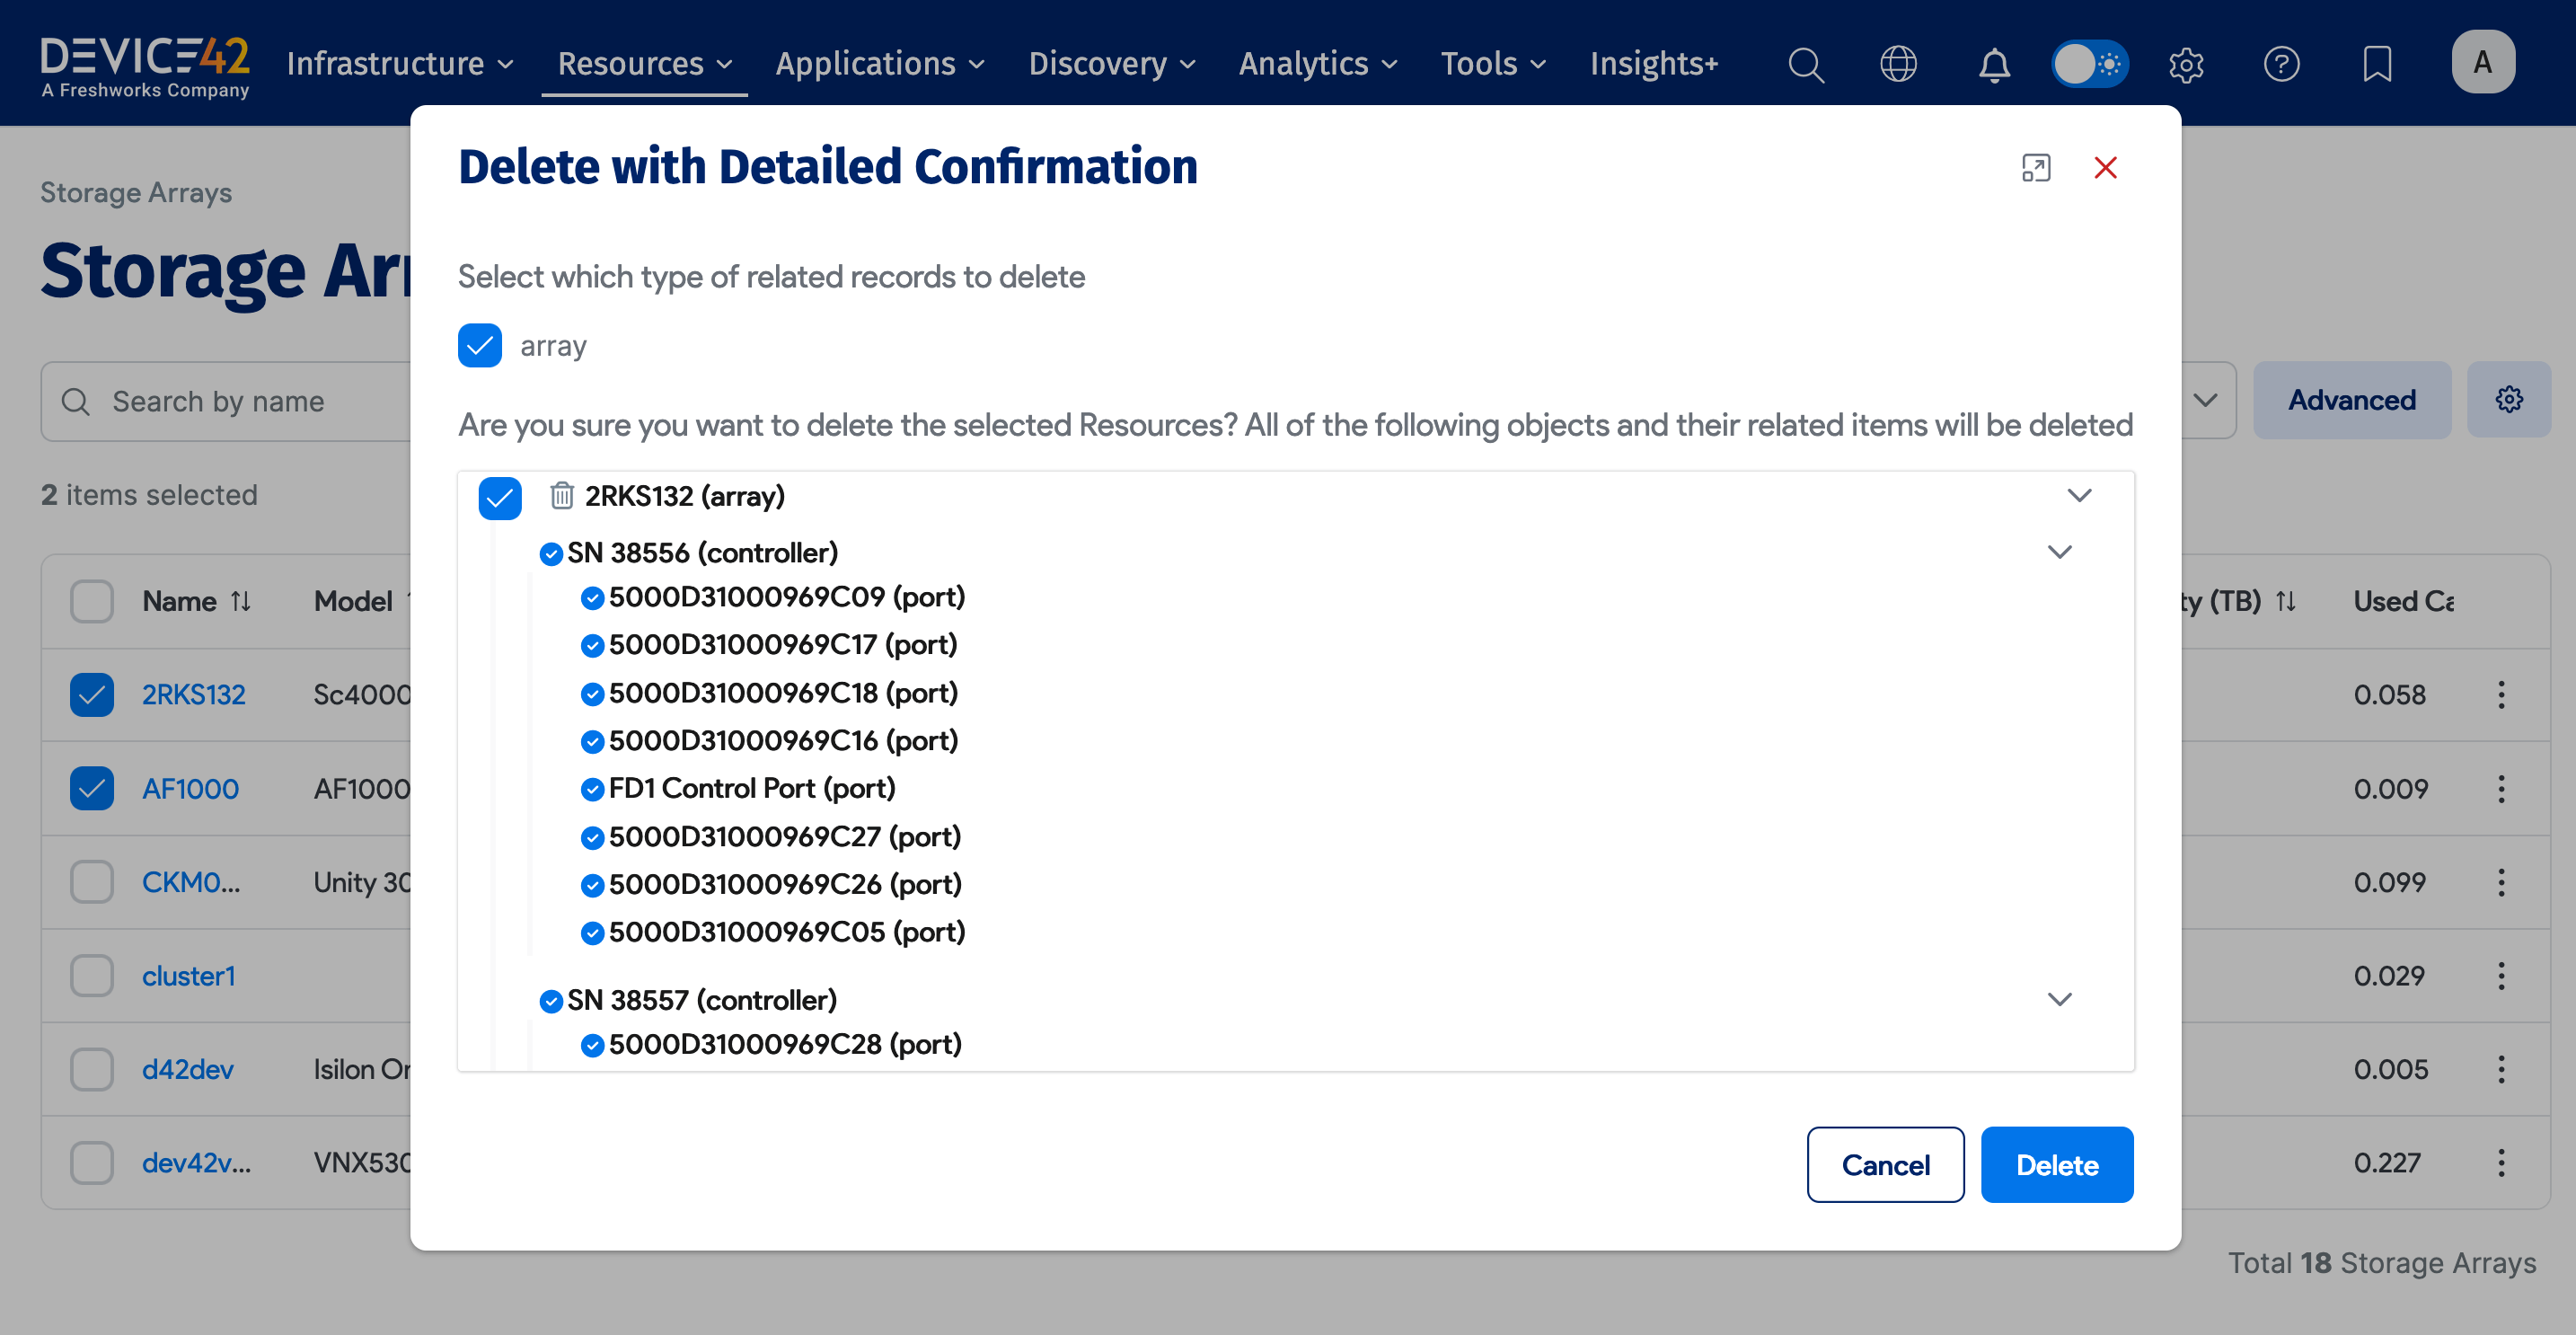
Storage Array Actions
Select one or more arrays from the list and choose an action from the Actions dropdown menu.
The available actions are Delete with Detailed Confirmation, Fast Background Delete, Fast Background Archive, and Add to Business Service.


Confirm the deletion if prompted.
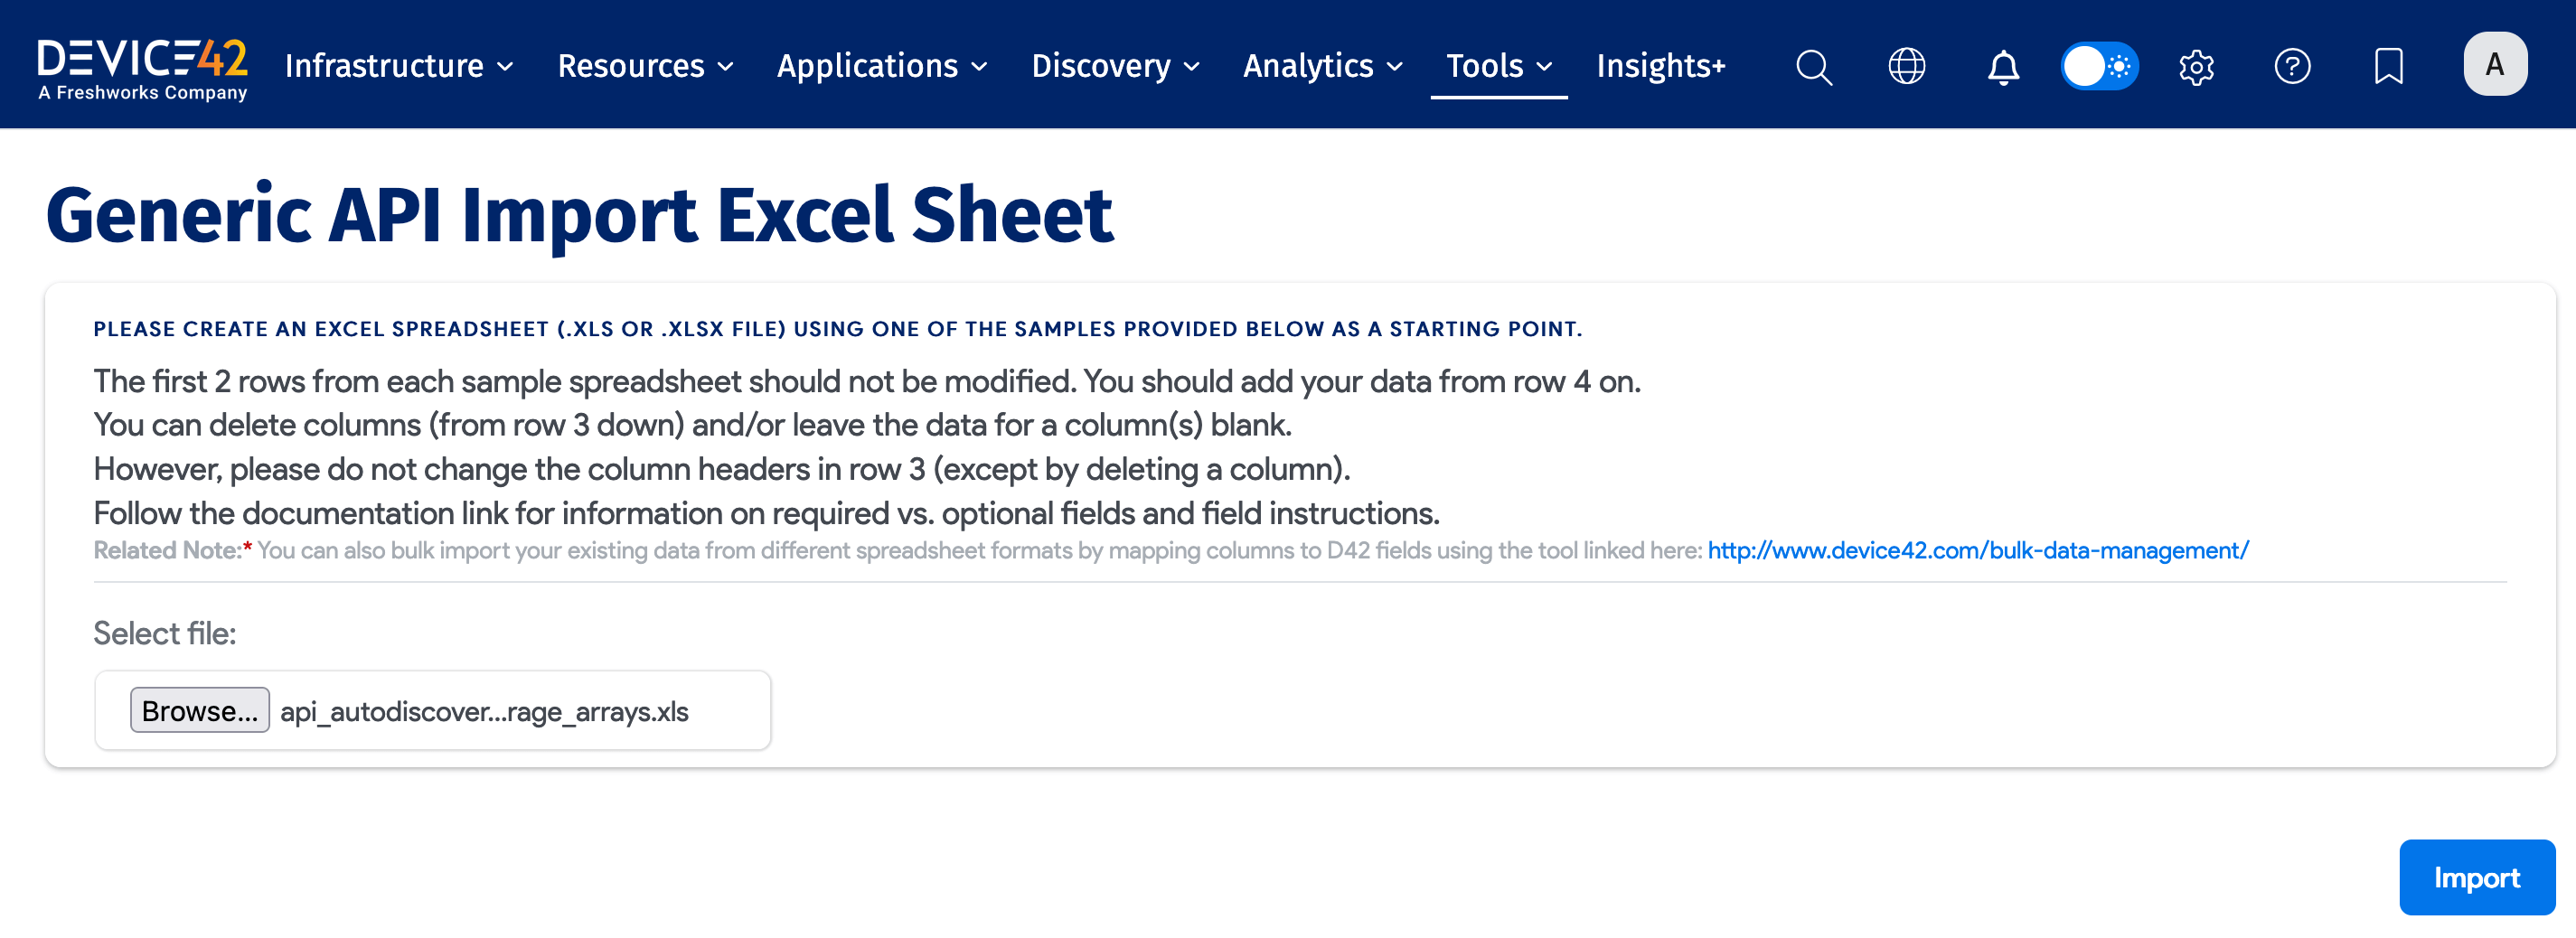
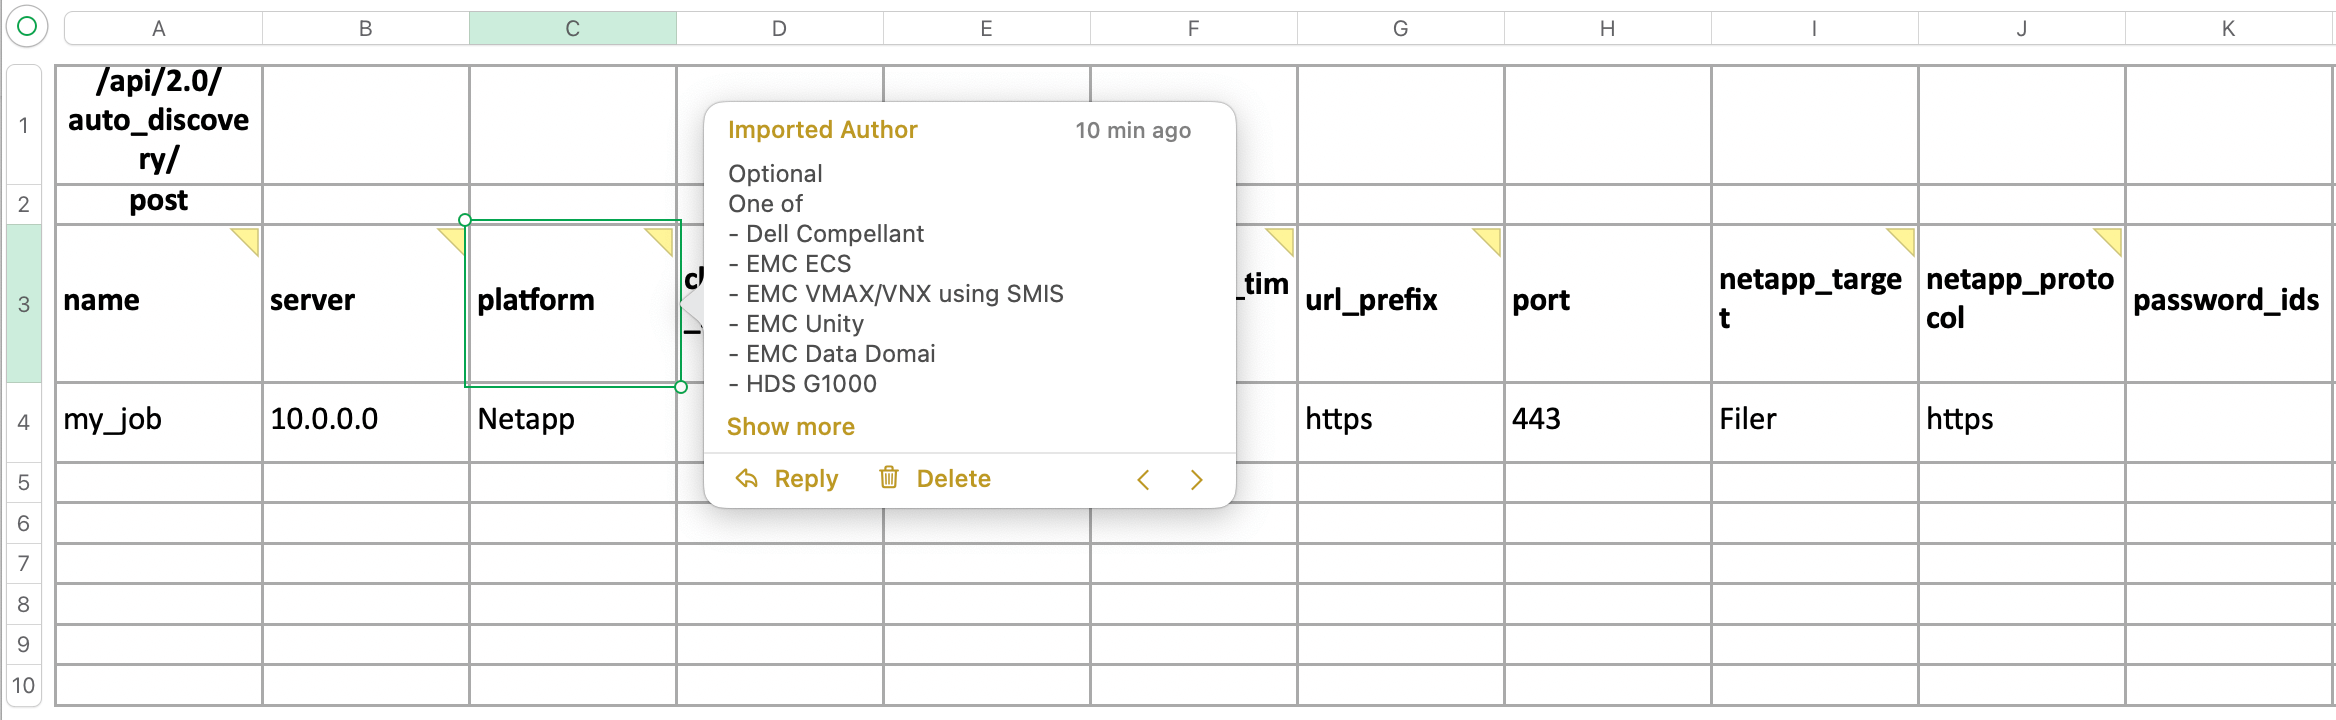
Import and Export Storage Array Discovery Jobs
You can import or export storage array discovery jobs using an Excel file.
-
Select Tools > Imports/Exports (xls) from the Device42 main menu. Locate the Autodiscovery - Create Storage Array Autodiscovery Jobs row and click Download Sample Excel File.


-
Fill in the Excel file to set up your storage array discovery job. Click the tips in the cell headings for details on what values to enter in each column.
-
Click Browse to select the Excel file and click Upload to add the storage array discovery jobs to Device42.