Jamf Autodiscovery
This page is for Device42 administrators who need to discover Apple devices managed by Jamf. Learn how to configure Jamf cloud discovery jobs, set up the required permissions, and collect data from your Jamf environment.
Jamf Discovery Items
Jamf discovery retrieves data on the following:
- Computers
- Mobile devices
- IP and MAC addresses
- Installed software and applications
- Extension attributes (Custom Fields)
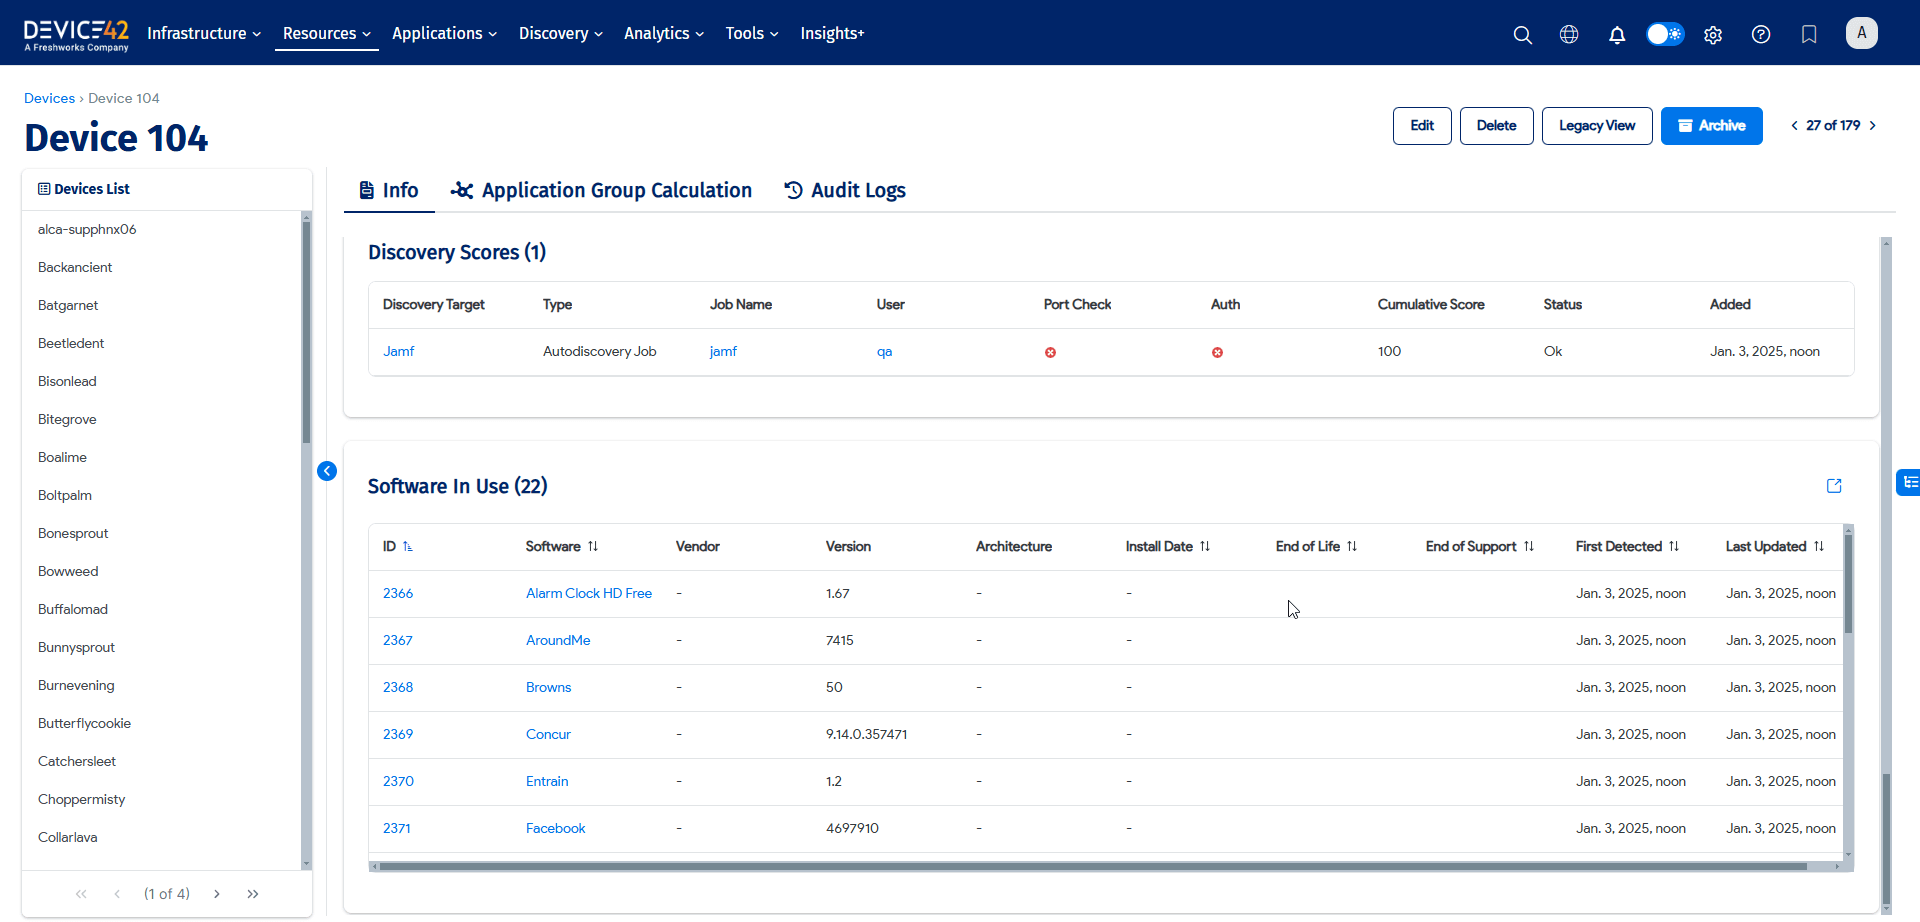
You can view the discovered software under the Software In Use tab on the details page of any discovered mobile device.
Requirements for Jamf Discovery
To run a Jamf discovery job, you need to set the appropriate permissions in your Jamf account and provide your Jamf username and password when creating the job.
Permission Requirements
A standard Jamf user account with read-all permissions is required for discovery. The easiest way to grant read-all permissions is to create a standard user account with the Auditor privilege set.
Alternatively, you can use a Custom privilege set with all-read permissions enabled.
For information on standard accounts and privilege sets, see the Jamf Pro User Accounts and Groups documentation.
Authentication Requirements
Your Jamf account username and password are required in the Basic credentials field of the Add Cloud Discovery form.
Your username and password are used to request a bearer token. Bearer token authentication is then used for subsequent requests.
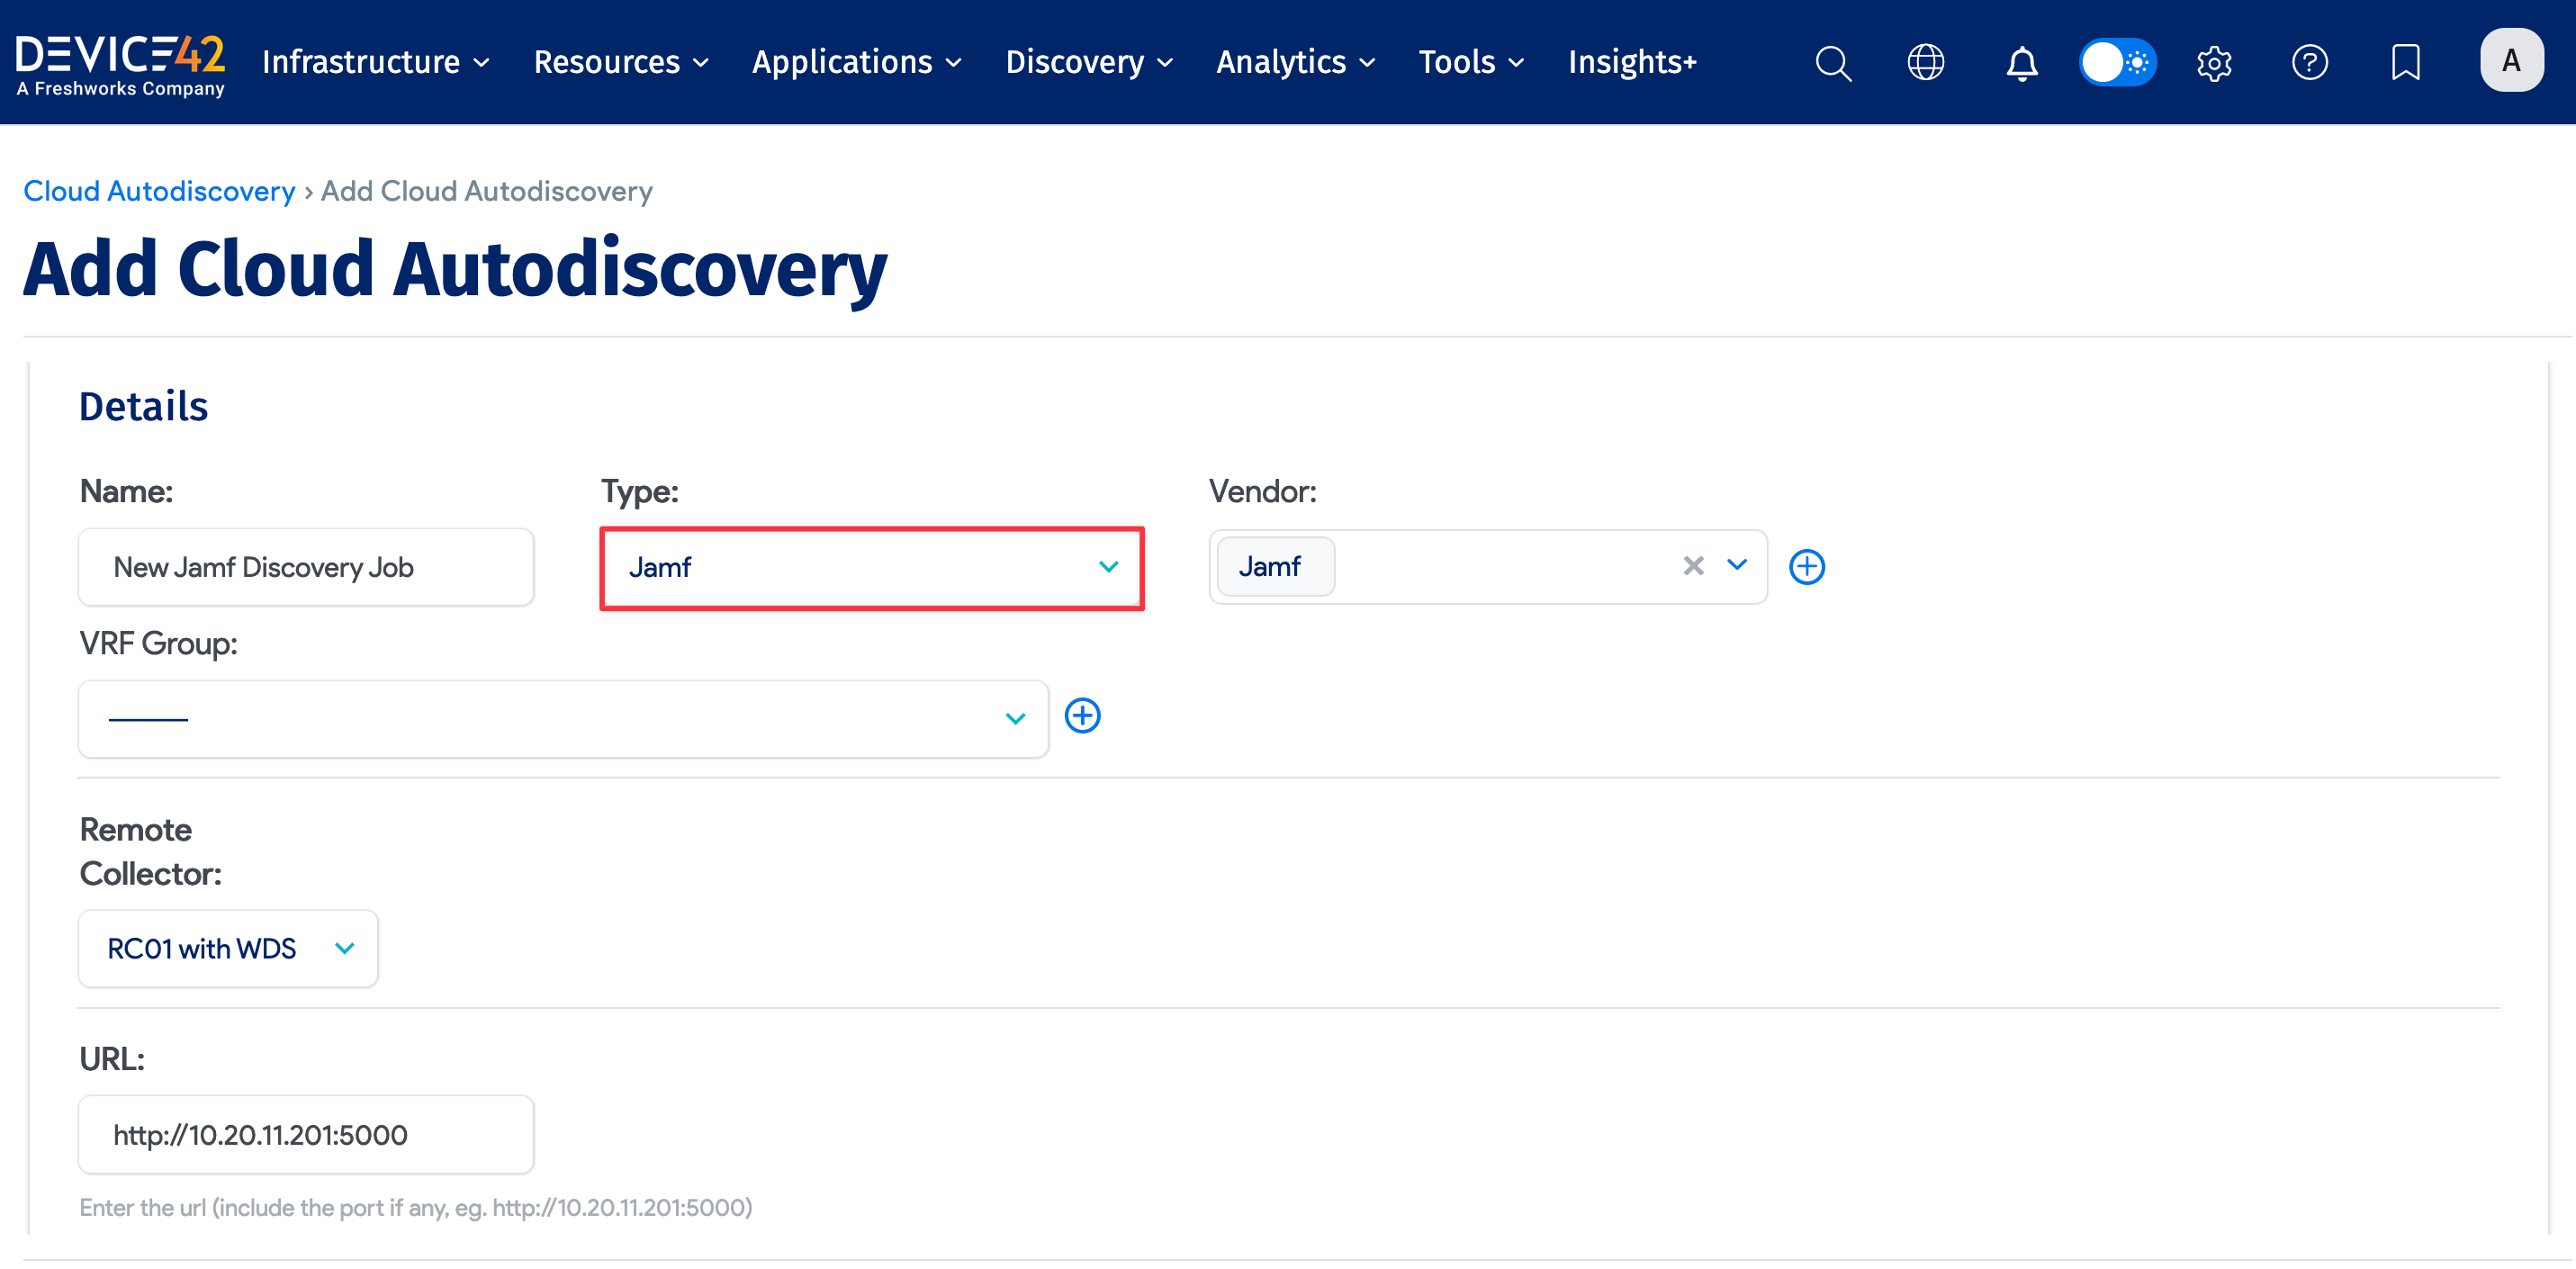
Create a Jamf Discovery Job
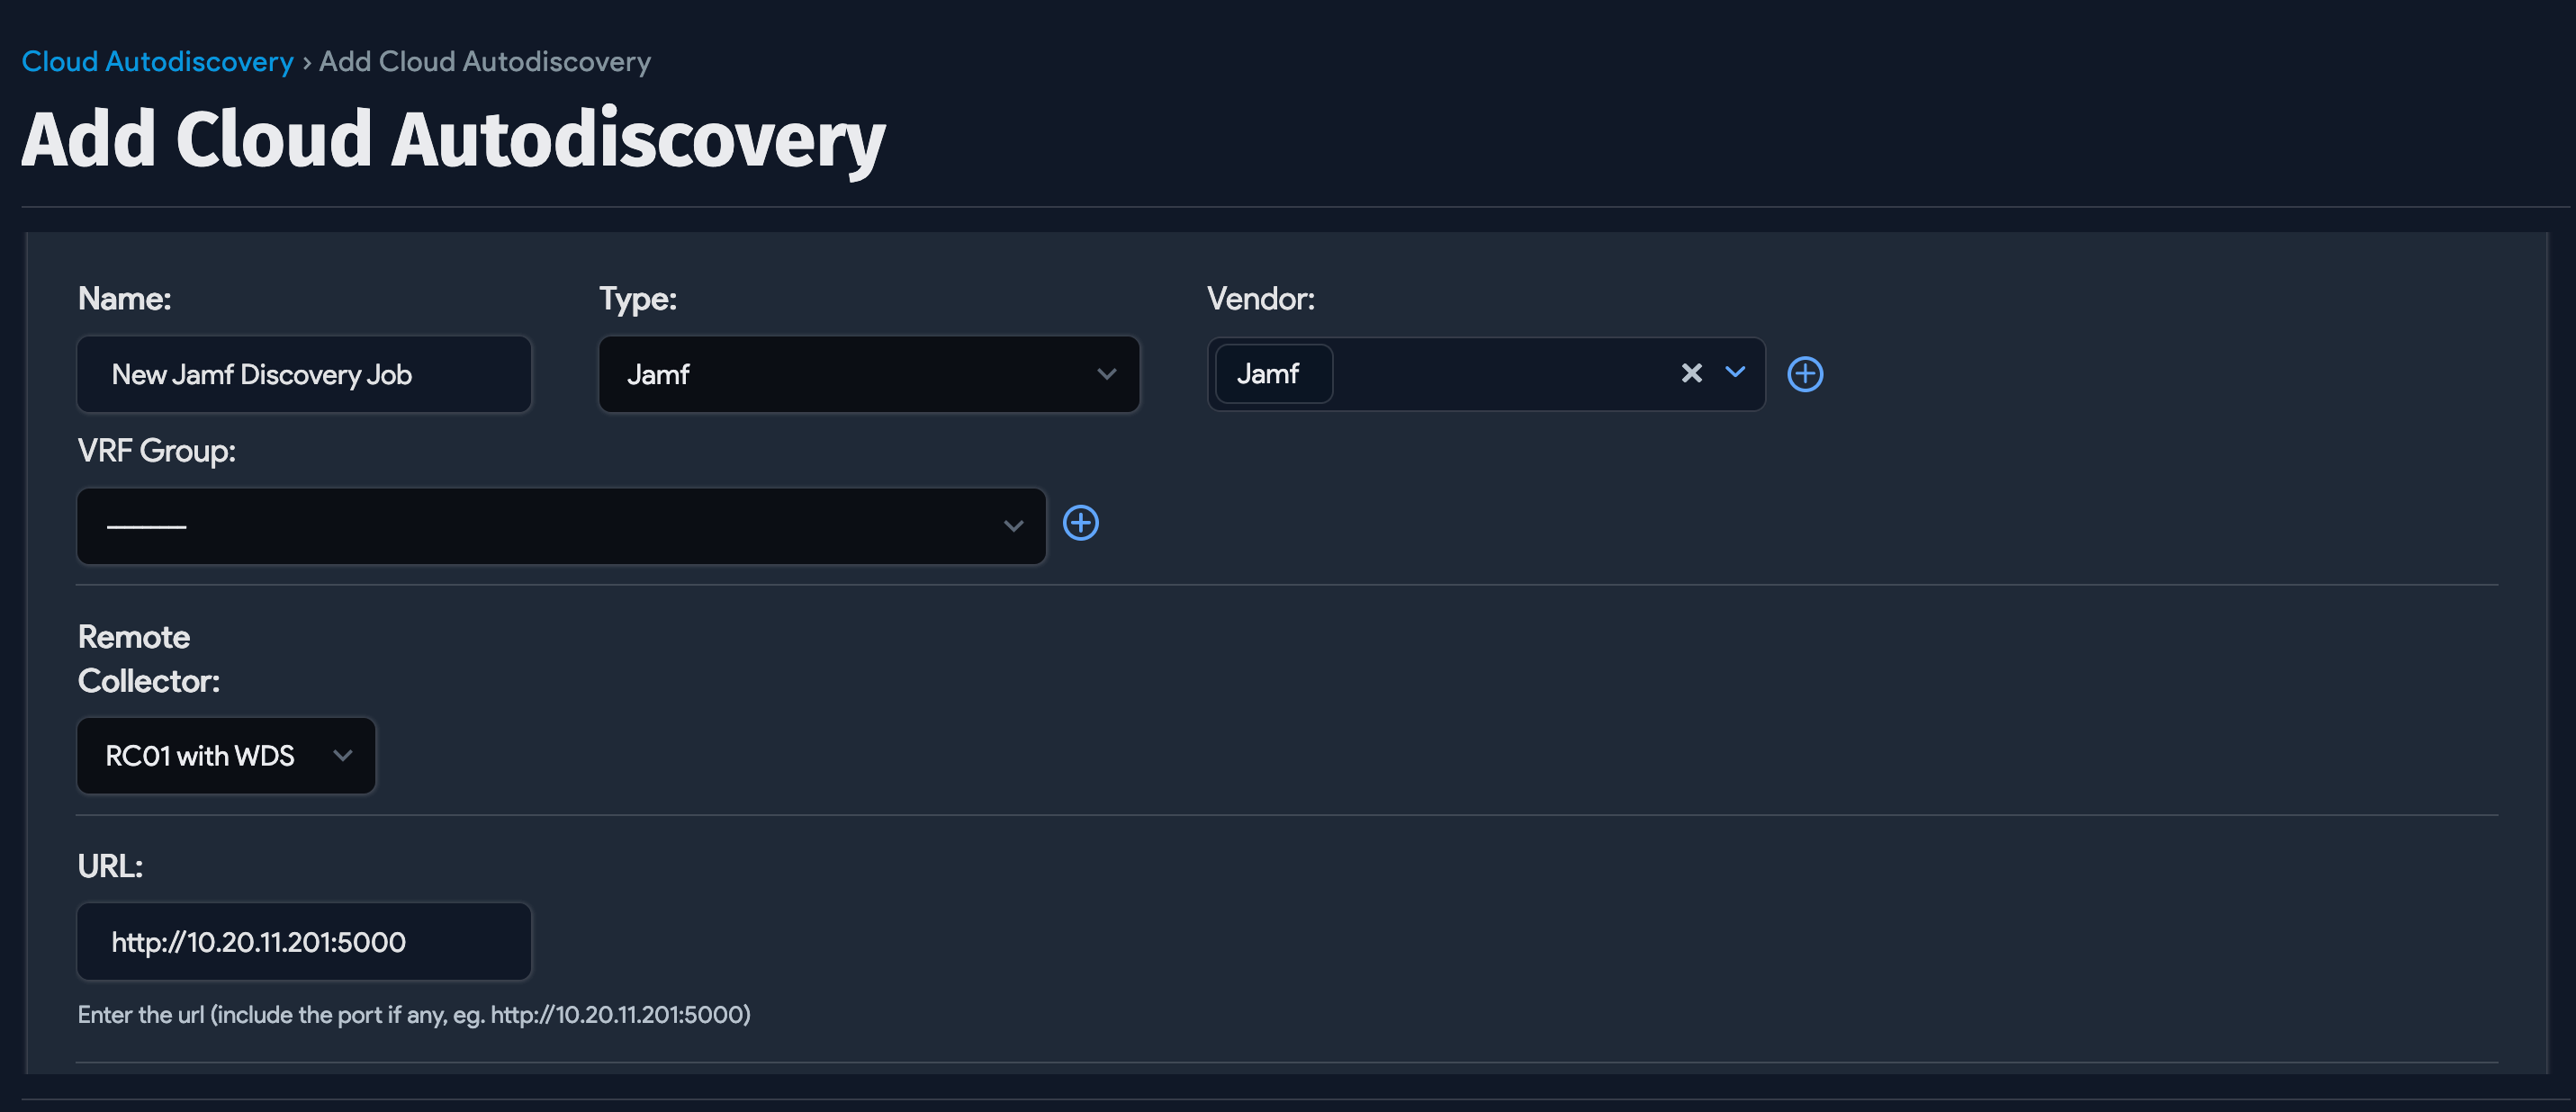
Navigate to Discovery > Cloud and click Create.
- Select Jamf from the Type dropdown menu.
- Choose a Remote Collector from the dropdown menu.
- Enter the URL the job will use, including the port if necessary.
-
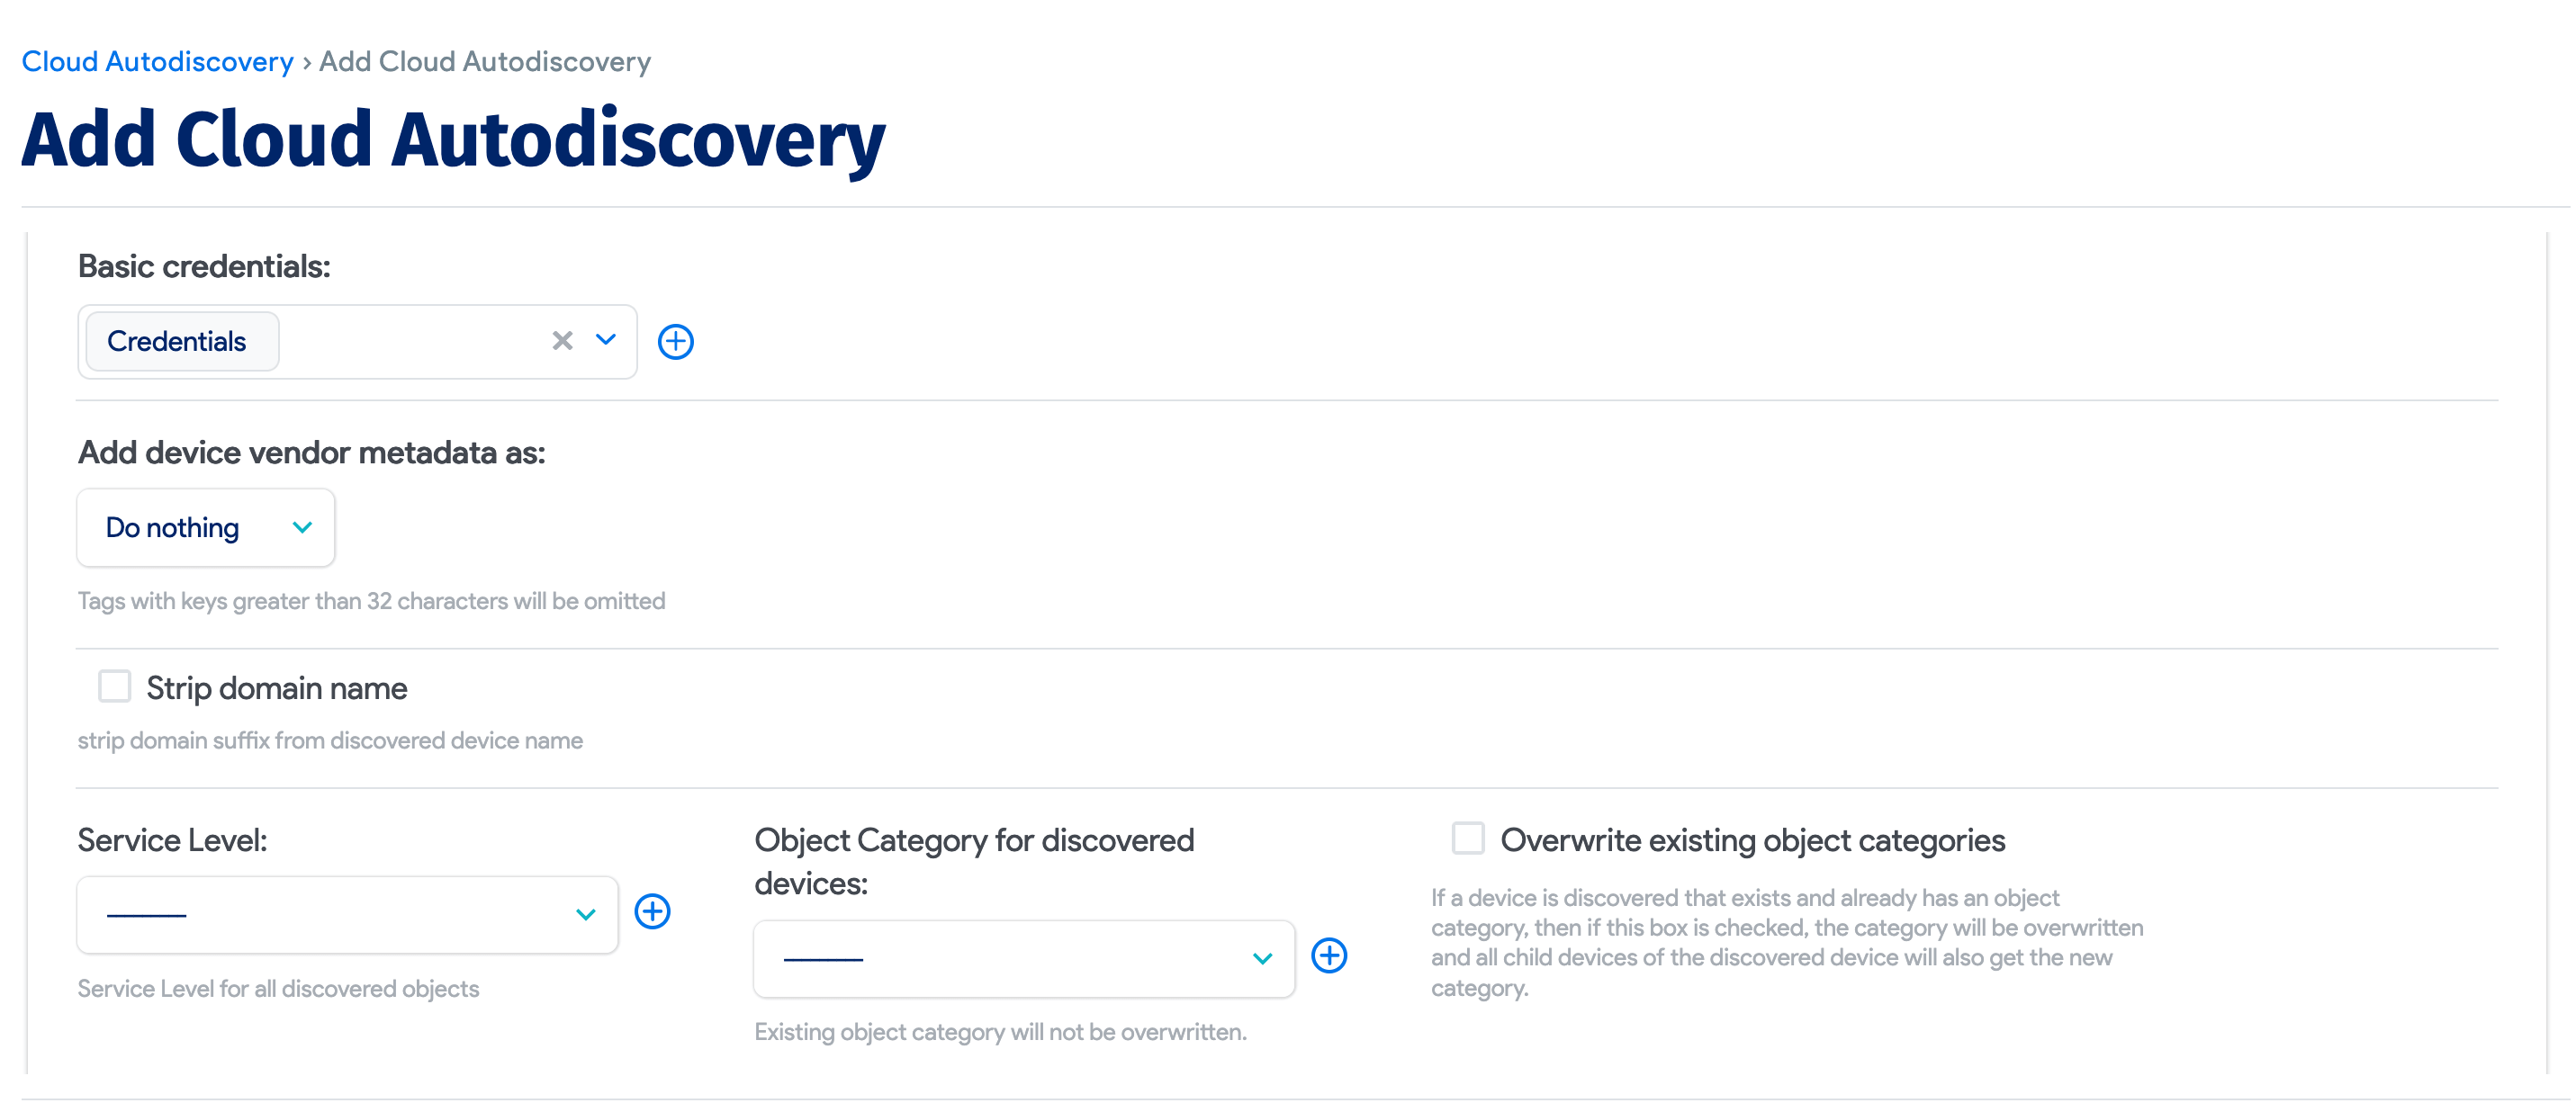
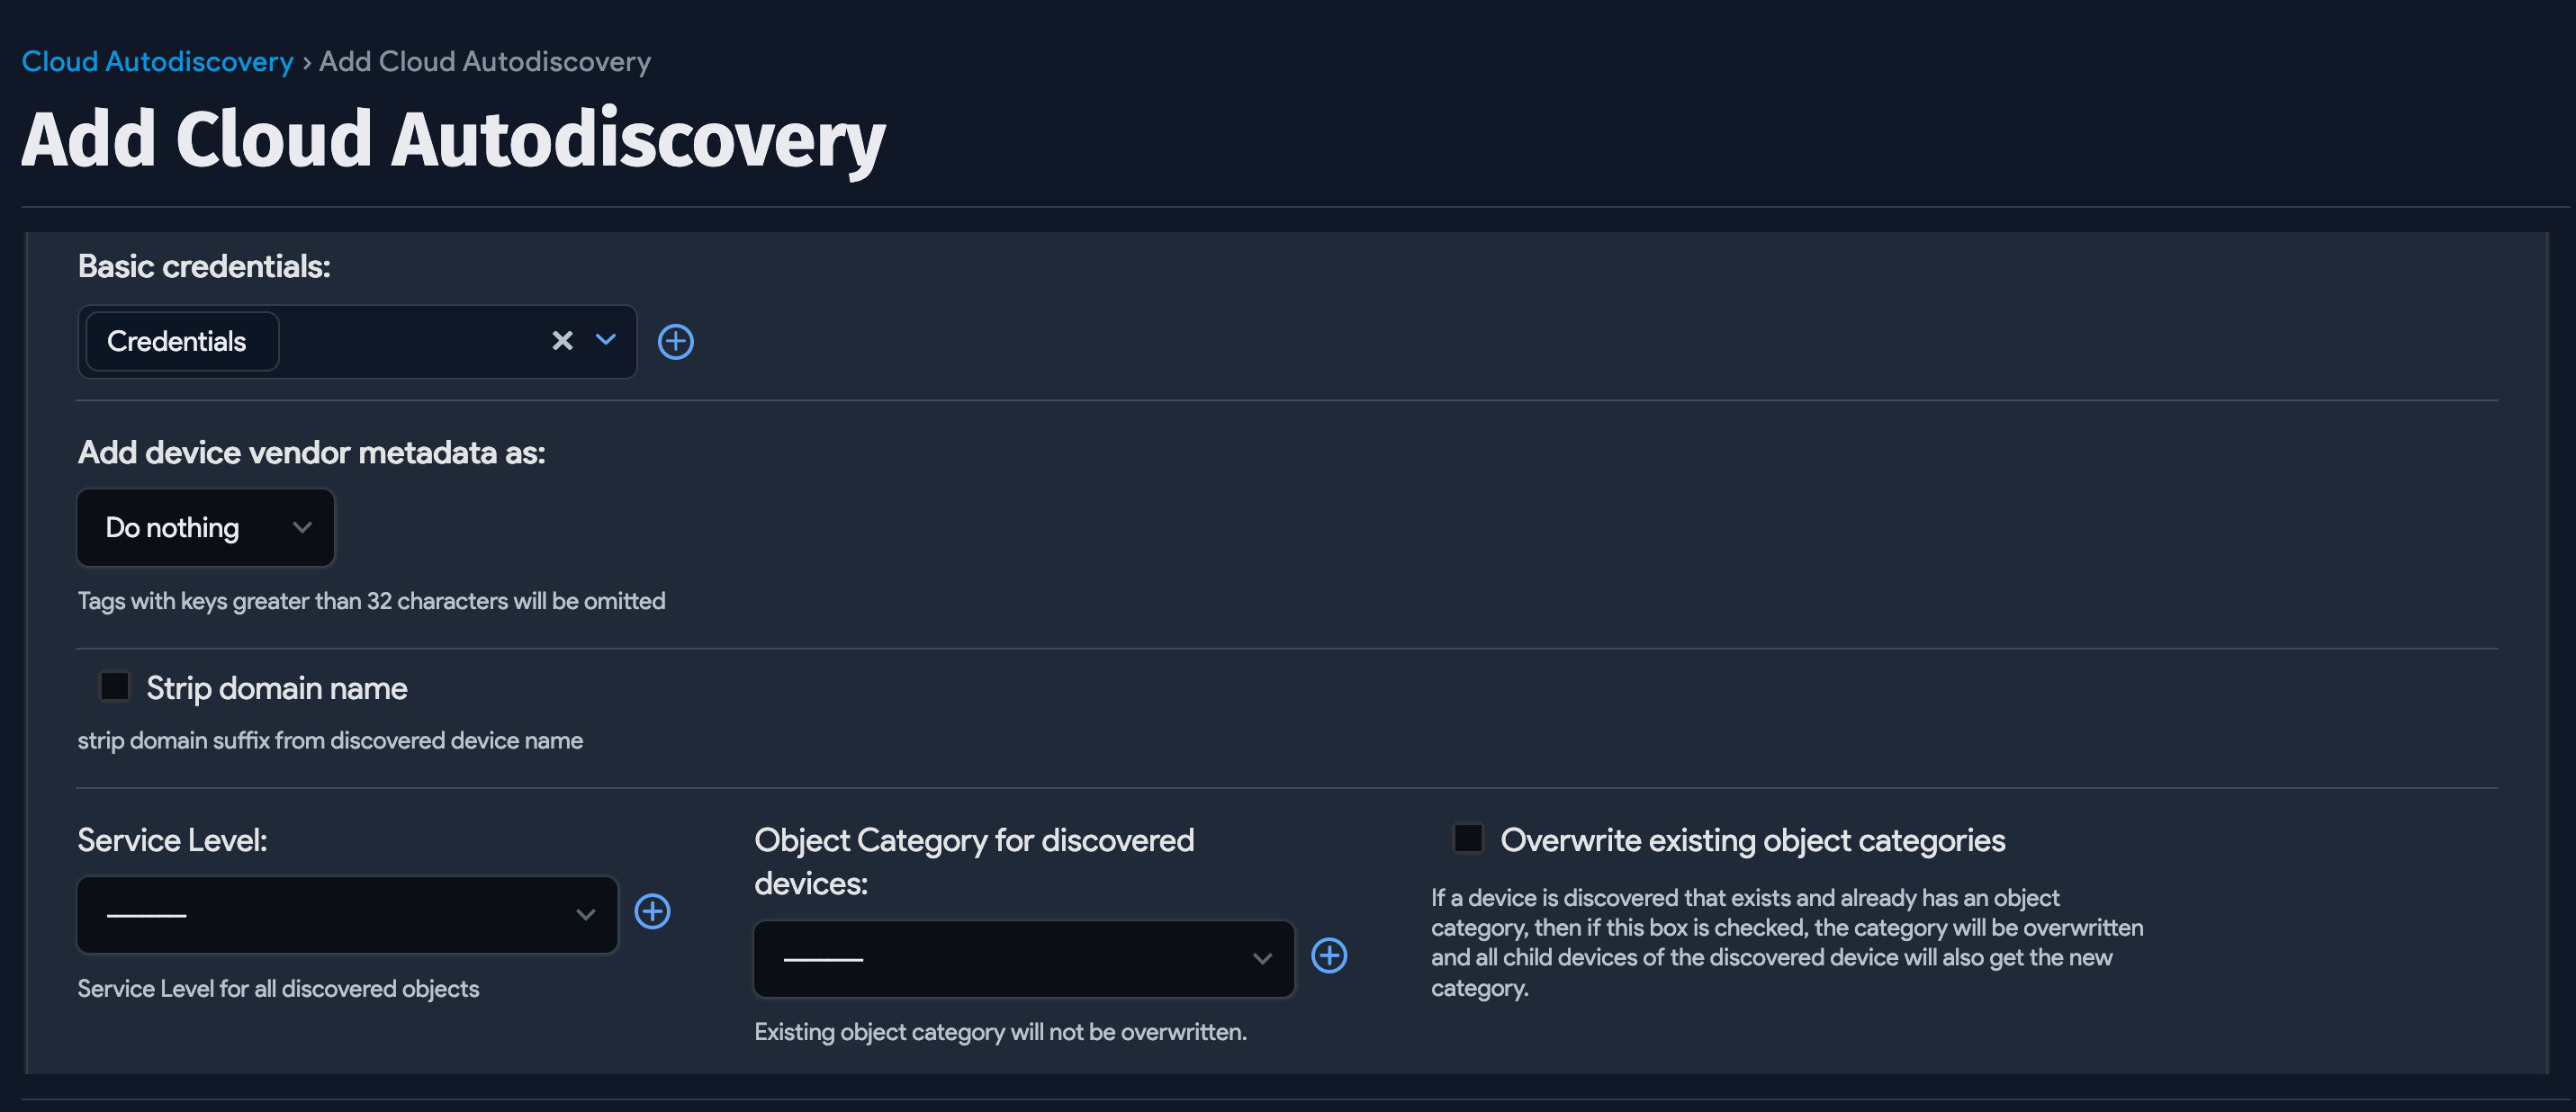
Enter your Basic credentials for the Jamf account. You can optionally add a Service Level and select an Object Category for the discovered devices.
-
Add device vendor metadata as either Tags or Custom Fields, or leave it set as the default option, Do Nothing.
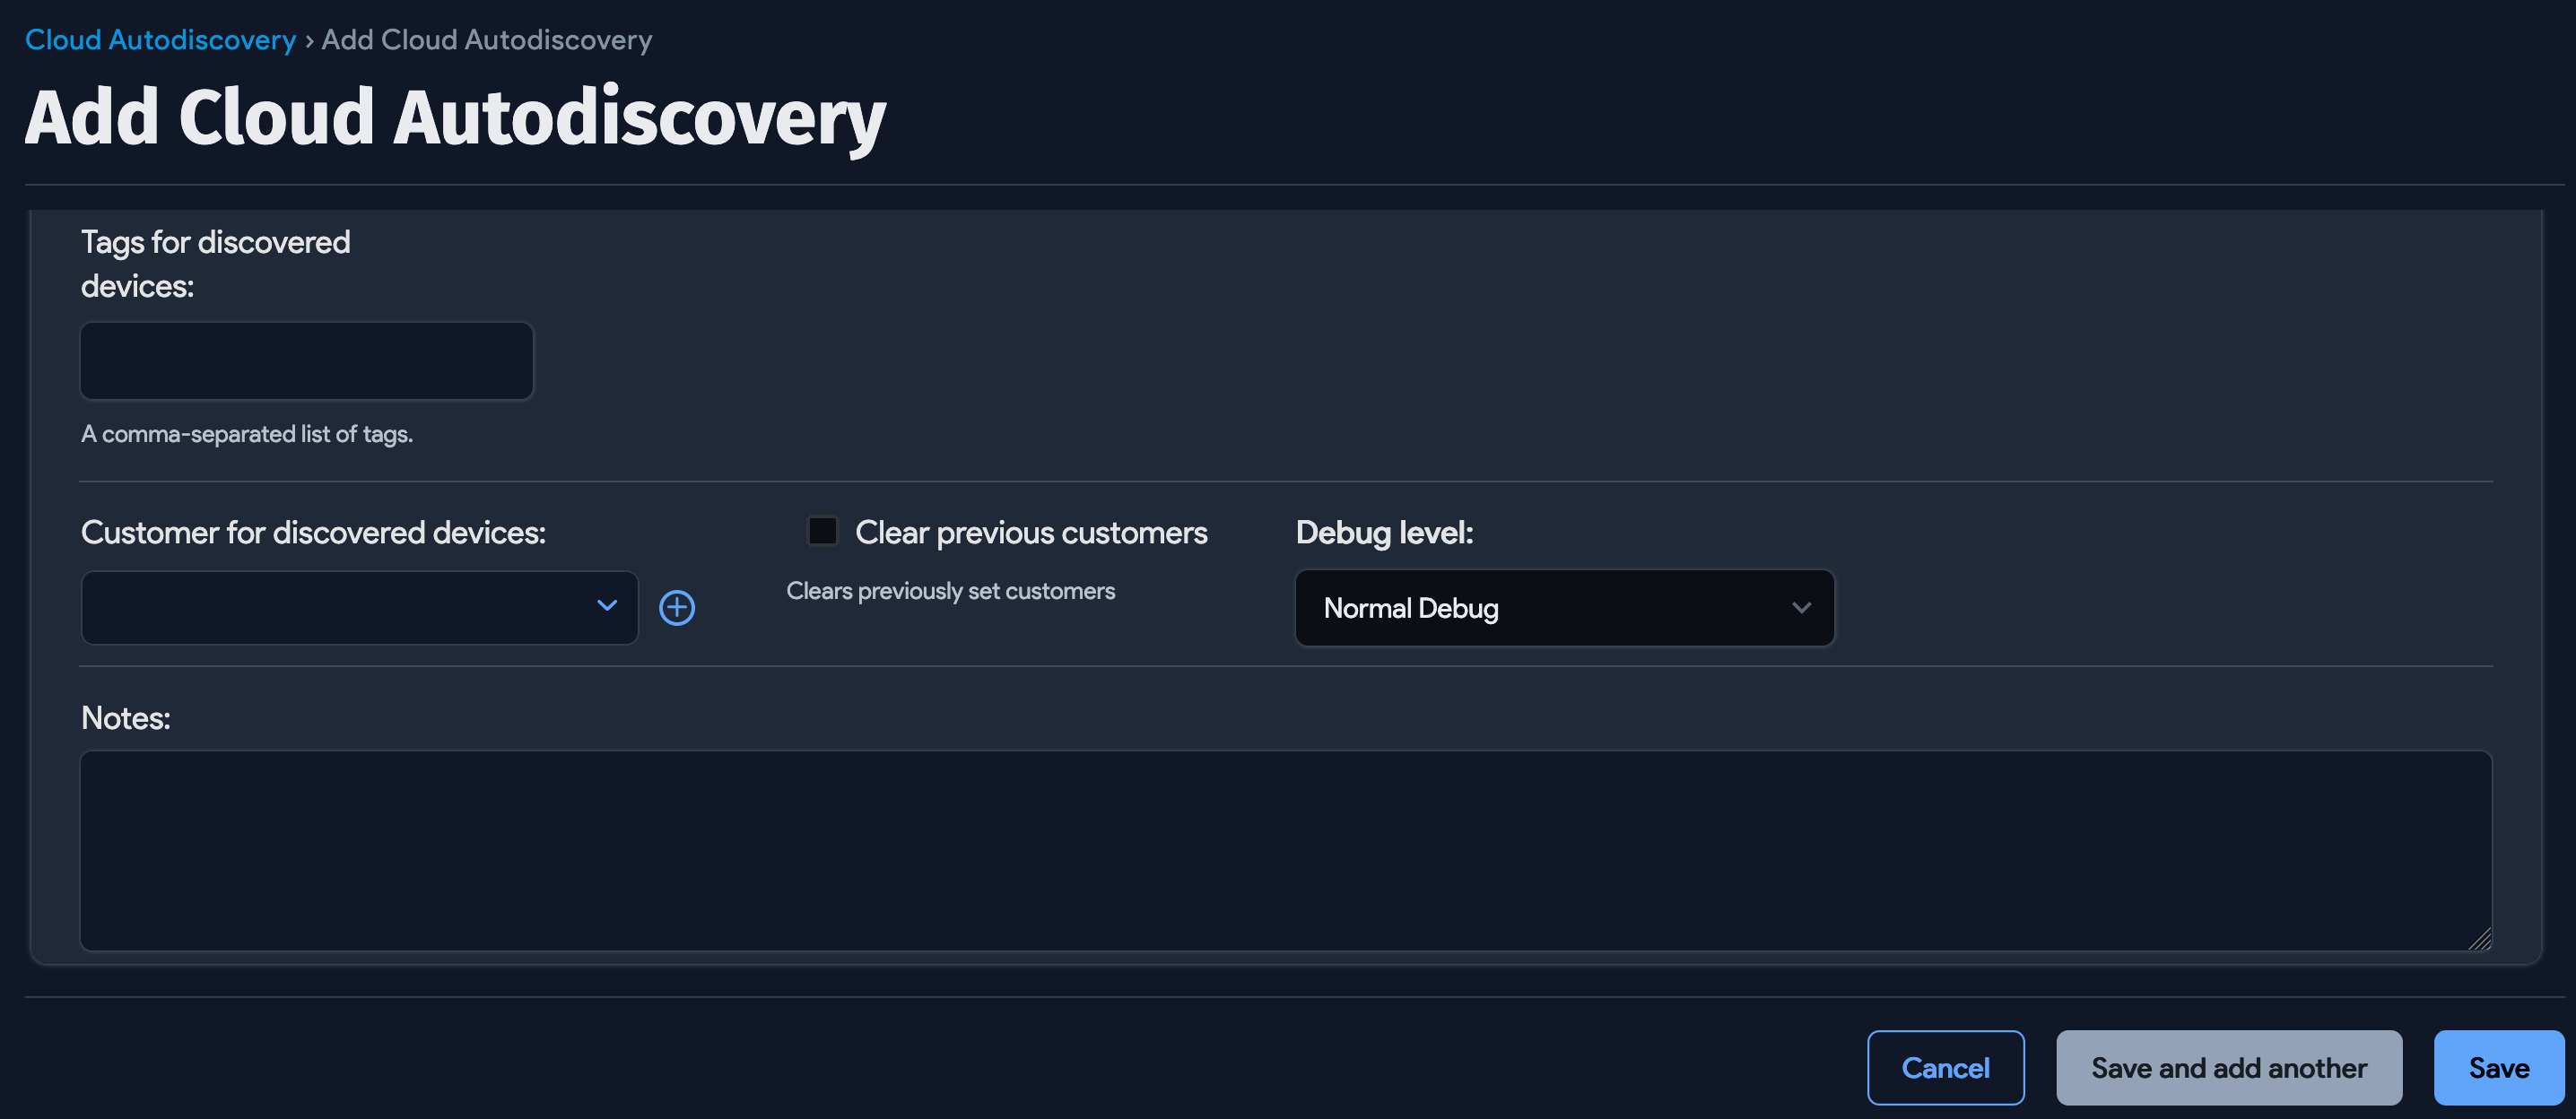
-
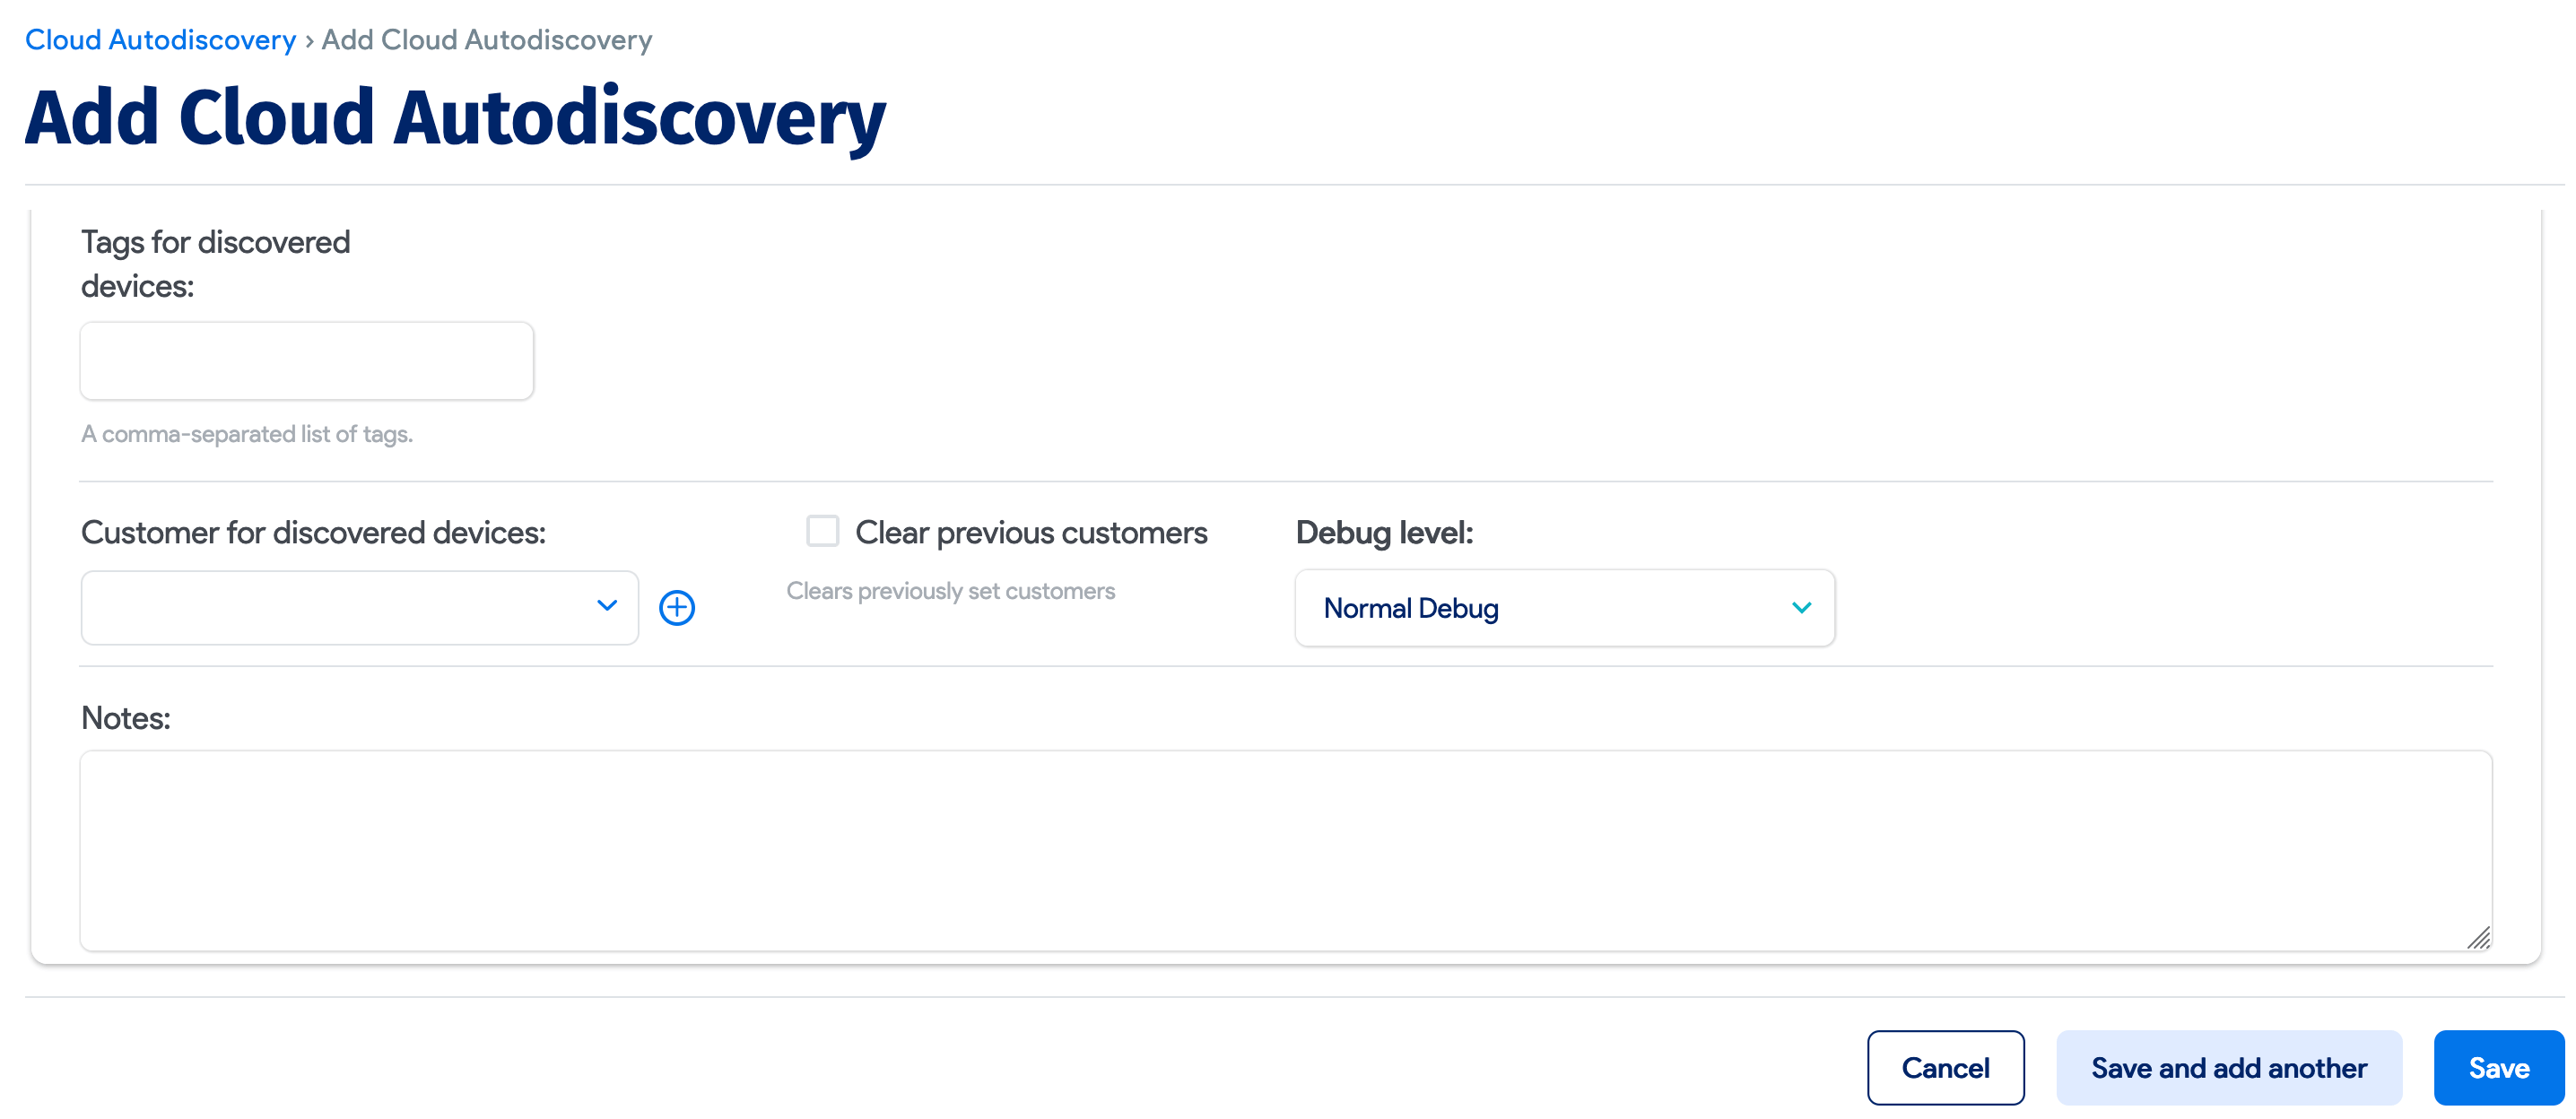
Optionally, include Tags for discovered devices. Tags are useful metadata that categorize discovered items for searching, filtering, and ADM calculation rule purposes.
-
Select a Customer for discovered devices.
-
Choose No Debug or Extended Debug from the Debug level dropdown menu to change the default logging level, Normal Debug.
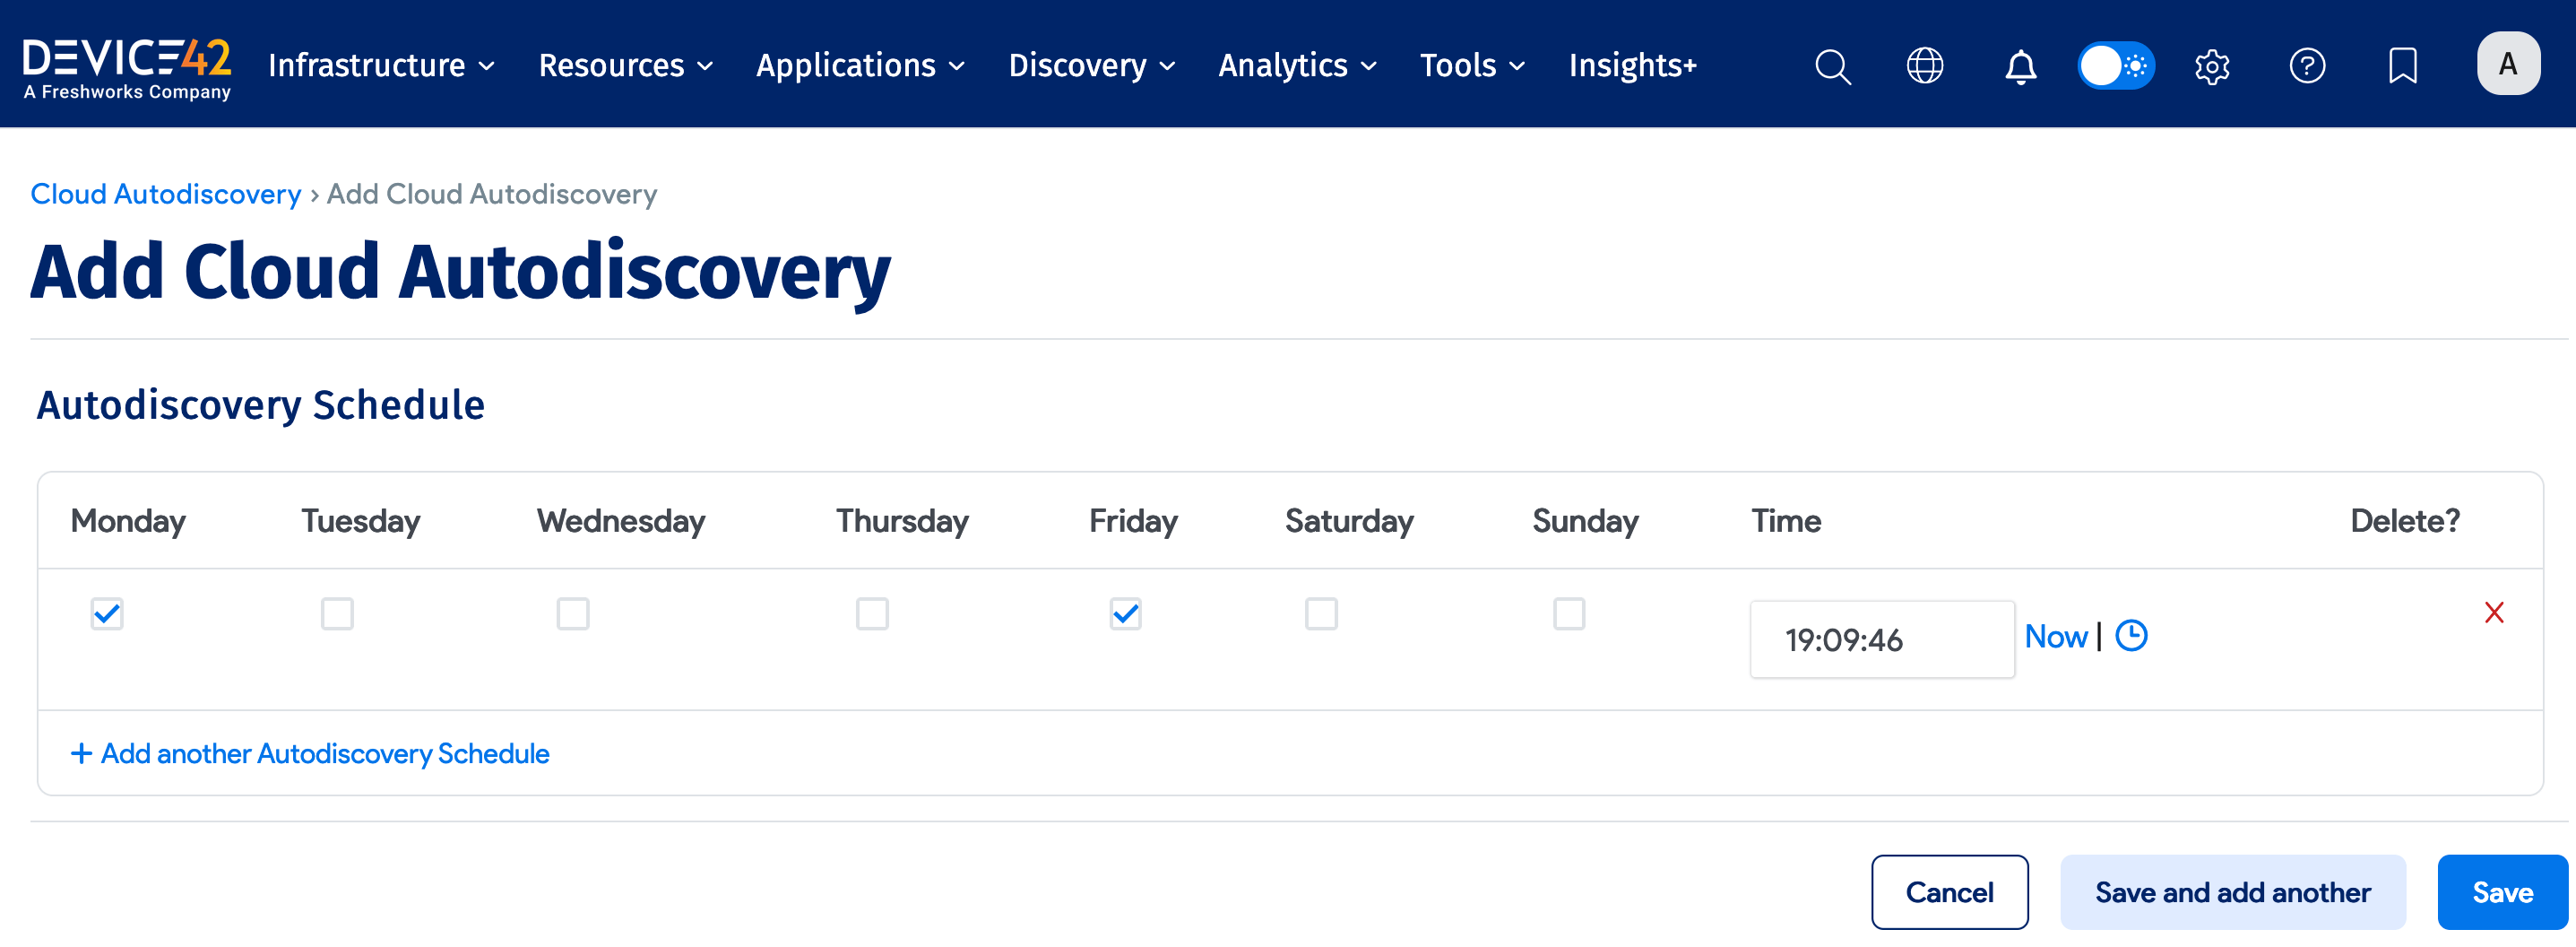
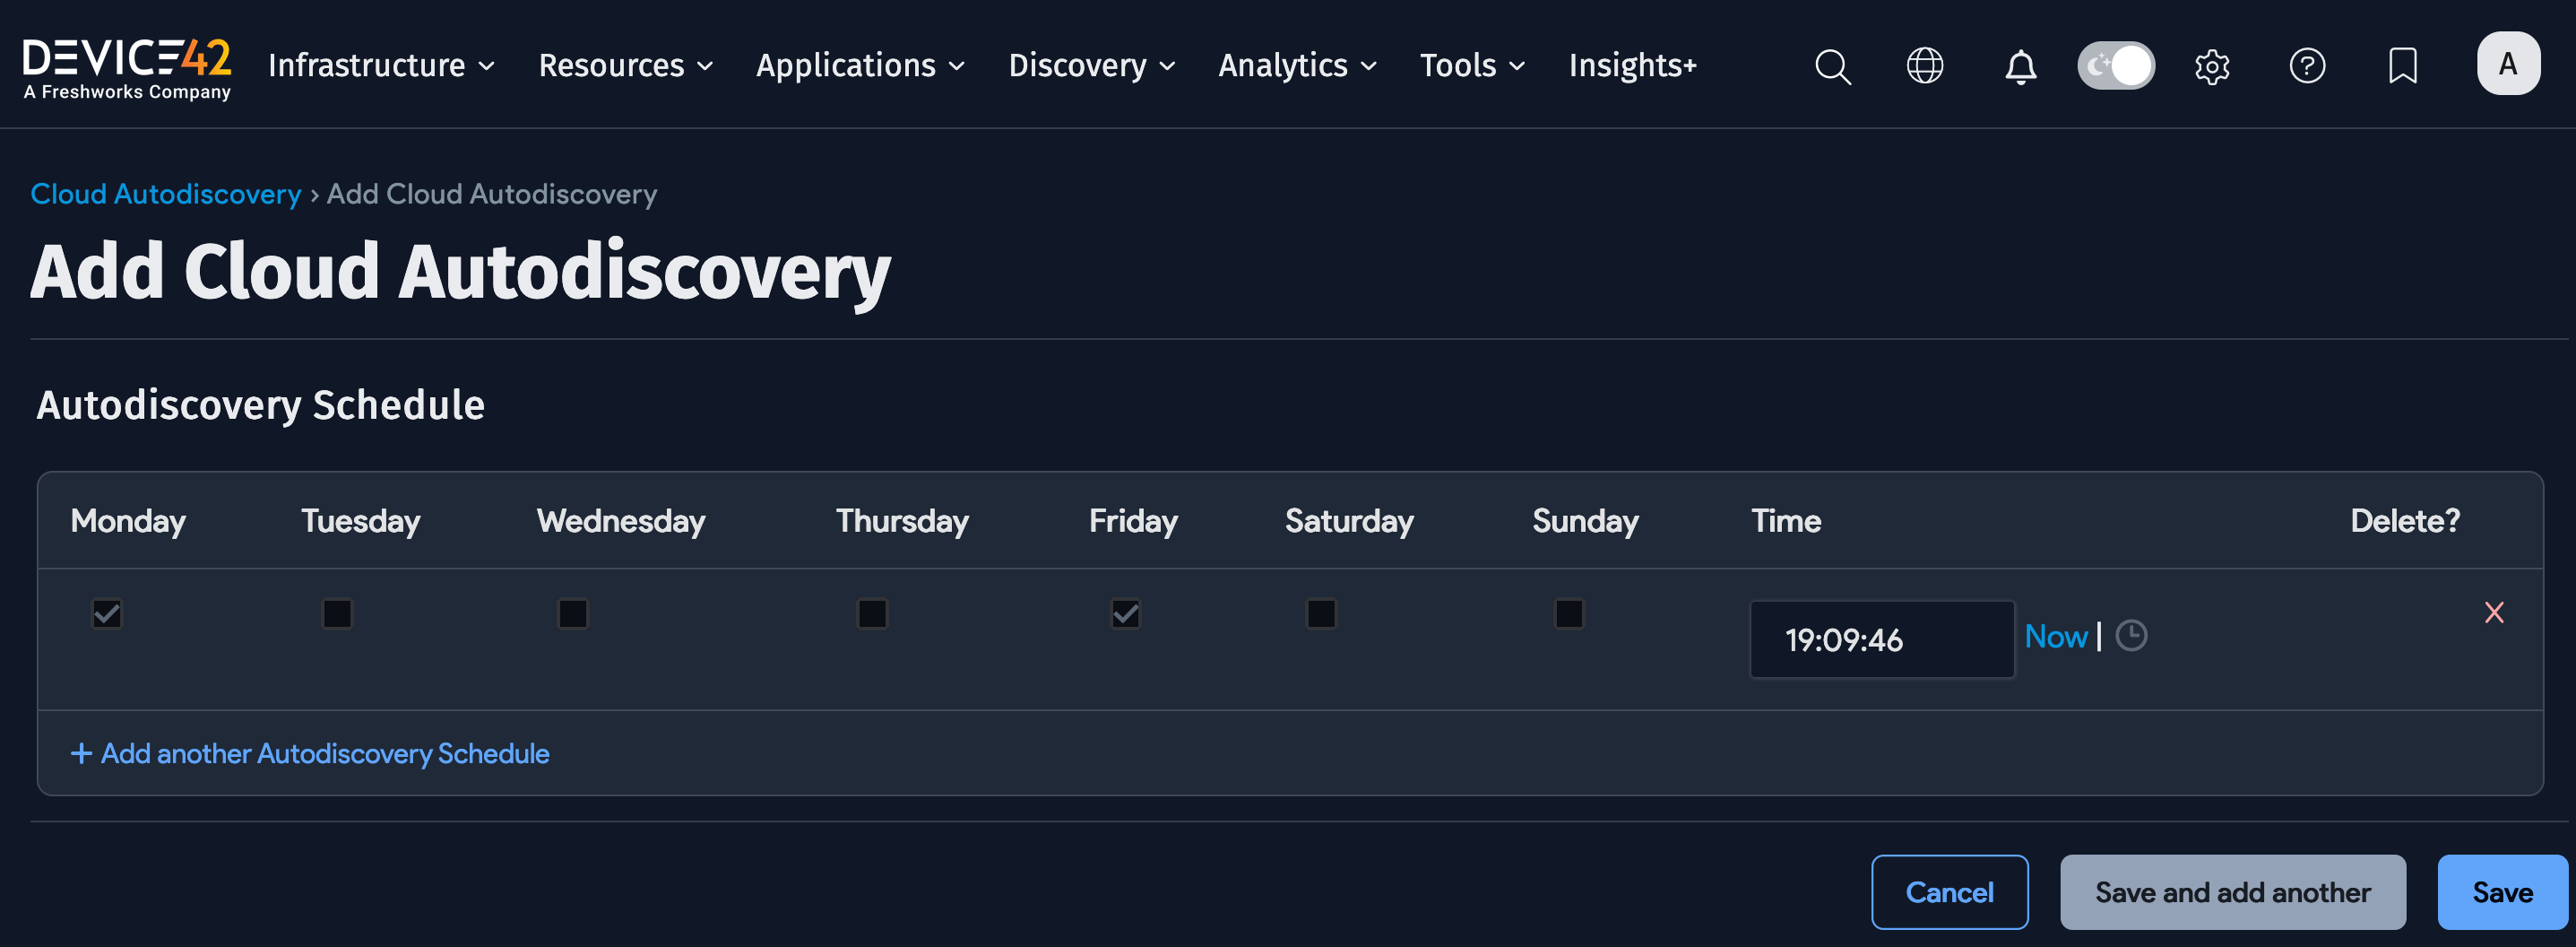
Schedule the Job
Scroll down to create a run schedule for the job. You can create multiple schedules with the + Add another Autodiscovery Schedule button located below the schedule options.
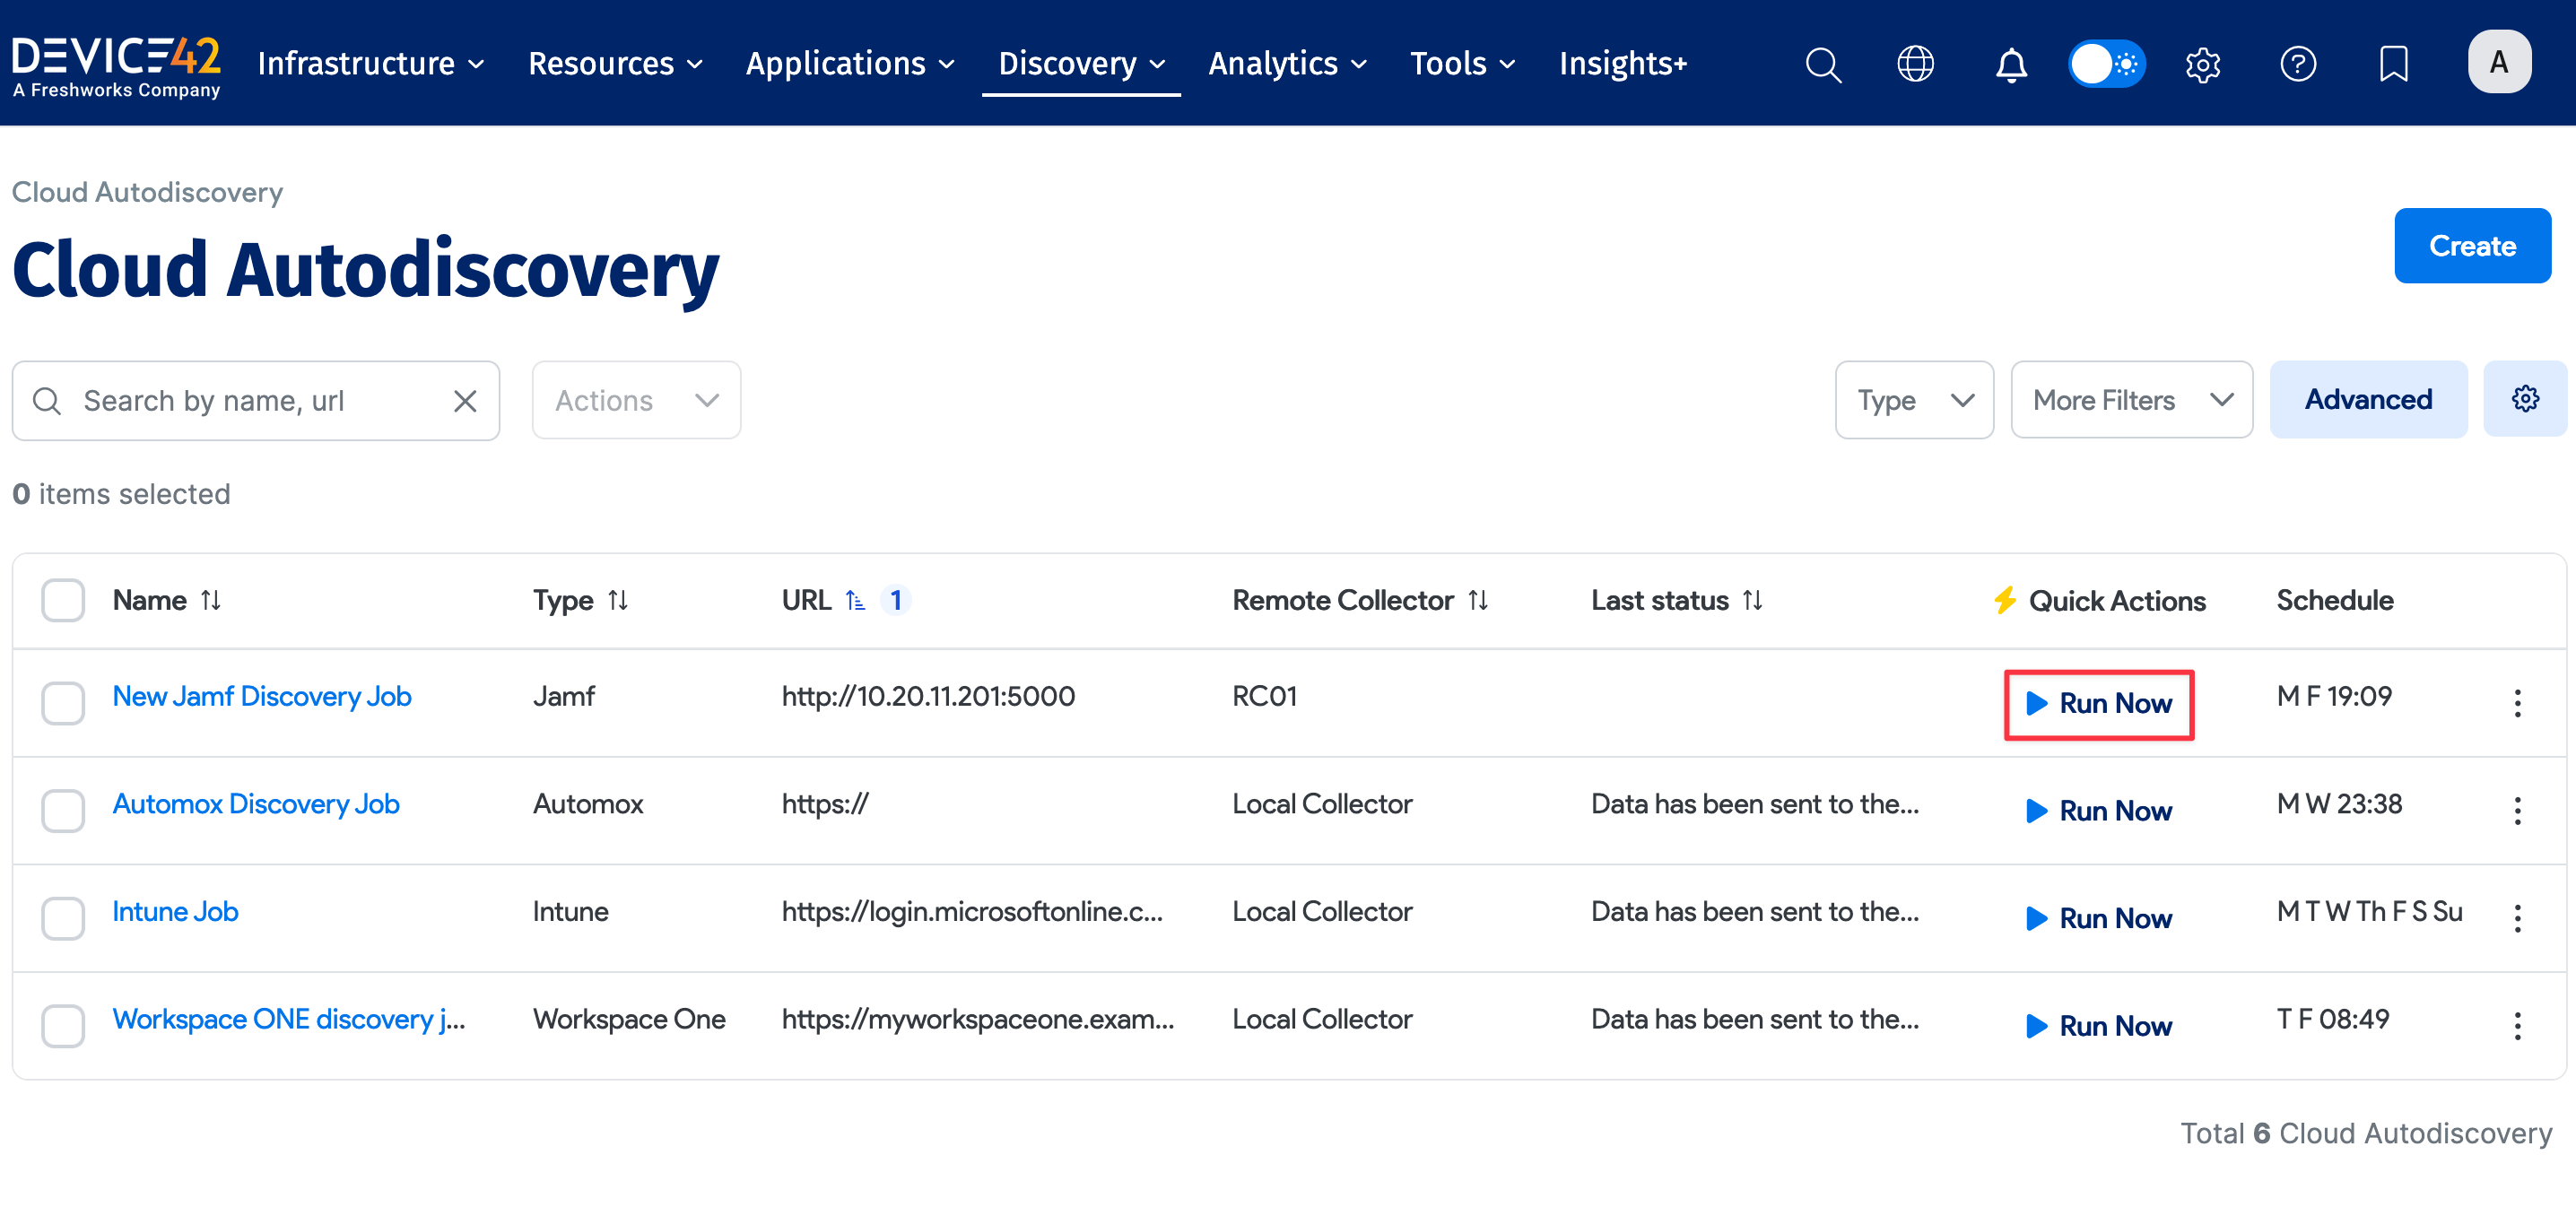
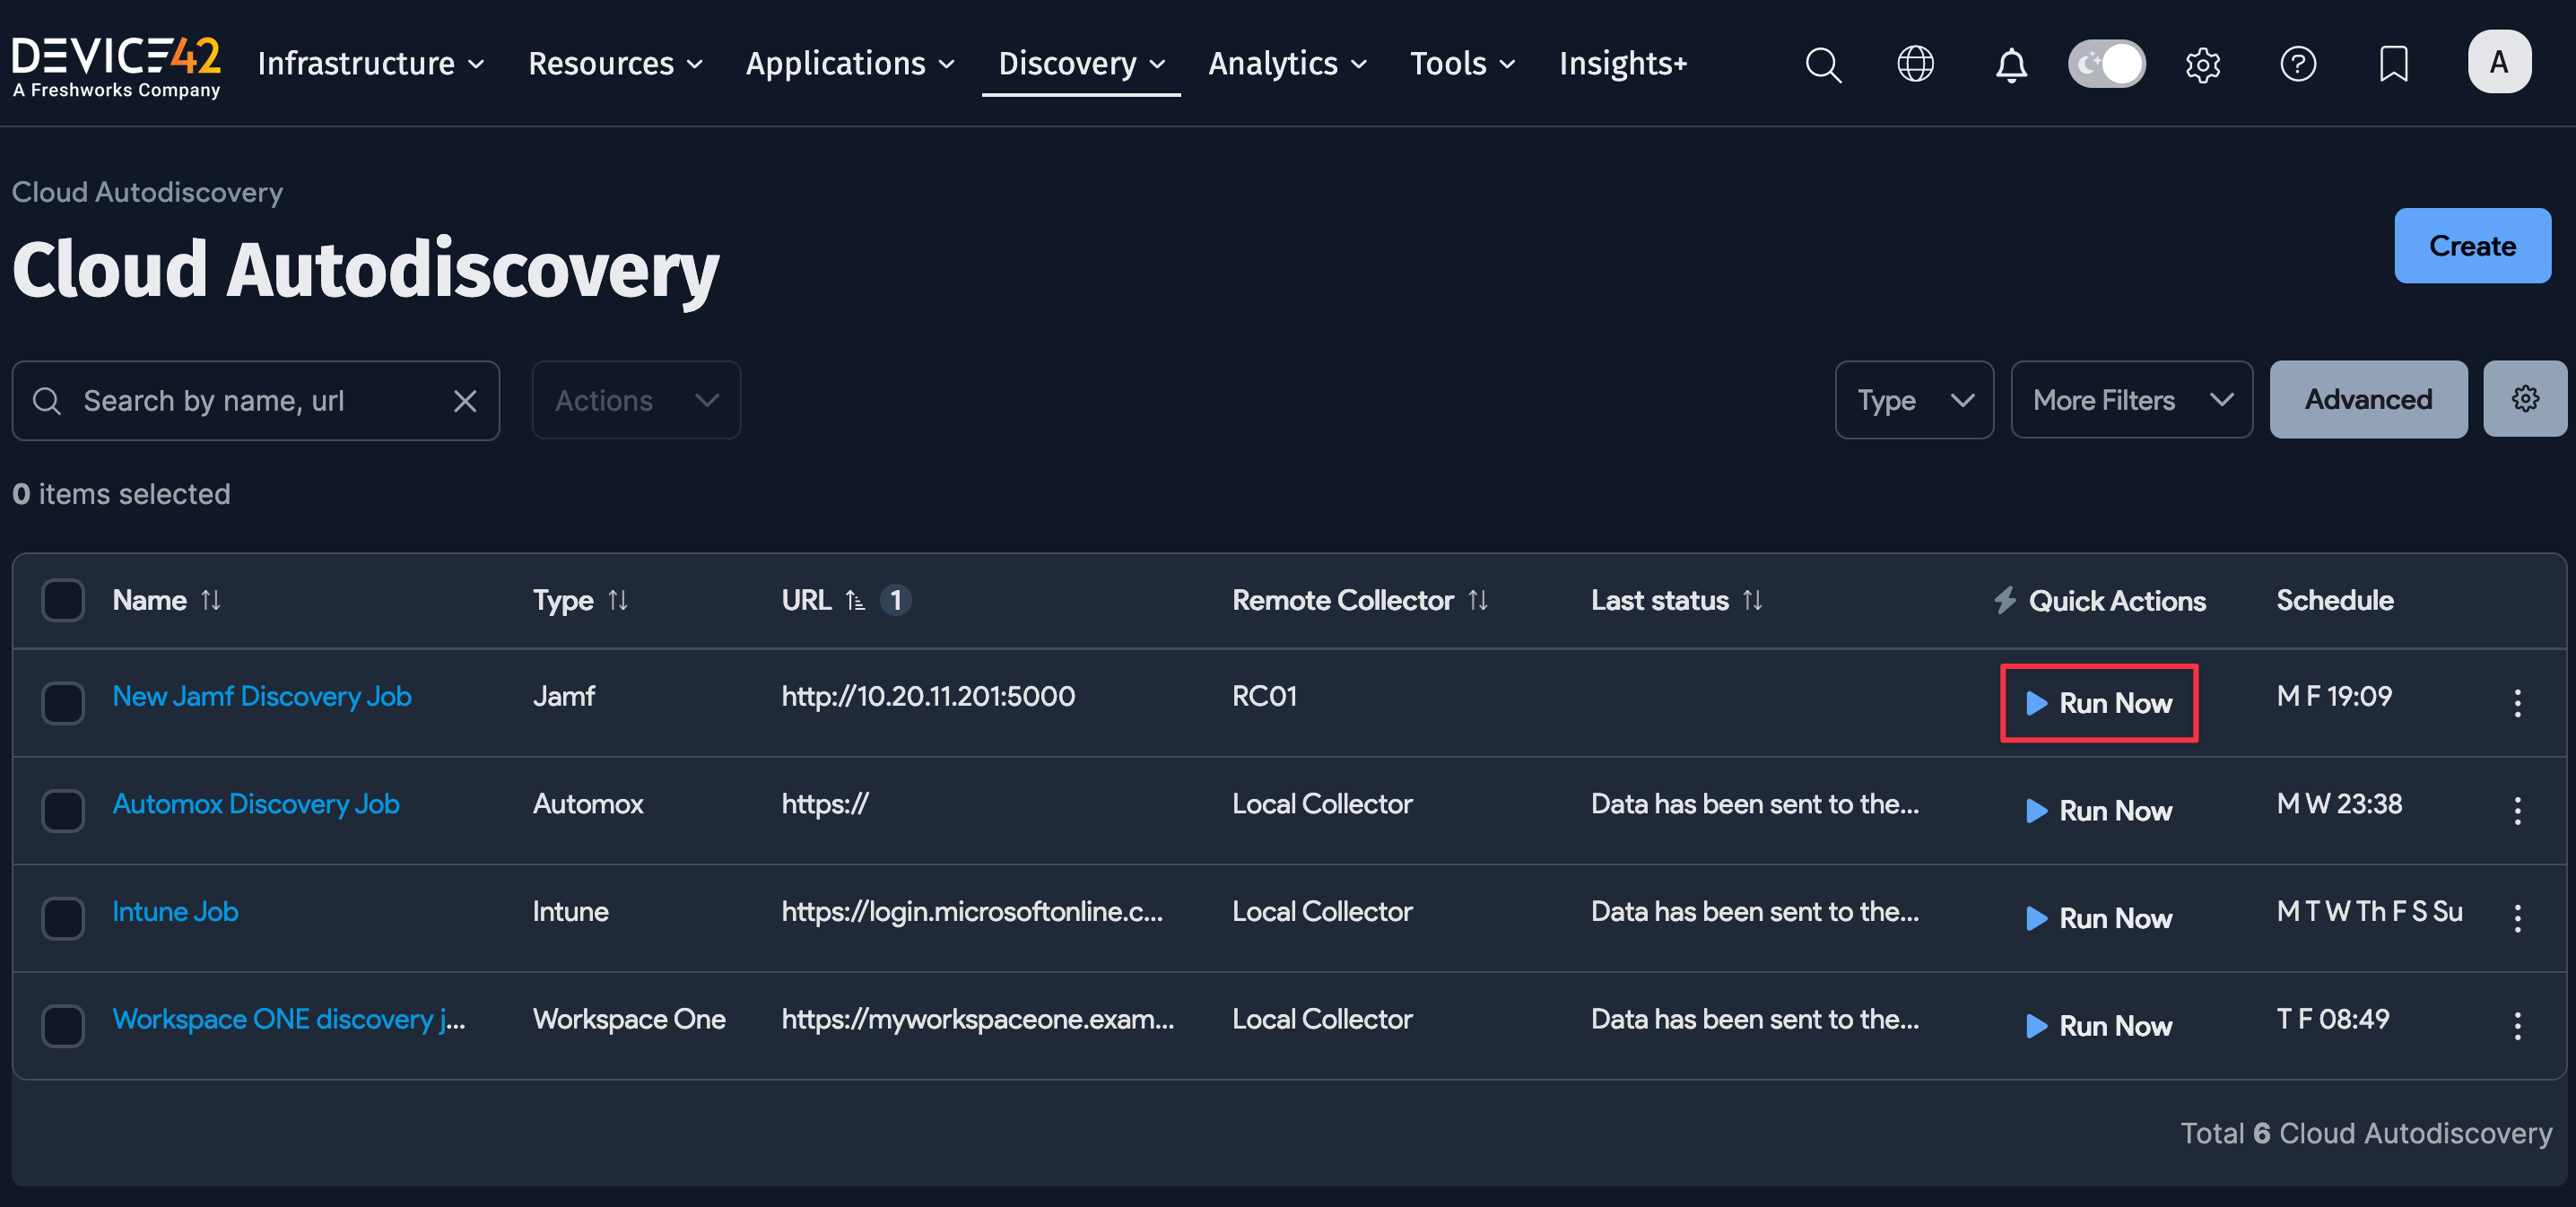
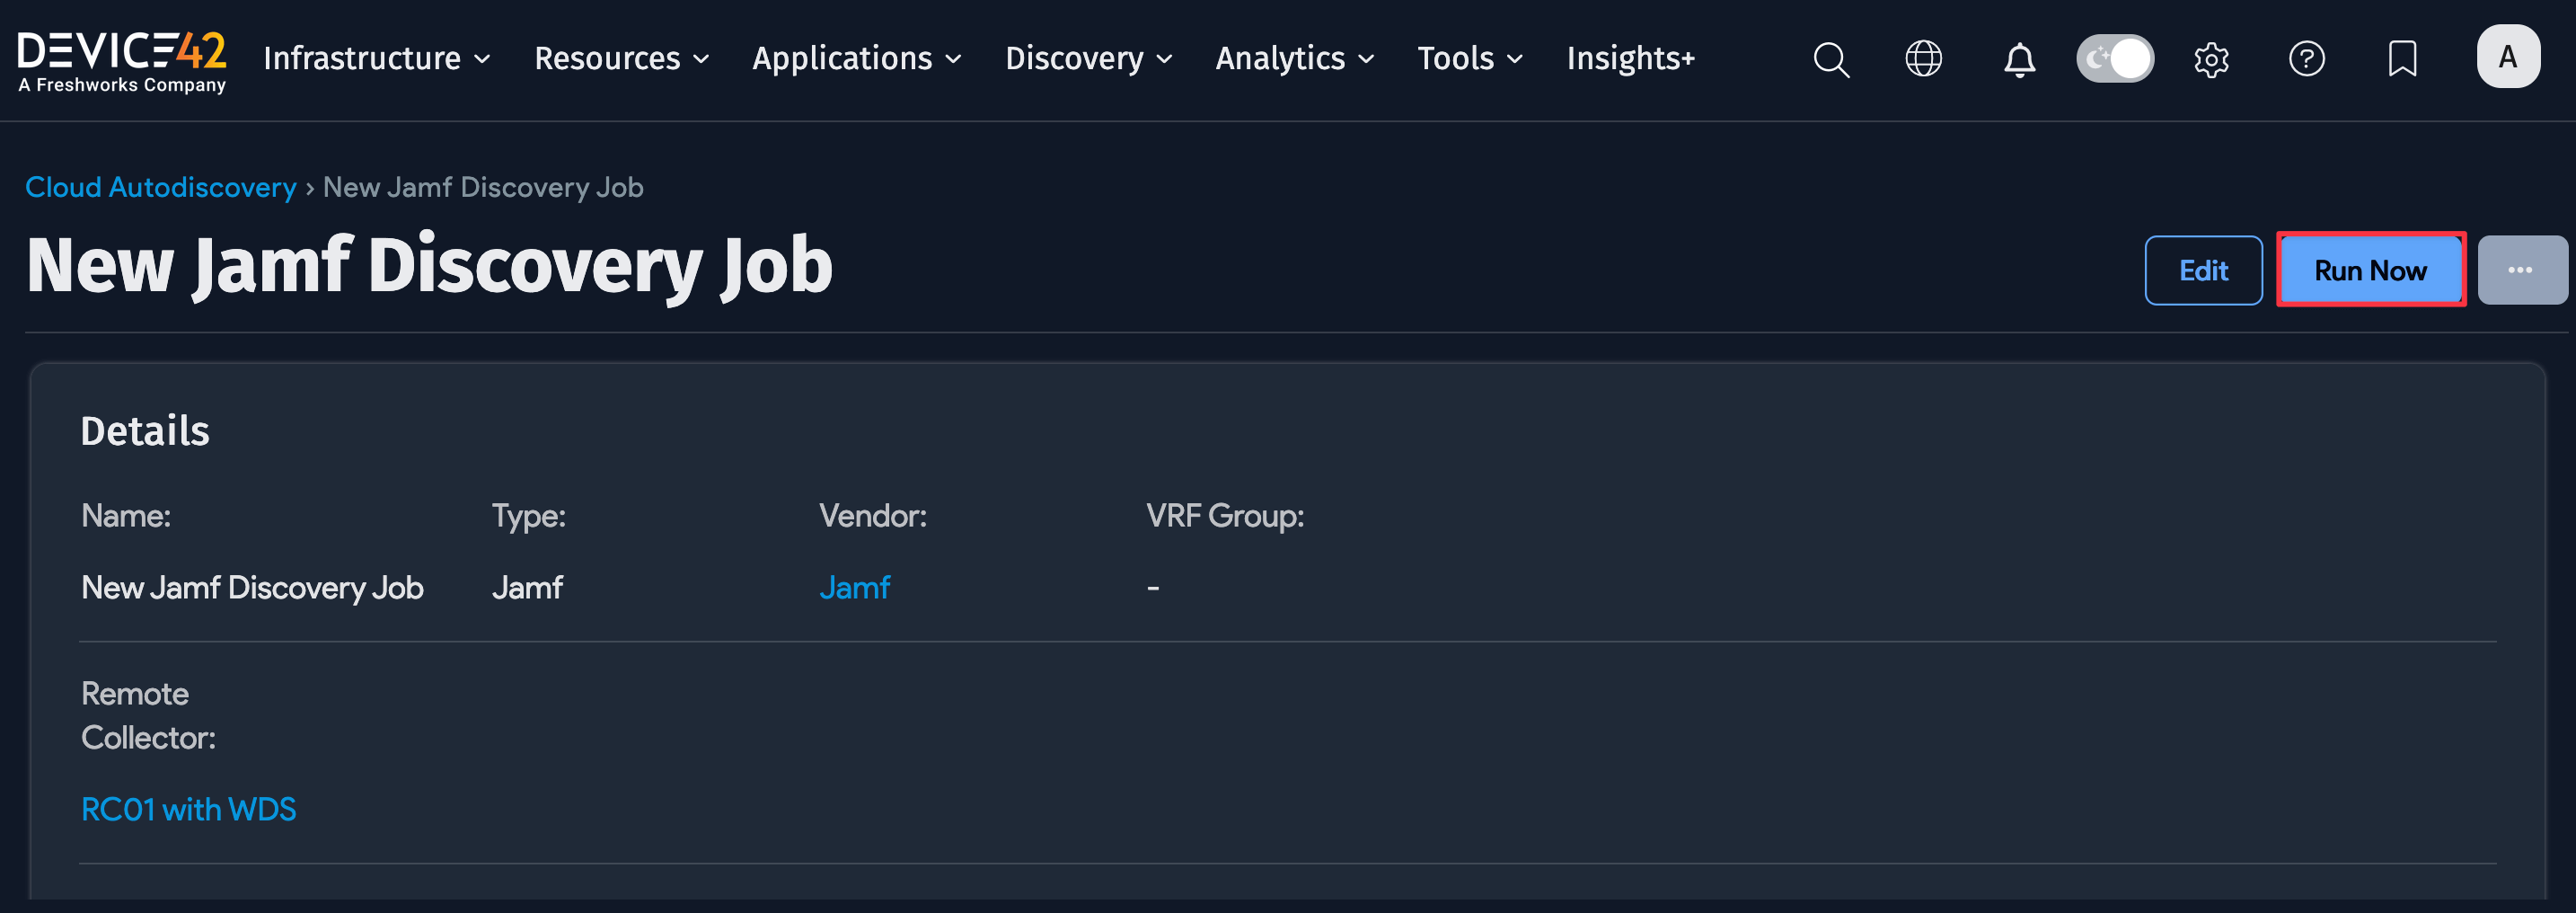
Run the Job Now
After saving the job, the details view page is displayed. Click the Run Now button to run the job immediately.
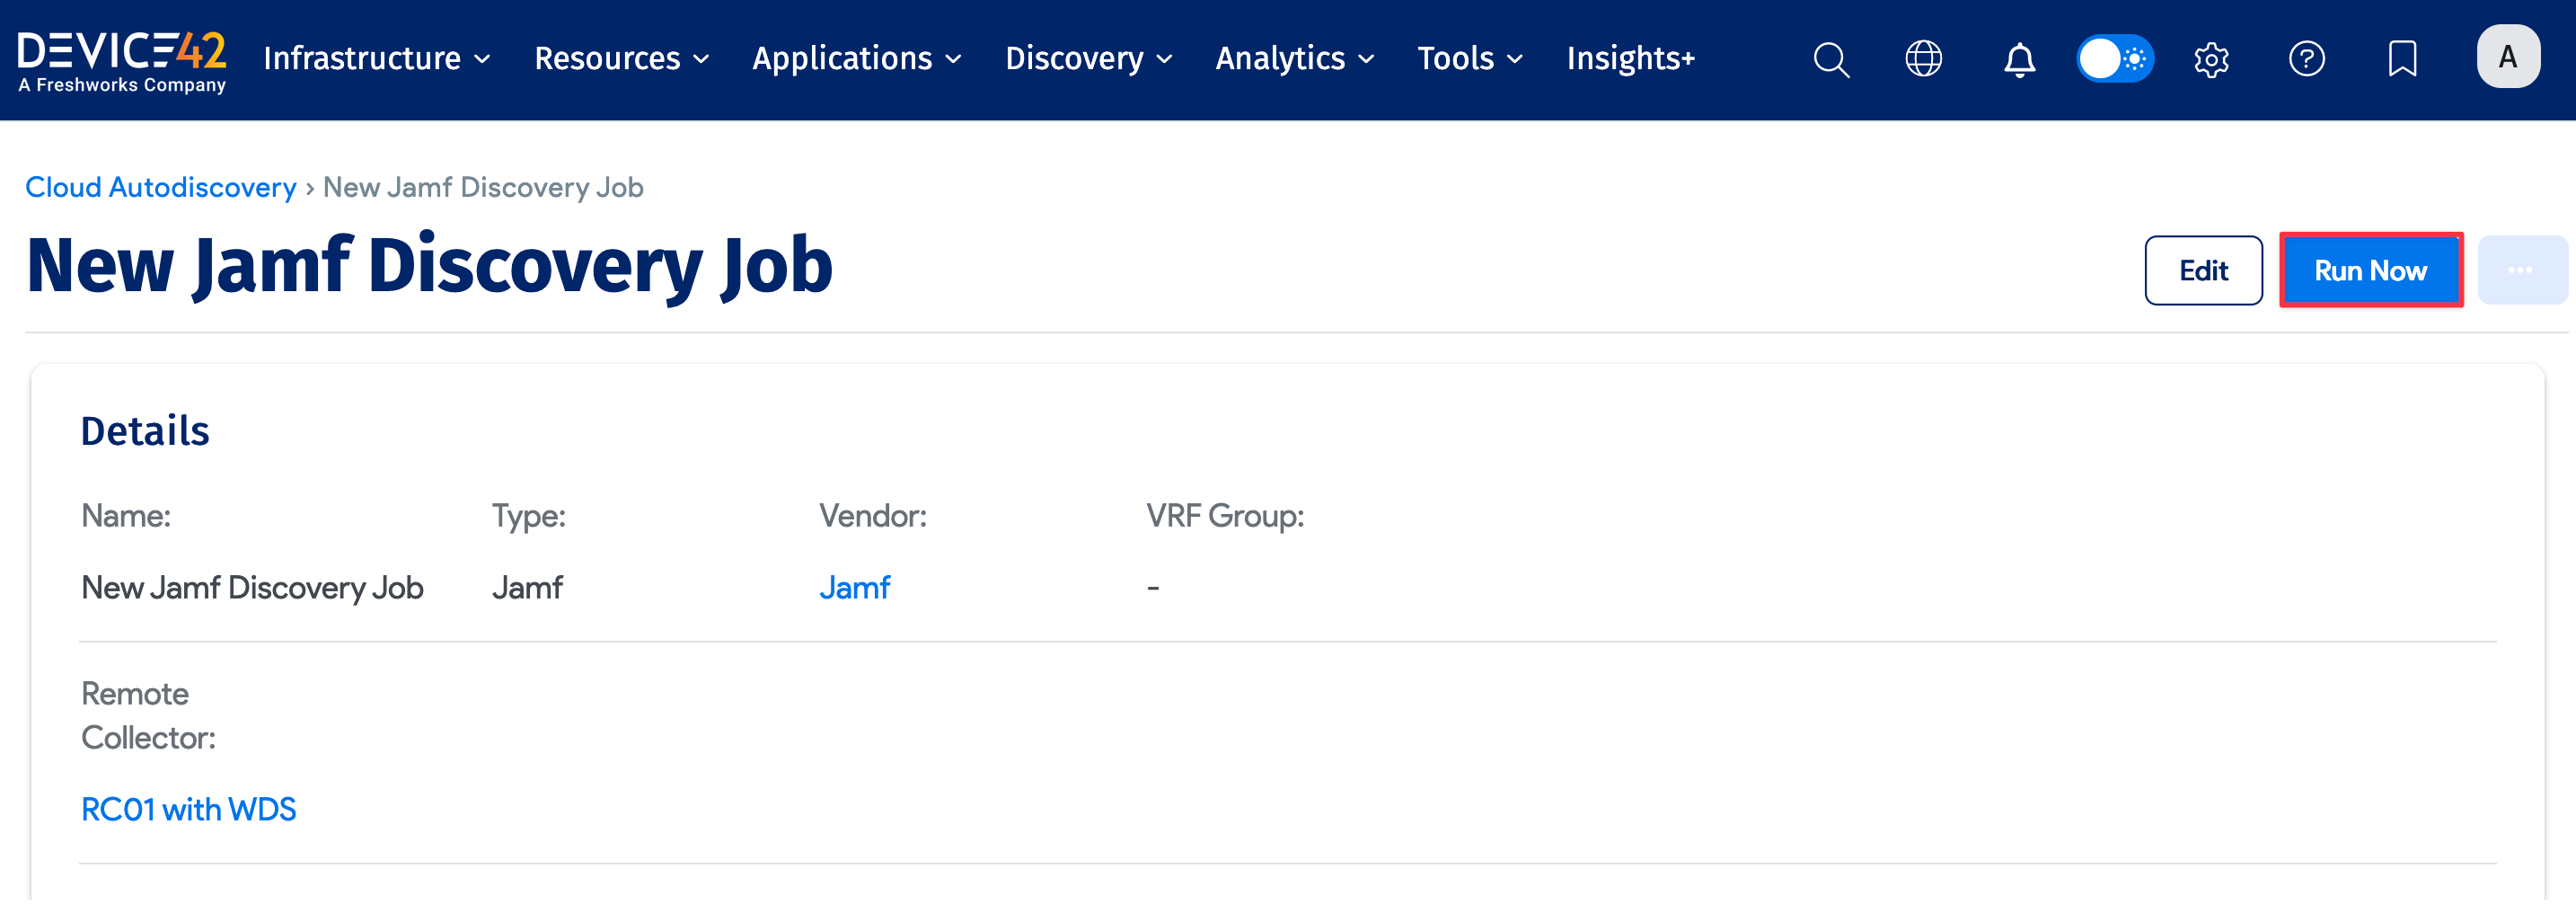
You can also run the job from the list view by clicking the Run Now button in the table.