Agent-Based Discovery
This page is for Device42 administrators who need to use agent-based discovery when their IT environment is unreachable from the network or security-hardened rules limit traffic flow.
Device42 offers optional auto-discovery agents across several supported platforms.
Use agentless discovery over agent-based discovery when possible. Both methods gather the same information, but the agent does not support Resource Utilization (RU) or database discovery.
To learn about using the agent for offline discovery, see Agent-Based Offline Discovery.
Supported Platforms
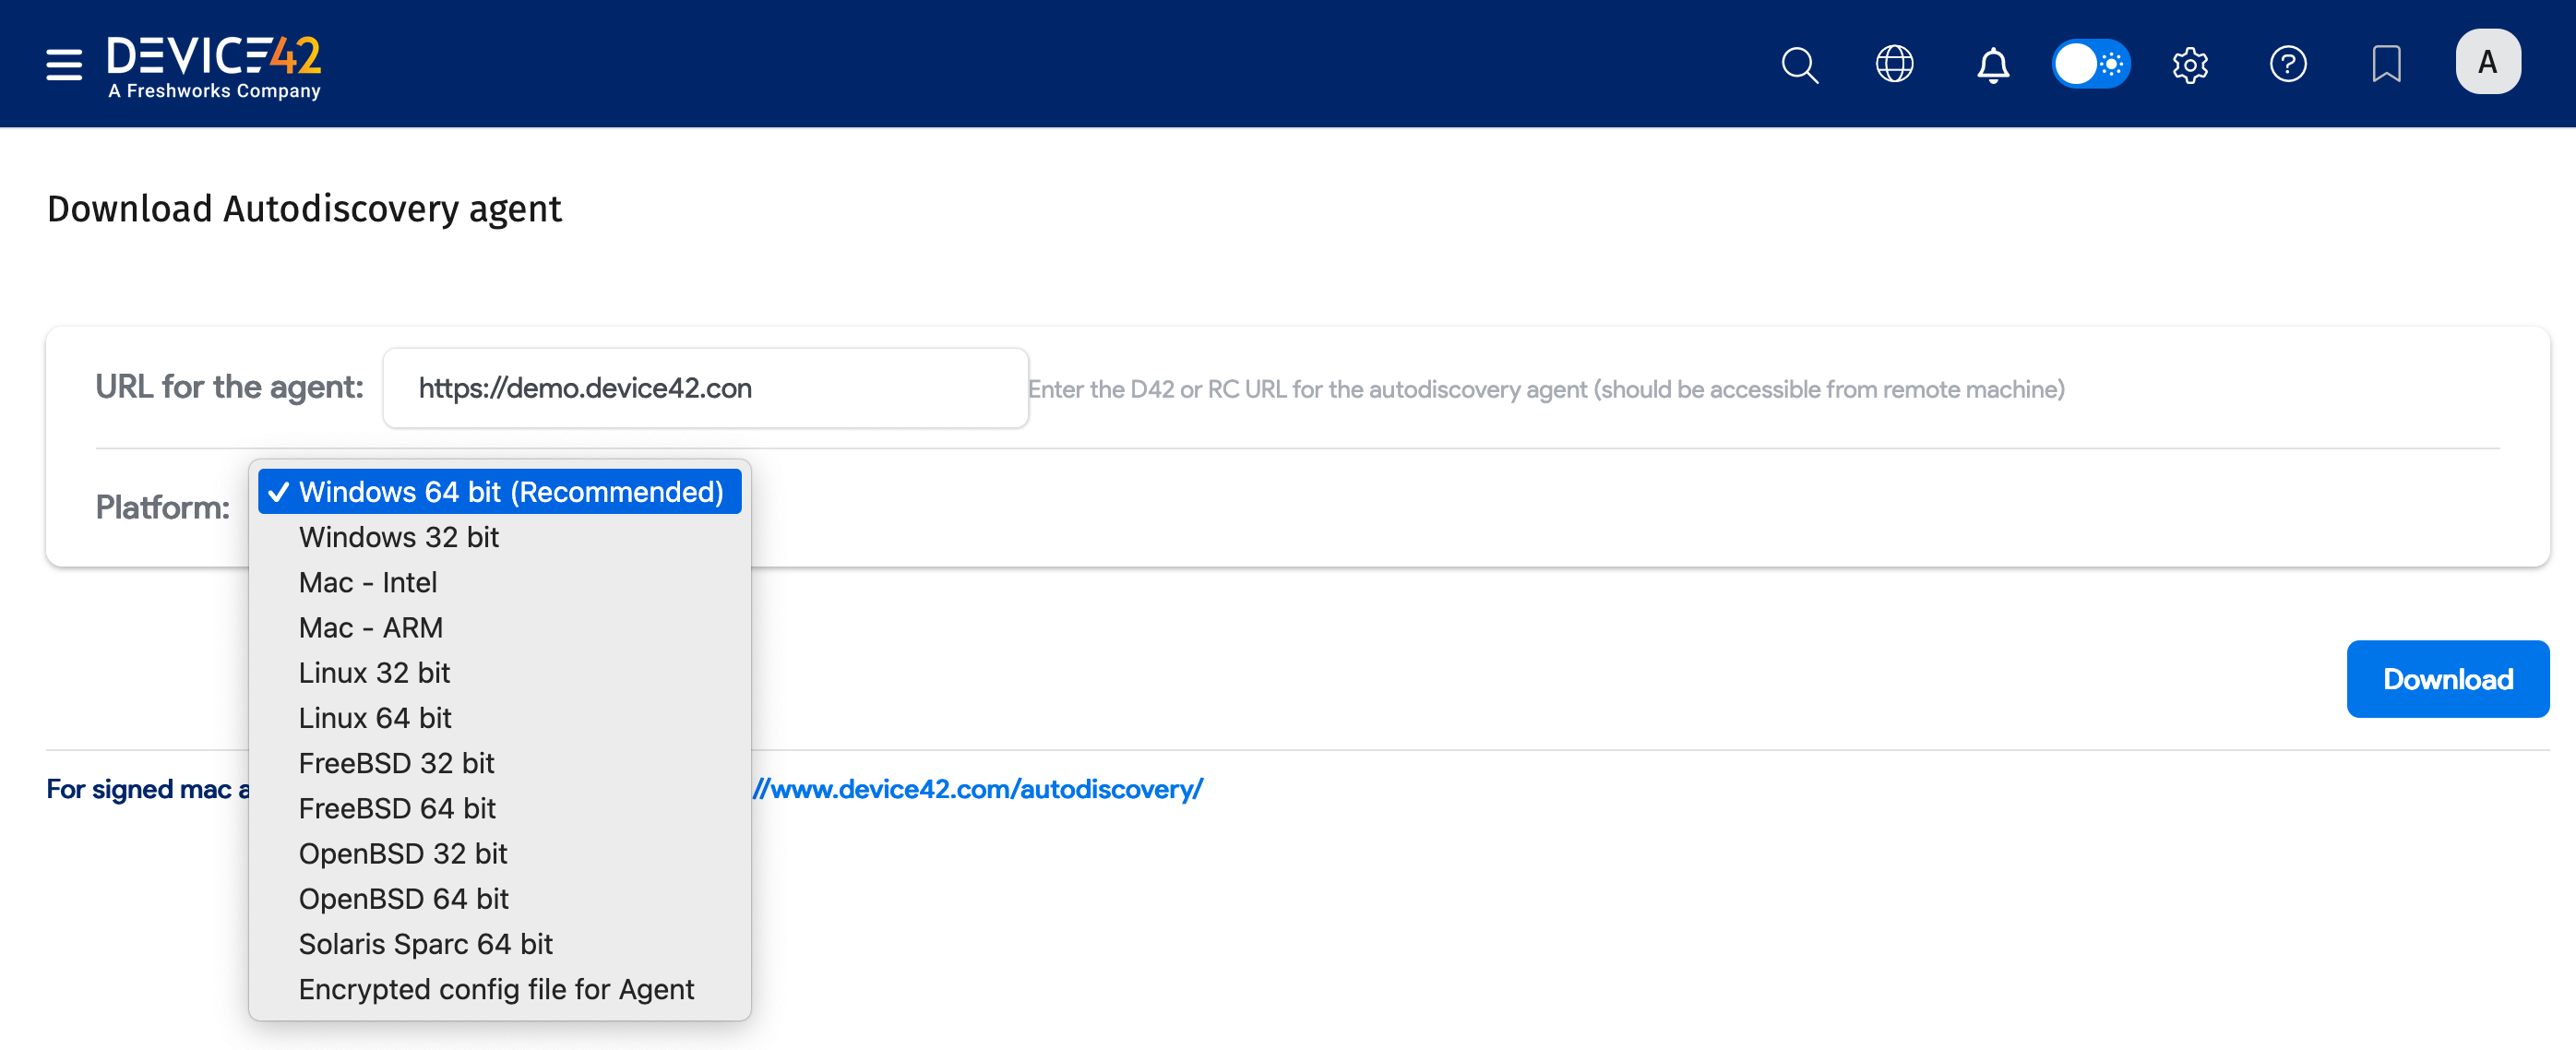
Device42 offers autodiscovery agents for the following platforms:
- Windows 64-bit (Recommended)
- Windows 32-bit
- Mac - Intel
- Mac - ARM
- Linux 32-bit
- Linux 64-bit
- FreeBSD 32-bit
- FreeBSD 64-bit
- OpenBSD 32-bit
- OpenBSD 64-bit
- Solaris Sparc 64-bit
- Encrypted config file for Agent
See Windows Discovery Agent Service Wrapper and Mac Agent Service Launcher for information on installing versions of the Windows and Mac discovery agent as a service.
Do not set up an autodiscovery scan using critical or production account credentials. Create a separate, dedicated account to use only for discovery.
Account lockout could occur depending on permissions and password policies, causing an otherwise avoidable outage.
Configure Proxy Environment Variables
Proxy settings are not required, but if you need the agents to access your network via a proxy, set the following environment variables:
- HTTP_PROXY: Define the HTTP proxy server.
- HTTPS_PROXY: Define the HTTPS proxy server.
- NO_PROXY: A comma-separated list of IP addresses that should not go through the proxy.
On Windows, click the Environmental Variables button in the System Properties window to set environment variables.
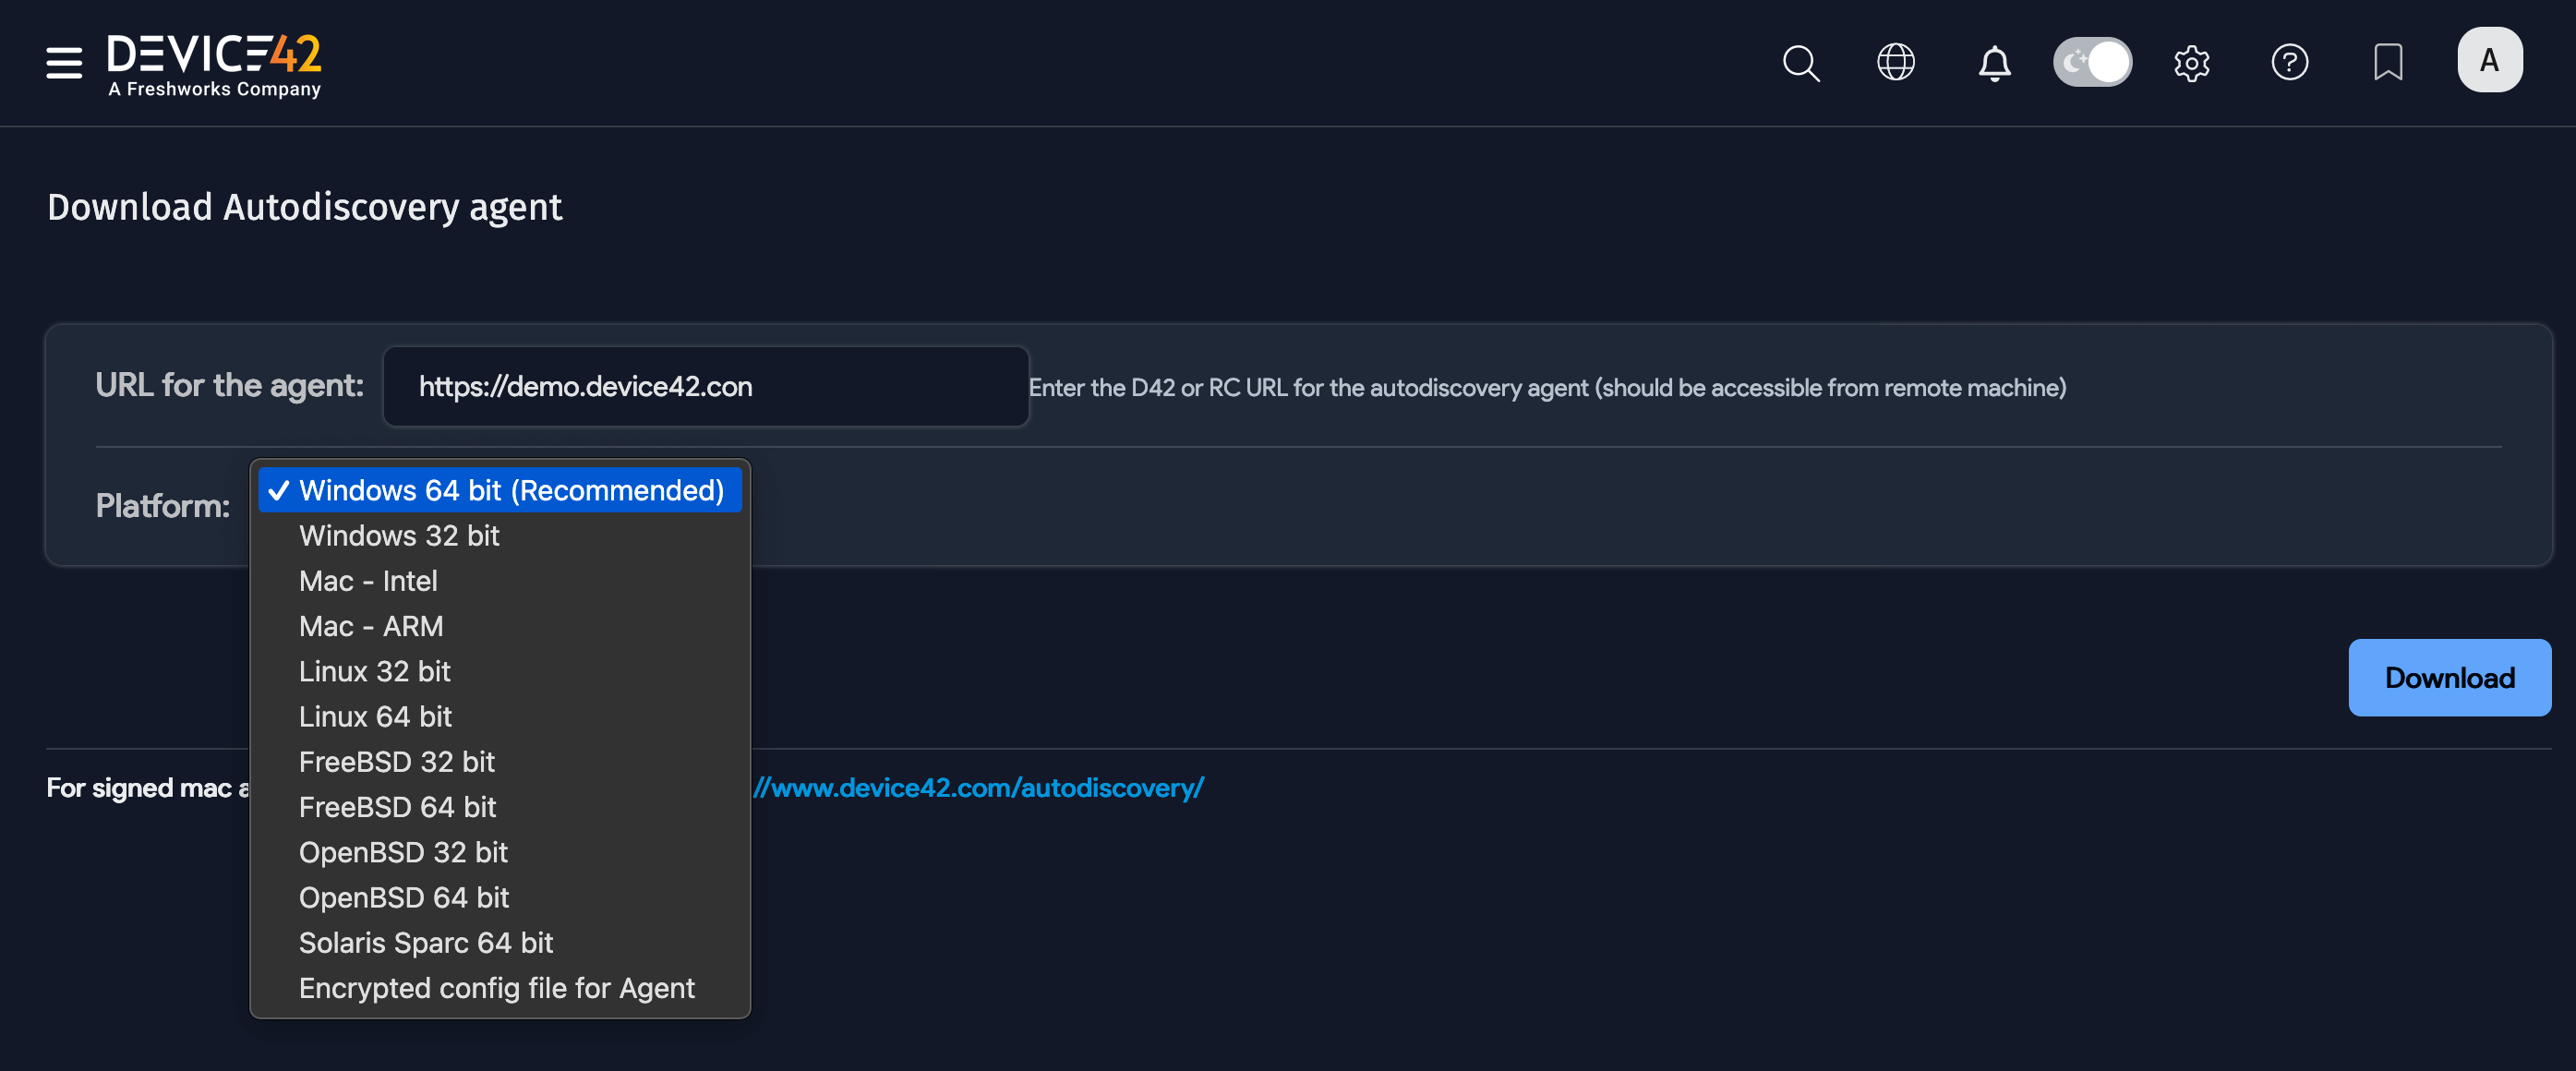
Install the Agent
Download the client from Discovery > Agent Based Scans. Enter the URL as it will be accessed by the agent from the remote machine, and choose your Platform from the dropdown: Windows, Mac, Linux, FreeBSD, and so on.
The agent can be run from the command line or can be scheduled using the relevant scheduling program per OS. When running the application, the following switches are available:
Click to expand the code block
  -capture-host-files
        capture hosts files
  -config-file string
        reads the config from an encrypted file (Only works for signed binaries. Ignored otherwise)
  -debug
        prints the data being sent and result of post operation
  -device-customer string
        default device customer
  -device-name-format int
        1 - hostname, 2 - hostname + domain, 3 - hostname and hostname+domain as alias, 4 - hostname+domain and hostname as alias (default 1)
  -device-object-category string
        default device object category
  -device-service-level string
        default device service level
  -device-tags string
        default device tags
  -discover-last-login
        discover last login
  -dry-run
        doesn't do a post, just prints the data to be sent
  -extended-logs
        enables extended logs
  -hostname-precedence
        sets device name as 'new name' to prevent creation of new device if only hostname was changed
  -ignore-domain
        ignore domain
  -ignore-ipv6
        ignore IPv6 addresses
  -ignore-local-ips string
        sets list of local IPs to ignore
  -ignore-local-ports string
        sets list of local ports to ignore
  -ignore-remote-ips string
        sets list of remote IPs to ignore
  -ignore-remote-ports string
        sets list of remote ports to ignore
  -ignore-subnets
        ignore subnets
  -ip-vrf-group string
        default IP VRF group
  -light-mode
        reduces CPU utilization by cost of discovery speed
  -new-device-object-category string
        new device object category
  -offline
        doesn't connect with Device42, just prints the encrypted data to be sent
  -prioritize-dns-name
        Prioritize DNS domain name
  -quiet
        disables all logs
  -service-ports-only
        returns only service ports data
  -skip-bios
        disables bios discovery
  -skip-cluster-info
        disables cluster info discovery (Windows only)
  -skip-cpu-info
        disables CPU info discovery
  -skip-database-info
        disables database discovery
  -skip-gpu-info
        disables GPU info discovery
  -skip-hardware-info
        disables hardware discovery
  -skip-hba
        disables HBA discovery
  -skip-hdd
        disables HDD discovery
  -skip-memory-info
        disables memory discovery
  -skip-mount-points
        disables mount points discovery
  -skip-network
        disables network discovery
  -skip-os-details
        disables OS discovery
  -skip-other-data
        disables other data
  -skip-parts
        disables parts discovery
  -skip-provider-unique-identifier
        disables instance unique identifier lookup
  -skip-serials
        disables serial numbers discovery
  -skip-service-ports
        disables service ports discovery
  -skip-services
        disables services discovery
  -skip-software
        disables software discovery
  -skip-tpm-info
        disables TPM info discovery
  -skip-virtual-machines
        disables VM discovery
  -software-initial-group string
        default software group
  -store-config-files
        store configuration files
  -sudo-password string
        sudo password used in some OSes (Mac, Linux) to get information about the system
  -use-global-ignore-software-file
        use global ignore software file
  -use-global-ignore-software-pattern-file
        use global ignore software pattern file
  -use-provider-token
        use generated token to get instance info
  -version
        print version number and exit
Schedule the Agent With Crontab on Linux
For best results, run the command with sudo. Make sure that /home/system_dev42/bin/d42agent is owned by root with -rwx--- (0700) permissions. This prevents the non-root user system_dev42 from overwriting the agent or adding it to root’s crontab (or cron.daily/hourly) while allowing root to execute it.
Use a Limited Account
The Linux agent runs as root by default. However, you can configure the agent to run with a limited, non-root account.
-
Create a limited account:
-
Create a new Linux account (for example,
d42_limited) without root access. -
Disable login access to ensure the account cannot be used for remote shell access. Use the following command:
sudo useradd -r -s /usr/sbin/nologin d42_limited
-
-
Grant sudo permissions for required commands:
-
Assign the account permission to run the commands required by the discovery agent. Edit the
/etc/sudoersfile usingvisudo:sudo visudo -
Add the following entry to grant
d42_limitedaccess to specific commands:d42_limited ALL=(ALL) NOPASSWD: /usr/sbin/arp, /bin/cat, /sbin/ifconfig, /usr/bin/curl, /usr/bin/wget, /bin/ls, /usr/sbin/dmidecode, /usr/bin/lsof, /usr/bin/ps, /usr/bin/python3, /bin/uname, /usr/bin/systemctl, /sbin/ip, /usr/bin/df, /usr/bin/free, /usr/bin/mount, /usr/sbin/iptablesRead the Commands Required by the Discovery Agent section to see the full list of commands required by the agent.
-
-
Configure the file ownership and permissions:
-
Make sure that the
d42agentbinary is still owned byrootand has restricted permissions:sudo chown root:root /home/system_dev42/bin/d42agent
sudo chmod 0700 /home/system_dev42/bin/d42agent
-
-
Run the agent with the limited account:
-
Use
sudoto execute the agent with the limited account:sudo -u d42_limited /home/system_dev42/bin/d42agent
-
Required Agent Commands
Click to expand the code block
  arp
  cat
  chkconfig
  crontab
  curl
  df
  dmesg
  dmidecode
  docker
  dpkg
  fdisk
  find
  format
  getconf
  grep
  hdparm
  hostname
  ifconfig
  ip
  iptables
  lsof
  lsblk
  lspci
  mount
  netstat
  ps
  python3
  rpm
  service
  systemctl
  uname
  wget
Ensure the limited account can execute all these commands through sudo without requiring a password.
Here's a shell script that can be used to check whether the limited account has access to the commands:
Click to expand the code block
  #!/bin/bash

  # List of commands required by the discovery agent
  commands=(
      arp
      cat
      chkconfig
      ...
      # Add the rest of the commands from the list above
  )

  # Check if the limited account has access to all the required commands
  for command in "${commands[@]}"; do
      sudo -u d42_limited command -v $command > /dev/null 2>&1
      if [ $? -ne 0 ]; then
          echo "Command $command not found or not executable by d42_limited"
      fi
  done
You can run this script to verify that the limited account has access to all the required commands.
Run the Agent on Linux and Mac
After downloading the agent, make it executable by running the command chmod +x <agentname> and use sudo for best results. Use the command --sudo-password="password" to pass in the password.
You may experience an issue with opening the application on your Mac. If so, please use the following Apple support link to open a Mac app from an unidentified developer.
Schedule the Agent on Windows
After downloading the agent, use the Windows Task Scheduler to schedule the executable file (*.exe) to run at the intervals you define.
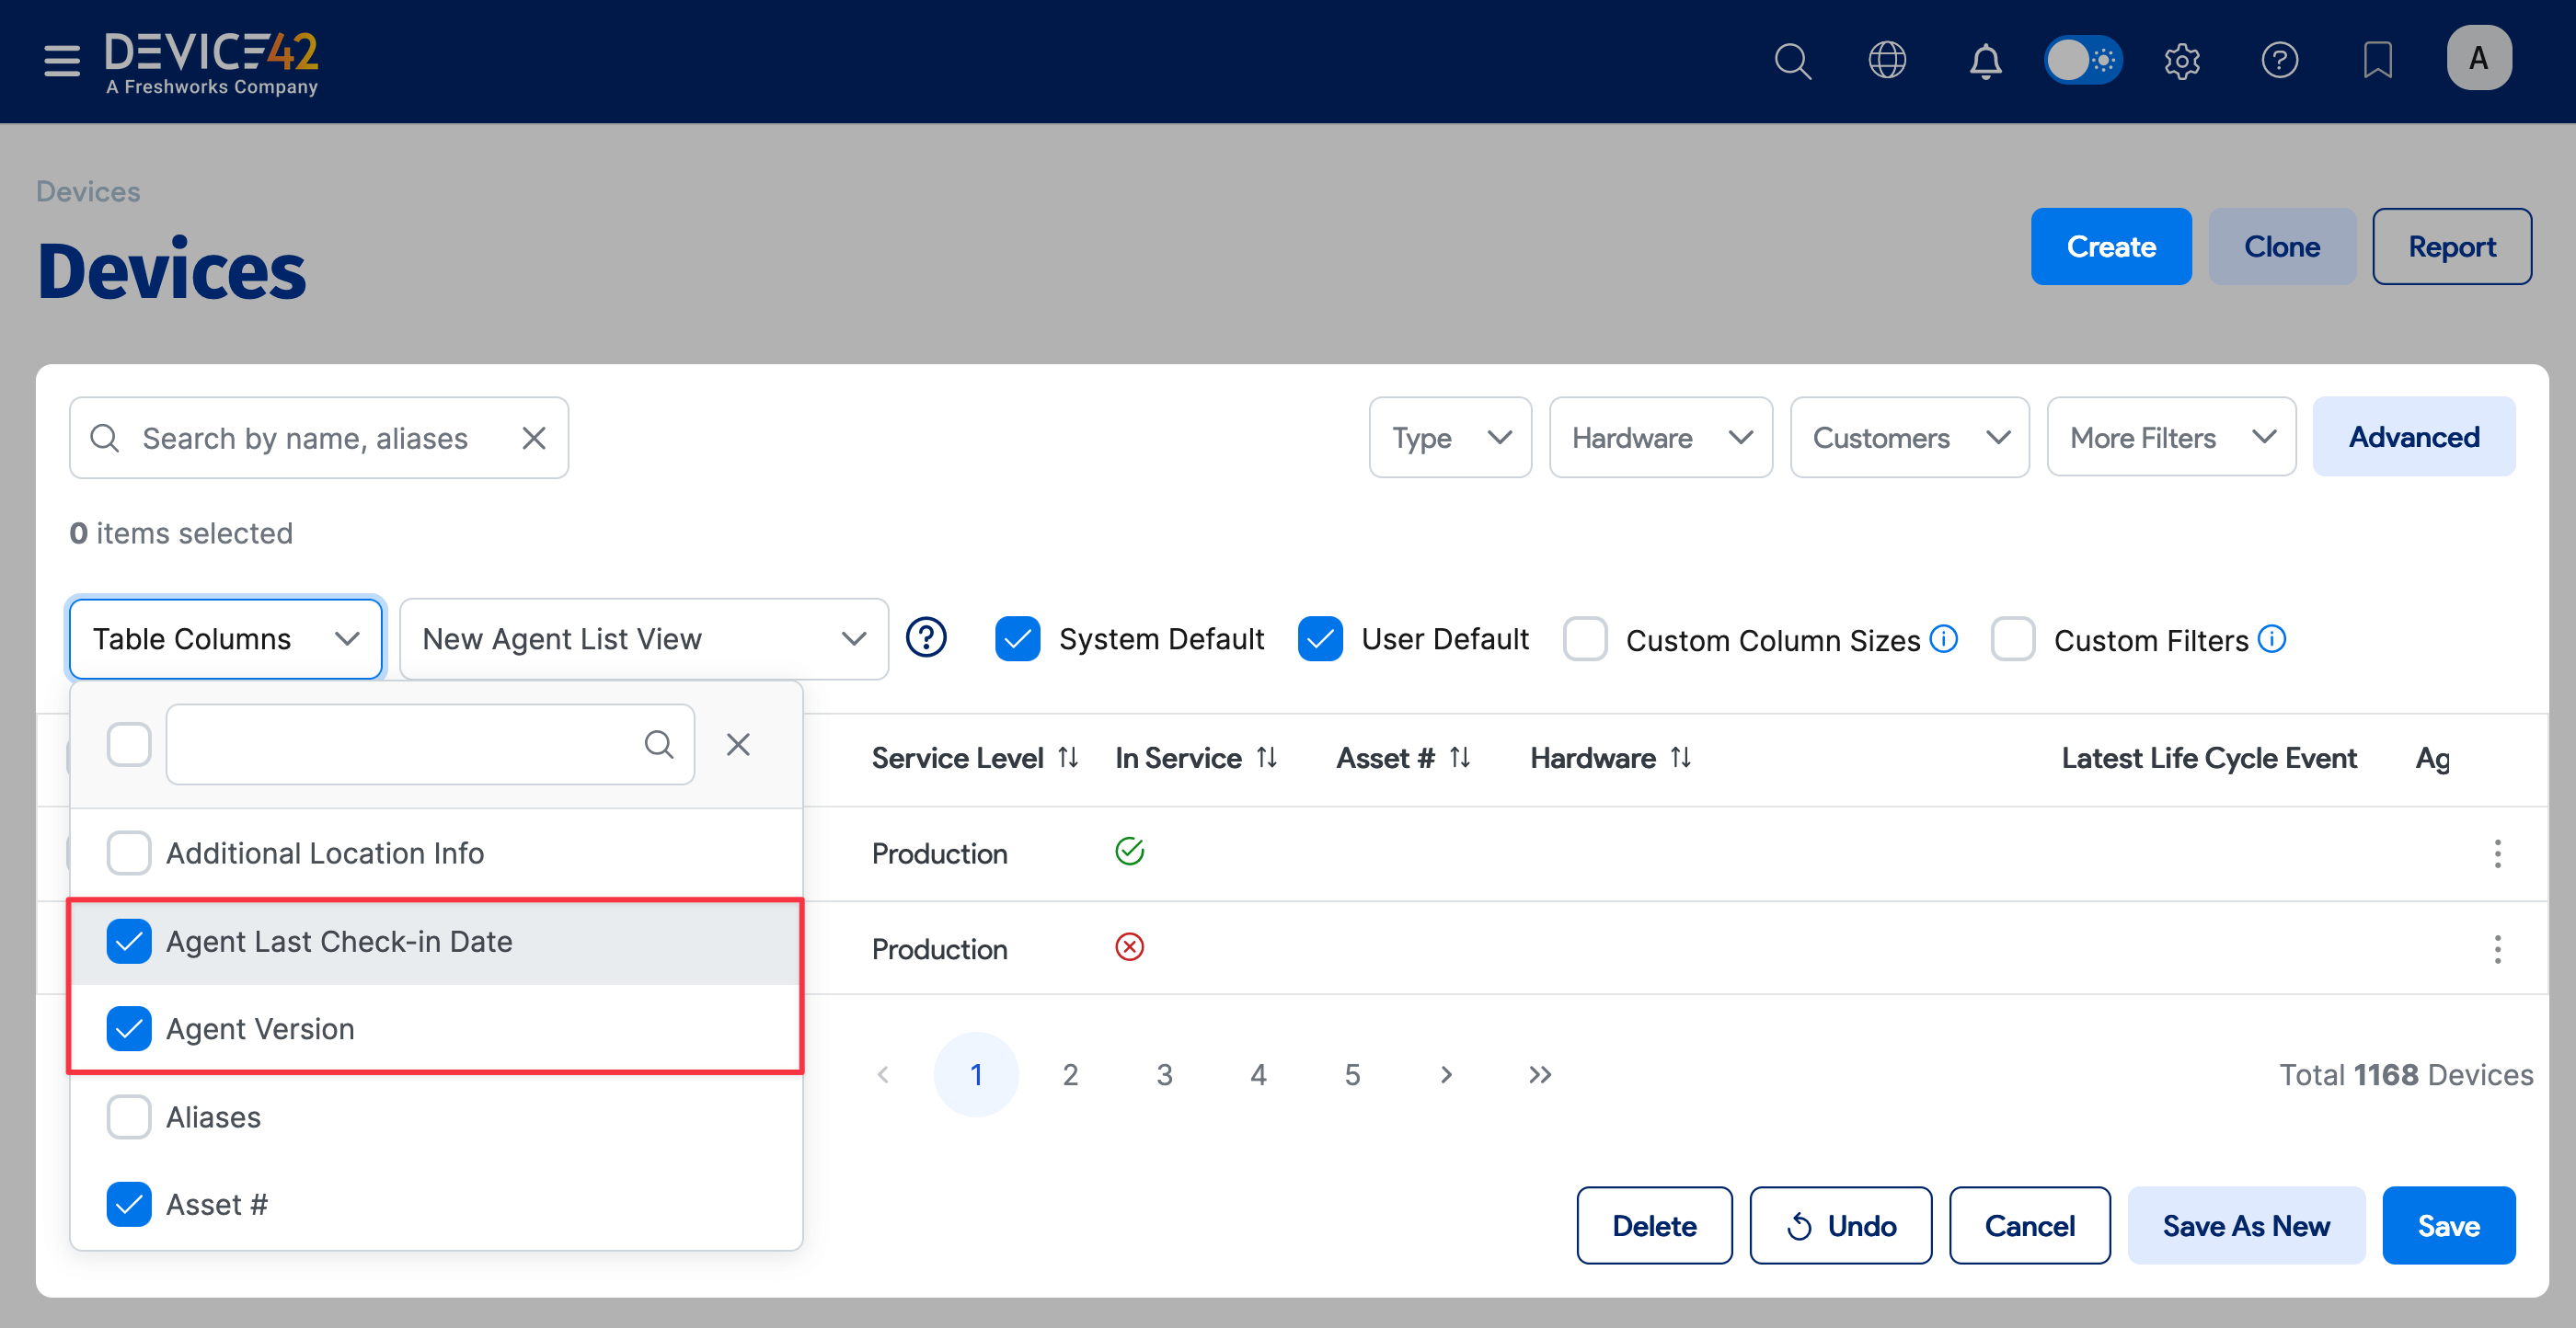
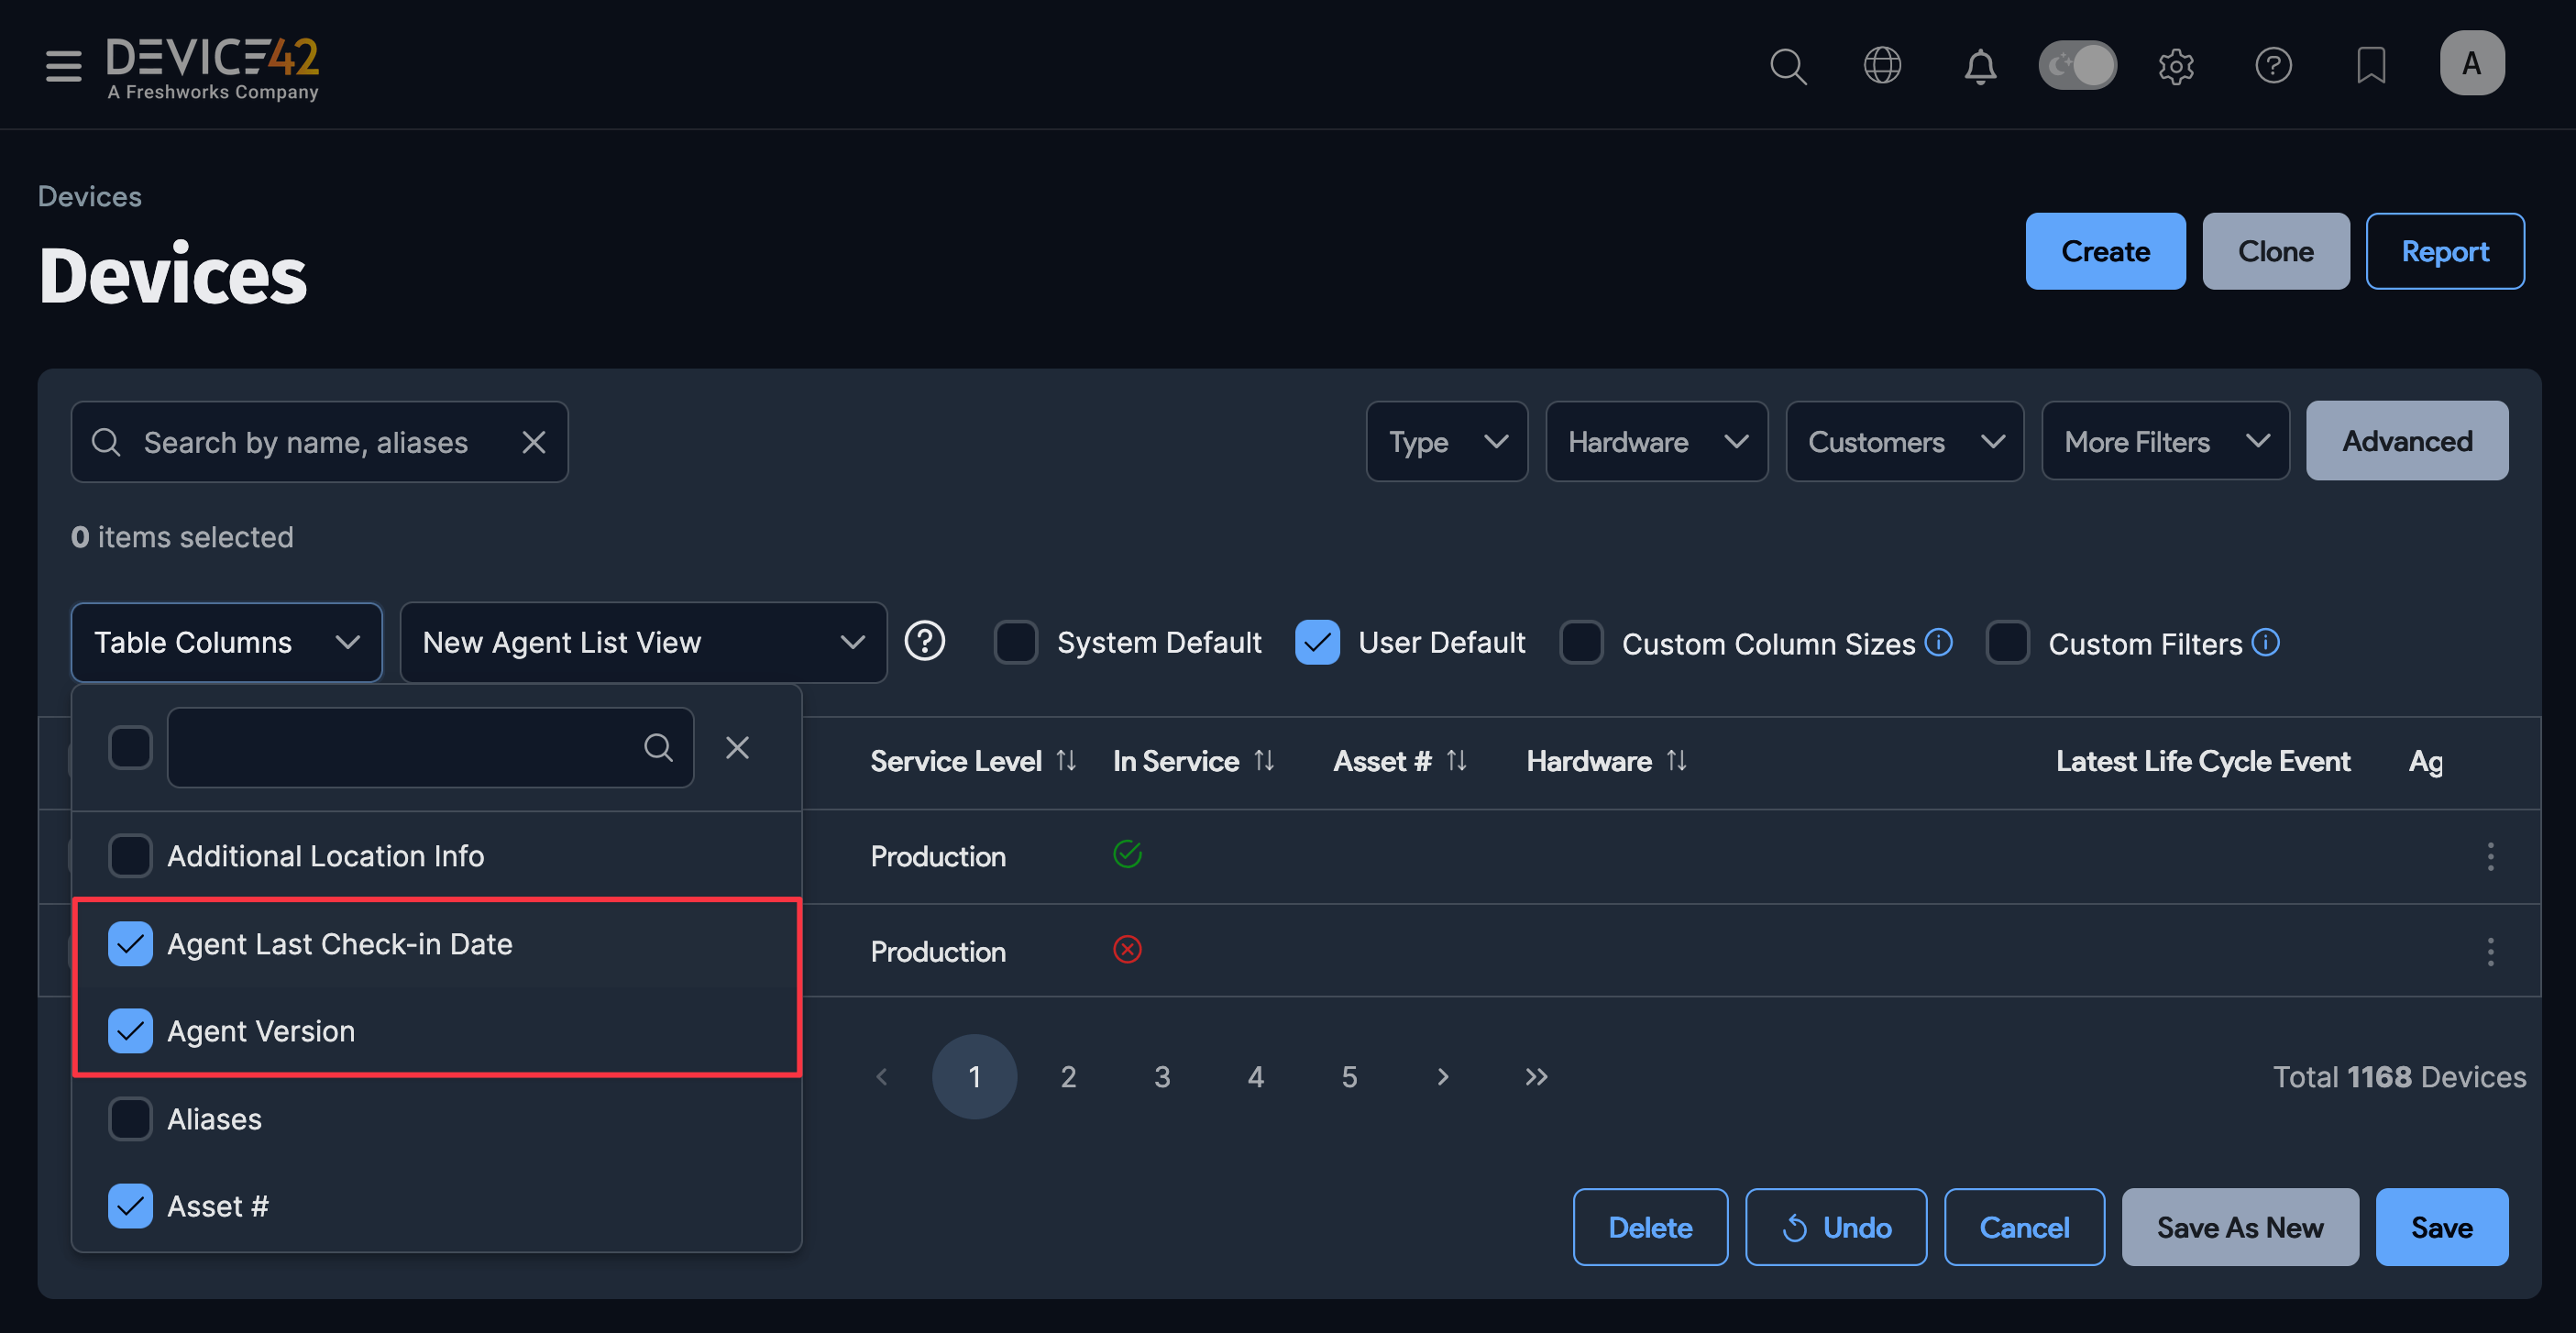
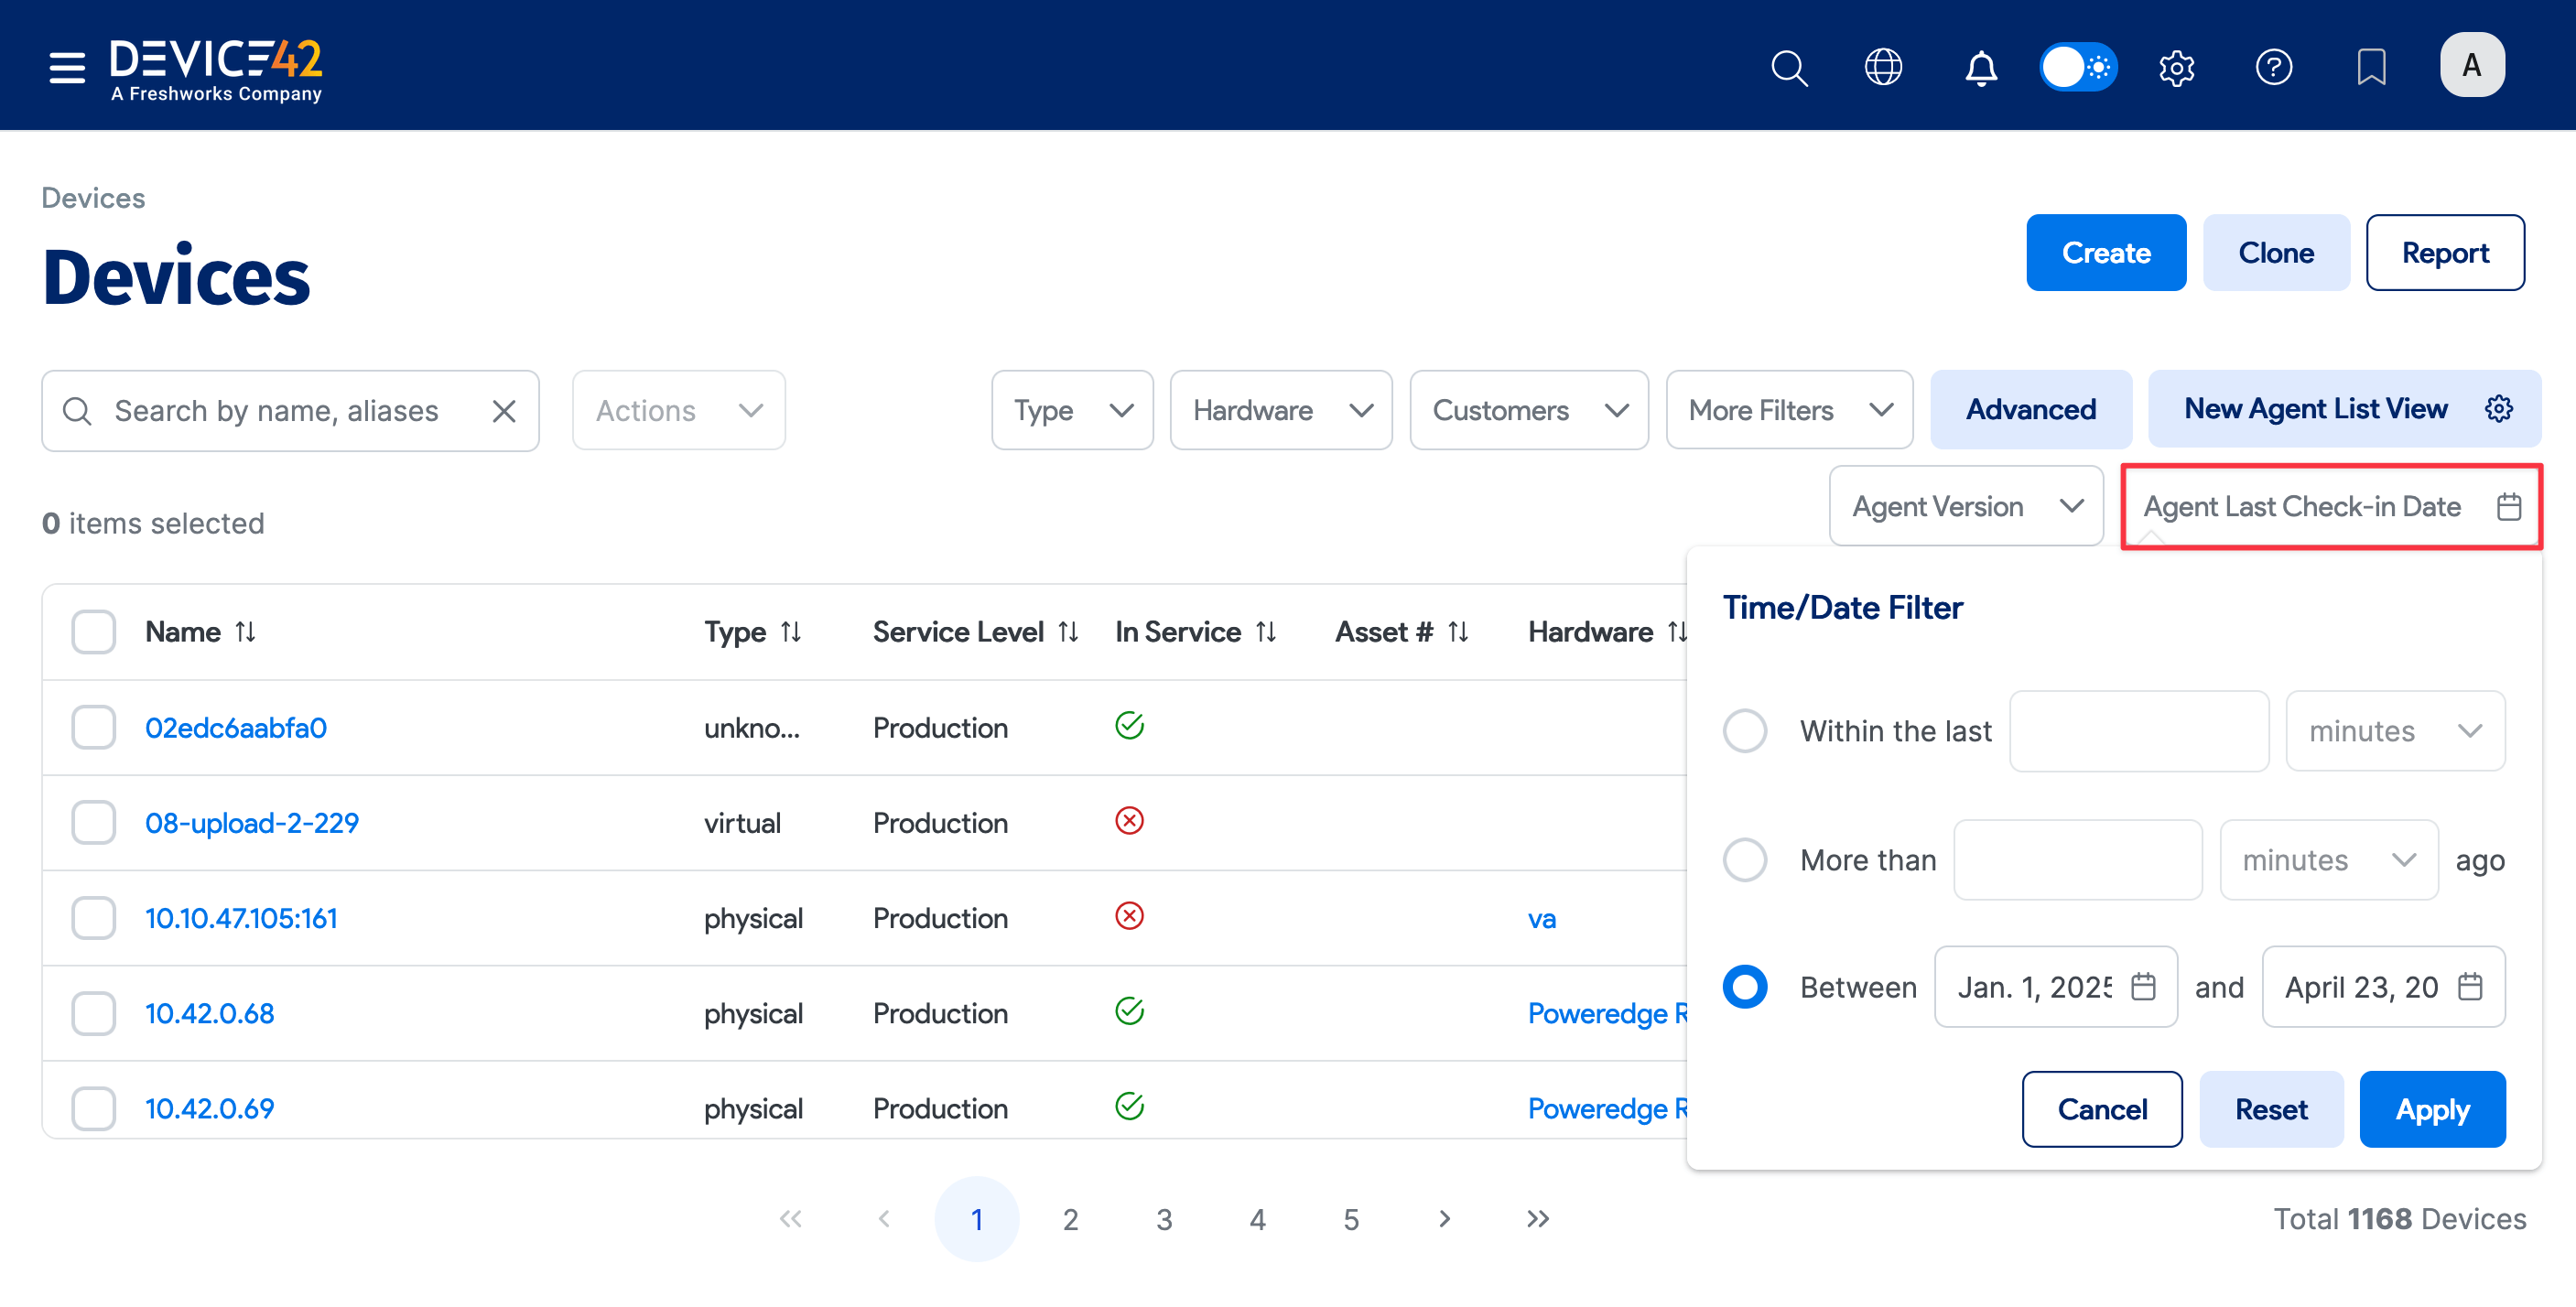
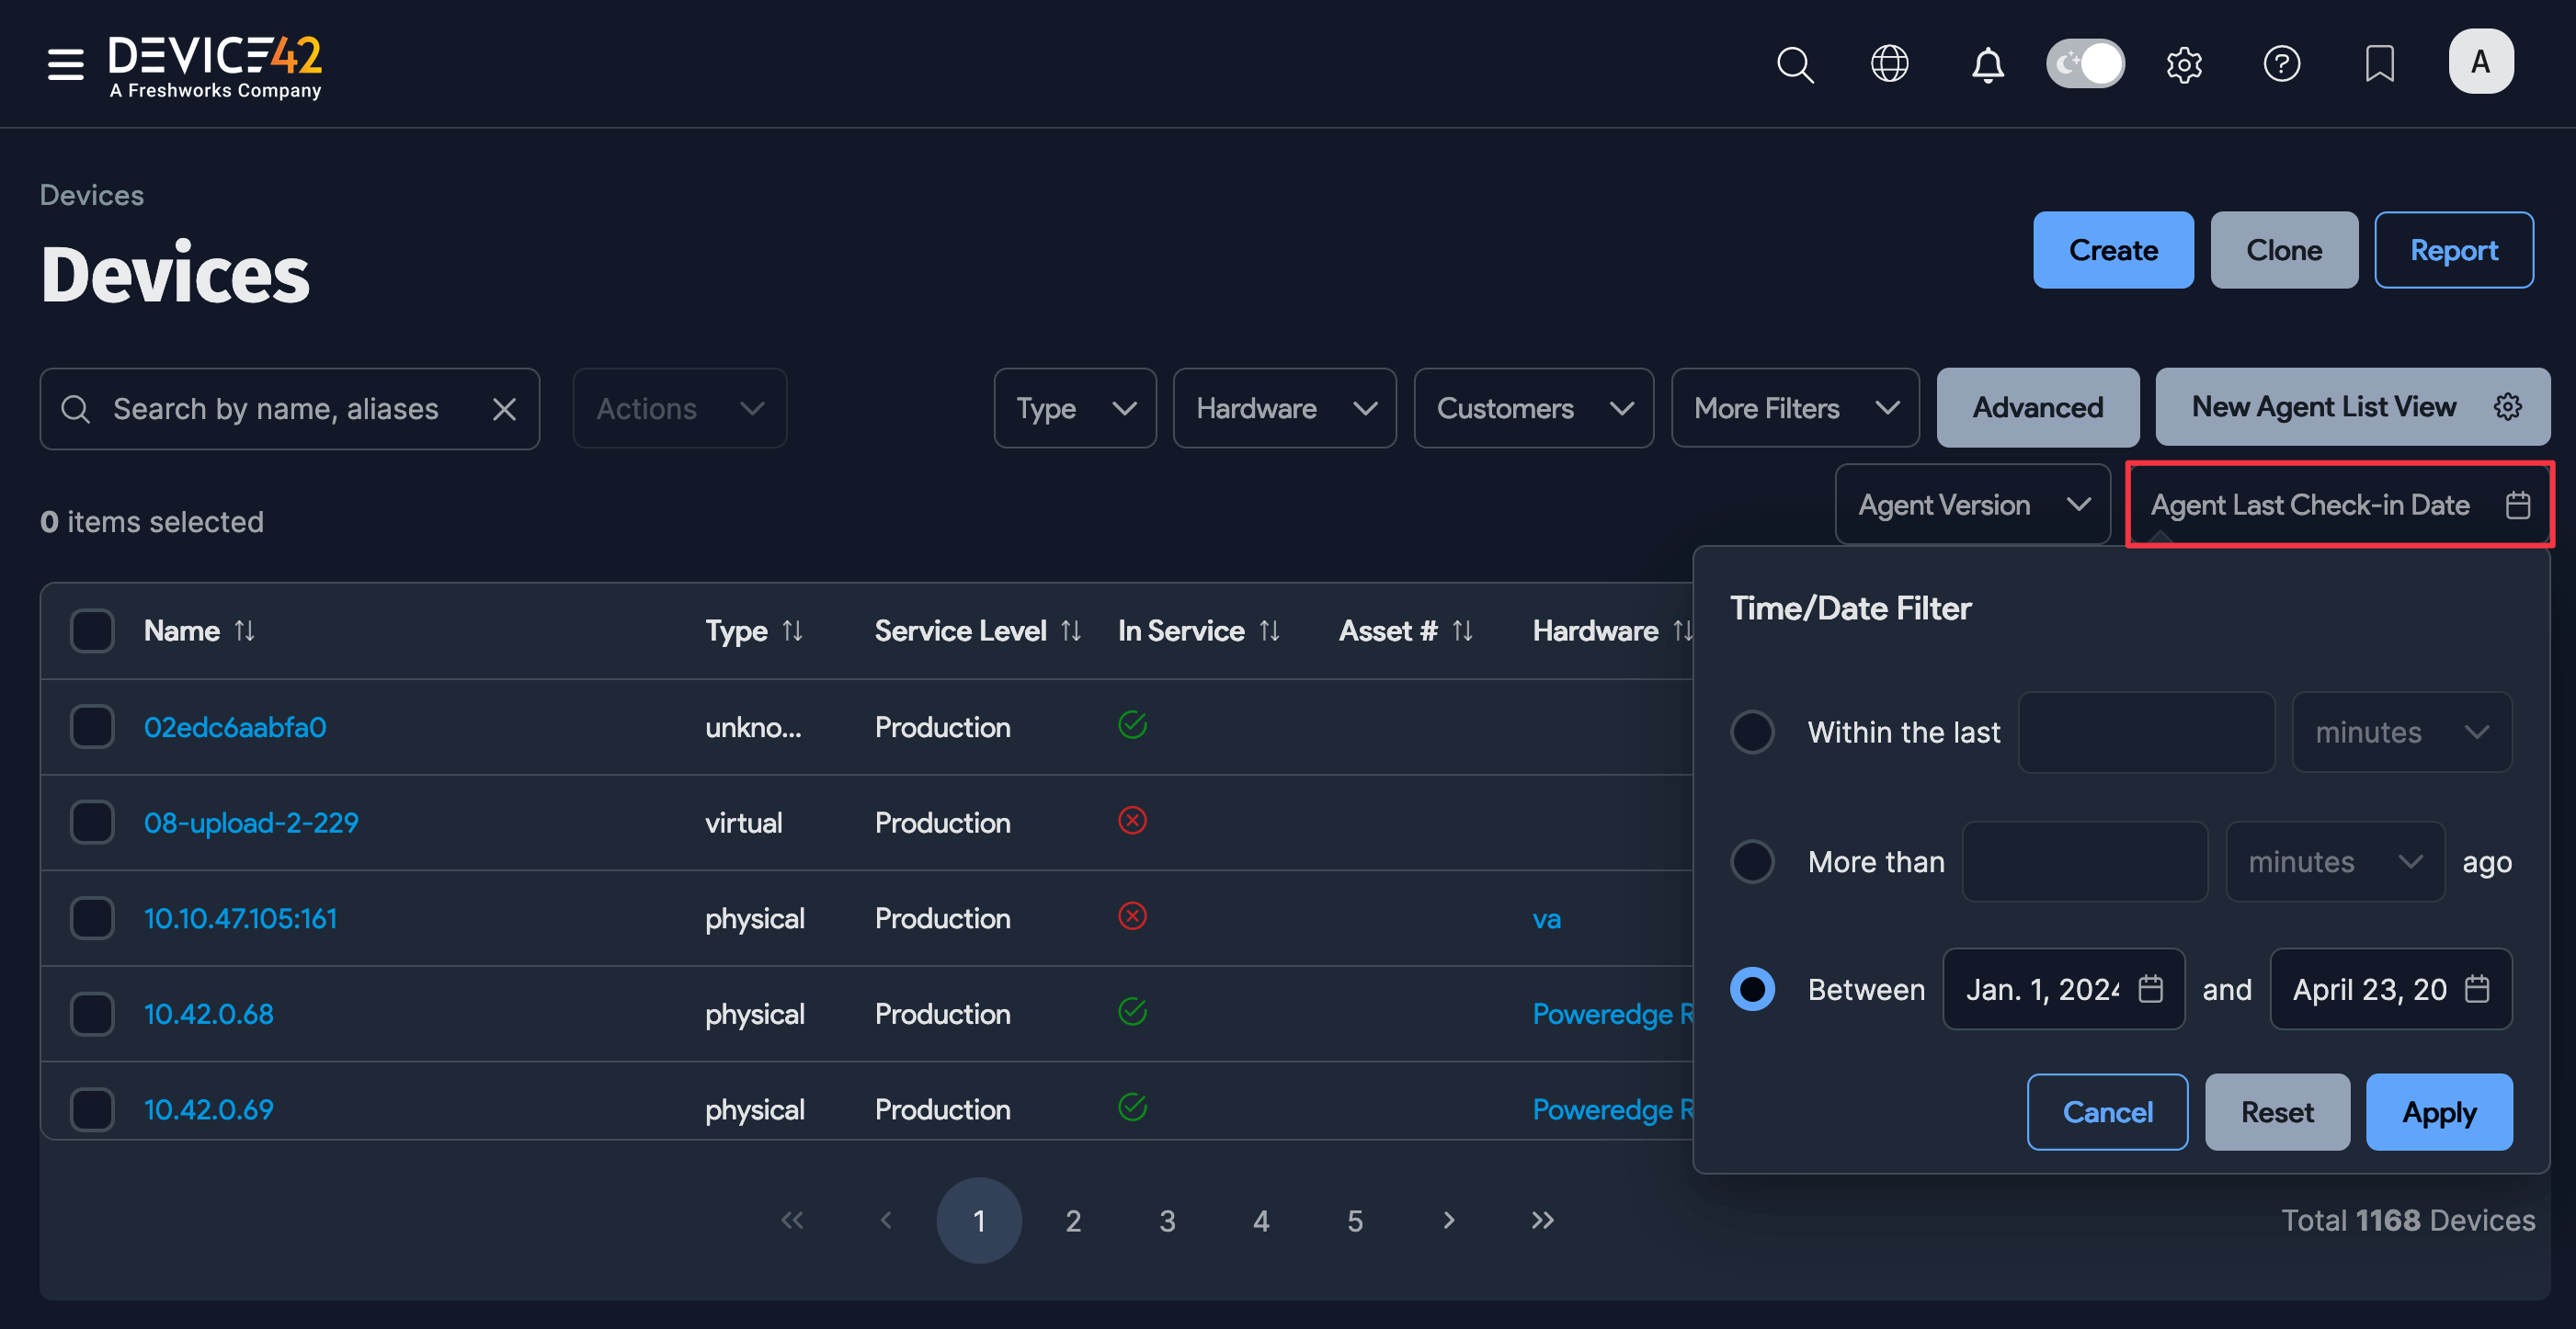
View Agent Version and Agent Last Check-in Date
The Devices list page now includes two columns that display the Agent Version and the Agent Last Check-in Date for devices discovered by the agent.
-
On the Devices list page under Resources > Compute > All Devices, click the gear icon below the Advanced button to display the column list.
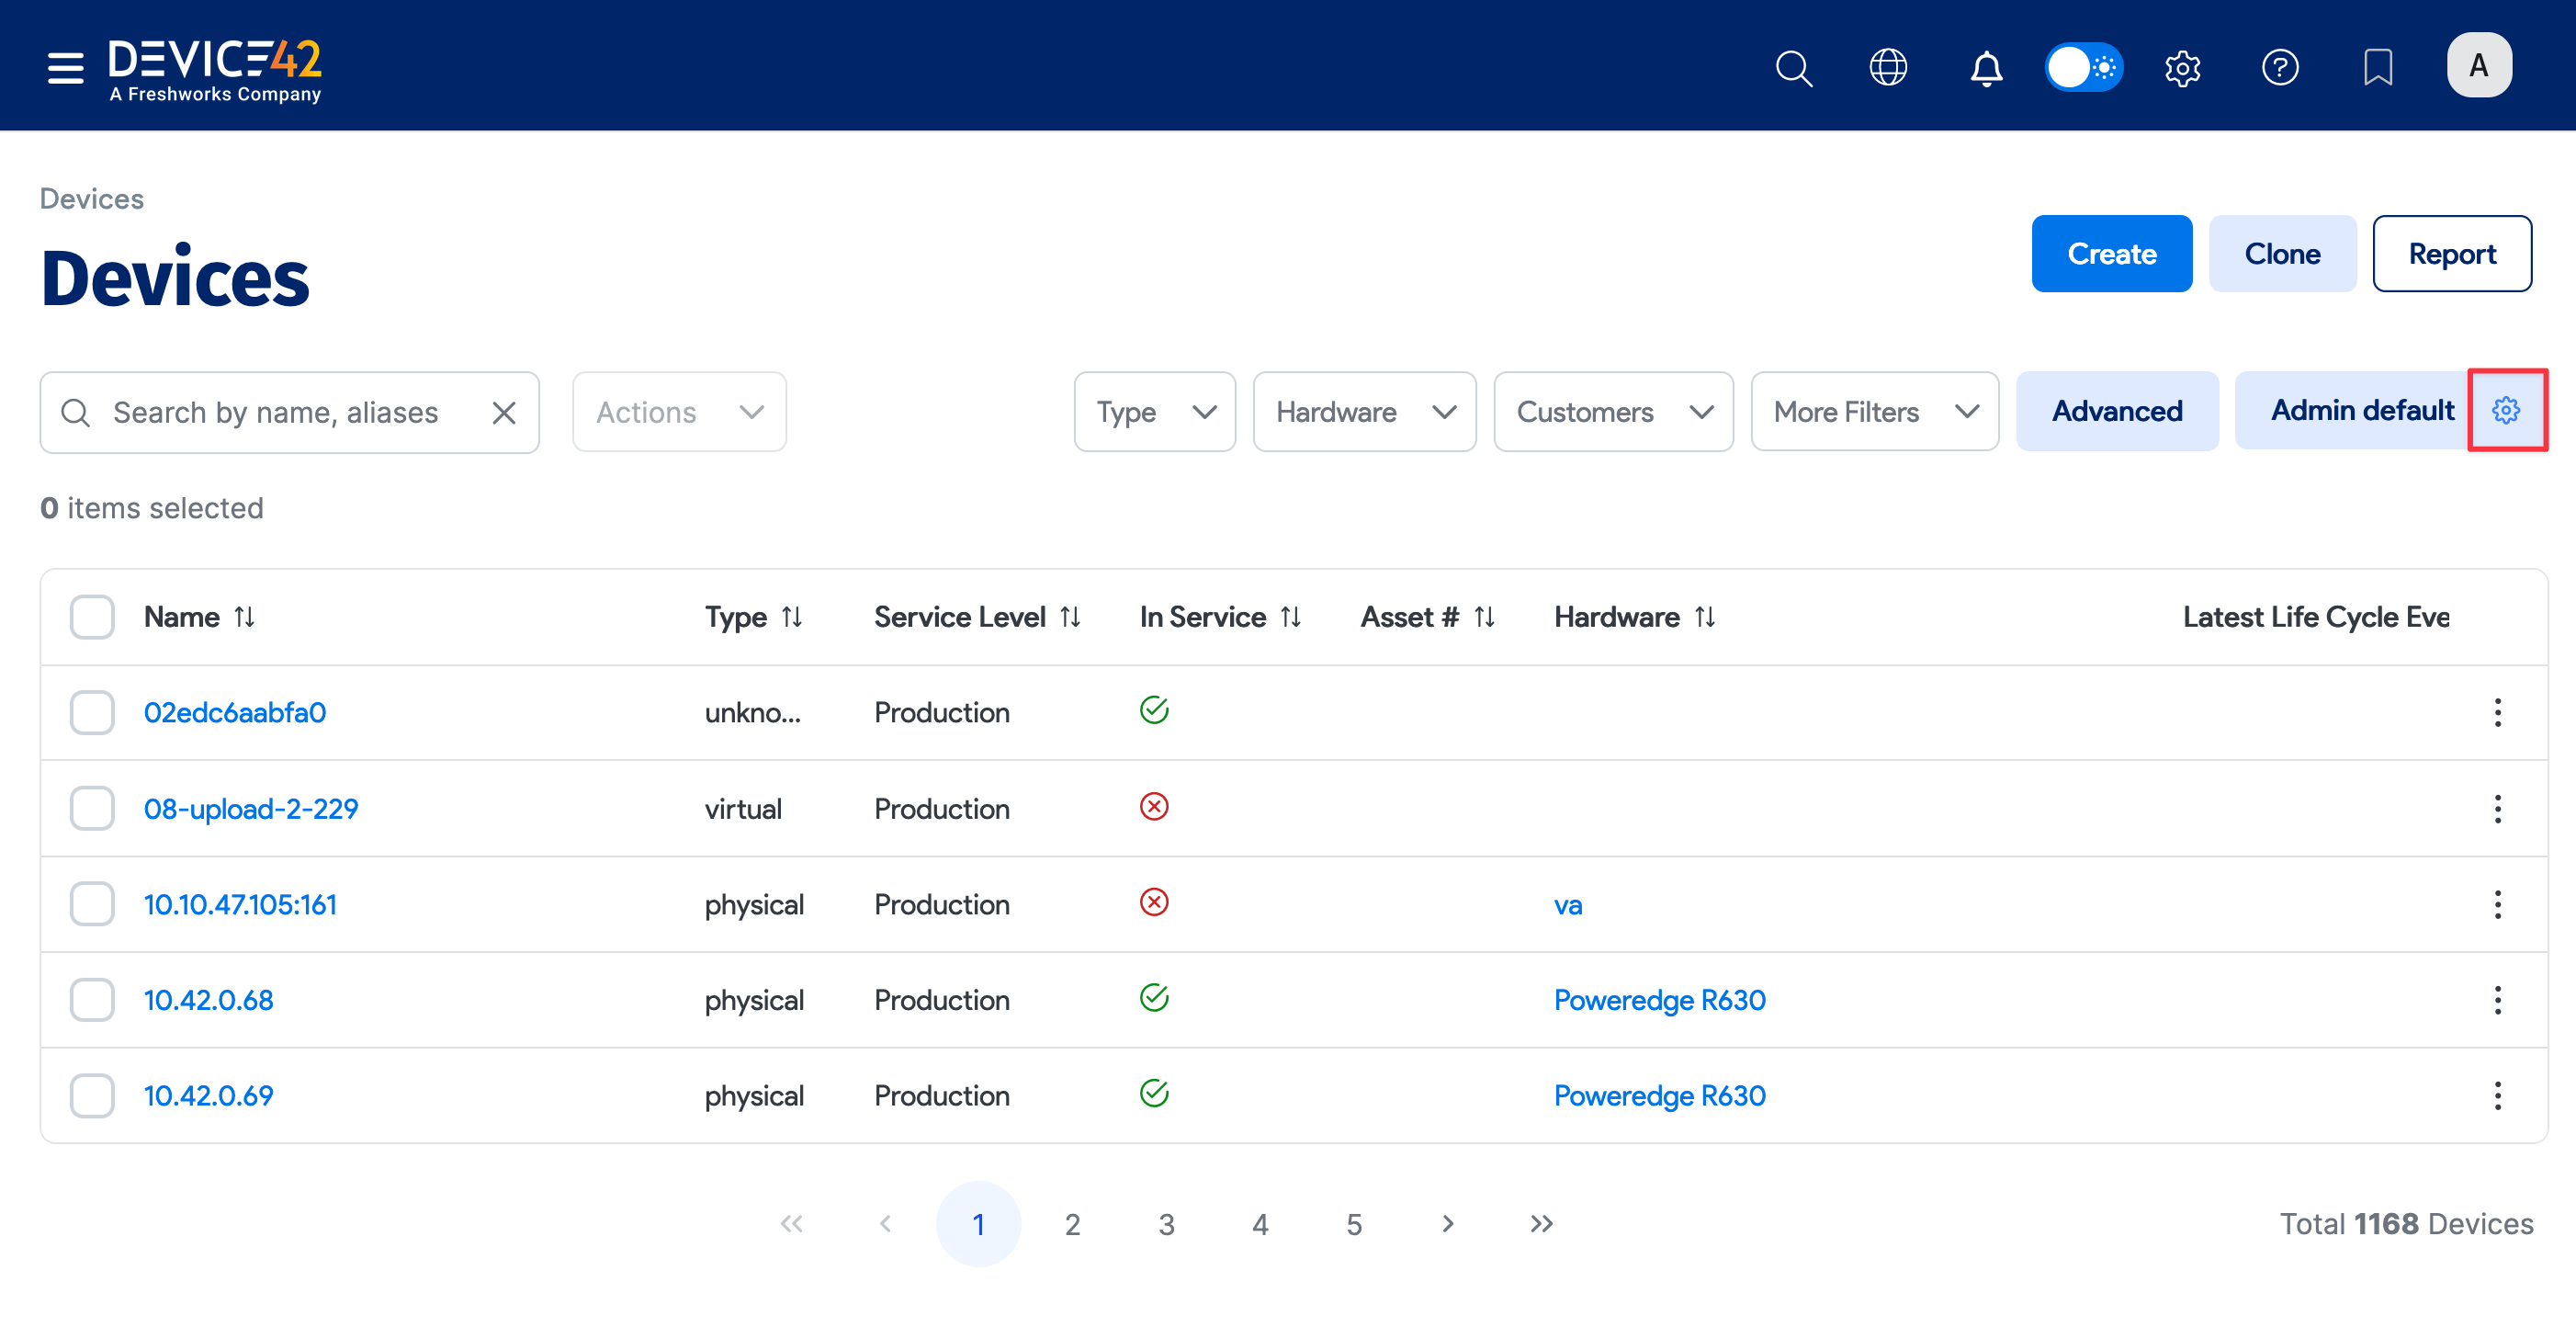
-
Select Agent Version and Agent Last Check-in Date from the Table Columns dropdown.
-
If you want to define a new column view, type a name for the view in the field to the right of the Table Columns dropdown and Save the view. Device42 displays information for devices discovered by the agent.
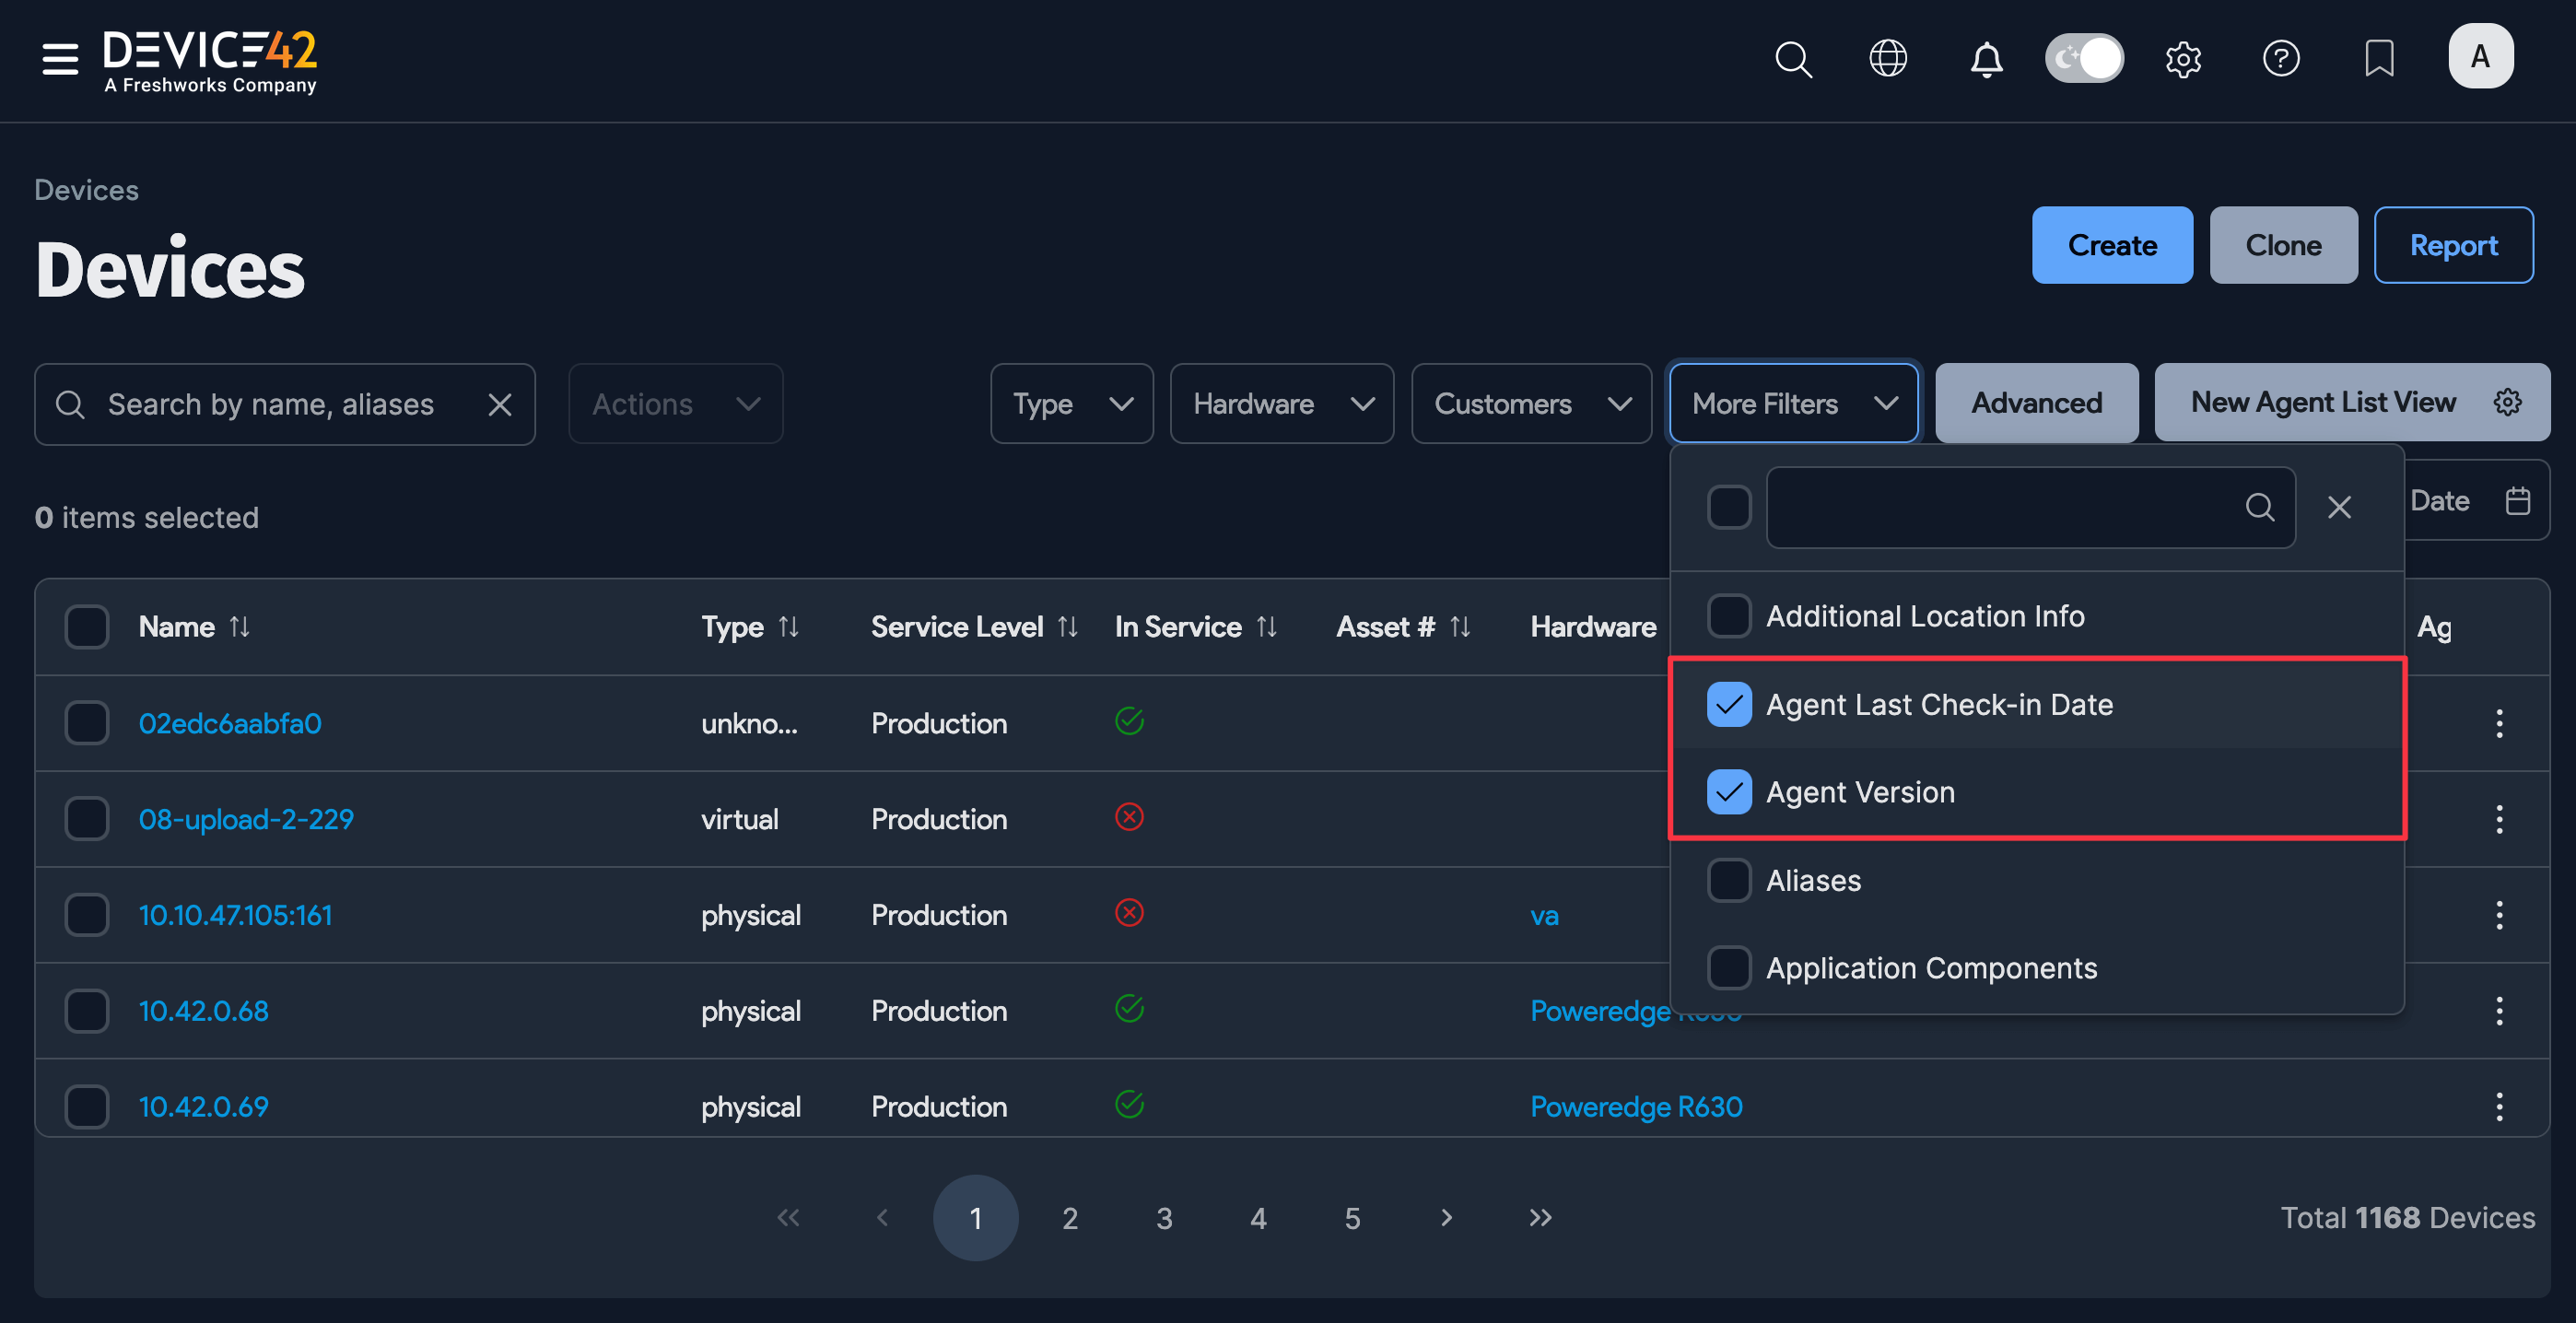
Filter Devices Using Agent Columns
You can use Agent Version and Agent Last Check-in Date to filter the devices list to look for devices found by specific agents or during certain periods.
-
Click More Filters to add the columns as search criteria.
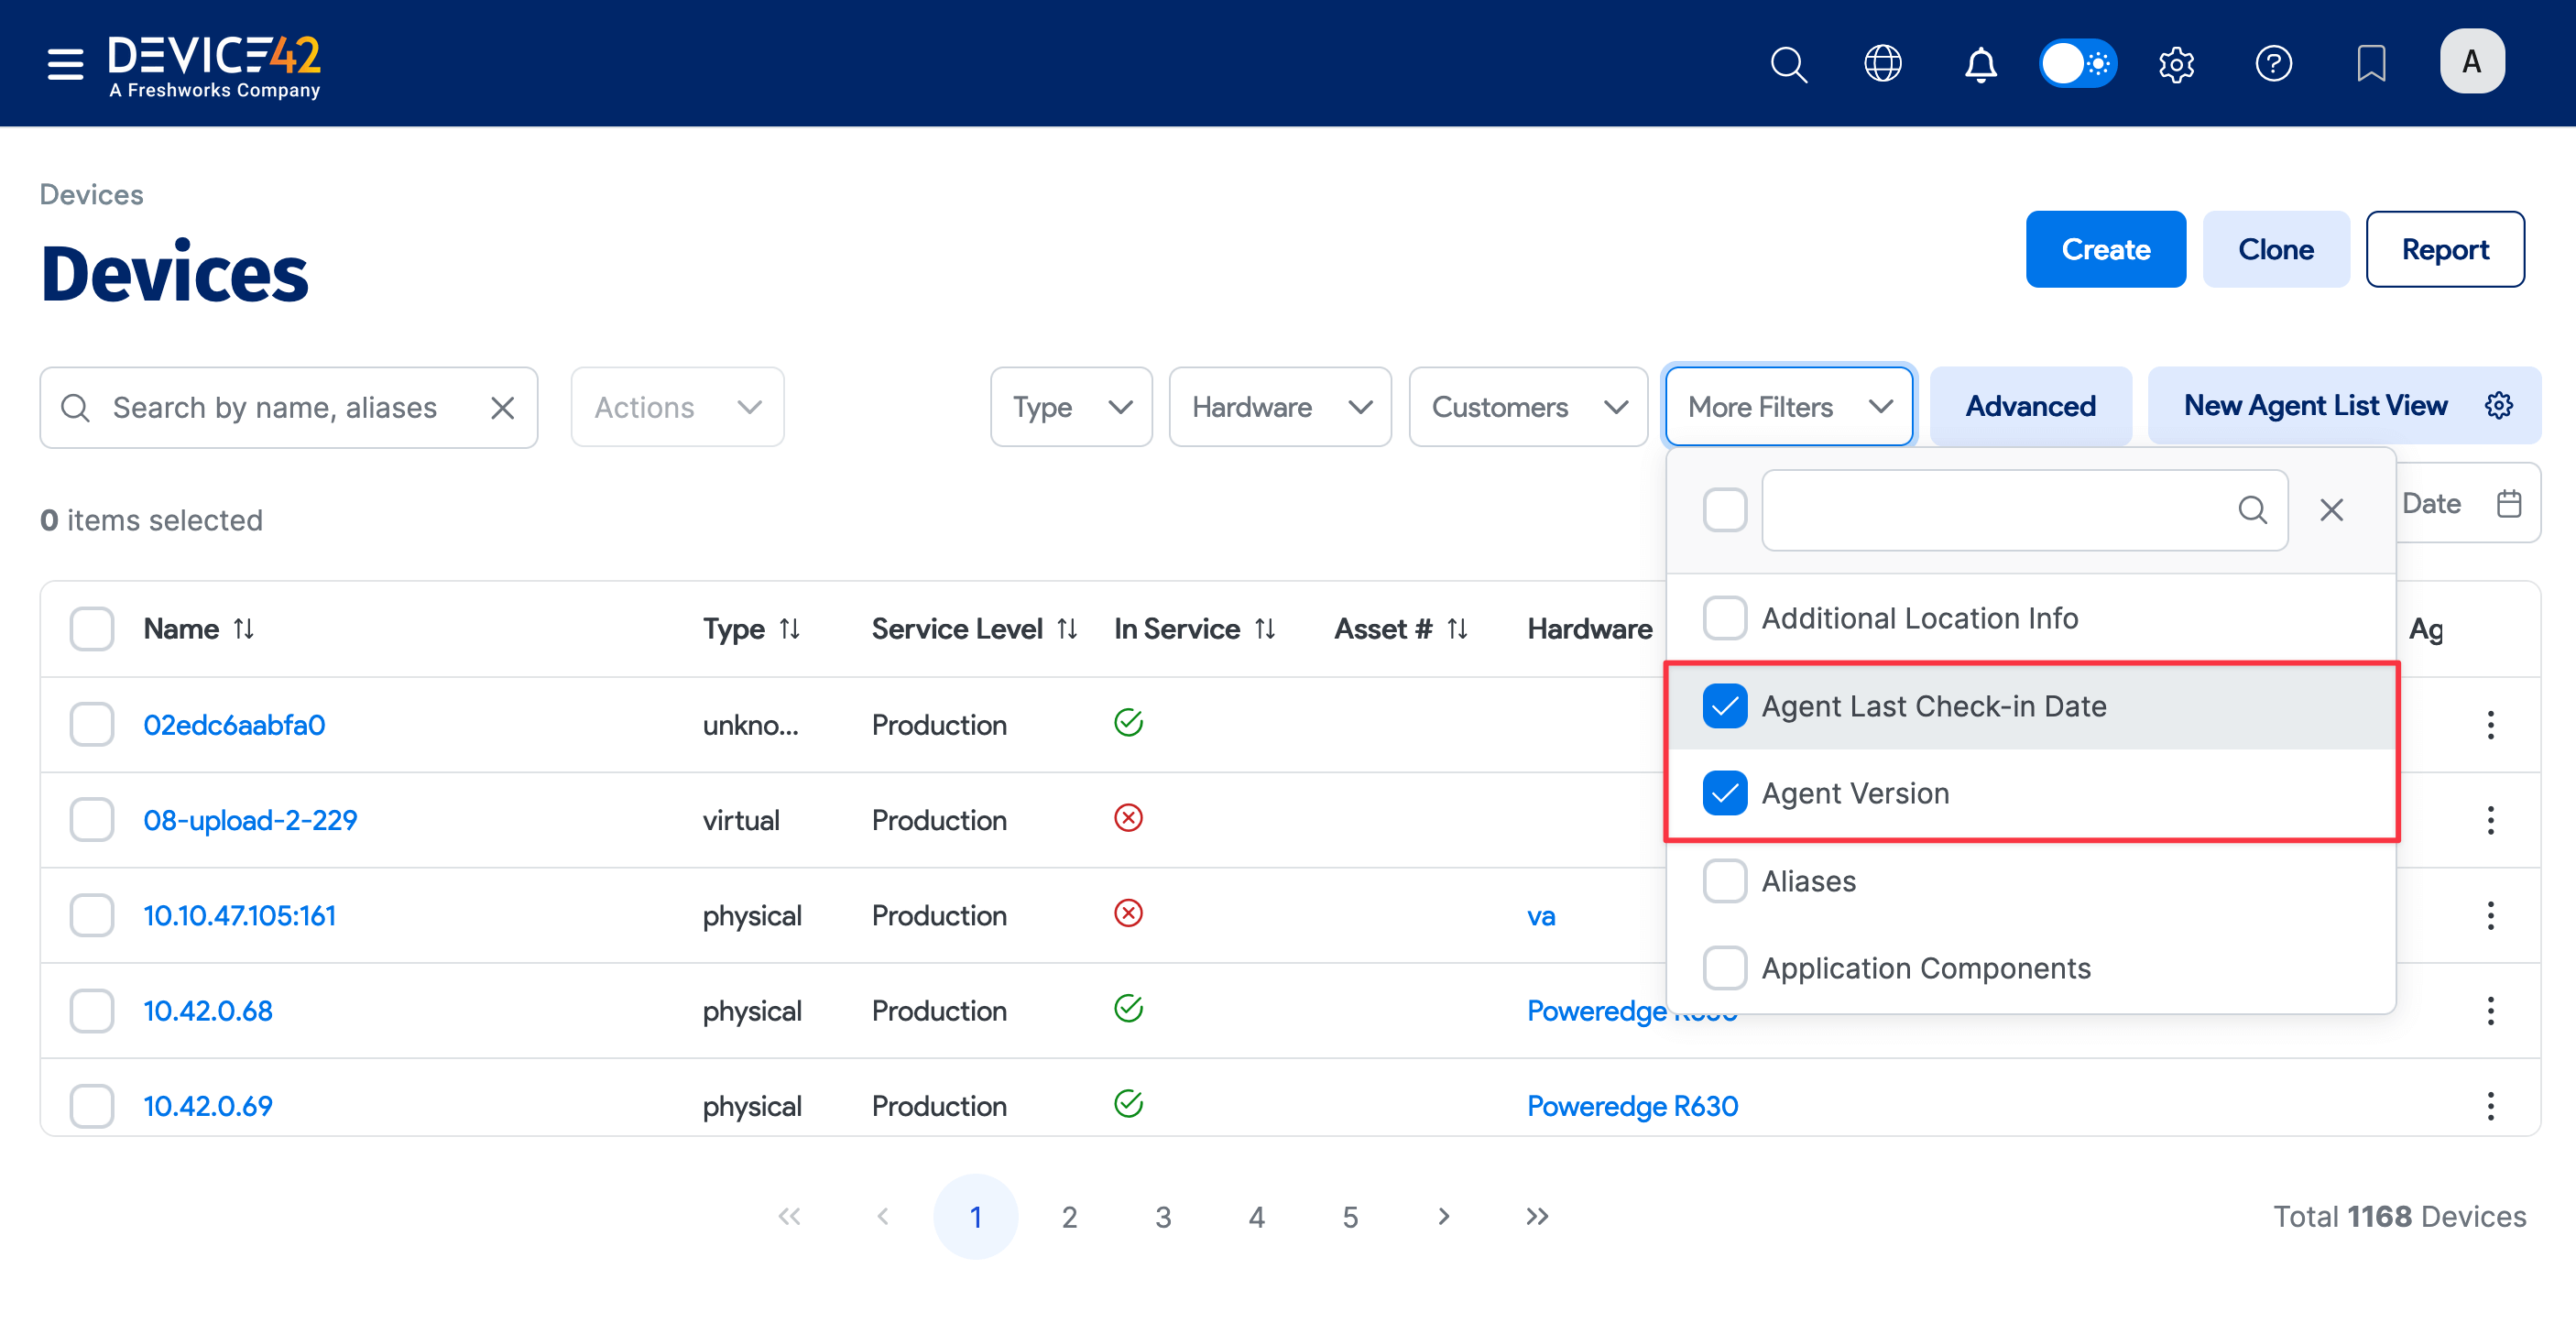
-
You can then click on the column name to use the column as a filter. For example, you can use Agent Last Check-in Date to search for devices discovered by an agent during a certain calendar period.
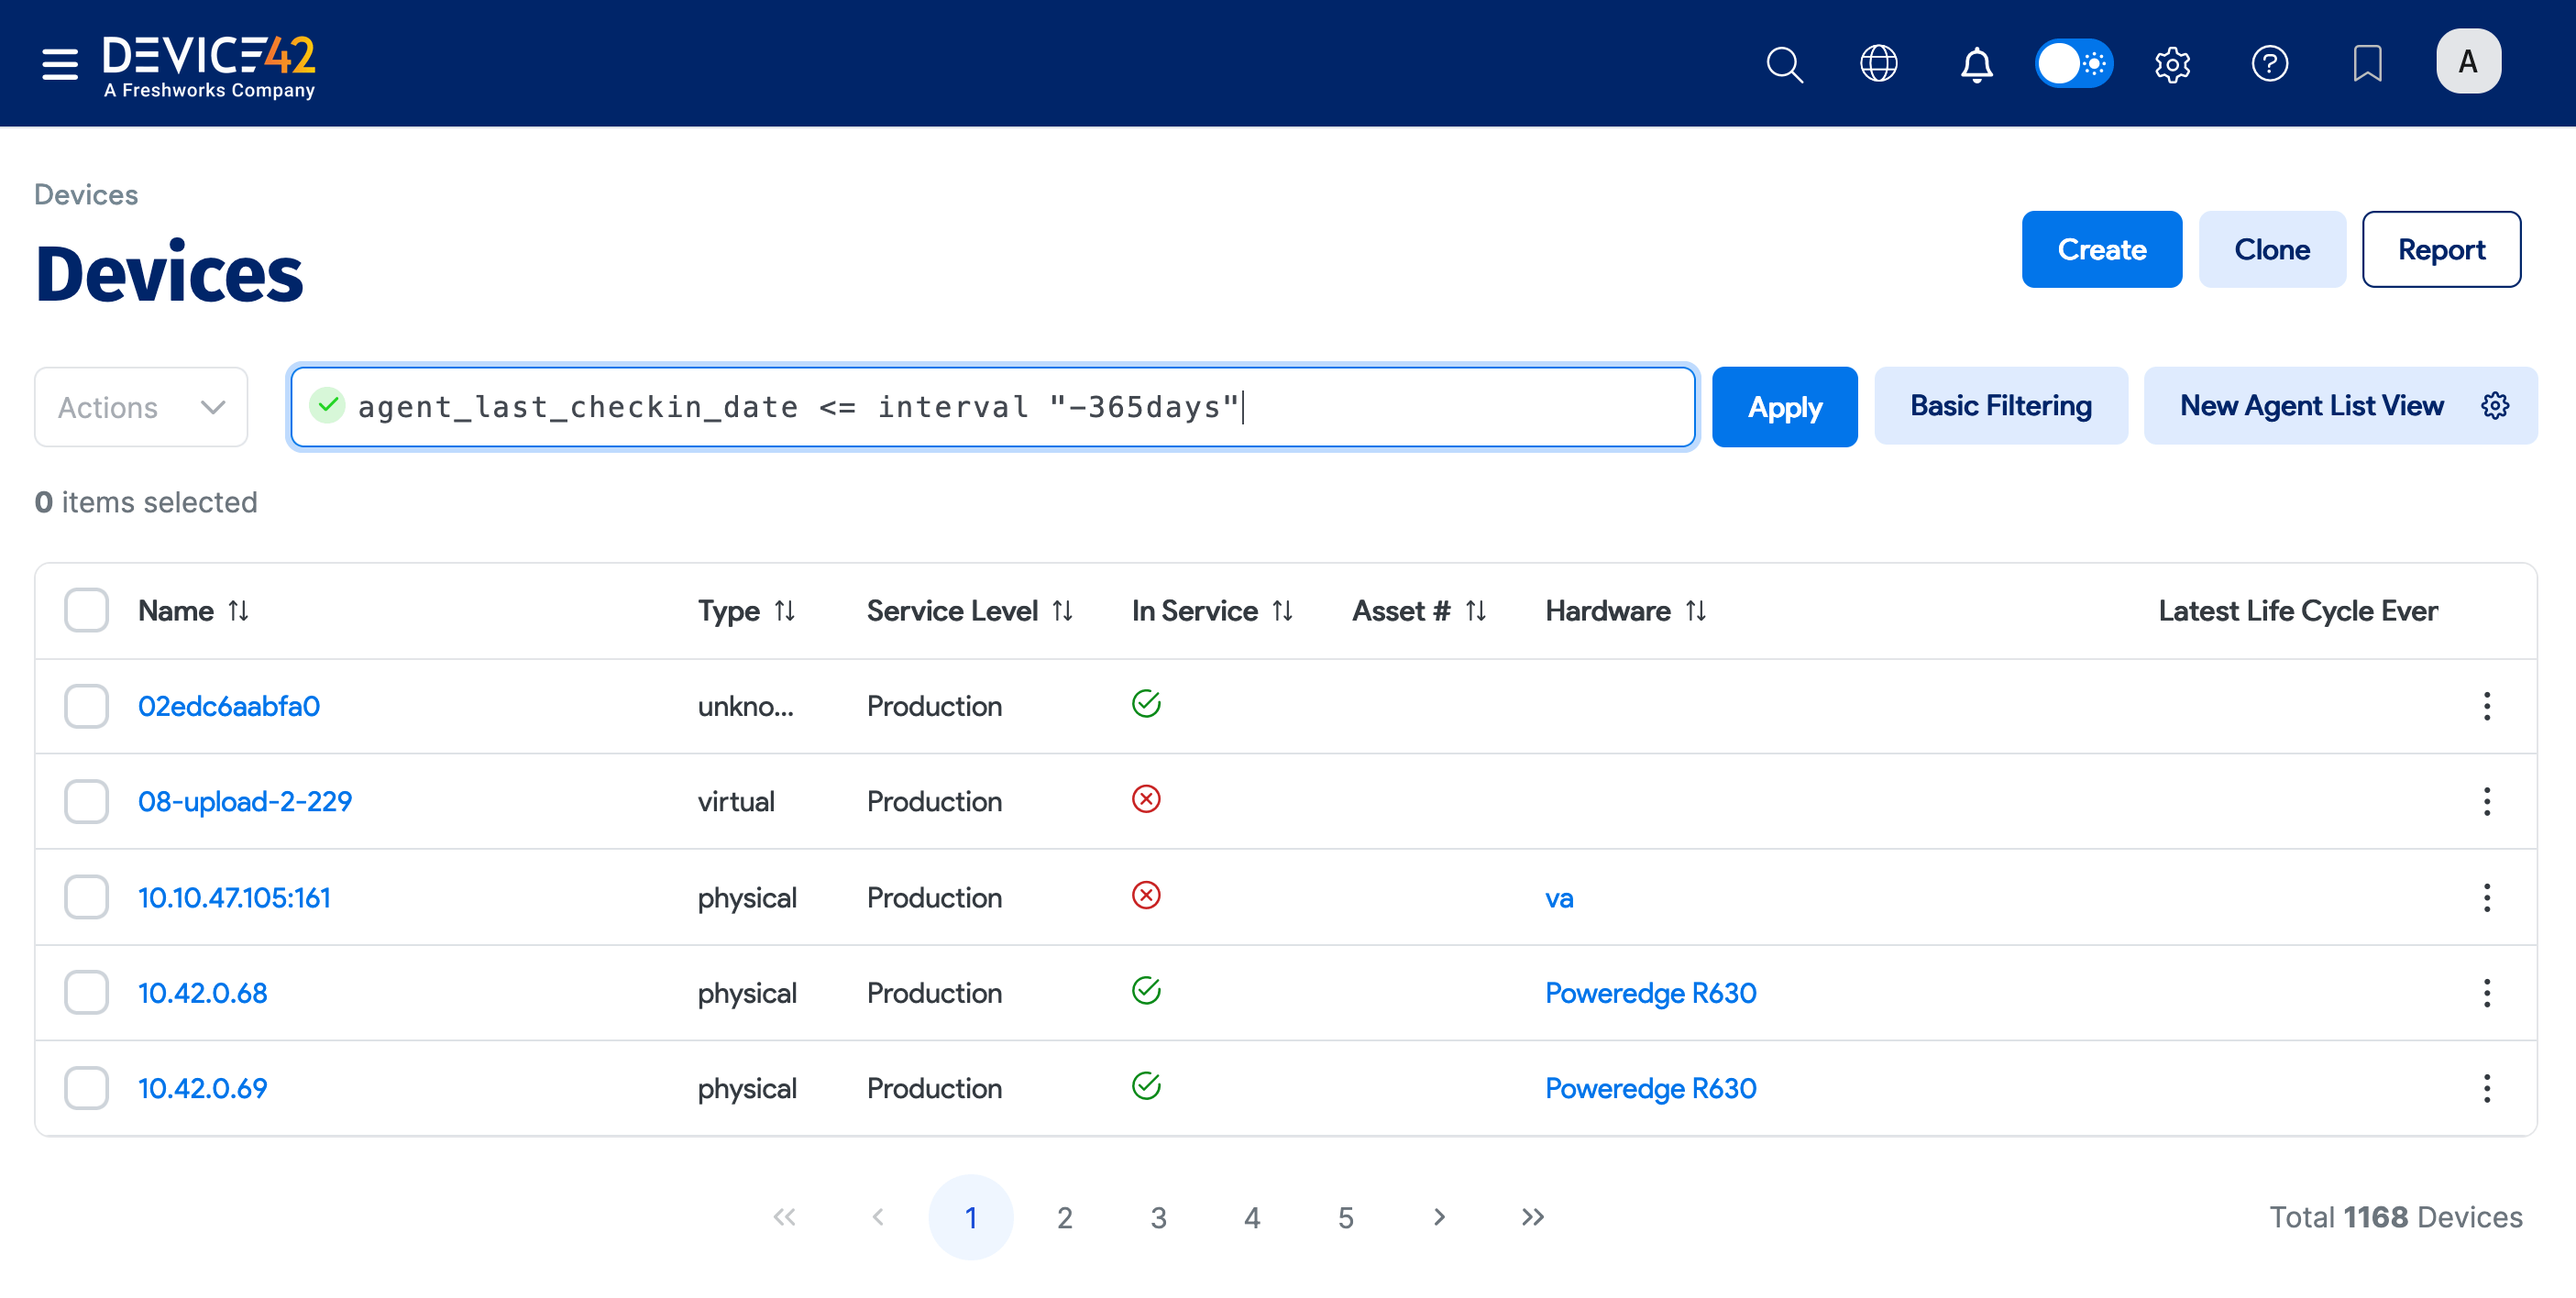
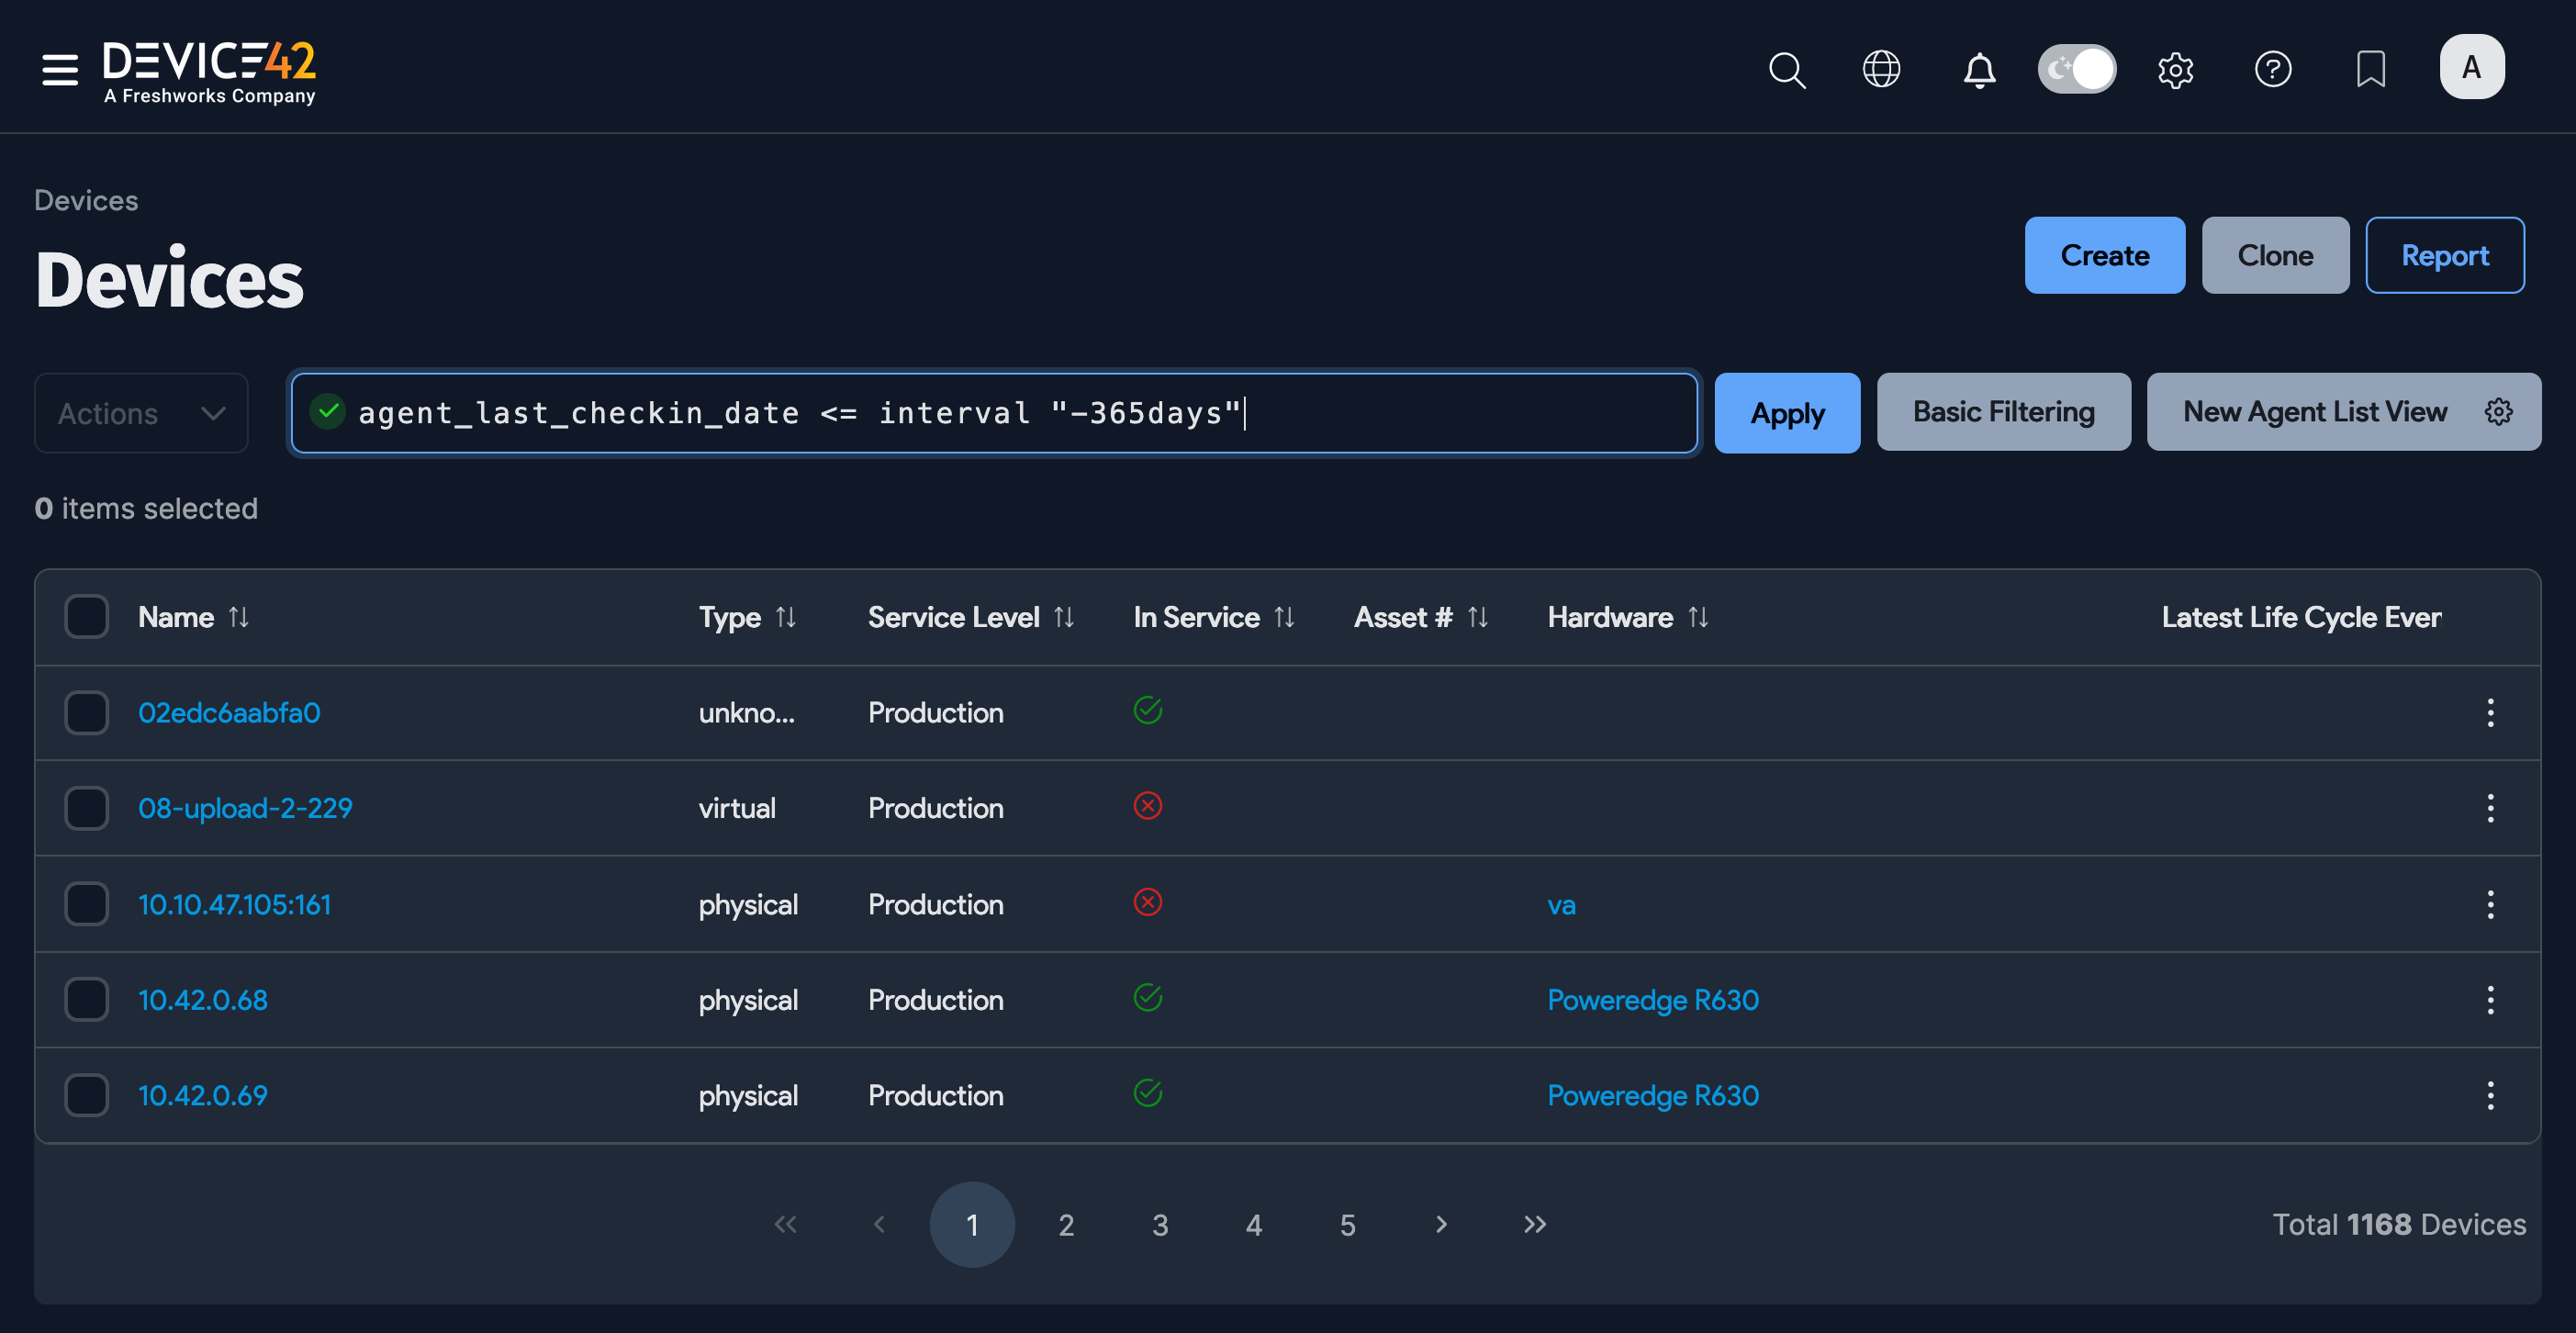
-
You can also use the agent columns in Advanced search. For example, the query below searches for devices discovered with an Agent Last Check-in Date less than 365 days ago.
Agent Update Behavior
When a new version of the Main Appliance is installed, deployed agents automatically update to the latest version on check-in.