Active Directory / LDAP User Sync
This page is for Device42 administrators who need to synchronize Active Directory or LDAP users with Device42. Learn how to configure AD/LDAP settings and create discovery jobs to import and sync users as end users or administrators.
The AD/LDAP auto-discovery tool performs one-way synchronization of your Active Directory (AD) and Lightweight Directory Access Protocol (LDAP) domain users to Device42.
Add AD/LDAP users as regular end users or administrators. Schedule regular syncs to keep users up to date with your directory.
Changes to user accounts made in Device42 will not be sent to AD/LDAP. The sync is one-way from AD/LDAP to Device42.
Configure Active Directory Settings
Before you create and run your AD/LDAP discovery jobs, configure the Active Directory Settings in Device42. These settings control authentication to AD, the servers to authenticate against, base DNs, and how to add discovered users to Device42.
- From the main menu, head to Tools > Settings > Active Directory Settings:
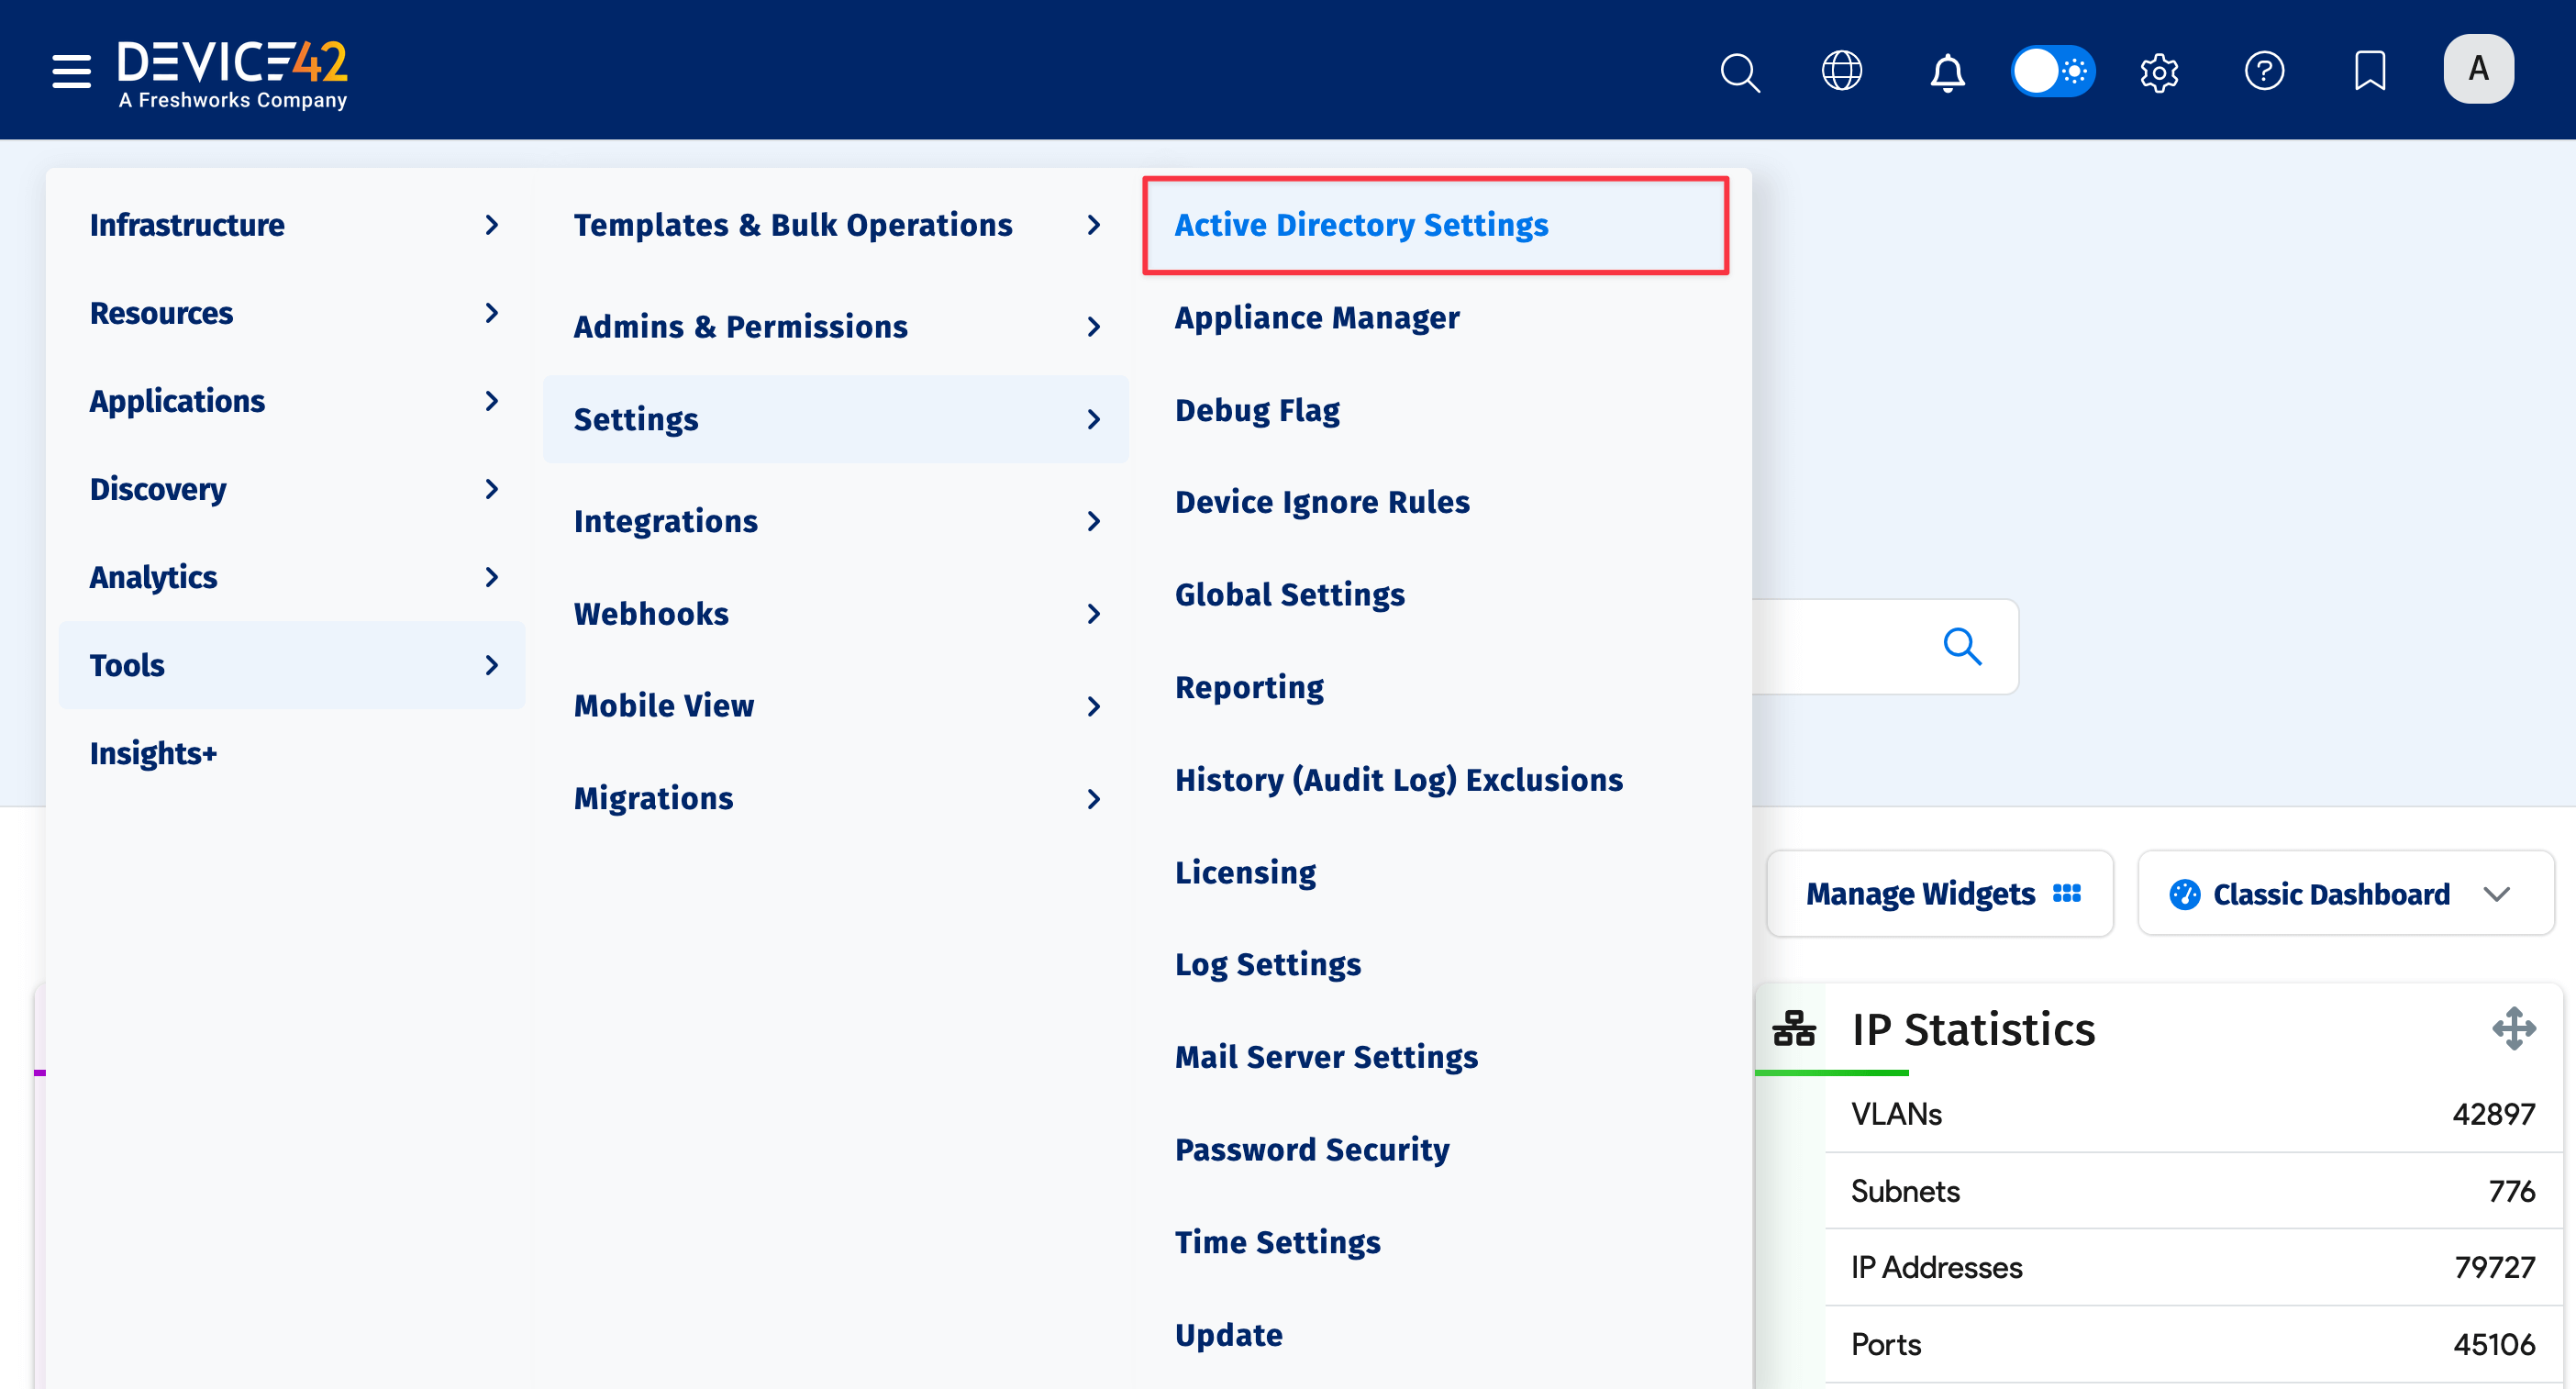
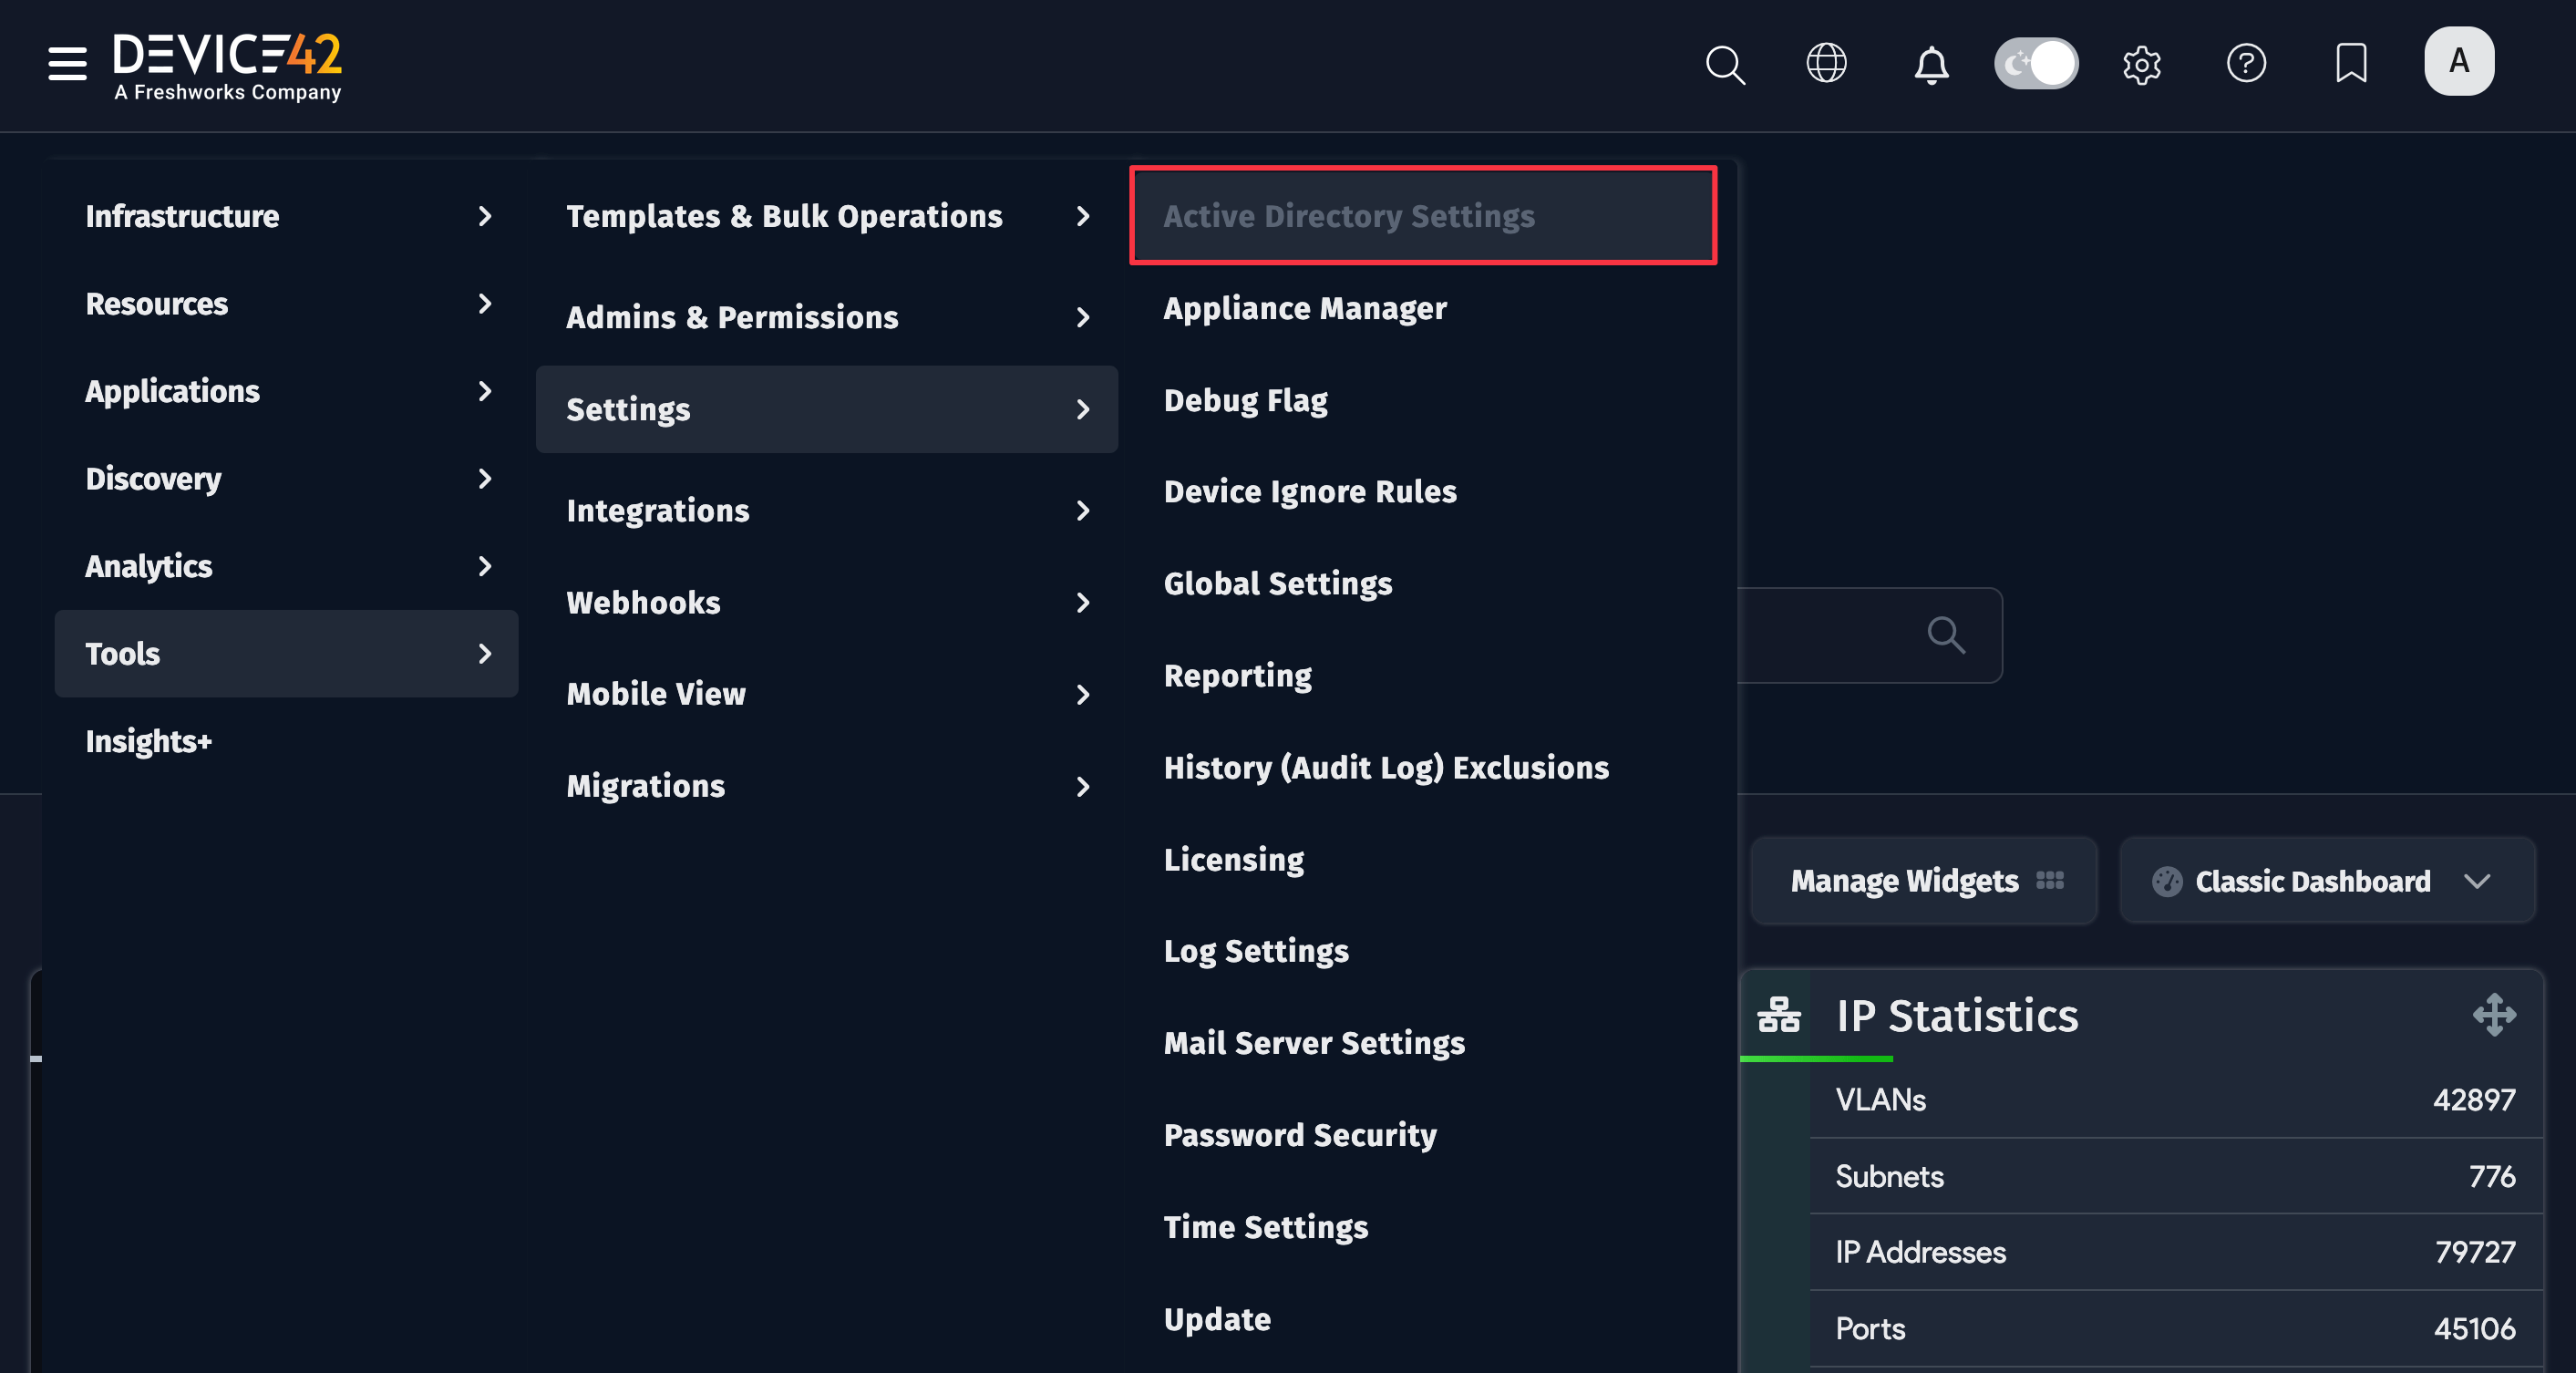
- Click the Create button and enter values specific to your Active Directory (or LDAP) domain.
Configuration Options
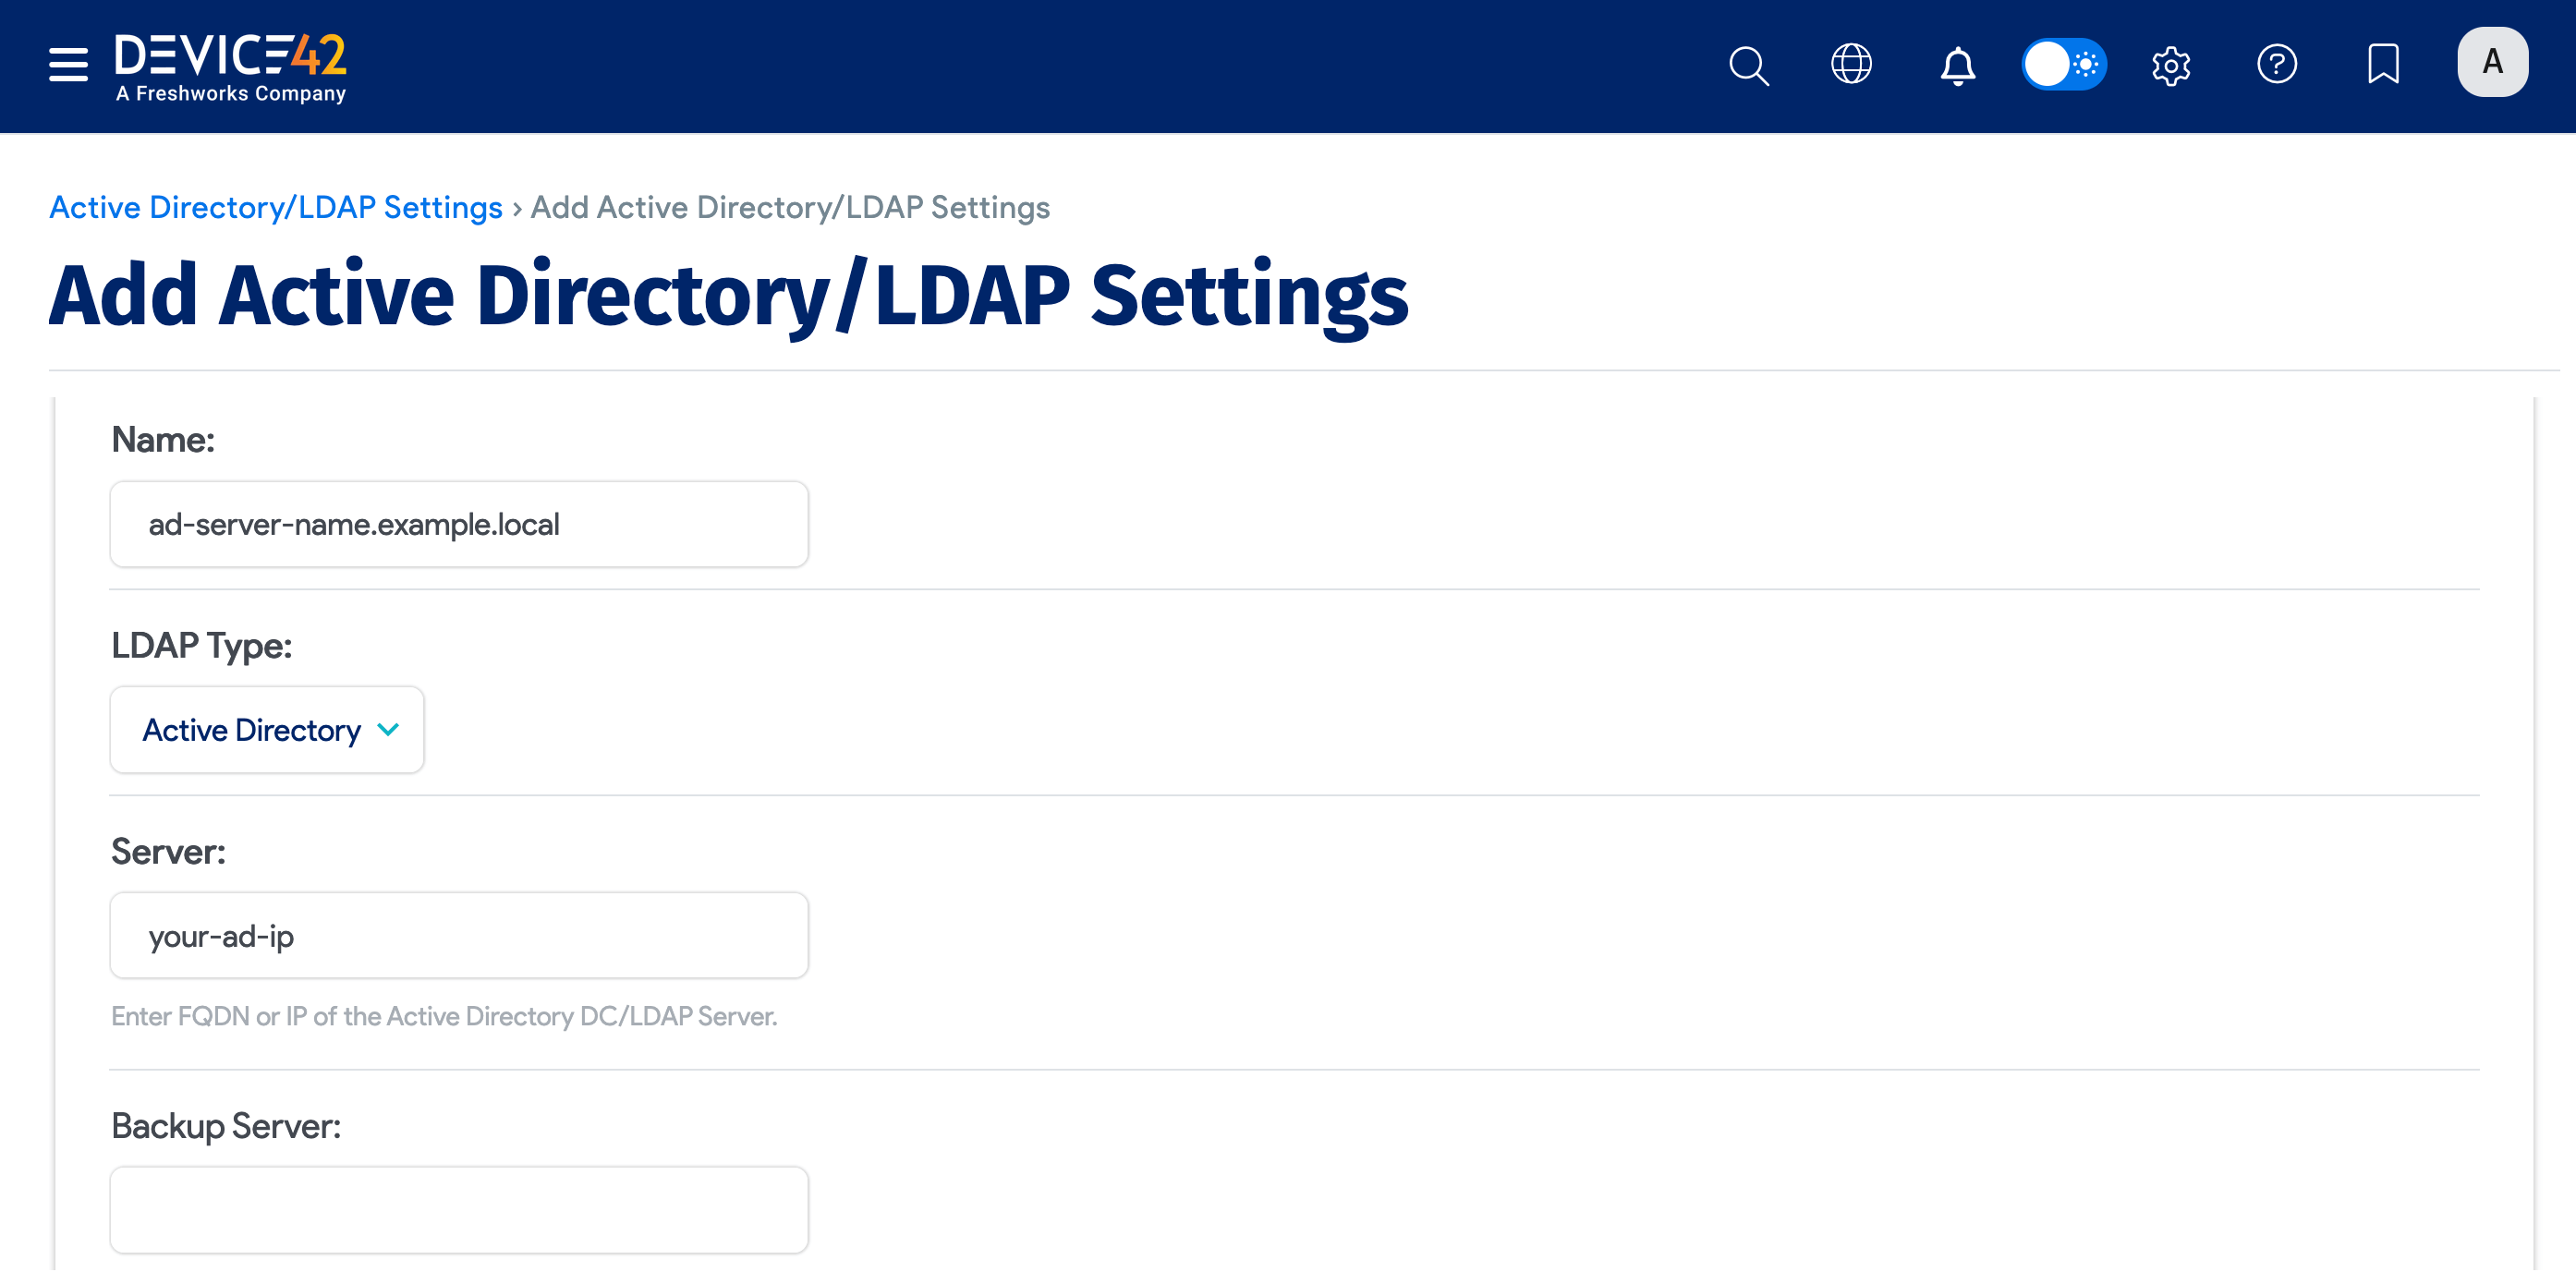
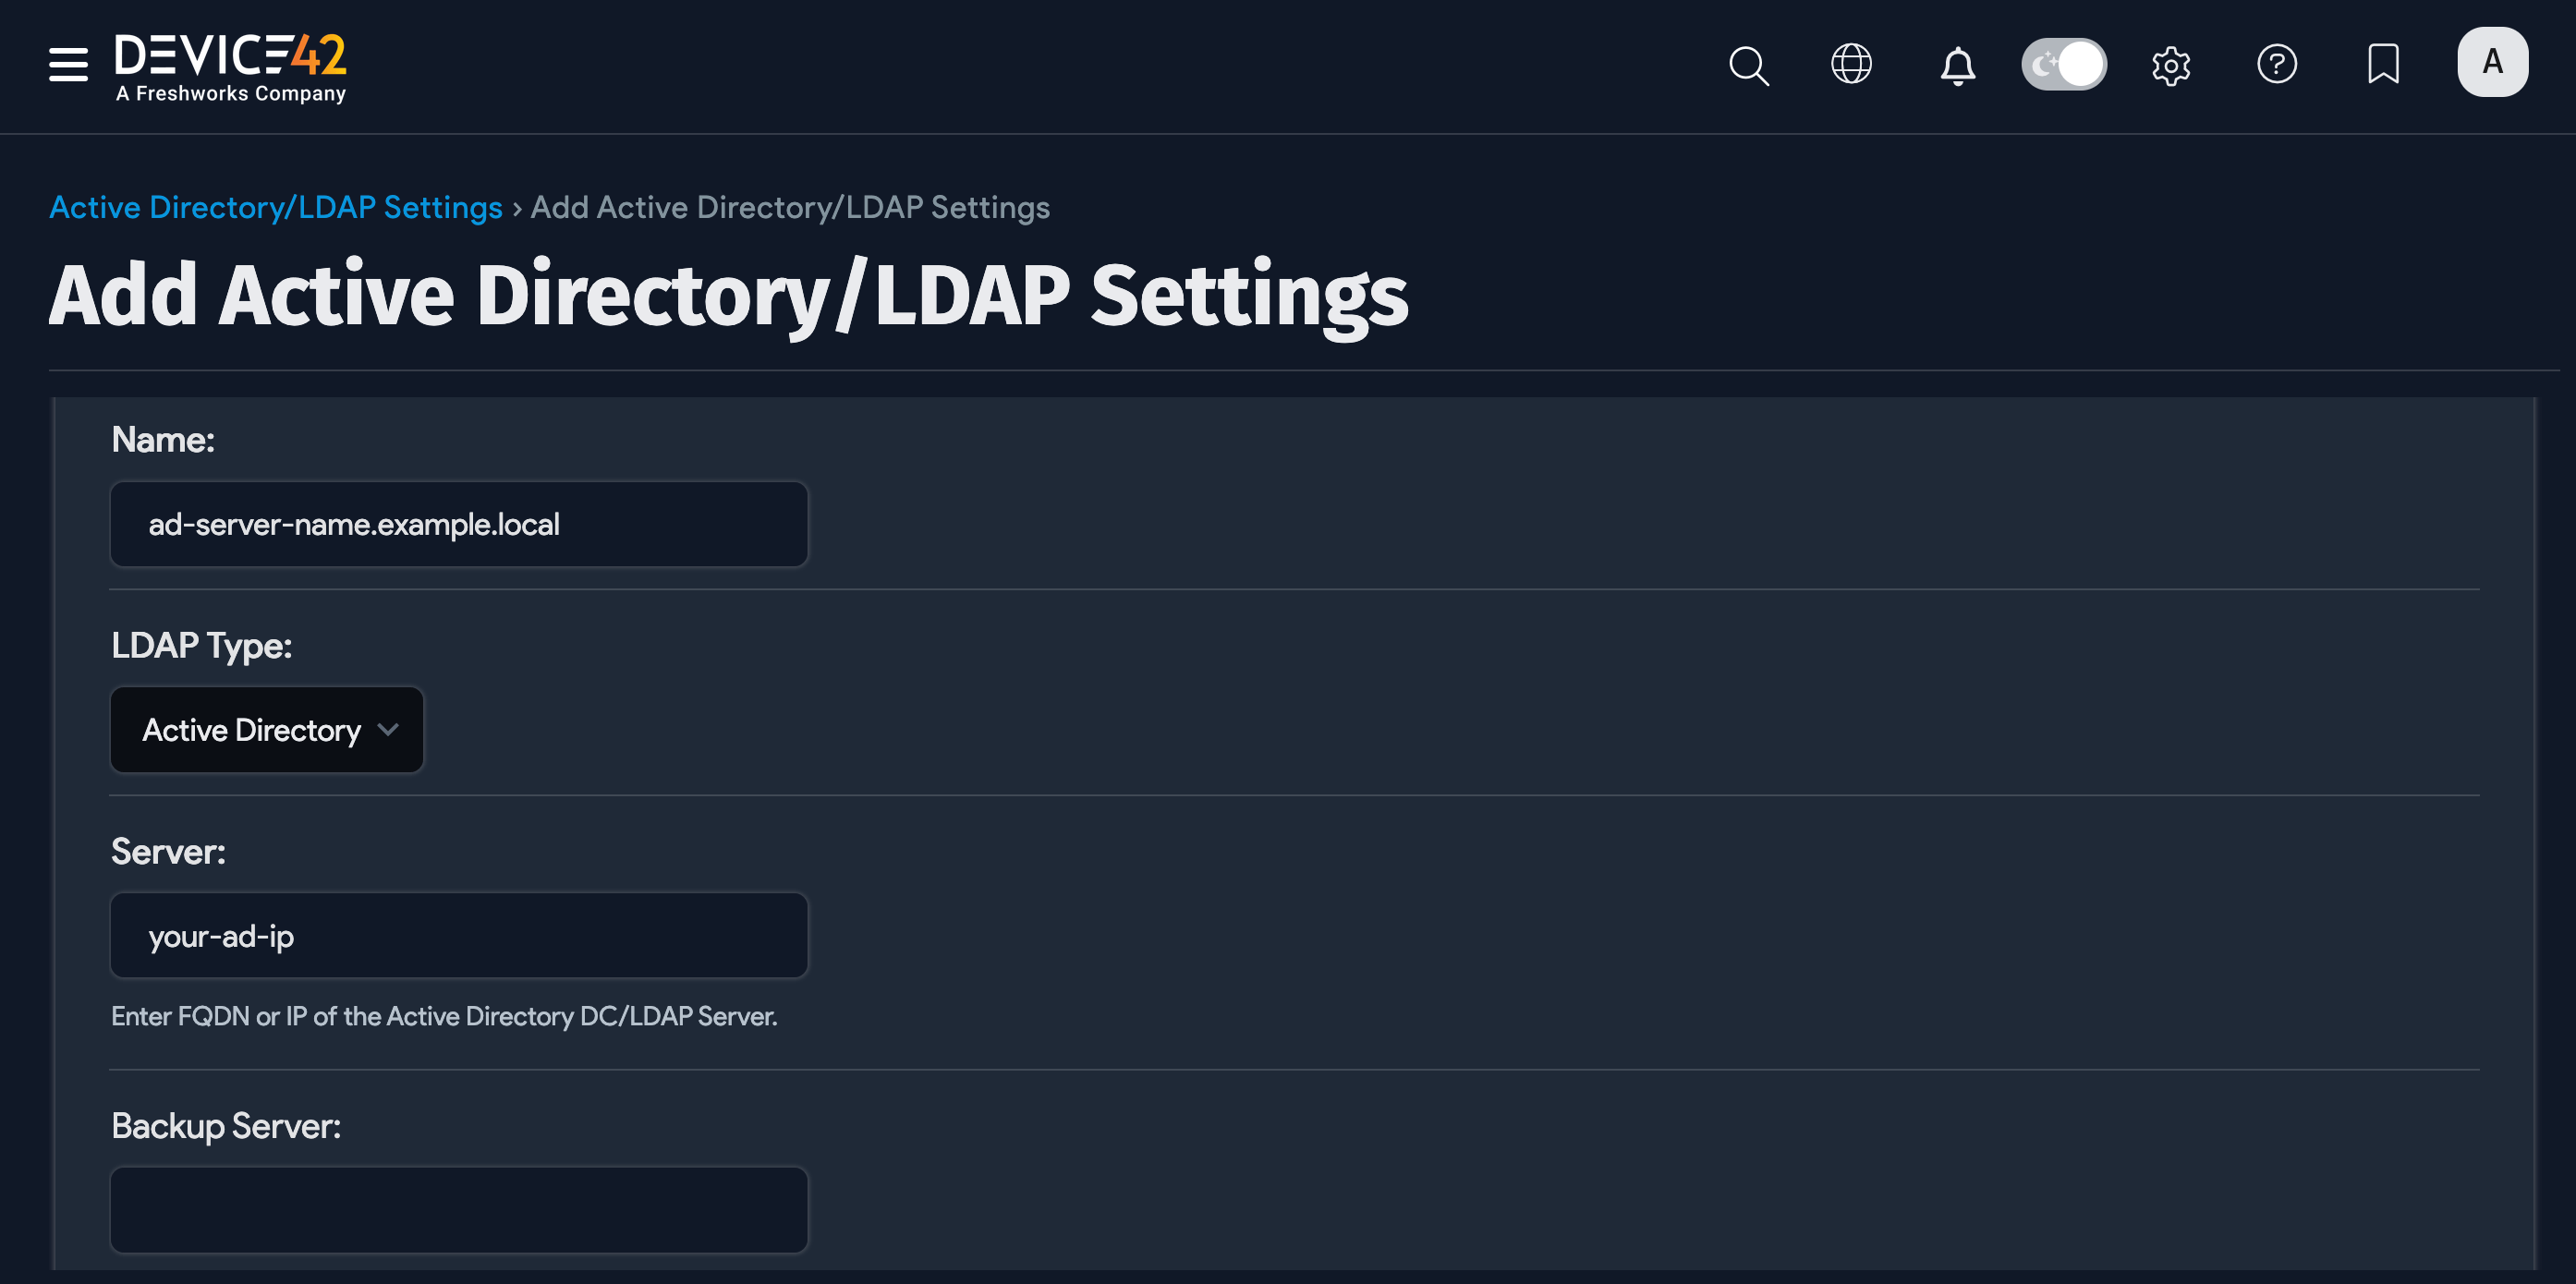
Configure the following settings to connect Device42 to your AD or LDAP server.
-
LDAP Type: Choose either Active Directory or OpenLDAP for Lightweight directory access protocol for non-Microsoft directory servers.
-
Server: Enter the AD or LDAP server IP address. You can use the fully qualified domain name (FQDN) if your DNS can resolve it. Use an IP address if your Device42 server doesn't use AD-aware DNS servers, as the FQDN may not resolve correctly.
-
Backup Server: Add a secondary AD or LDAP server to use if the primary one isn't available.
-
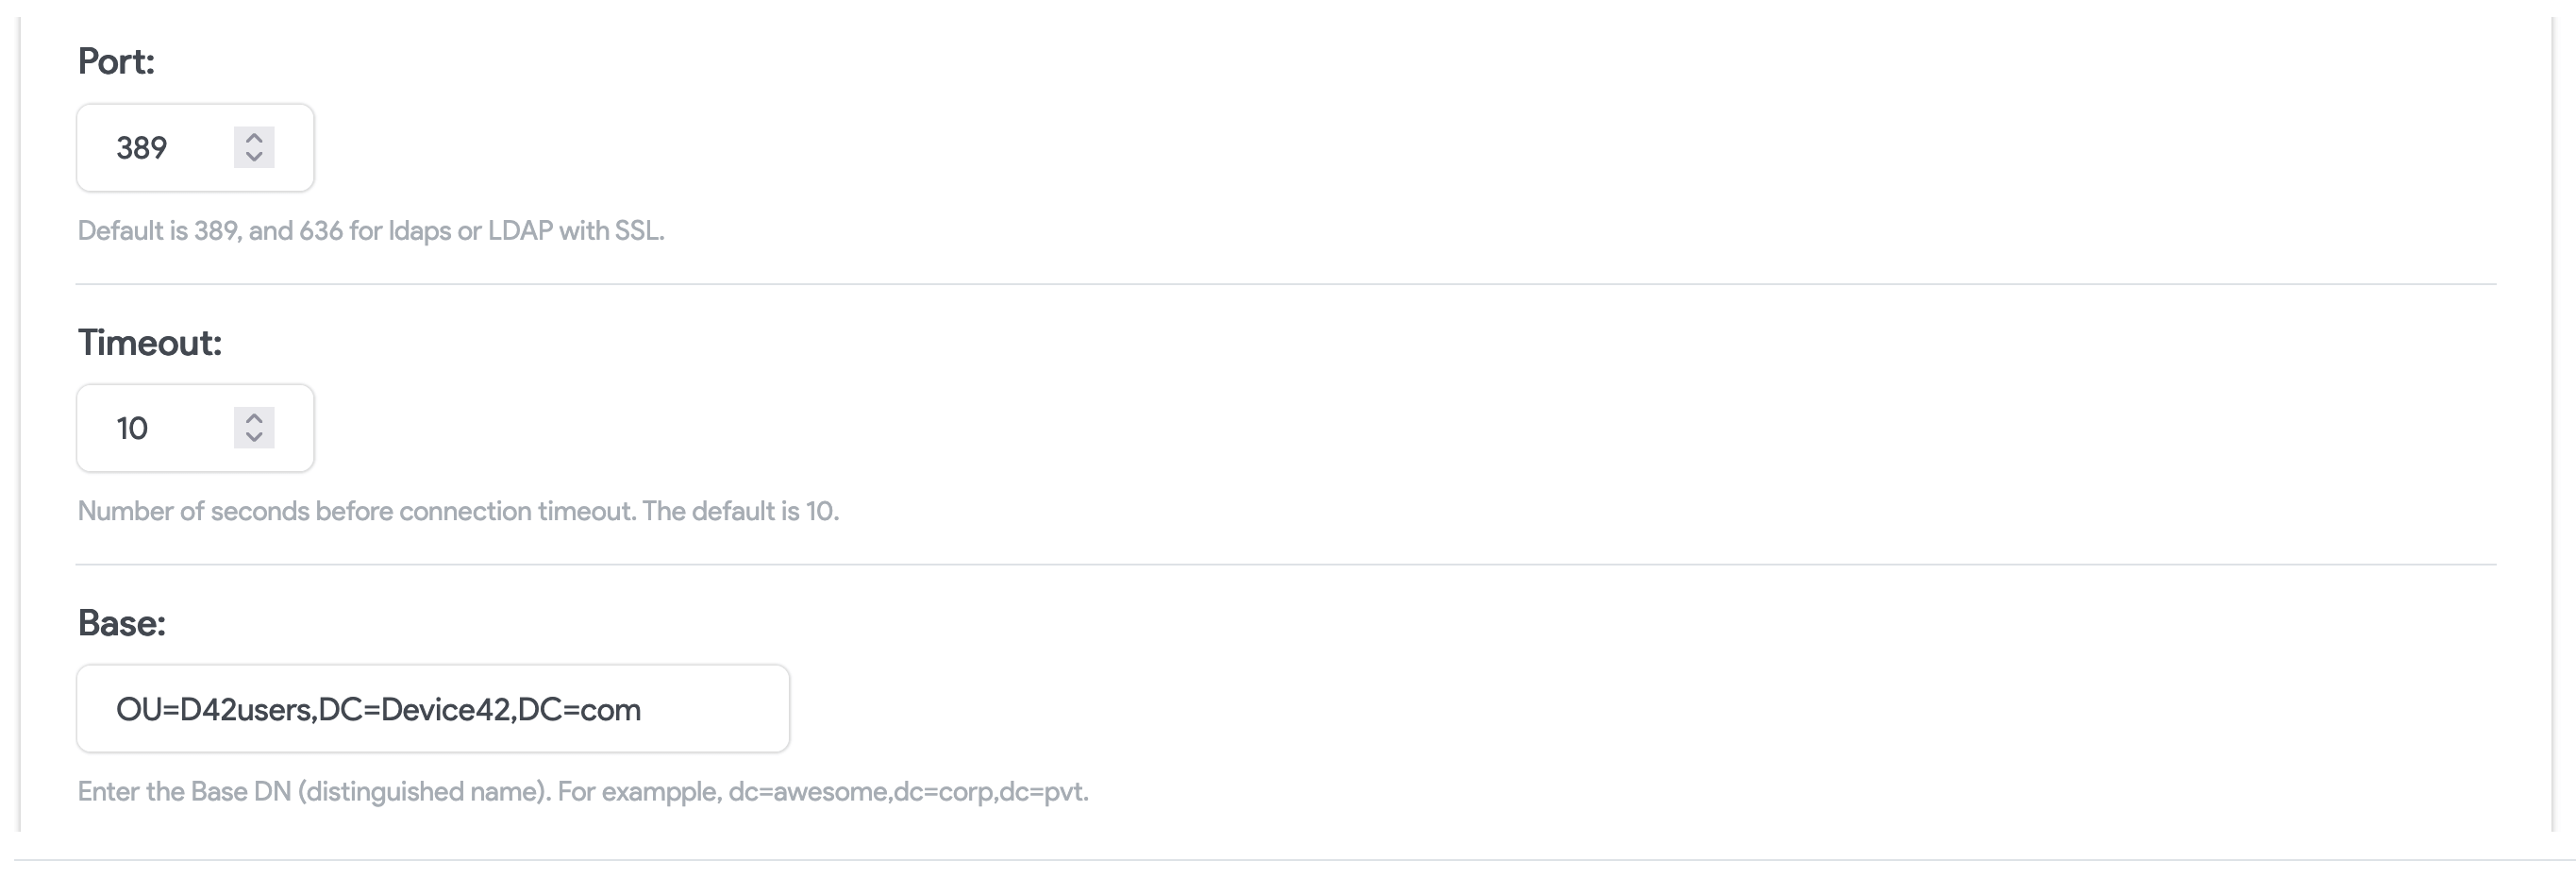
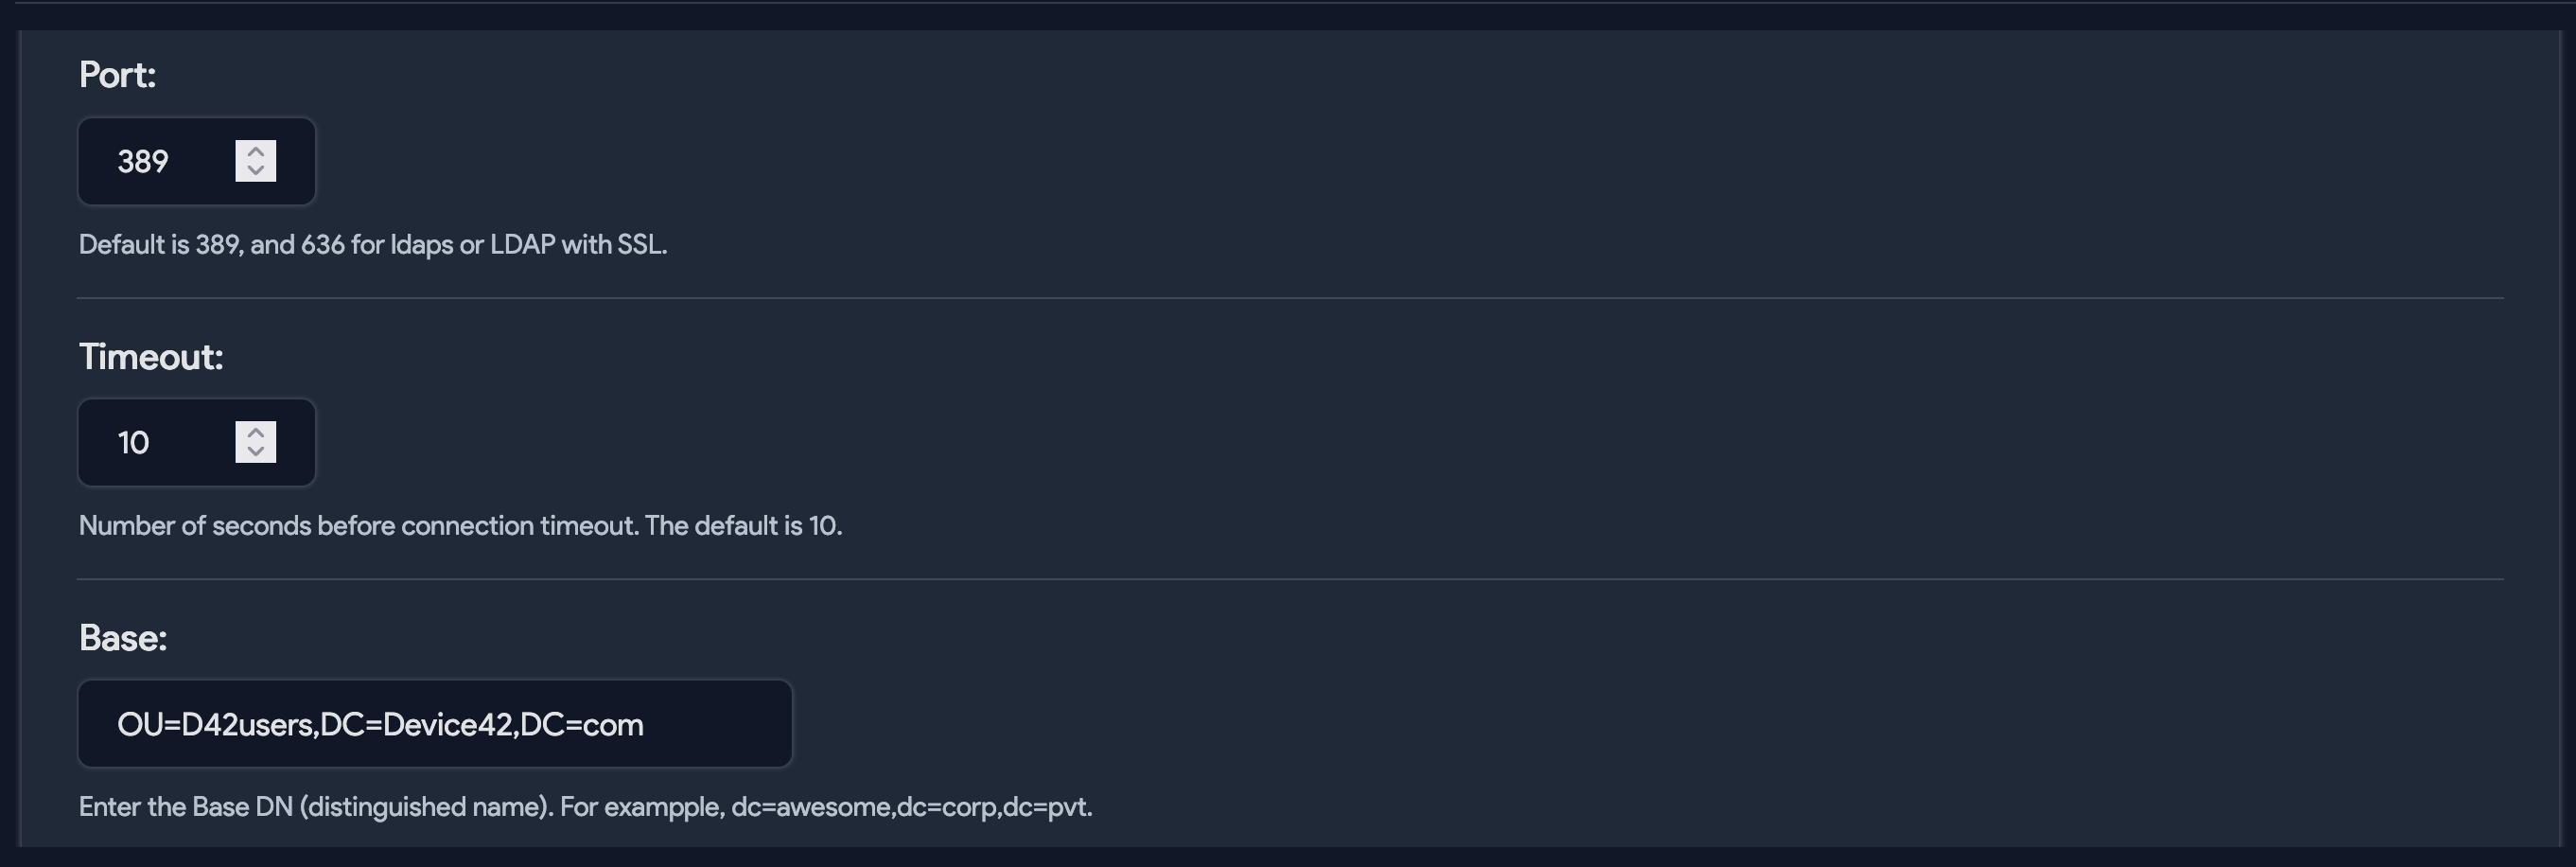
Port: Port for authentication requests to your LDAP or Active Directory server. Note that
389is the non-SSL default and636is the default SSL port. Ensure you change the port if you decide to enable SSL or run a non-standard port. -
Base: Enter the Base DN that points to your users.
-
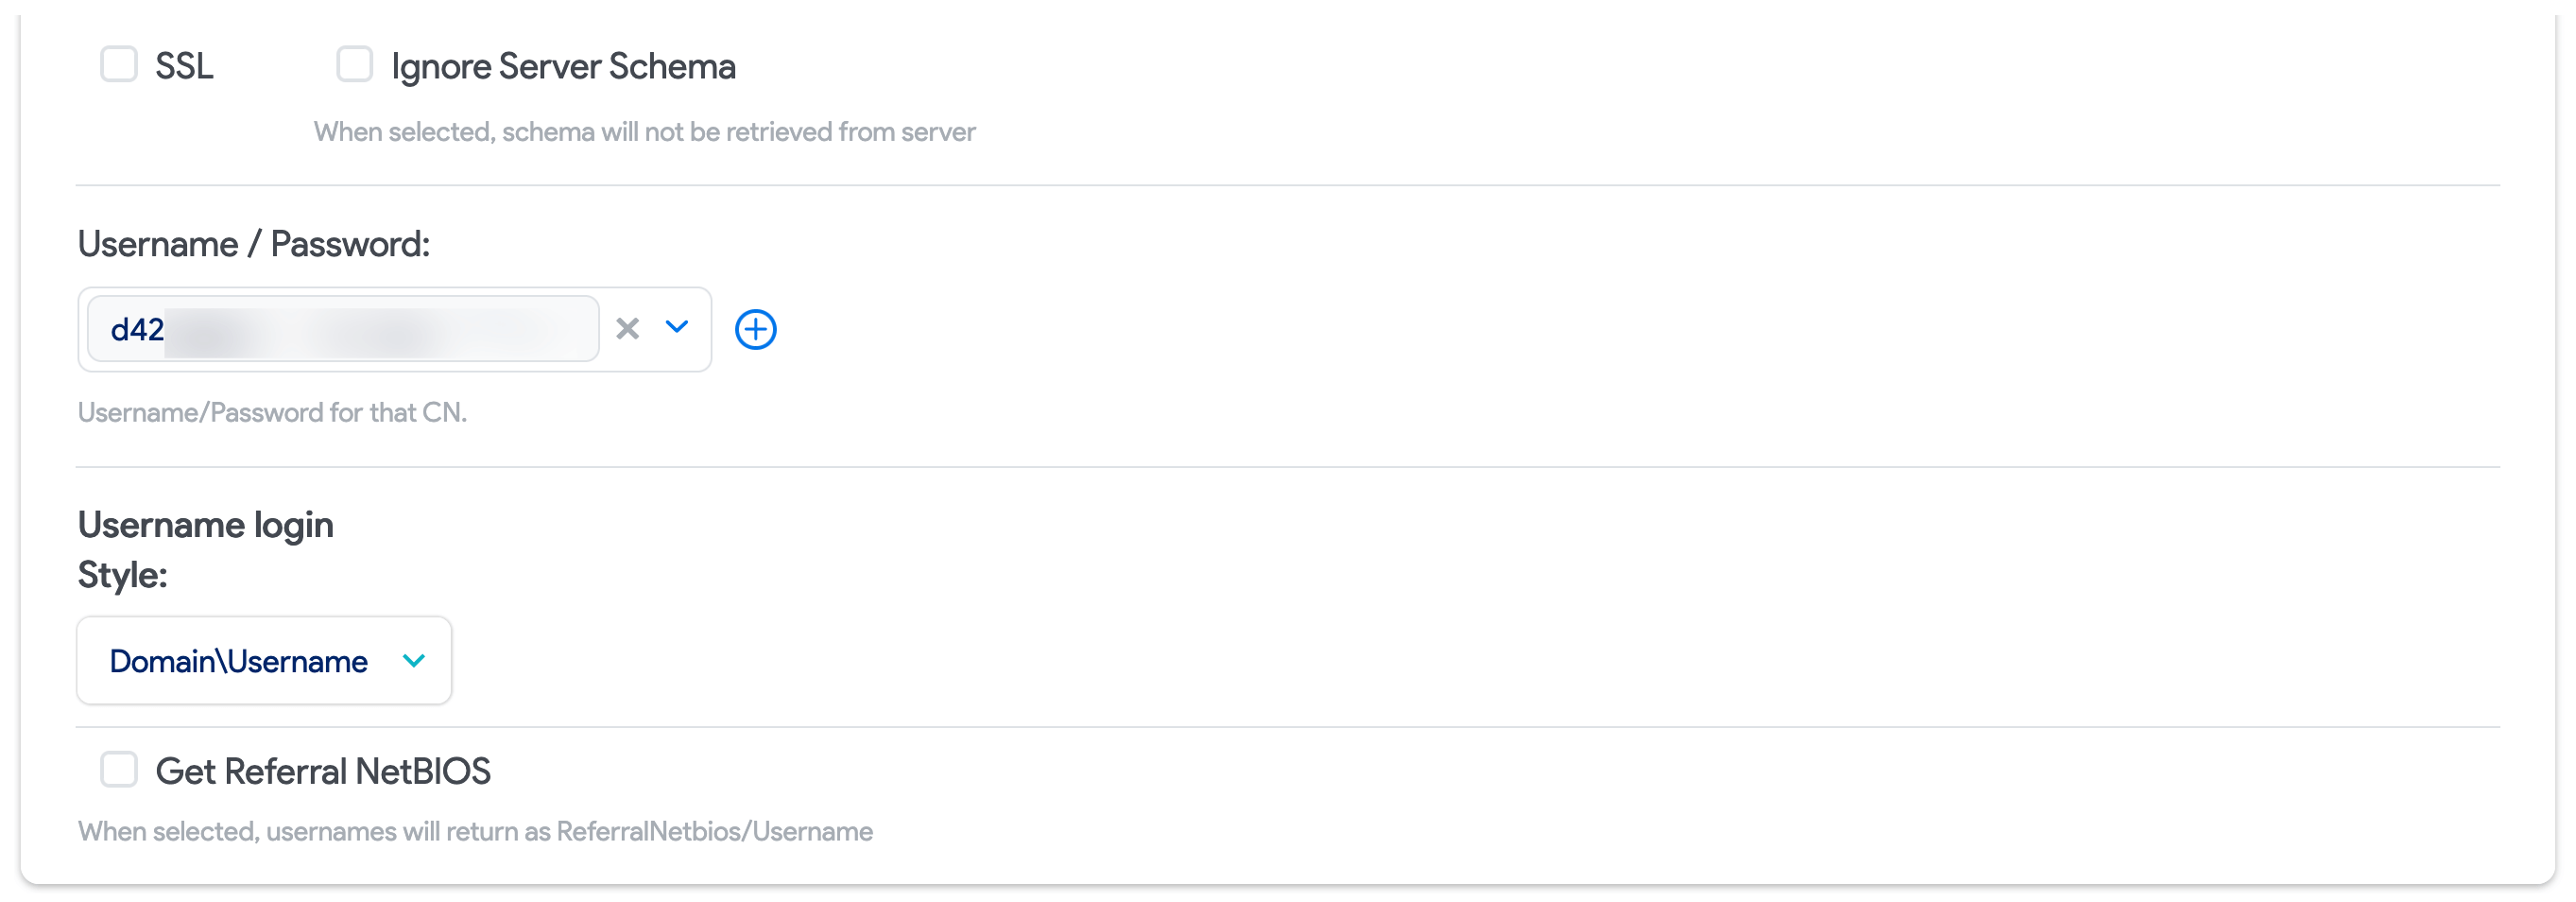
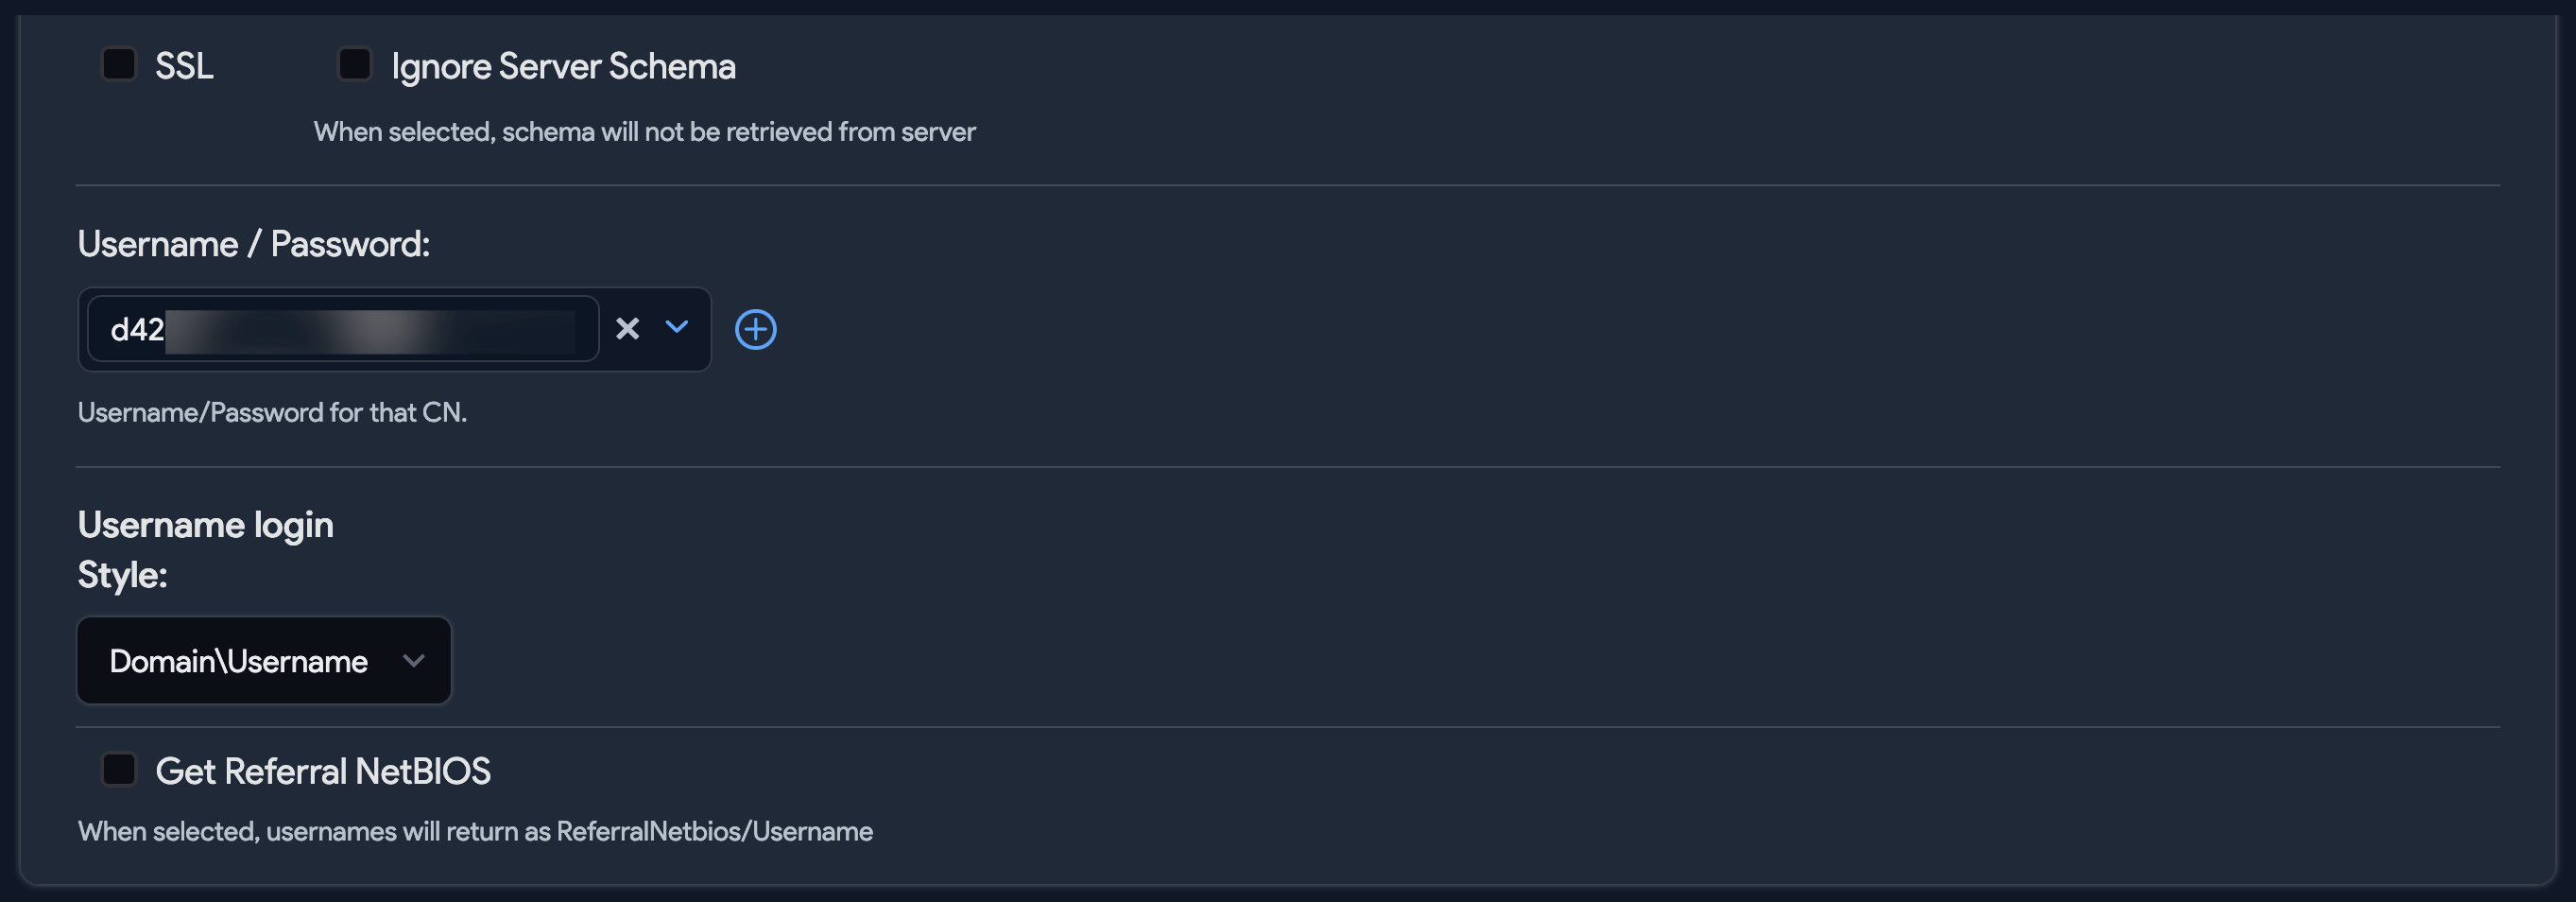
SSL: Check this box if you want to query AD or LDAP using SSL. Please change the port to
636or your configured SSL port if you check this box. -
Username/Password: The username and password for AD authentication.
-
Username login style: Choose how Device42 accounts created for AD users will be formatted both in Device42 and for login.
cautionChanges to the Username login style setting only affect users imported after the change. To change the account and login format for all users, delete the existing Device42 accounts, change the login style setting, and then re-sync the accounts from AD.
-
NetBIOS name: NetBIOS name is an up-to-15-character representation of your domain name, and may be entirely different from the domain name. Visit the Microsoft Disjoint namespace scenarios article for help locating domain NetBIOS names.
Configure an AD/LDAP User Discovery Job
When you've configured the AD/LDAP settings, create an AD/LDAP sync job. From the main menu, go to Discovery > AD/LDAP Users and click Create.
Choose User Type
Name the AD/LDAP sync job. Then choose the Device42 user Type to create from the discovered AD/LDAP users or group members. In the Group or OU DN field, enter the exact Group Distinguished Name.
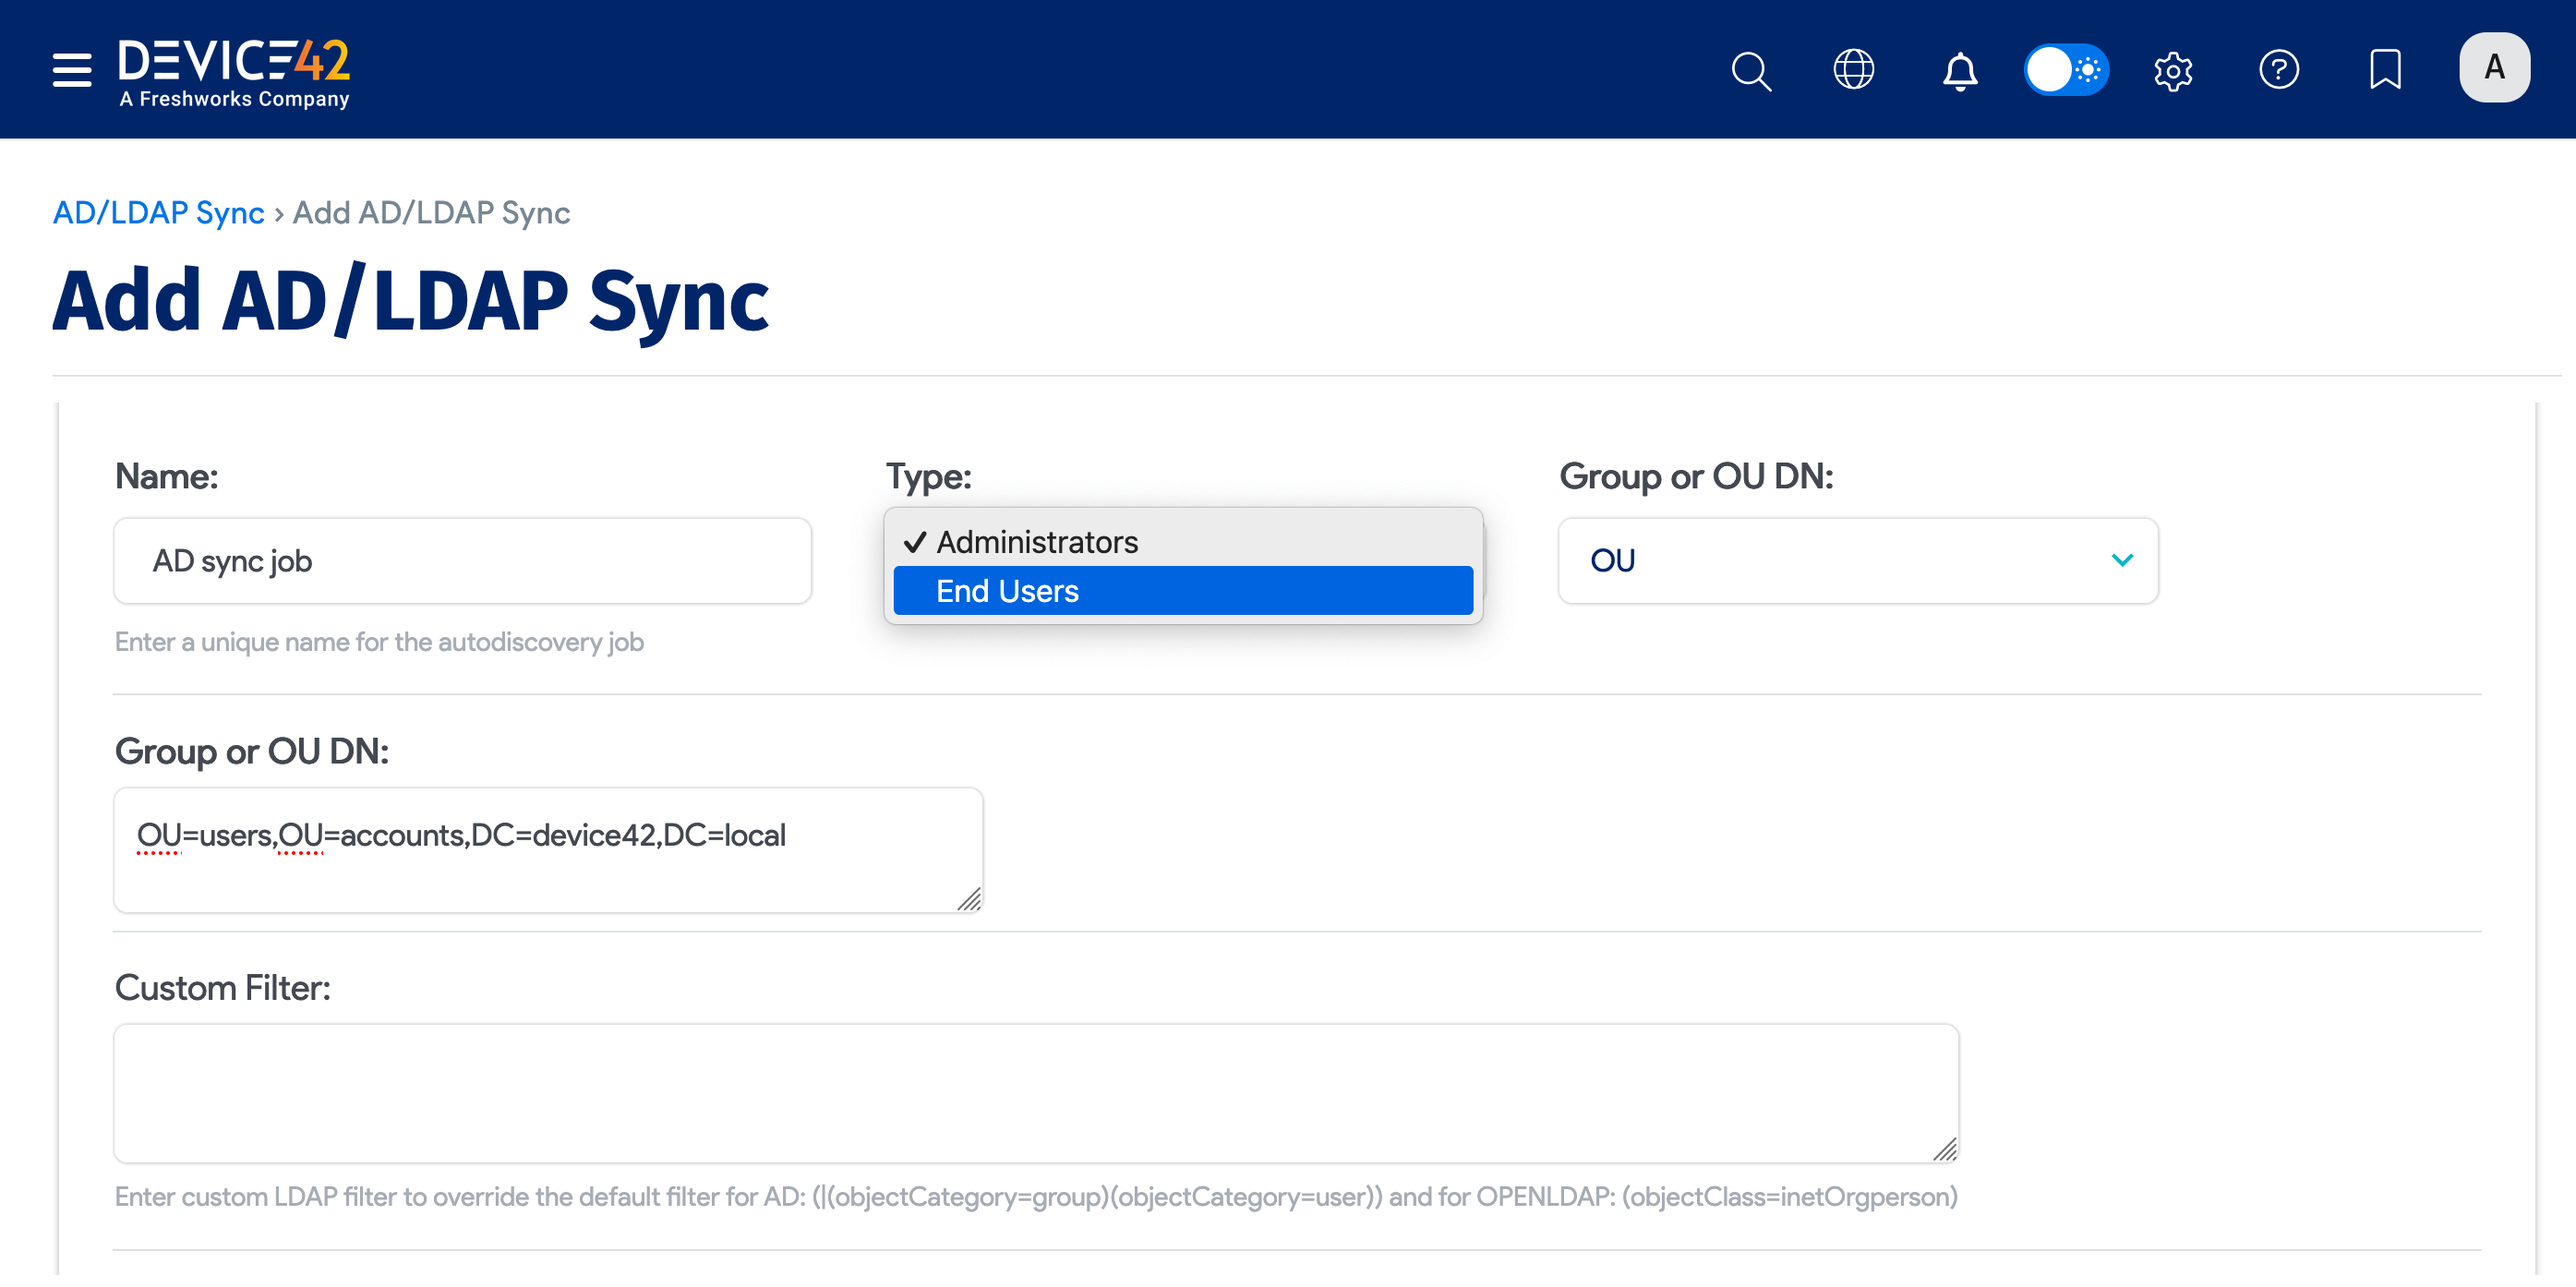
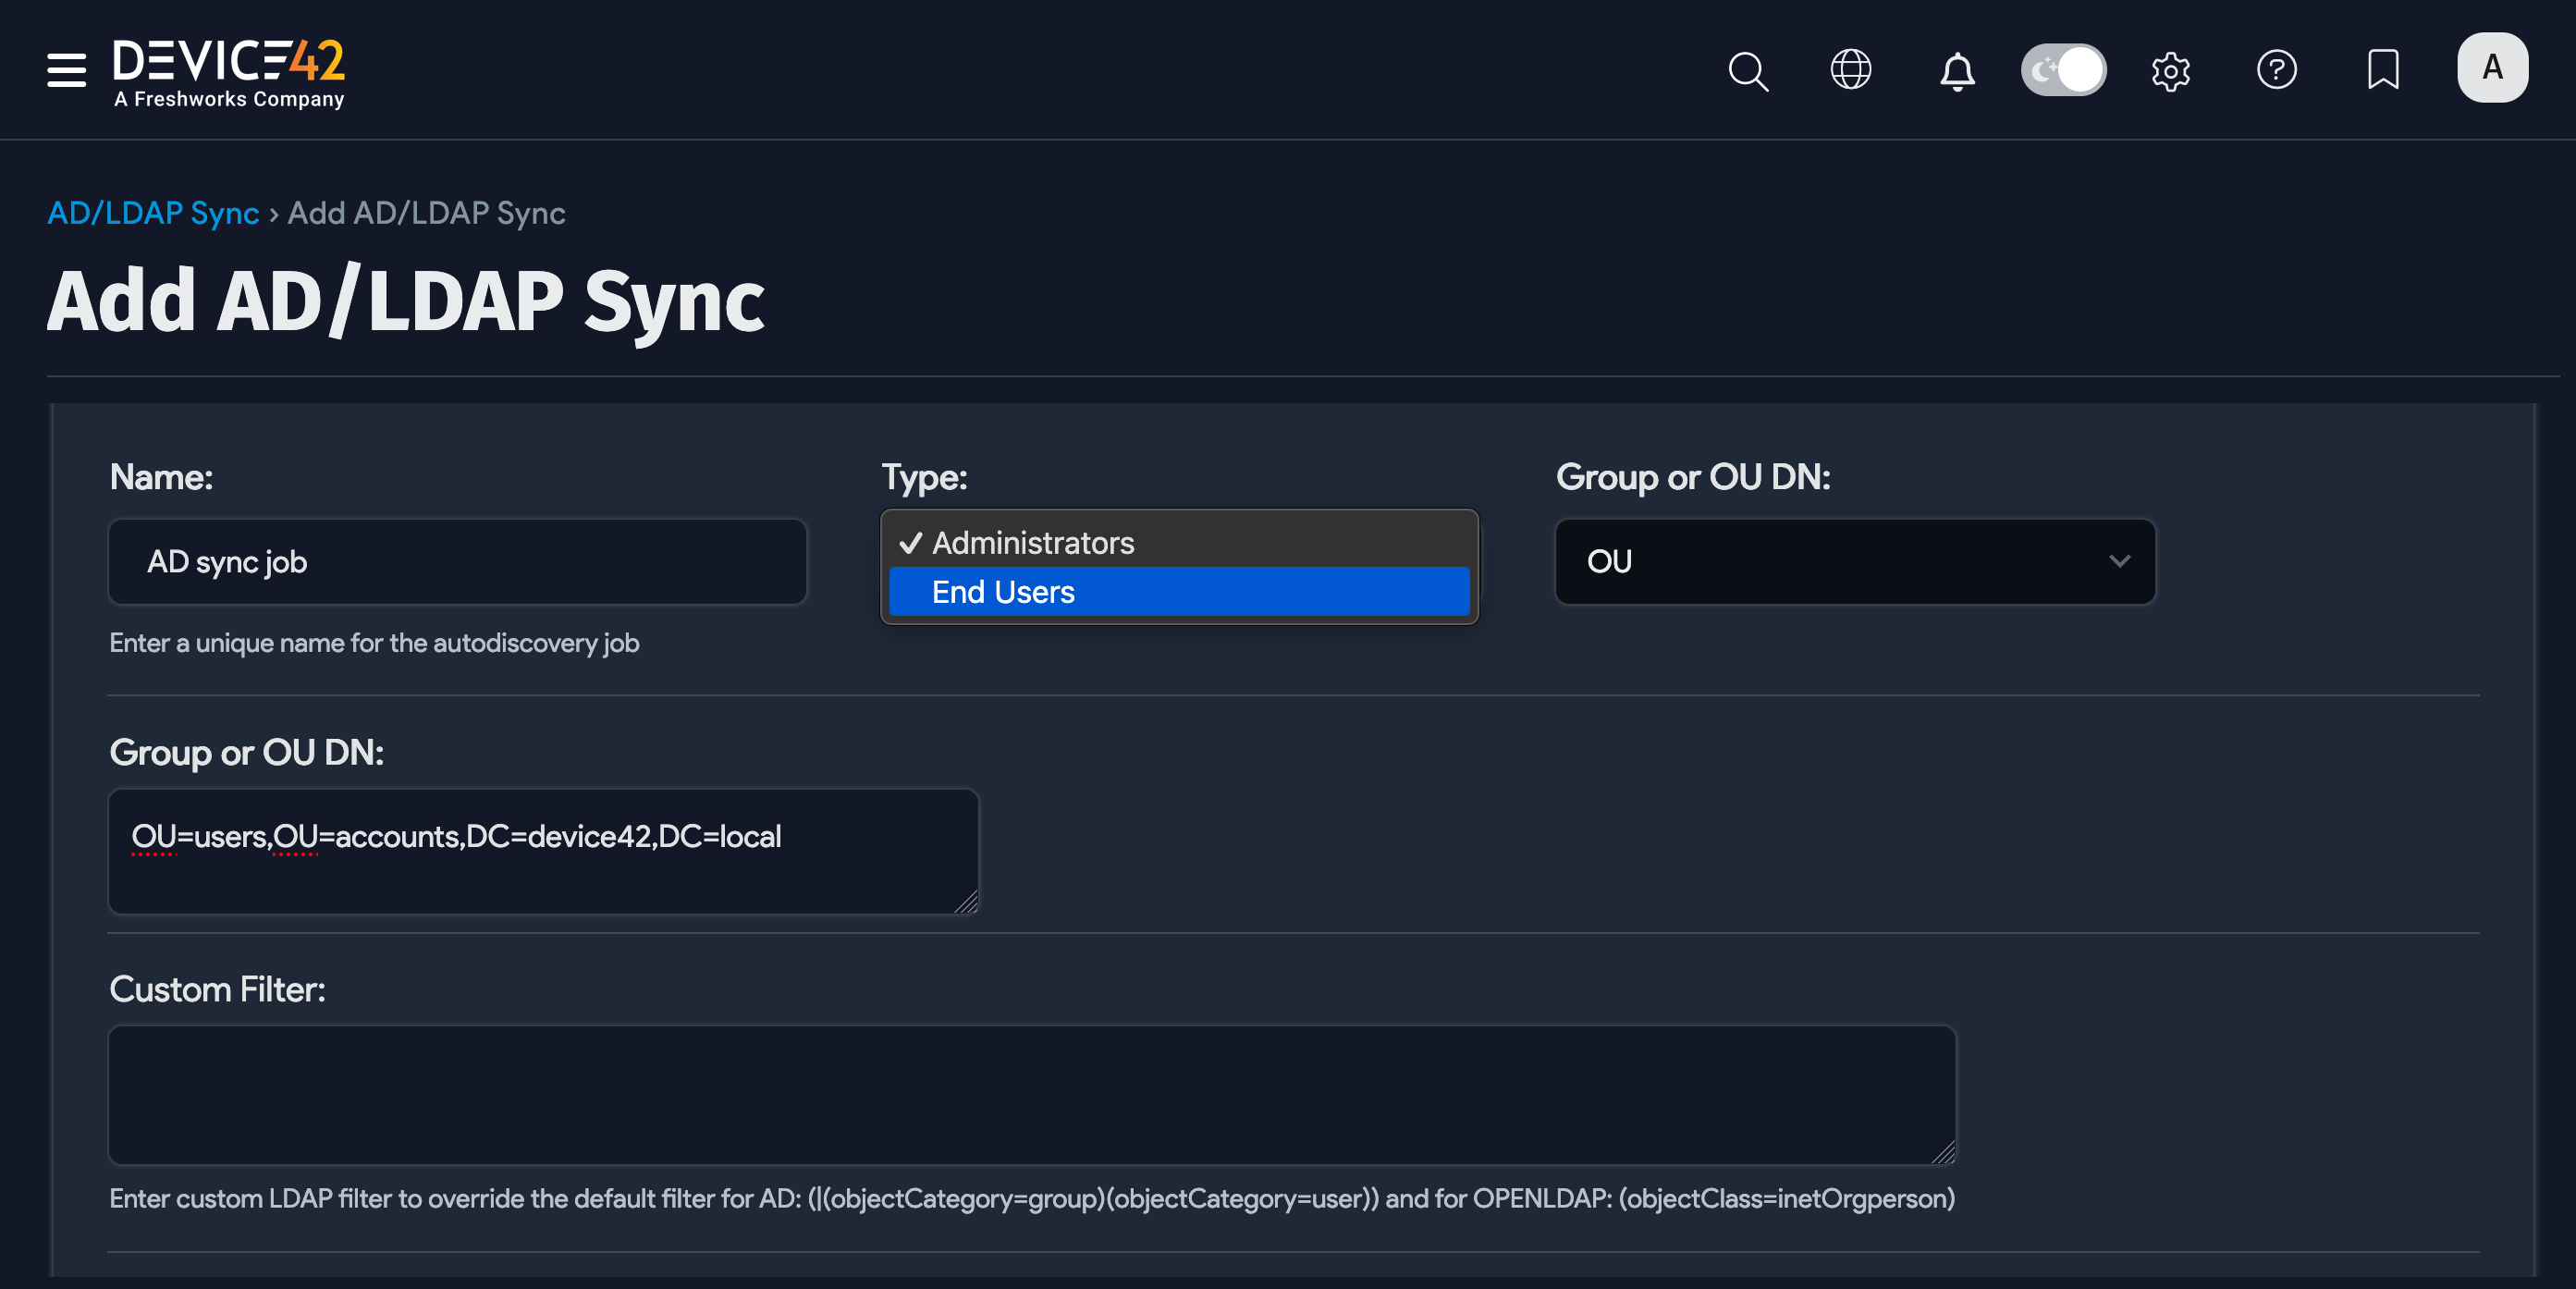
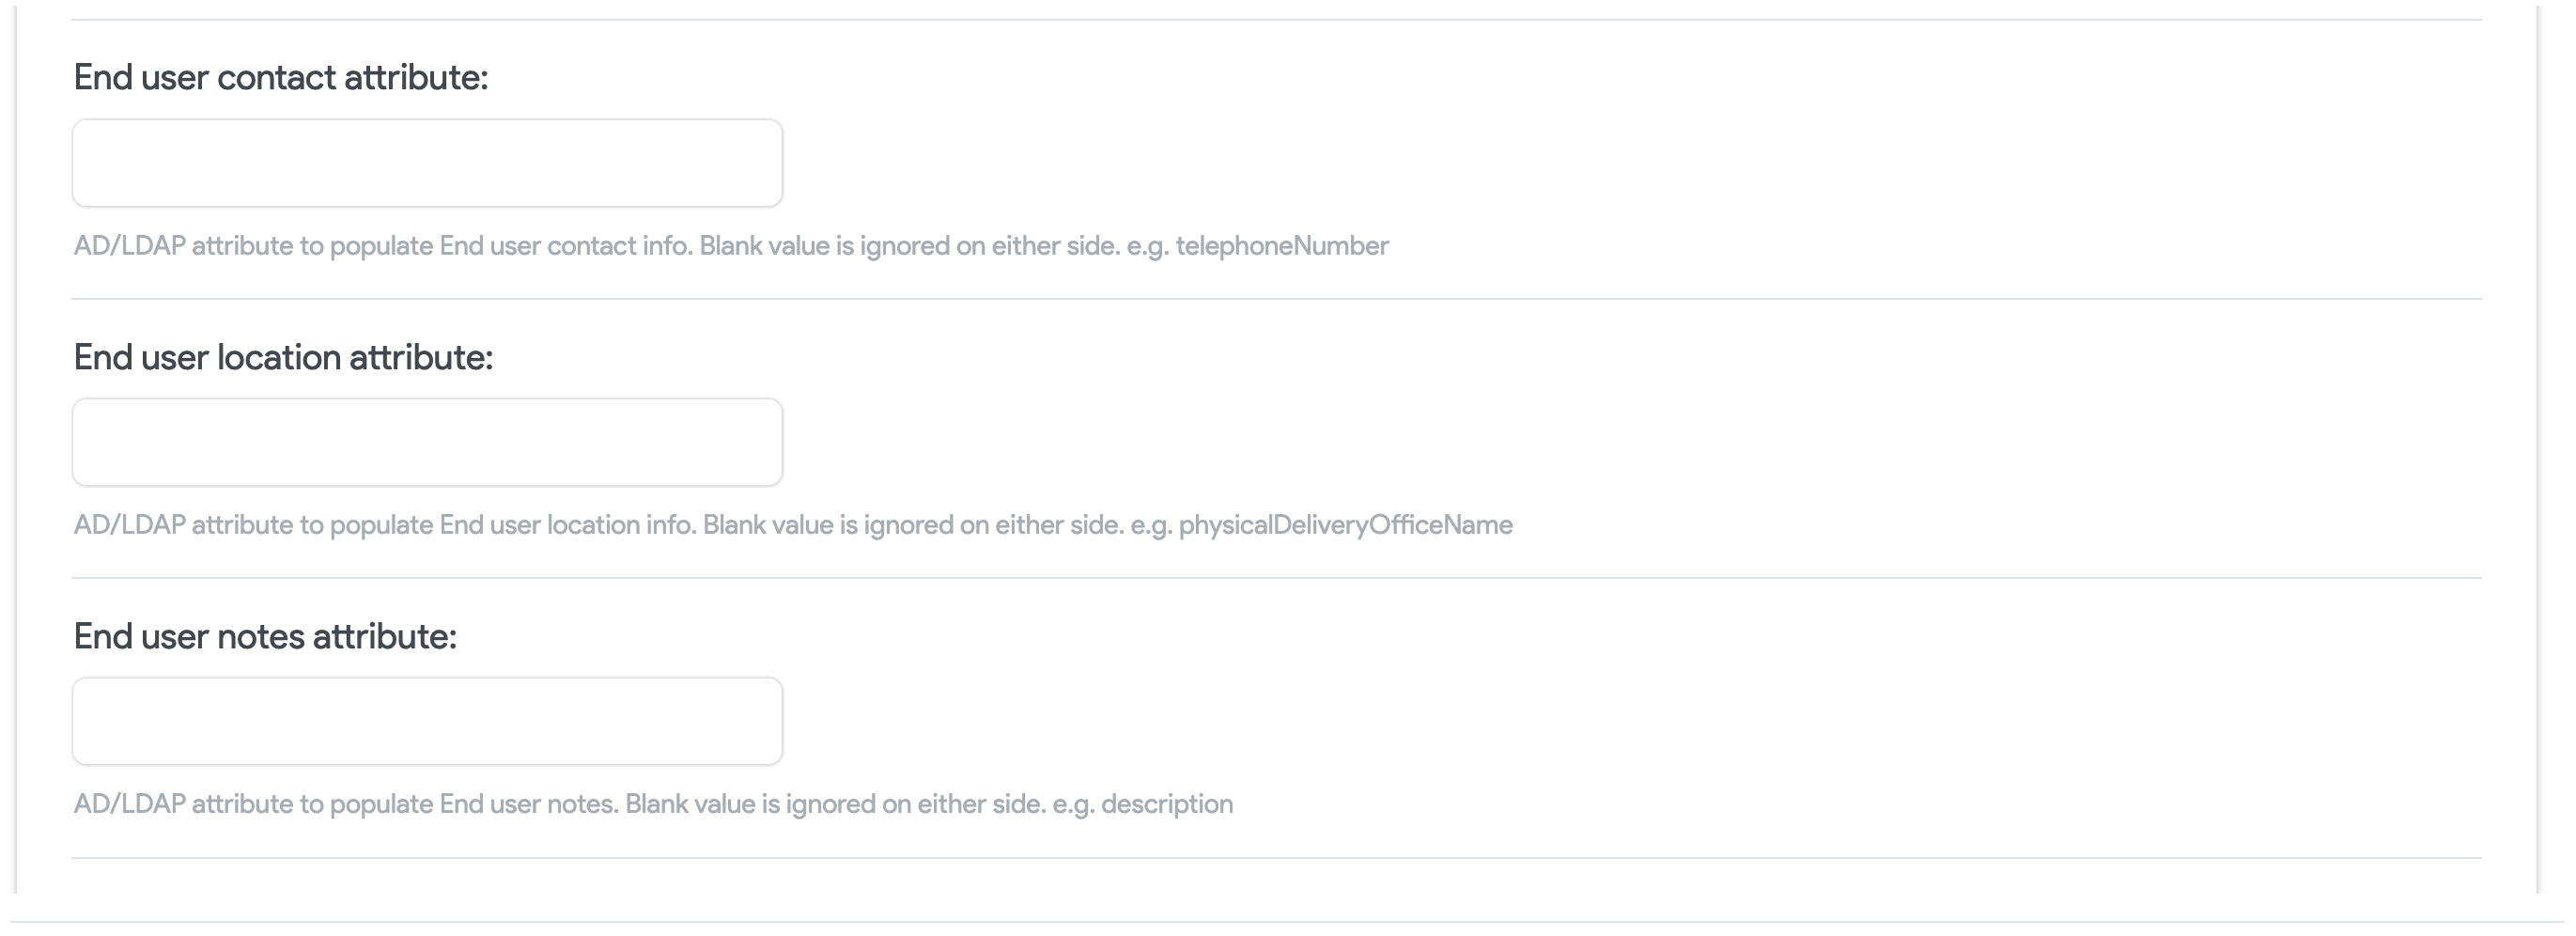
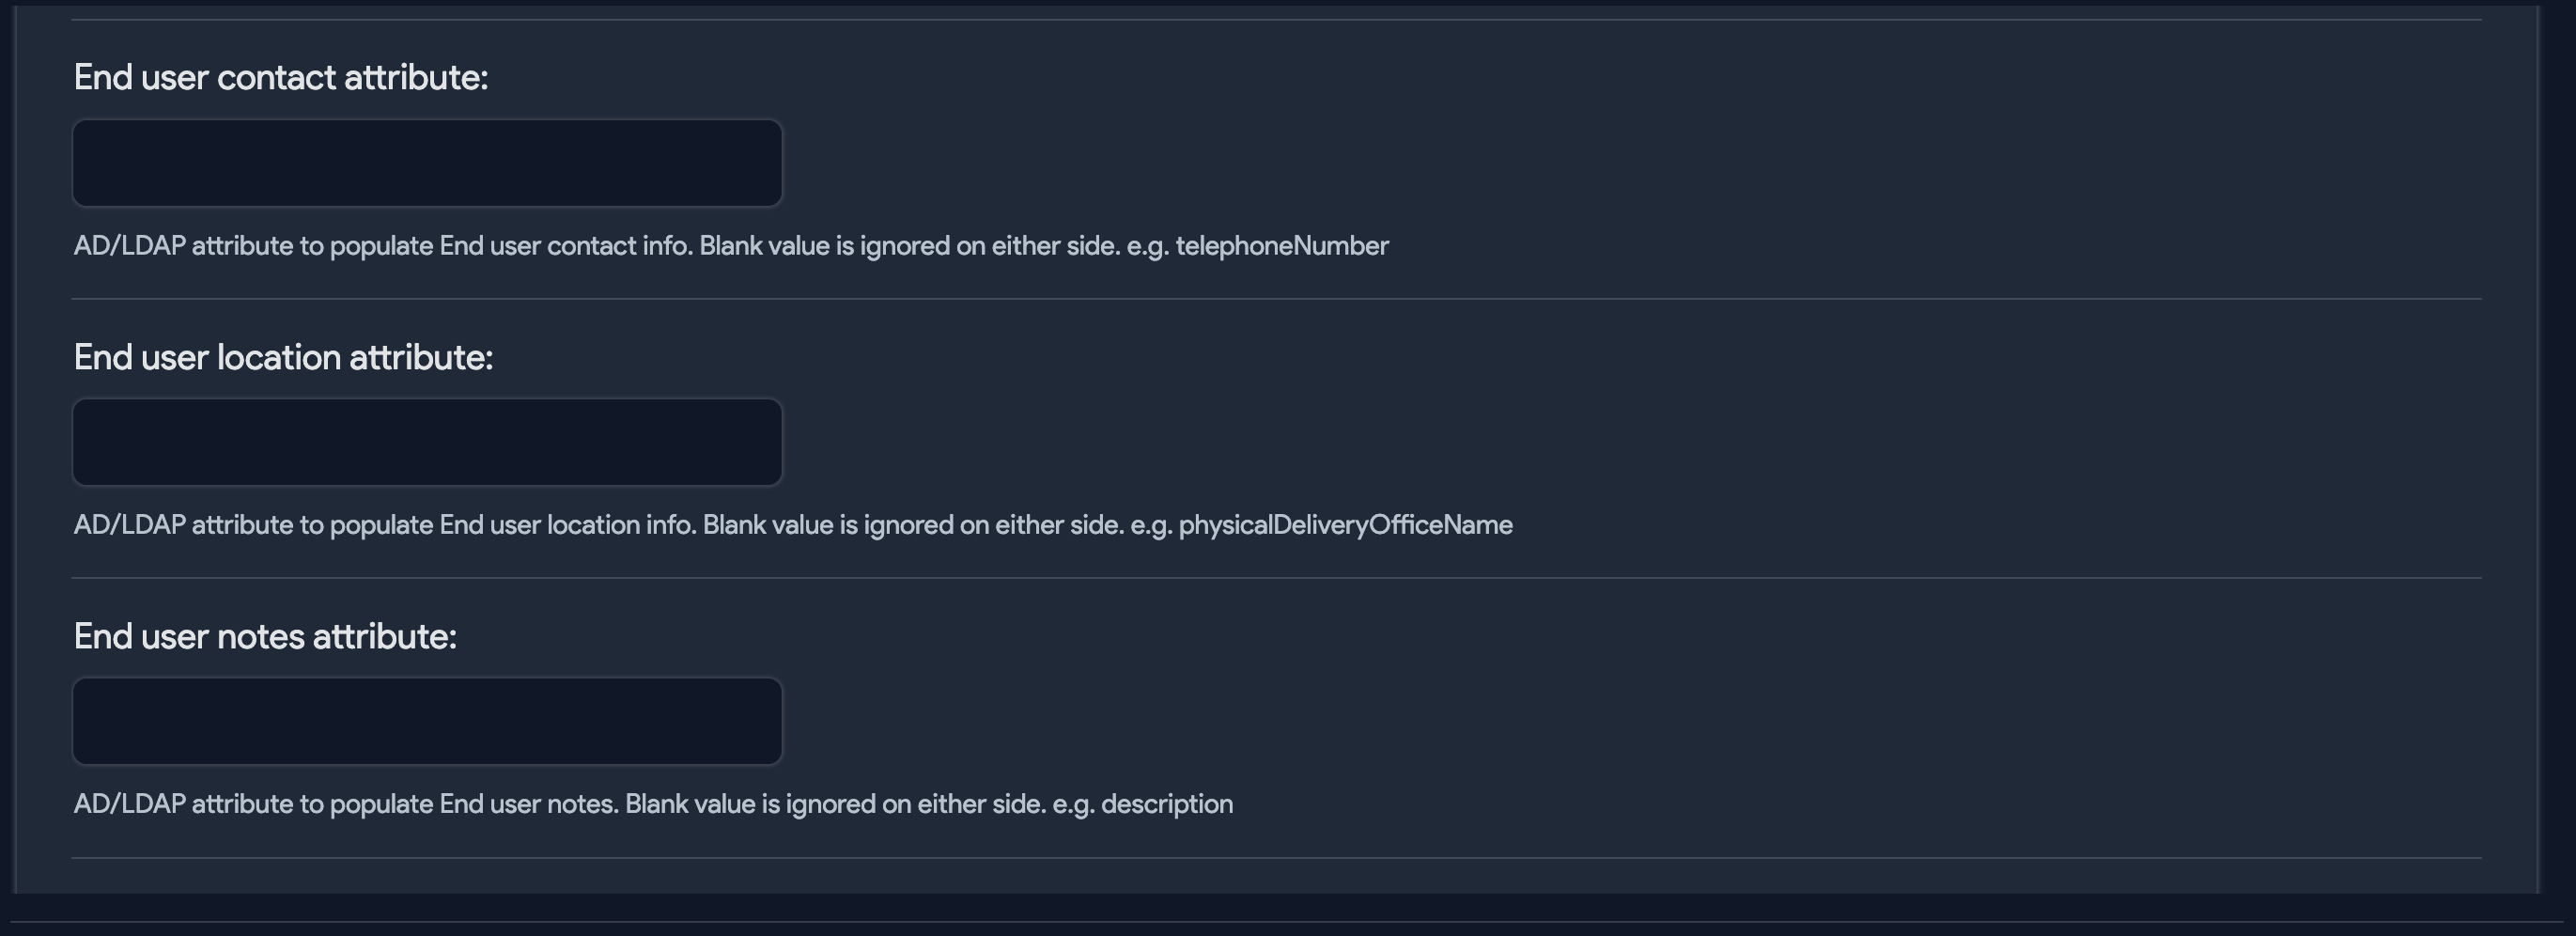
-
If you choose End Users as the user type, you can choose AD/LDAP attributes to populate end user contact information, location, and notes. You'll also be able to choose and create Departments.
-
If you choose Administrator as the user type, you'll be able to choose and create Permission Groups, and the following options will become available:
-
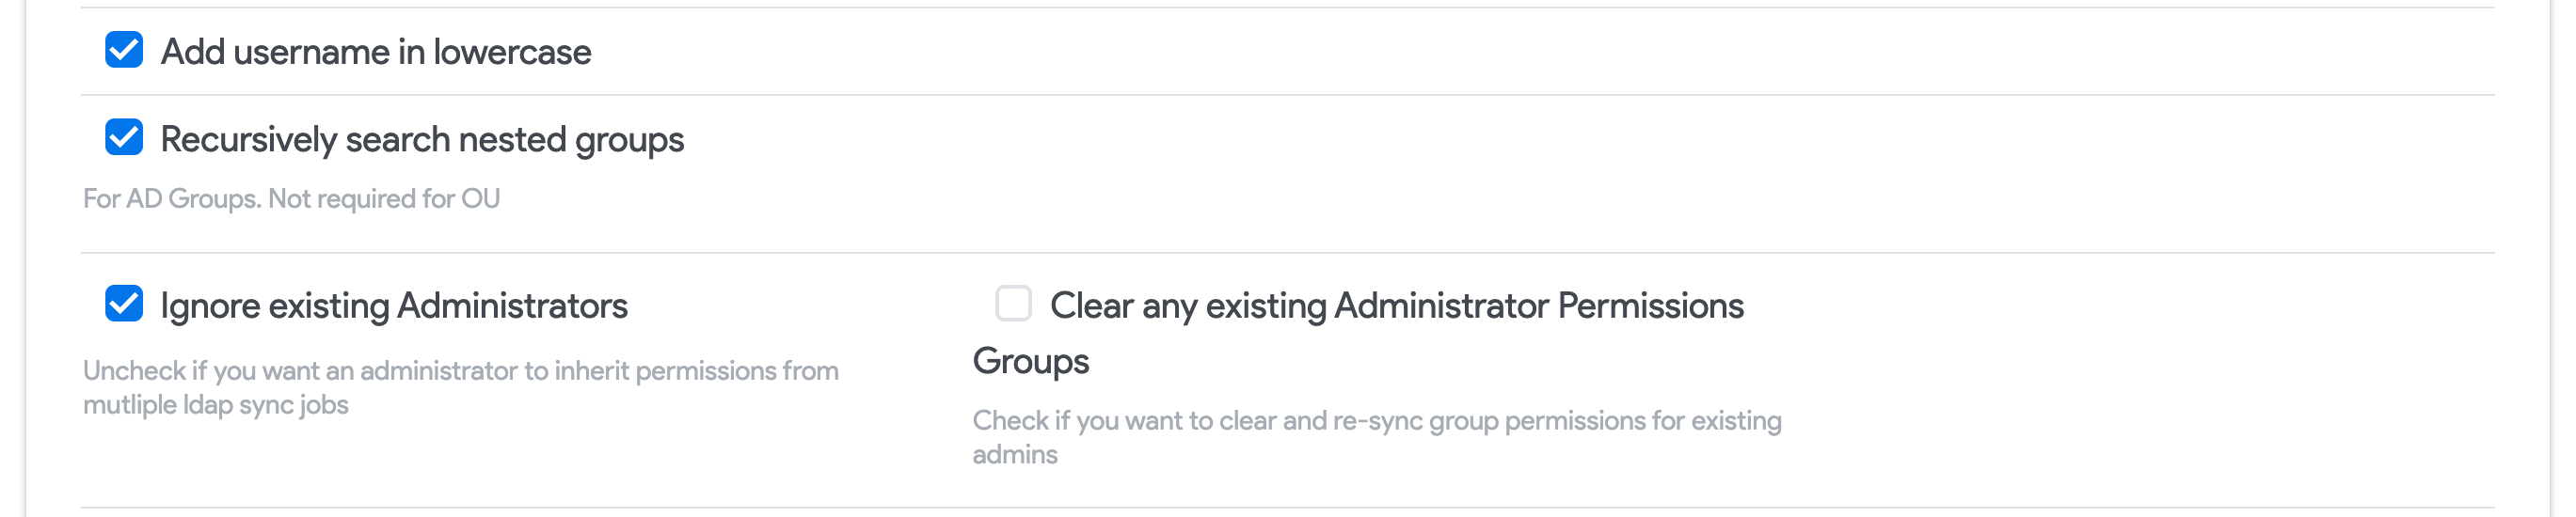
Add username in lowercase: Convert all characters to lowercase when adding discovered users to Device42.
-
Recursively search nested groups: Select this option to add nested groups (groups that are members of other groups). By default, nested groups will not be added.
-
Ignore existing Administrators: Uncheck this option if you'd like administrators to continue to inherit permissions from multiple LDAP sync jobs.
-
Clear any existing Administrator Permissions Groups: Check to remove all group memberships from existing admins before adding newly discovered memberships.

-
Specify a Custom LDAP Filter
Use the Custom Filter field to define which objects are synced.


By default, the LDAP filter is set to retrieve objects of type group or user, and is denoted by:
(|(objectCategory=group)(objectCategory=user))
Similarly, the default LDAP filter for OpenLDAP sync is (objectClass=inetOrgperson), which gets the inetOrgperson object type.
You can specify your own LDAP filter to fetch all active users and groups:
(&(|(objectCategory=group)(objectCategory=user))(!(userAccountControl:1.2.840.113556.1.4.803:=2)))
The userAccountControl attribute uses a bitwise filter to look for specific flags and is set to 2 for disabled accounts. The preceding exclamation point (!) in the command excludes such accounts.
Now, disabled accounts will be ignored when Active Directory accounts are synced. You can use similar LDAP attribute filters to control which objects get synced.
Select Config Settings and Add Credentials
Next, choose the settings configuration you created in the Prerequisites section and provide the AD/LDAP Username and Password to use for authentication.


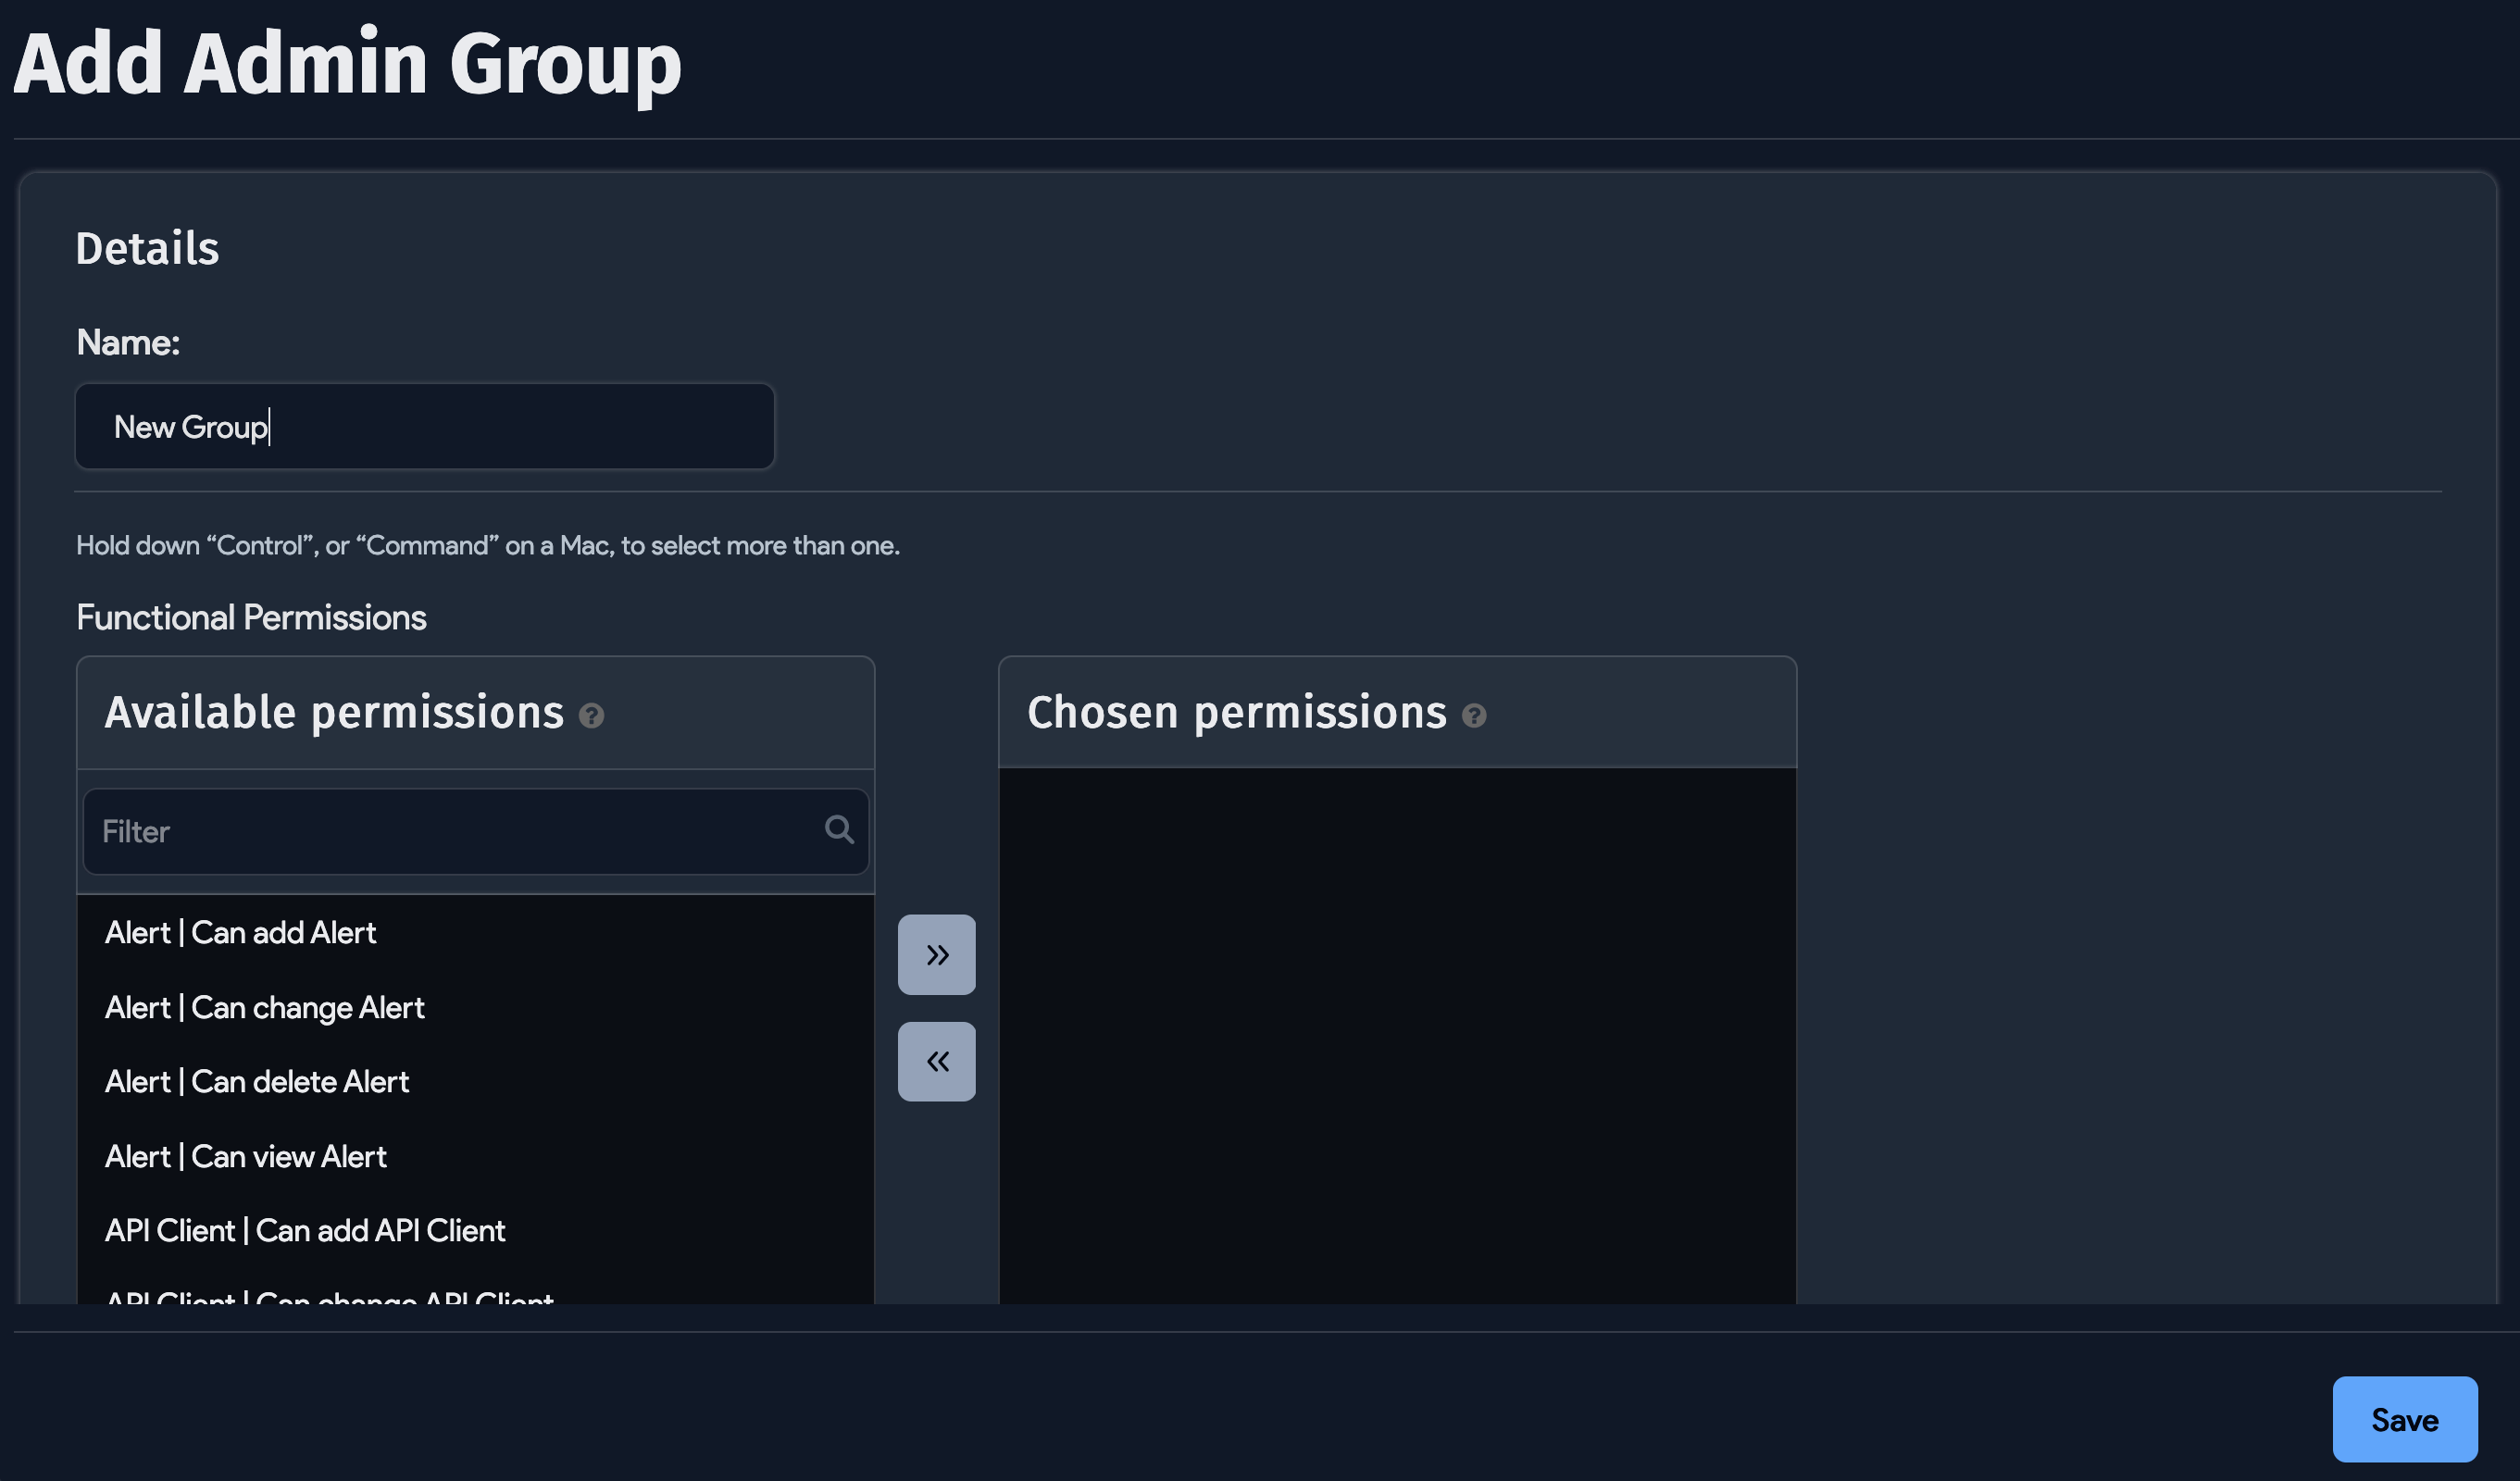
Select Permission Groups for Administrators
If you chose Administrators as the Type, you'll have the option to grant Device42 permissions to selected admin groups. Note that these permission groups are Device42 admin groups, not Active Directory groups.
Select from the available Permission Groups on the left and use the arrow button to move them to the Chosen Permission Groups side.
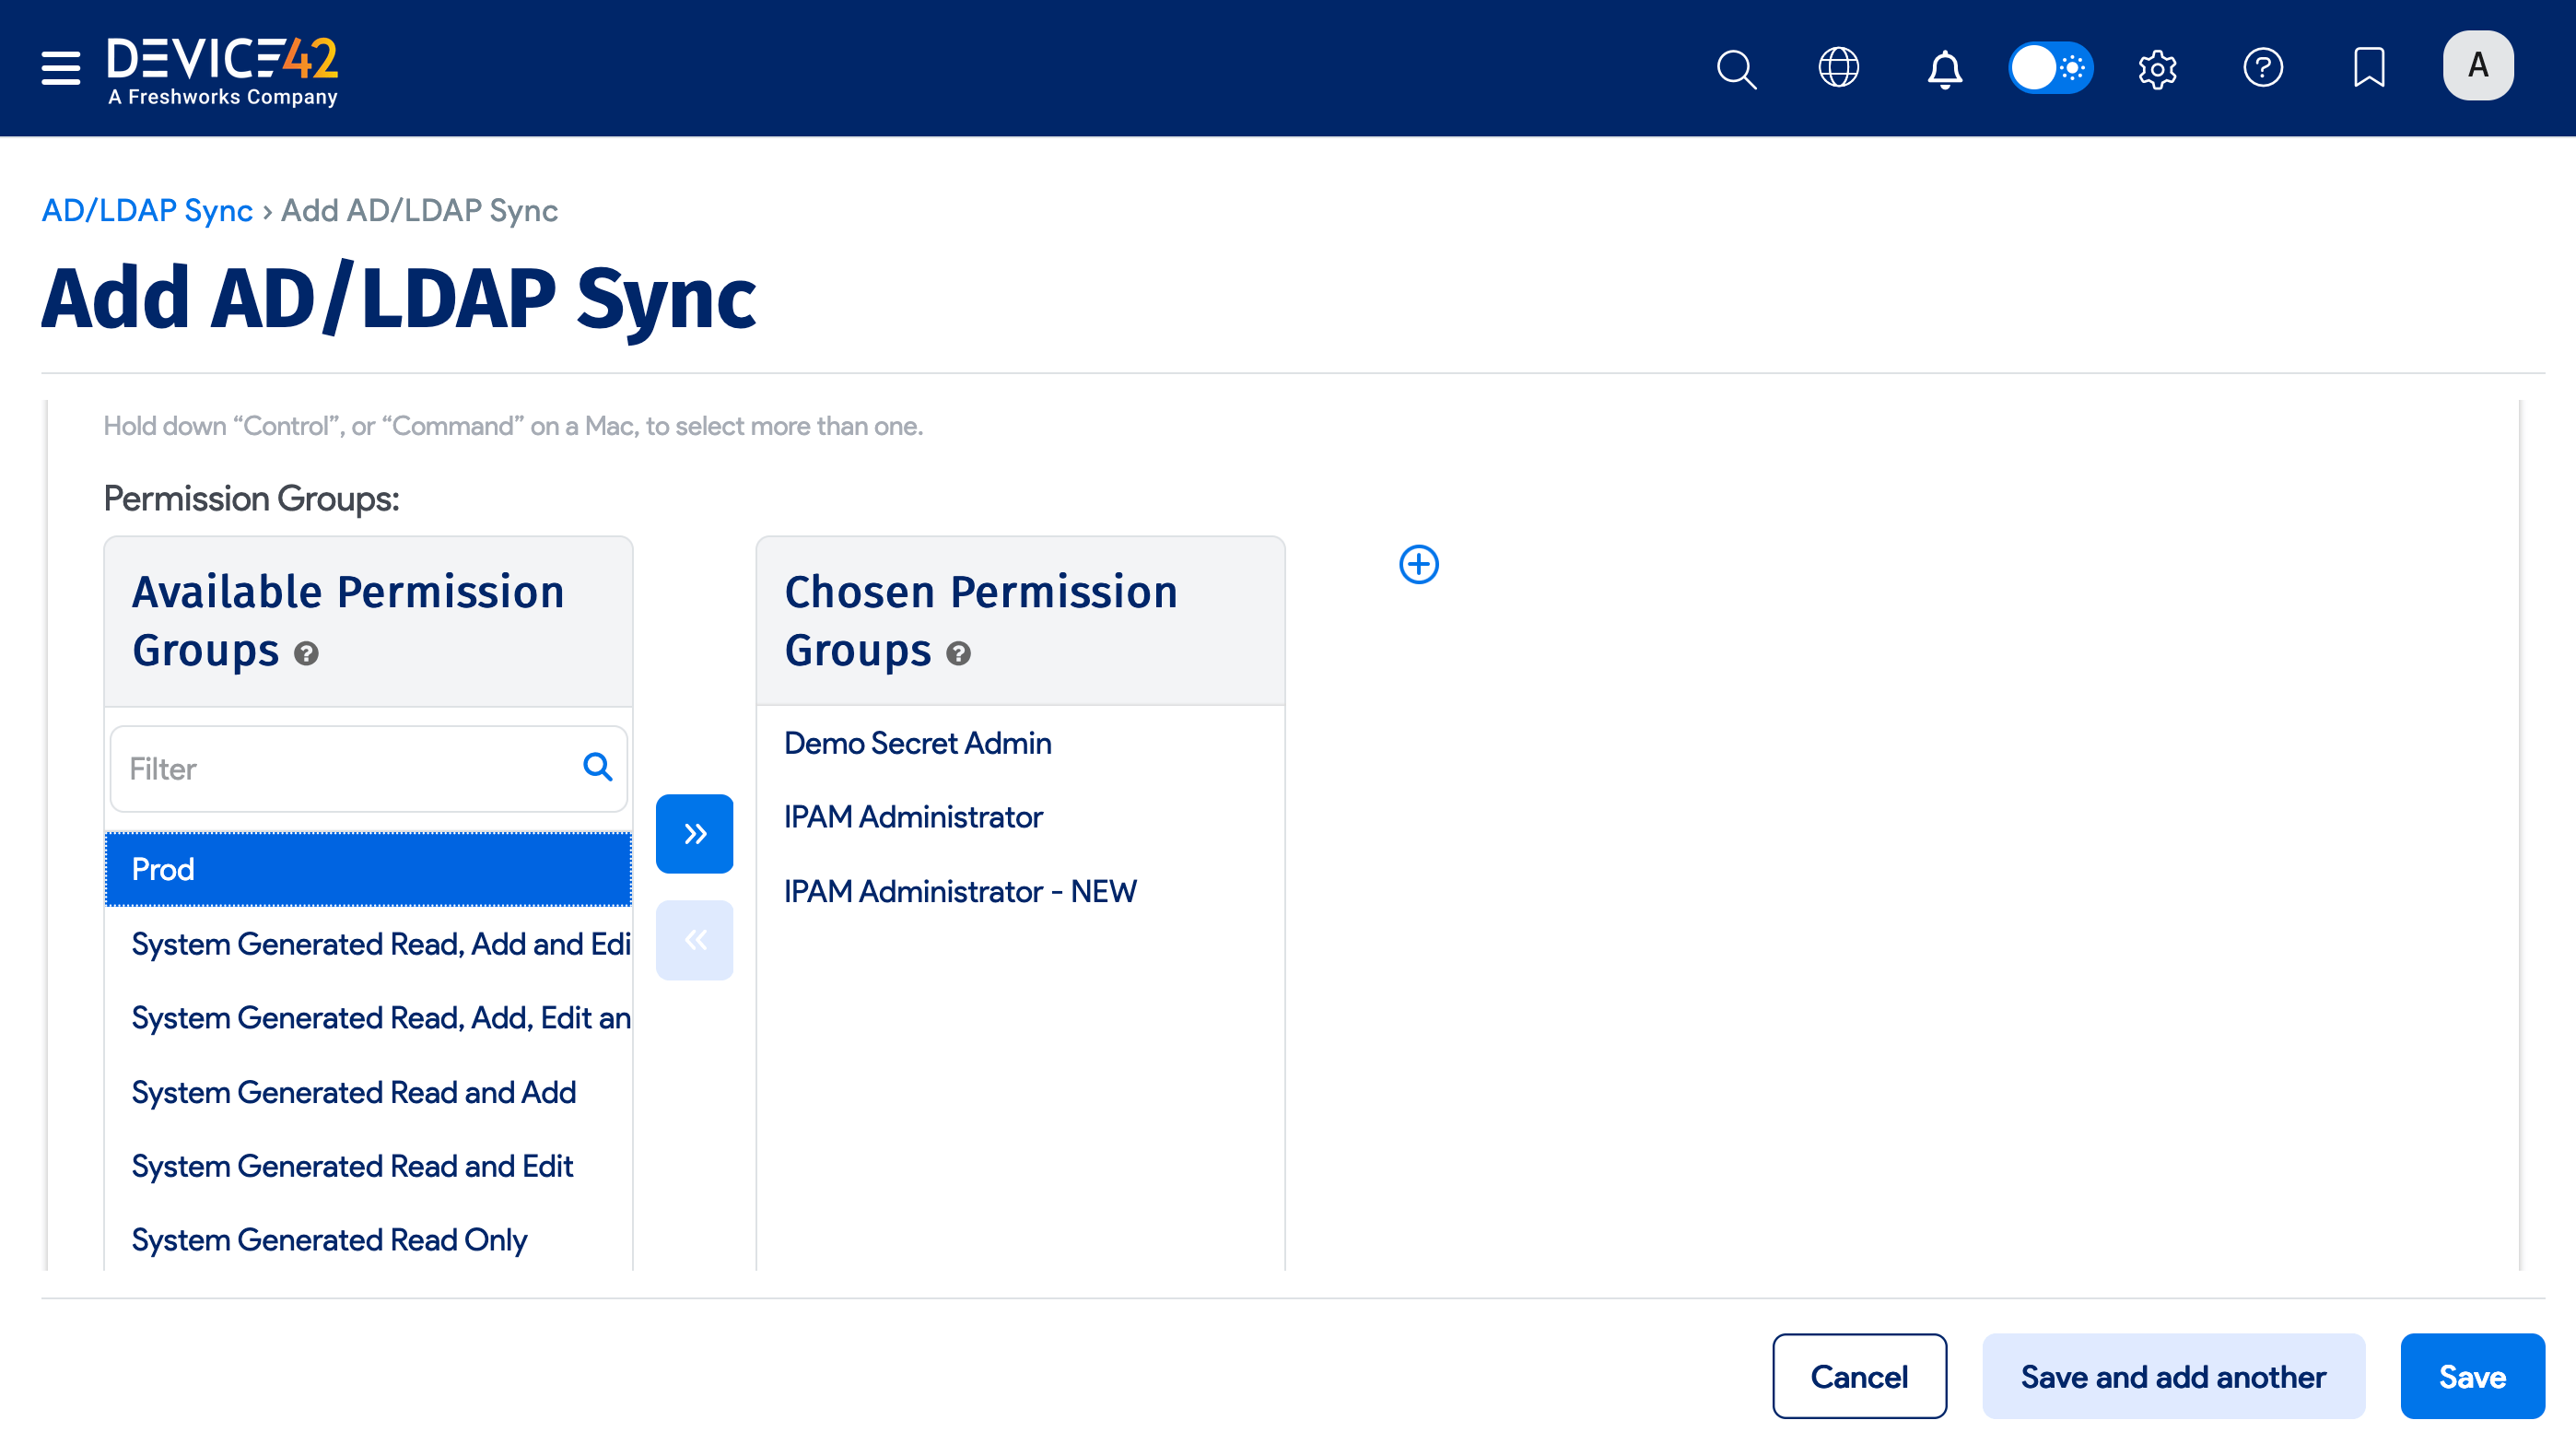
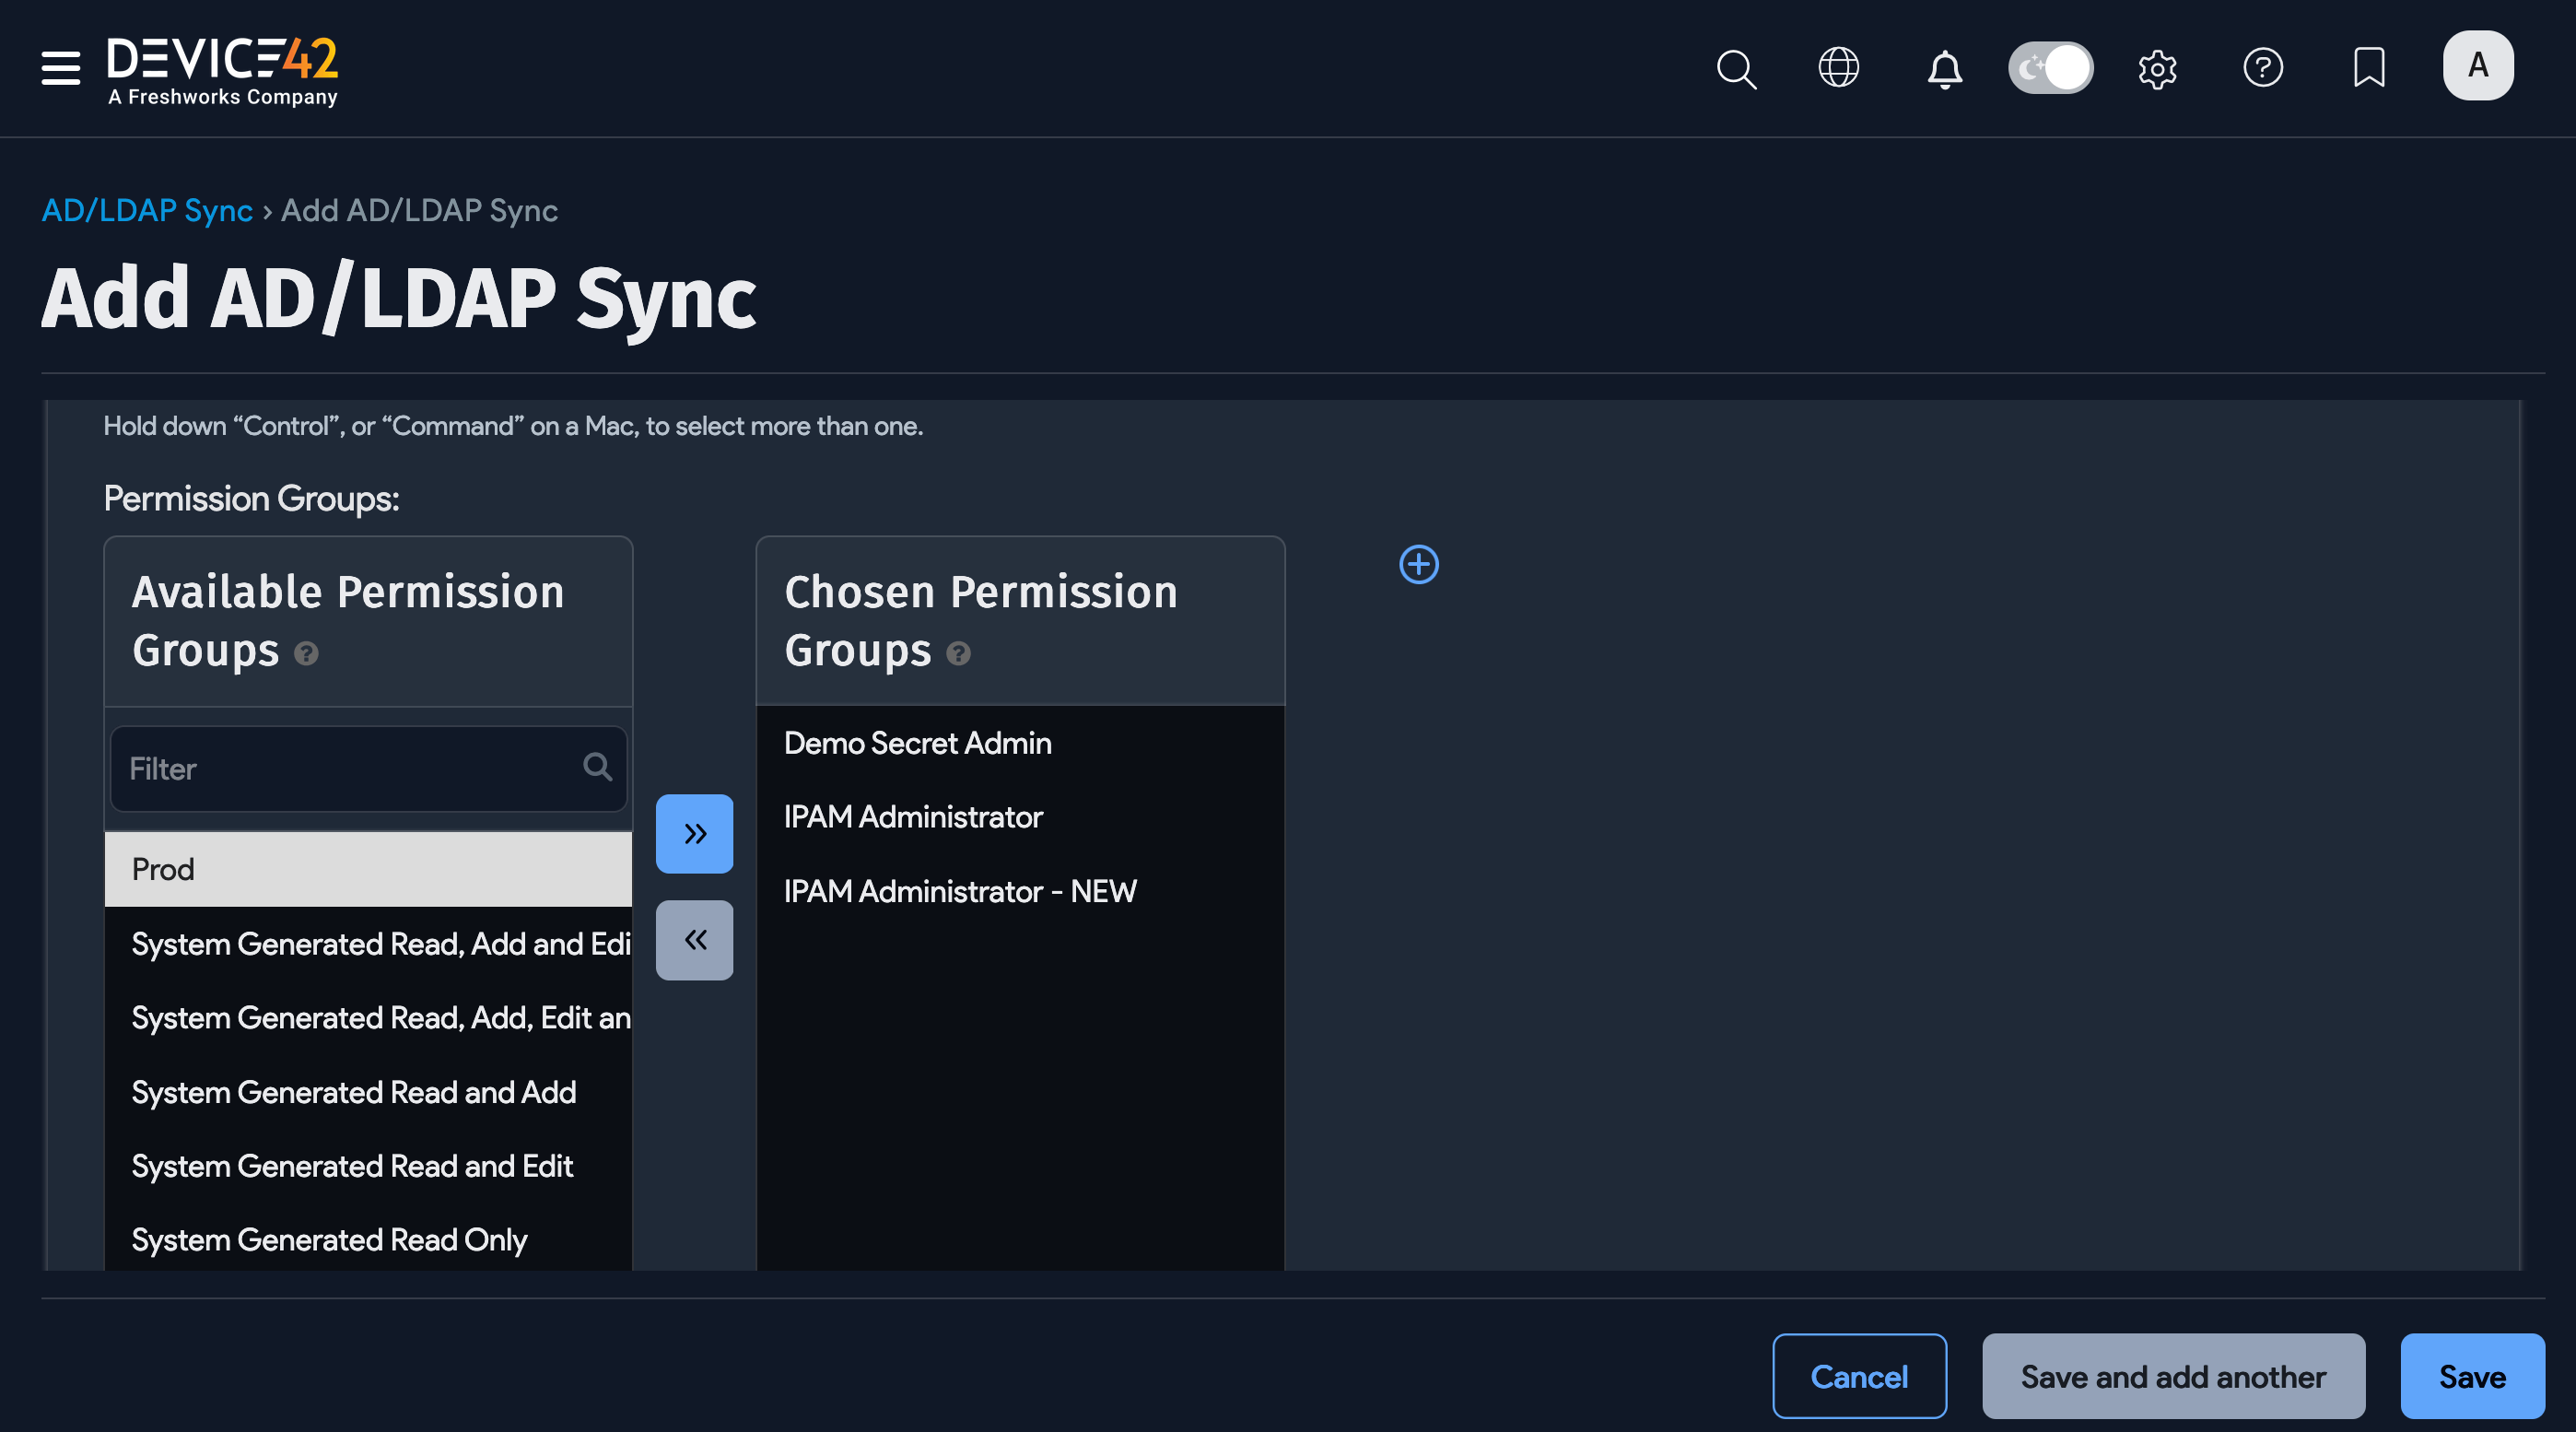
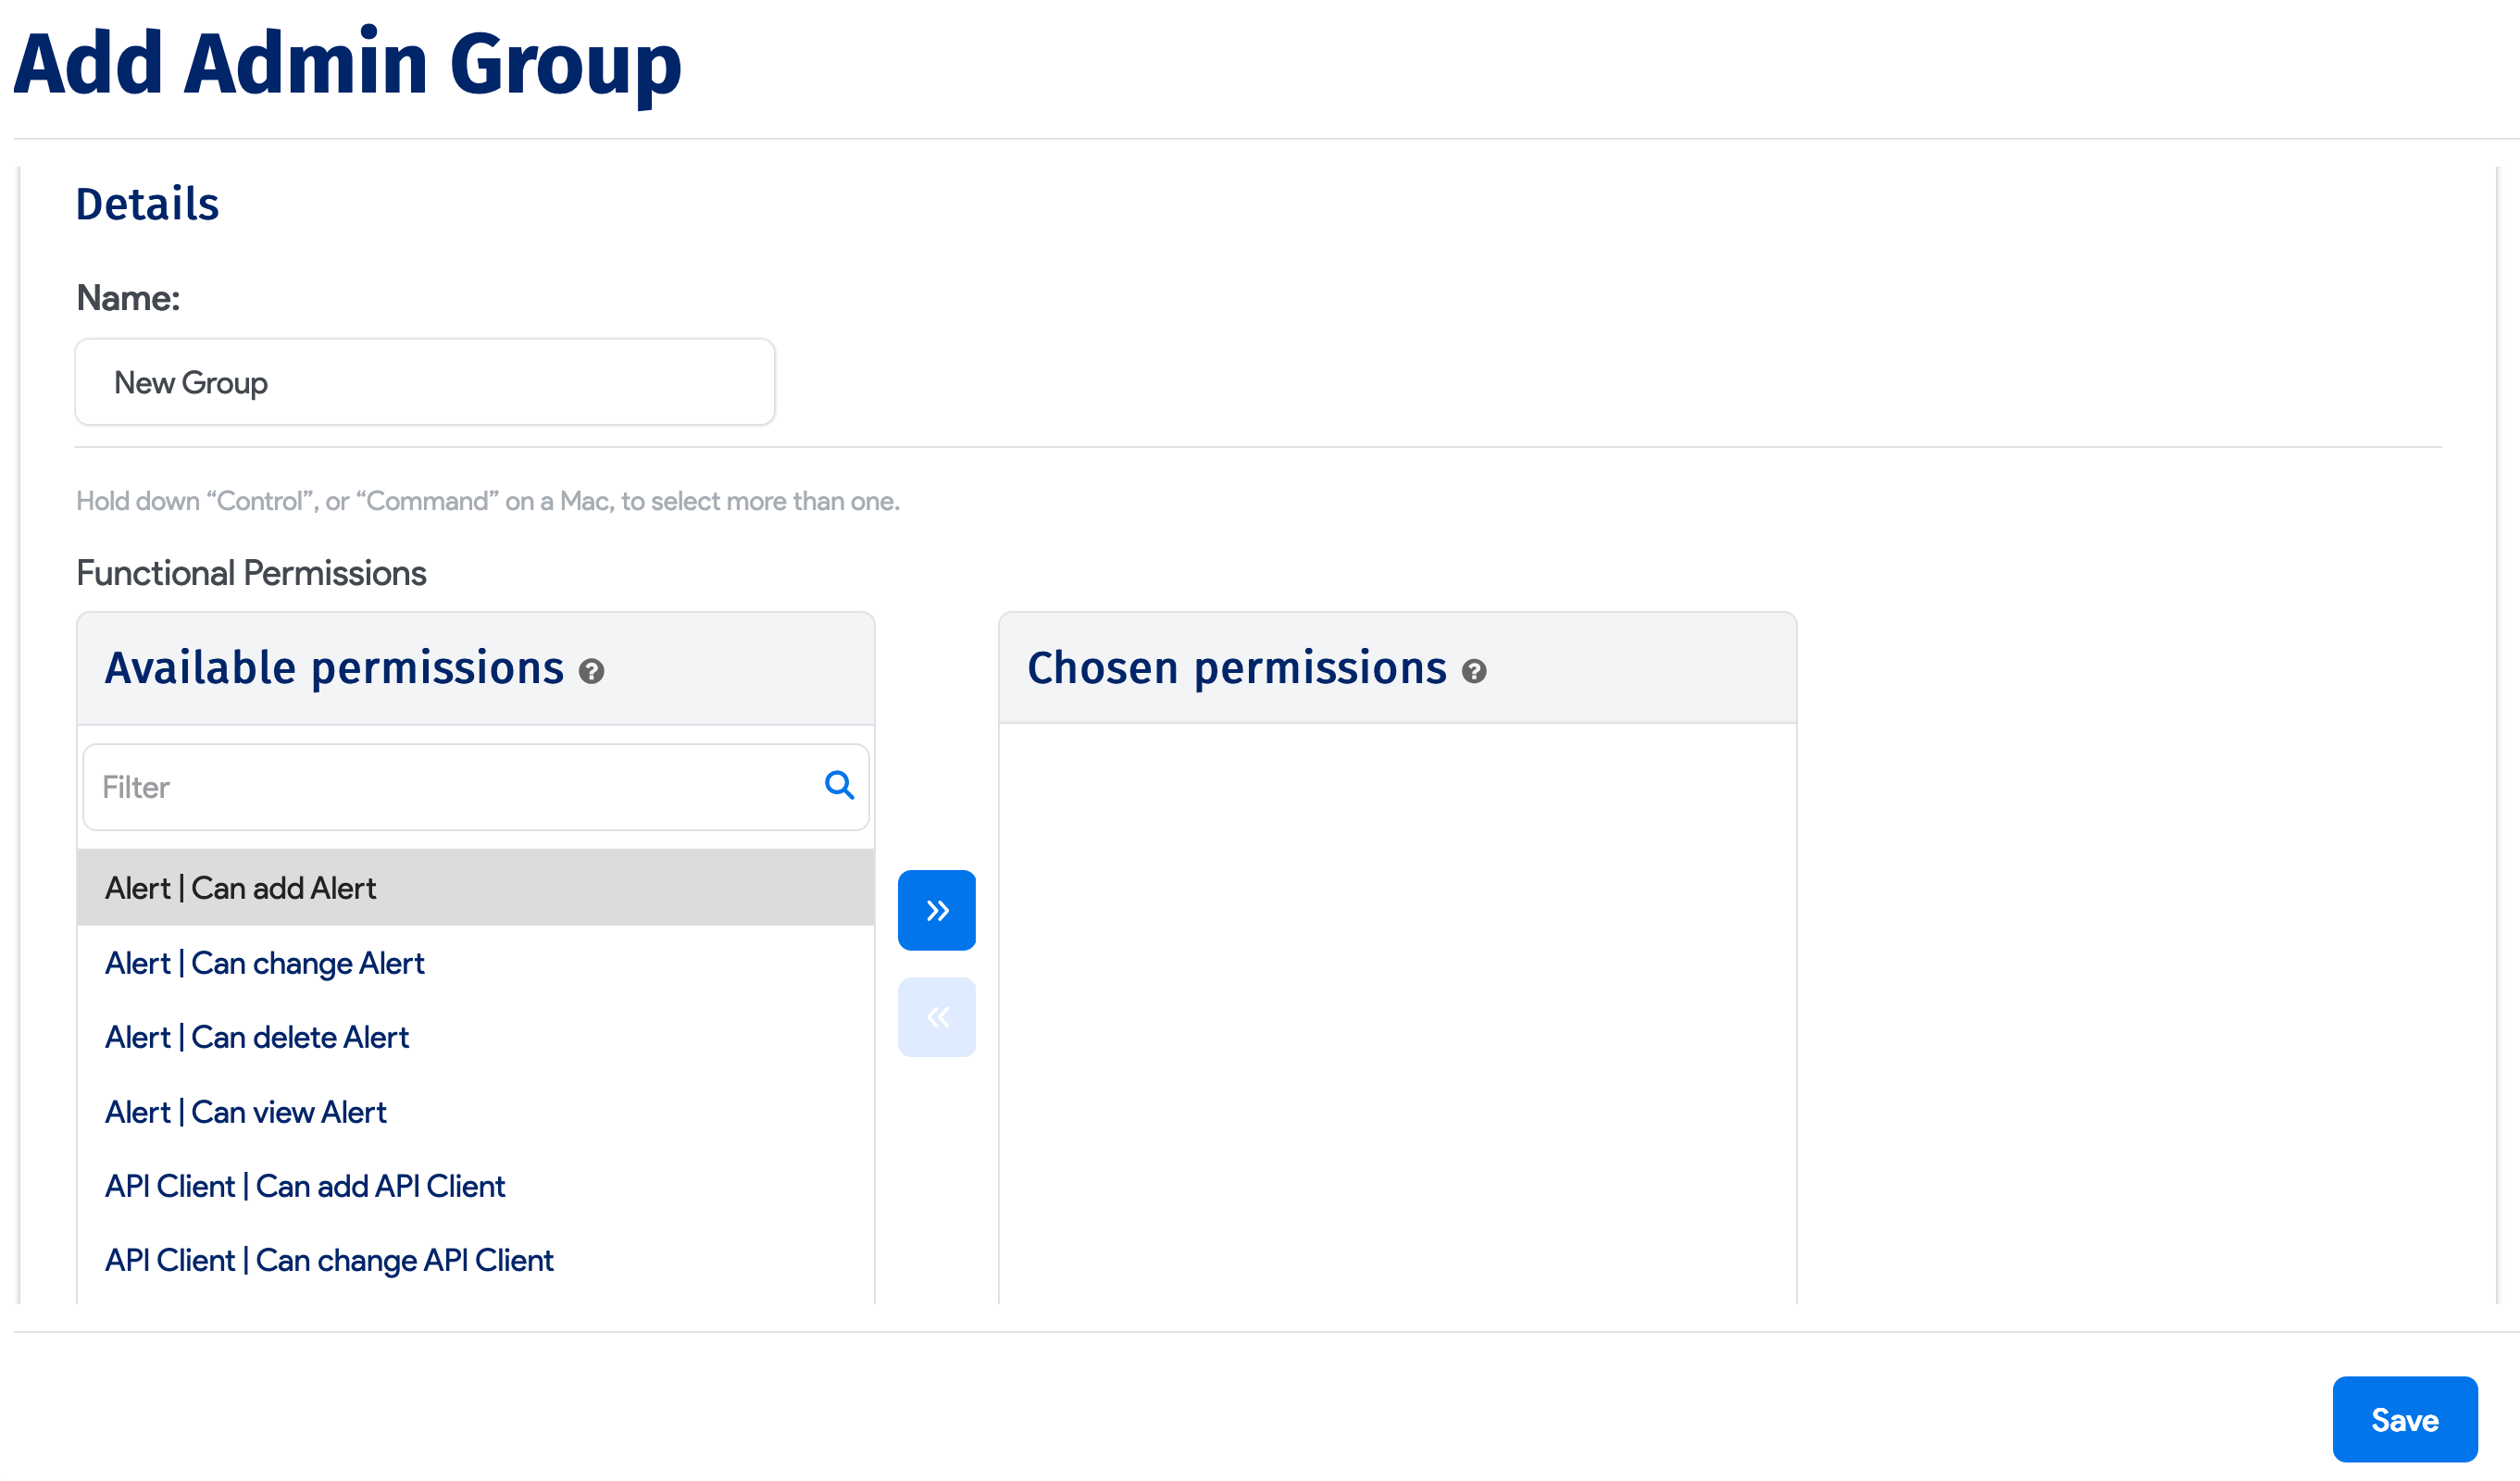
To create a new Admin group, click the plus icon. In the dialog box, name the new group, select the permissions, and click Save.
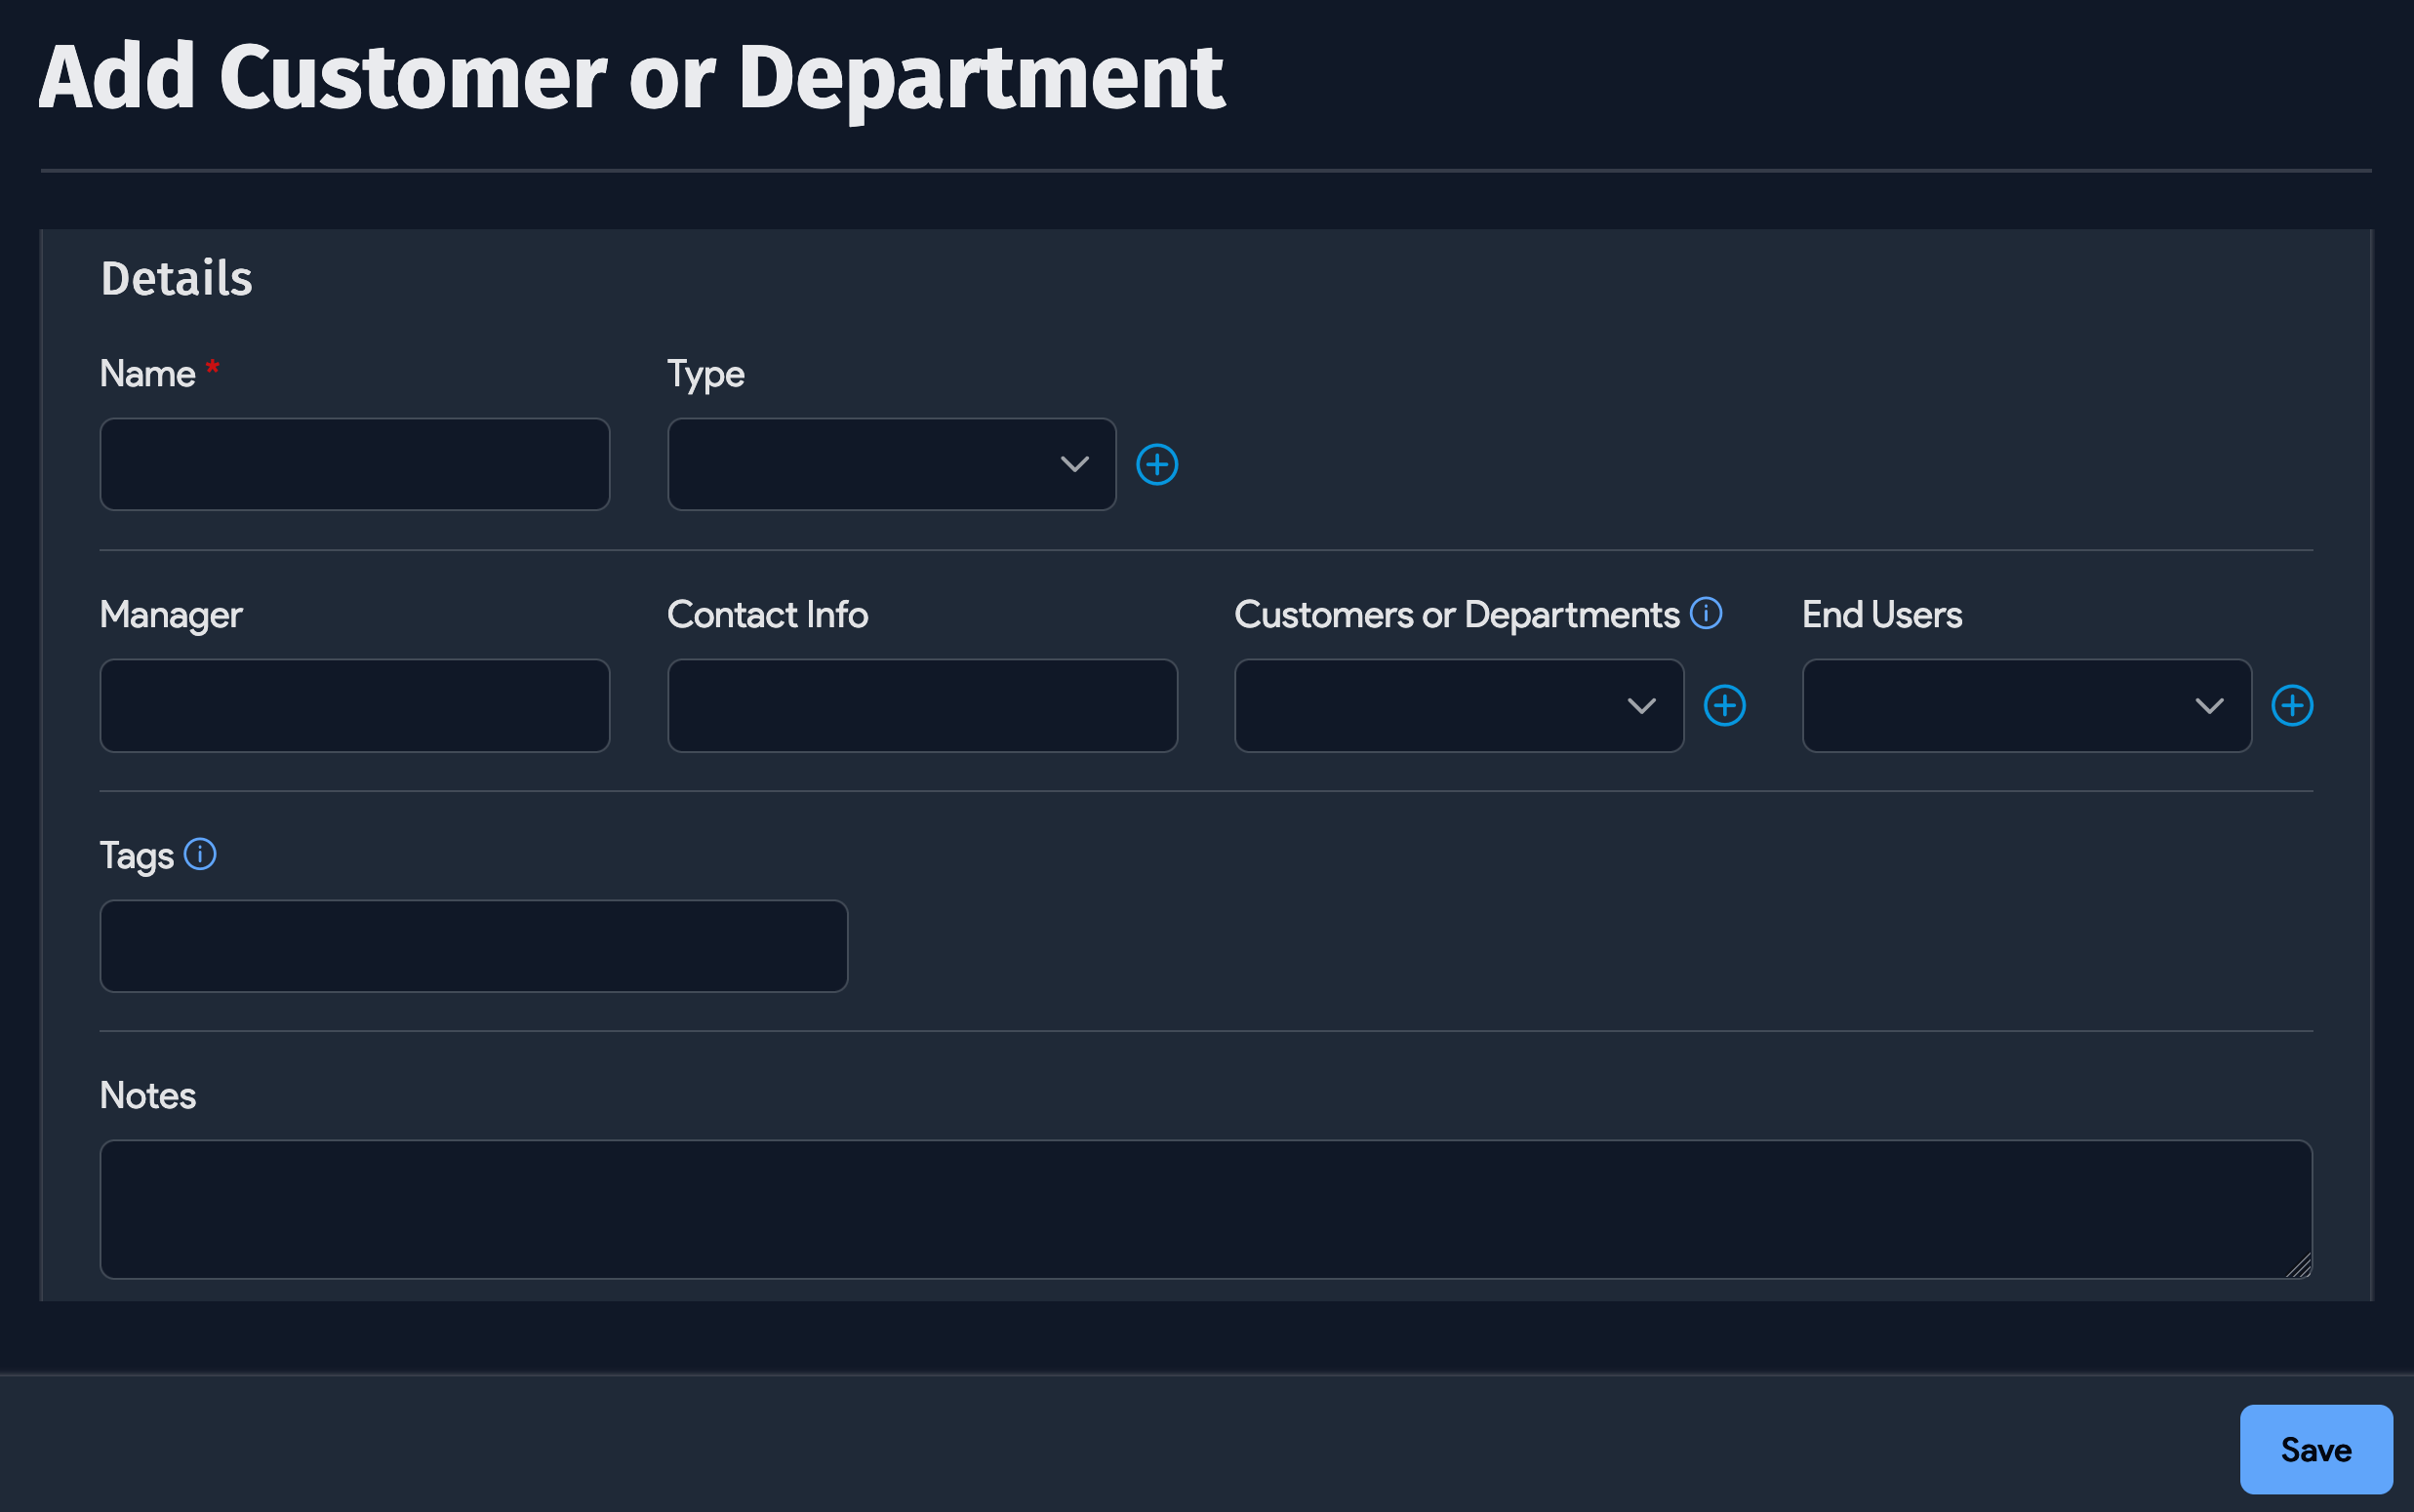
Select Departments for End Users
If you chose End Users as the Type, you'll have the option to add your Device42 customers, end users, or departments to the sync job.
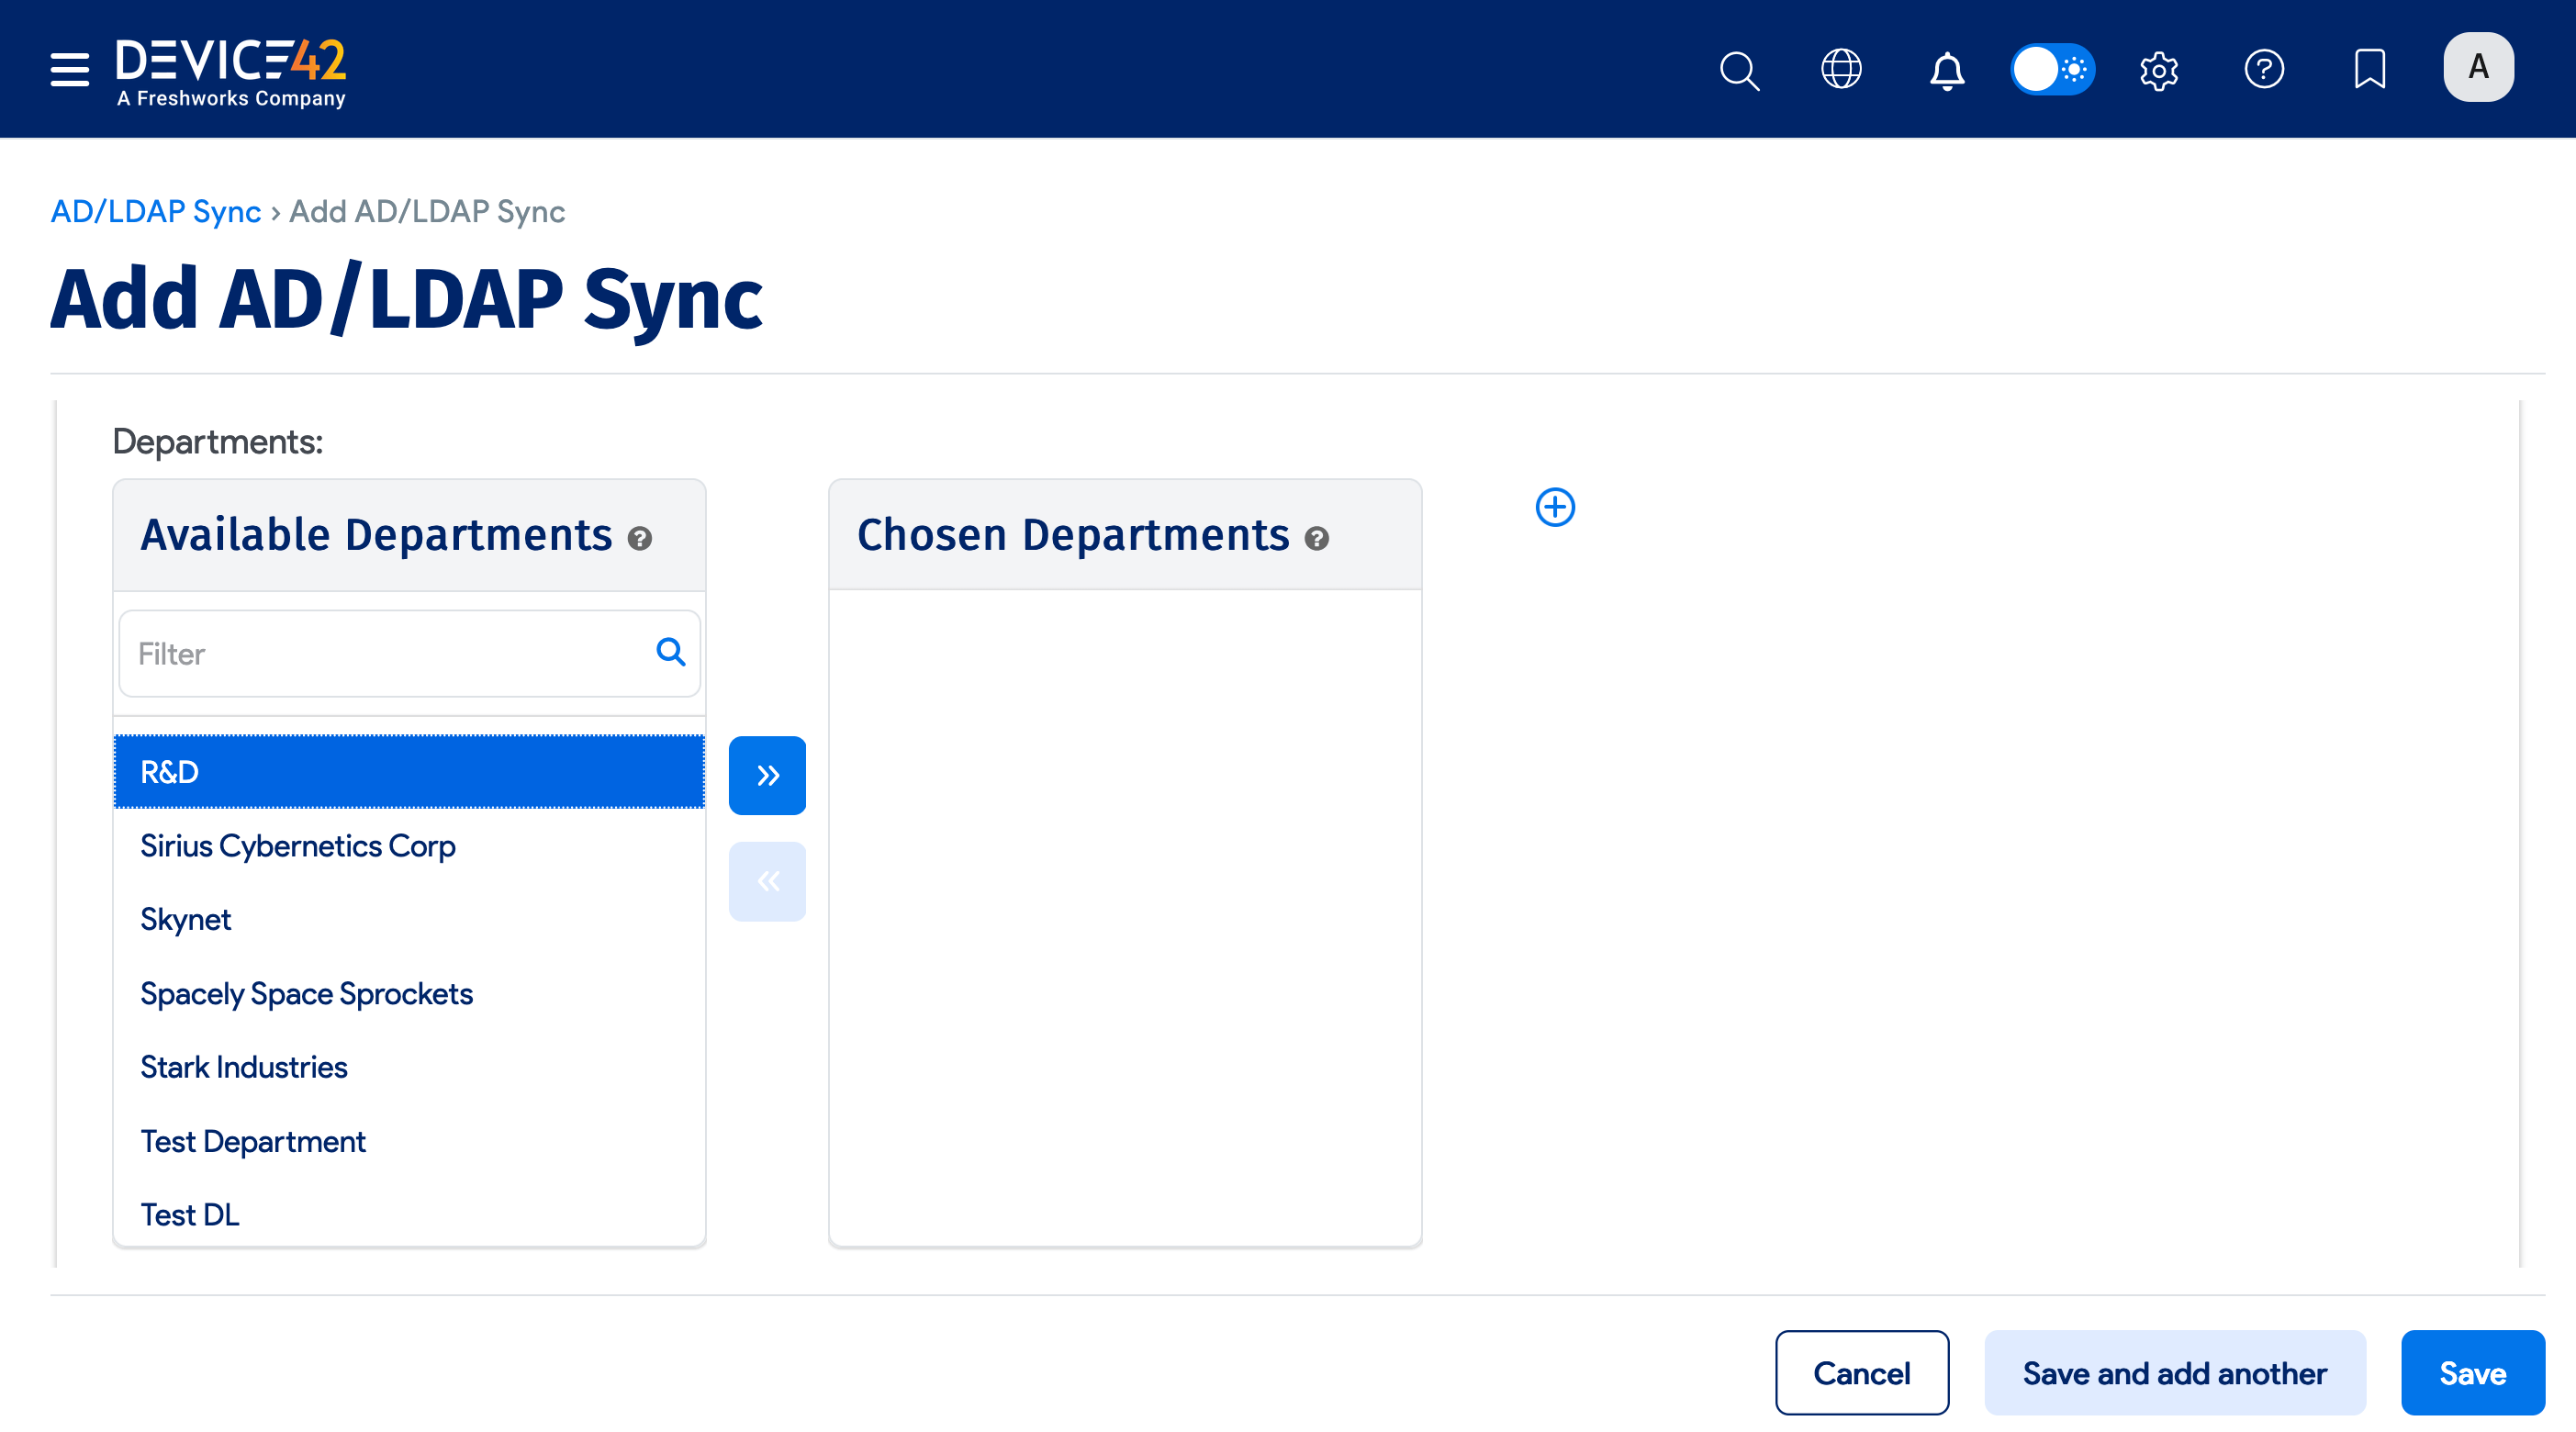
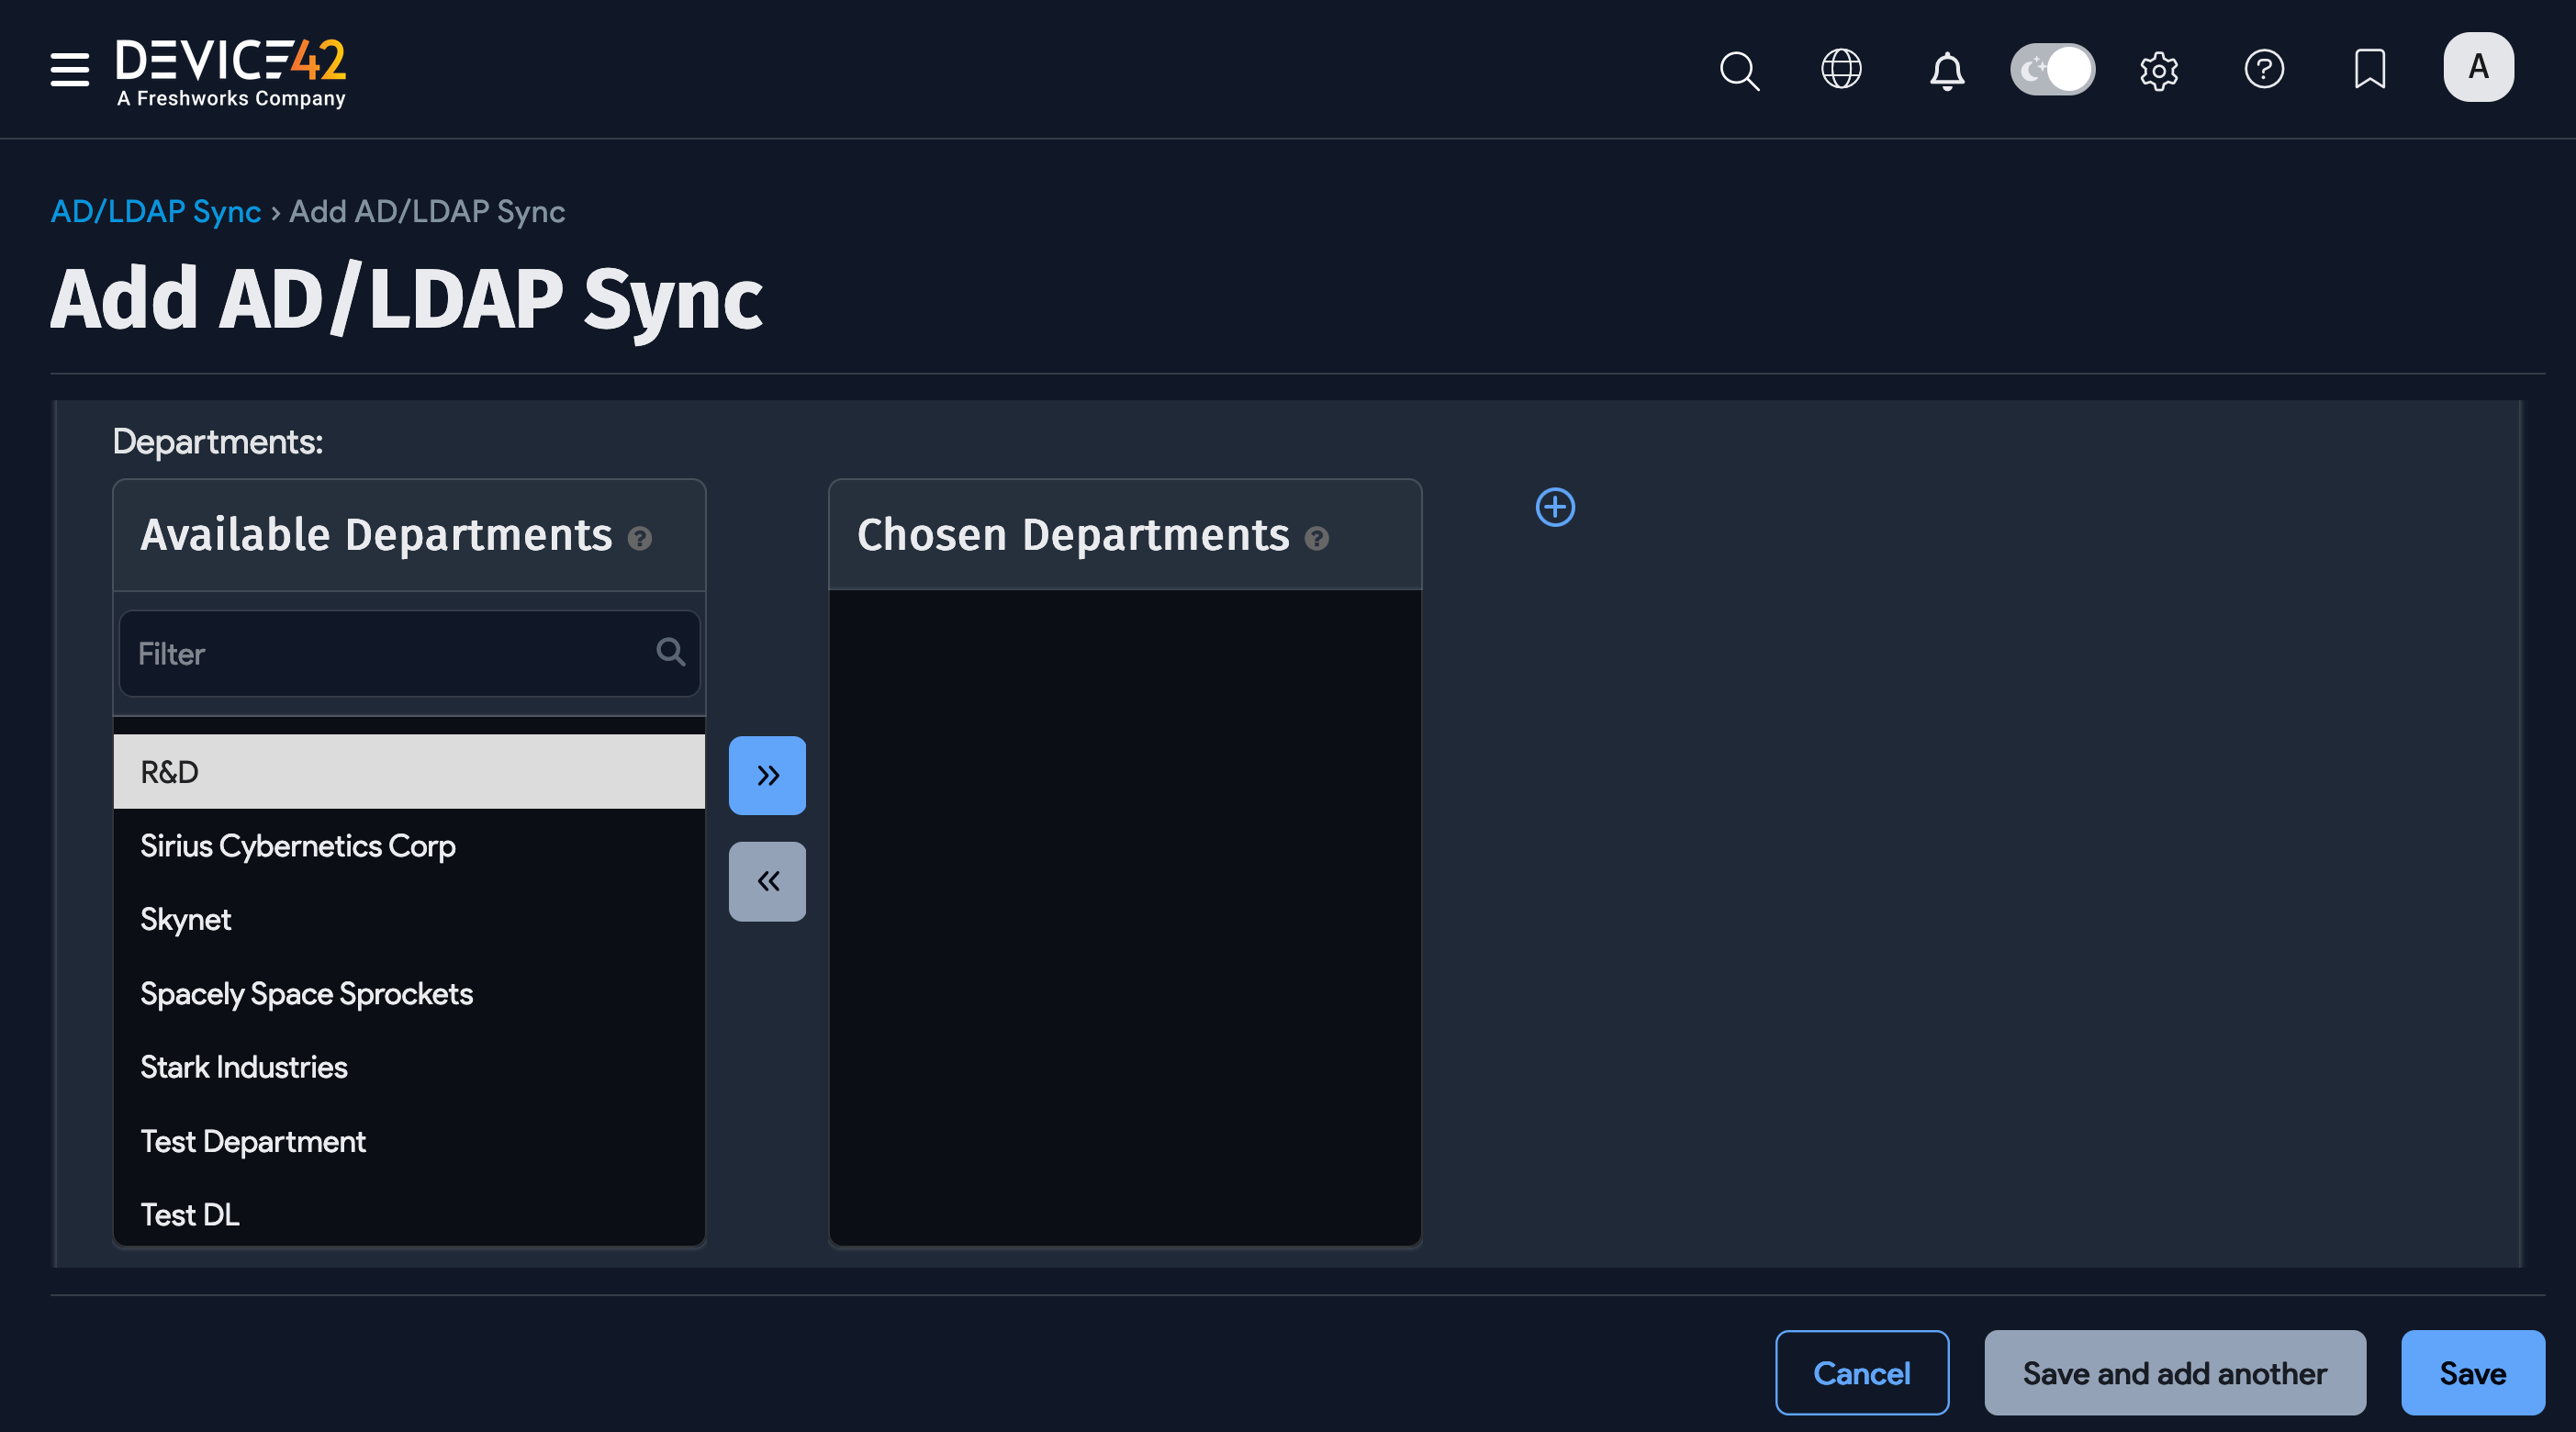
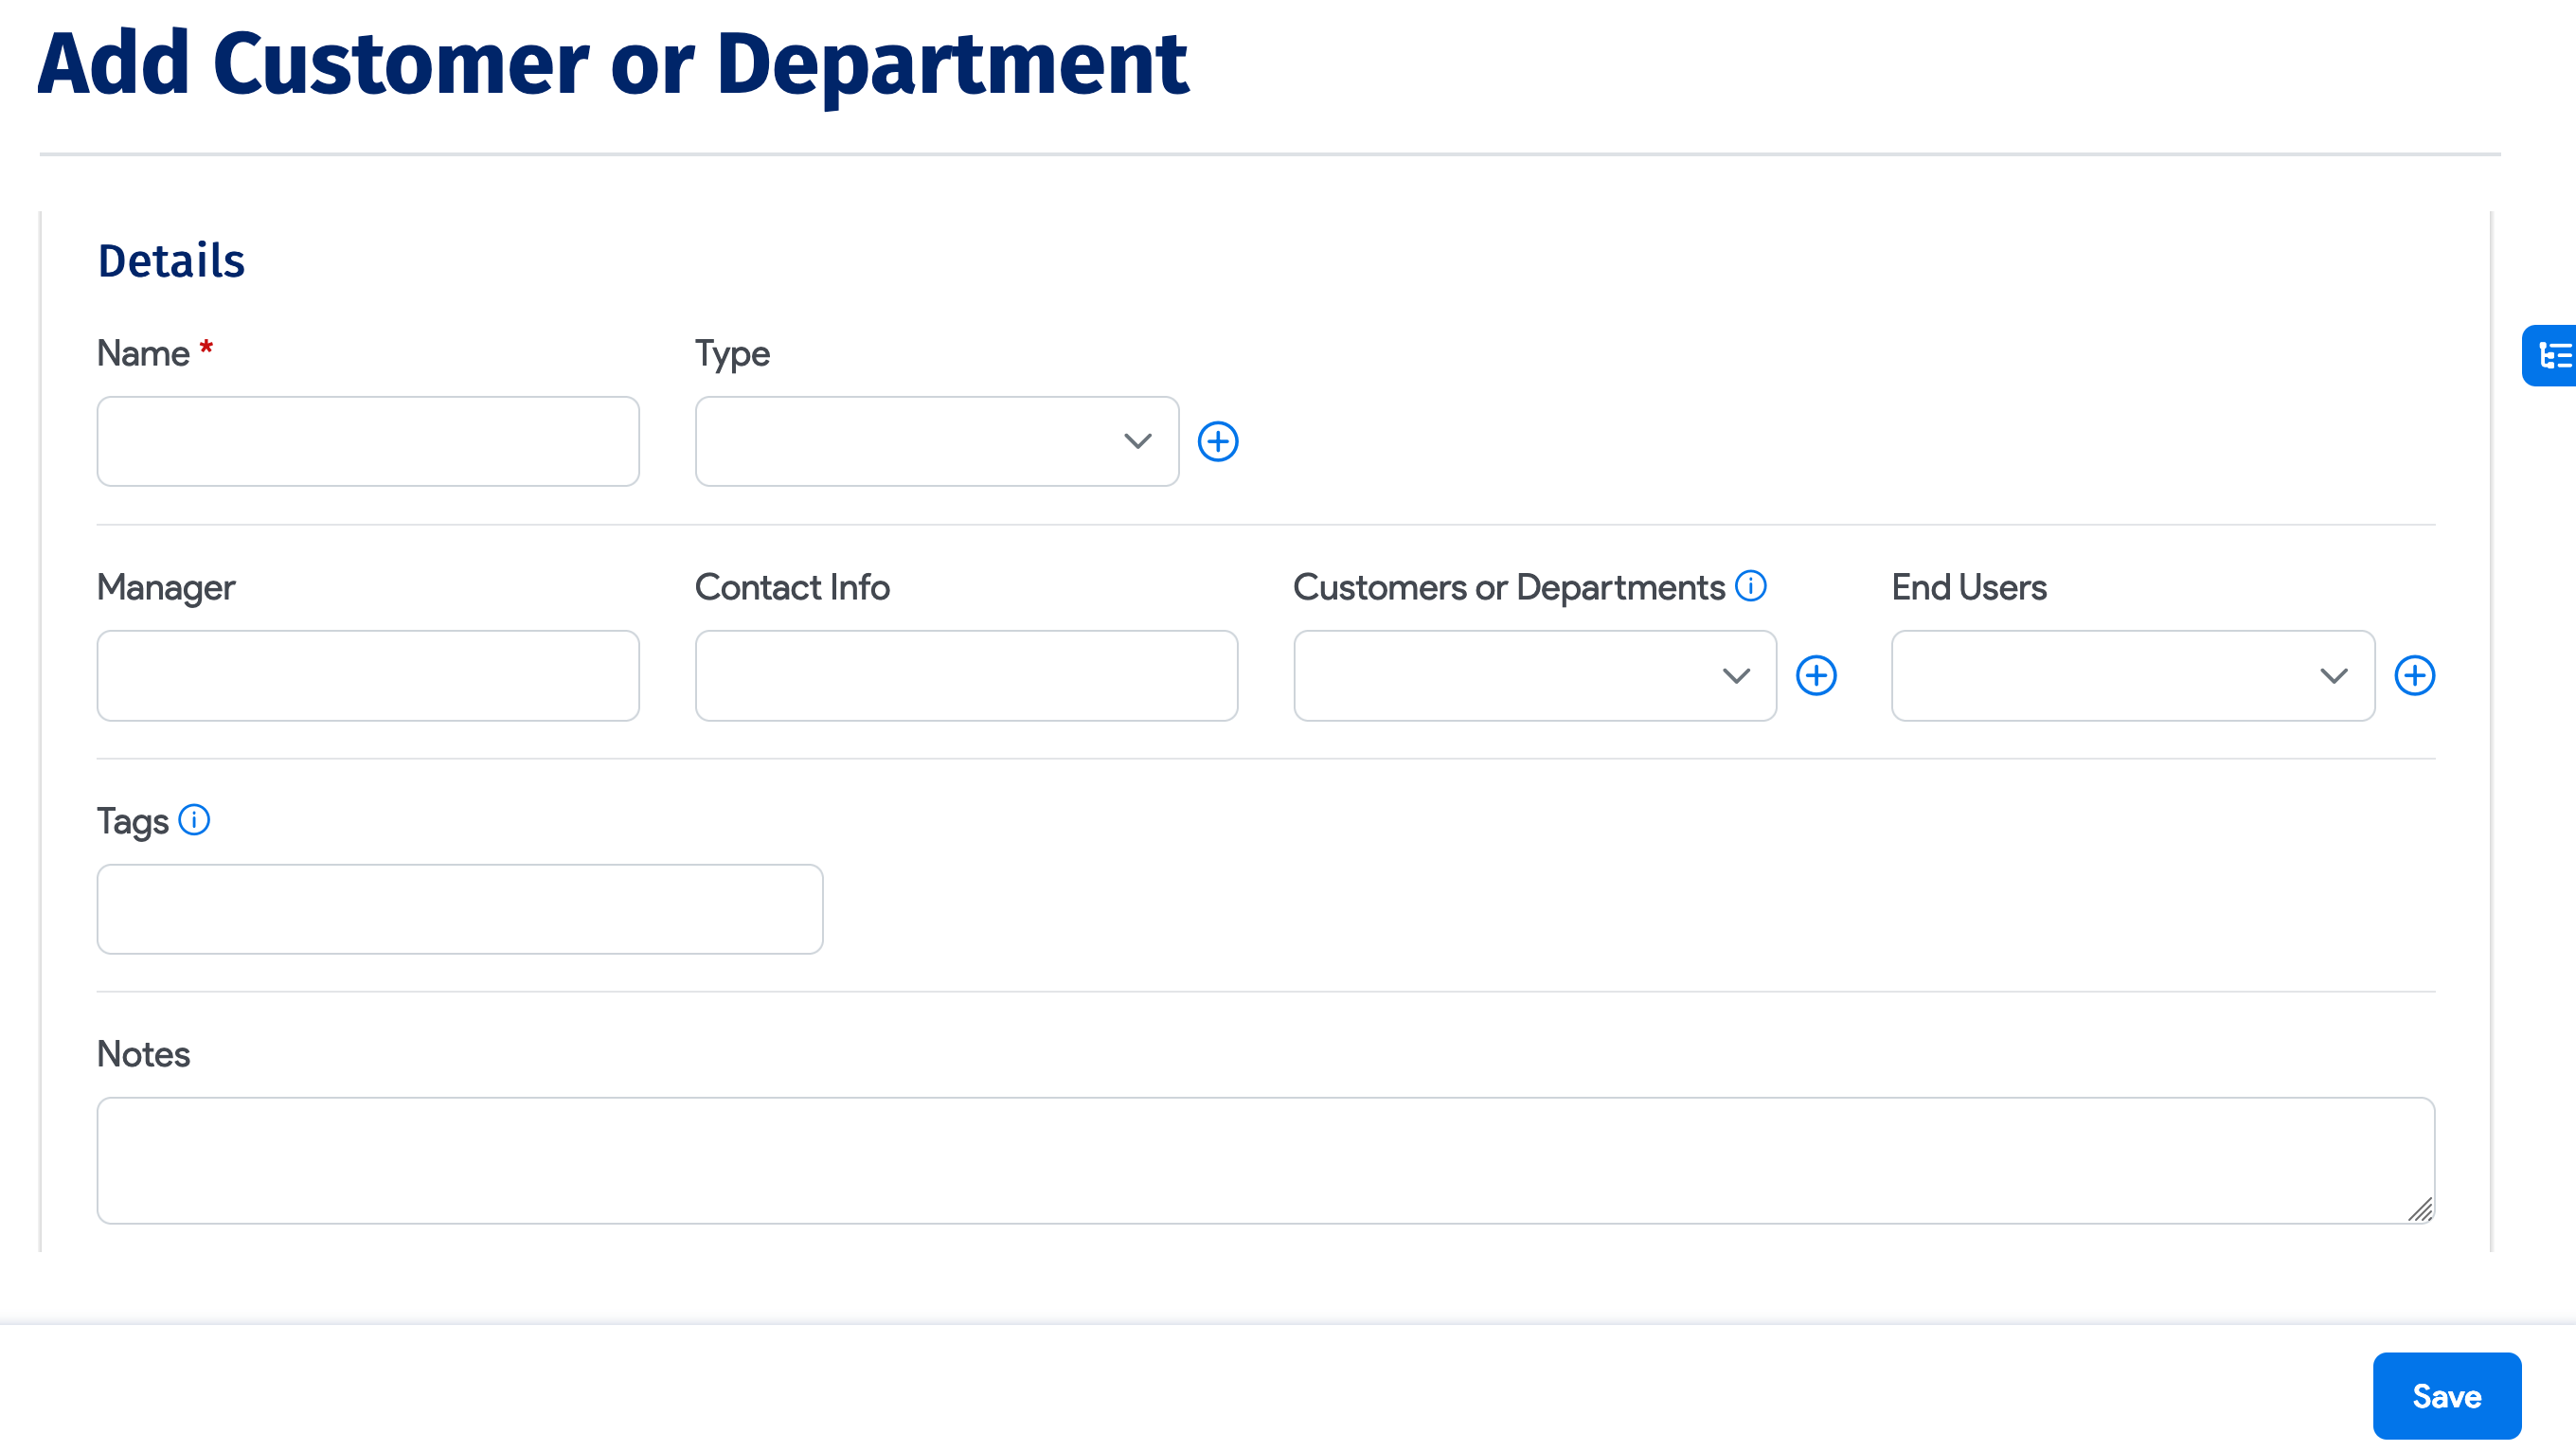
Click the plus icon to add a new customer, department, or end user that's not on the list.
Example: Find a Group DN in Active Directory
To find the Distinguished Name (DN) of a group in Active Directory, use the attribute editor in Active Directory Users and Computers.
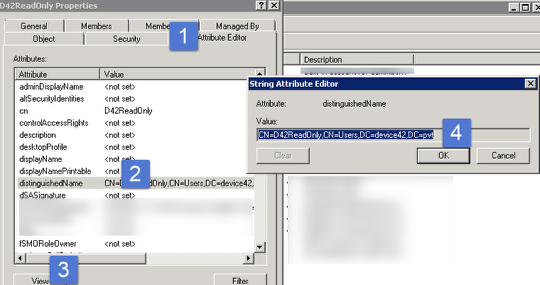
Under the group properties with "Advanced features" enabled in Active Directory Users and Computers, go to the attribute editor and copy the distinguishedName as shown in the image above.