Switch Ports
Switch ports can be autodiscovered using SNMP network discovery.
You can bulk add switch ports via switch templates, or use the Device42 RESTful APIs for an easy way to programmatically add or edit many switch ports at once.
Ports List Page
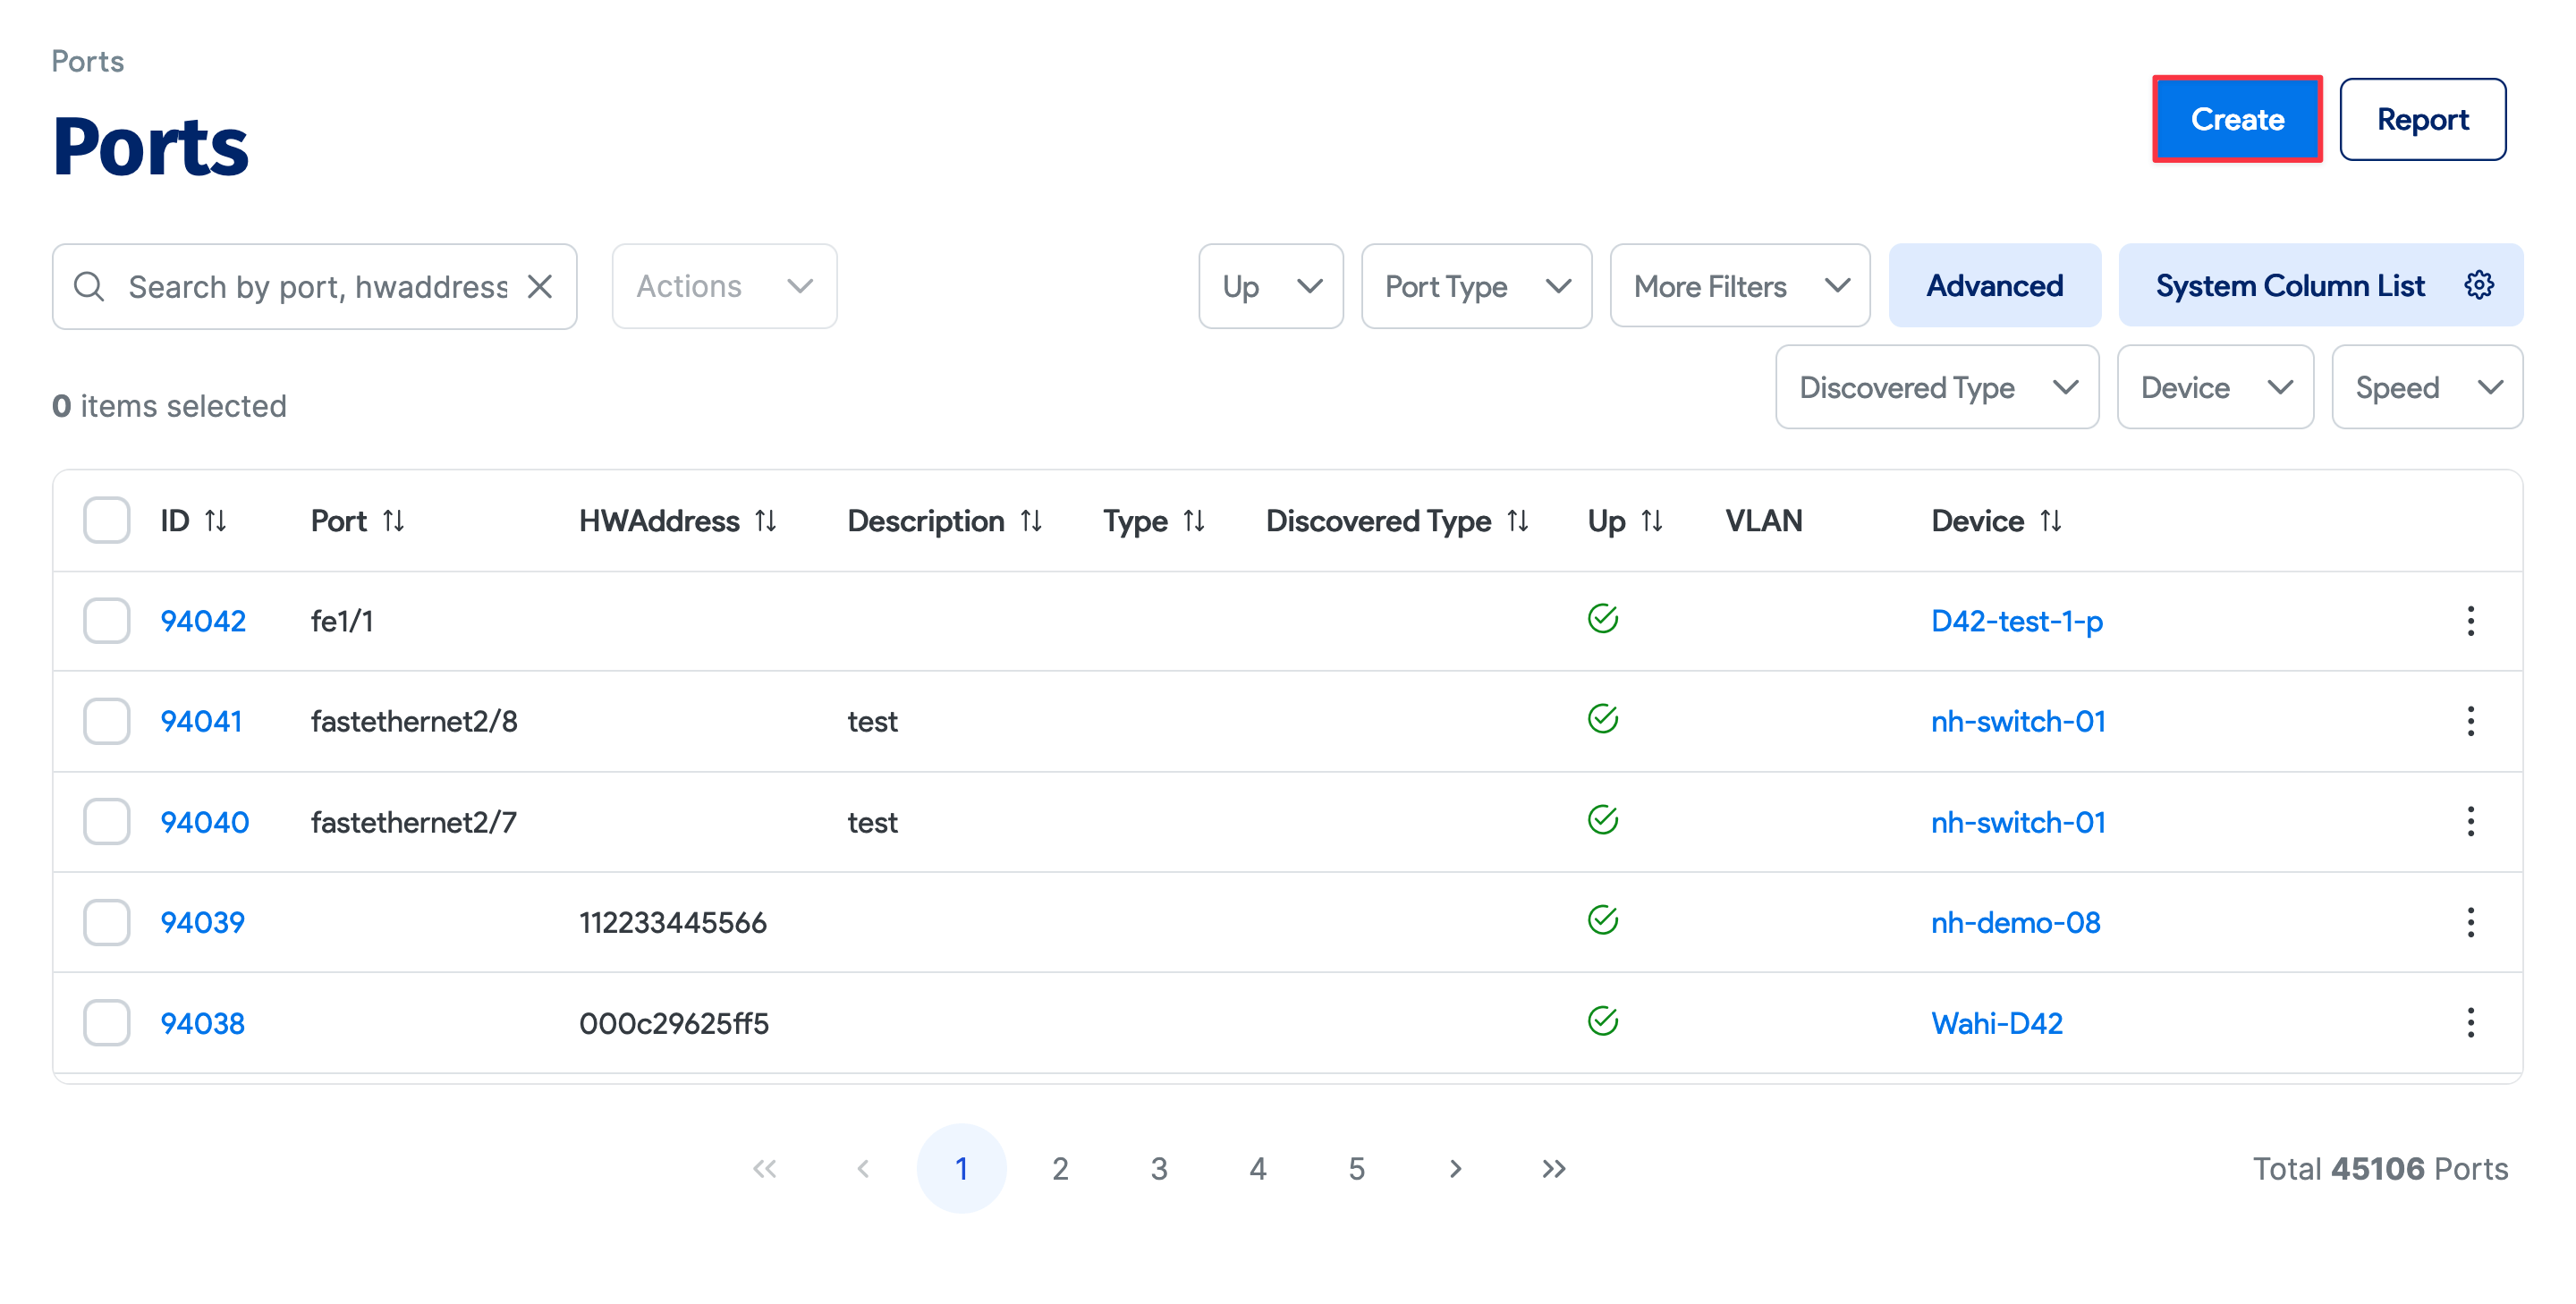
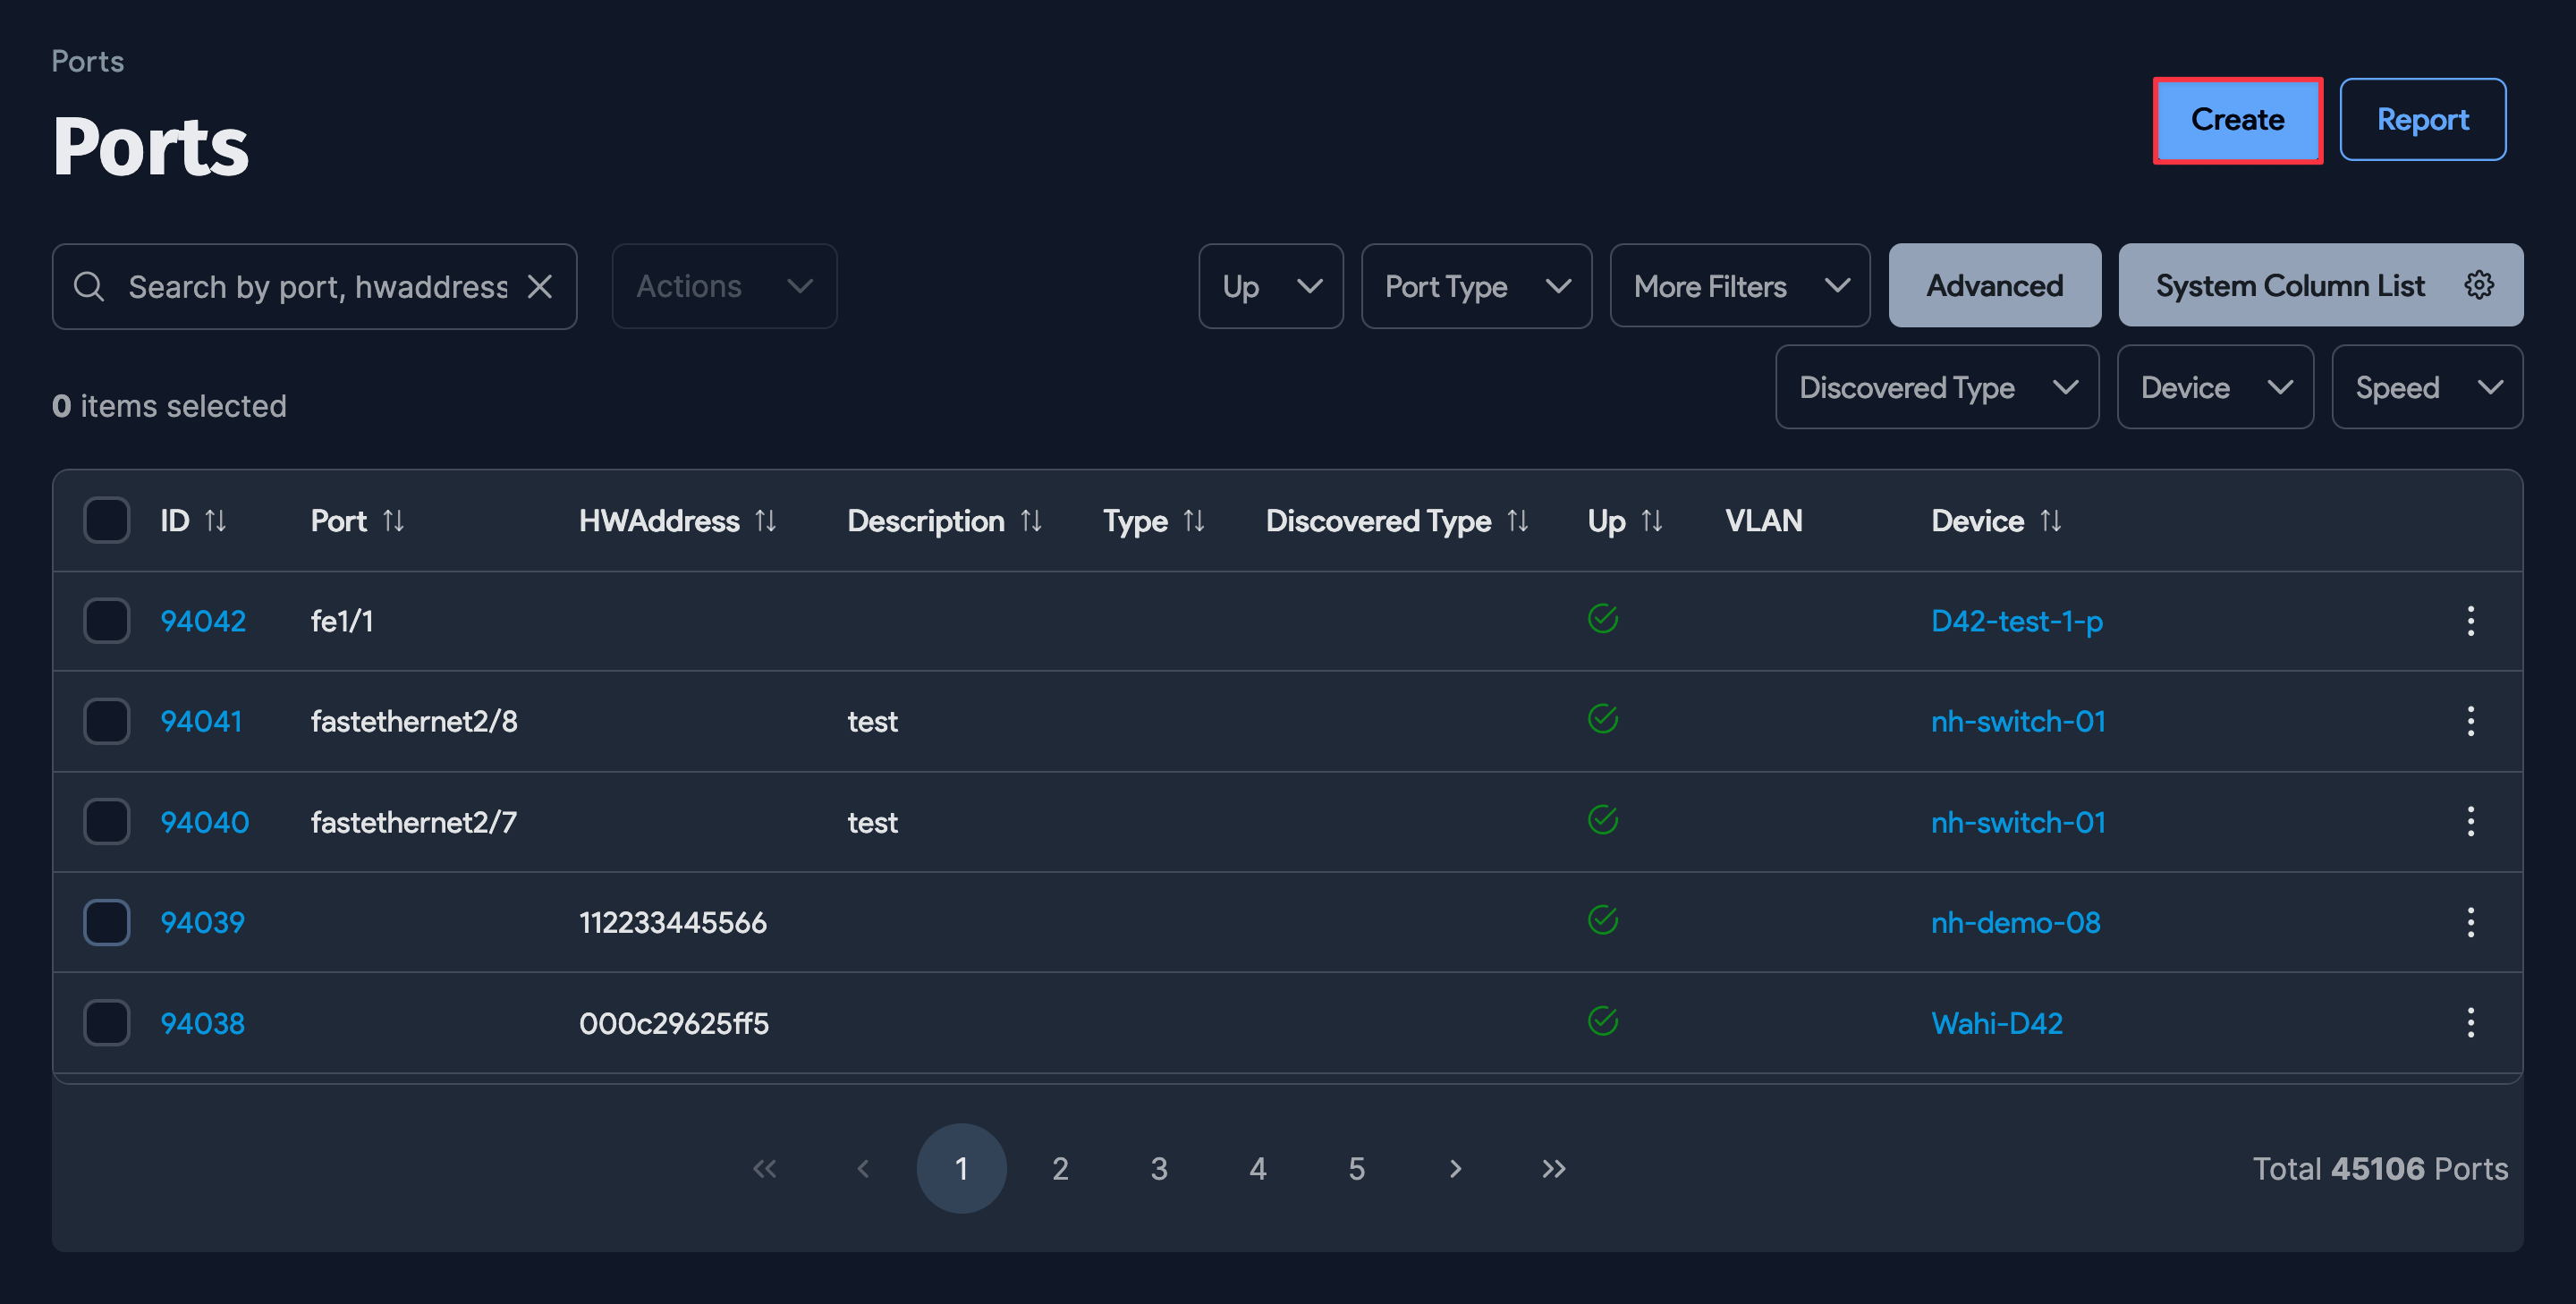
From the main menu, navigate to Resources > Network Devices > Ports.
From the Ports list page, you can view and edit existing switch ports by clicking on any port ID. Add one or more new ports by clicking the + Create button on the upper right:
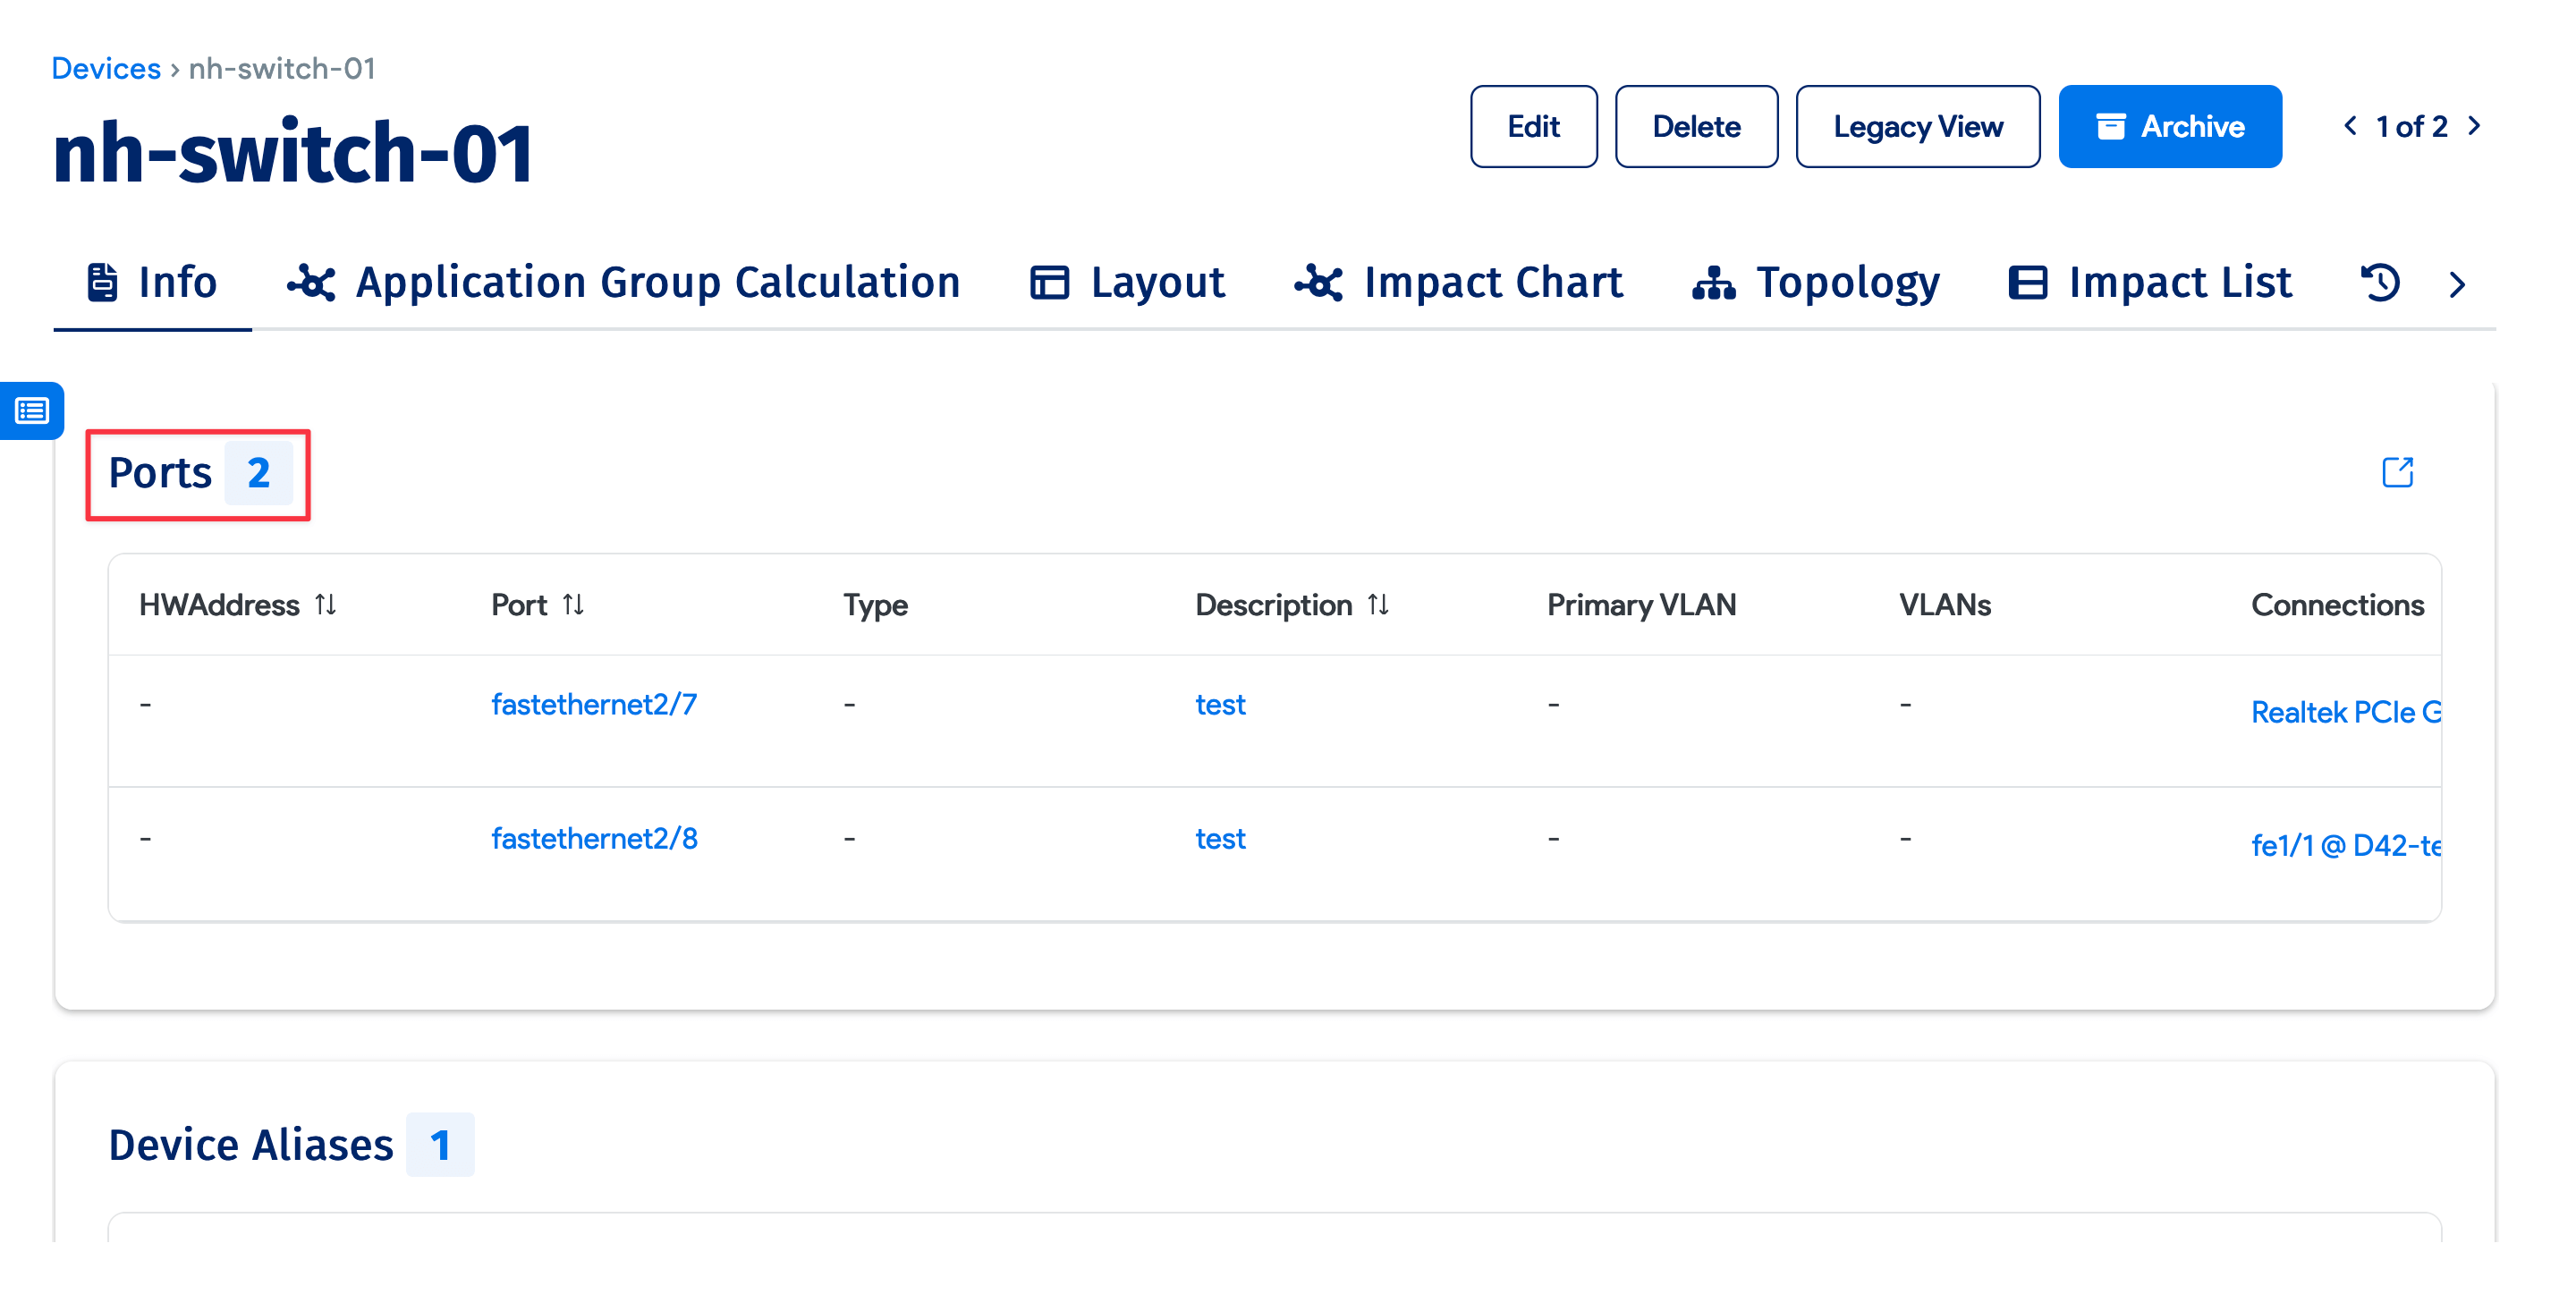
You can also see a list of associated Ports via the Ports section on the device page:

Switch Port Properties
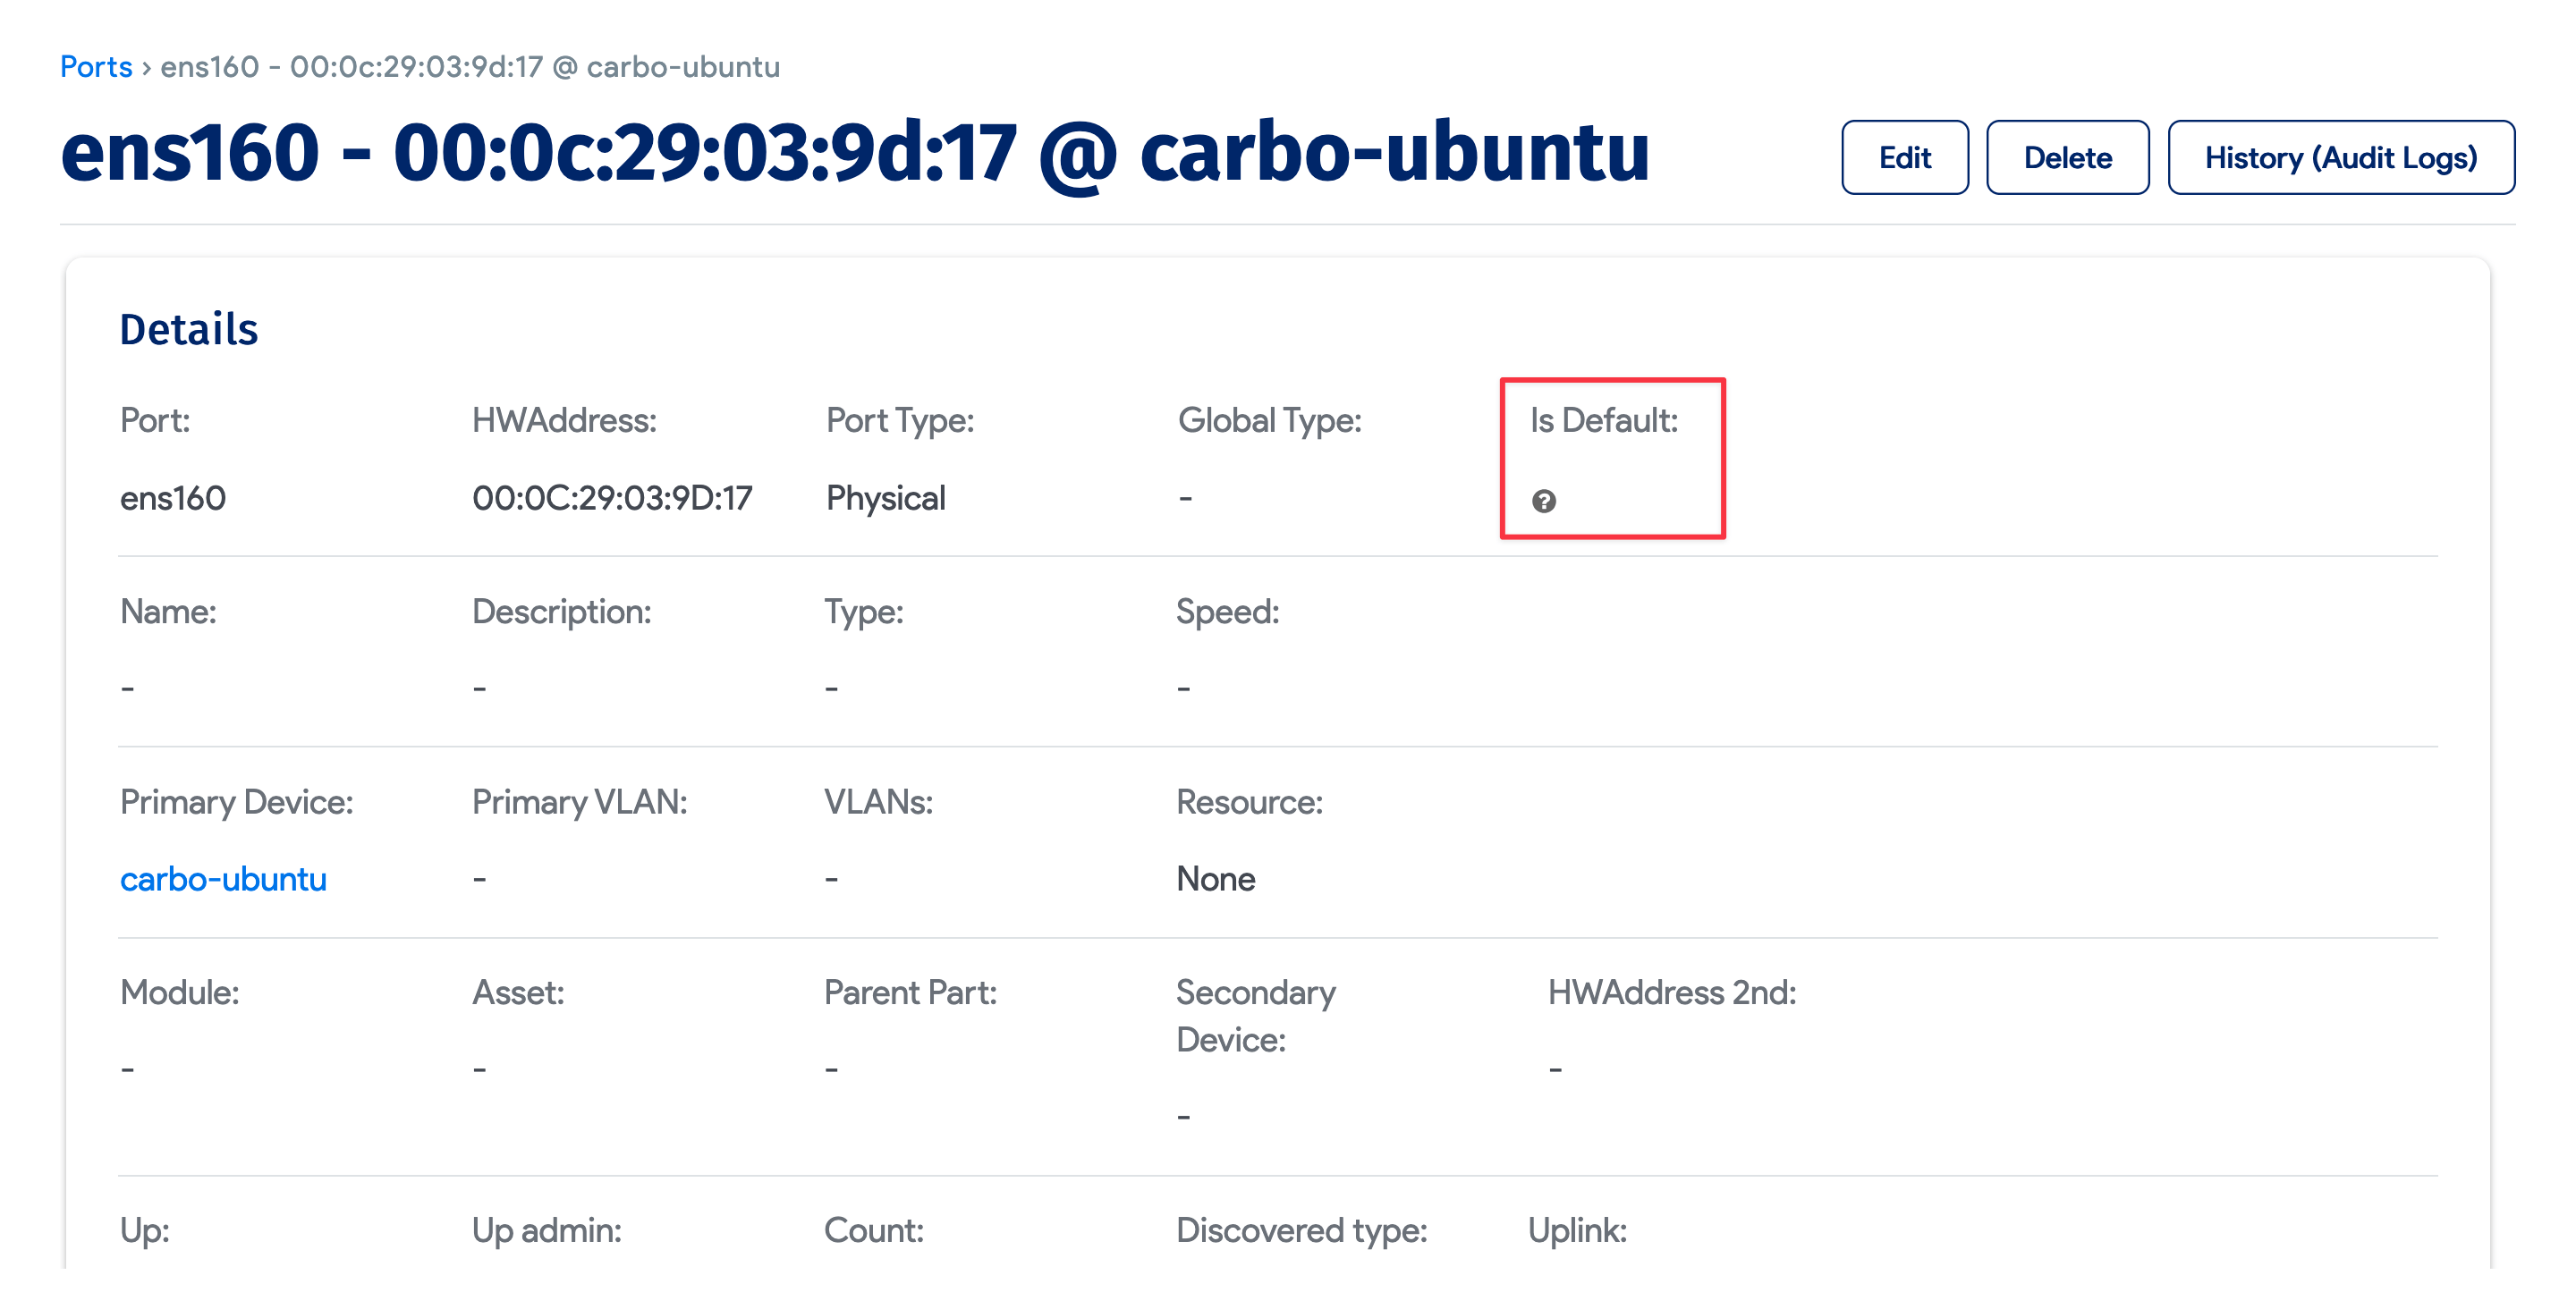
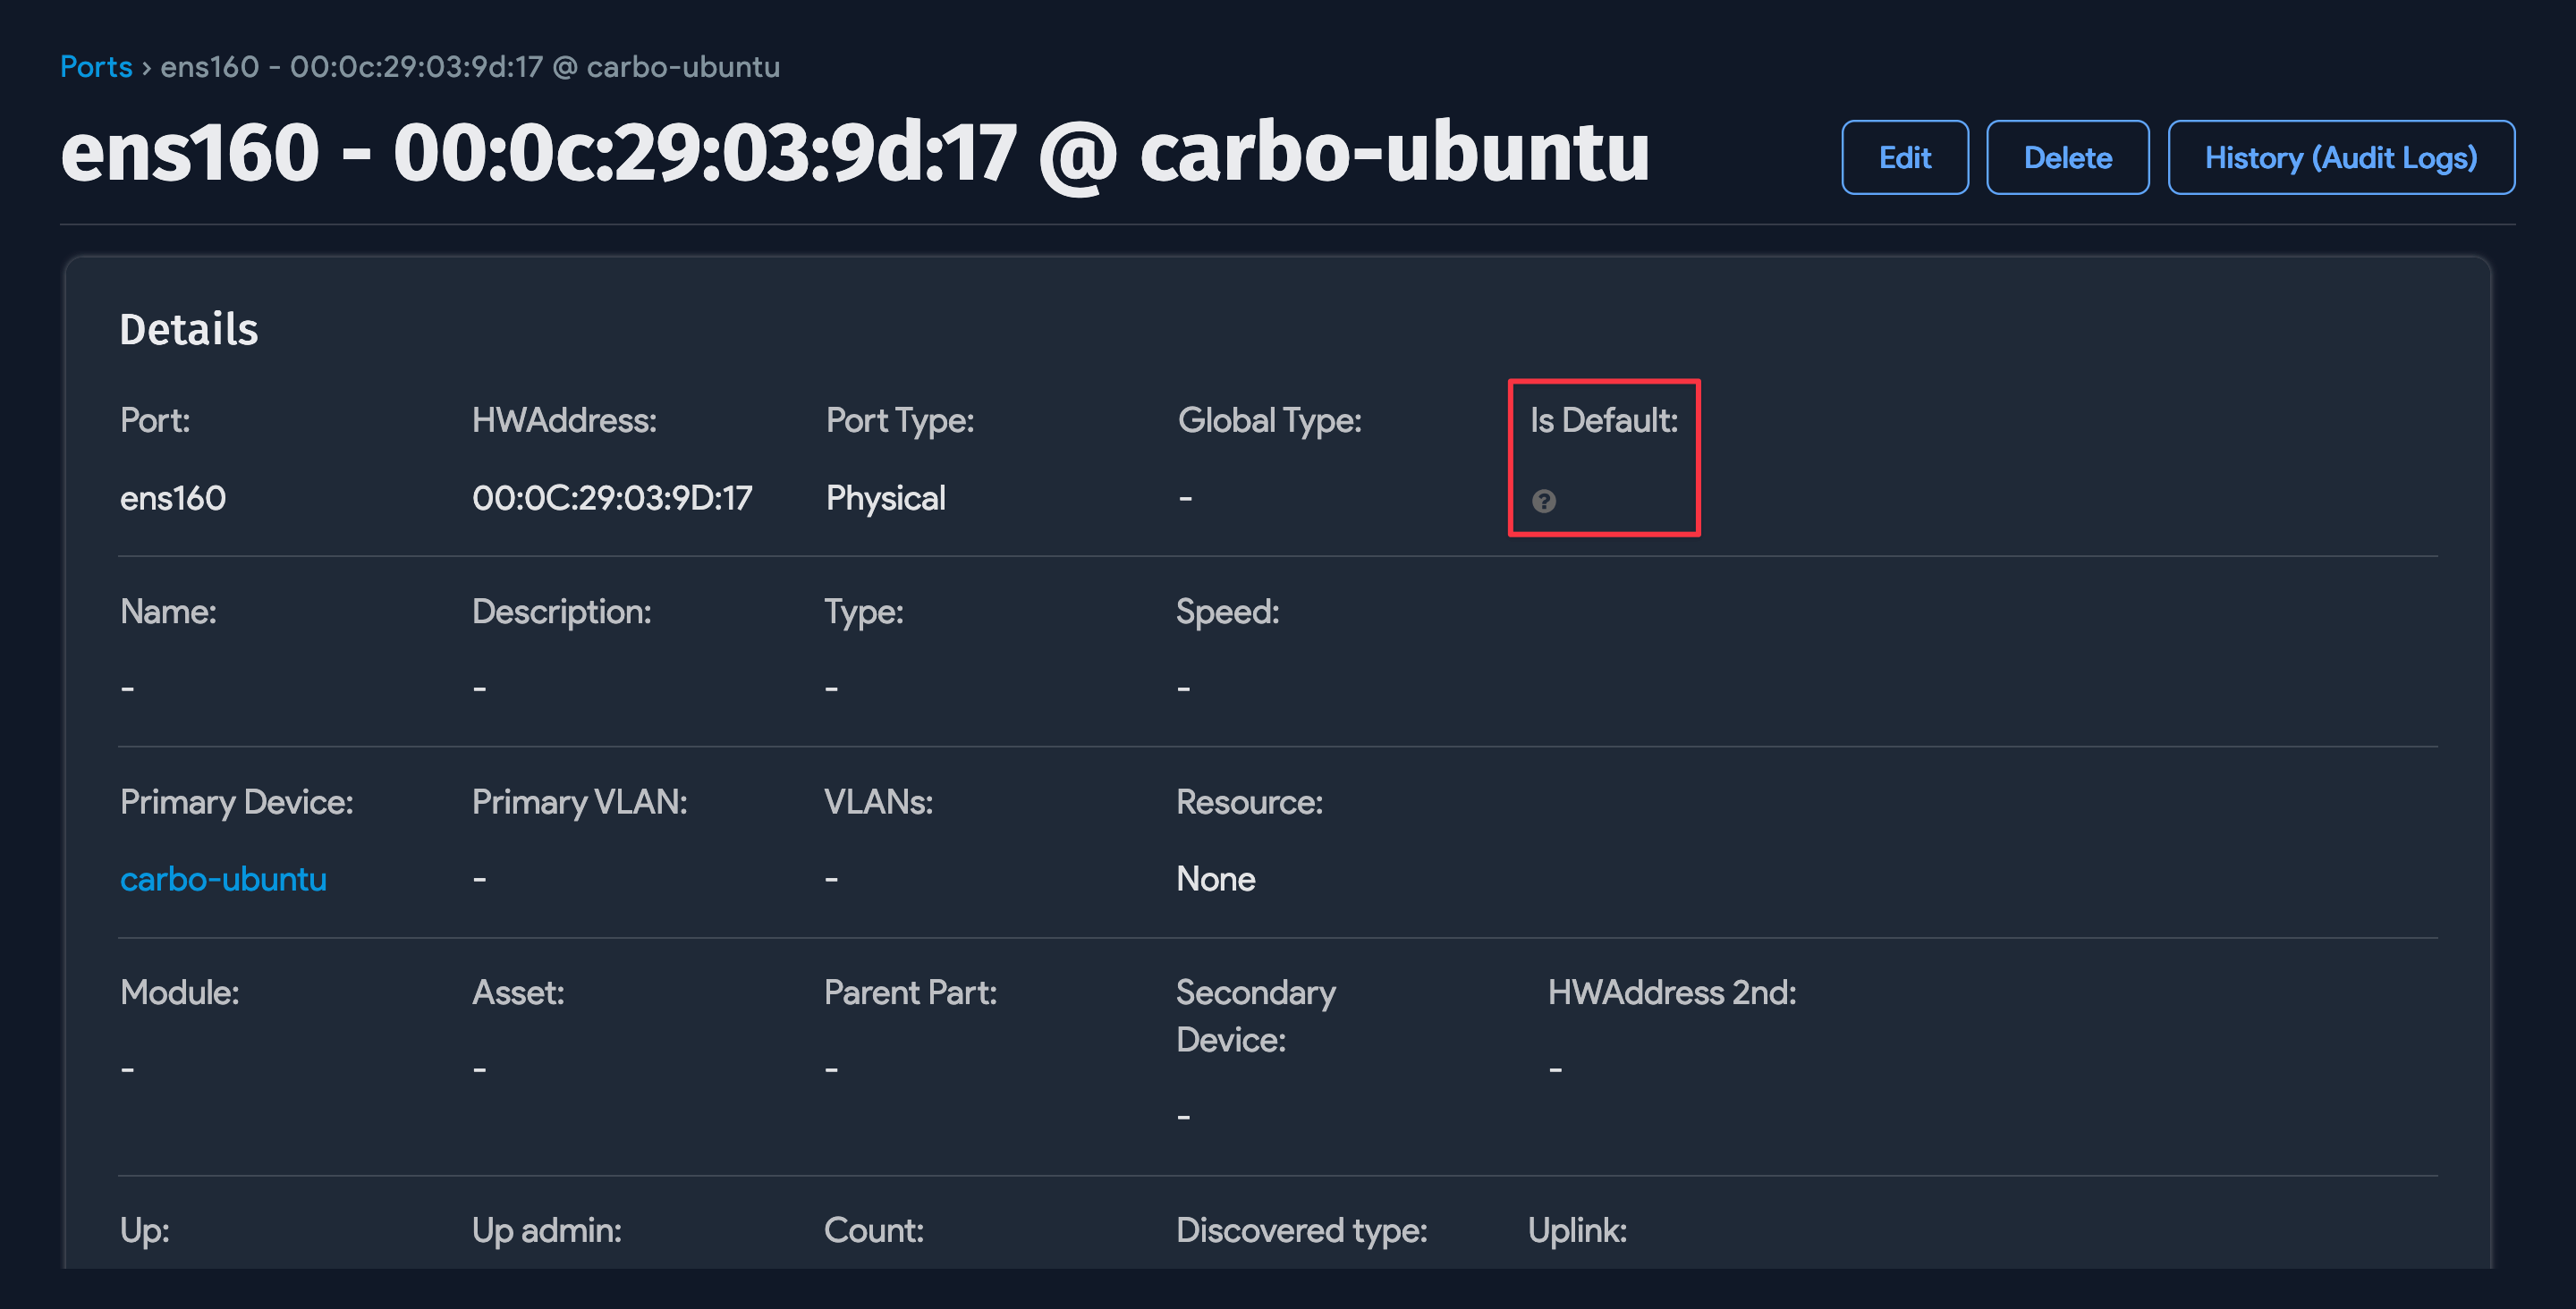
Discovered ports use the Is Default property to indicate whether a port is the primary interface or IP address.
Switch ports include the following properties:
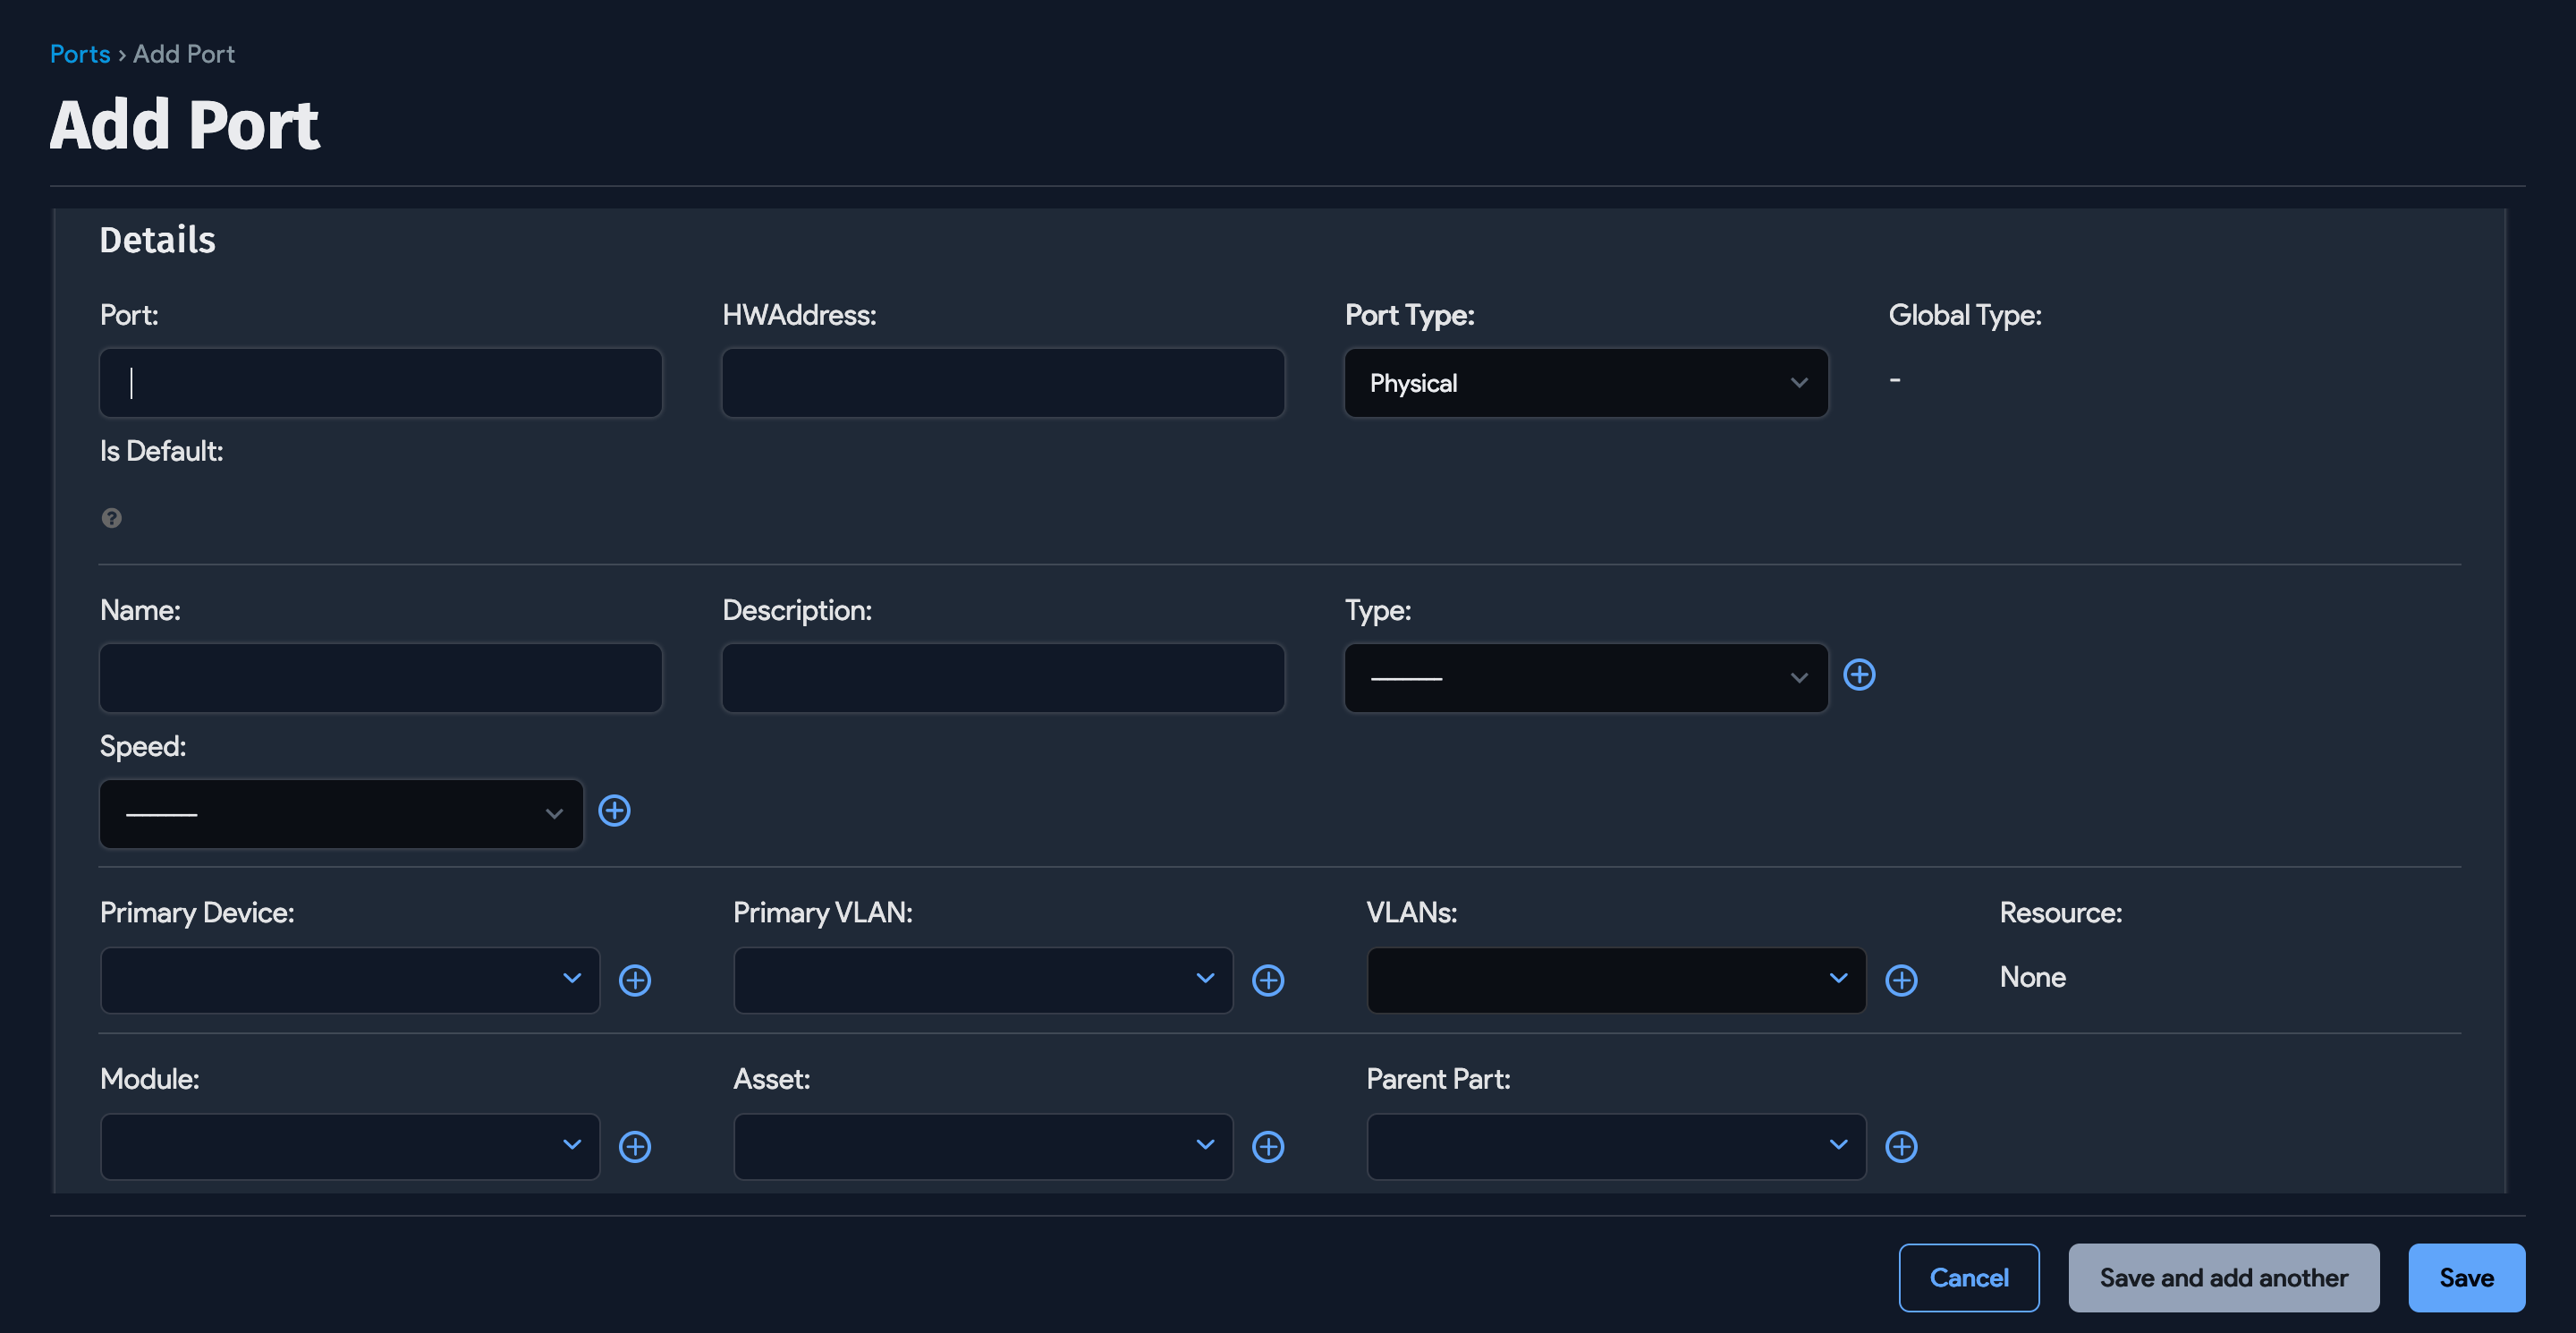
Port: Name of the switch port as found during autodiscovery, or user-generated.
Name: As found in autodiscovery or user-generated.
Description: As found in autodiscovery or user-generated.
Type: Add the type of port. Use the + button to add a new type.
Network Device: A device with network switch value as checked.
VLANs: All the VLANs this port belongs to.
Module: If this port is part of a module in a chassis-based switch, the module association can be made here.
Asset: If the port is part of FEX or a similar asset connected to the switch, that association can be made here. You can either assign it to a module or asset.
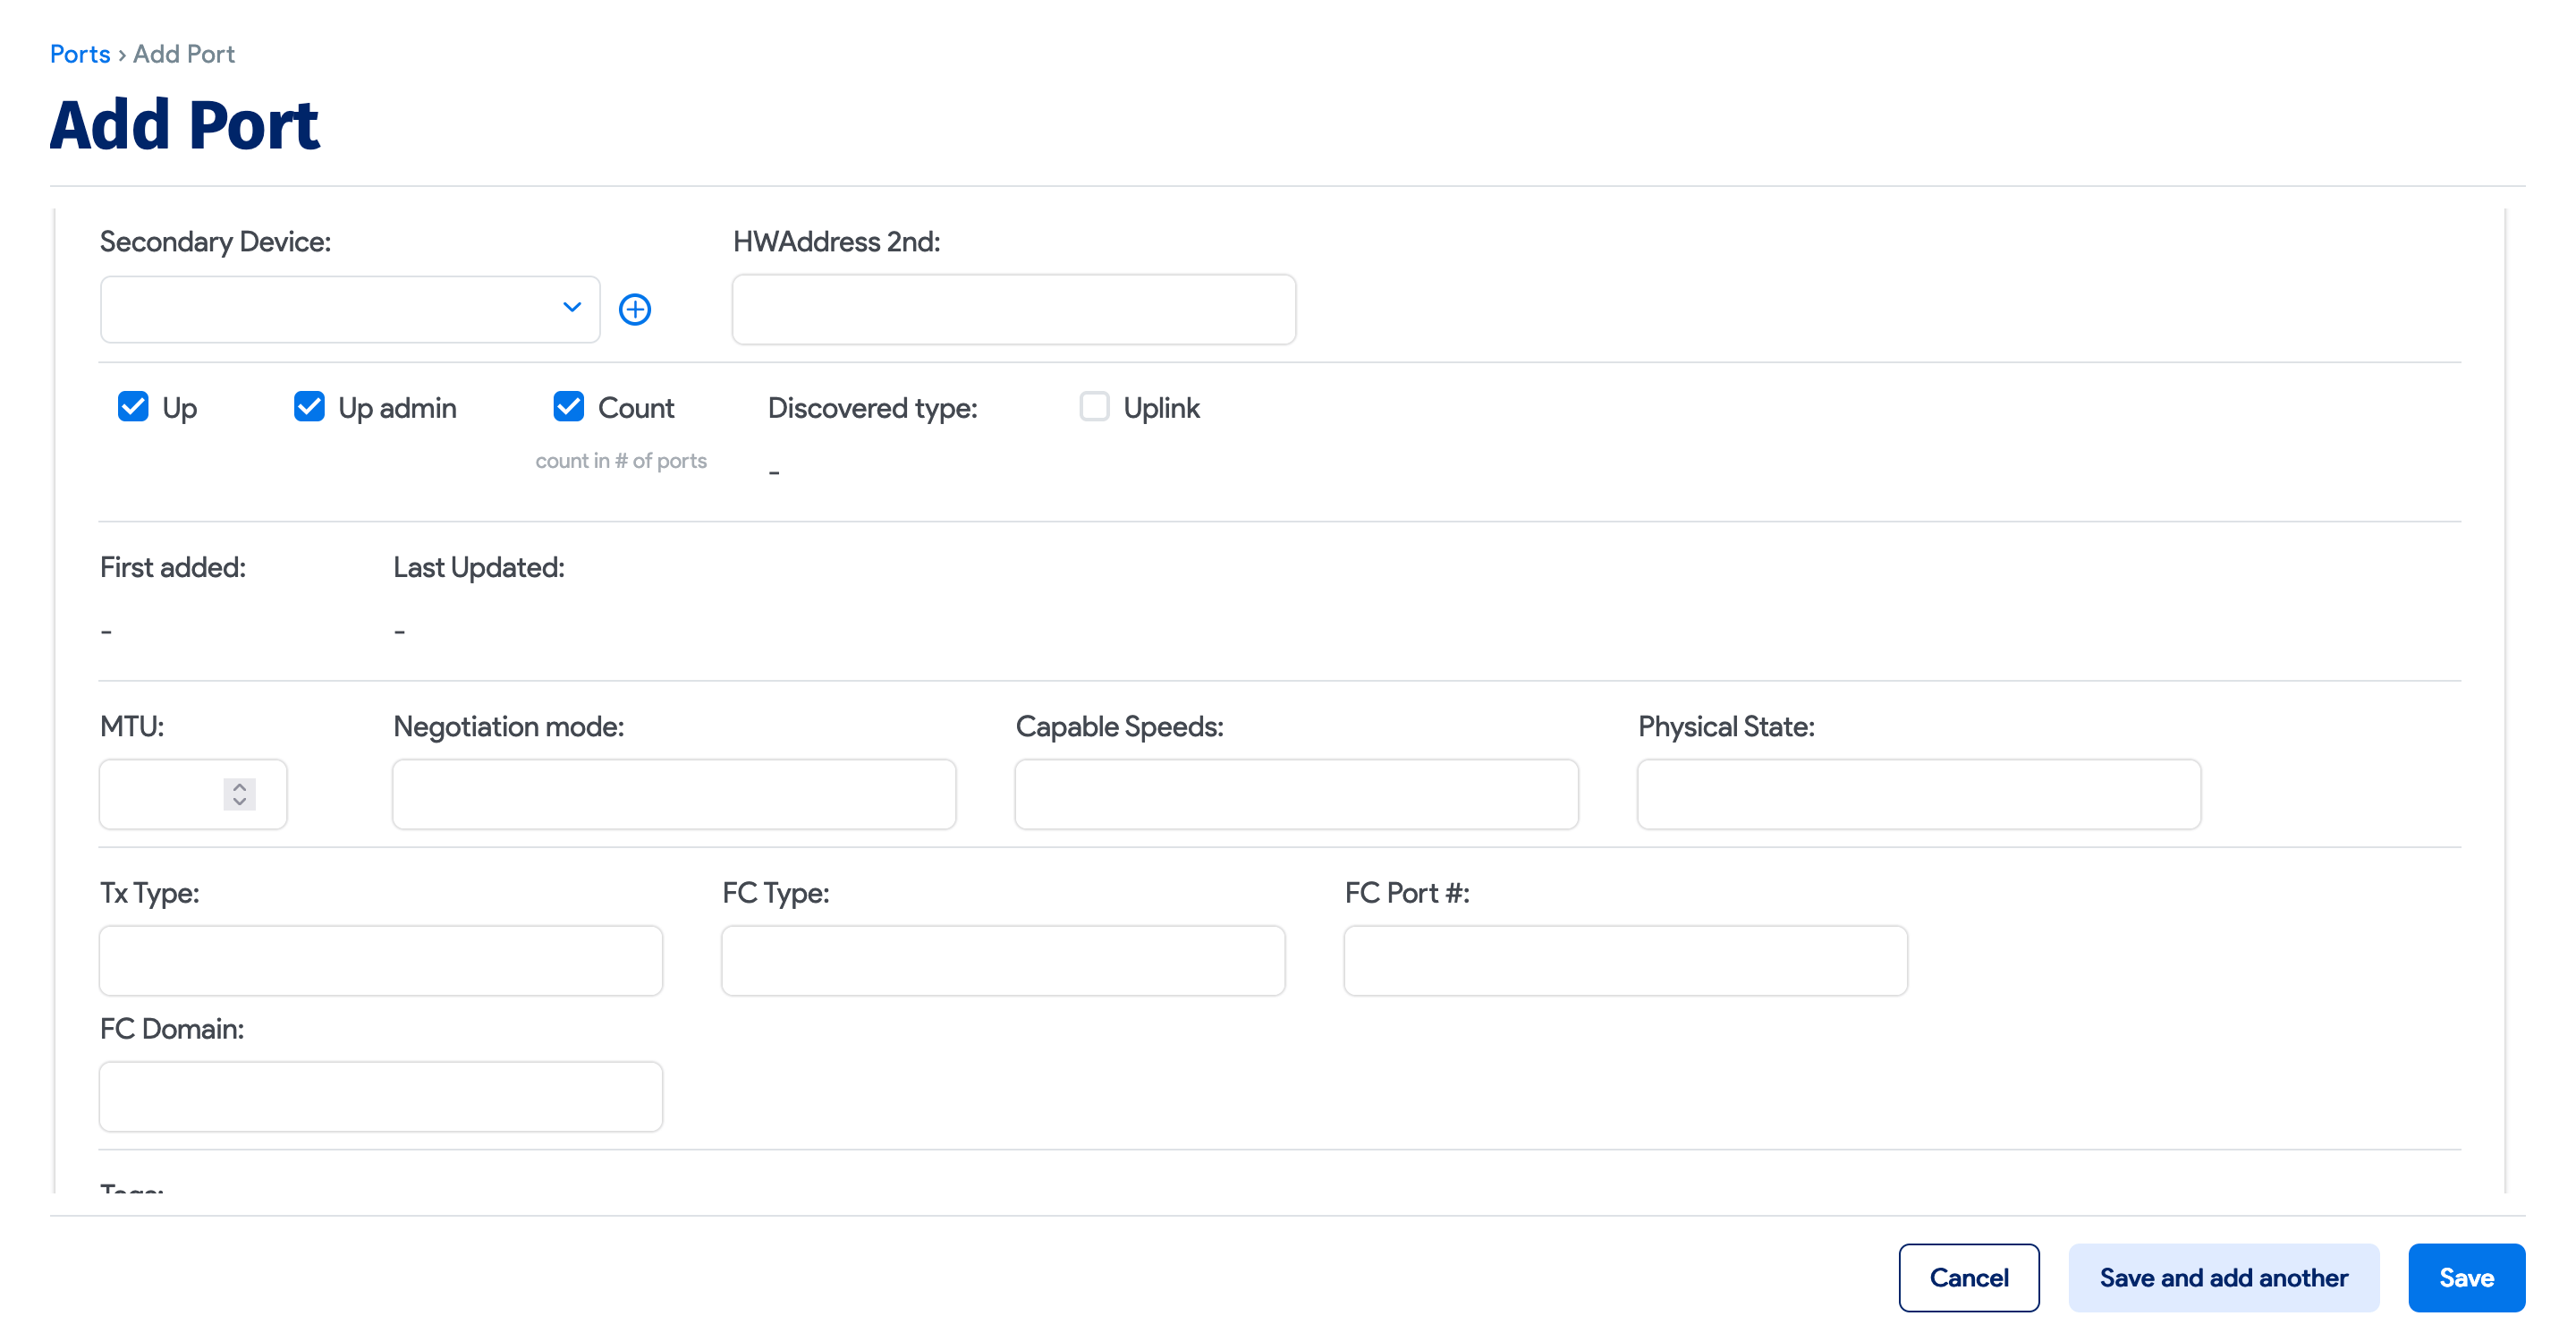
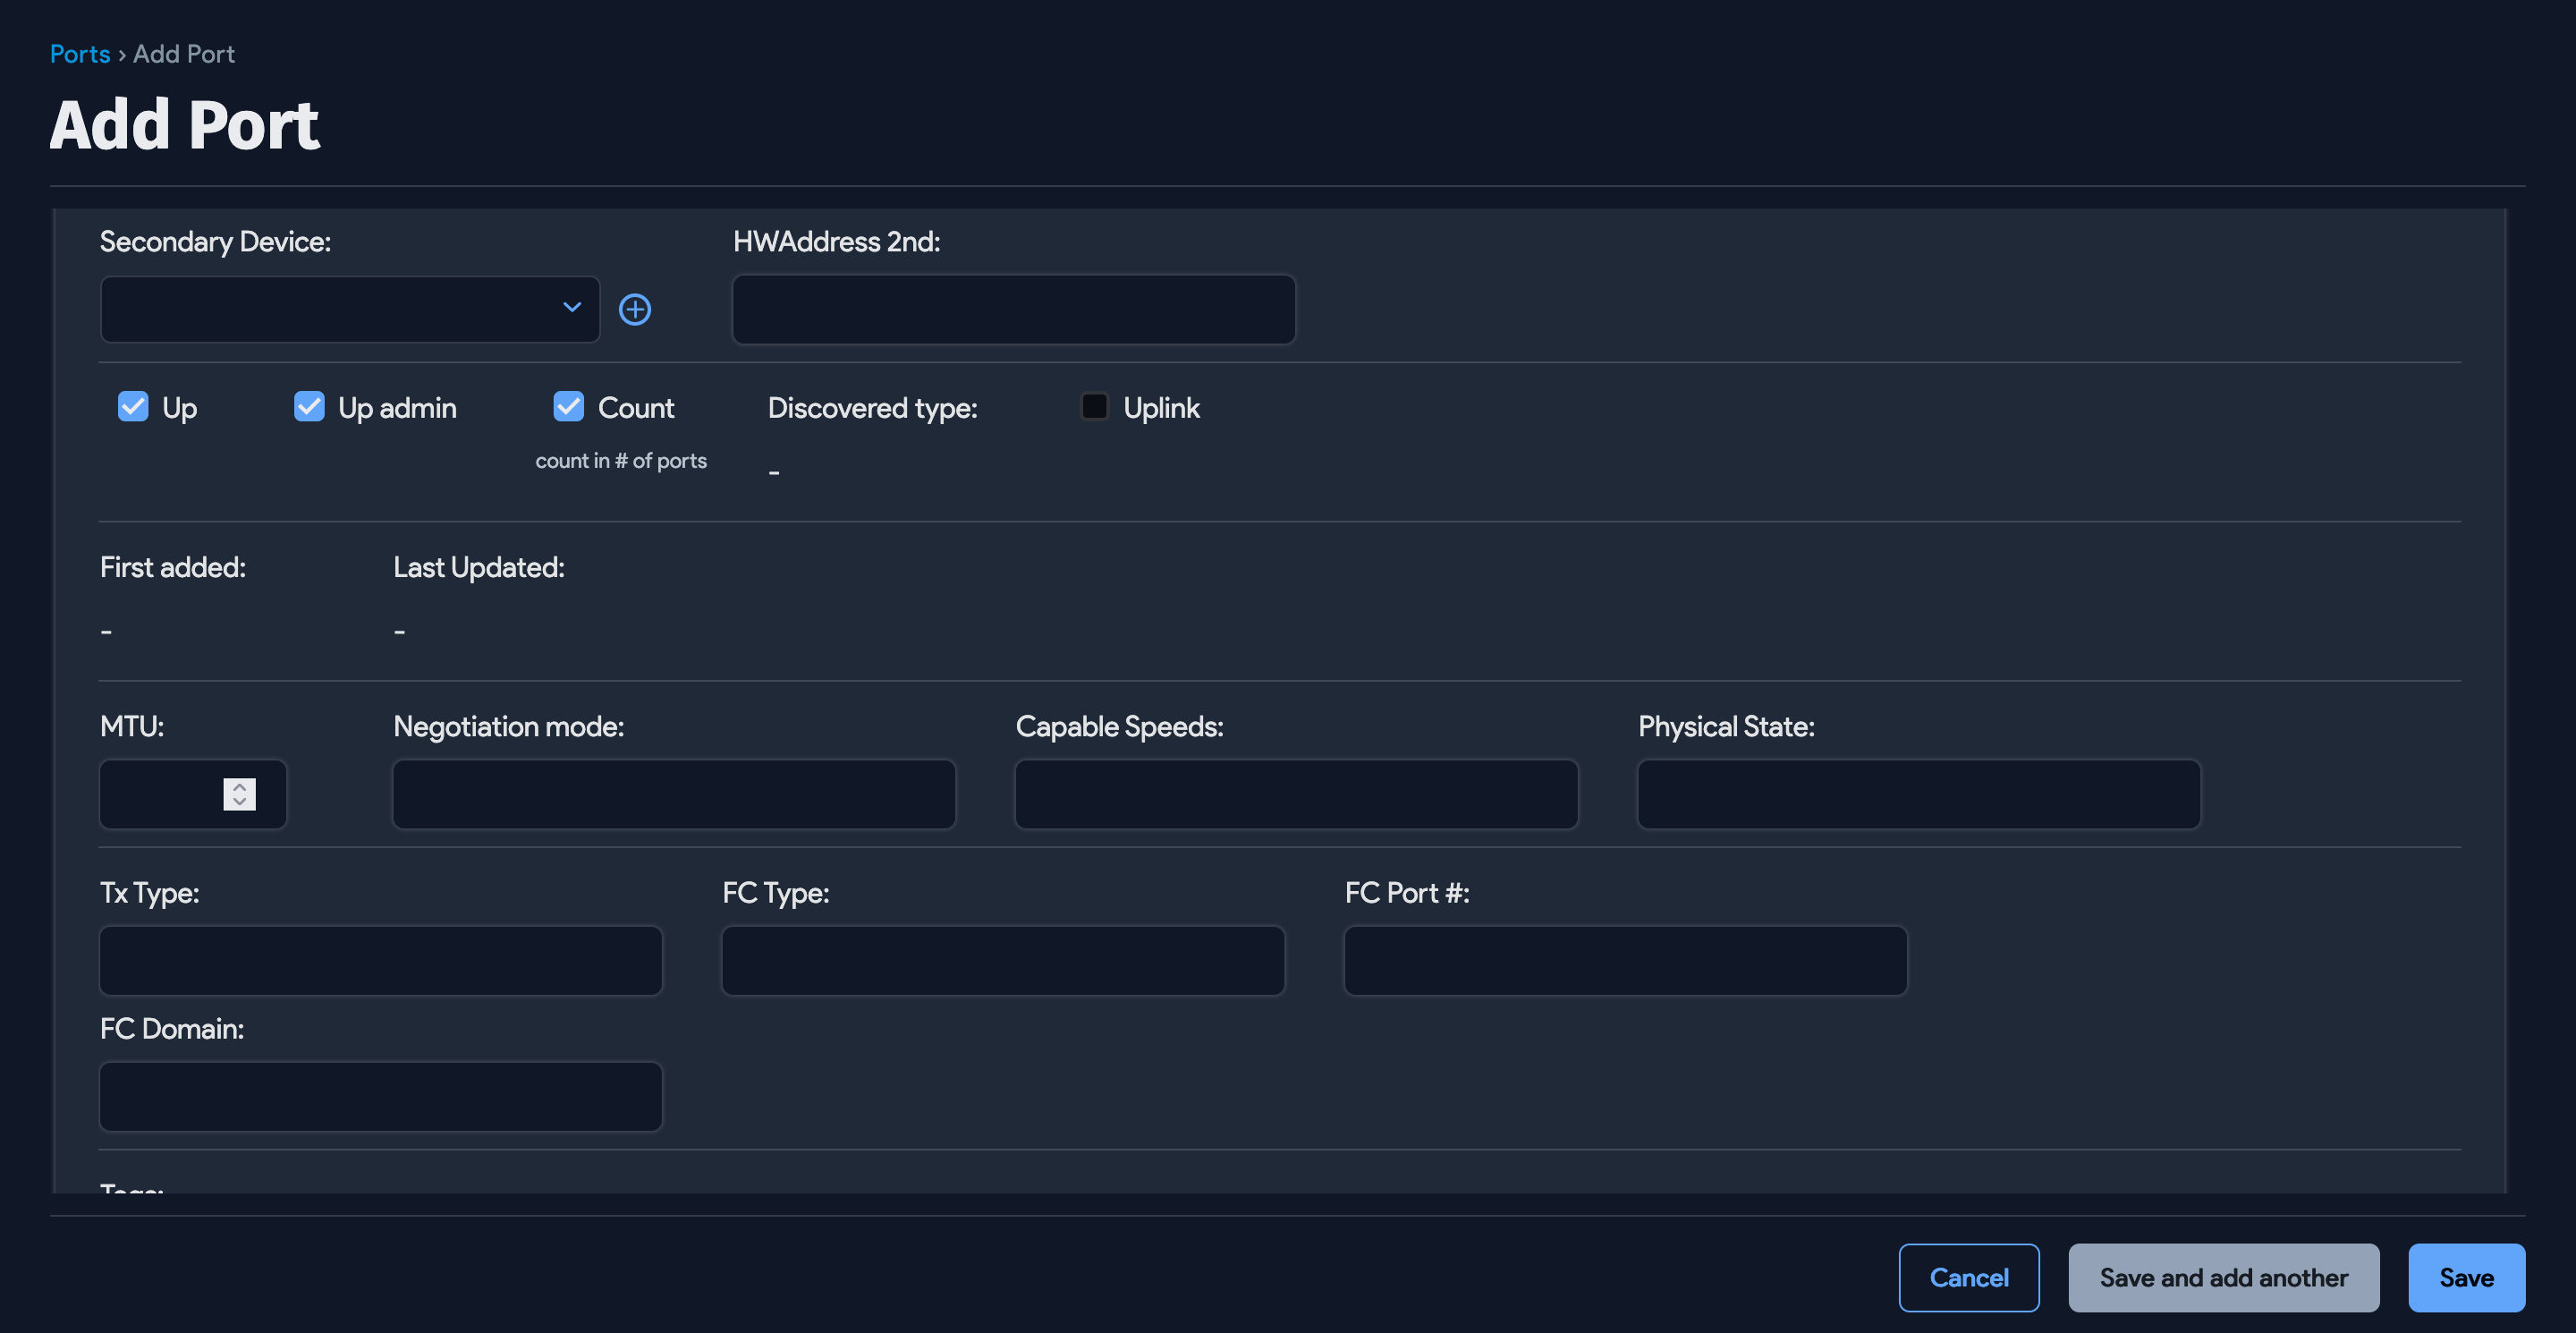
Network Switch 2nd: For stacked switches, this is the clustered switch. For paired switches, this is the second switch through which port can be managed.
The associations for the Module, Asset, and the Network Switch 2nd fields can be done efficiently using switch templates.
Up: Whether the port is up or not.
Up admin: Whether the port is administratively up or not.
Count: Count in the number of ports.
Discovered type: The port type as discovered during autodiscovery. This field is read-only. The discovered type value can be used to mark certain ports as uncounted, delete ports, or ignore certain port types in autodiscovery.
Remote Port: If the port is connected to another switch port, you can make that association here. This can be autodiscovered as well.
Don't change via API: If you override remote port connectivity manually, check this so autodiscovery or an API doesn't make this change automatically.
Tags: A comma-separated list of tags you would like attributed to the switch port.
HW Address: Any MAC addresses and devices connected to the switch port and the VLAN associated with the MAC address.
Add a New Switch Port
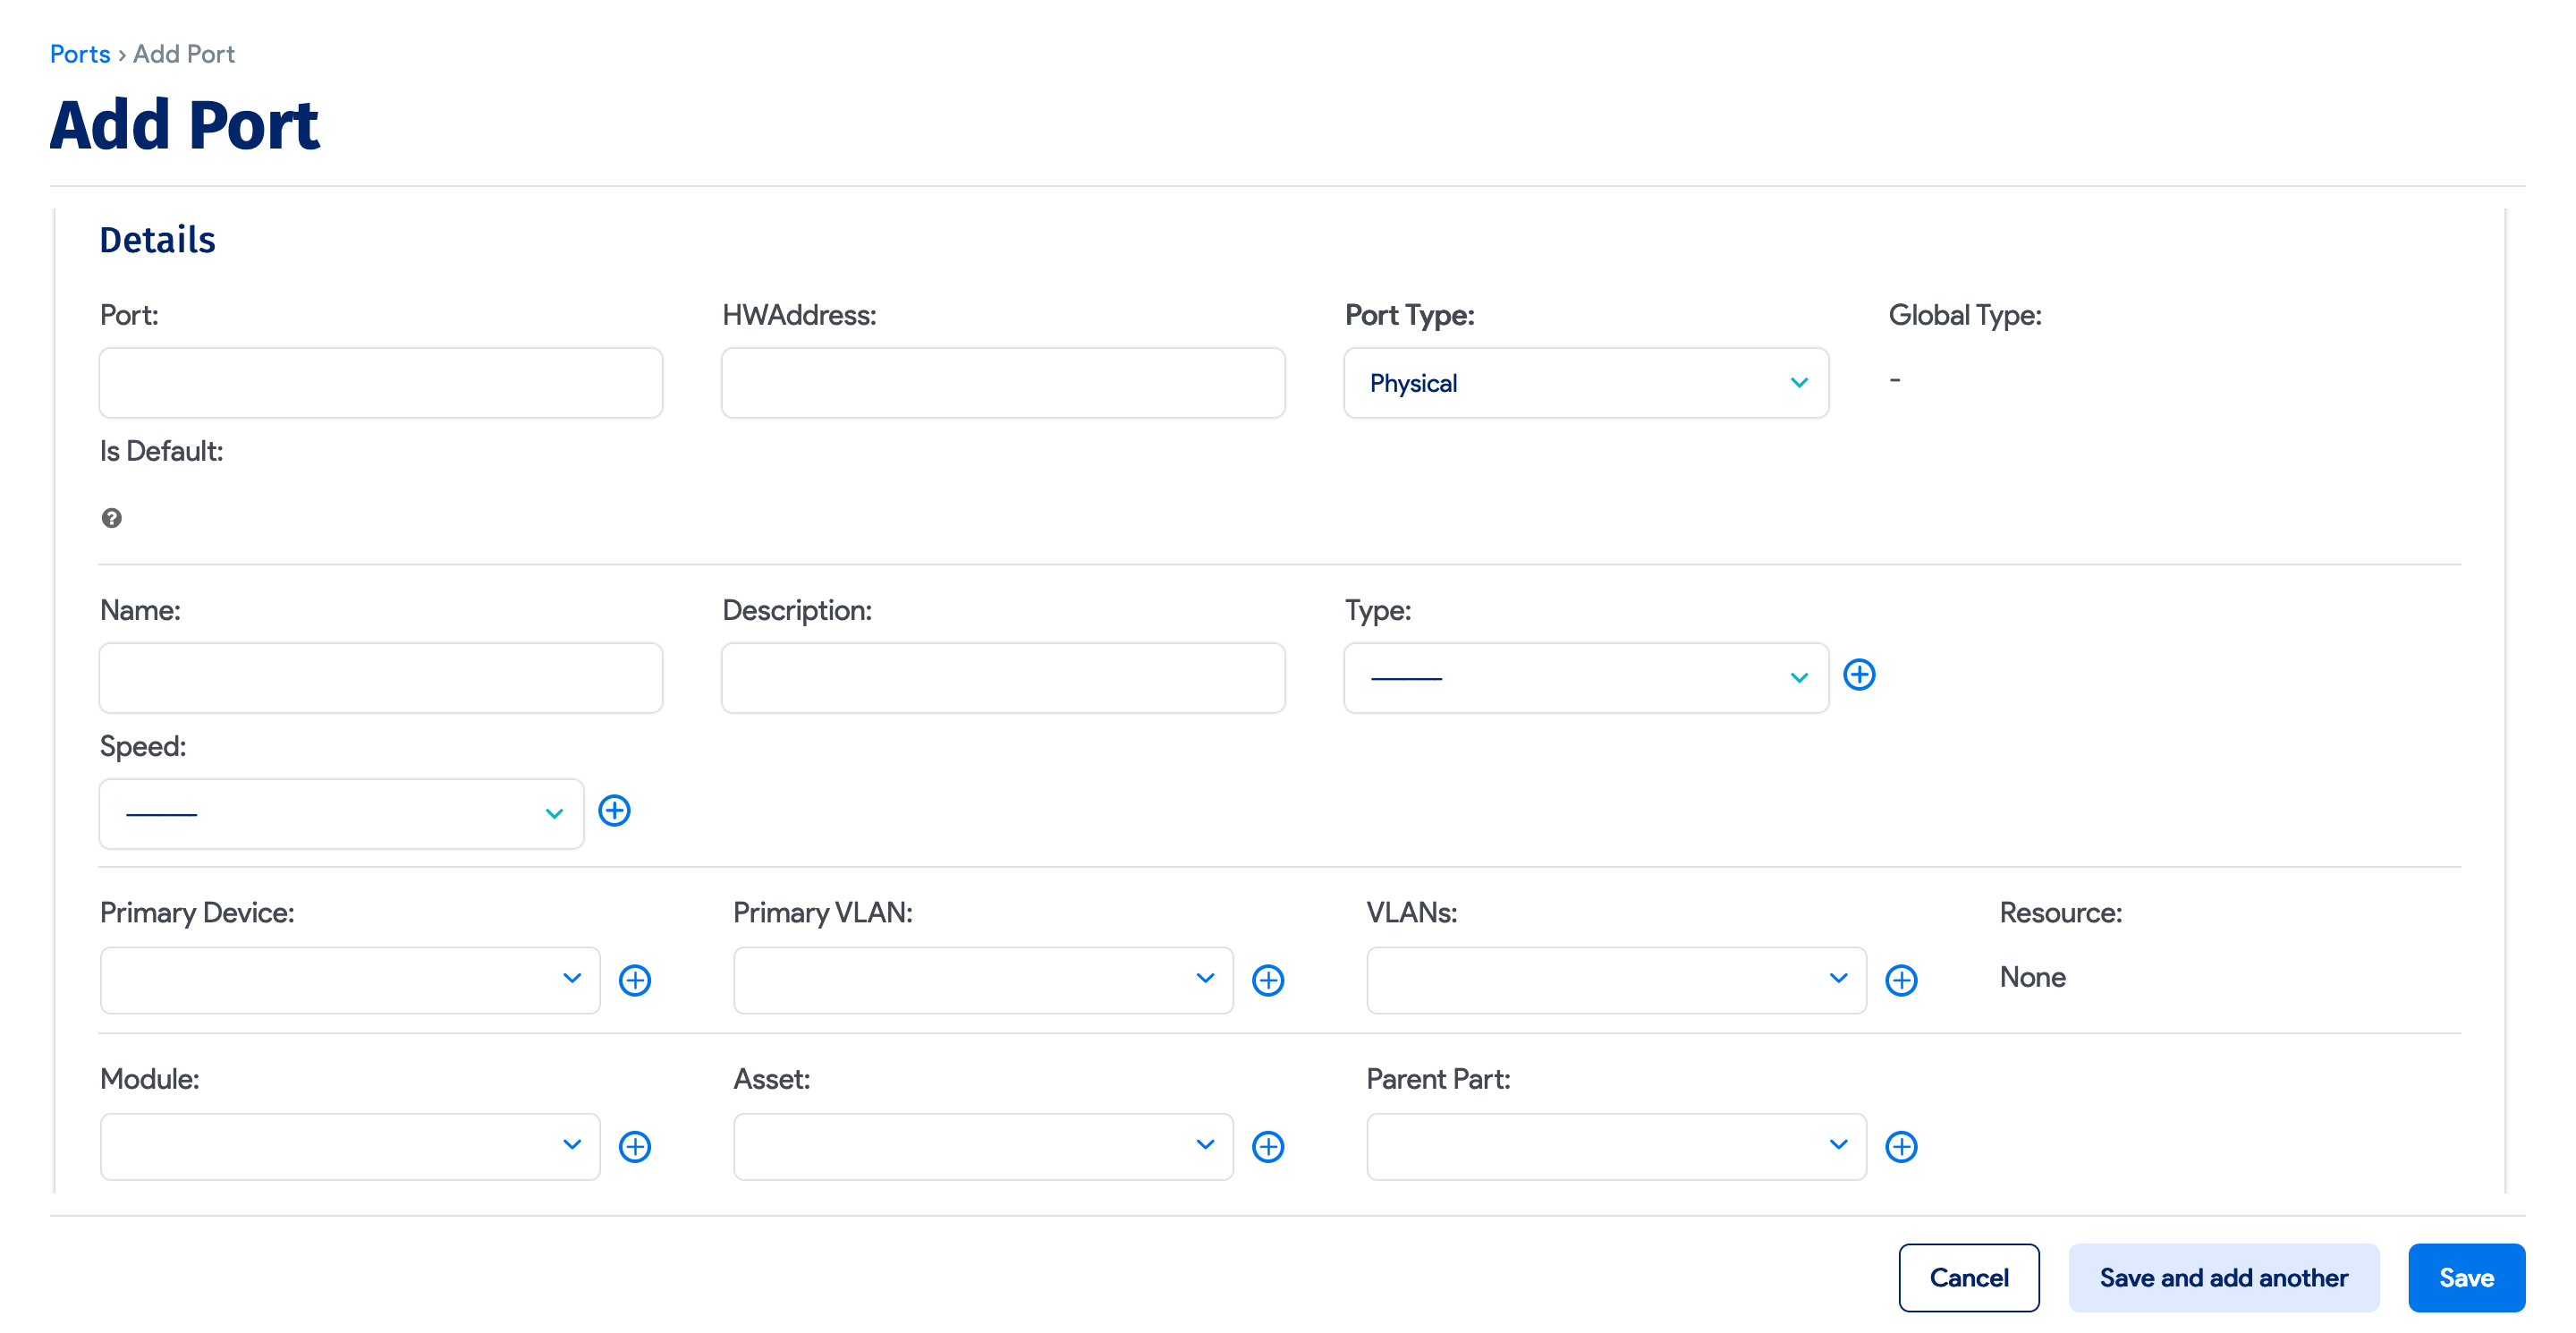
Click the + Add Port button on the upper right of the Ports list page and fill in the details of the port:
Add more port details:
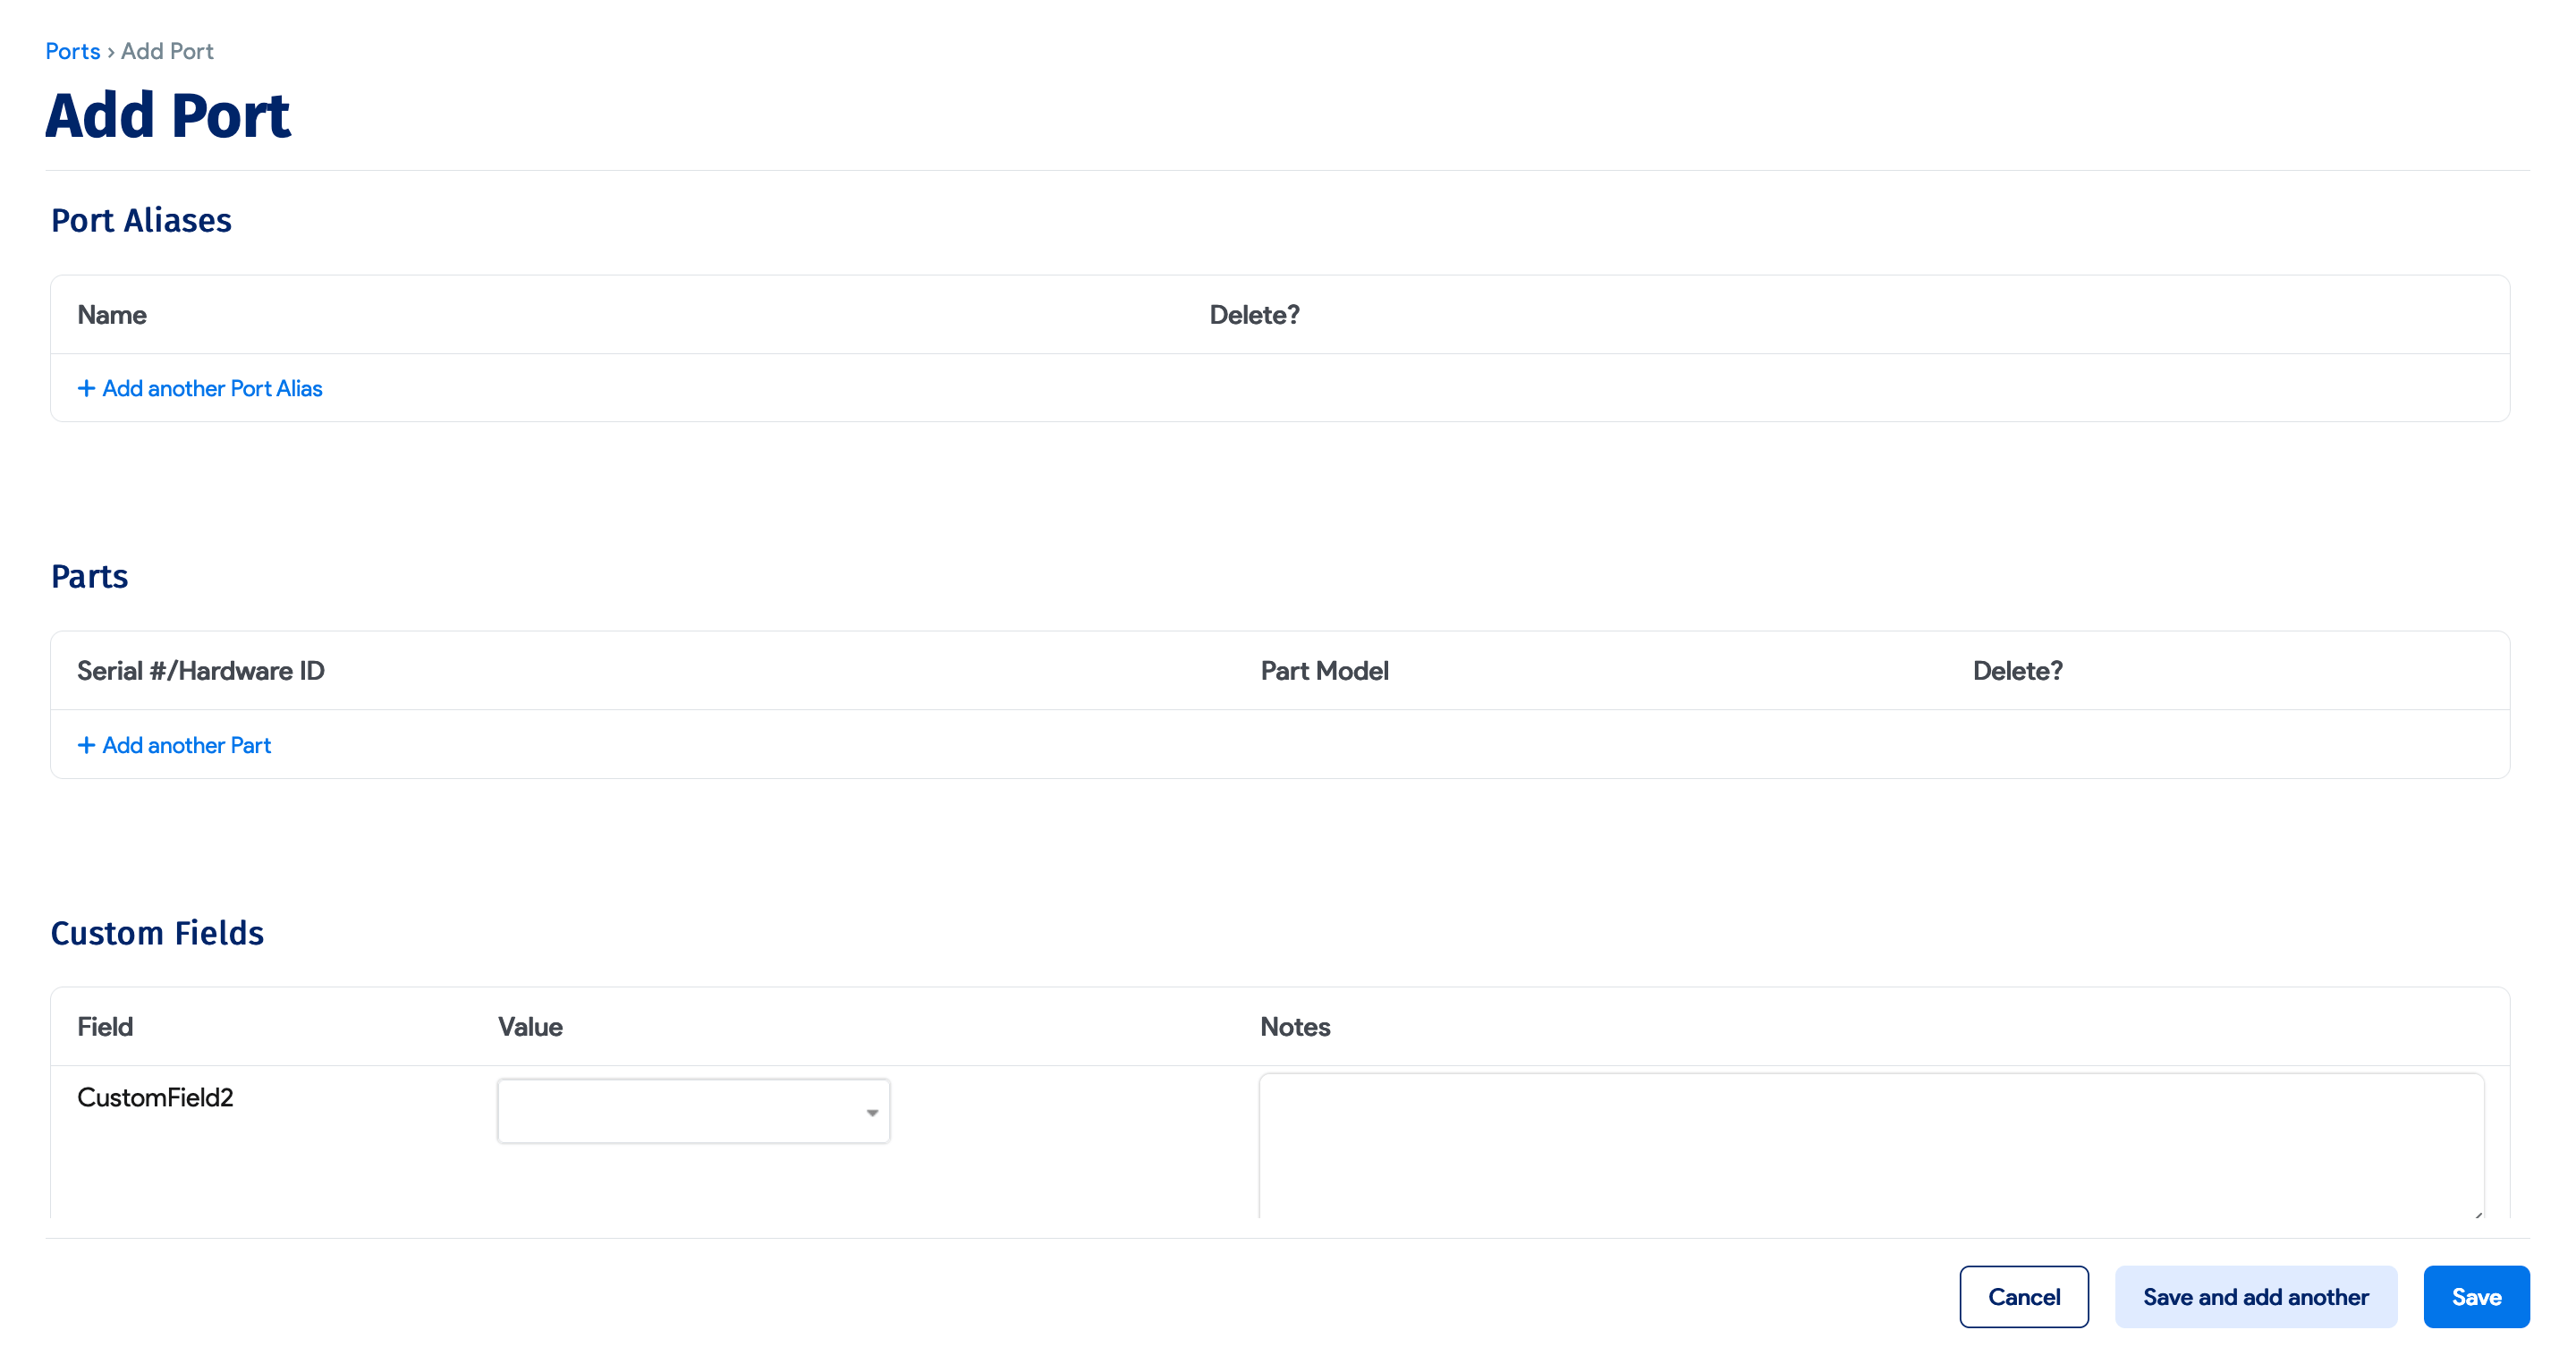
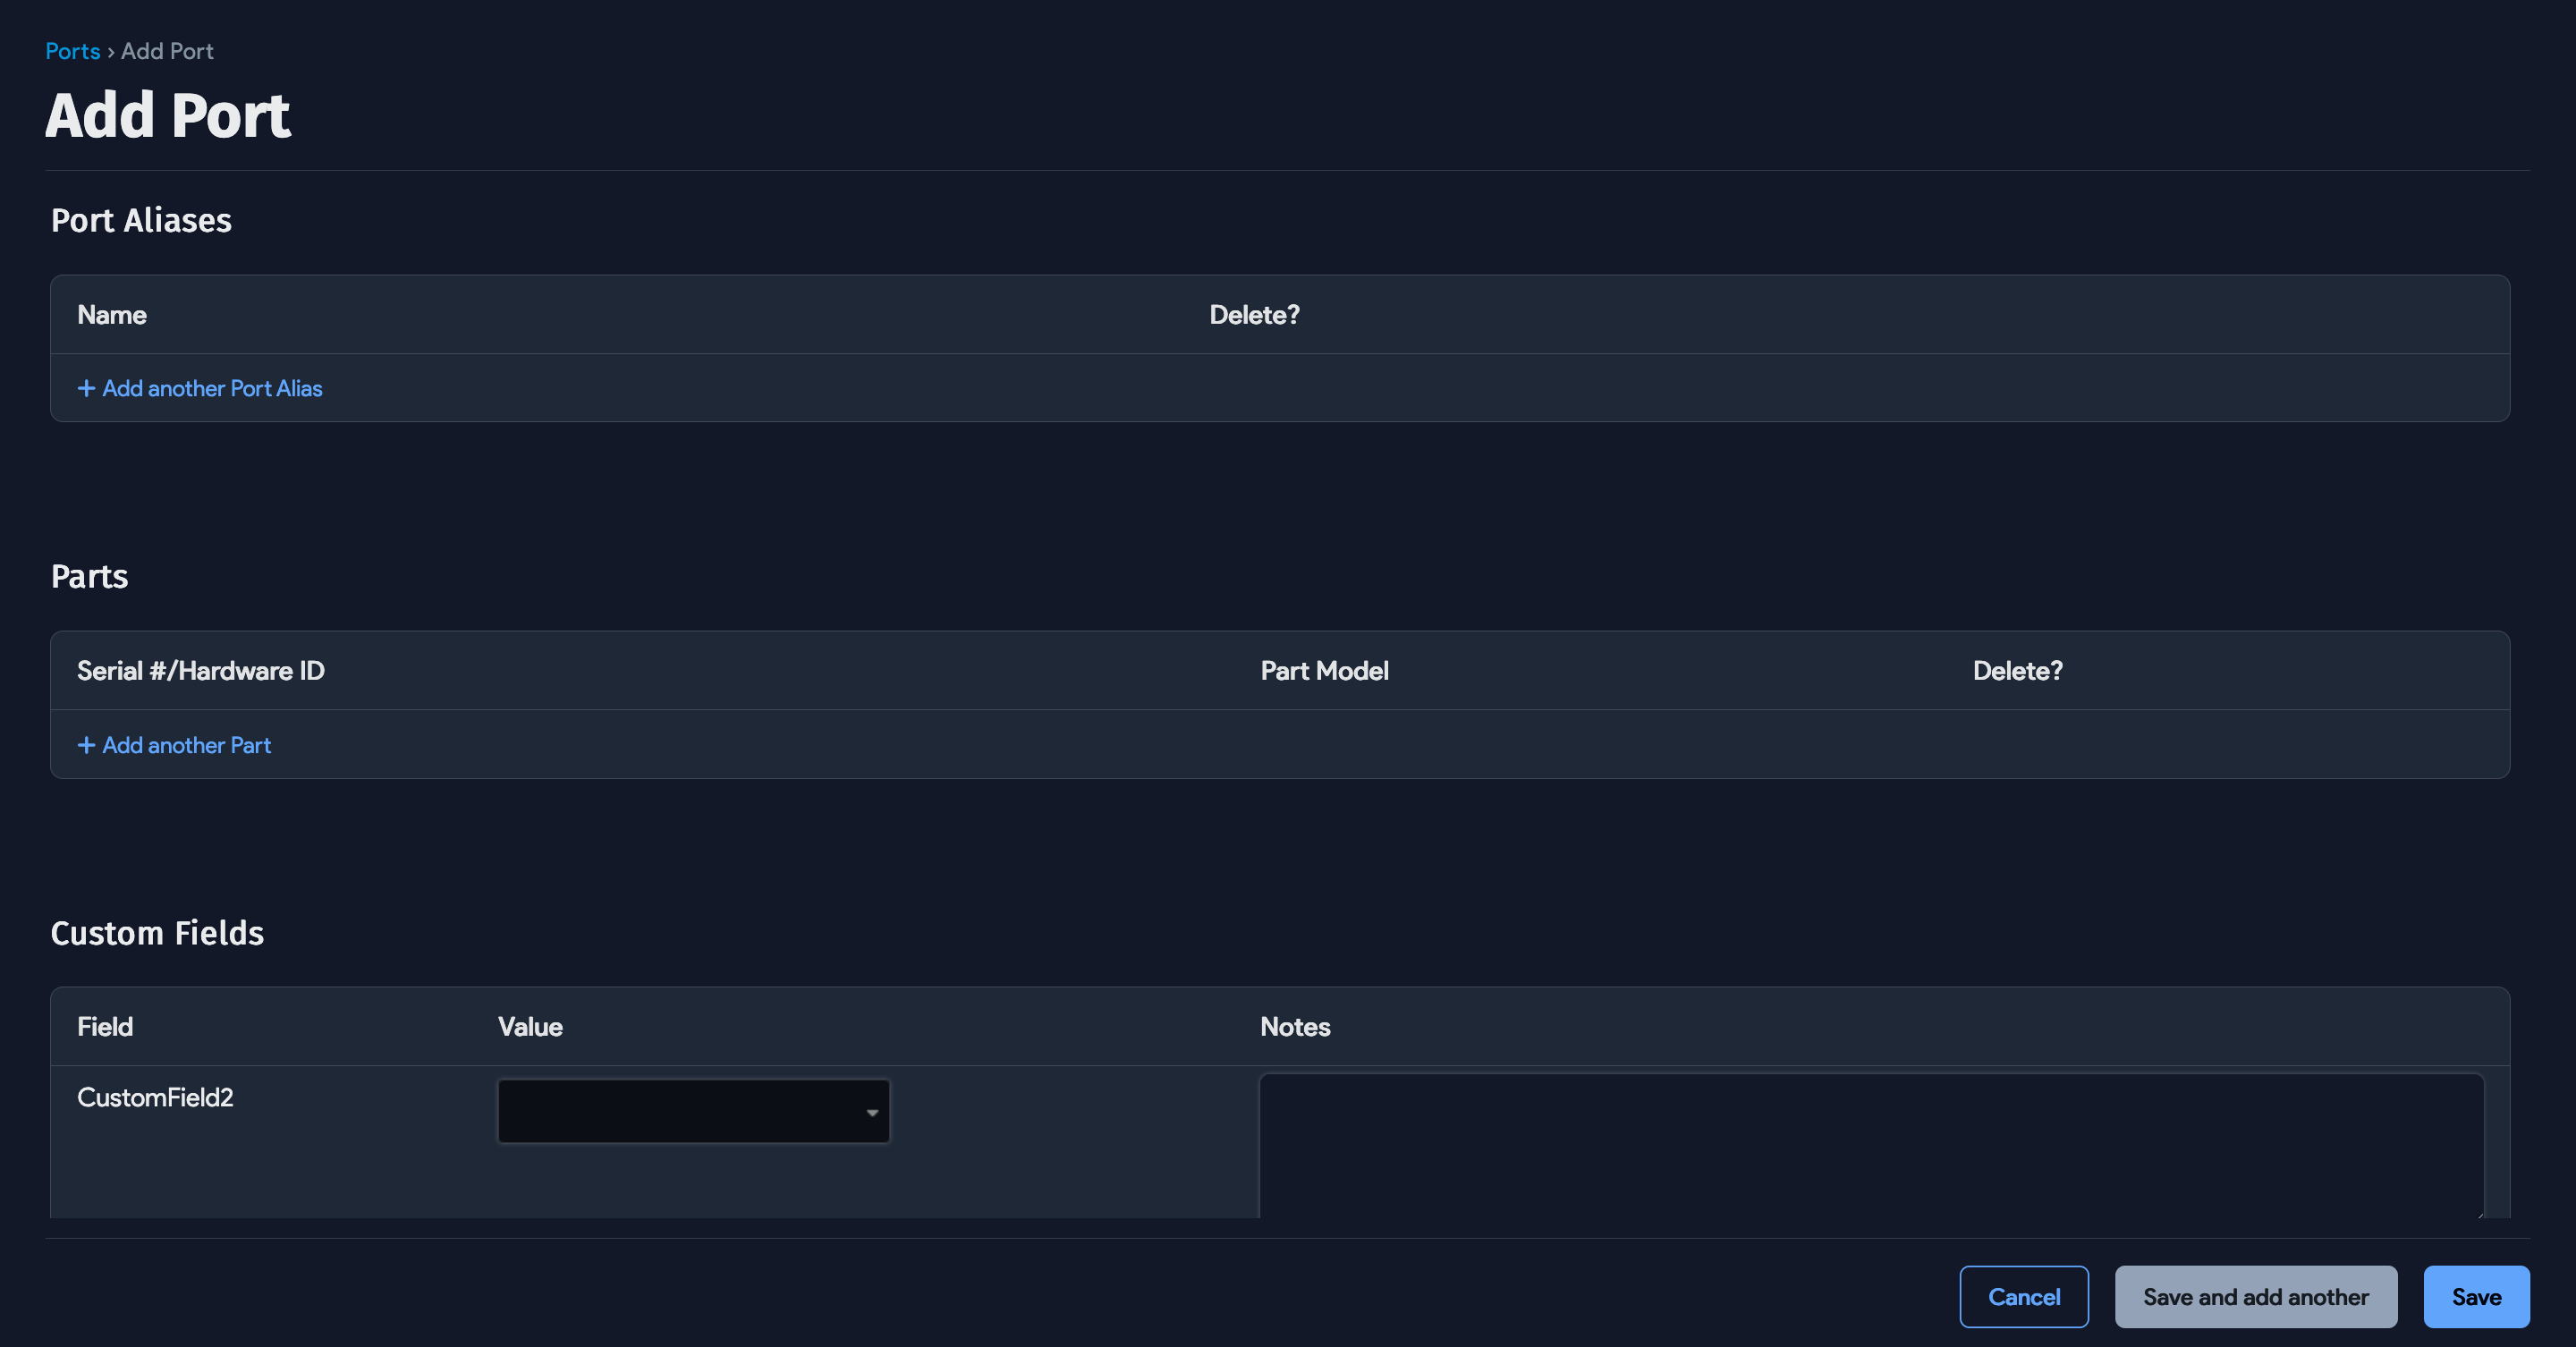
Scroll down to add Port Aliases, Parts, and see Custom Fields:
Switch Port Bulk Operations
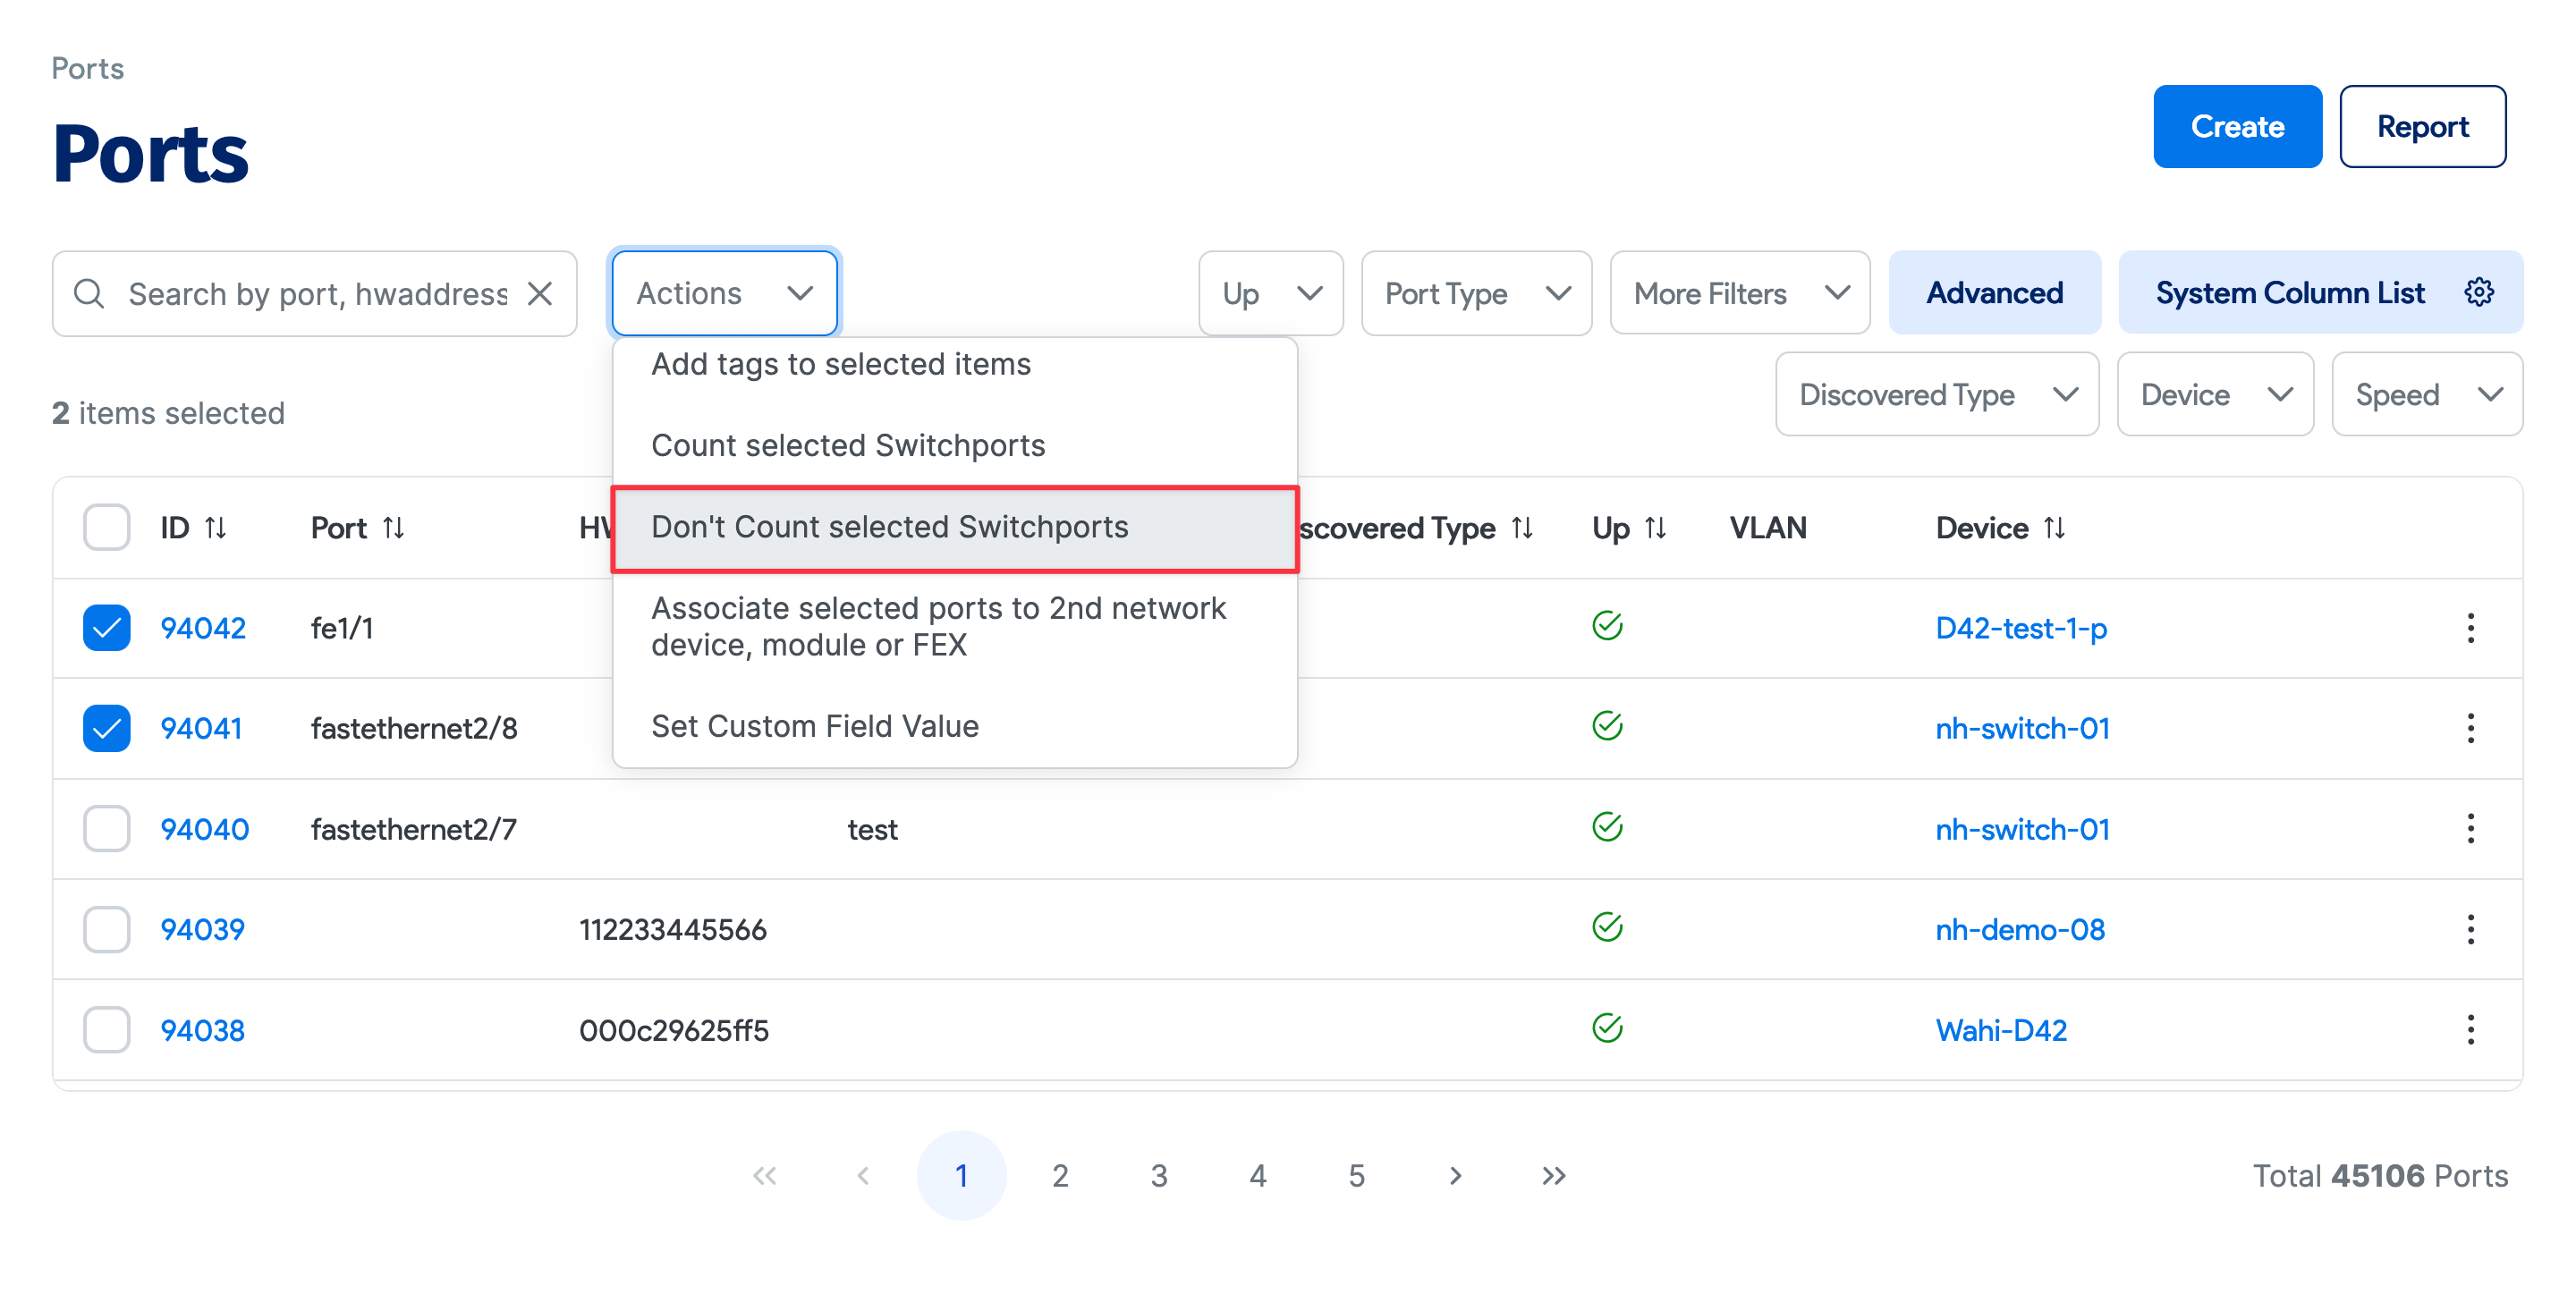
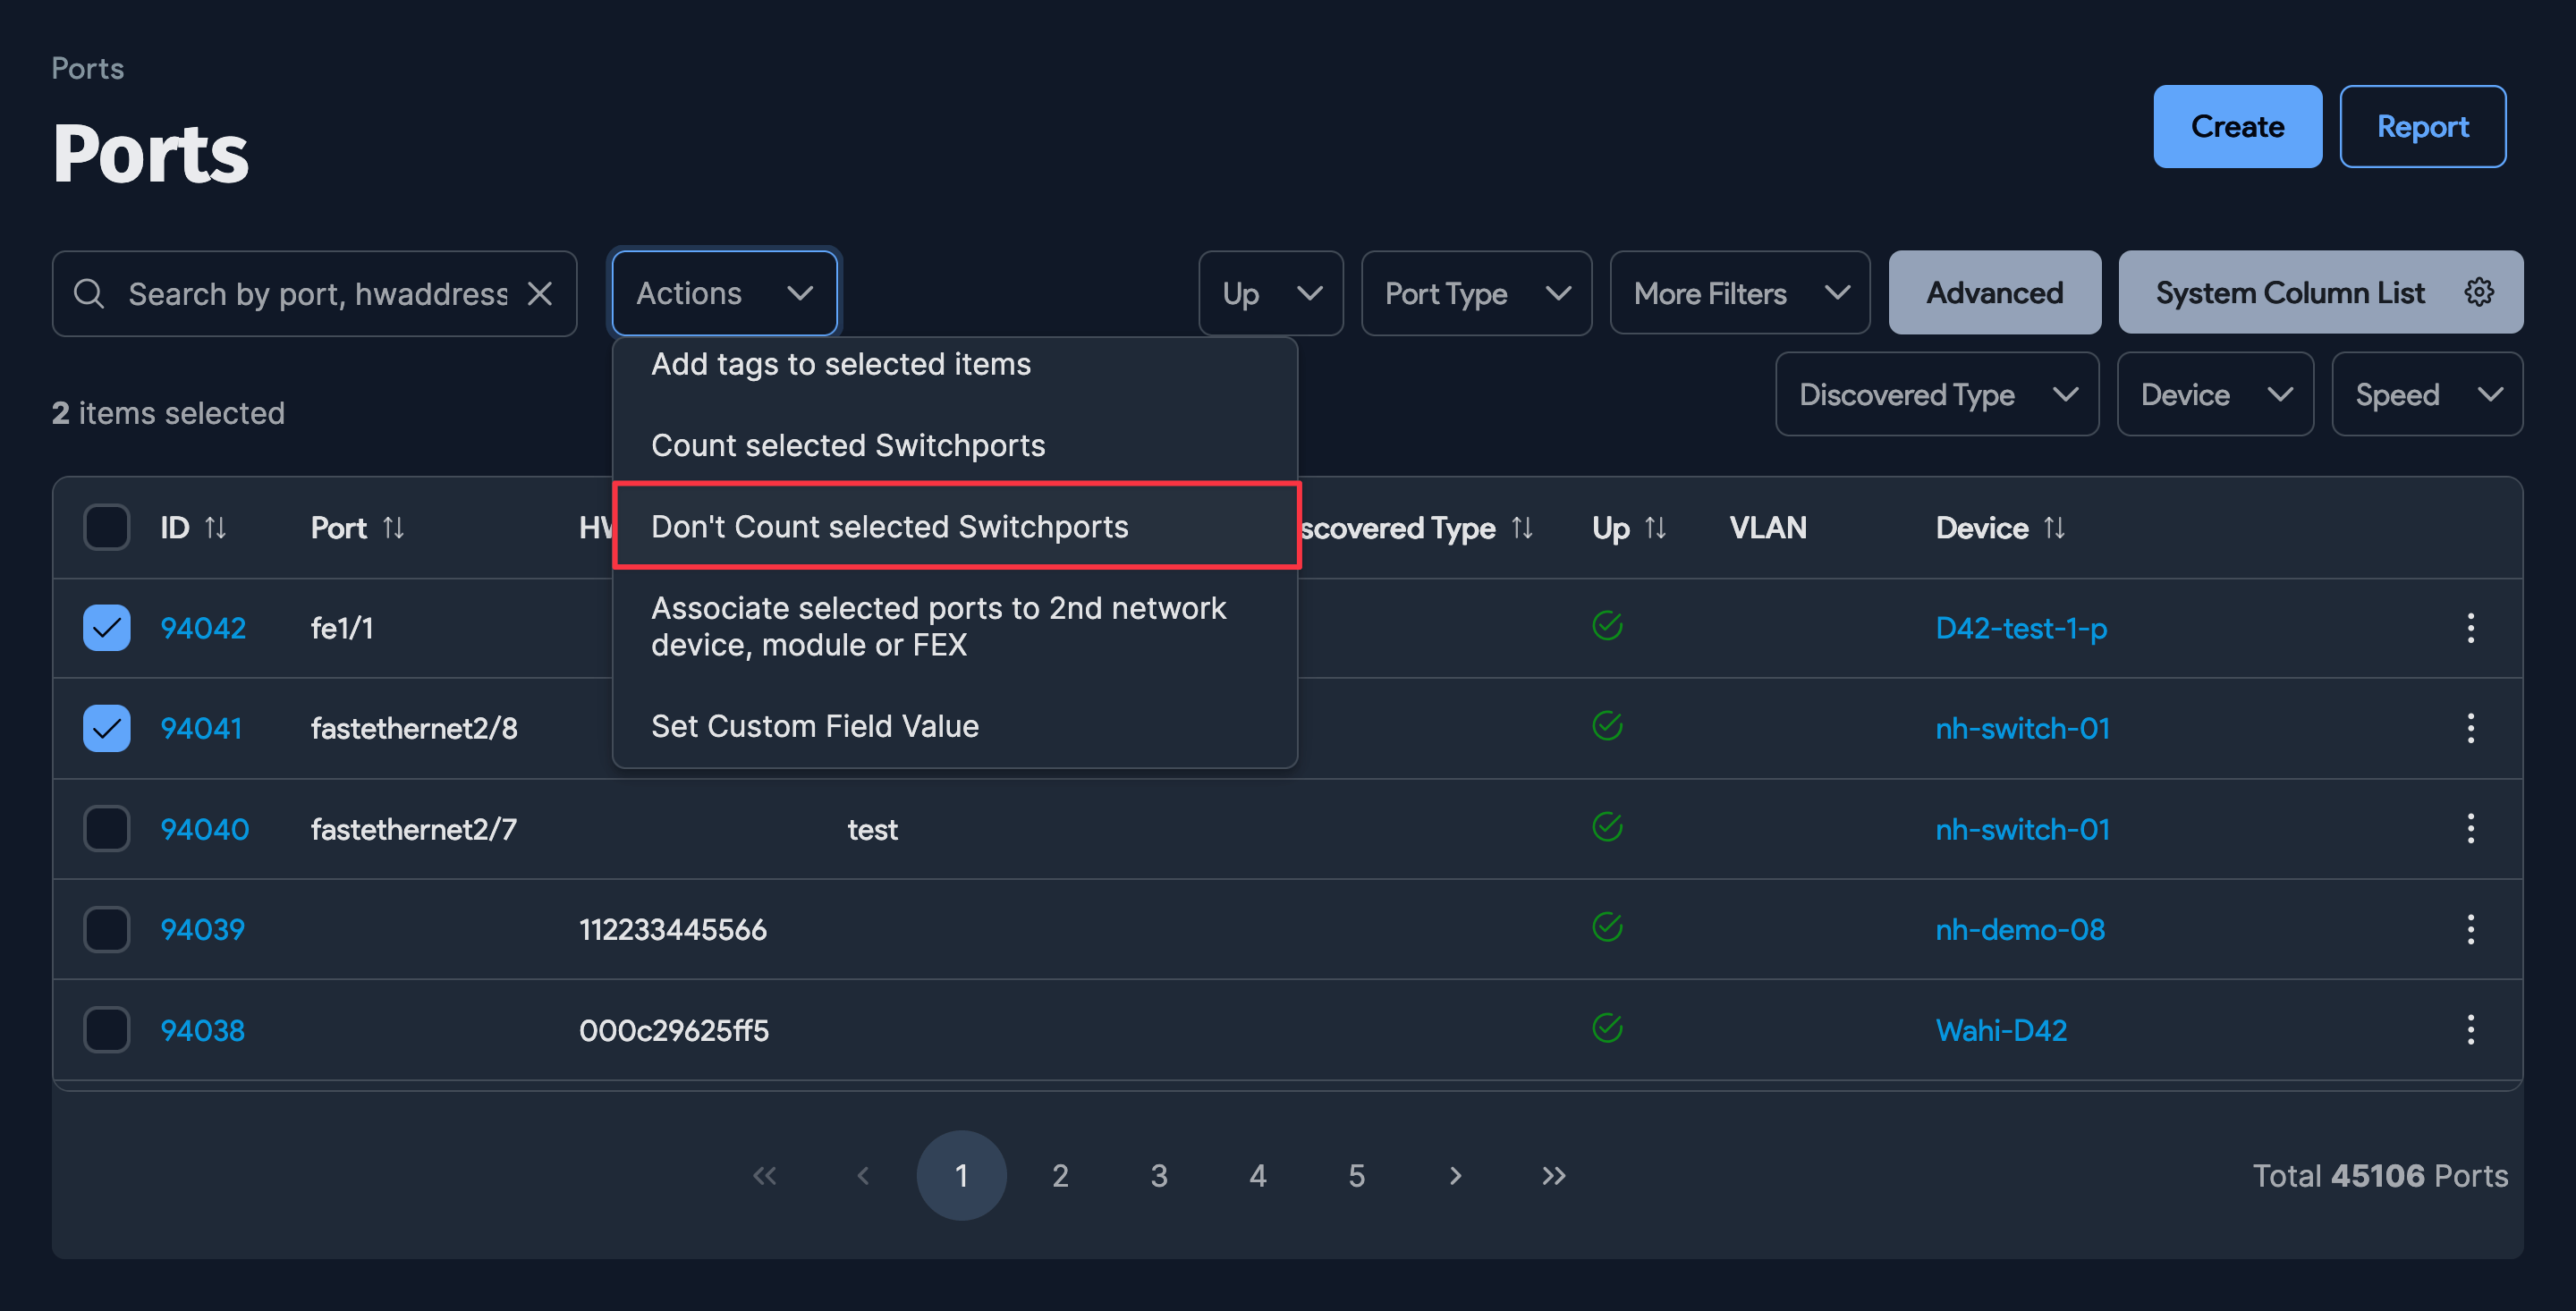
Perform bulk operations by selecting ports from the table and choosing an action in the dropdown menu. Click the icon hammer to execute the action.
For example, you can filter ports by up/down status, network switch, or discovered type, and select the ports to be not be counted in the total:
Switch Port Count
In the rack layout view, the hover-over popup shows the total "counted" ports and up ports for that switch.
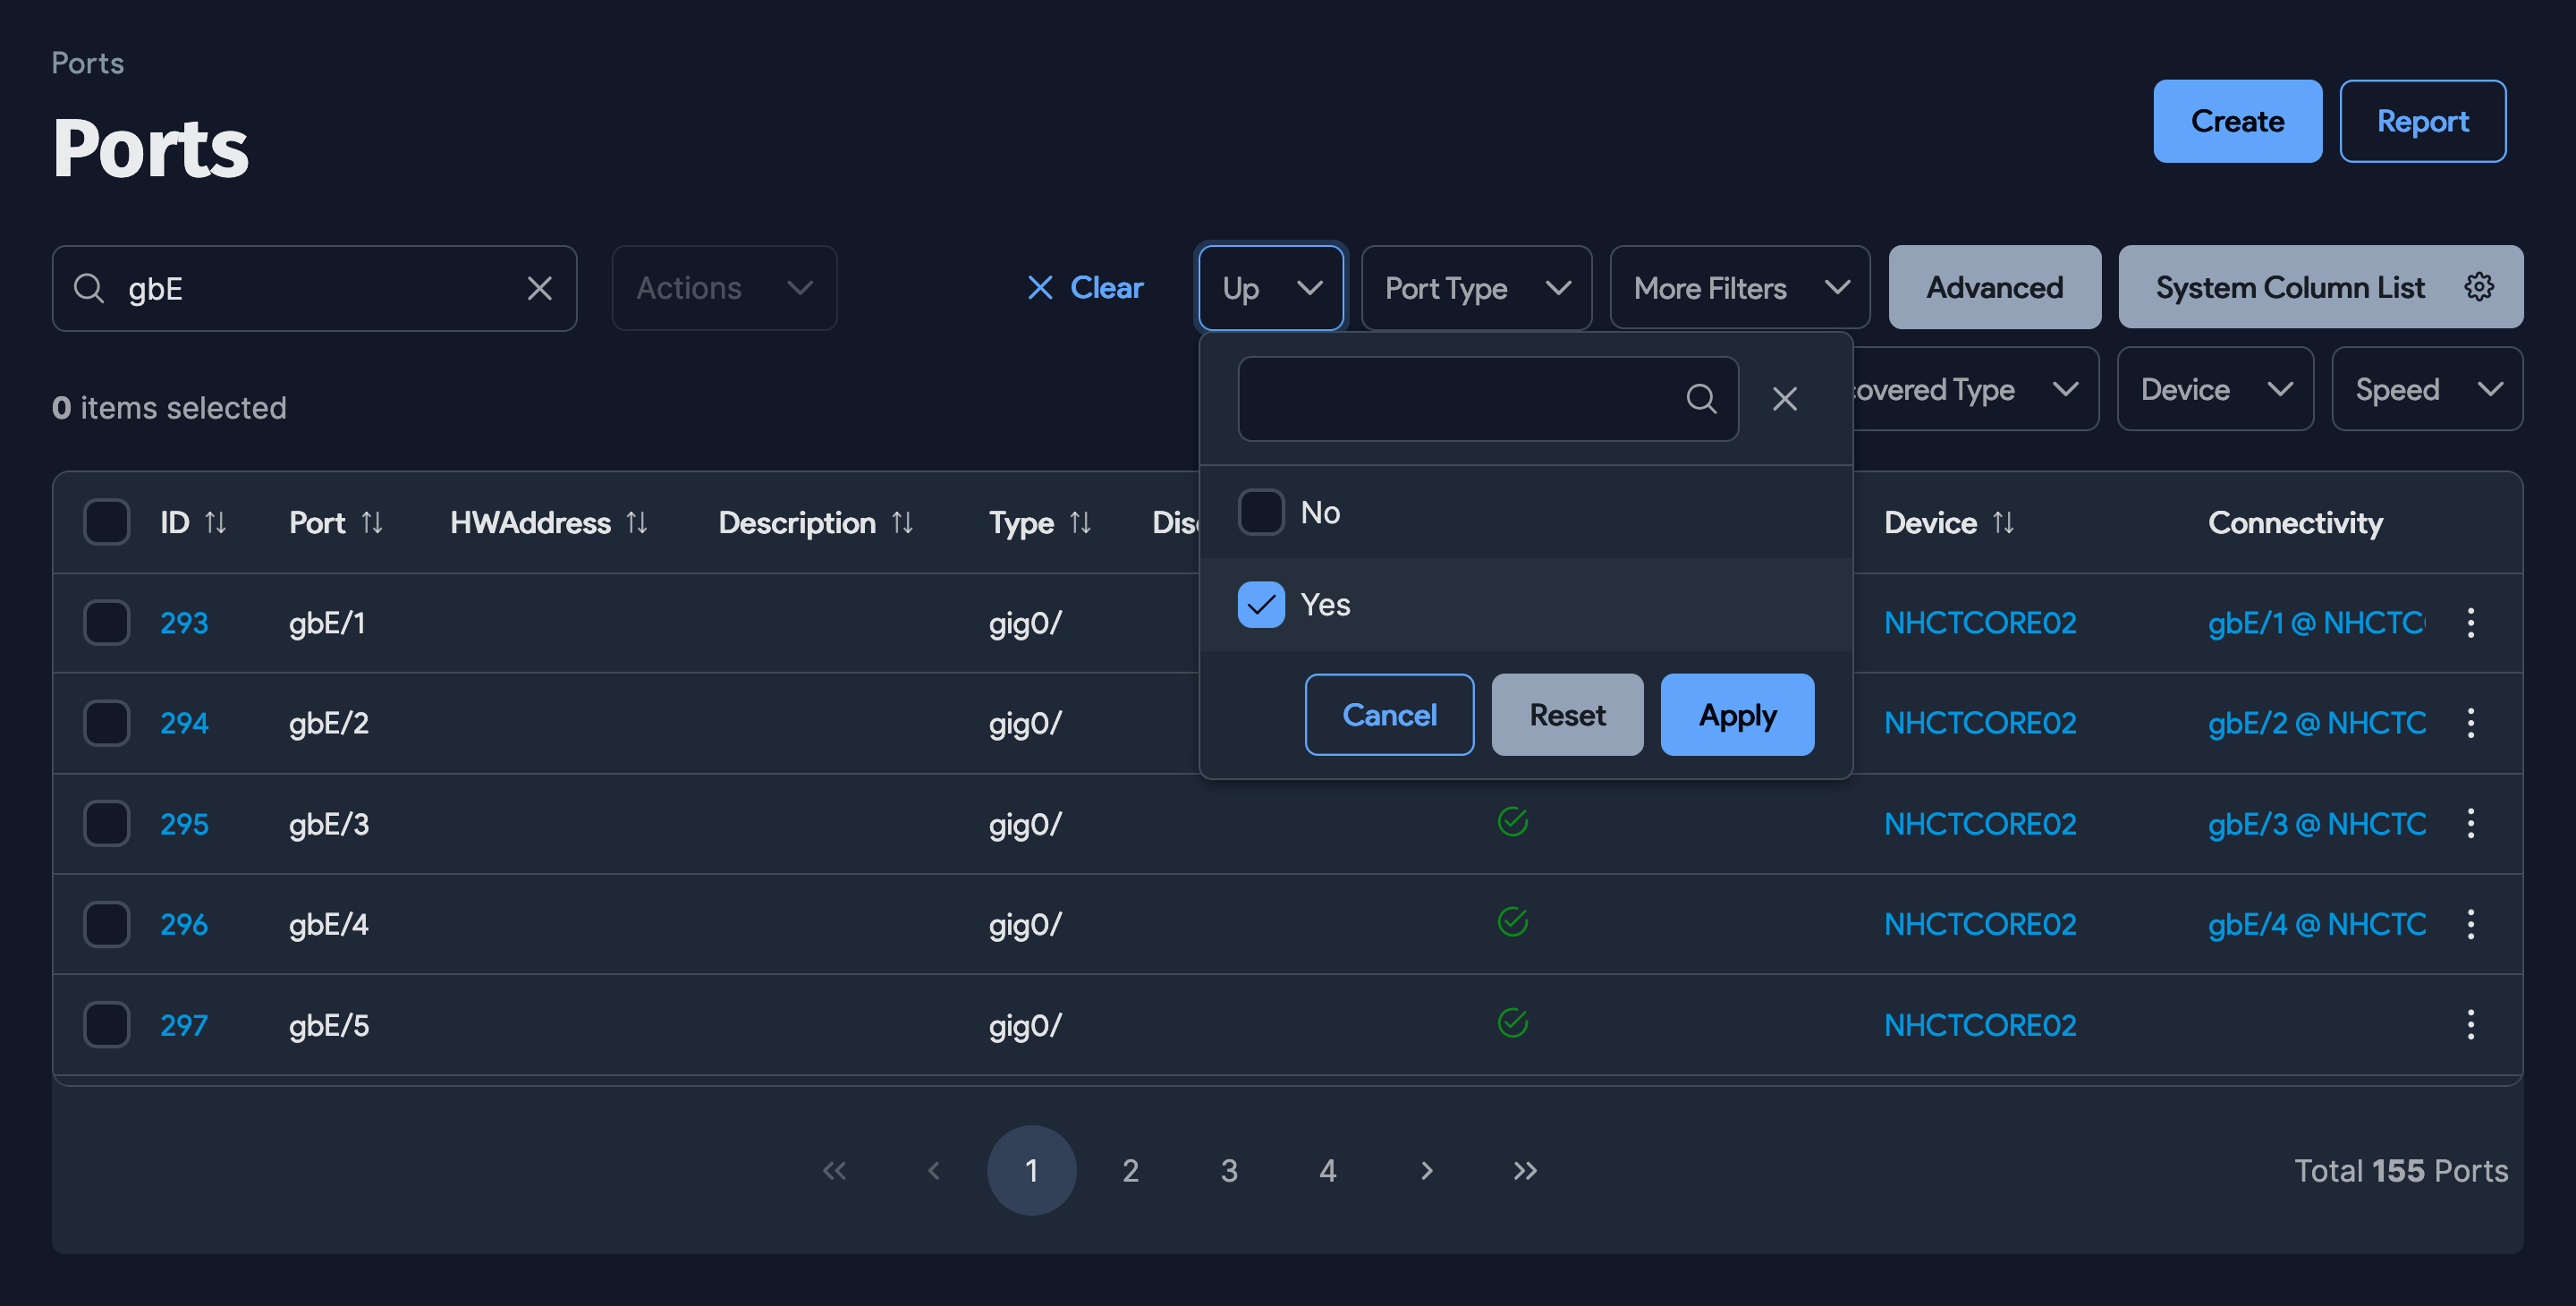
Also, from the switch port list page, you can filter by switch and up/down status to show the count of filtered ports.

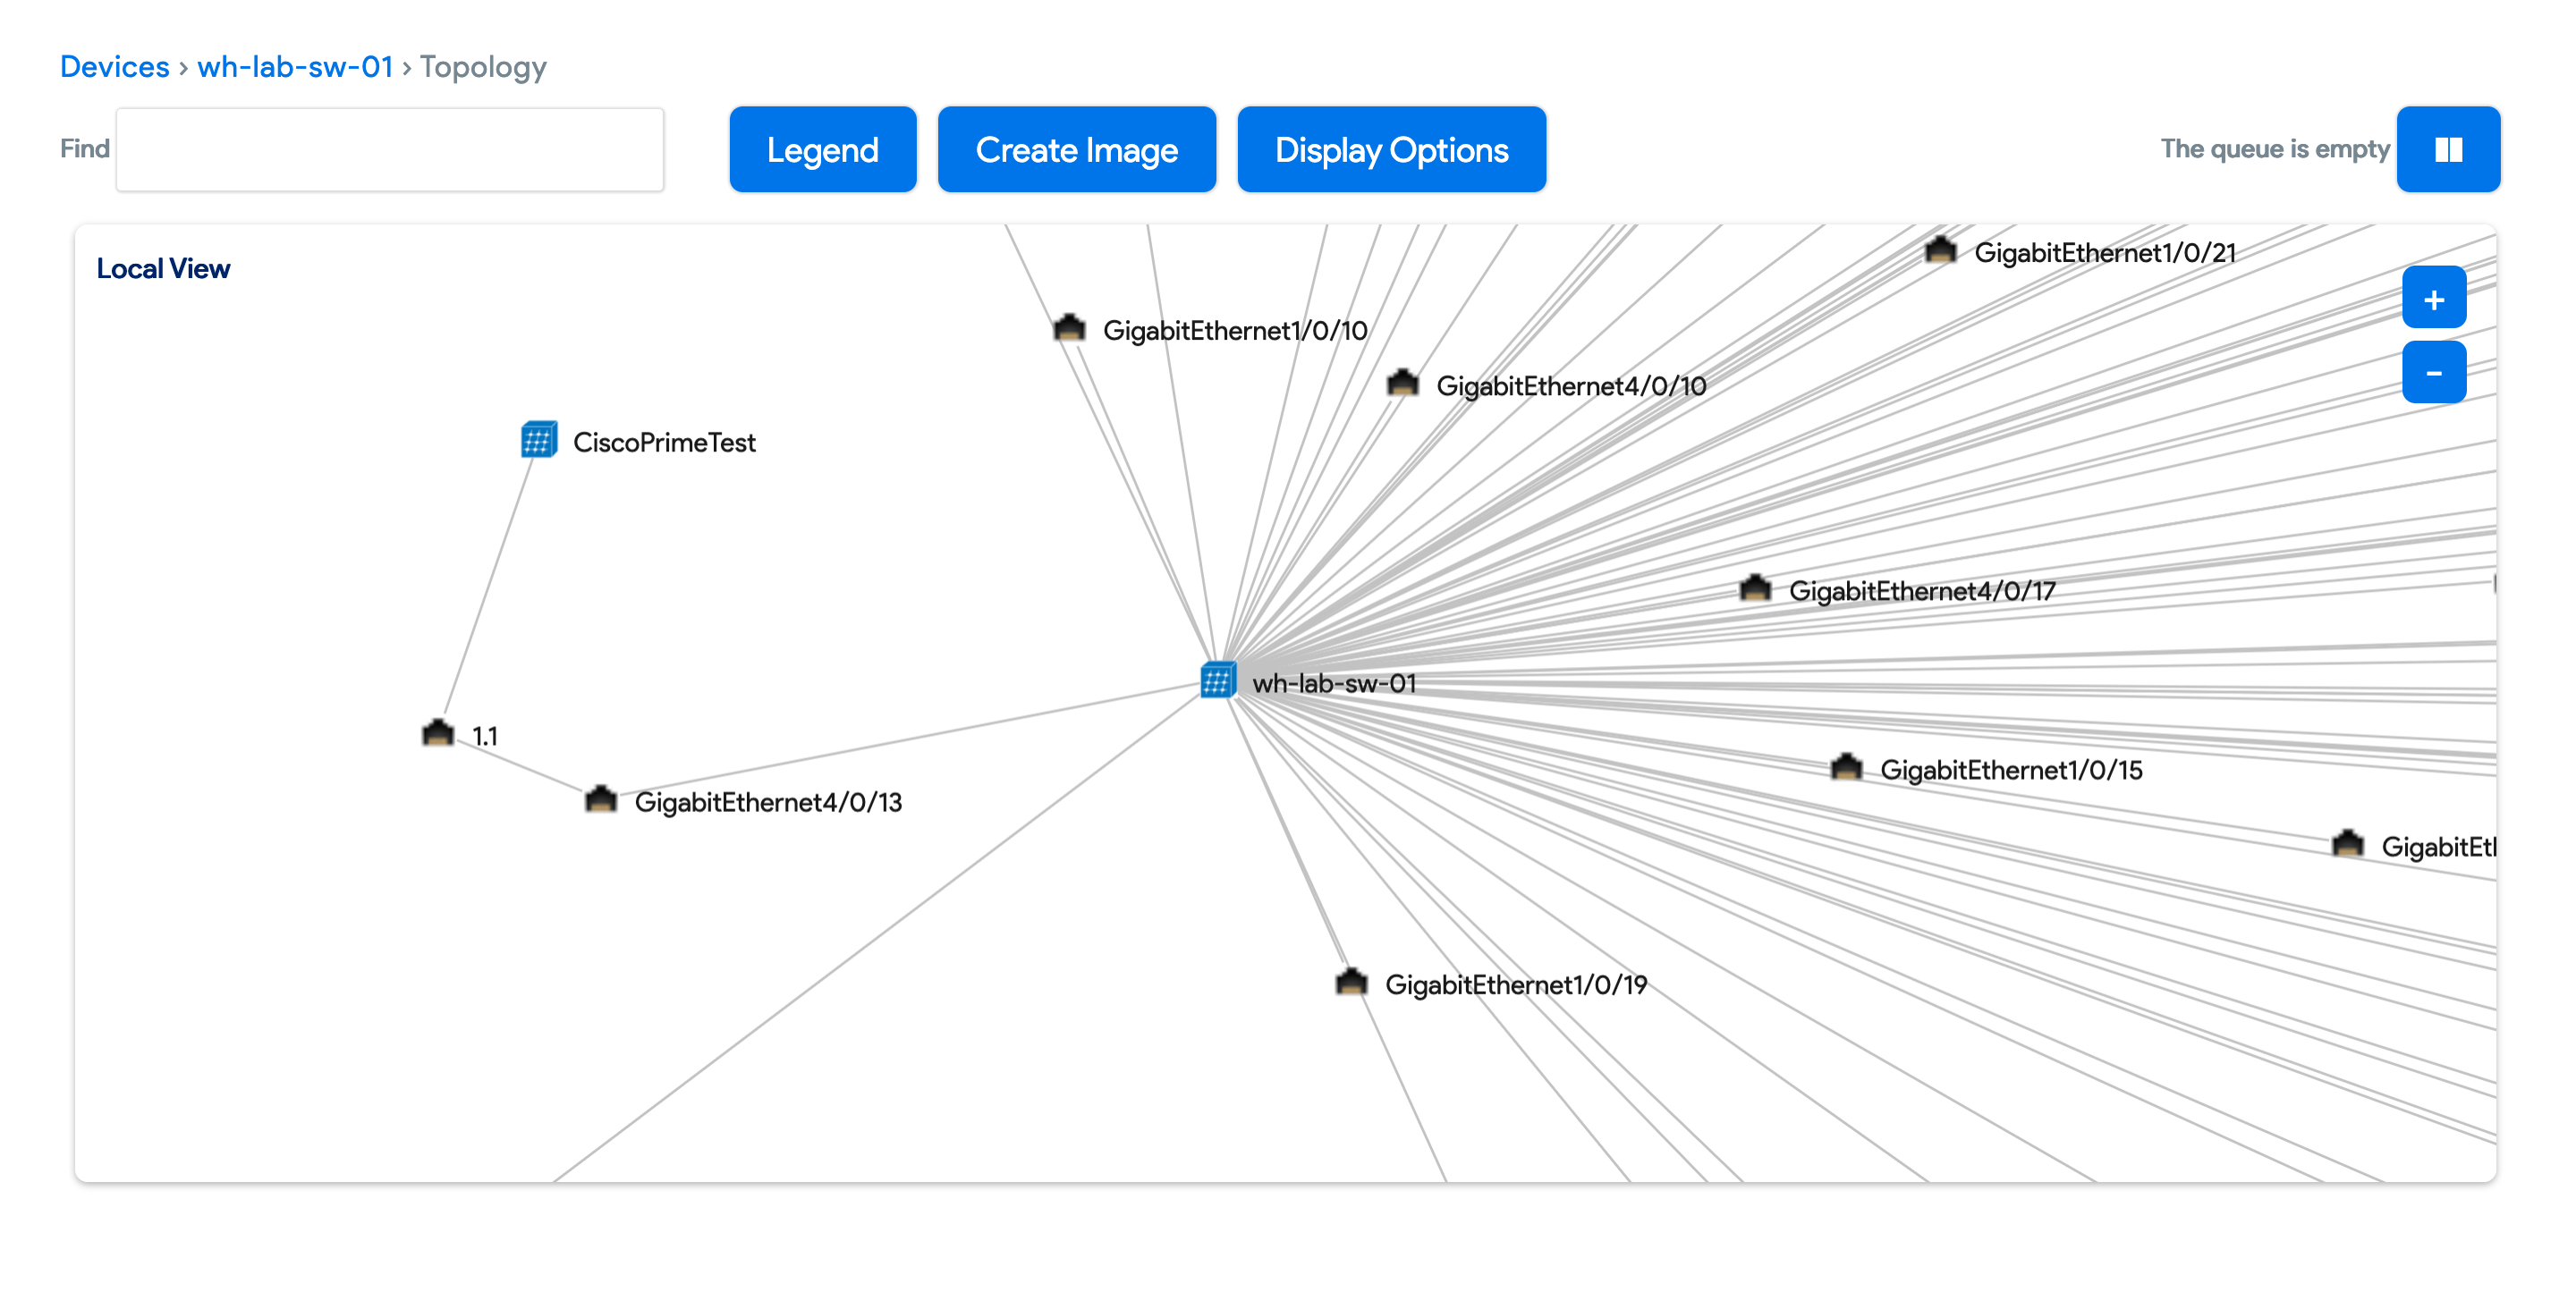
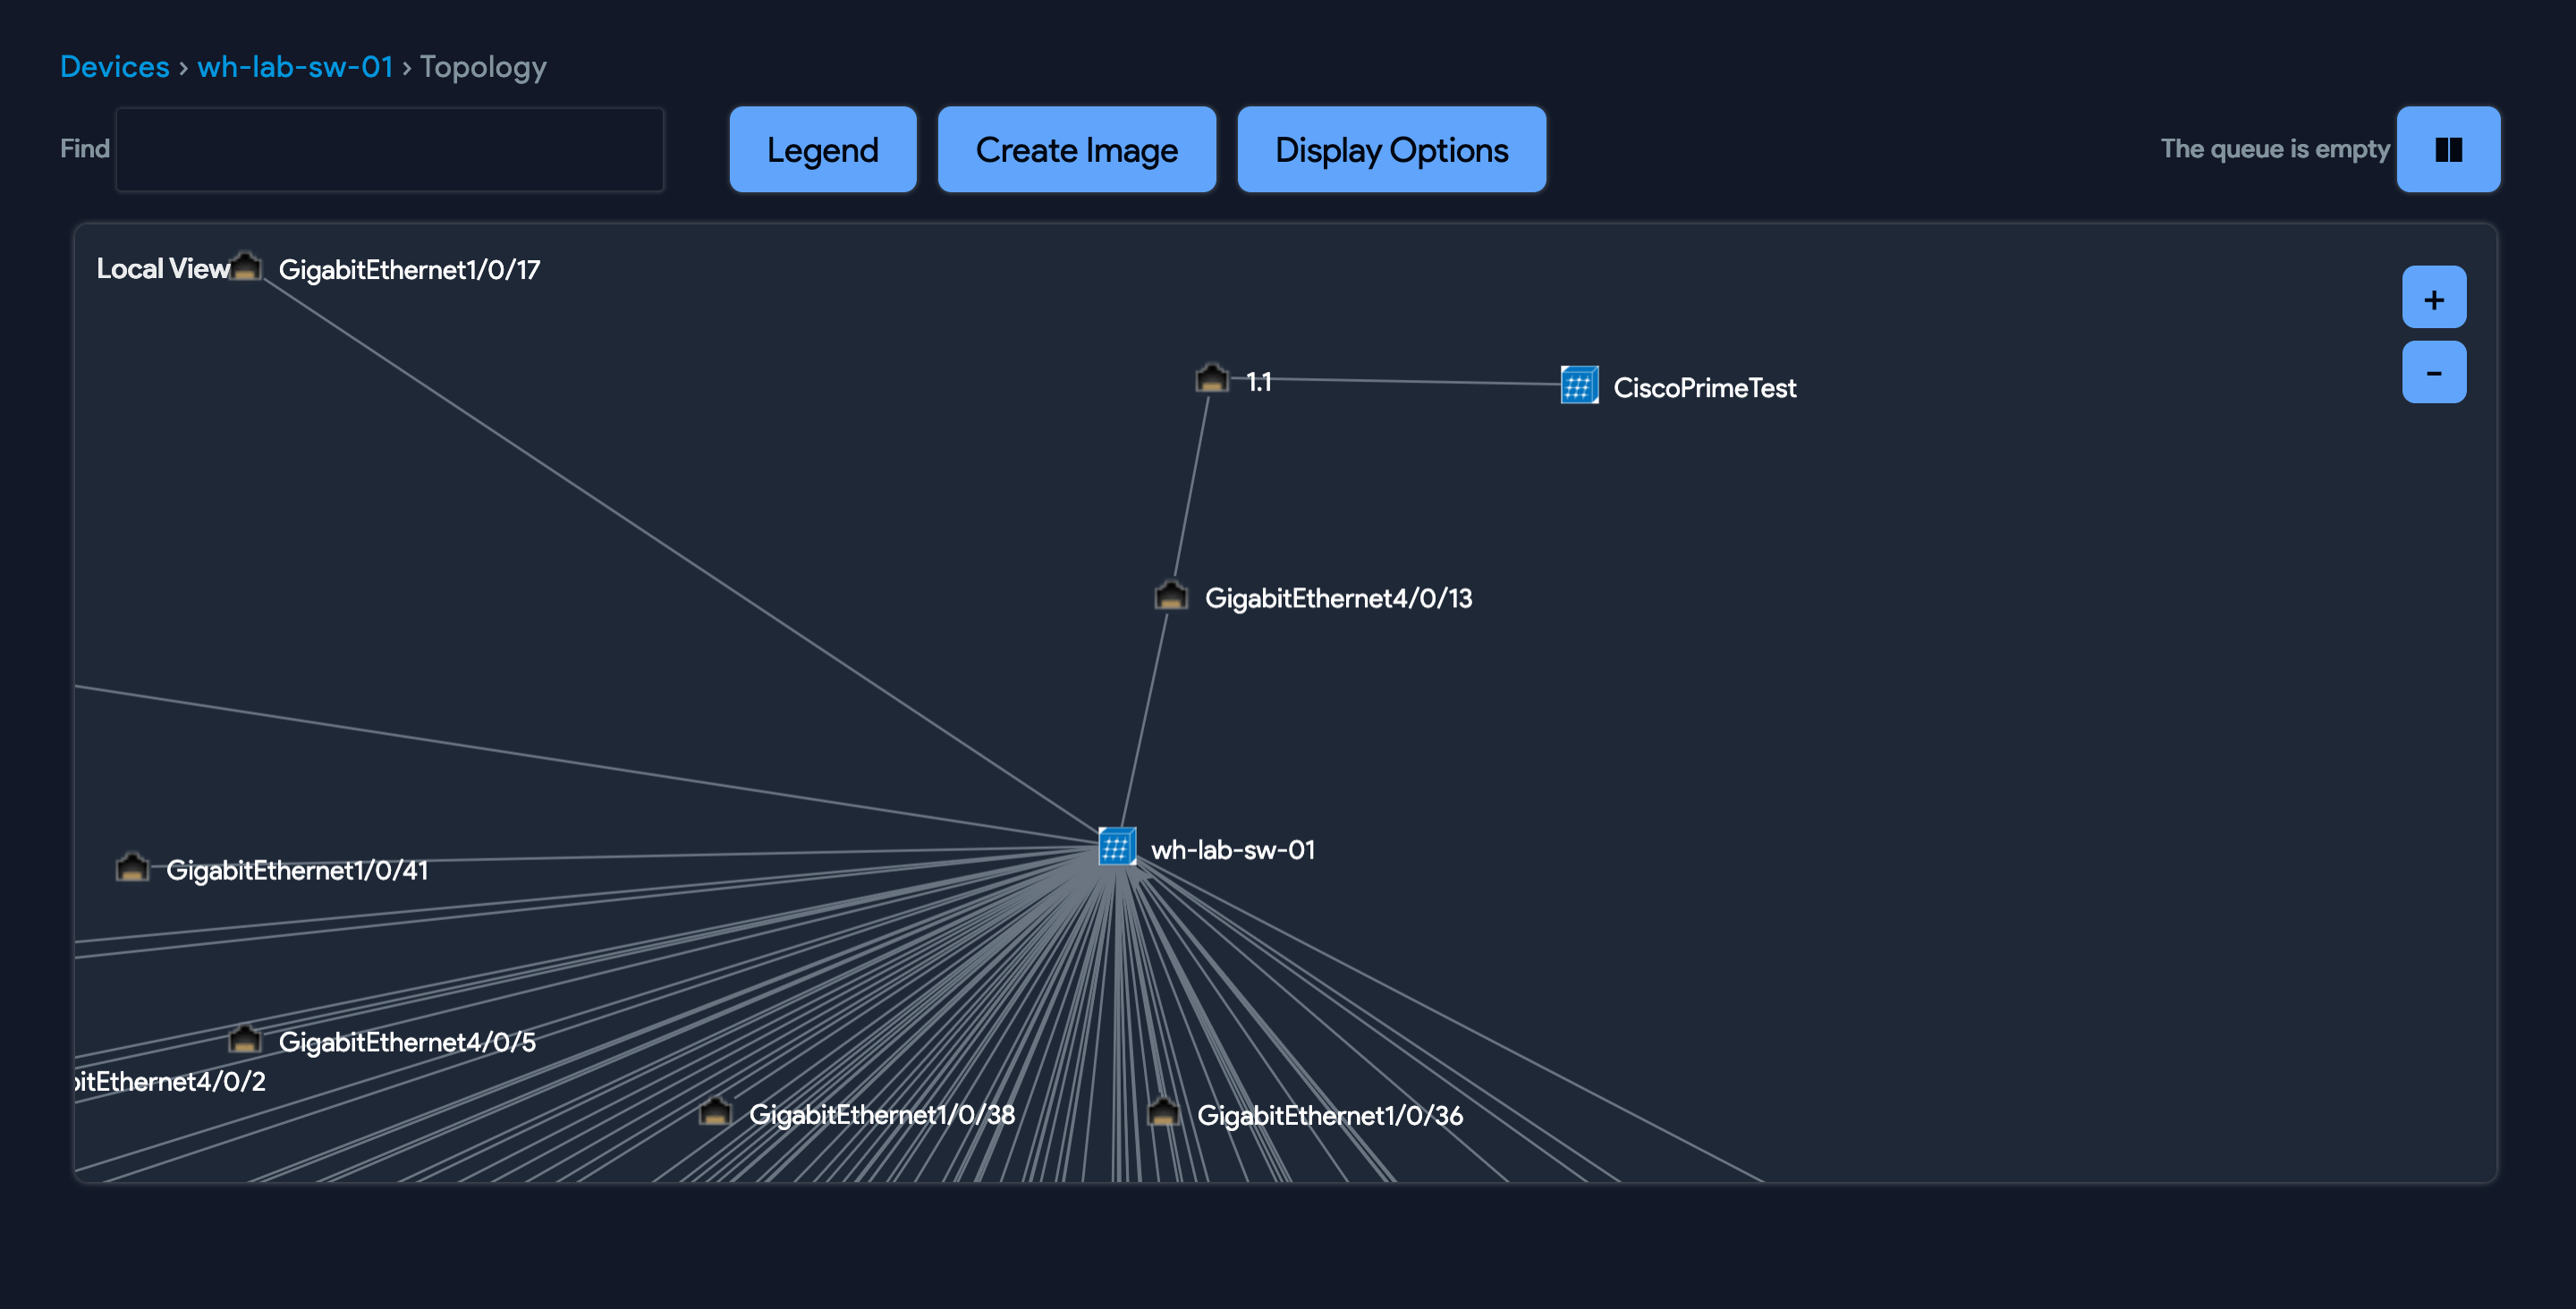
Switch Port Visualization
For physical switches, click Impact Chart to see all the ports with connectivity, including each MAC-to-device relationship. Virtual devices are shown as 2nd layer devices that are connected to their vHost or marked with a '?' character if the vHost is unknown.
How Do I Represent a Stacked Switch?
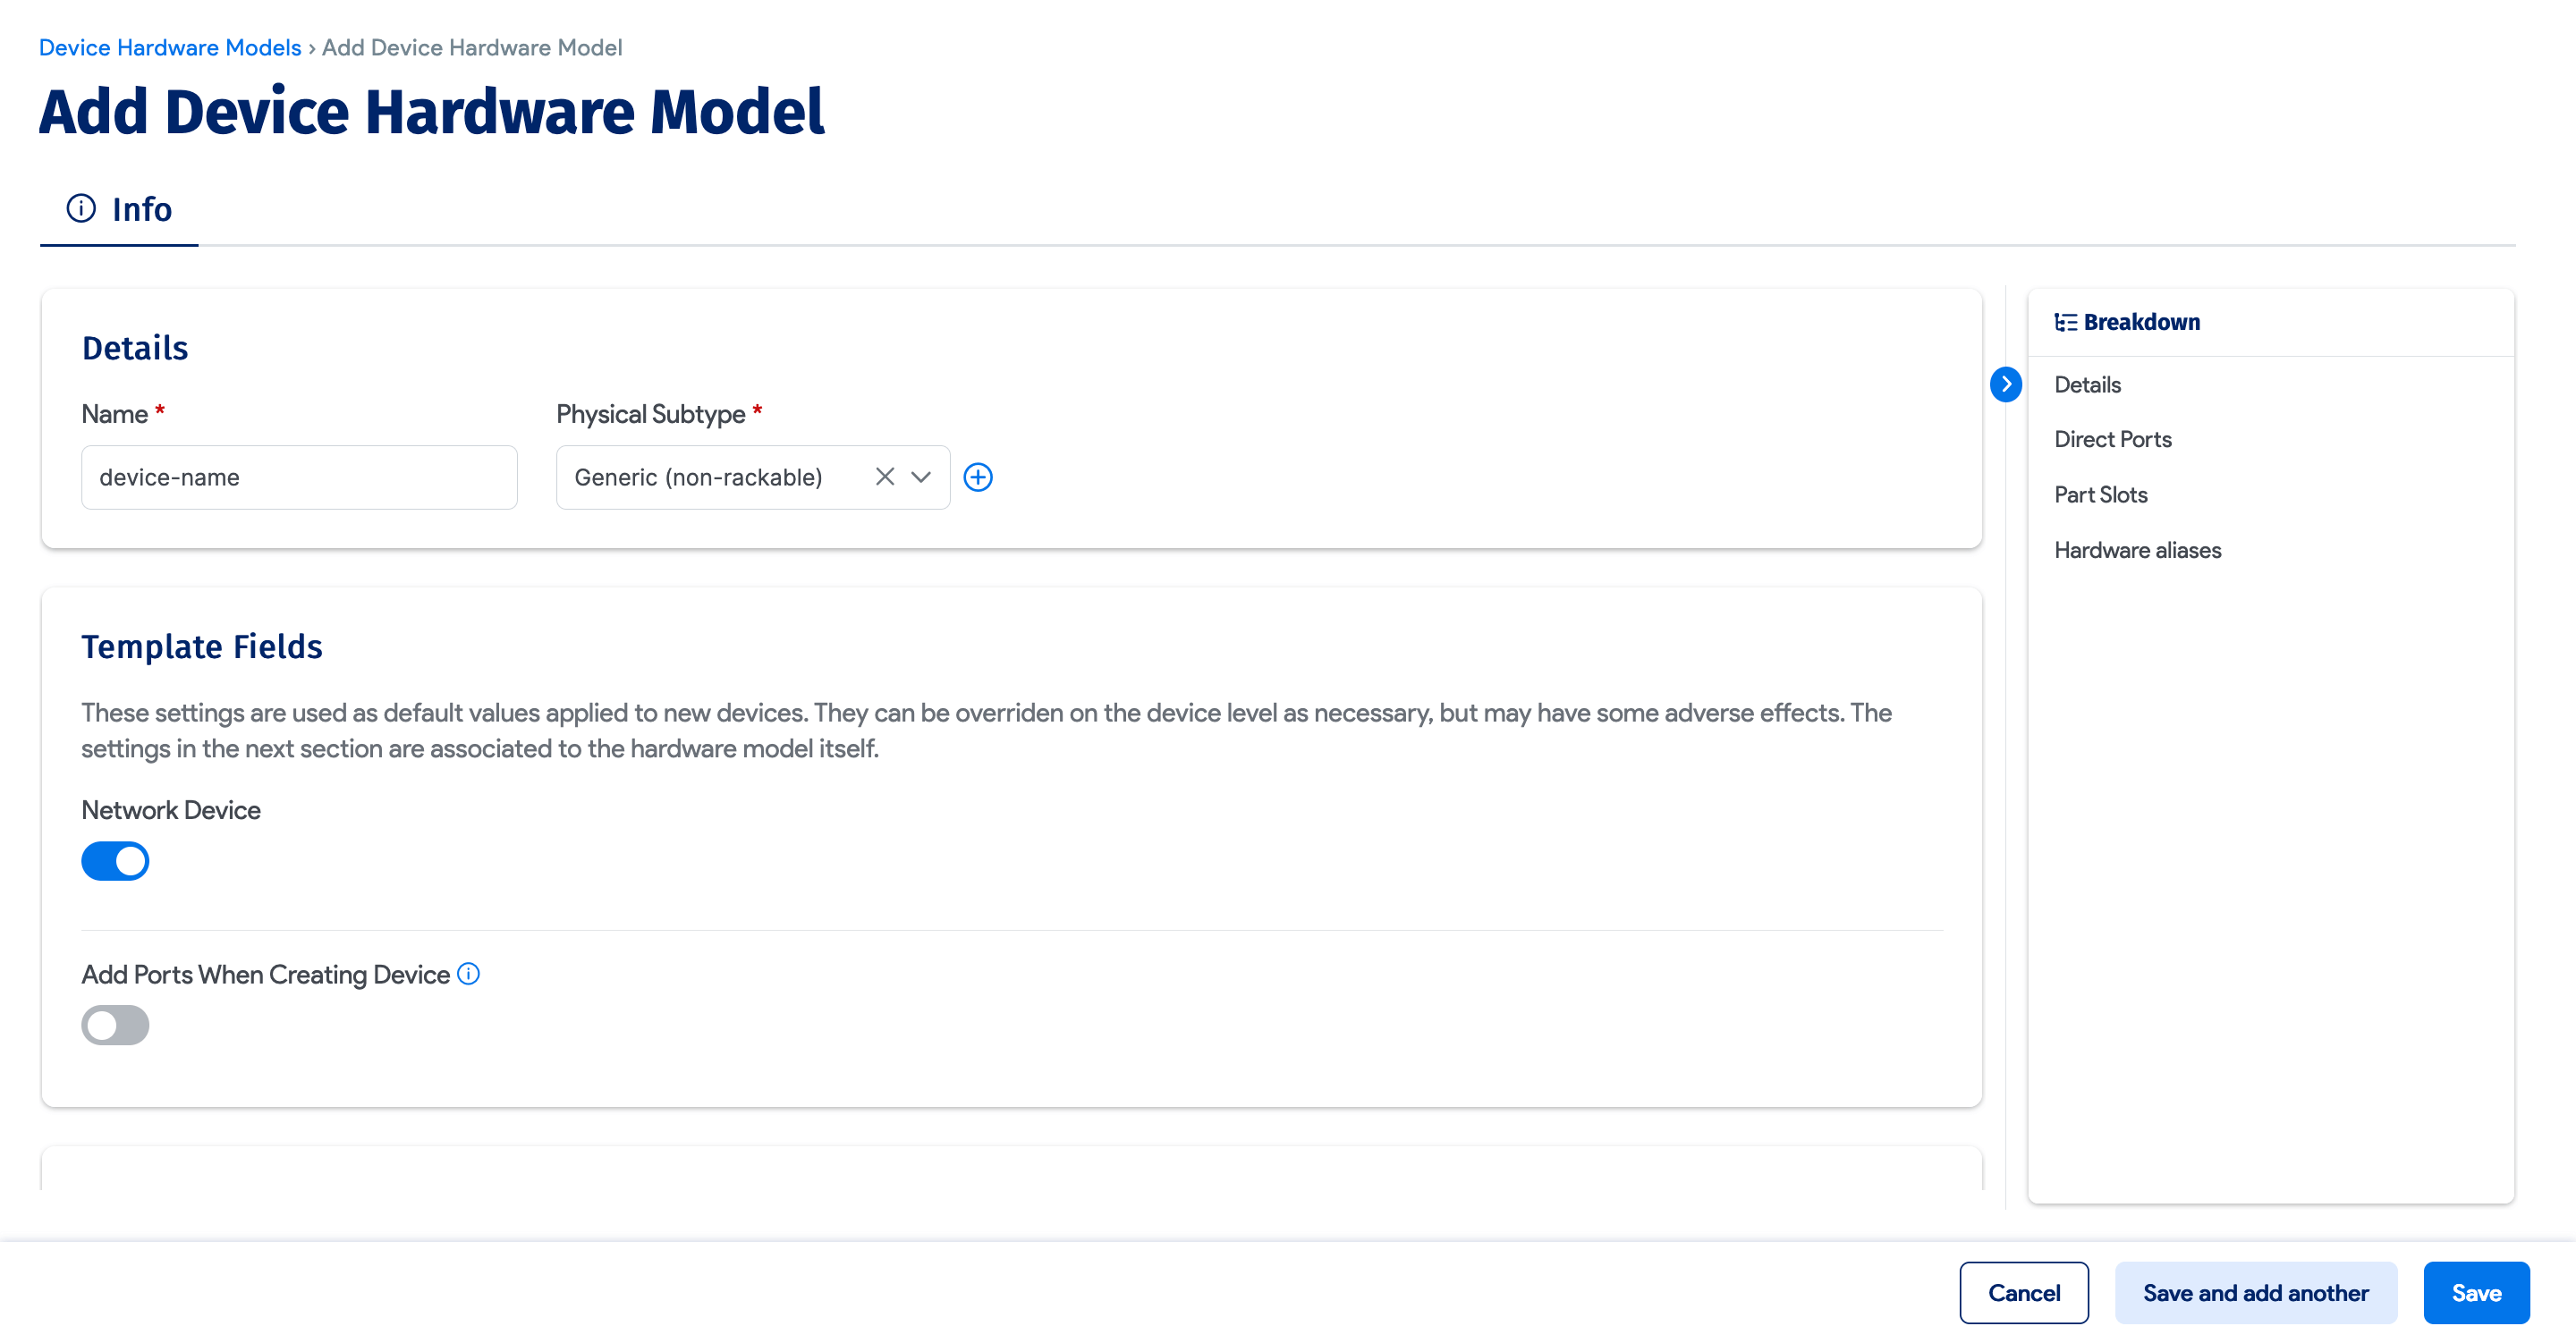
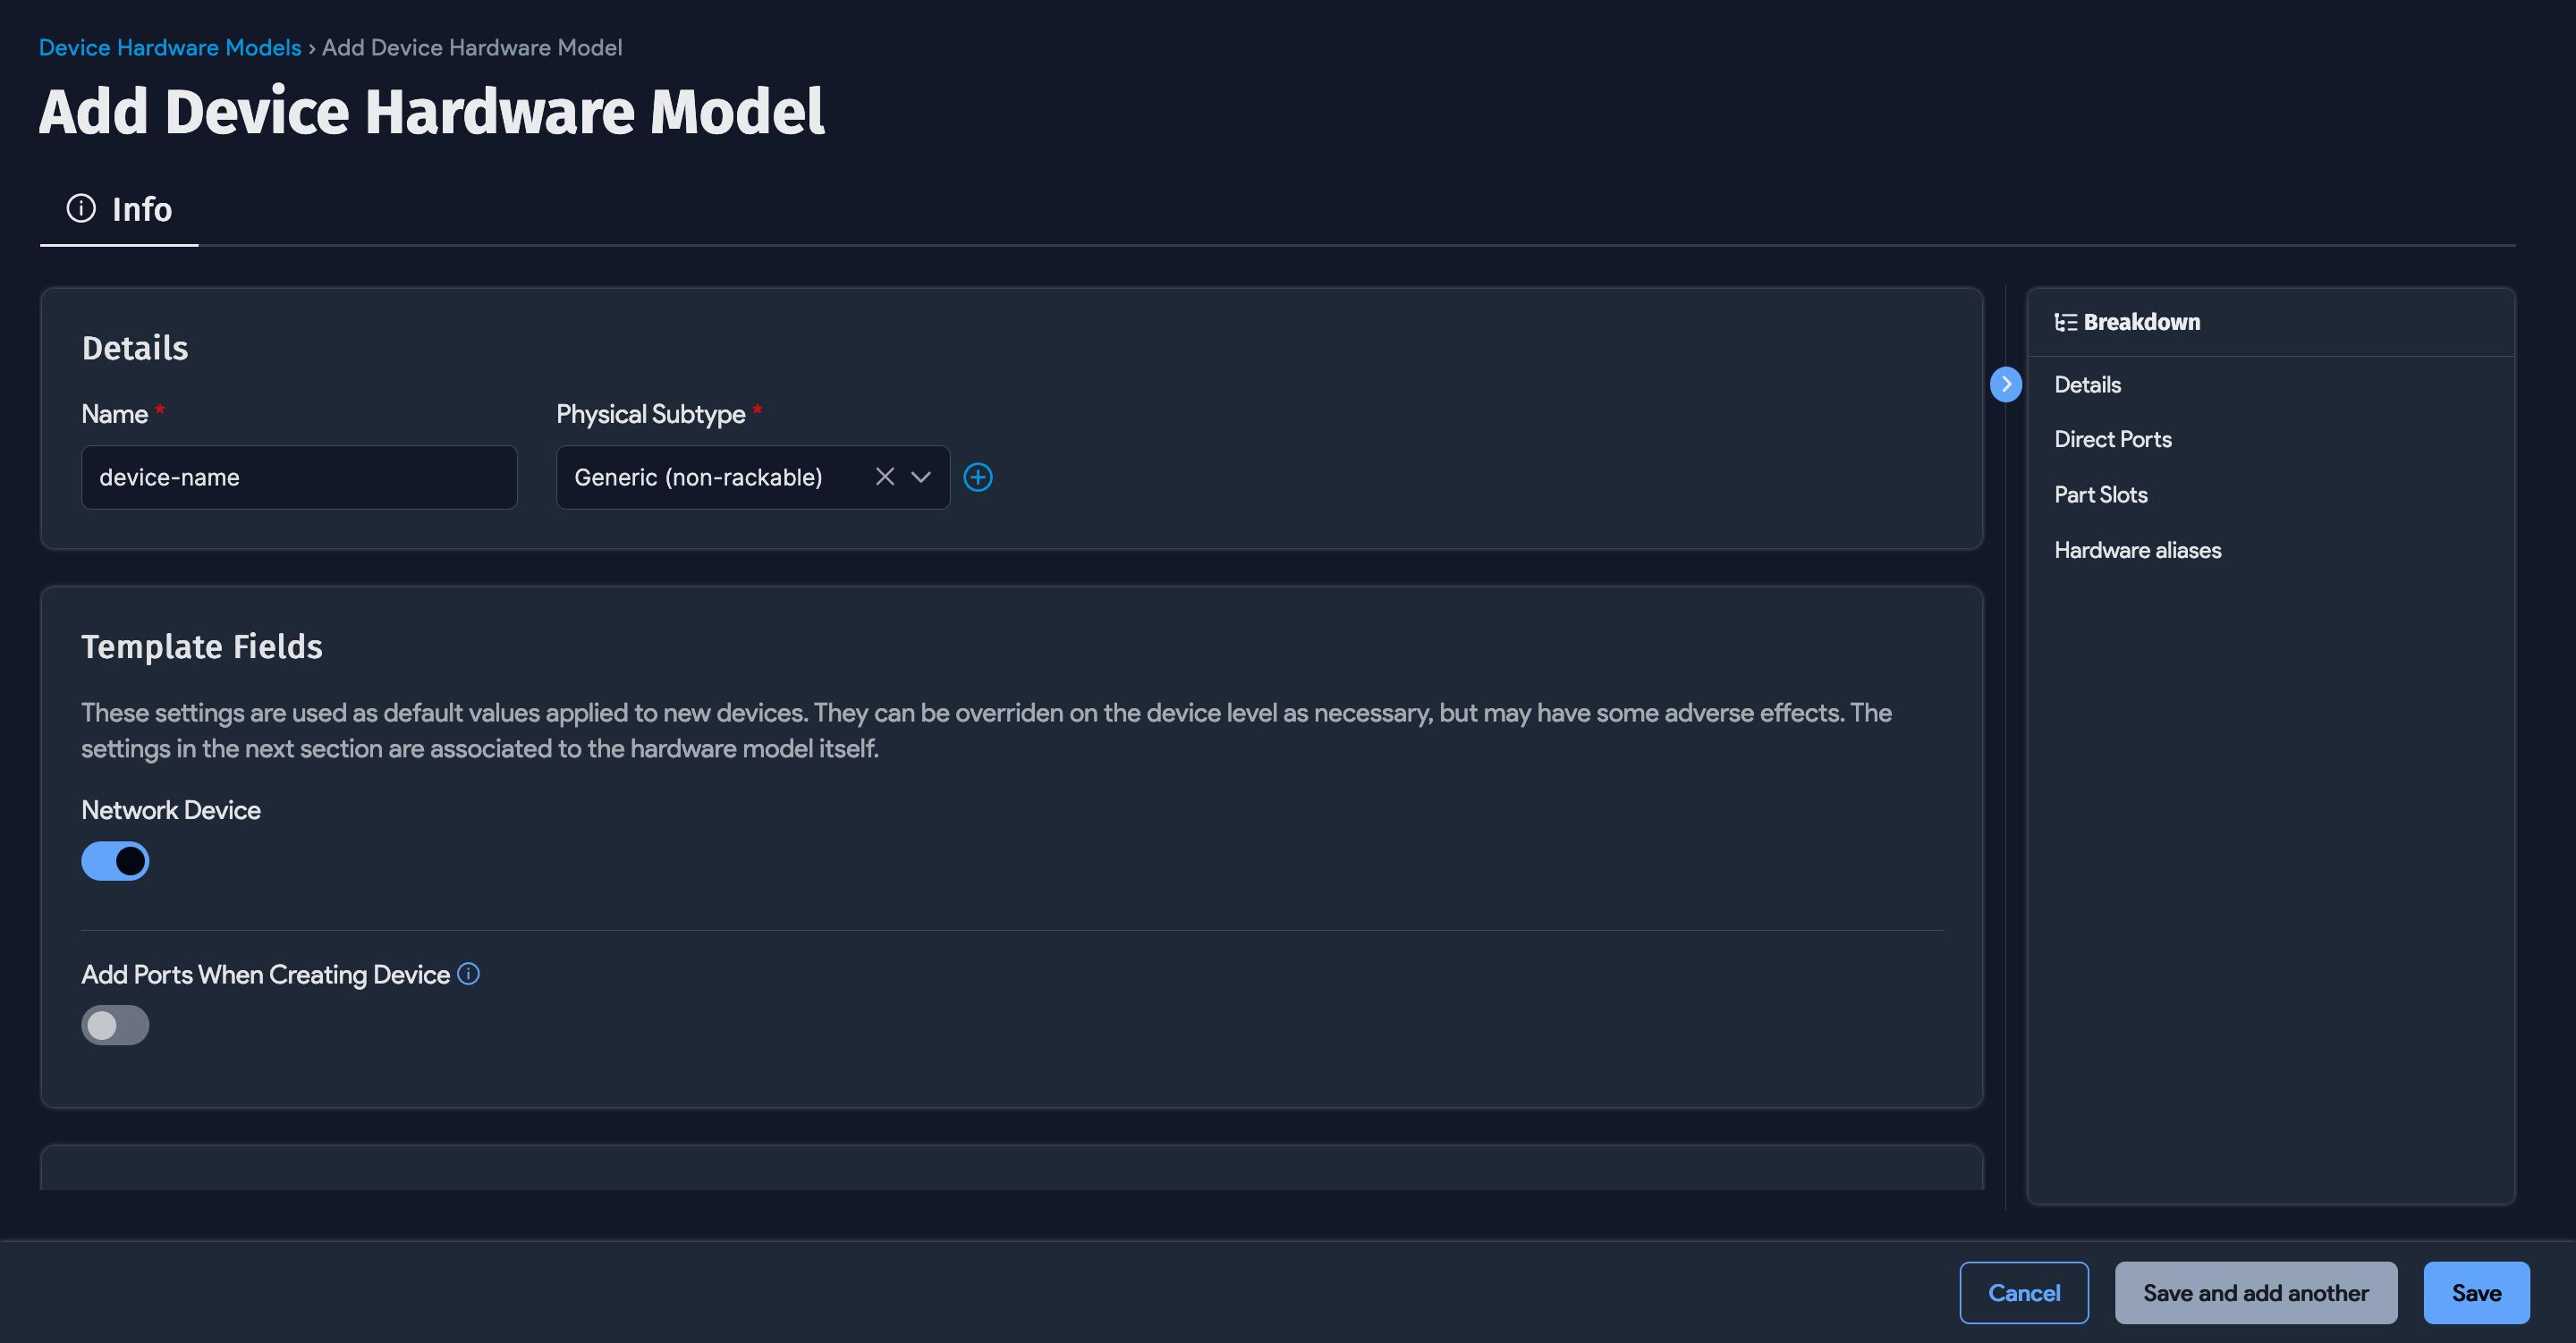
All switches, stacked or not, are represented according to their underlying hardware model. Stacked switches are represented by configuring their hardware model. To add an instance of a stacked switch, select the underlying hardware model that you created previously.
To add a new stacked switch, head to Infrastructure > Hardware Models and click **+ Create **. Create a new device hardware model by supplying a Name, Physical Subtype, and other basic information, and checking the Network Device checkbox.
Represent FEX Modules
FEX modules can be added as an asset and then associated with the switch using asset device relations. This is easier to add using switch templates.
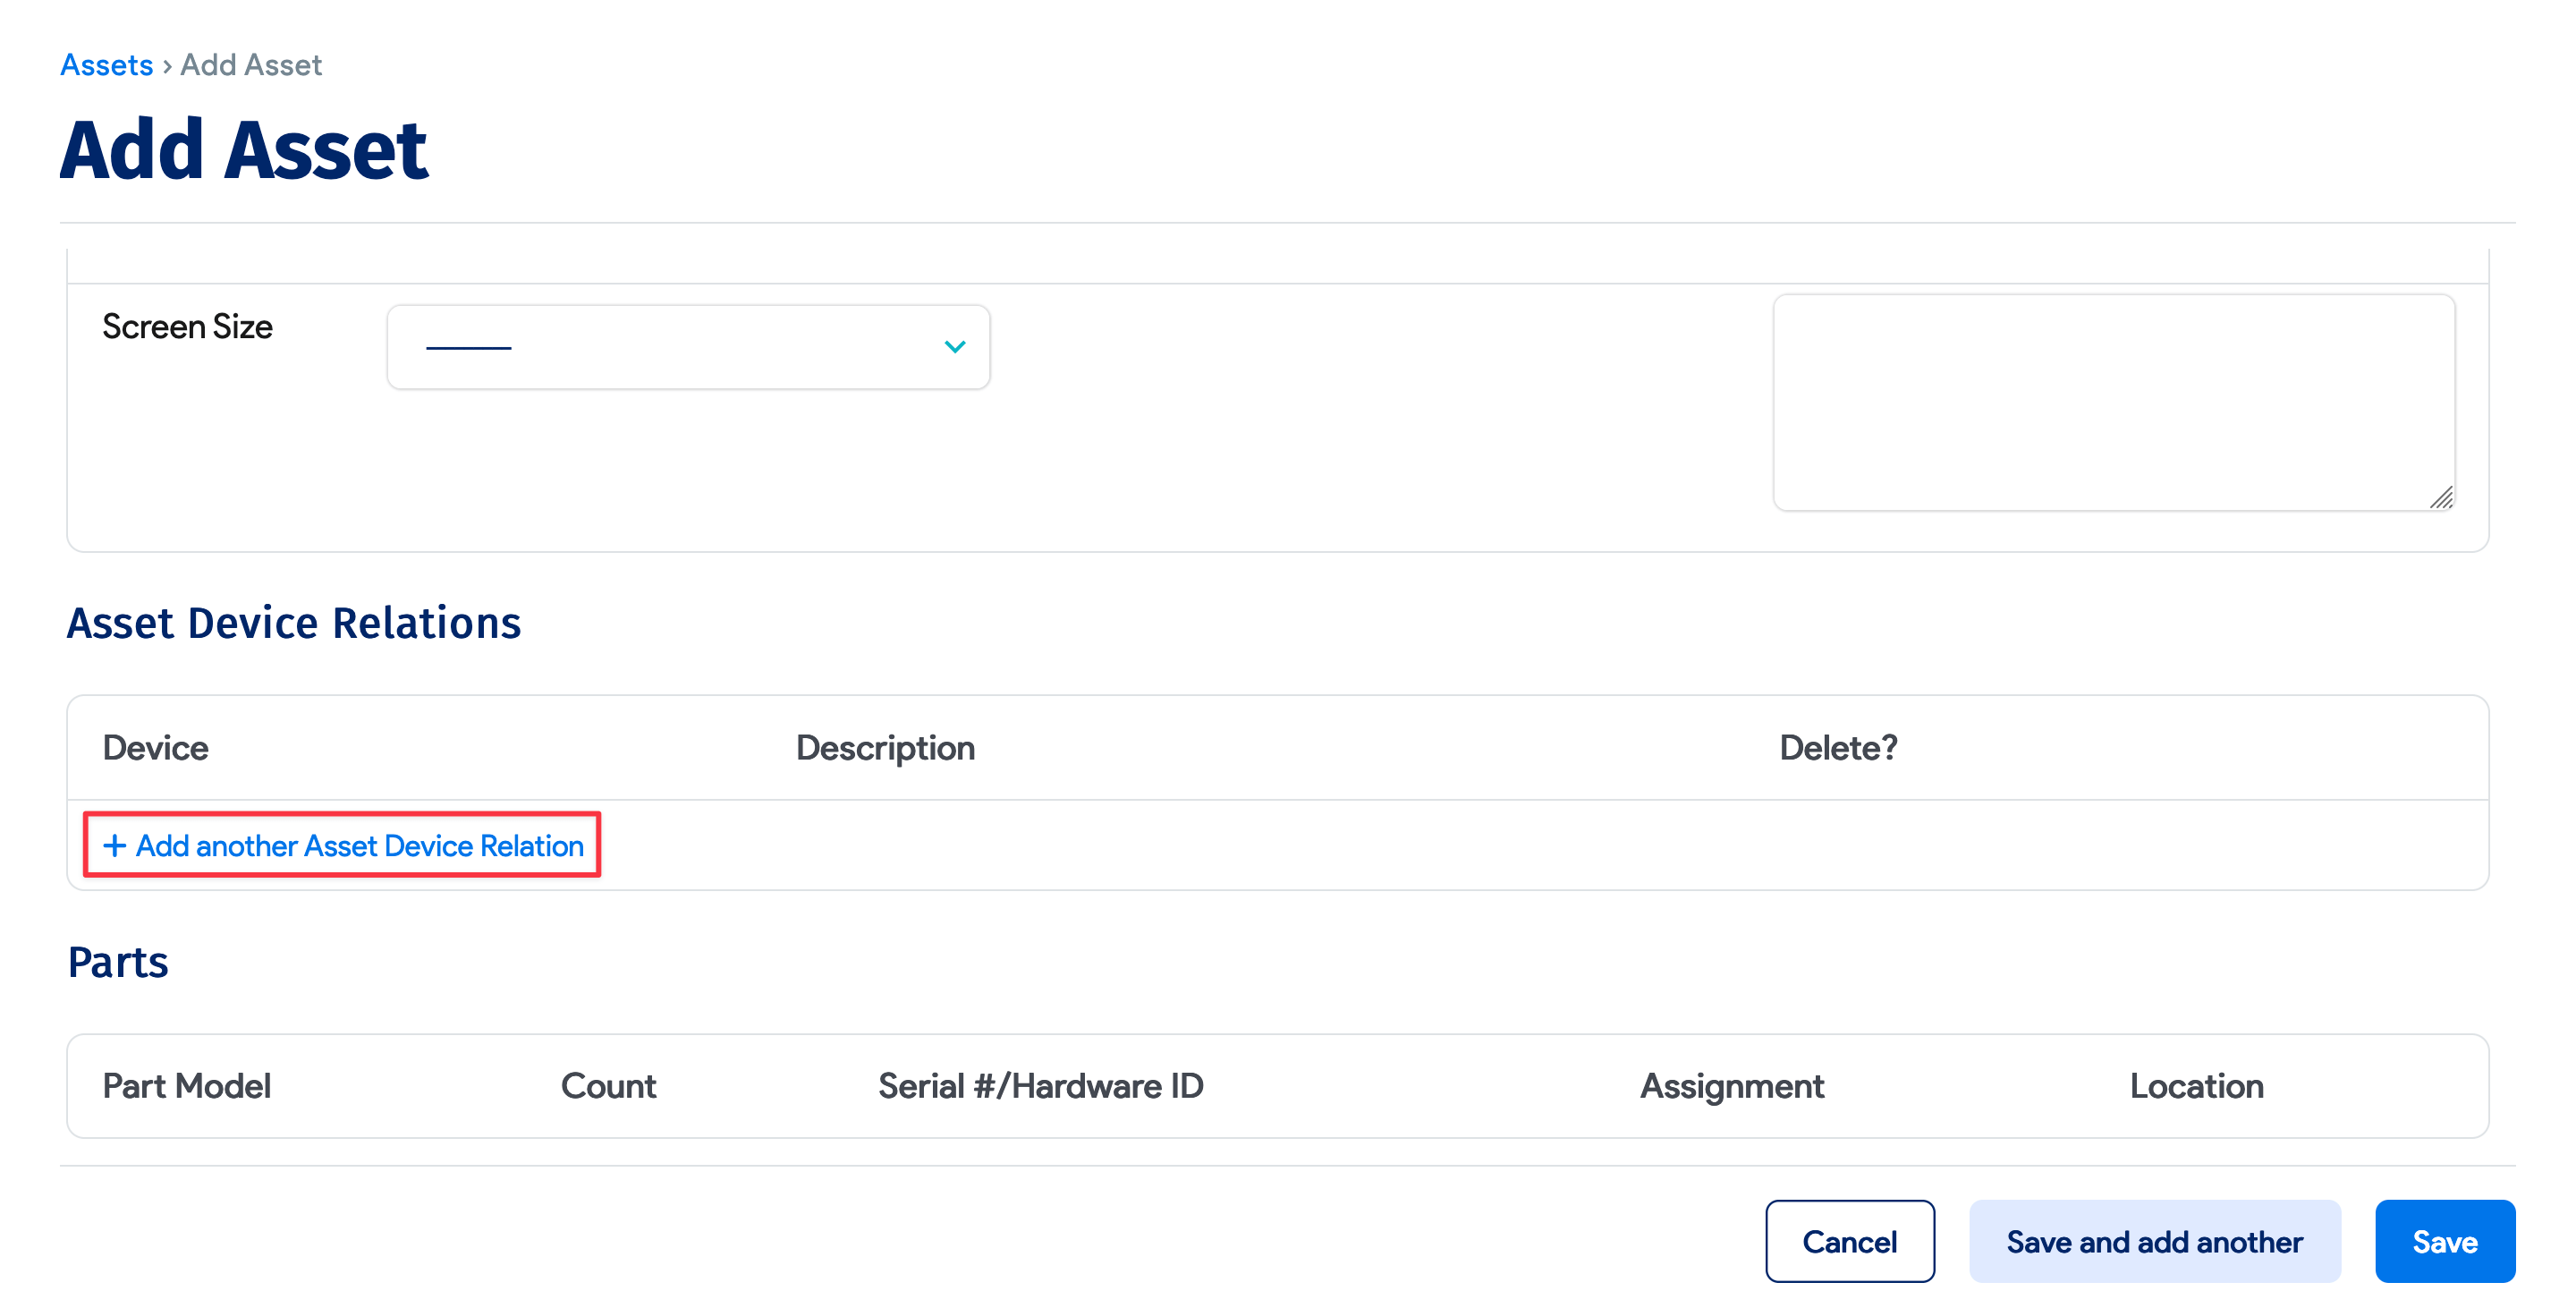
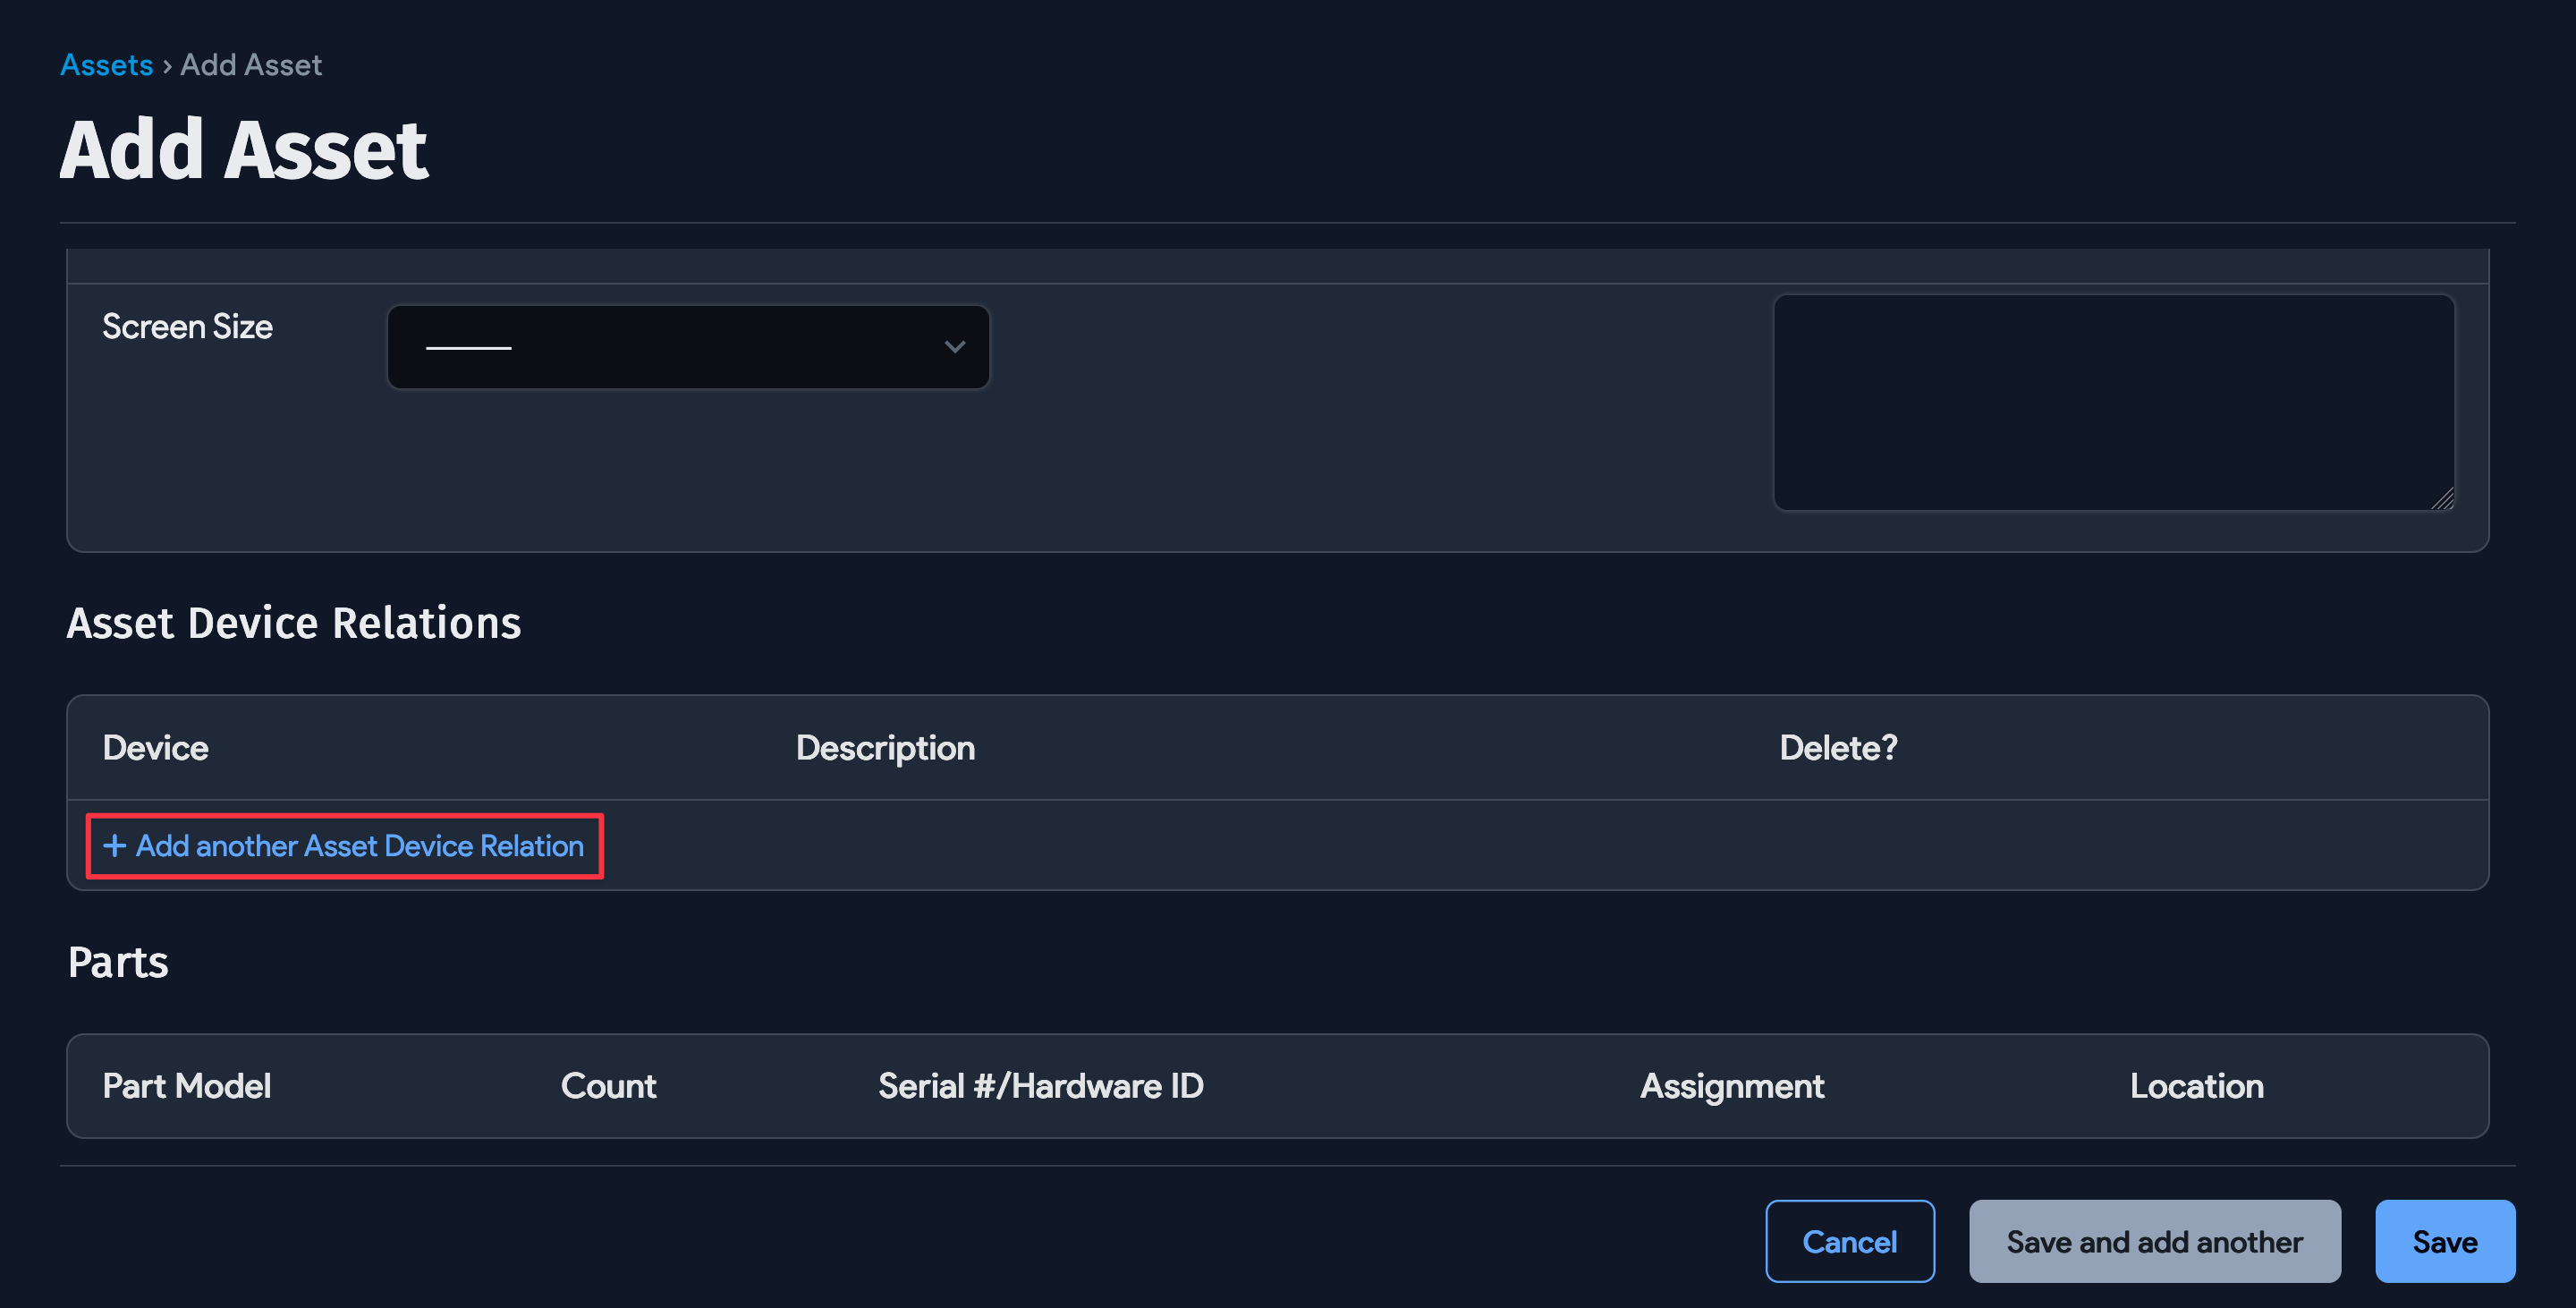
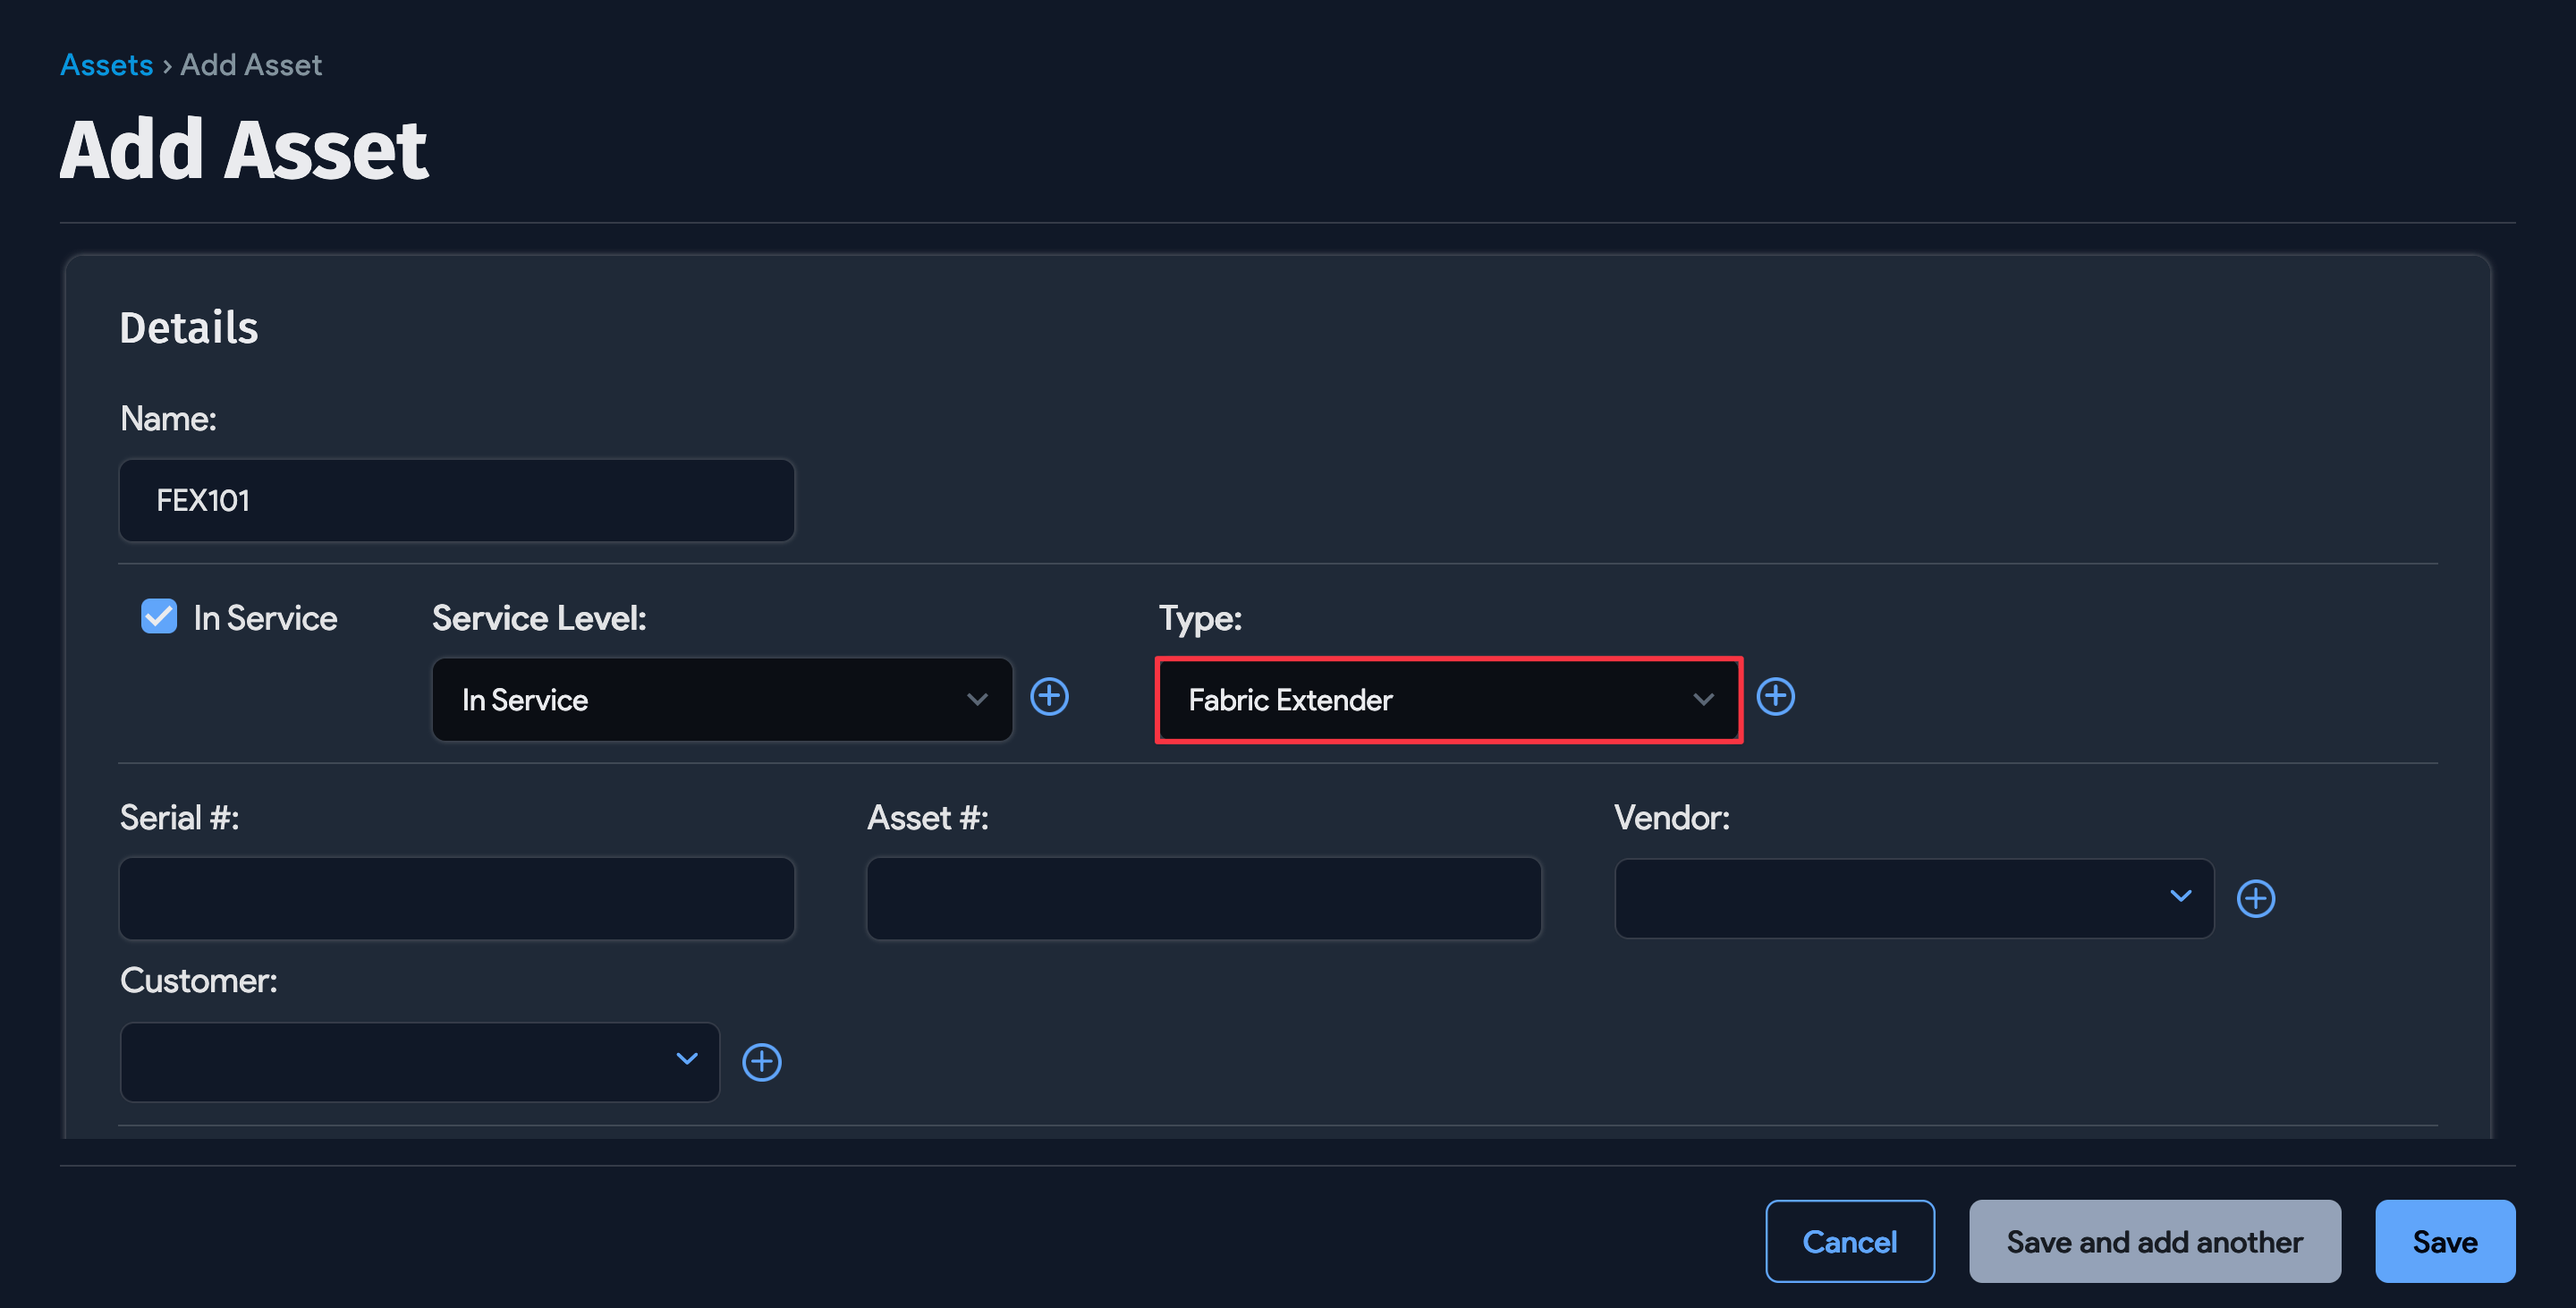
To add a new asset, navigate to Resources > All Assets and click + Create. Name the asset and under Type select Fabric Extender.

Scroll down the Add Asset page, click Add another Asset Device Relation, and use the dropdown to associate the switch with the new asset.