Relutech for AWS Migration
Relutech and Device42 have teamed up to ease migrations to AWS. Device42's deep discovery provides Relutech with the information required to price your on-premise physical assets for purchase and leaseback, as well as third-party maintenance. Relutech then purchases those assets and provides them back to the customer on a leasing schedule. As you migrate those workloads to AWS, the workload is then rolled off of your lease, thereby reducing your on-premises costs as you increase consumption in AWS.
Getting Started
The instructions below provide a recommended approach to capture your Physical (bare metal) server inventory. Using Device42's Operating System-level discovery, you will be able to collect inventory data relating to each server targeted on the network. Subsequent SNMP scans against a BMC (for example, iDRAC, HP iLO, and so on) will augment the data collected from OS-level scanning by identifying management MACs and IPs, as well as by discovering the parts installed on each targeted server. Please follow the steps below to create and execute these inventory jobs.
The initial recommended approach starts by performing OS-level scans, followed by SNMP scans against a BMC, then by the Warranty sync (if applicable).
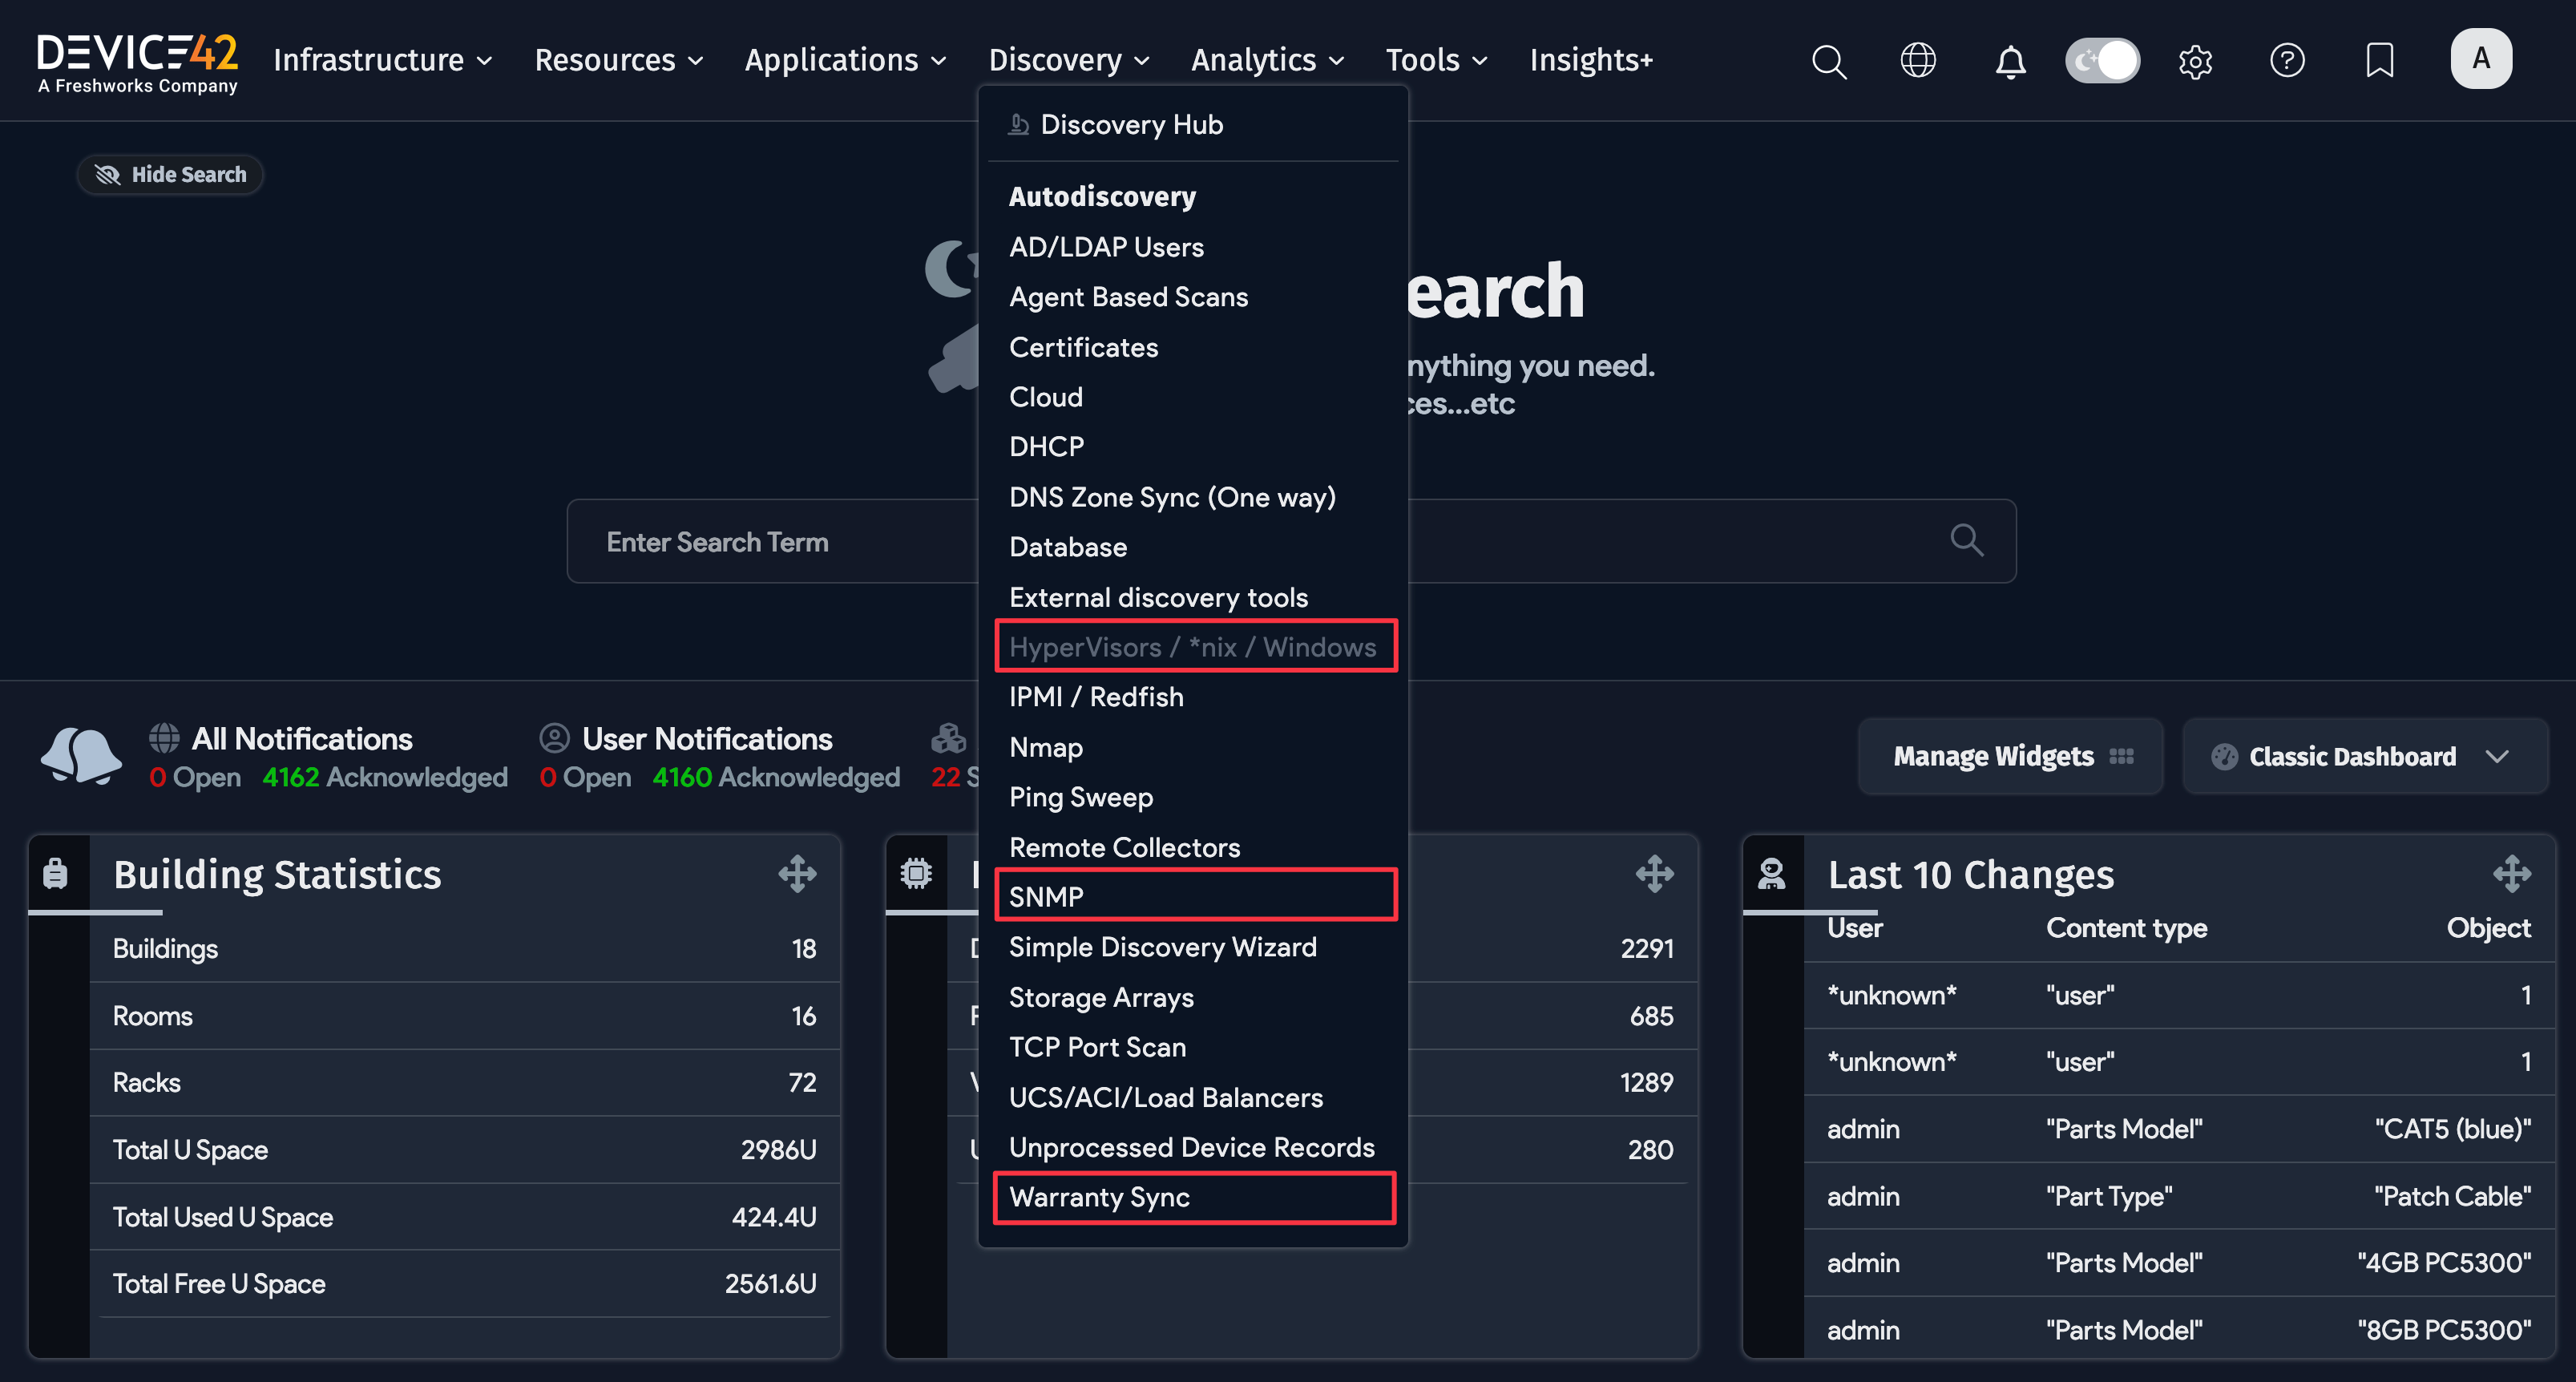
- Hypervisor/*nix/Windows: Ensure that these sets of OS-level jobs are configured and run first. This discovery process will create the device record and capture parts that include CPU and HBA Card information.
- SNMP: Once the OS-level scans have been completed, create and execute SNMP scans against the management IPs of the targeted servers. These jobs will update the existing devices by adding additional parts, as well as the management MAC Address and IP Address. The SNMP scan captures part information such as RAM, Disk(s), and PSU.
- Warranty: Depending on the vendor, these particular jobs will retrieve service contracts associated with each server from the vendor system. If the vendor system is unavailable, the warranty data can be added manually via the UI or via spreadsheet imports. Please see the referenced link below for documentation on this discovery in Device42.

Hypervisor/*nix/Windows Job Creation
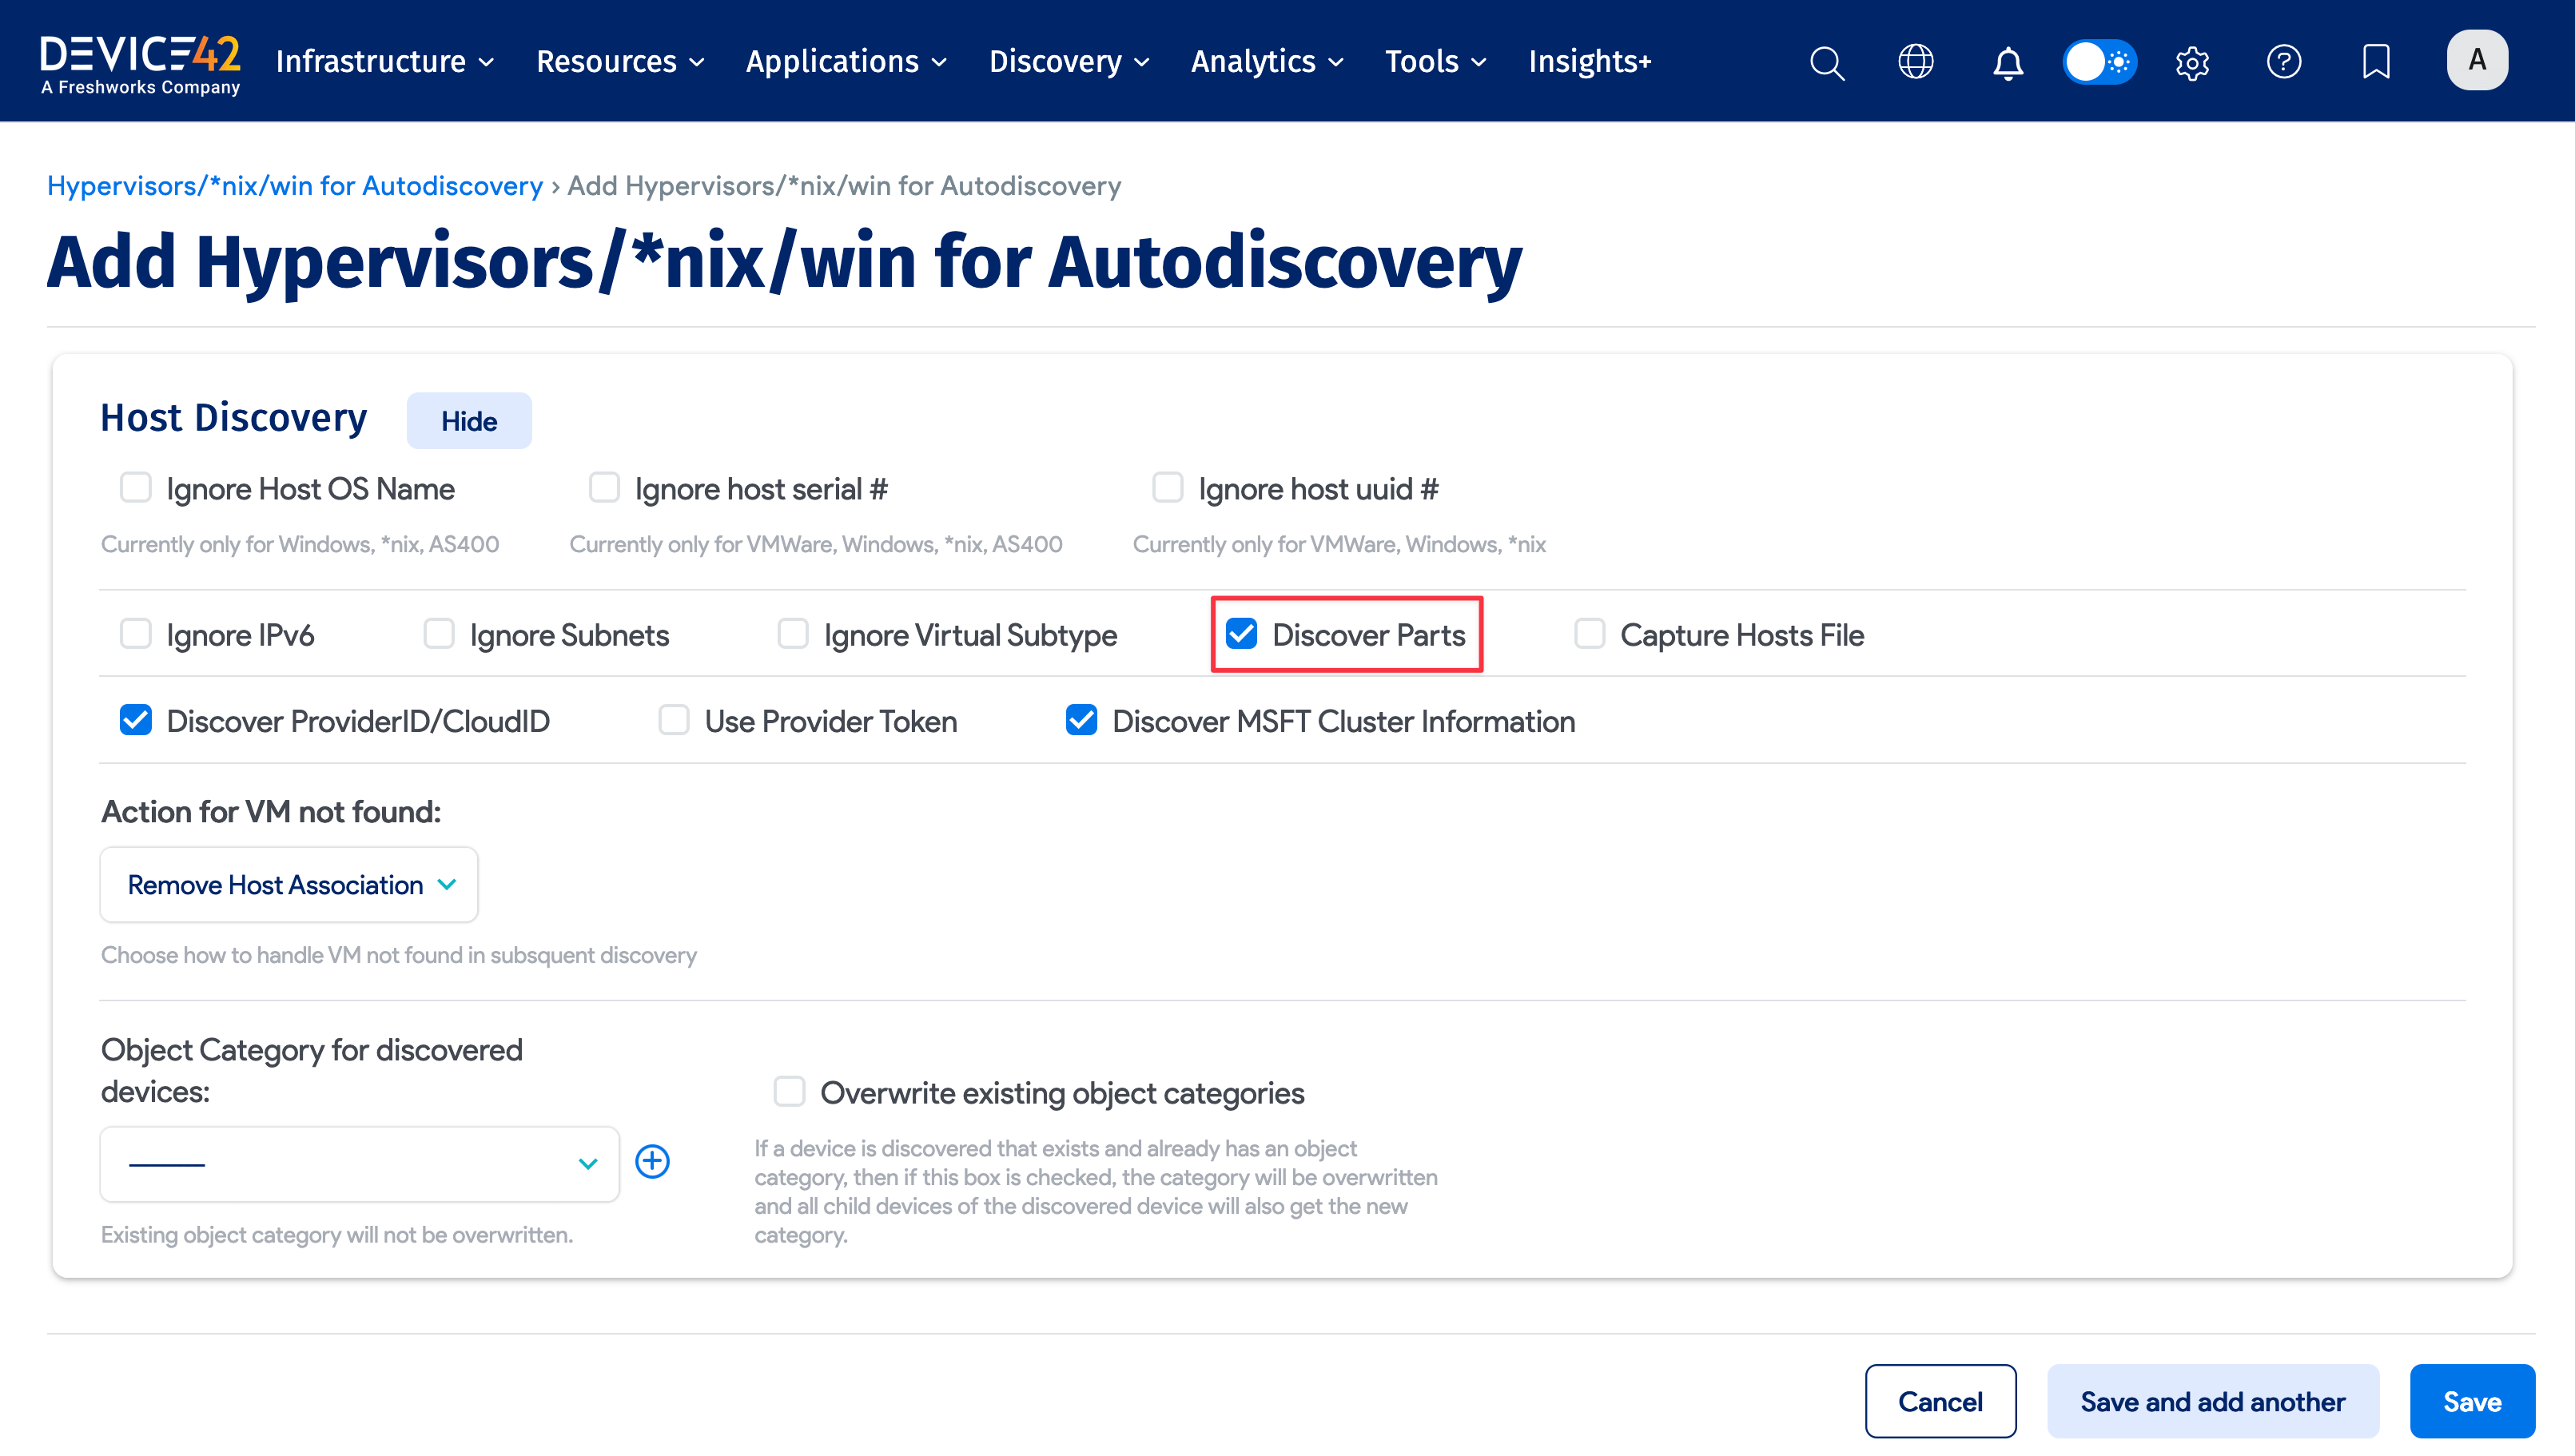
- Set up Discovery jobs for device inventory discovery with the Hypervisor / *nix / Windows jobs. Set up a standard discovery scan for each type of device, focusing on the physical devices (Hypervisors, *nix, and Windows).
- For the Windows and *nix jobs, in the Host Discovery section, ensure that Discover Parts is checked.
- For the Hypervisor jobs, the Discover Parts option is enabled as default and is not changeable.

SNMP Job Creation
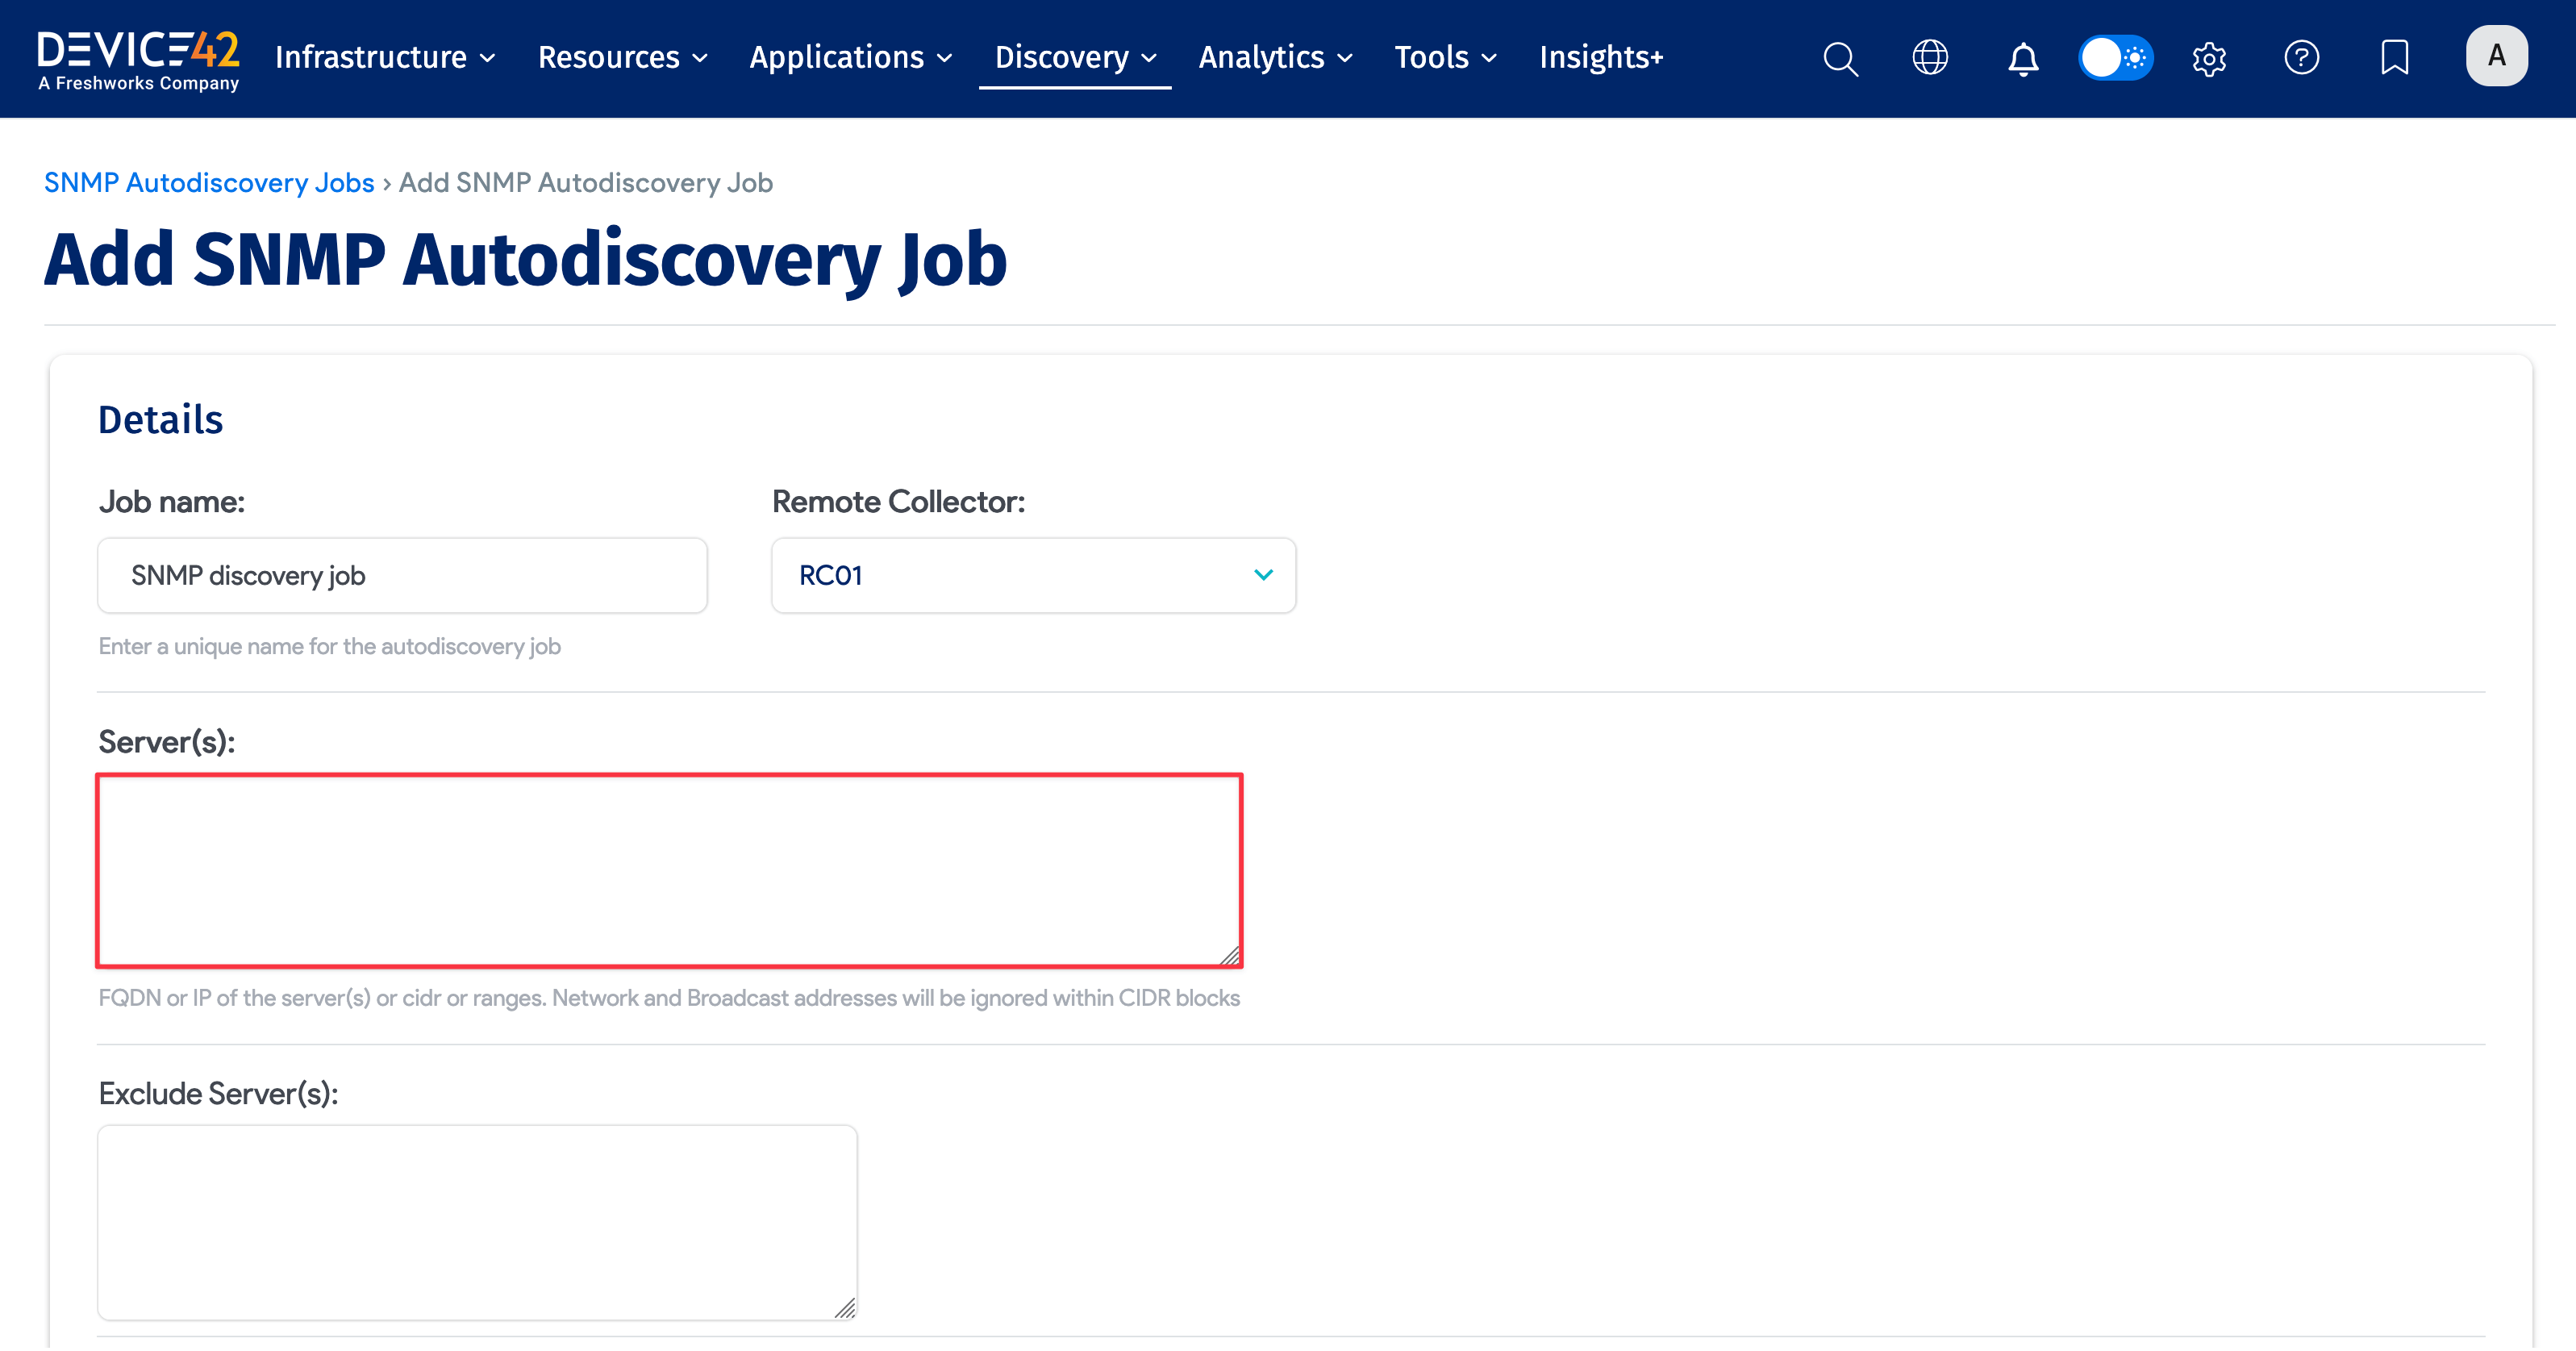
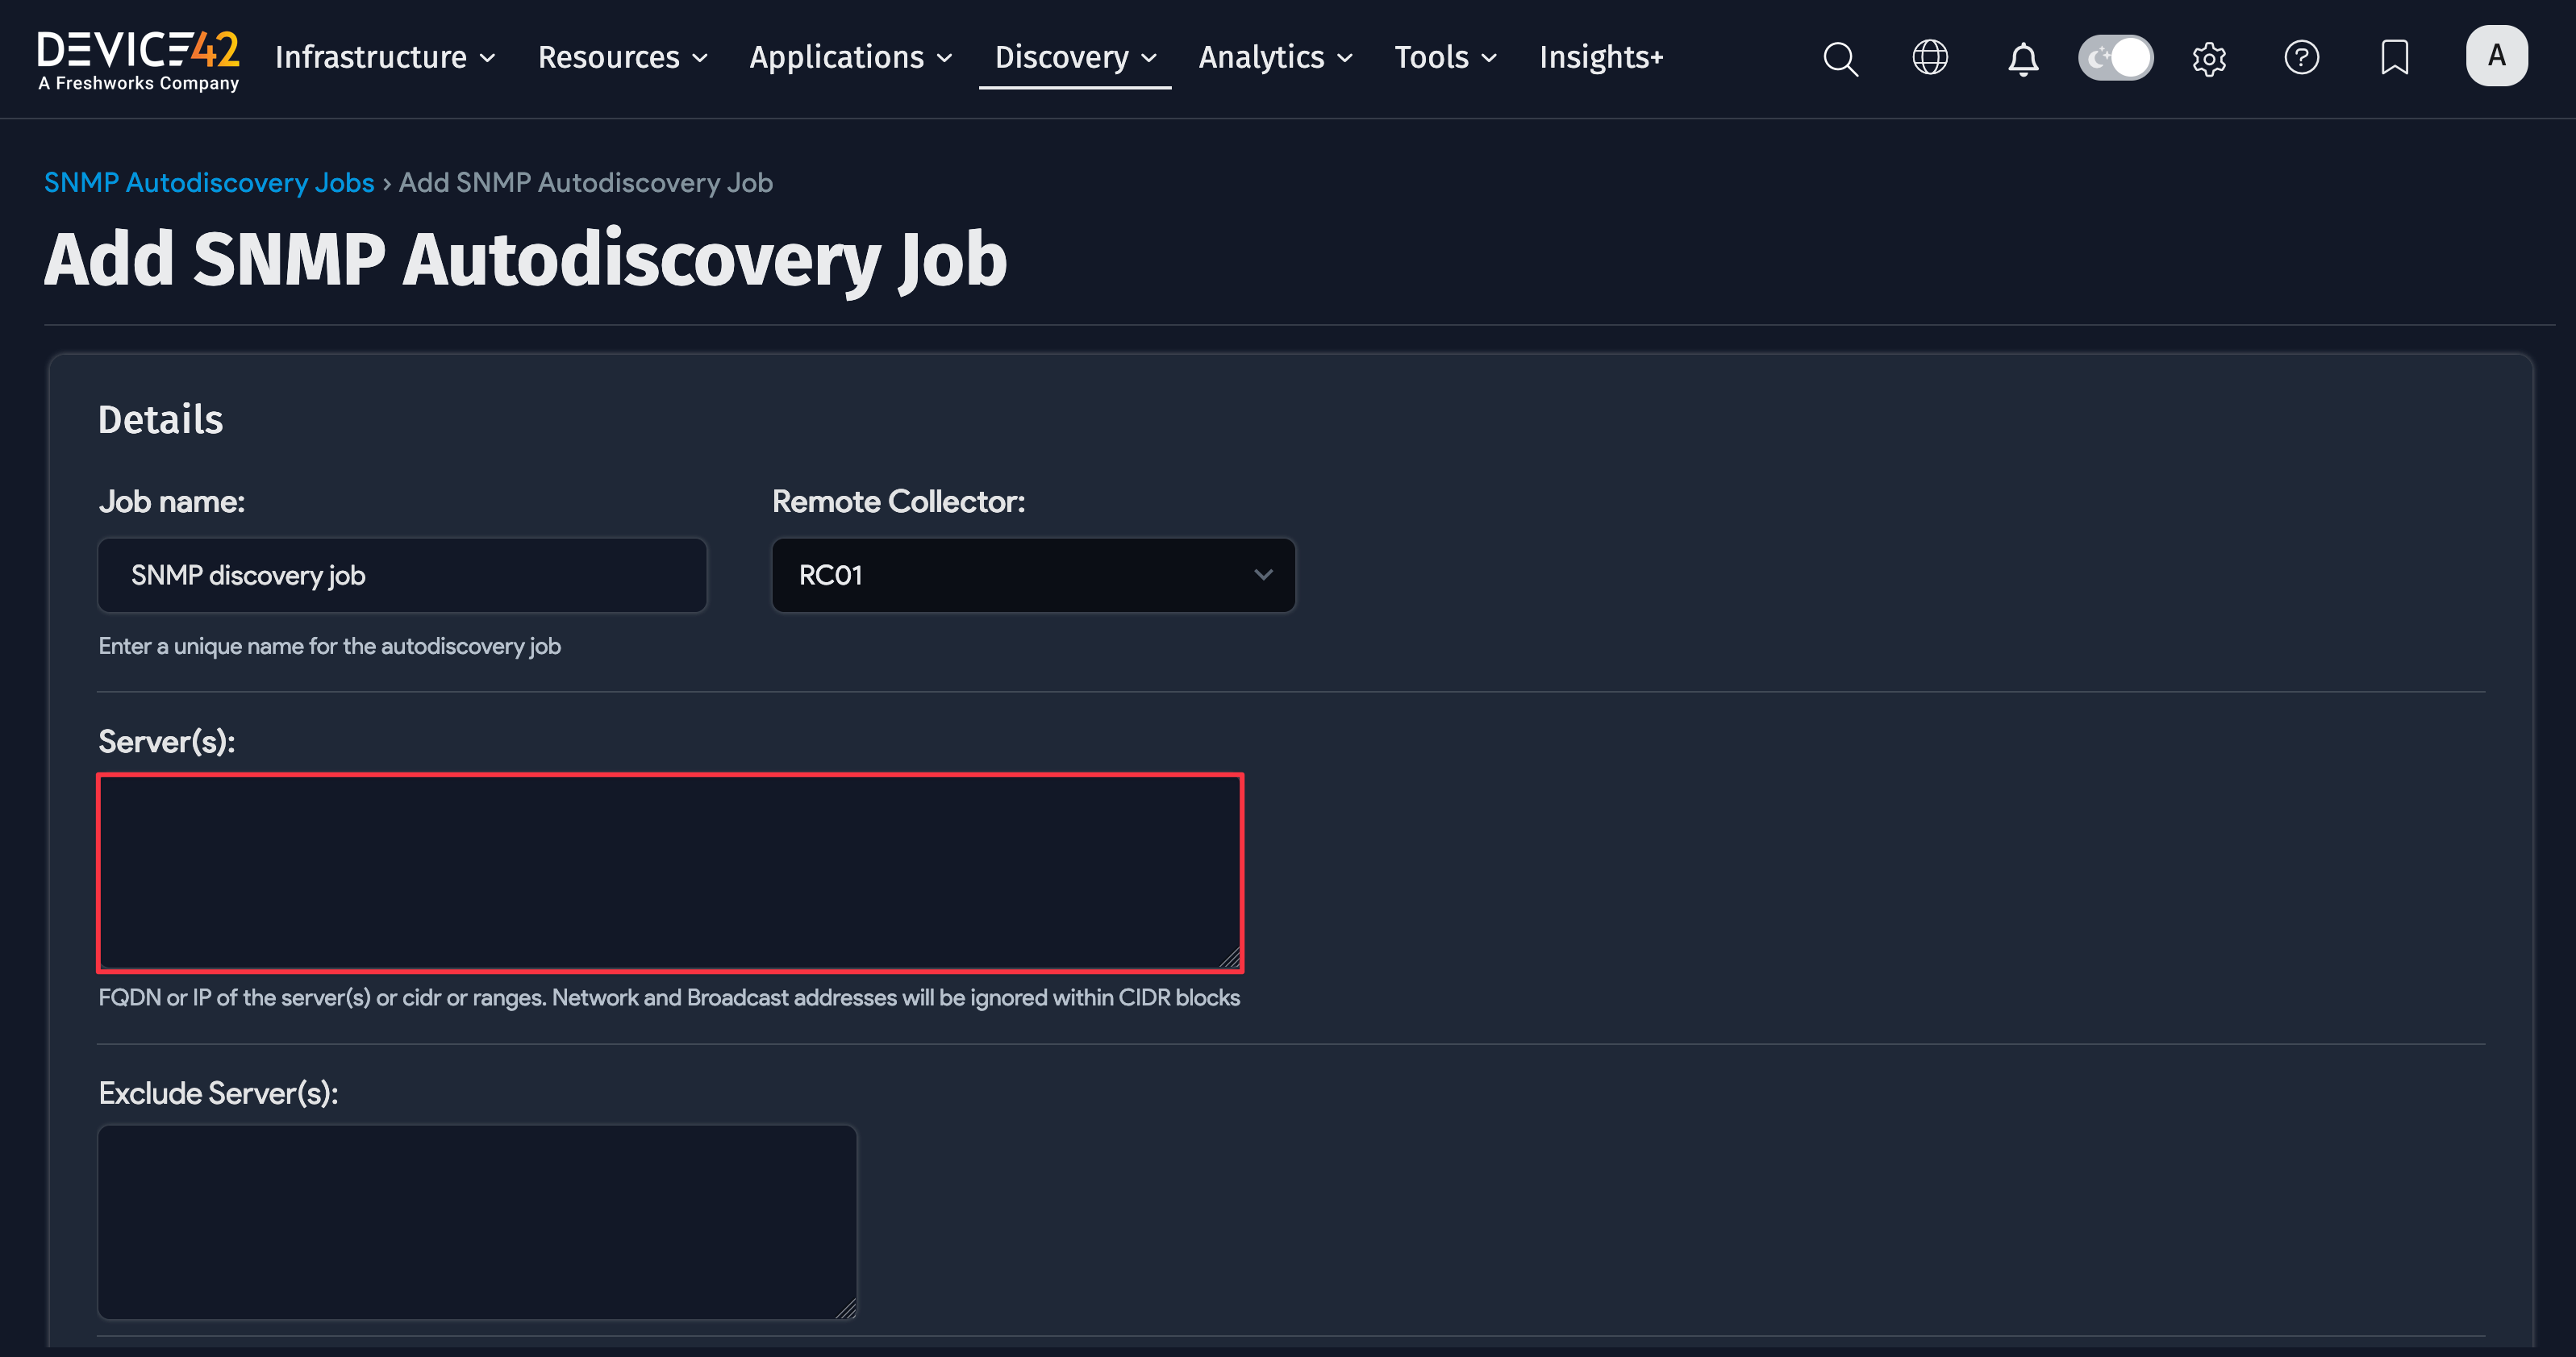
For the SNMP autodiscovery job:
-
First, enter the IP/FQDN of all the devices that the credentials and access apply to under Server(s).
-
Then keep the Port and ICMP/TCP Port Check settings as standard access settings.
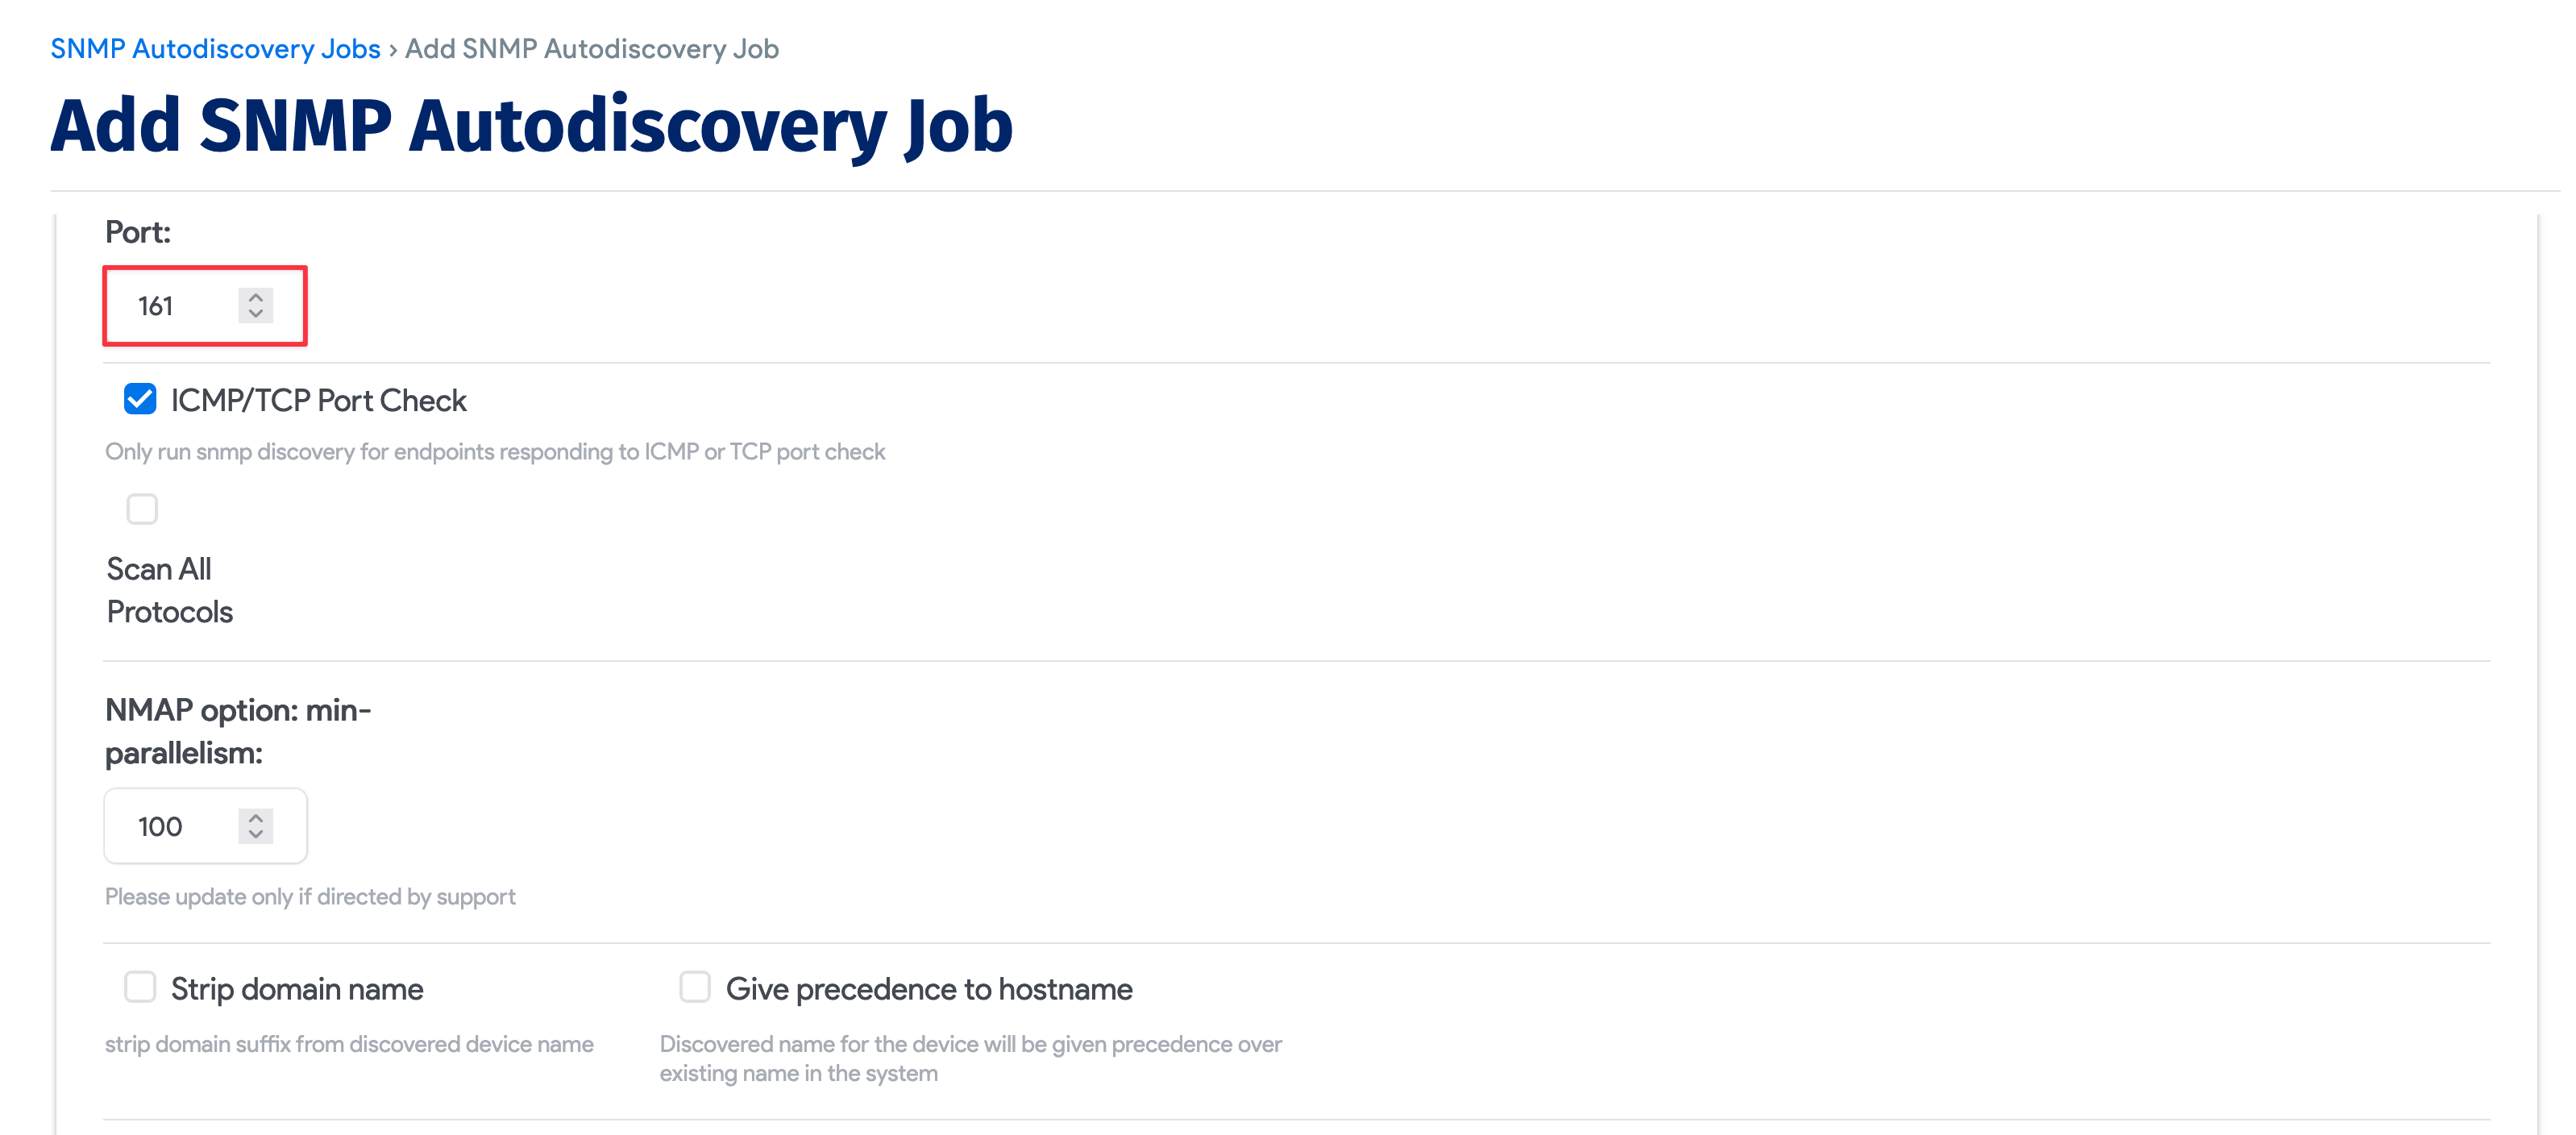
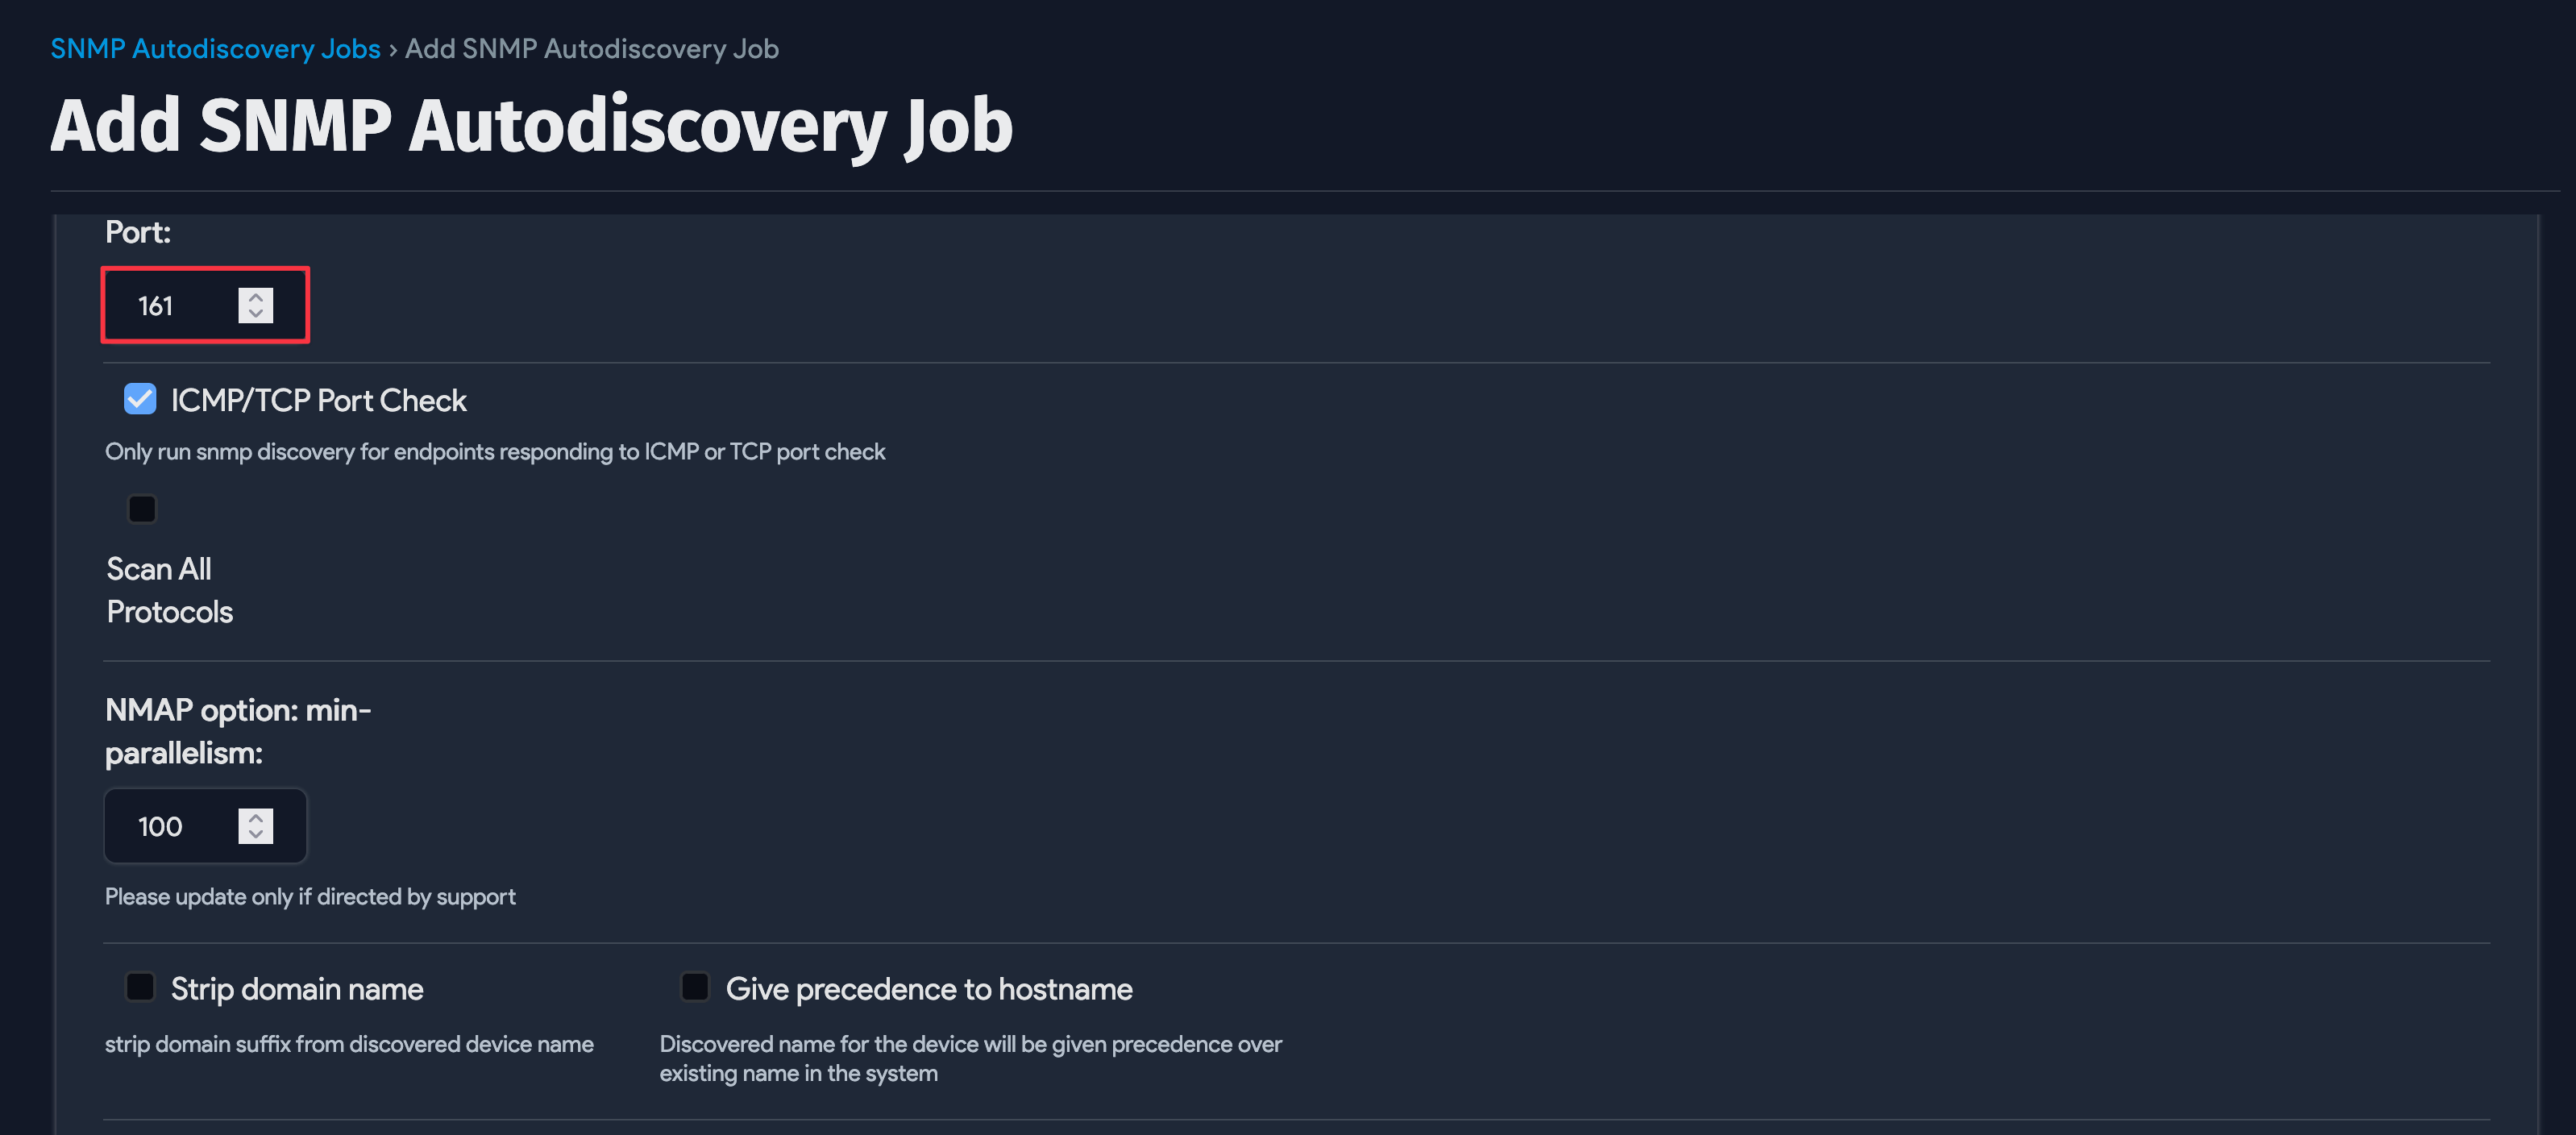
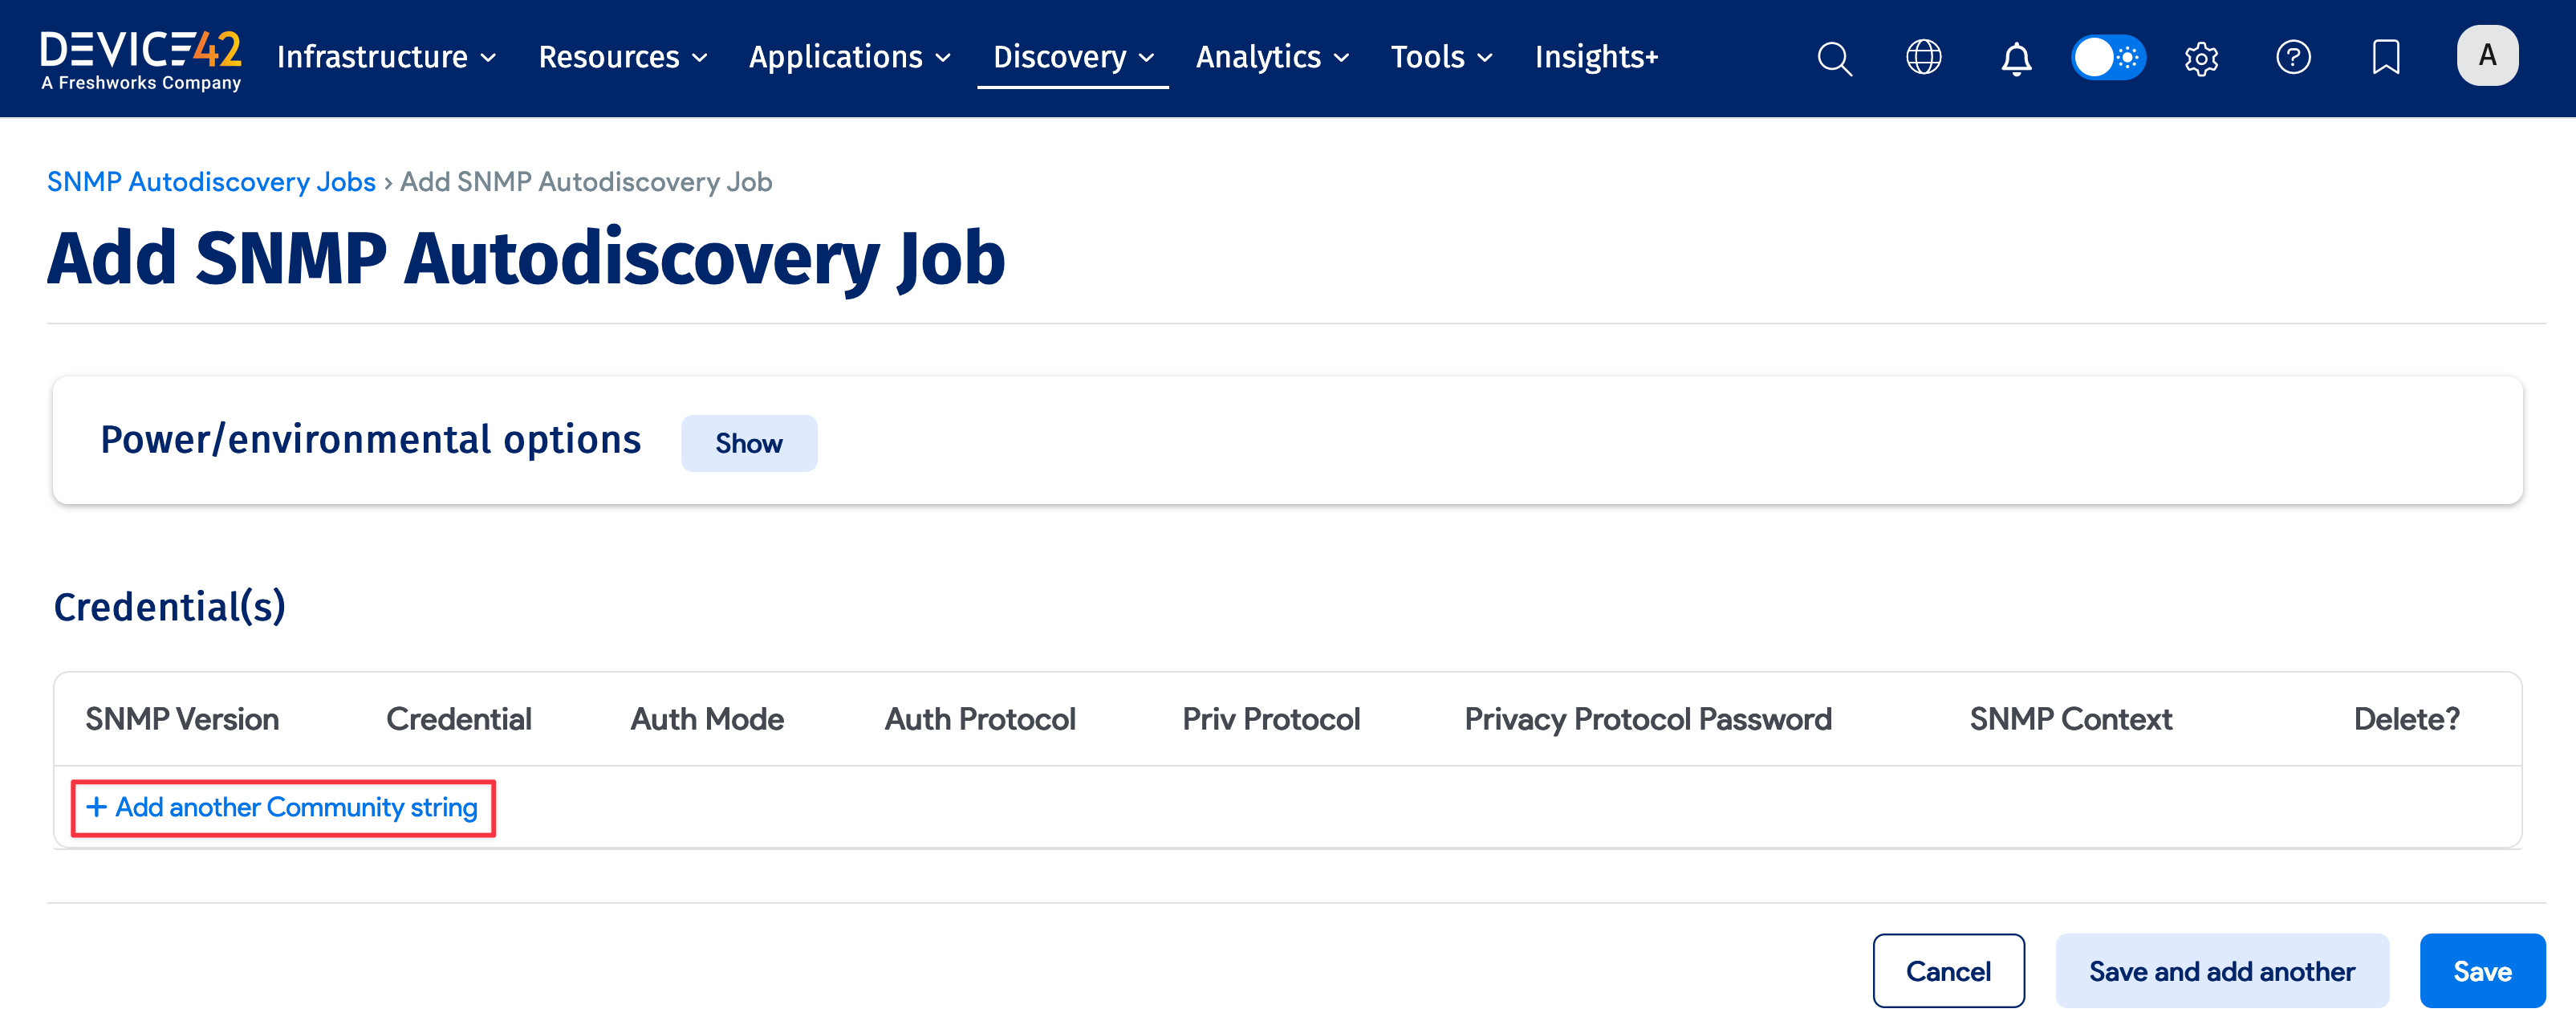
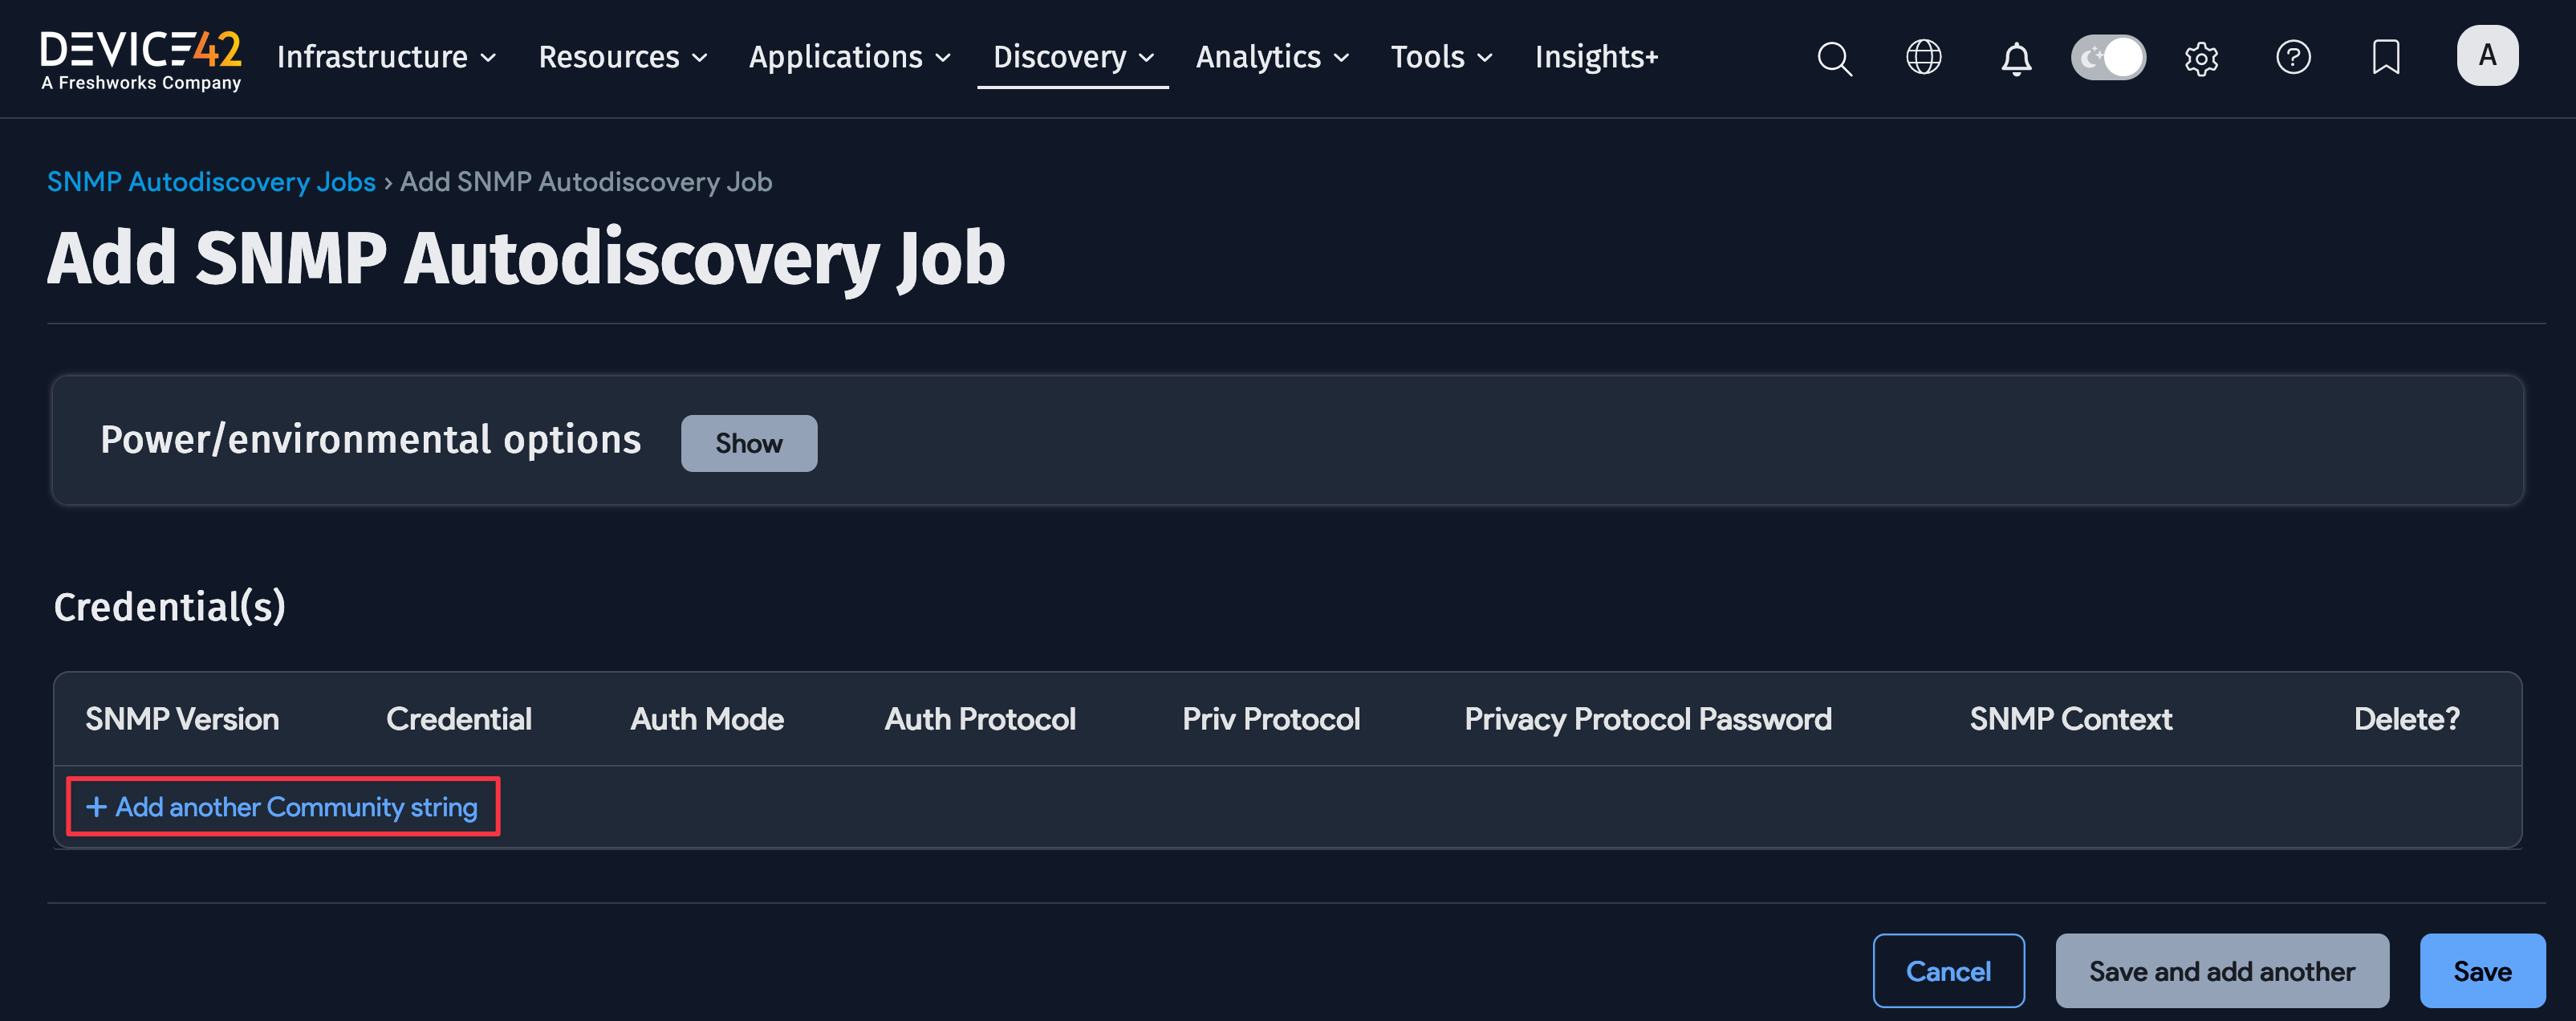
-
Under Credential(s), add any community strings for the device(s).
Warranty Job Creation
- See the Warranty Sync documentation for instructions on setting up the Warranty Sync autodiscovery.
Recommended Automated Scheduling
- For the Hypervisor/*nix/Windows scan jobs, the jobs should be scheduled to run daily.
- For the SNMP scan jobs, the jobs should be scheduled to run weekly.
- For the Warranty Sync, the jobs should be scheduled to run weekly.
Run the Relutech Report
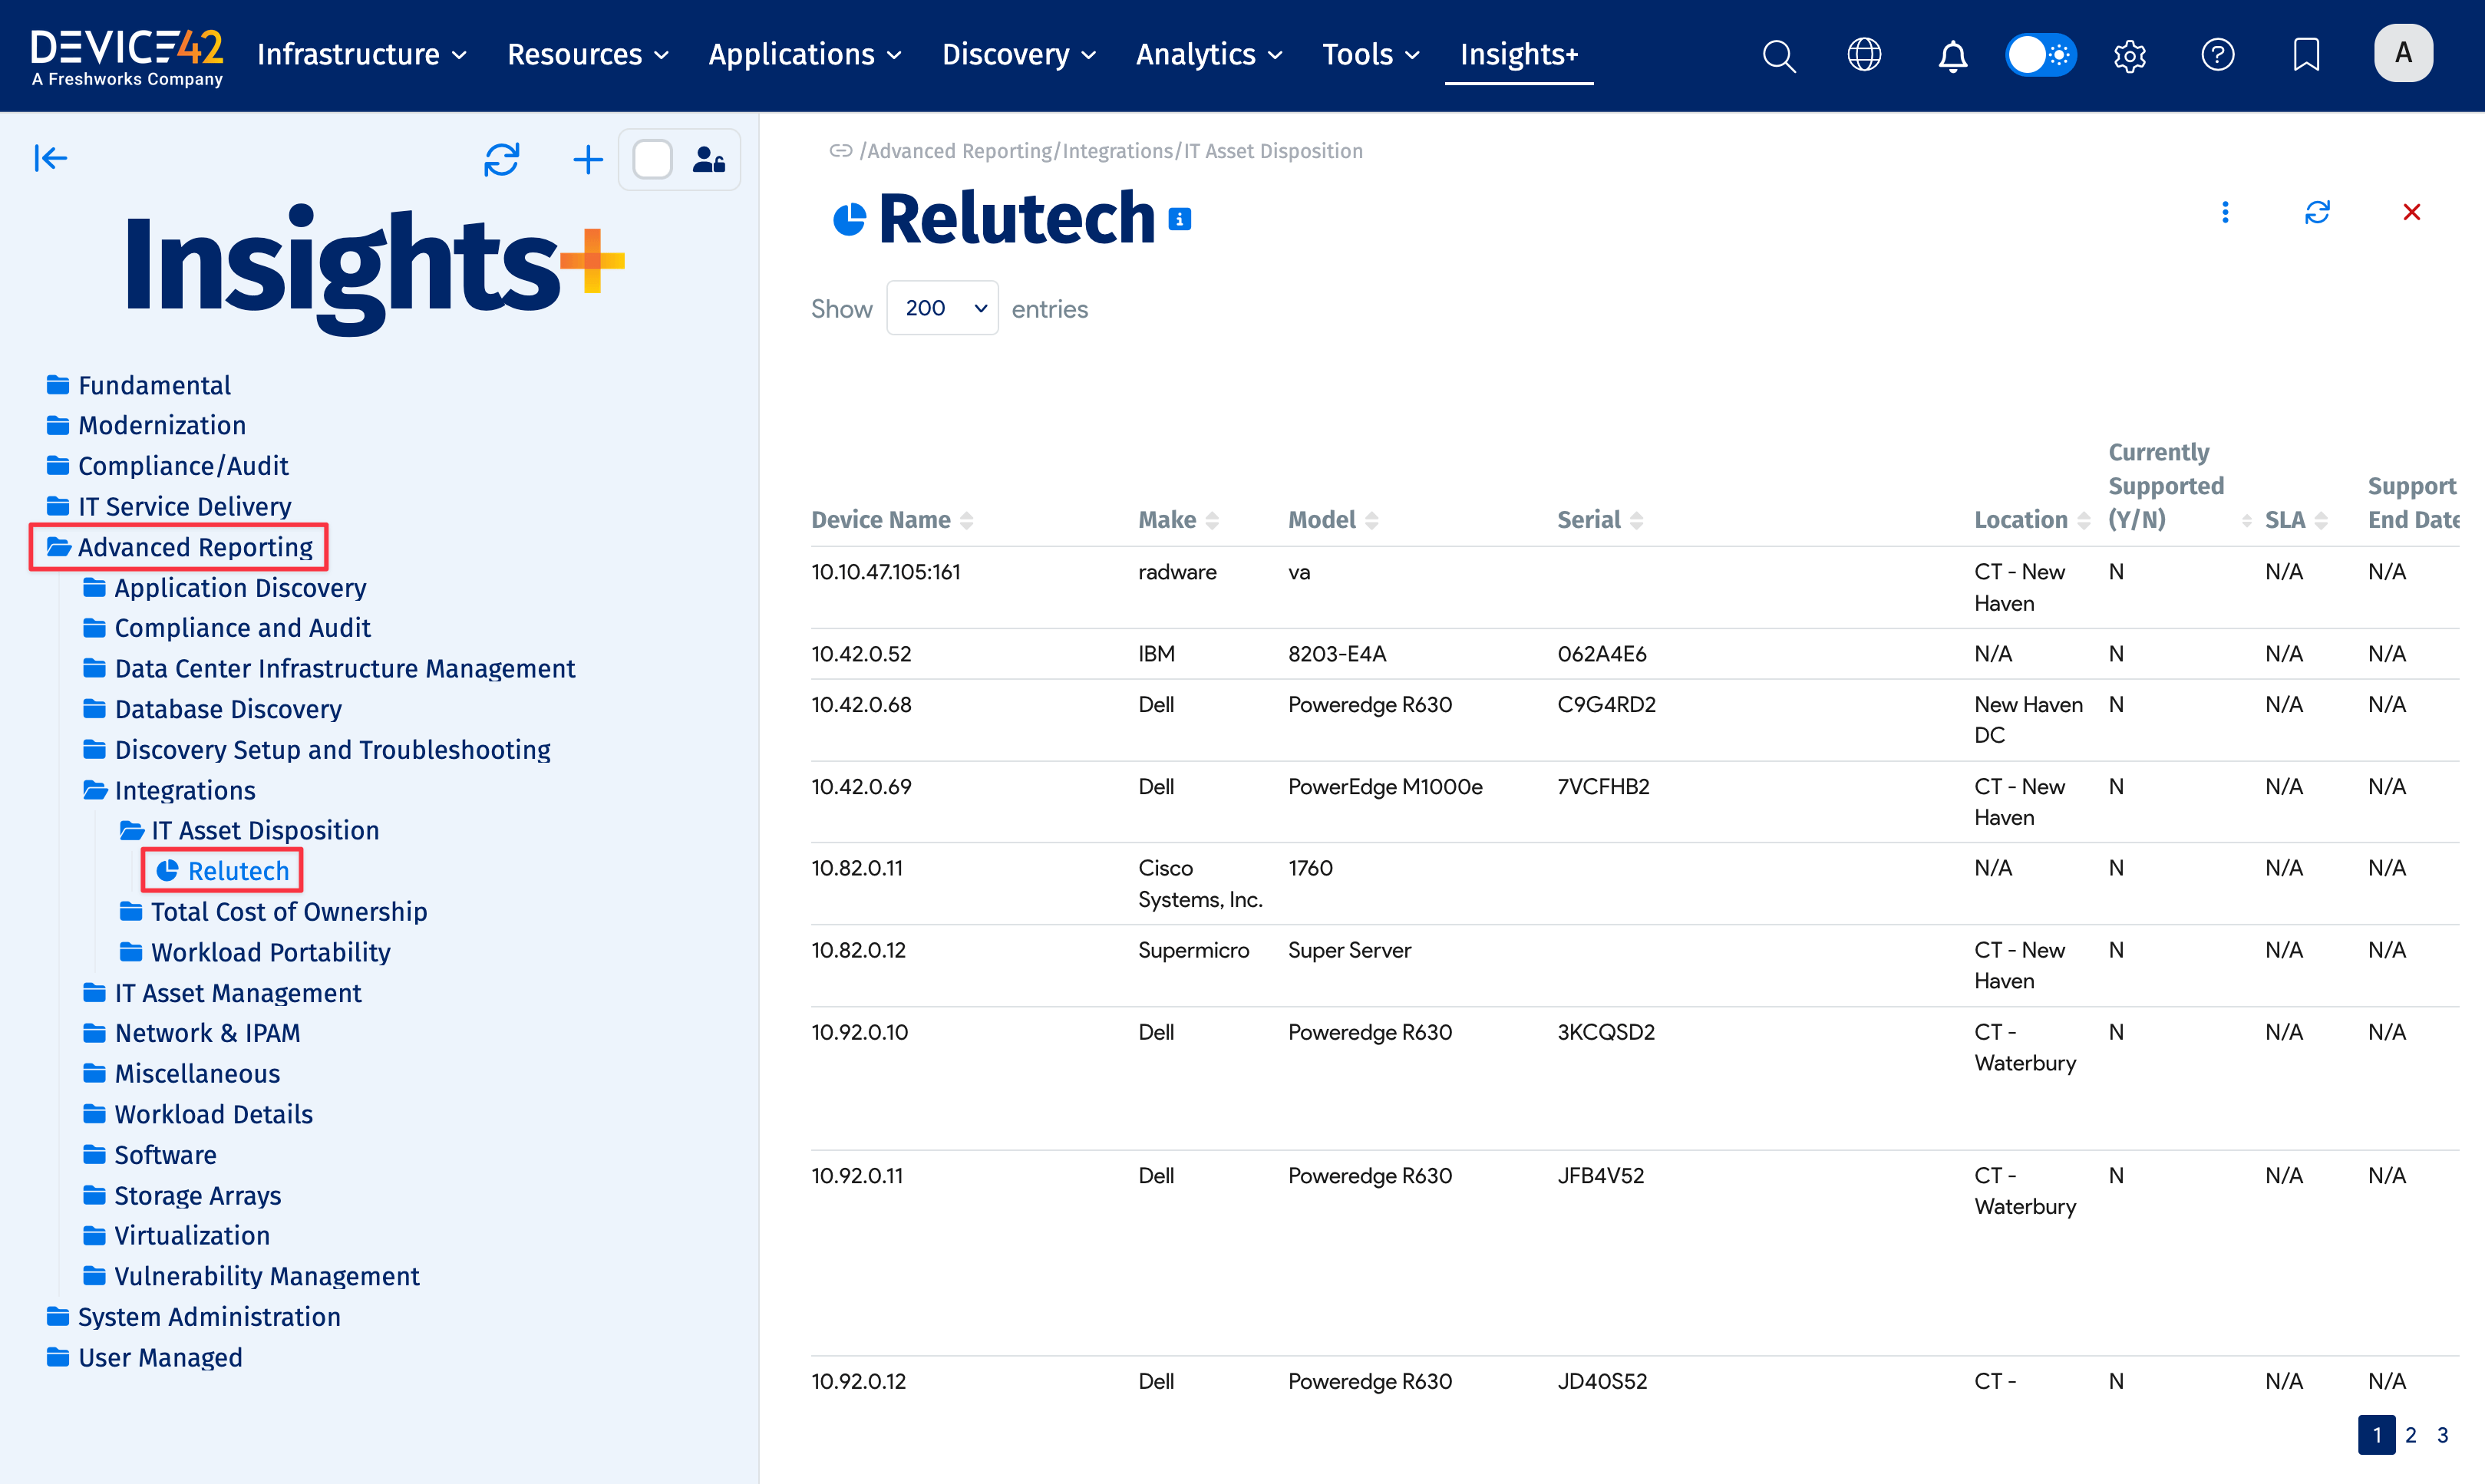
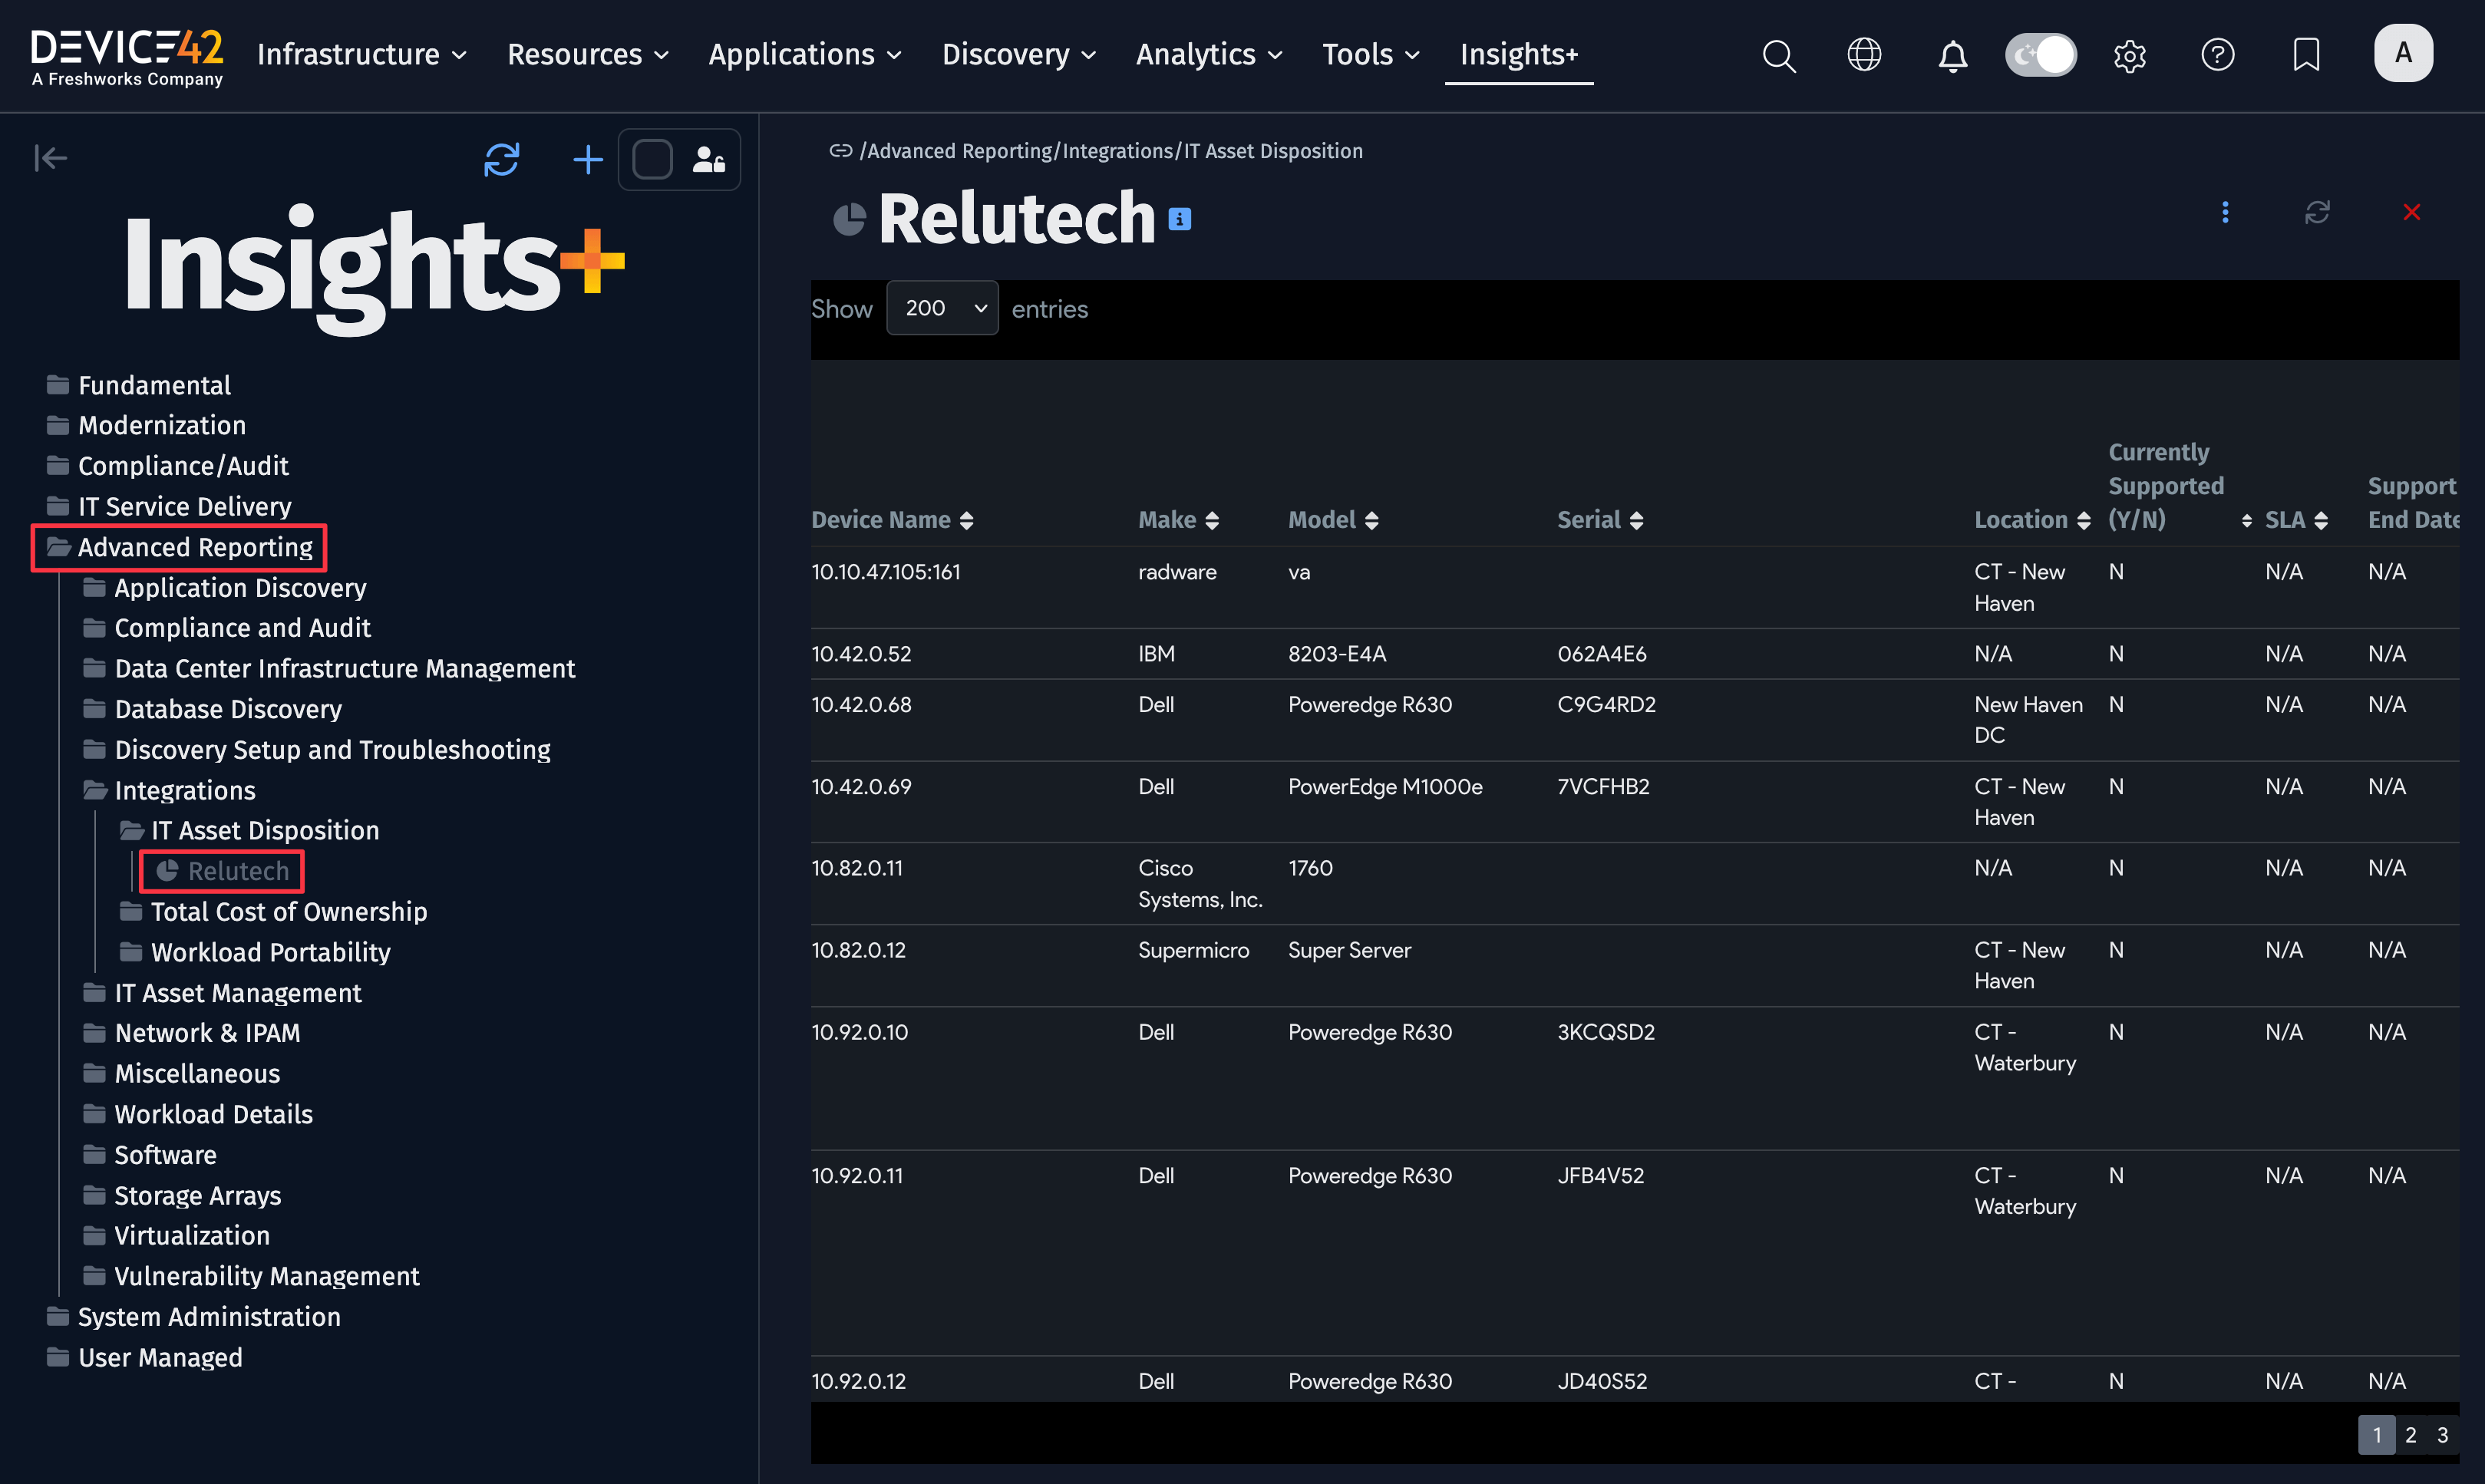
After the discovery jobs have been completed, navigate to Insights+ to extract the data for Relutech. The Relutech report is located under Advanced Reporting > Integrations > IT Asset Disposition > Relutech.
For more information about Relutech, click here.