AWS Migration Hub
You can generate a Device42 AWS Migration Hub report from Device42's predefined reports and upload the report to the AWS Migration Hub portal. Follow the steps below.
-
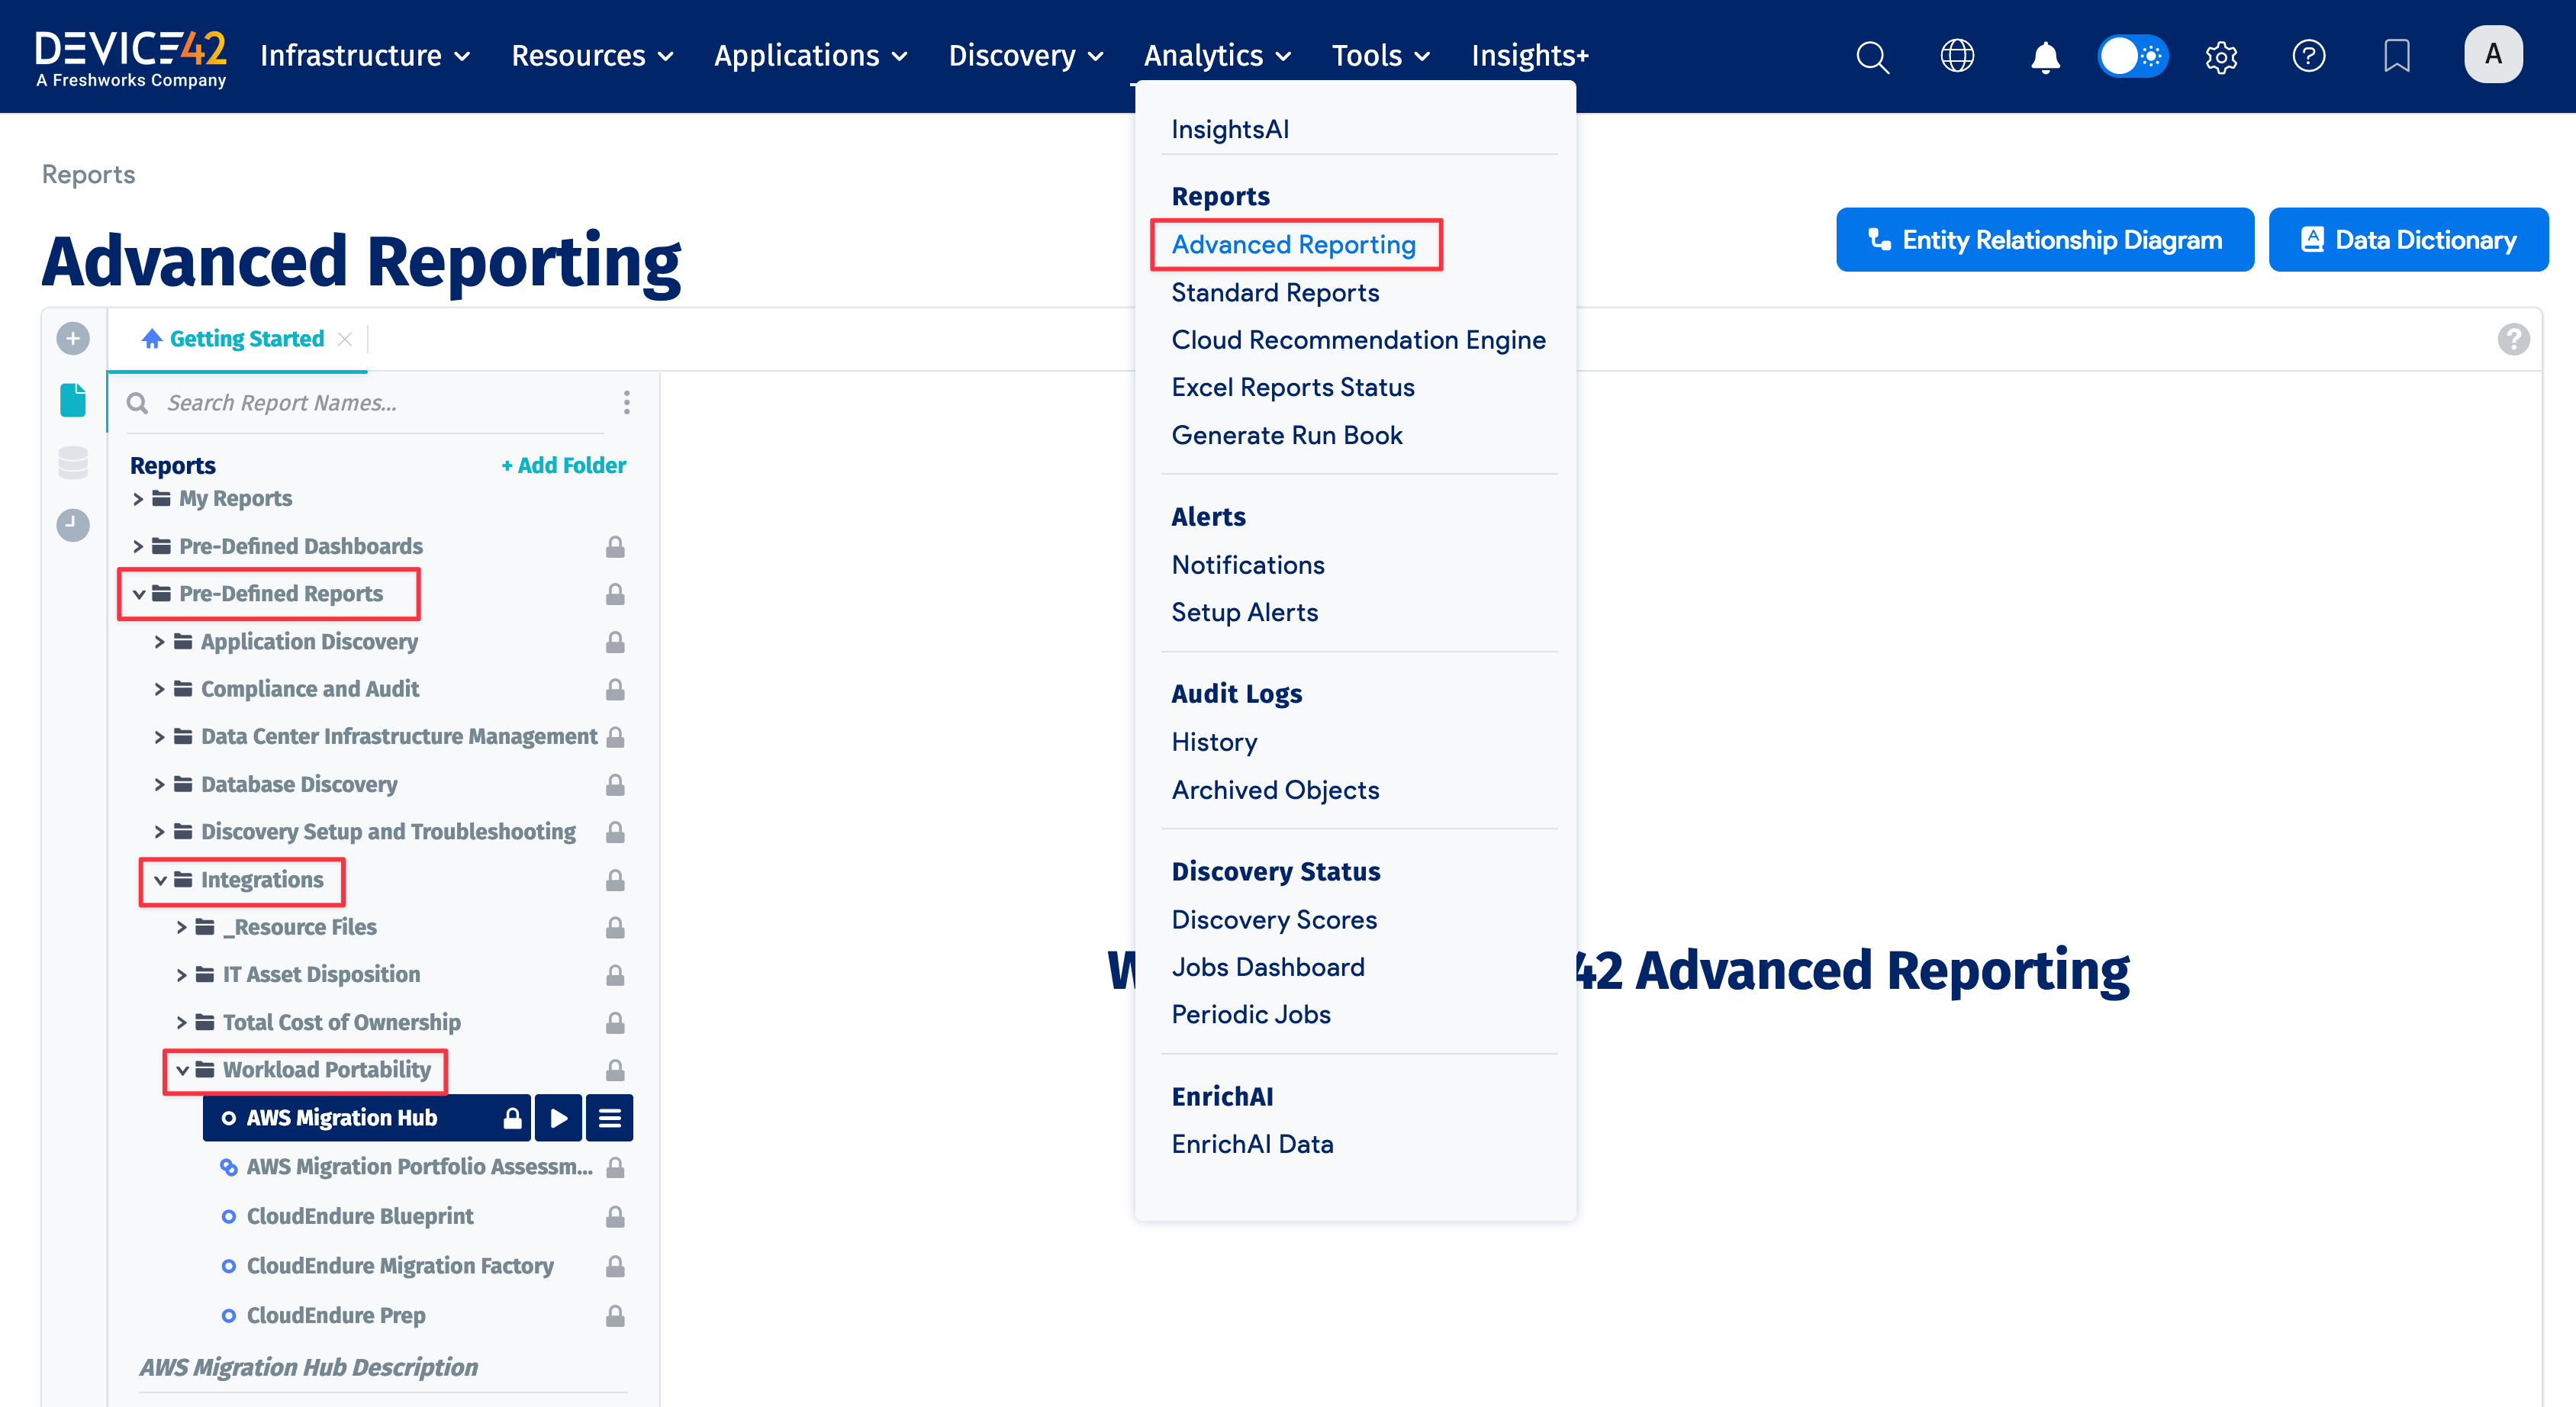
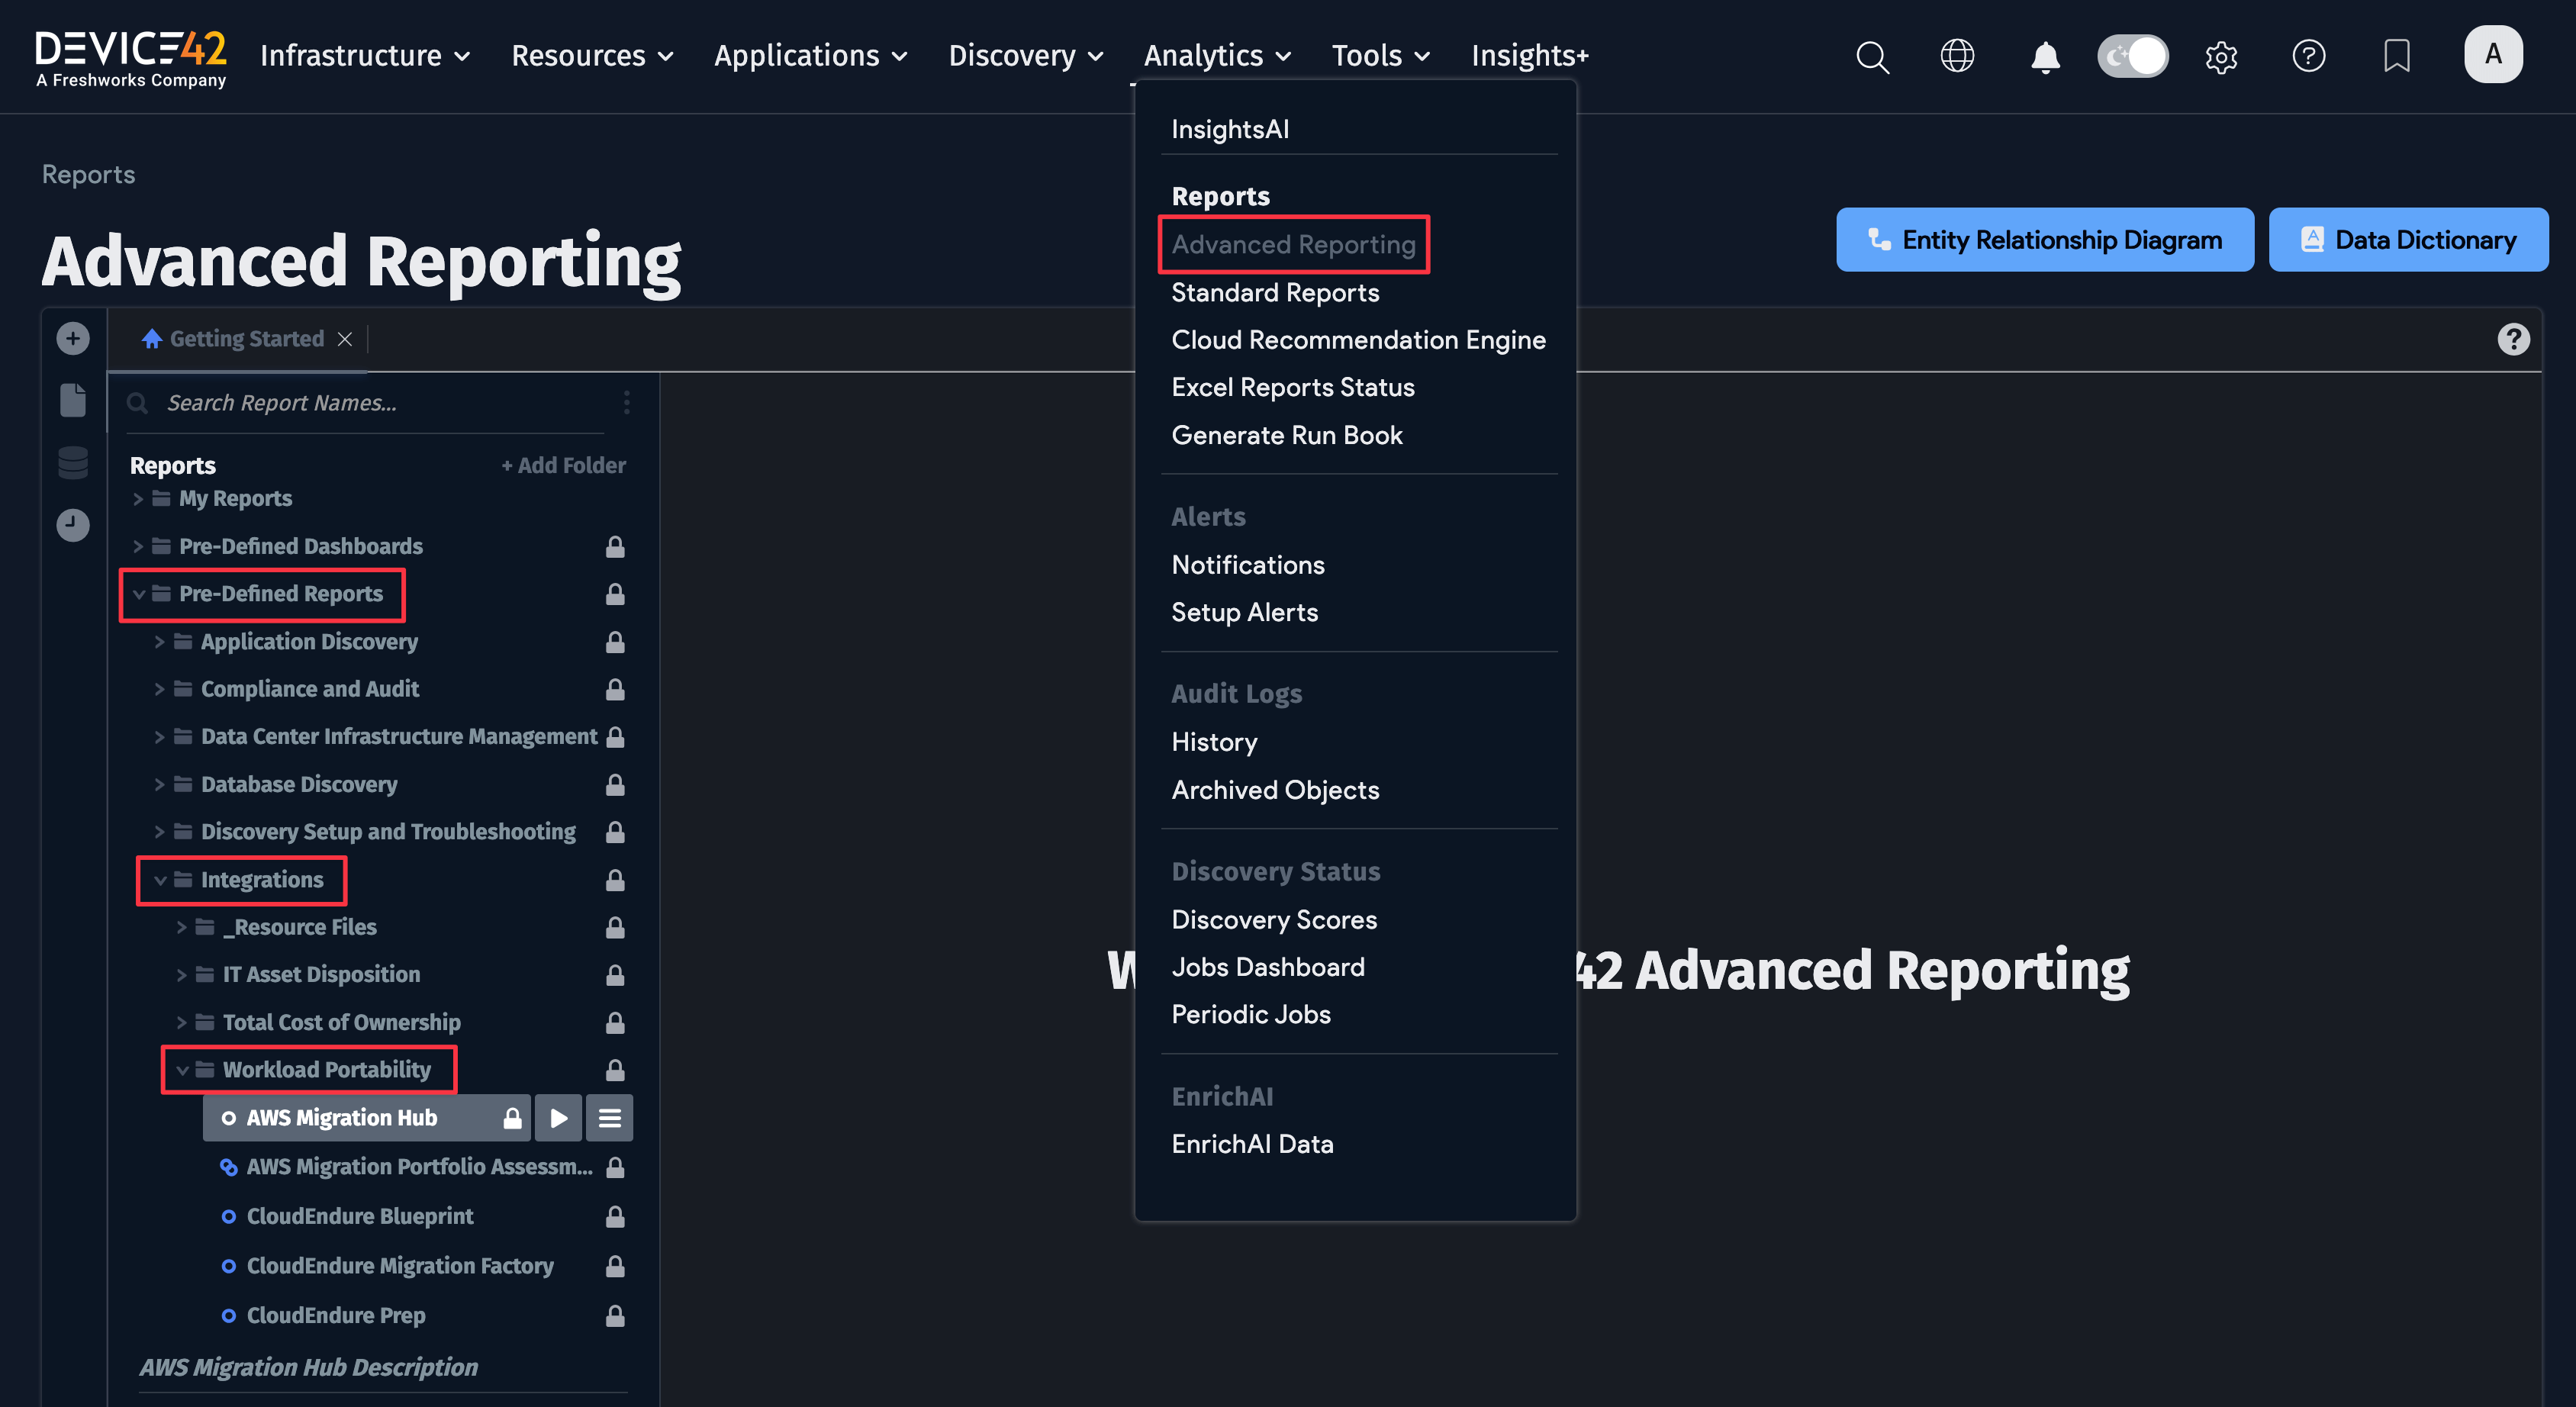
Select Analytics > Advanced Reporting, and from the left panel, go to Pre-Defined Reports > Integrations > Workload Portability.
-
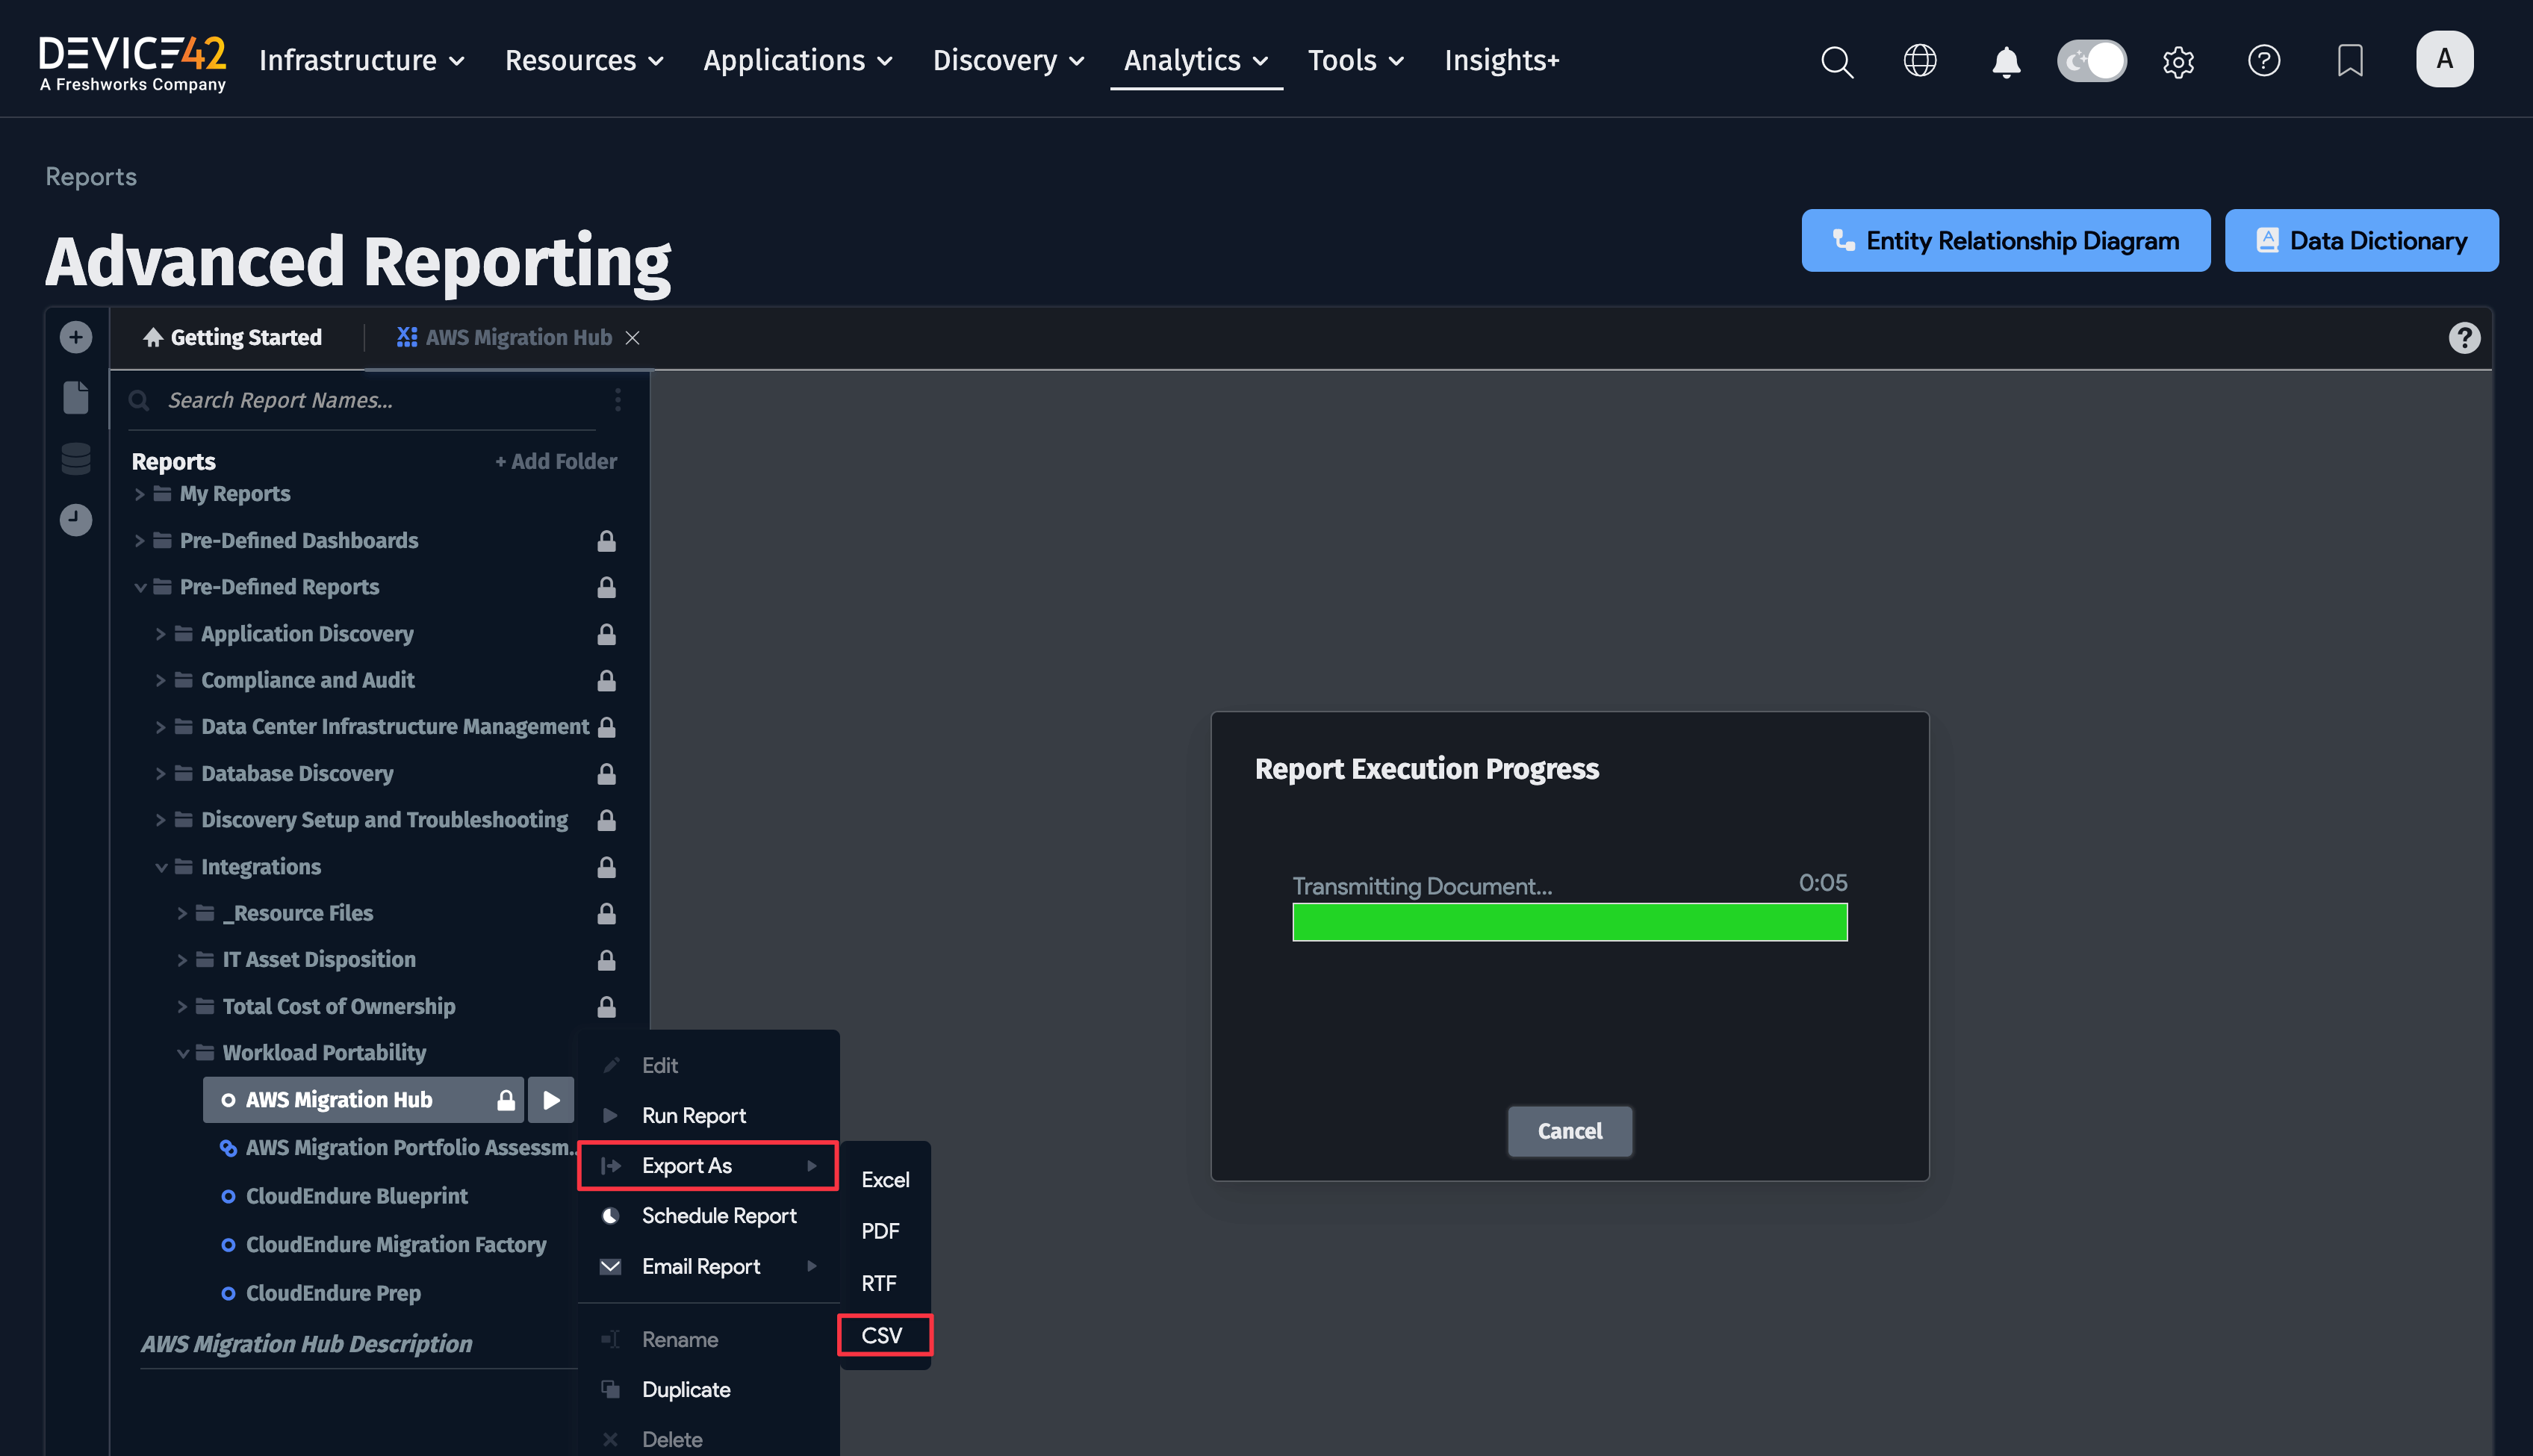
Select the AWS Migration Hub hamburger menu, choose Export As, and then click CSV. This generates and downloads a report — the amount of time required to generate the report depends on how much Device42 data you have.

After the Device42 AWS Migration Hub report downloads, go to your AWS Console.
- Click Services, and then search for Migration Hub.

- Once you are on the Migration Hub home page, click Tools, and then select Import on the Discovery Tools page.


Note: AWS requires that the import file be on an AWS S3 bucket. You must navigate to AWS S3 and upload the Device42 AWS Migration Hub file to an S3 bucket.

- Navigate to your AWS S3 console and upload your Device42 AWS Migration Hub file to the appropriate S3 bucket.
- After you have uploaded your Device42 file to the AWS S3 bucket, copy the file's Object URL link.

- Go back to Migration Hub and paste the object URL in the Amazon S3 Object URL field, enter an Import name, and click Import.

The AWS import process starts and displays a list of imports.

- You can click on the name of the import file to see the imported information in detail.

- You can also click on a name in the Server Info column to see details about that particular server, with information about that imported item.

- You can also click Applications to view information about the applications created in Device42 that were imported.
