Device - Lifecycle Tab
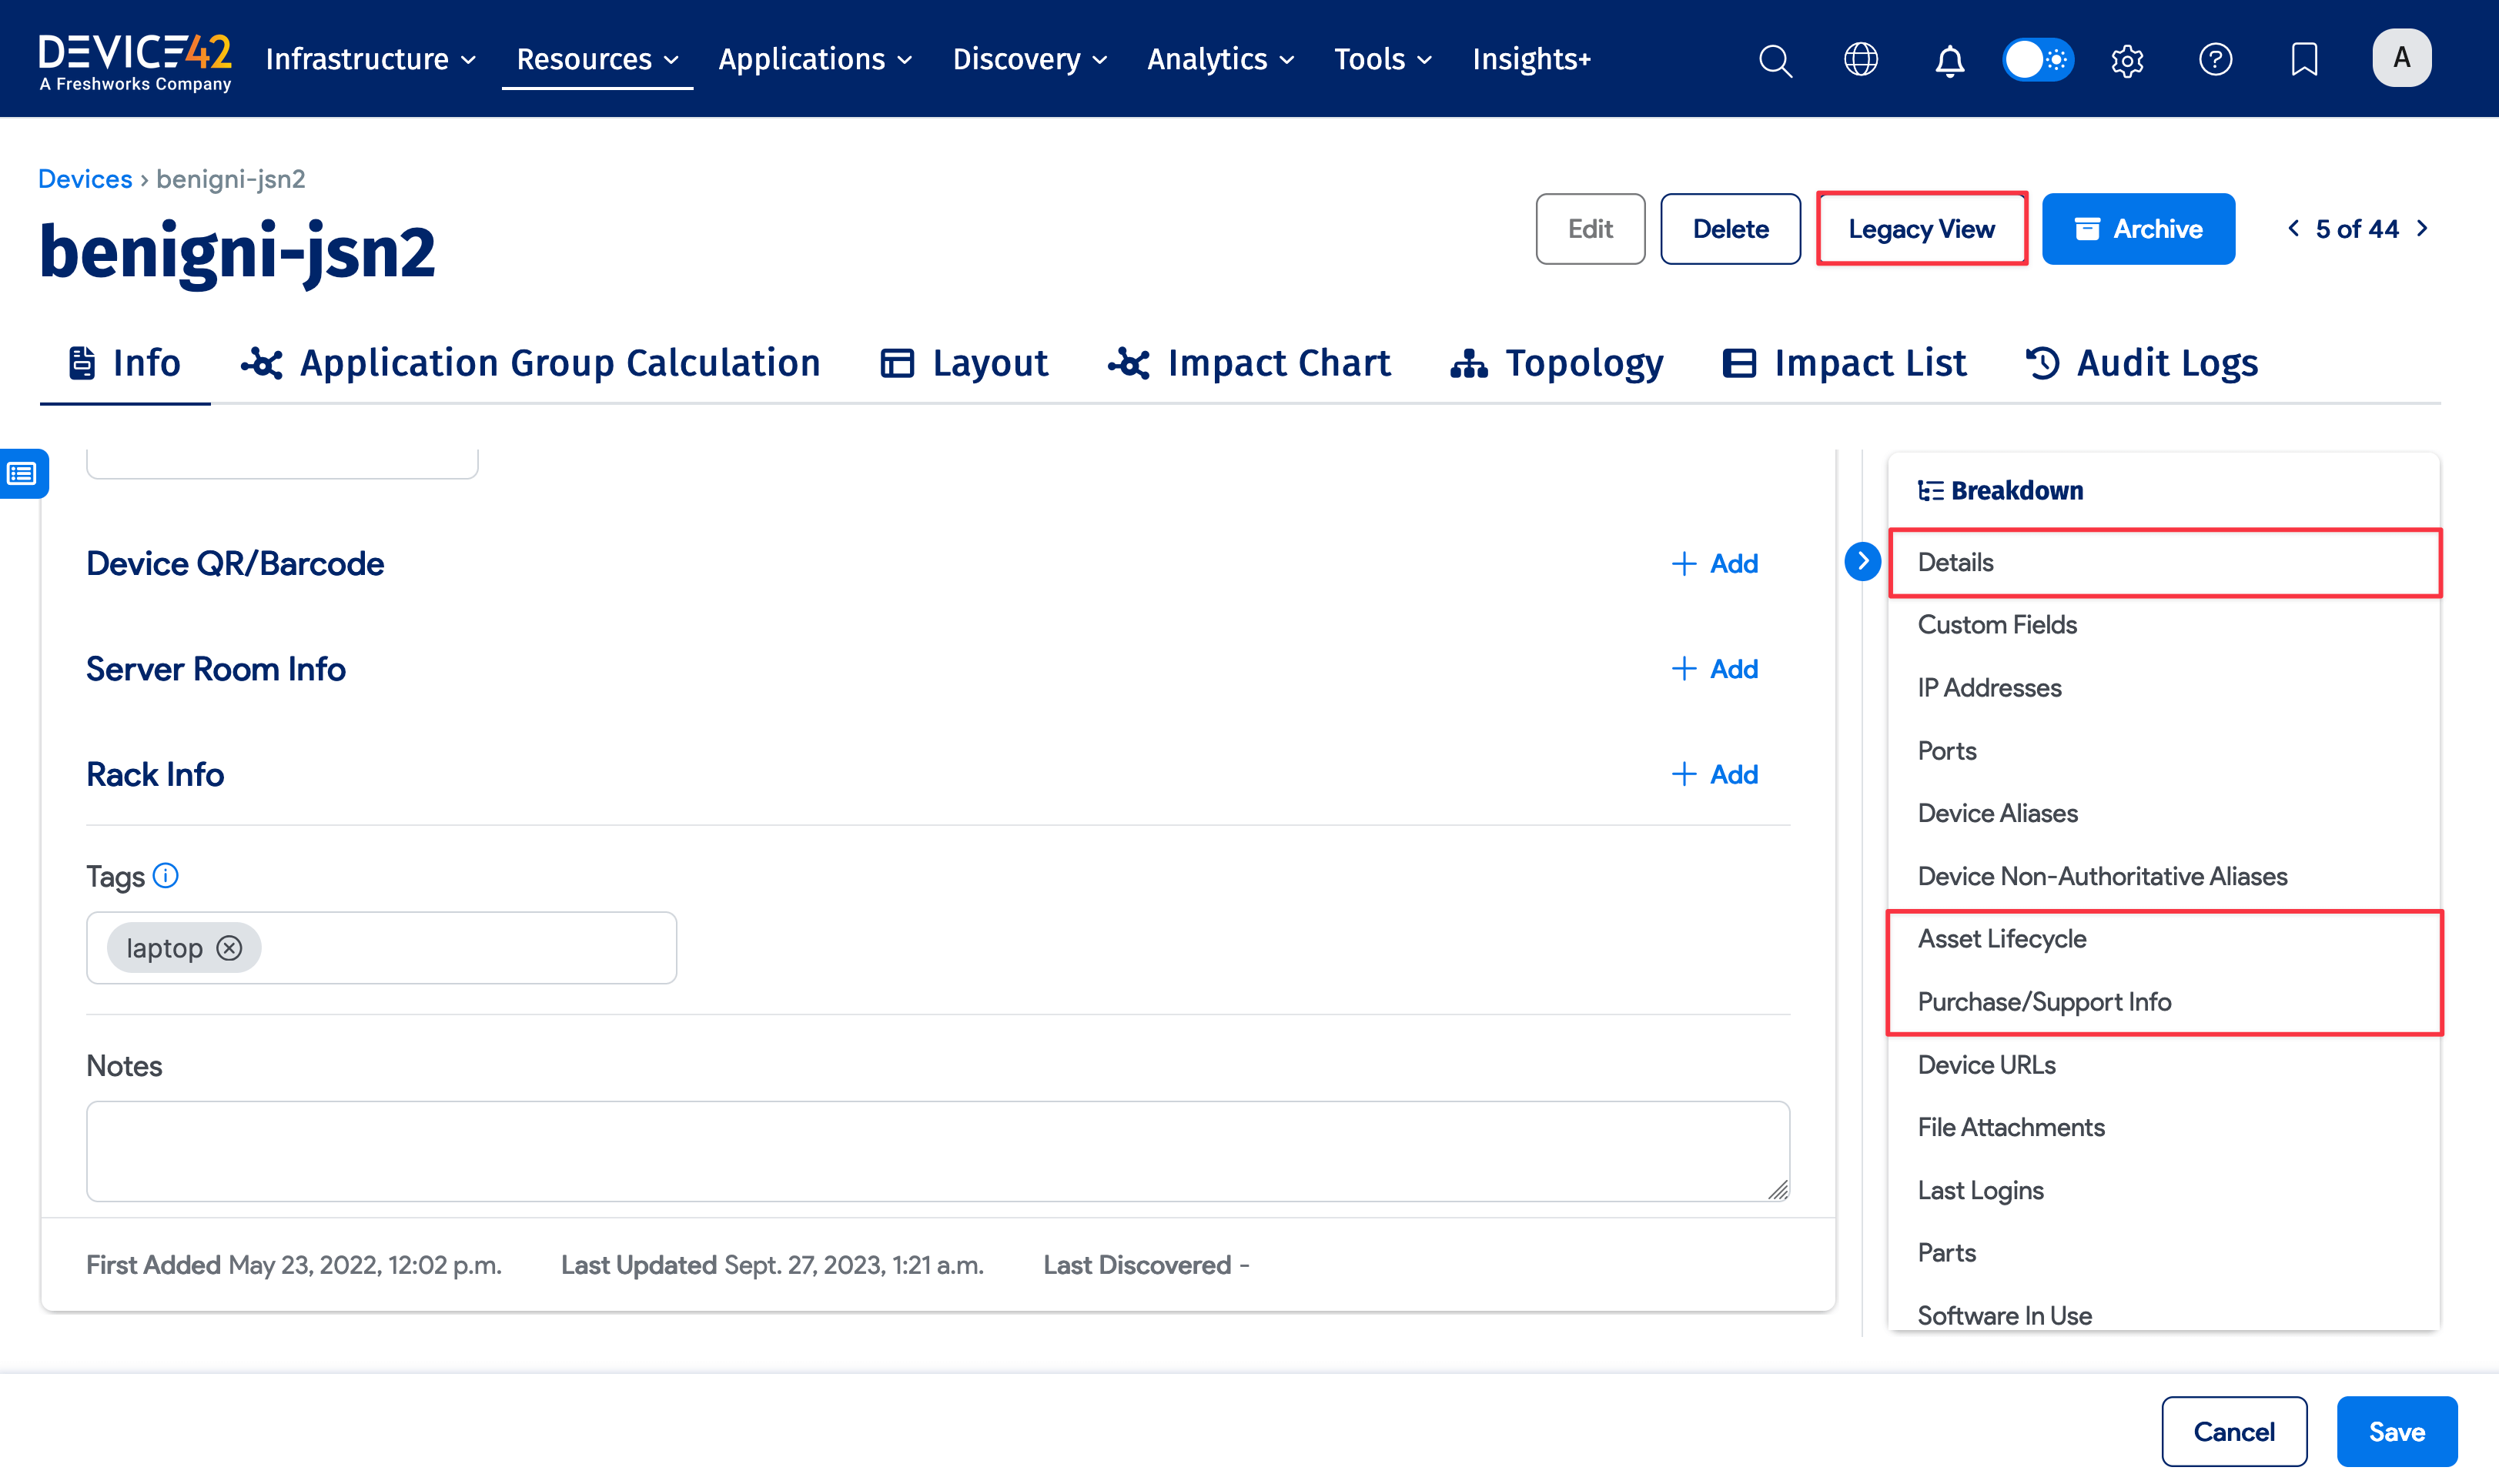
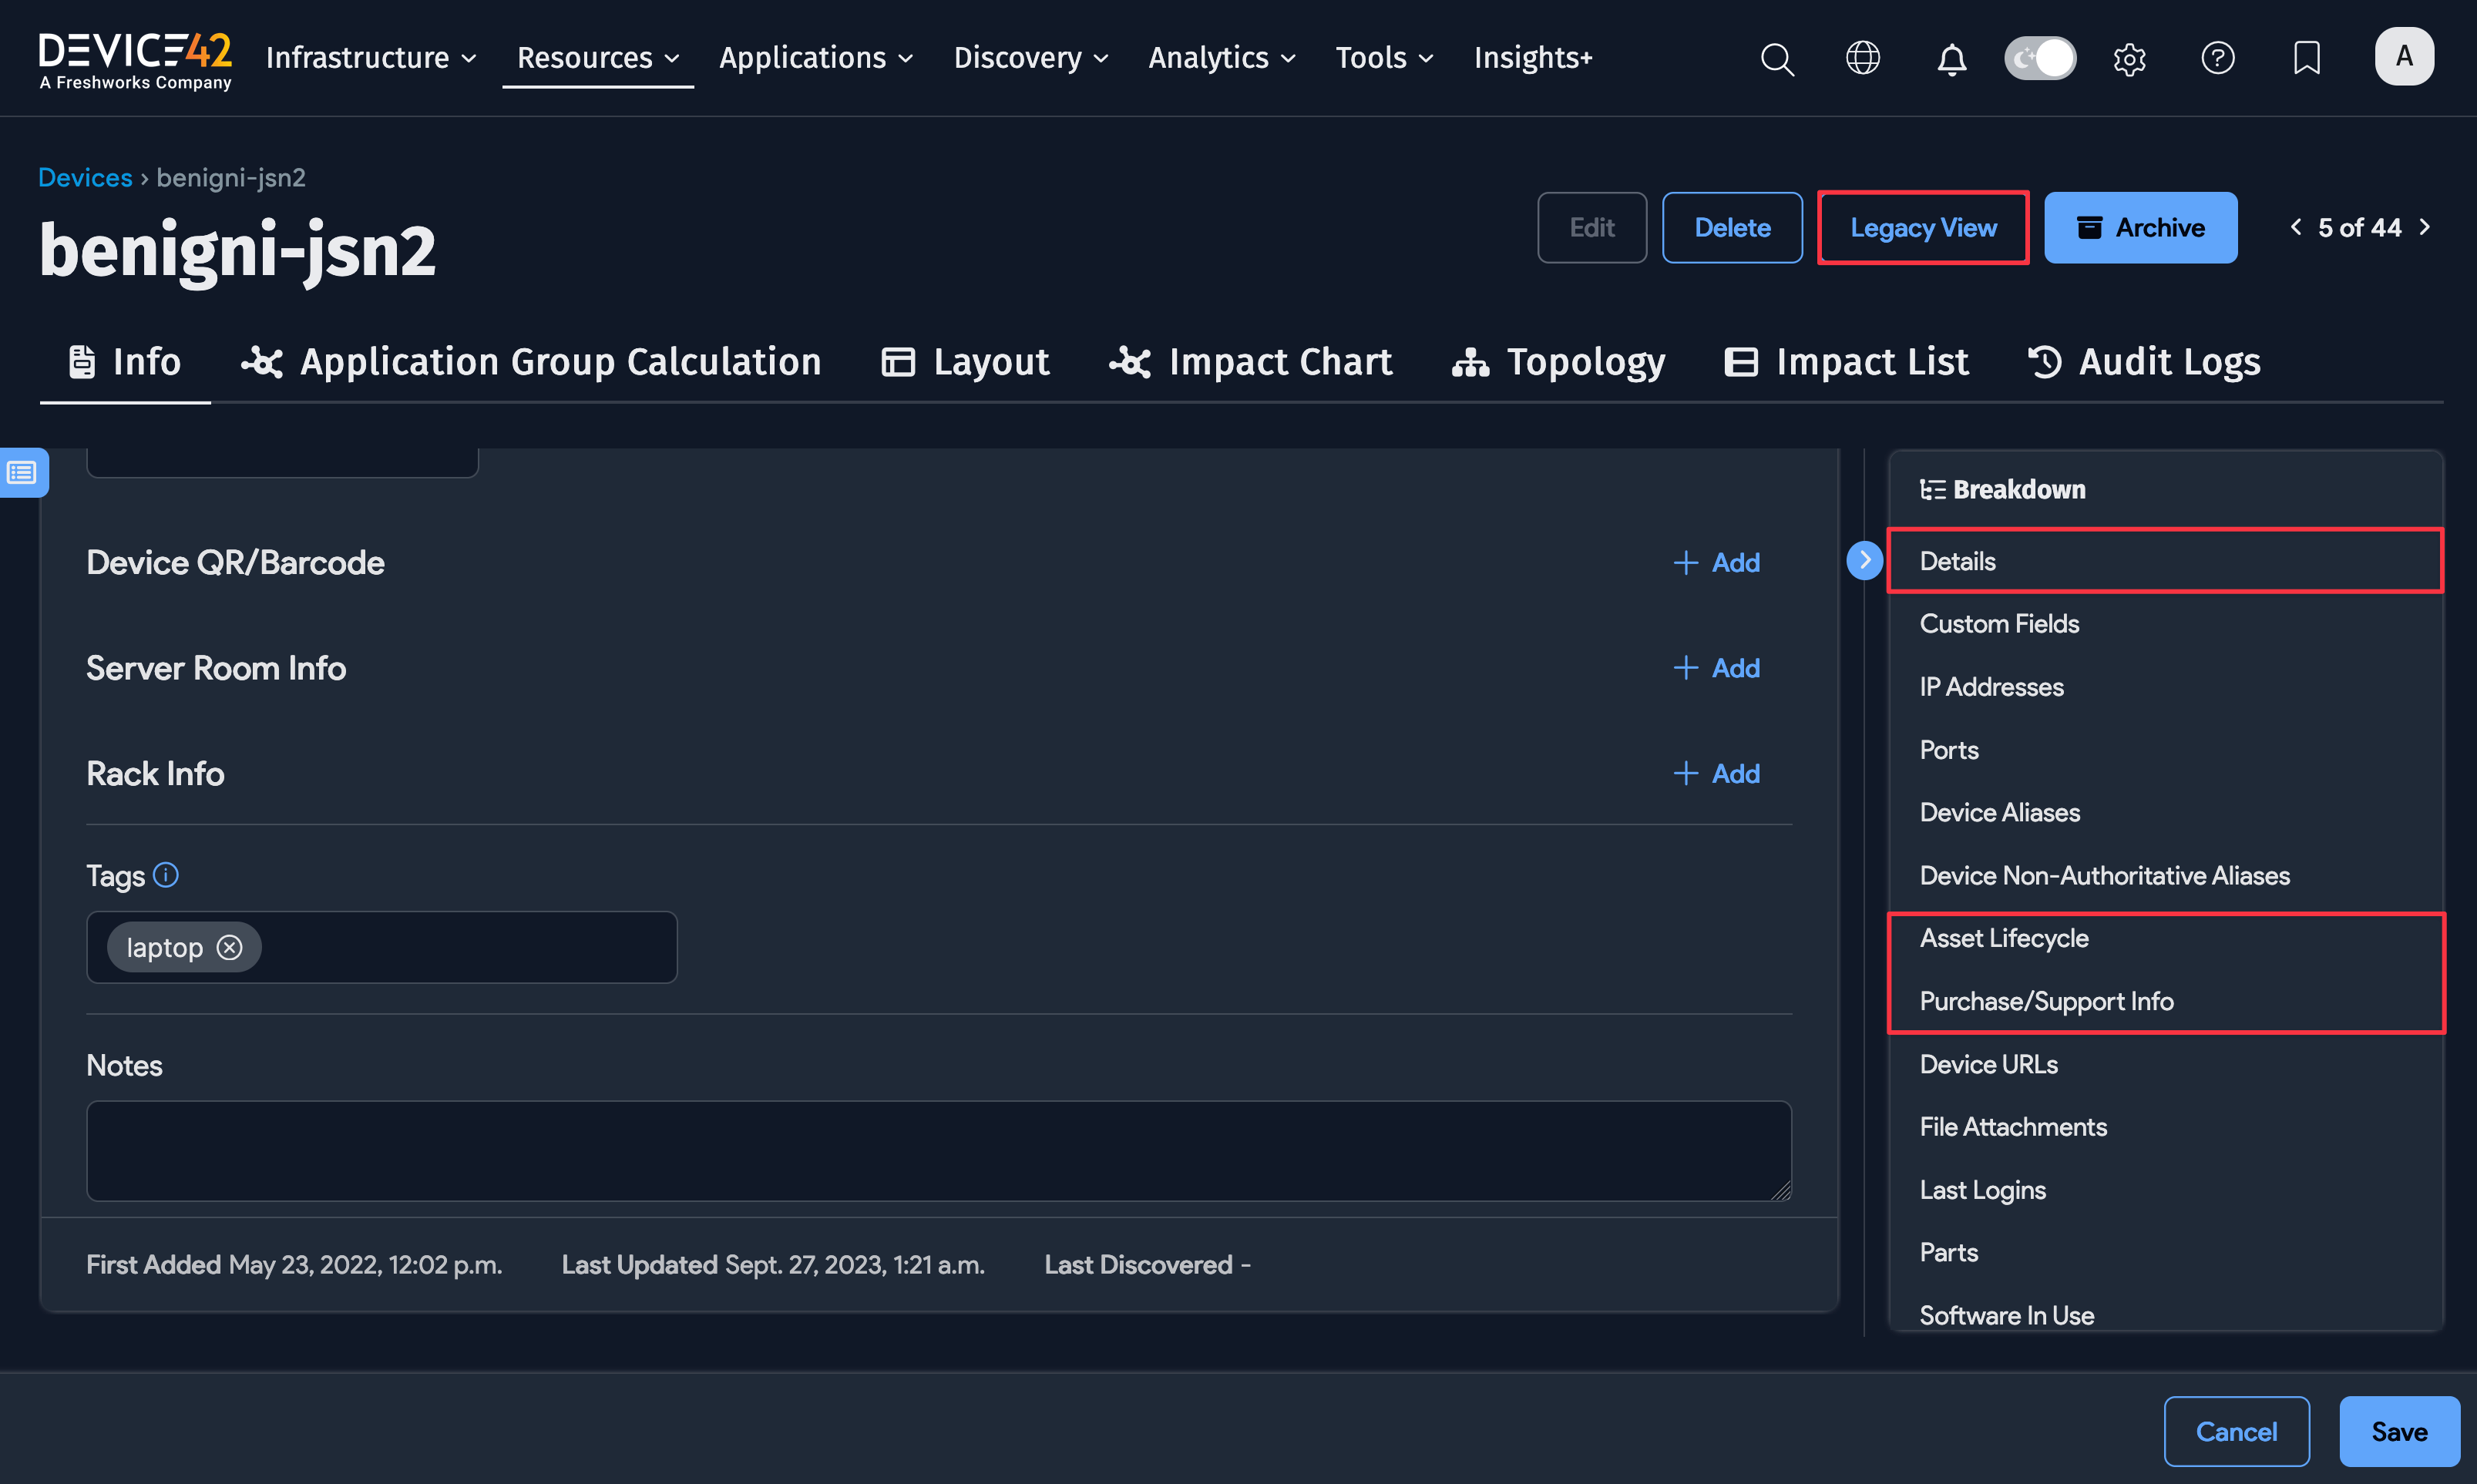
The Lifecycle tab is a legacy view for managing asset lifecycle events, purchase information, and QR codes for a device. These sections are now available in the Breakdown panel on the device details page. You can still access the legacy view using the Legacy View button.
The following Lifecycle tab sections are in the Breakdown panel:
- Asset Lifecycle
- Purchase/Support Info
- Device QR/Barcode (under Details)
Asset Lifecycle
Lifecycle events track the history of a device. Add a new lifecycle event using + Add New.
Enter the required Date, Time, and lifecycle Event. Optionally add an End User and related Notes and Tags.

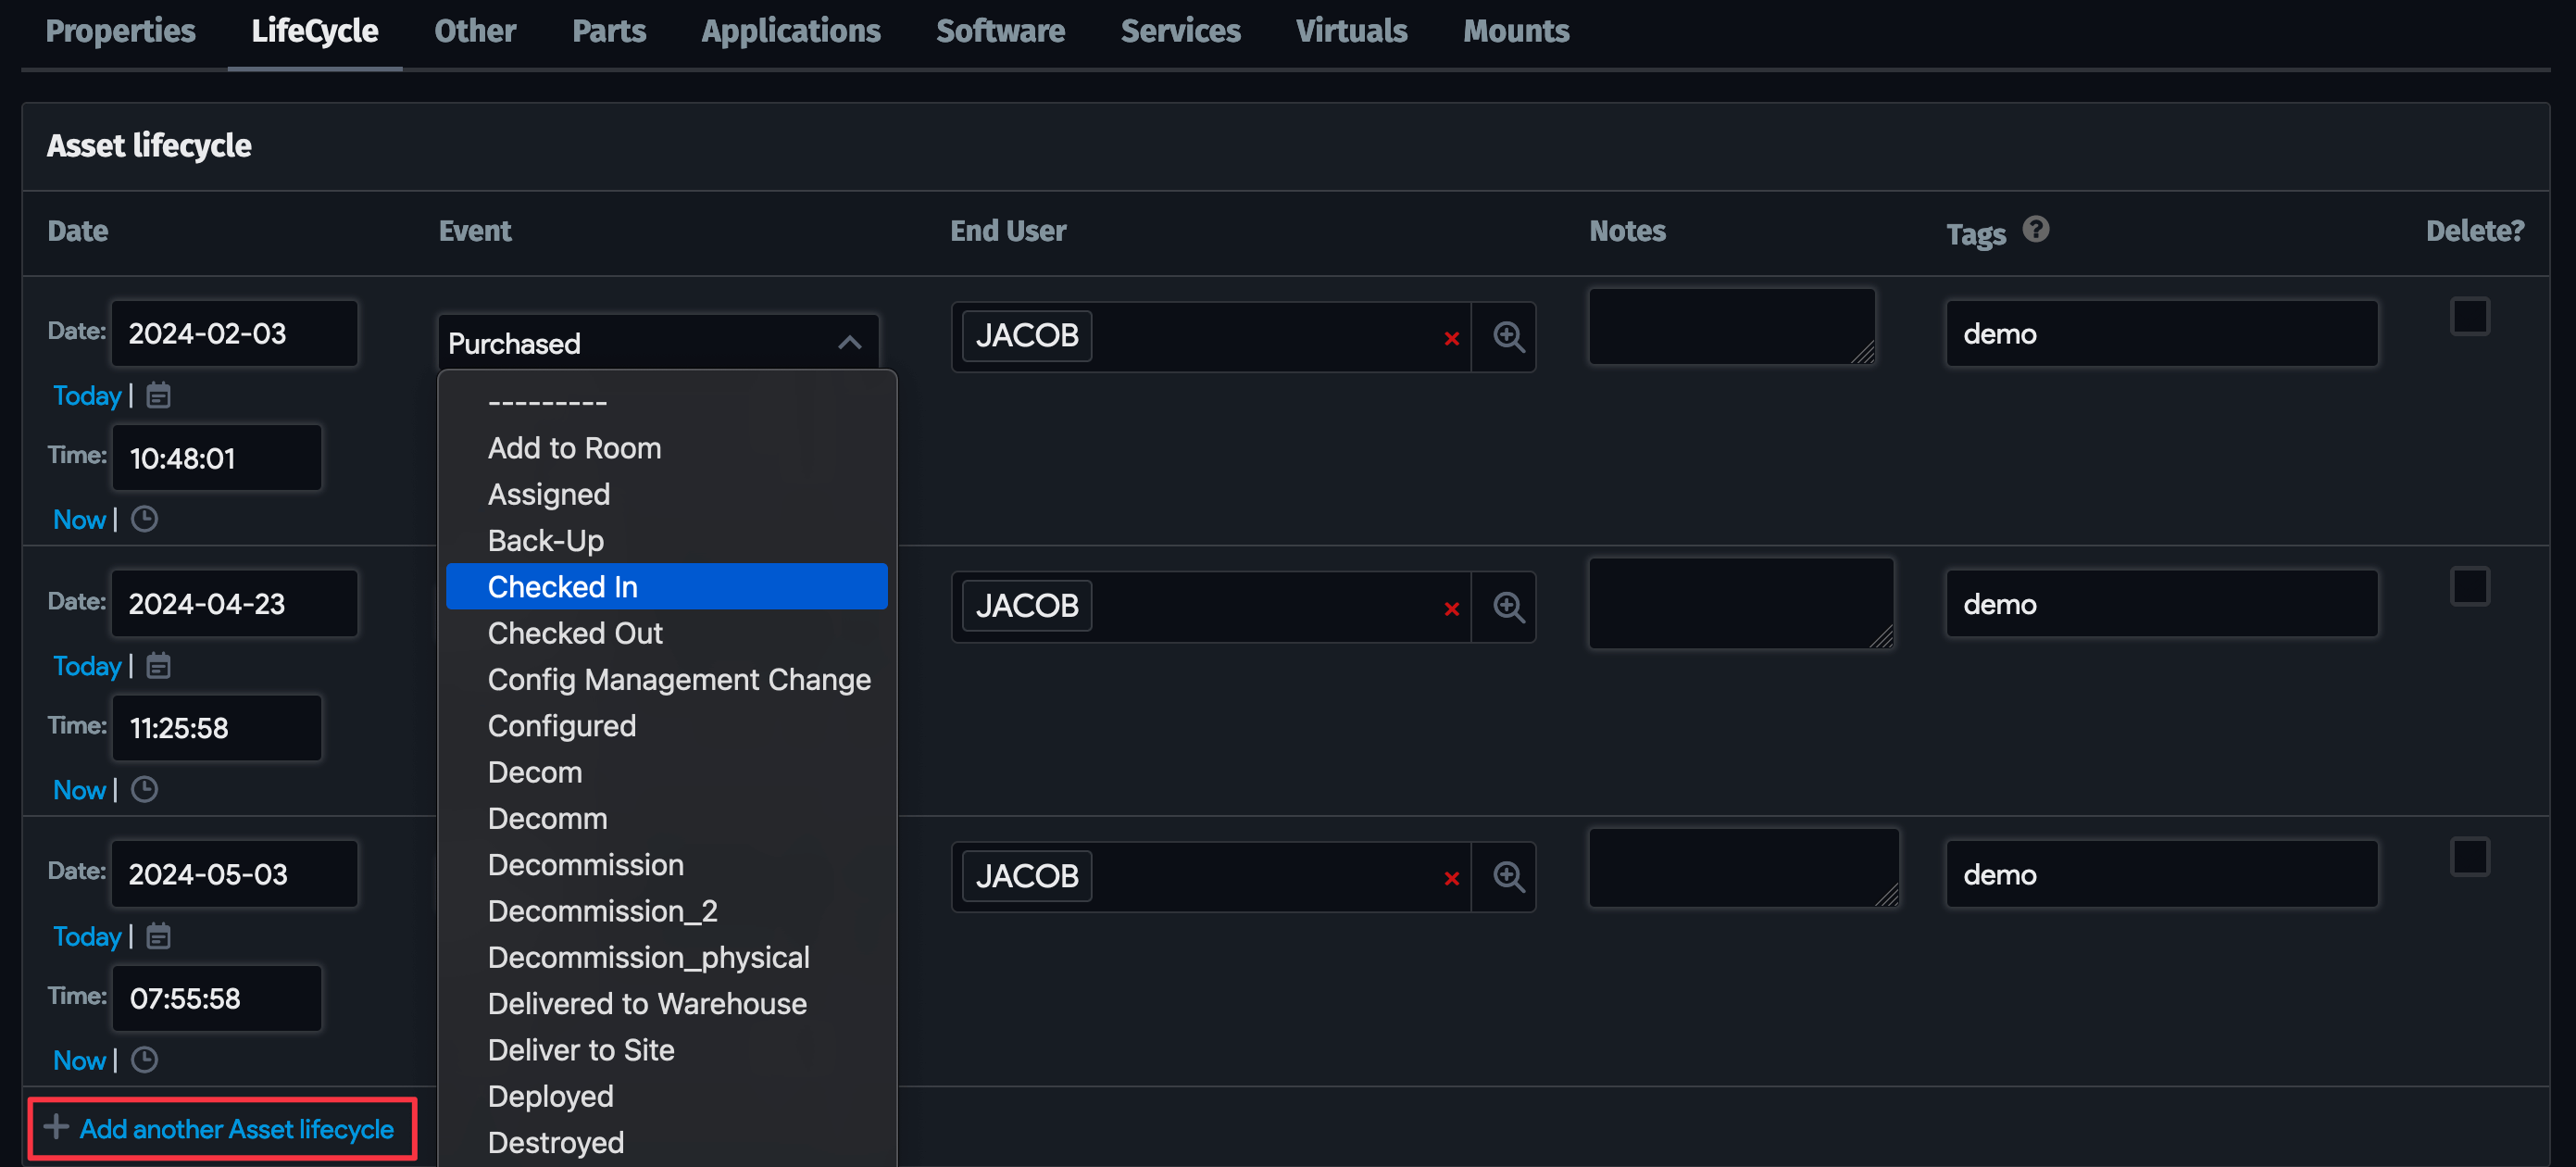
Some of the predefined Events have logic built in. For example, you cannot choose Checked Out on a device or asset already checked out. Similarly, you can only select Checked In if the device is checked out.
To add logic to asset lifecycle Events, navigate to Tools > Lifecycle Event Actions.
Add a New Lifecycle Event
Define a custom lifecycle Event by clicking the plus icon near the Events dropdown and then clicking Create on the pop-up window.


Choose actions for your lifecycle event in the pop-up window. For example, when retiring a server, you can add actions like Clear all IPs and Clear all Connectivity.
The options are:
- Clear all IPs: Clear any IP addresses associated with the device.
- Clear all Connectivity: Clear any switch port, direct device, or patch panel connections.
- Append seconds since epoch to hostname: Add a unique number to the hostname so that you can reuse the original hostname but still have a record of the old one.
- Add custom suffix to name
- Append seconds since epoch to name, serial number, and UUID: Add a unique number to the name, serial number, and UUID to reuse the original values and keep a record of the old ones.
- Add custom suffix to name, serial number, and UUID
- Change device service level to: For example, out of service.
- Change asset service level to
- Remove device or asset from rack
- Add device or asset to storage room: Select a room from the dropdown or click the plus icon to add a new room.
- Checkboxes:
- Change to not in service
- Remove virtual machine from the host
- Remove blade device from the host
- No longer count OS or software on this device in licensing
Asset QR/Barcode
Add a QR code or barcode to the device for inventory management.


- Assign an existing QR code or barcode profile to the device, or create a new profile by clicking the plus icon.
- View and print the QR code by clicking the QR/Barcode link.
See QR Asset Tags for more information.
Purchase/Support Info
Enter purchase information for the device under Purchase/Support Info. You can add one-time purchases and record contracts related to the device.


Add new Purchase/Support Info using the + Add New button.


See Purchases for more information.