Merge and Assign Software Components
Software suites let you group related software components together for easier license tracking and reporting. This page covers how to assign components to a suite and how to handle components that share the same name before merging.
Assign Software to a Suite
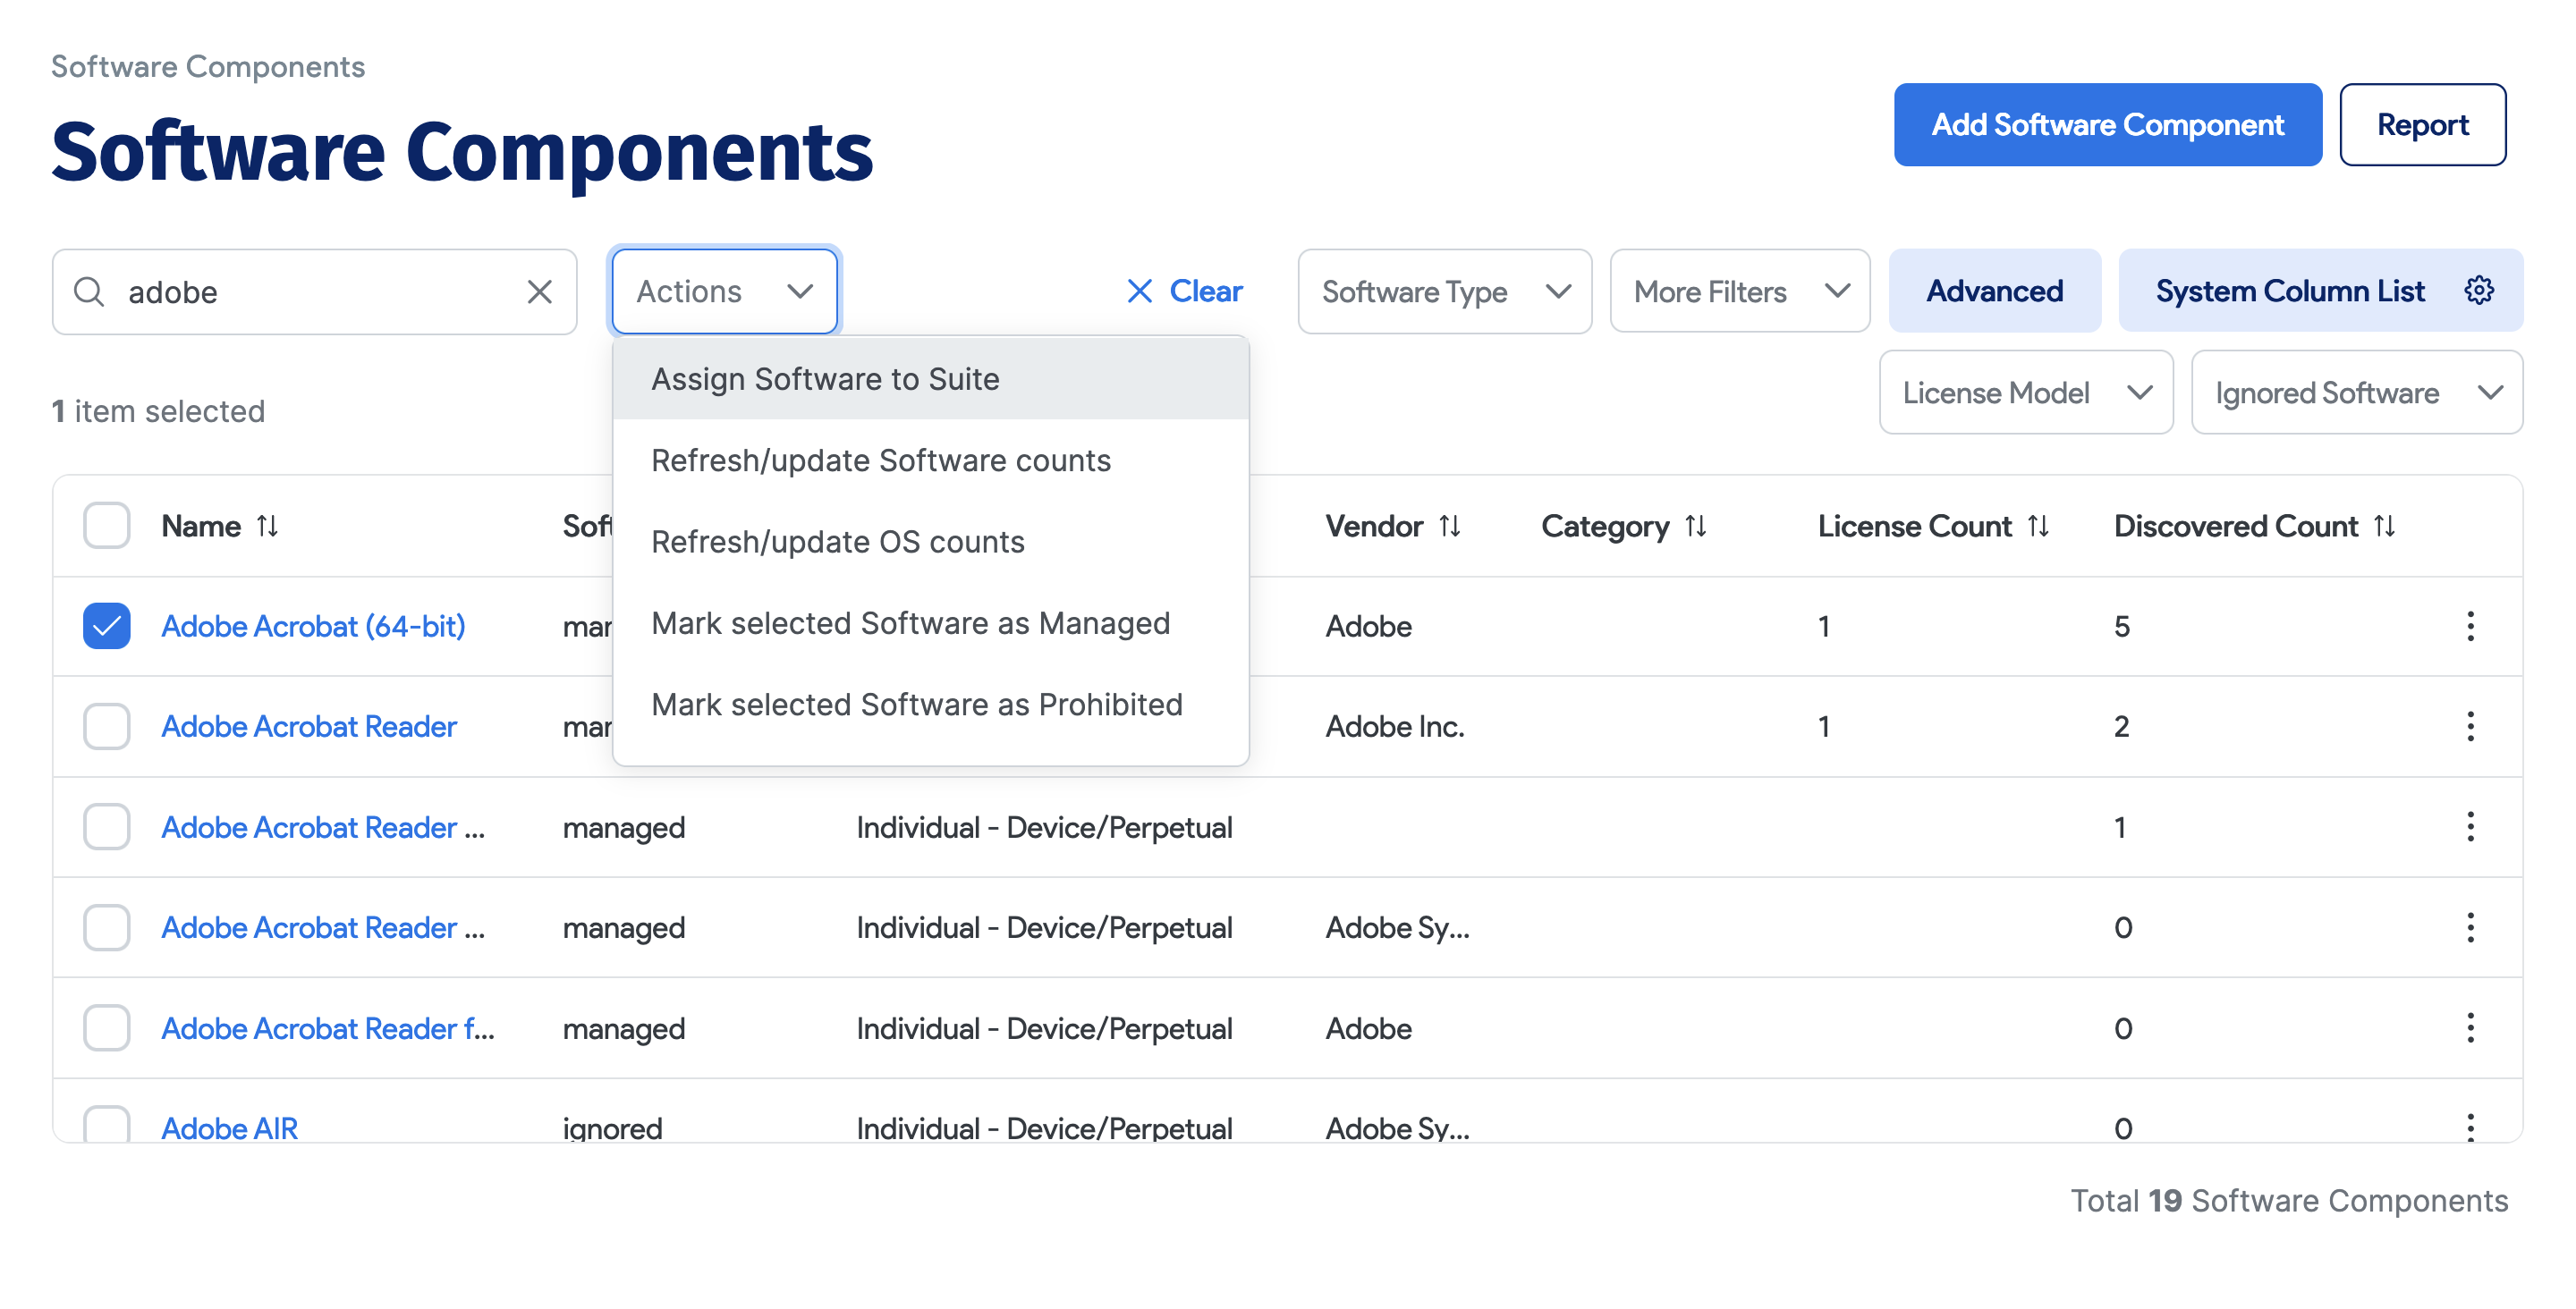
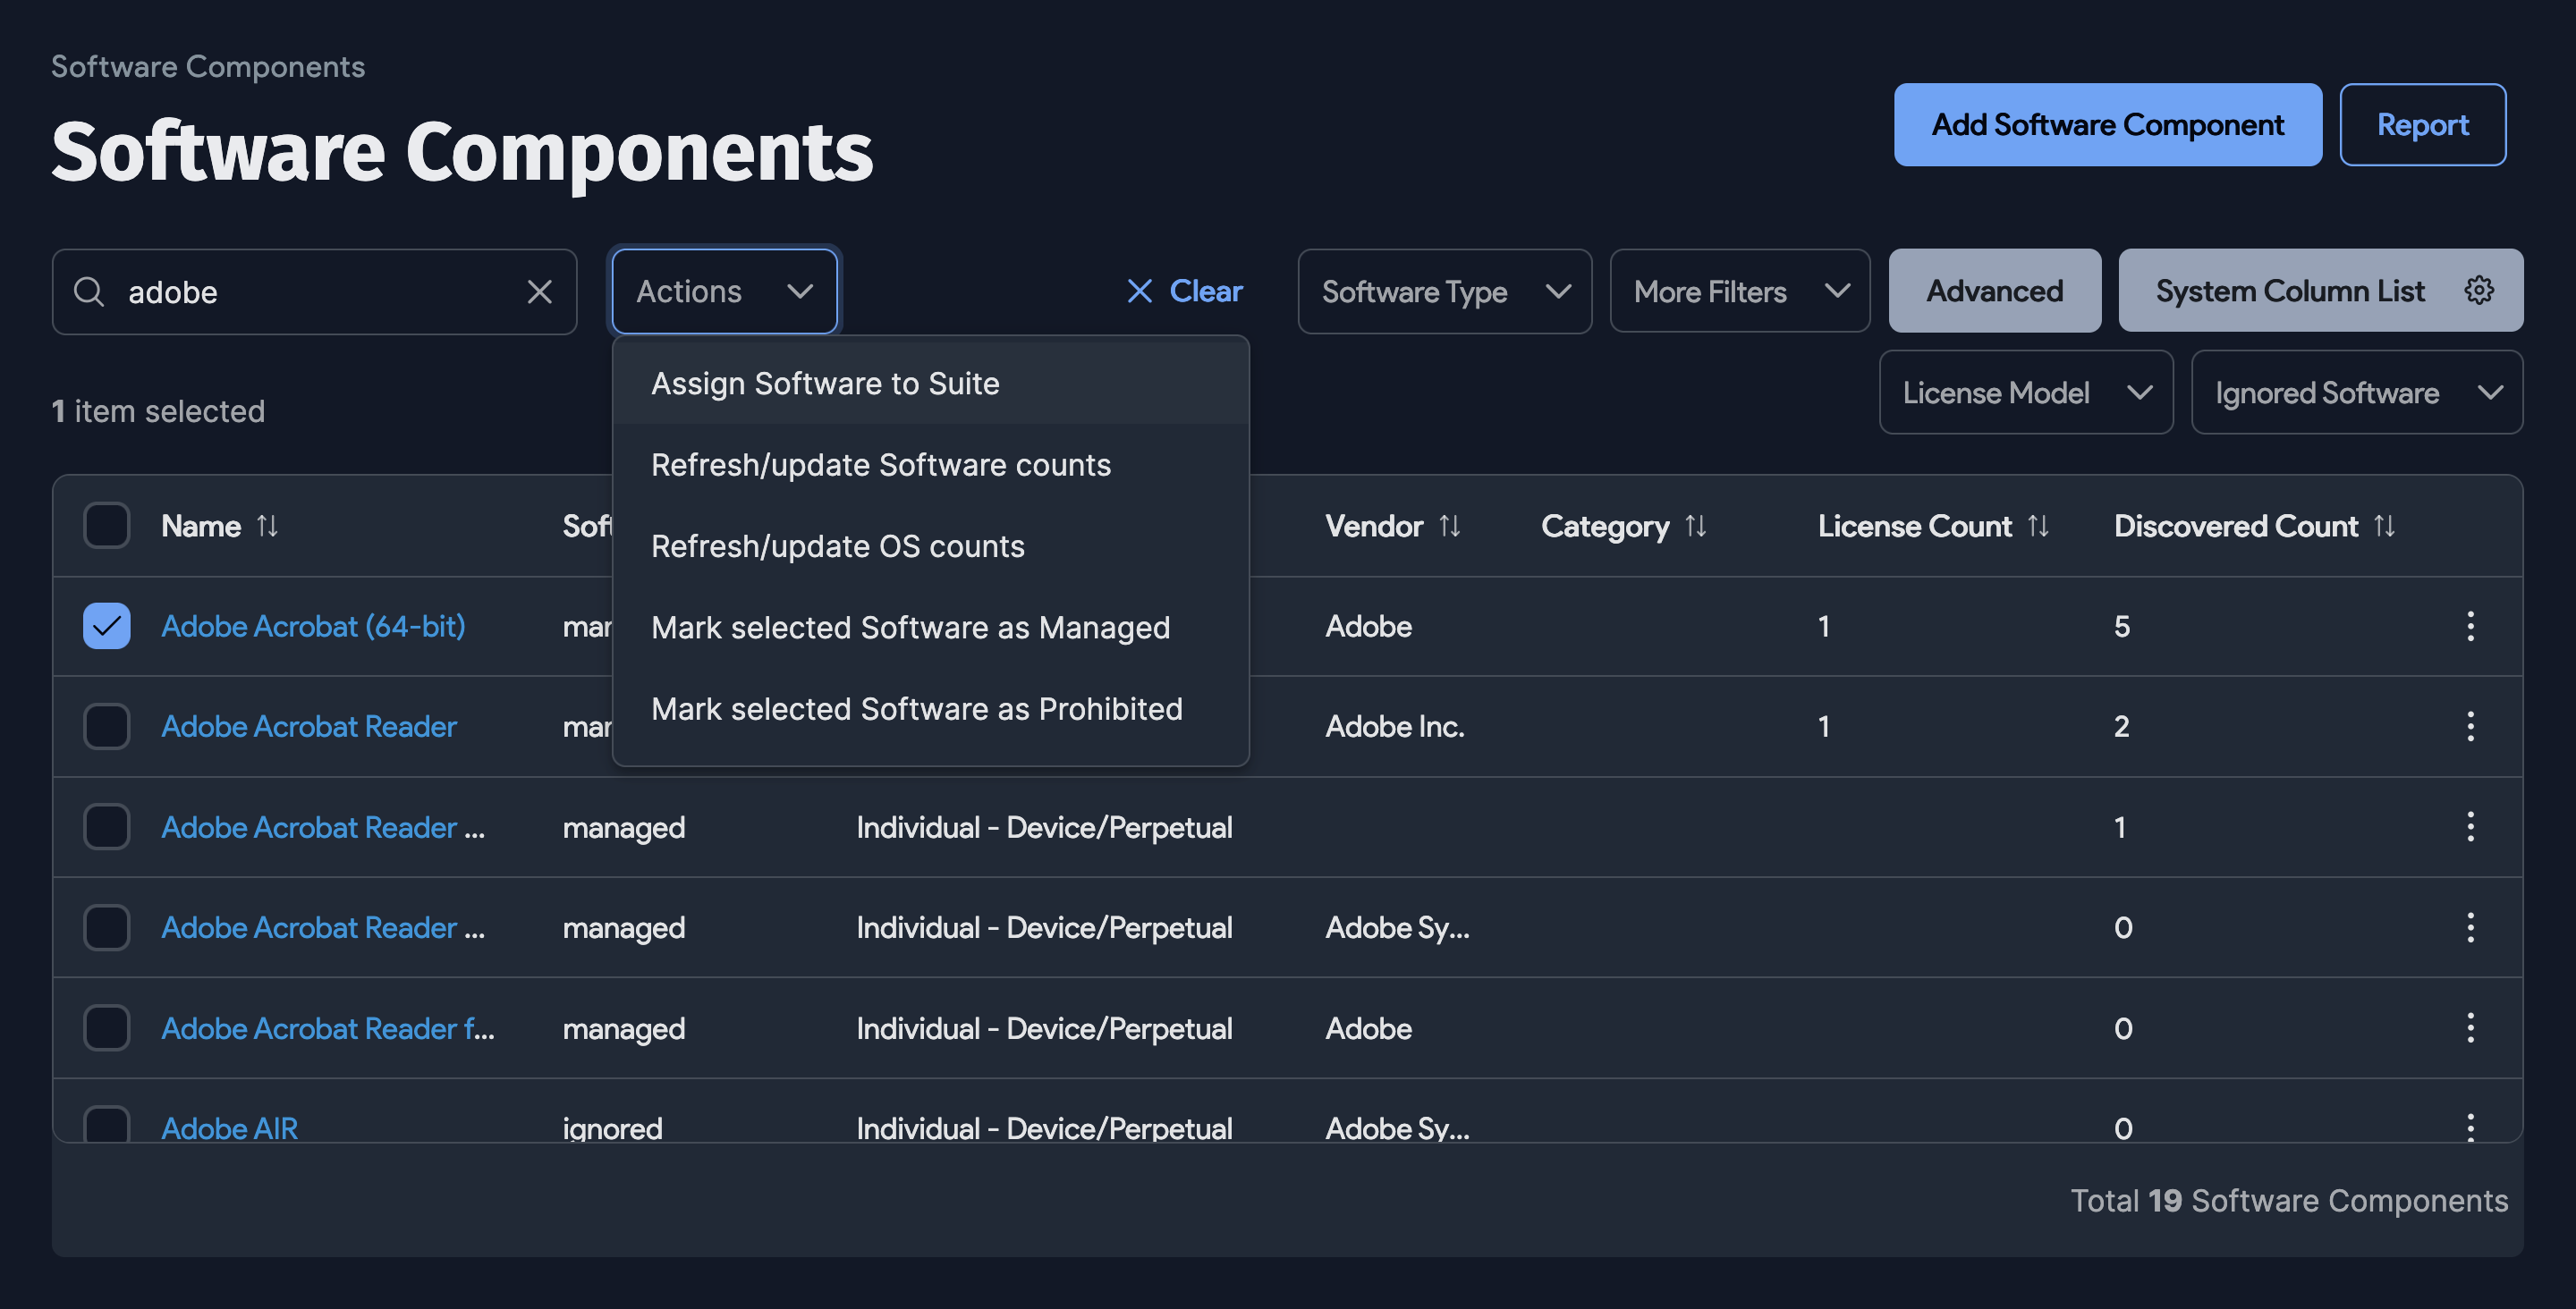
- Navigate to Resources > Software Components > All Software Components.
- Select the components you want to merge and choose Assign Software to Suite from the Actions dropdown.
- Confirm to run the action.
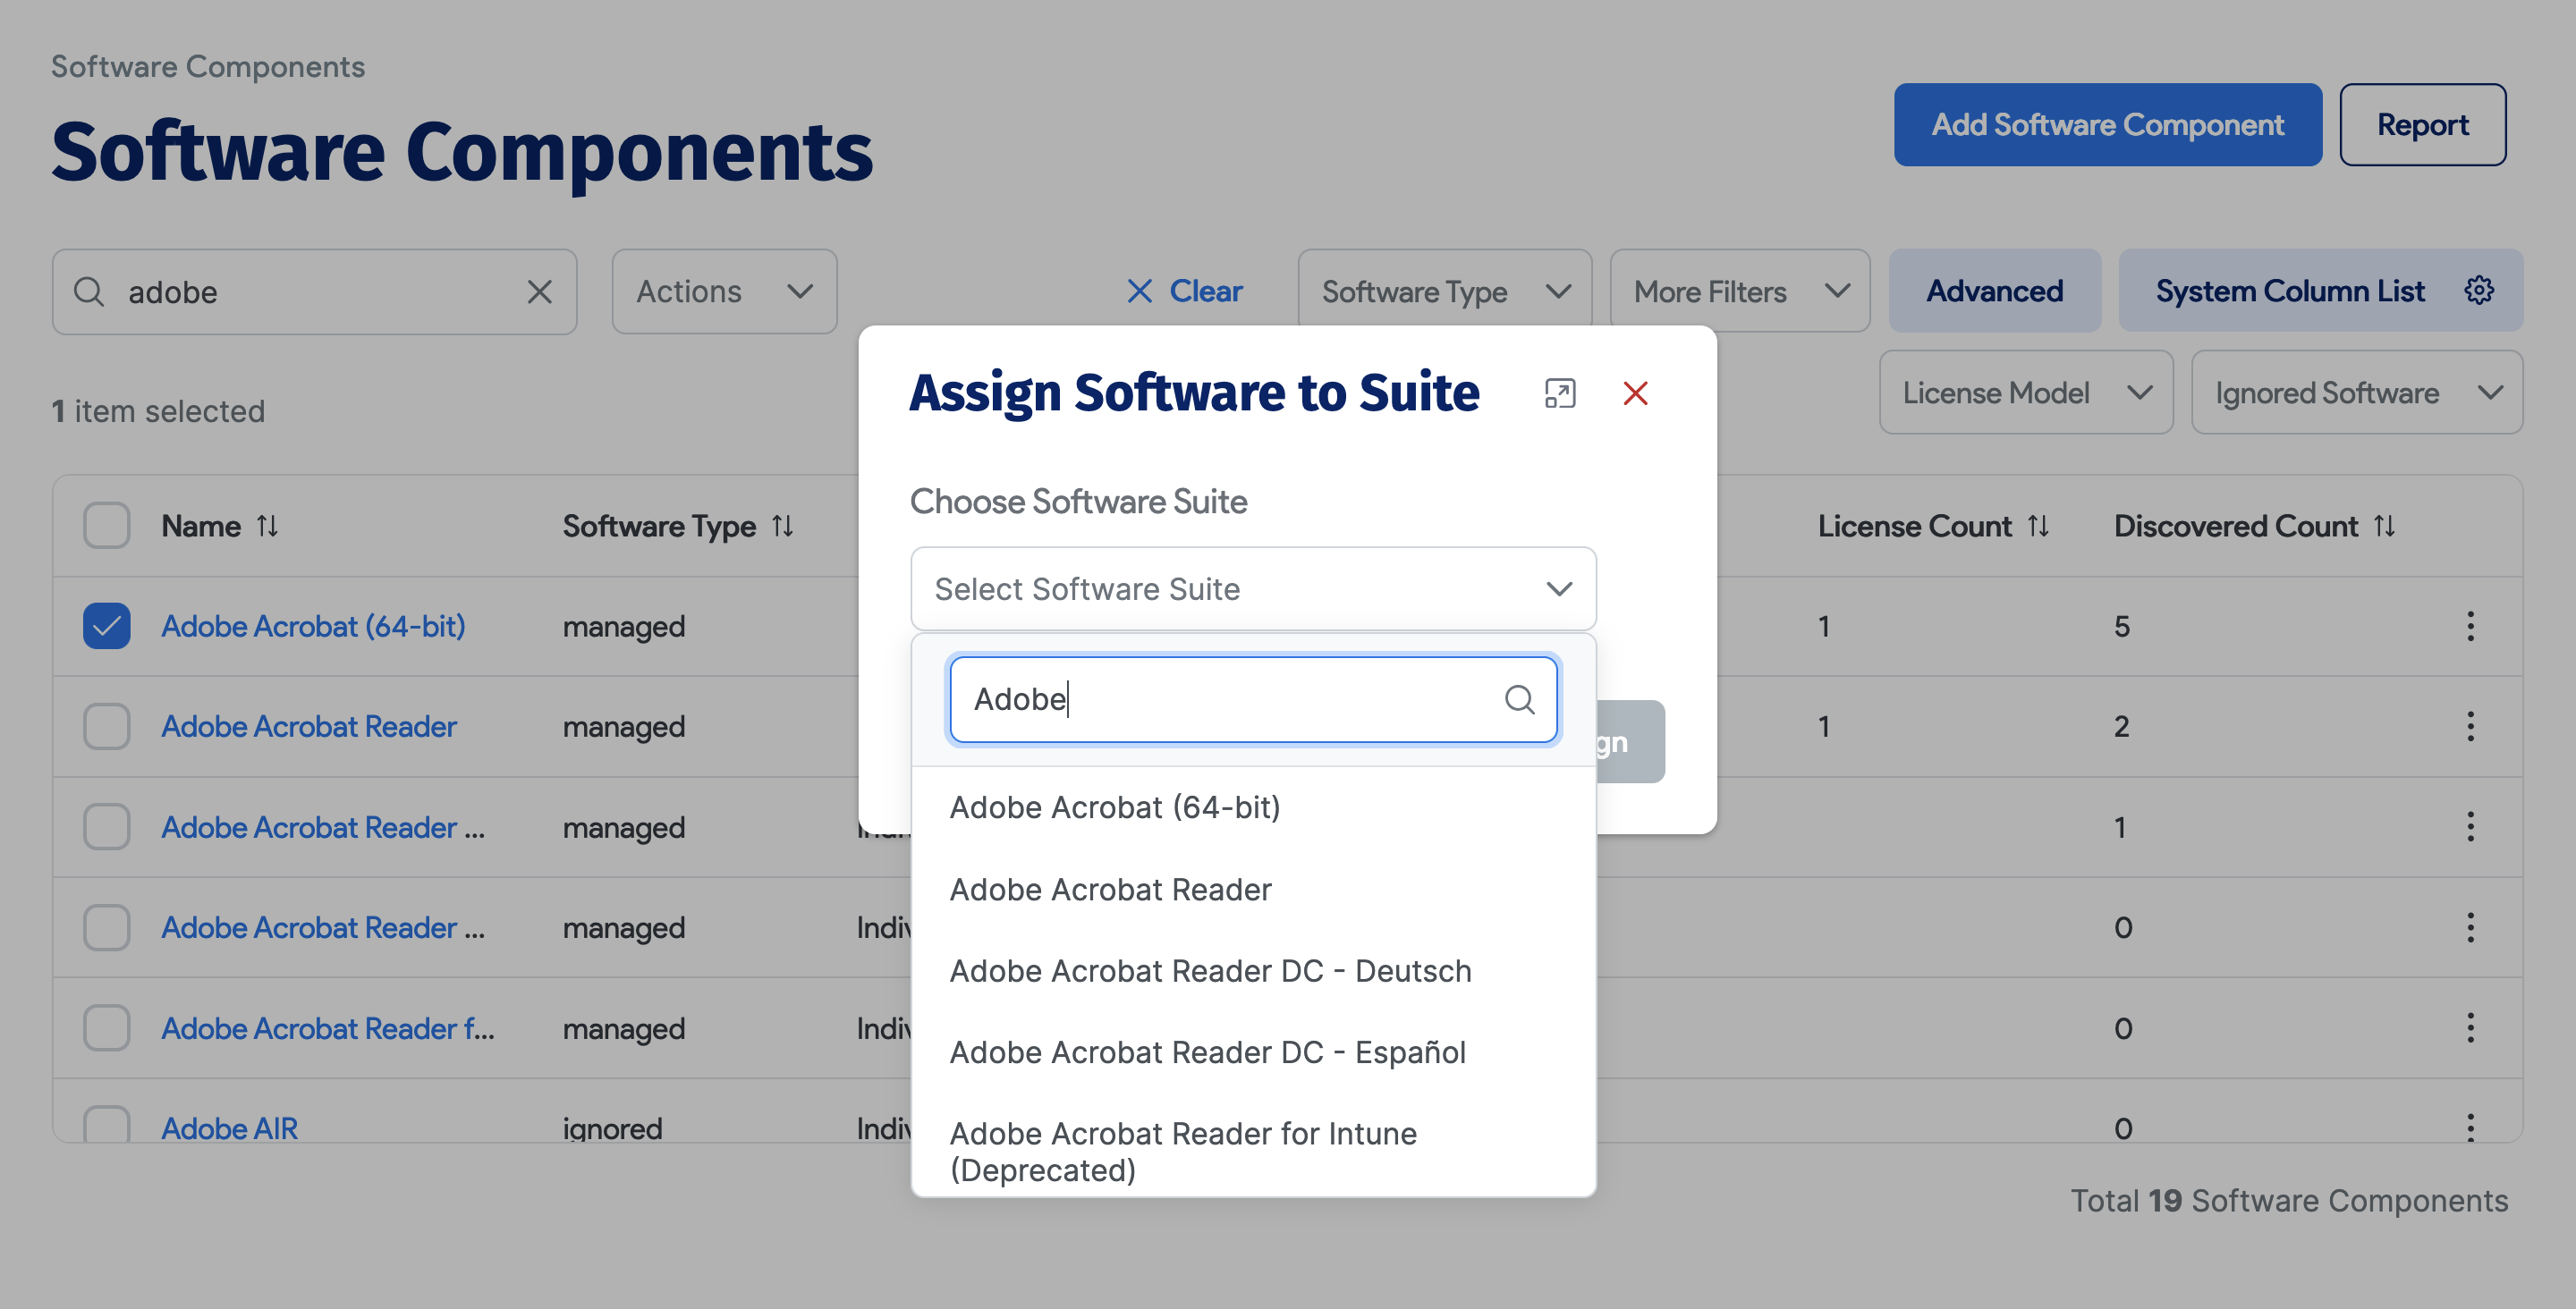
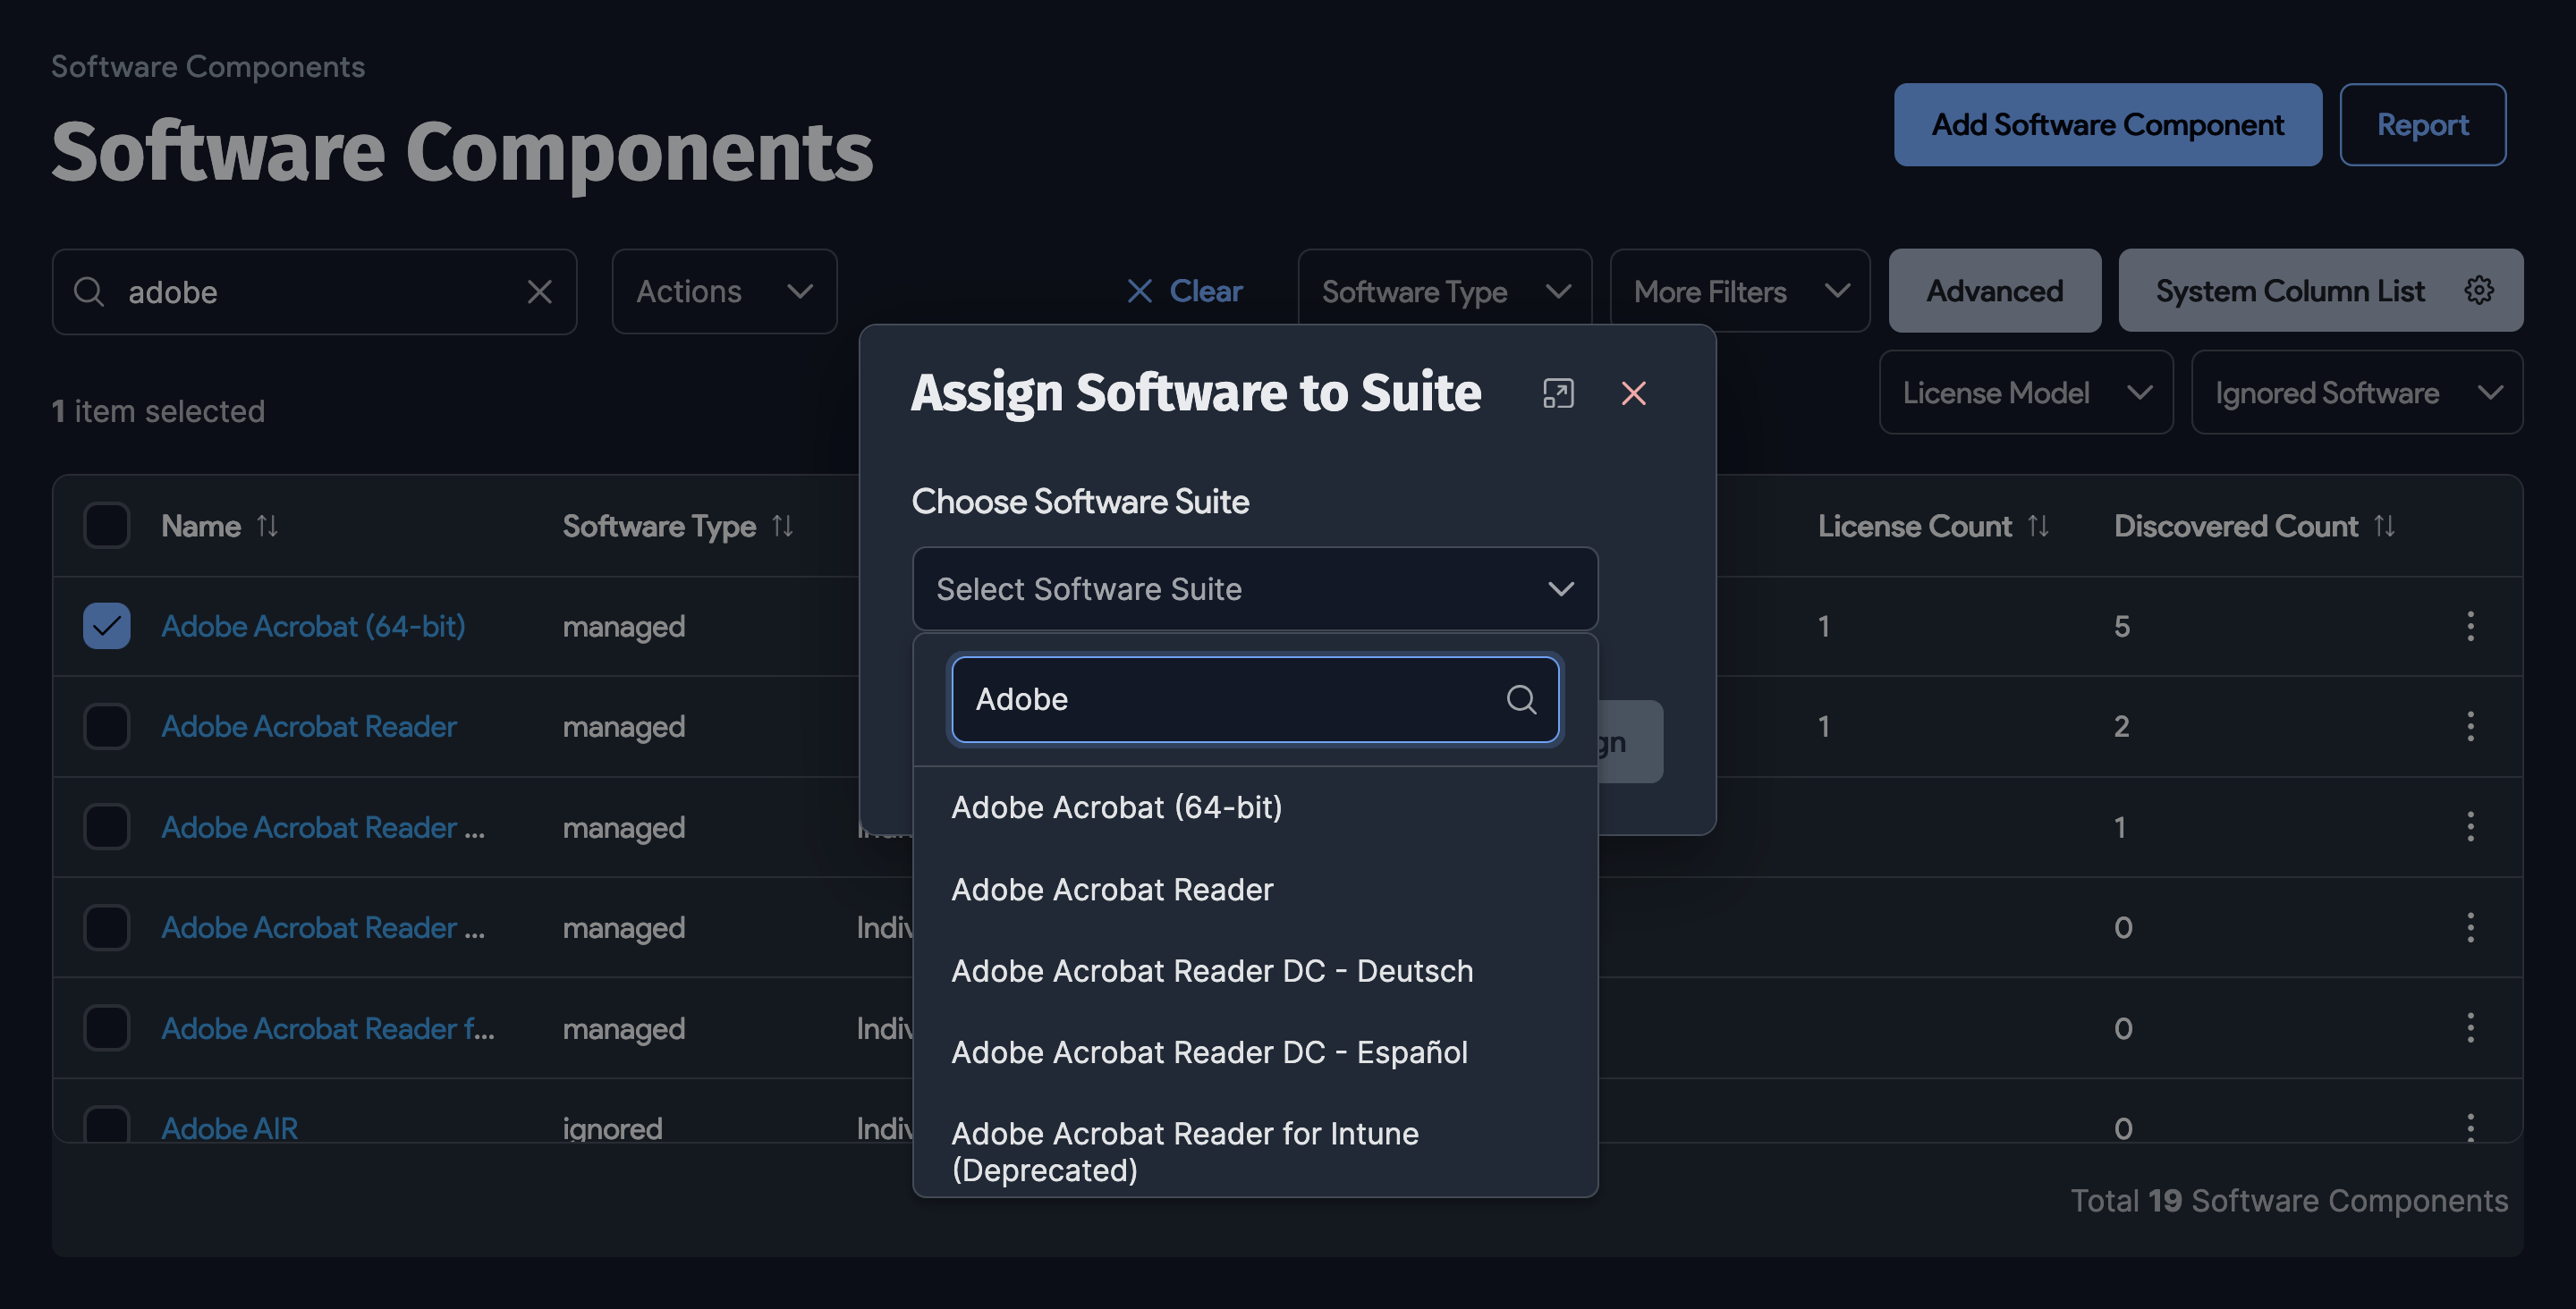
- In the Assign Software to Suite dialog, click Select Software Suite and search for the existing software component that will become the suite. Click Assign to confirm.
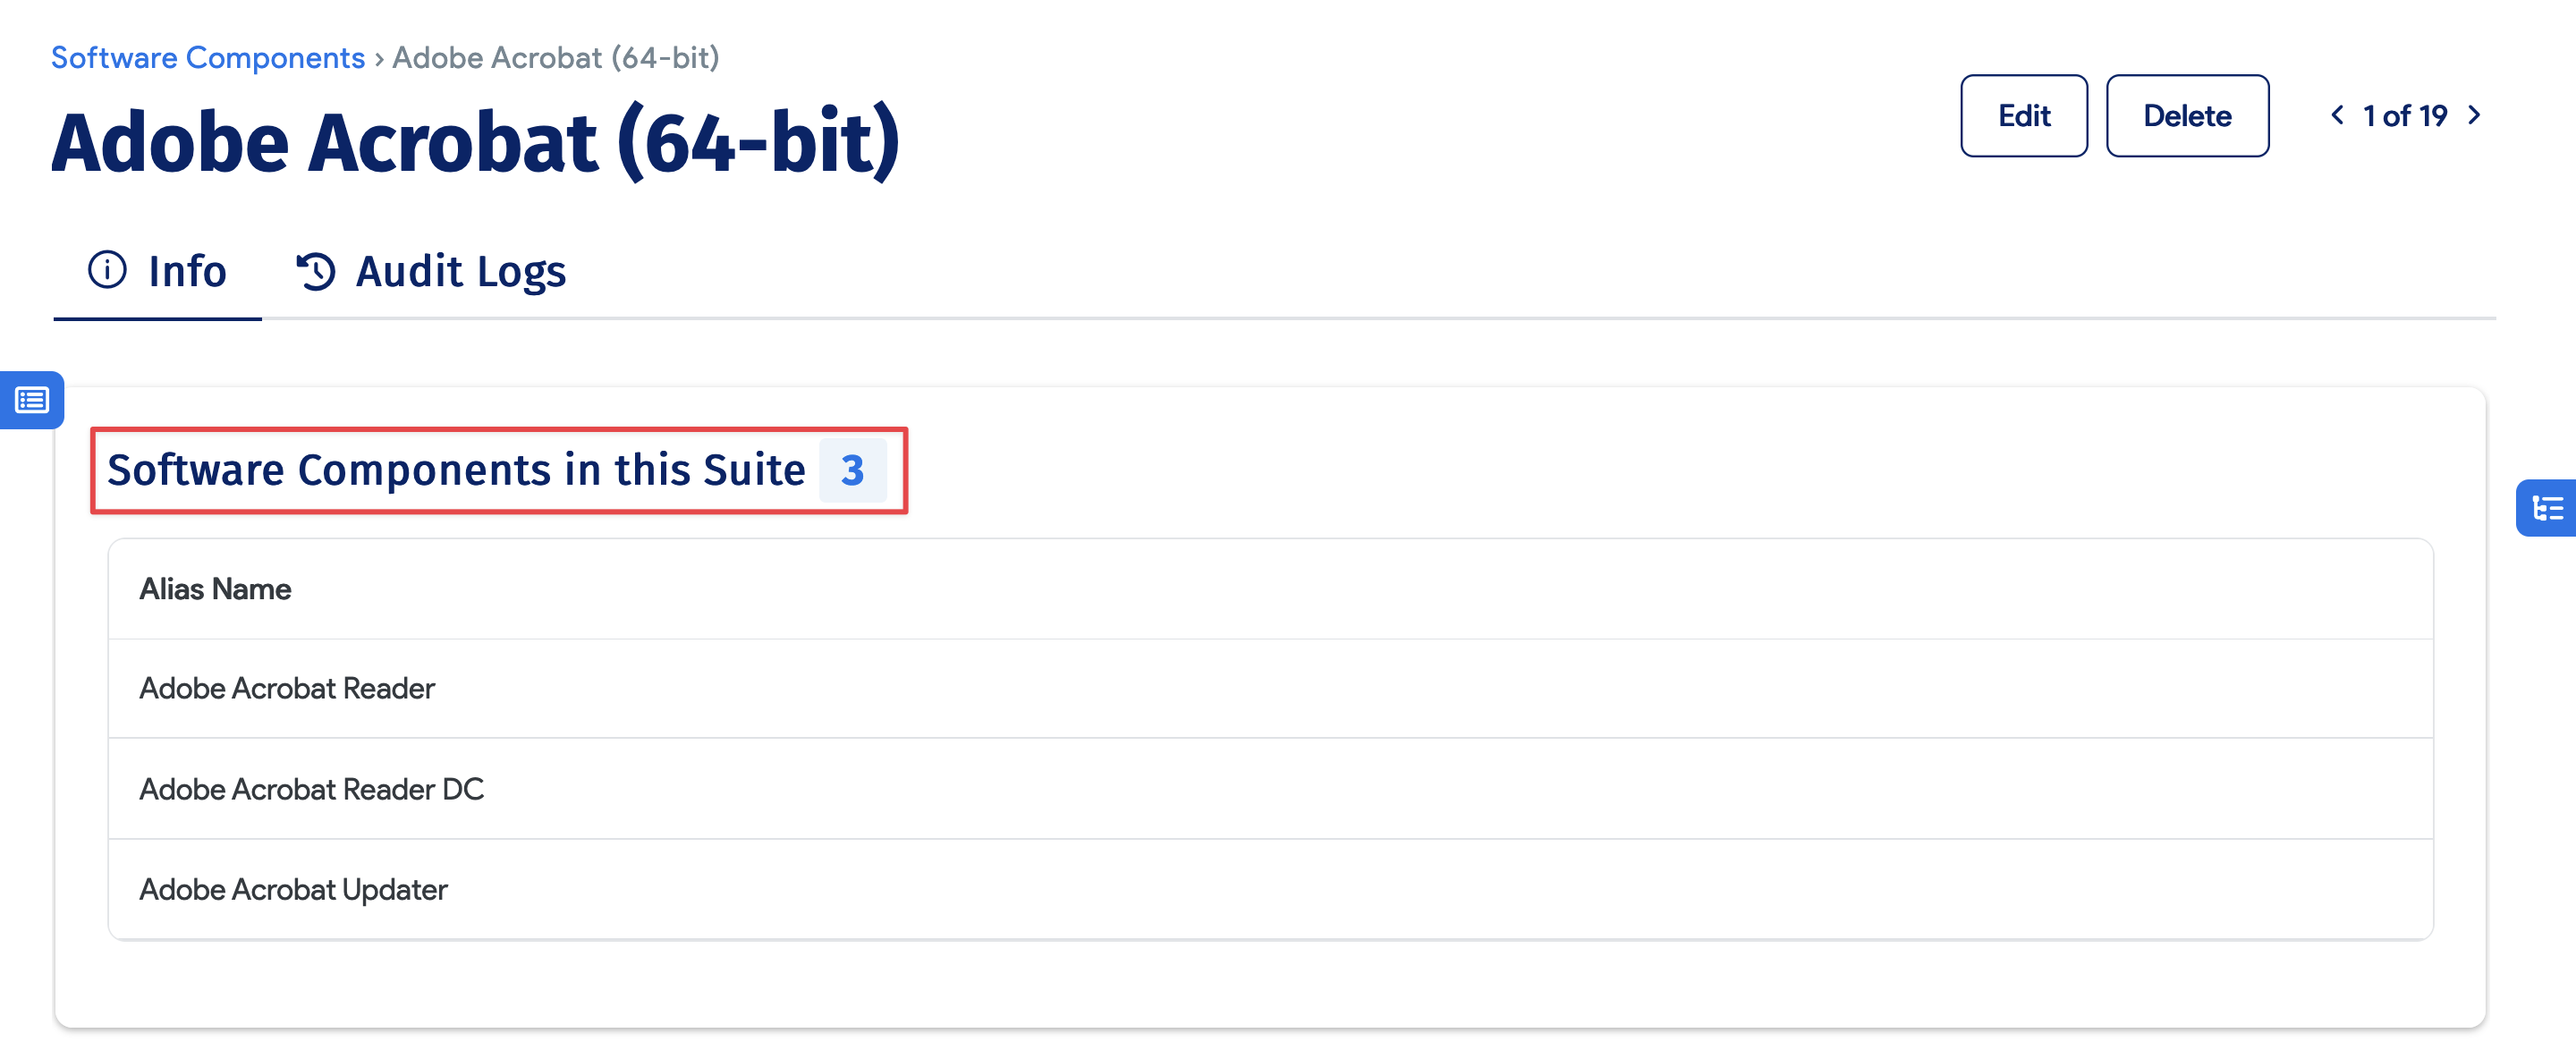
View Assigned Components in a Suite
To view the software components in a suite, select the suite Name from the Software Components list page. The assigned software components are listed in the Software Components in this Suite box.
Merge Software Components with the Same Name
To merge software components with the same name into a suite, you must first merge them, then add them to a suite. A new component suite must have a unique name + vendor combination — it cannot match an existing software component.
For example, given these three components:
ABC— vendorCiscoABC— vendorMSABC-Suite— vendorNone
You can merge either component 1 or component 2 into component 3 without issue. However, merging both 1 and 2 into 3 at the same time will produce a validation error. In that case, merge 1 and 2 together first, then merge the result into 3.