Set up backup via the Appliance Manager
Follow the steps below to set up one-time and scheduled backups in the Device42 Appliance Manager.
For login instructions, see Device42 Appliance Manager login.
Set the Passphrase
Choose a 12-20 character passphrase to encrypt the backup file.
You will need this passphrase to restore the backup, so please save it in a safe location. This is a required step, as you won't be able to create a backup until a backup passphrase has been set.

Run Backup Now
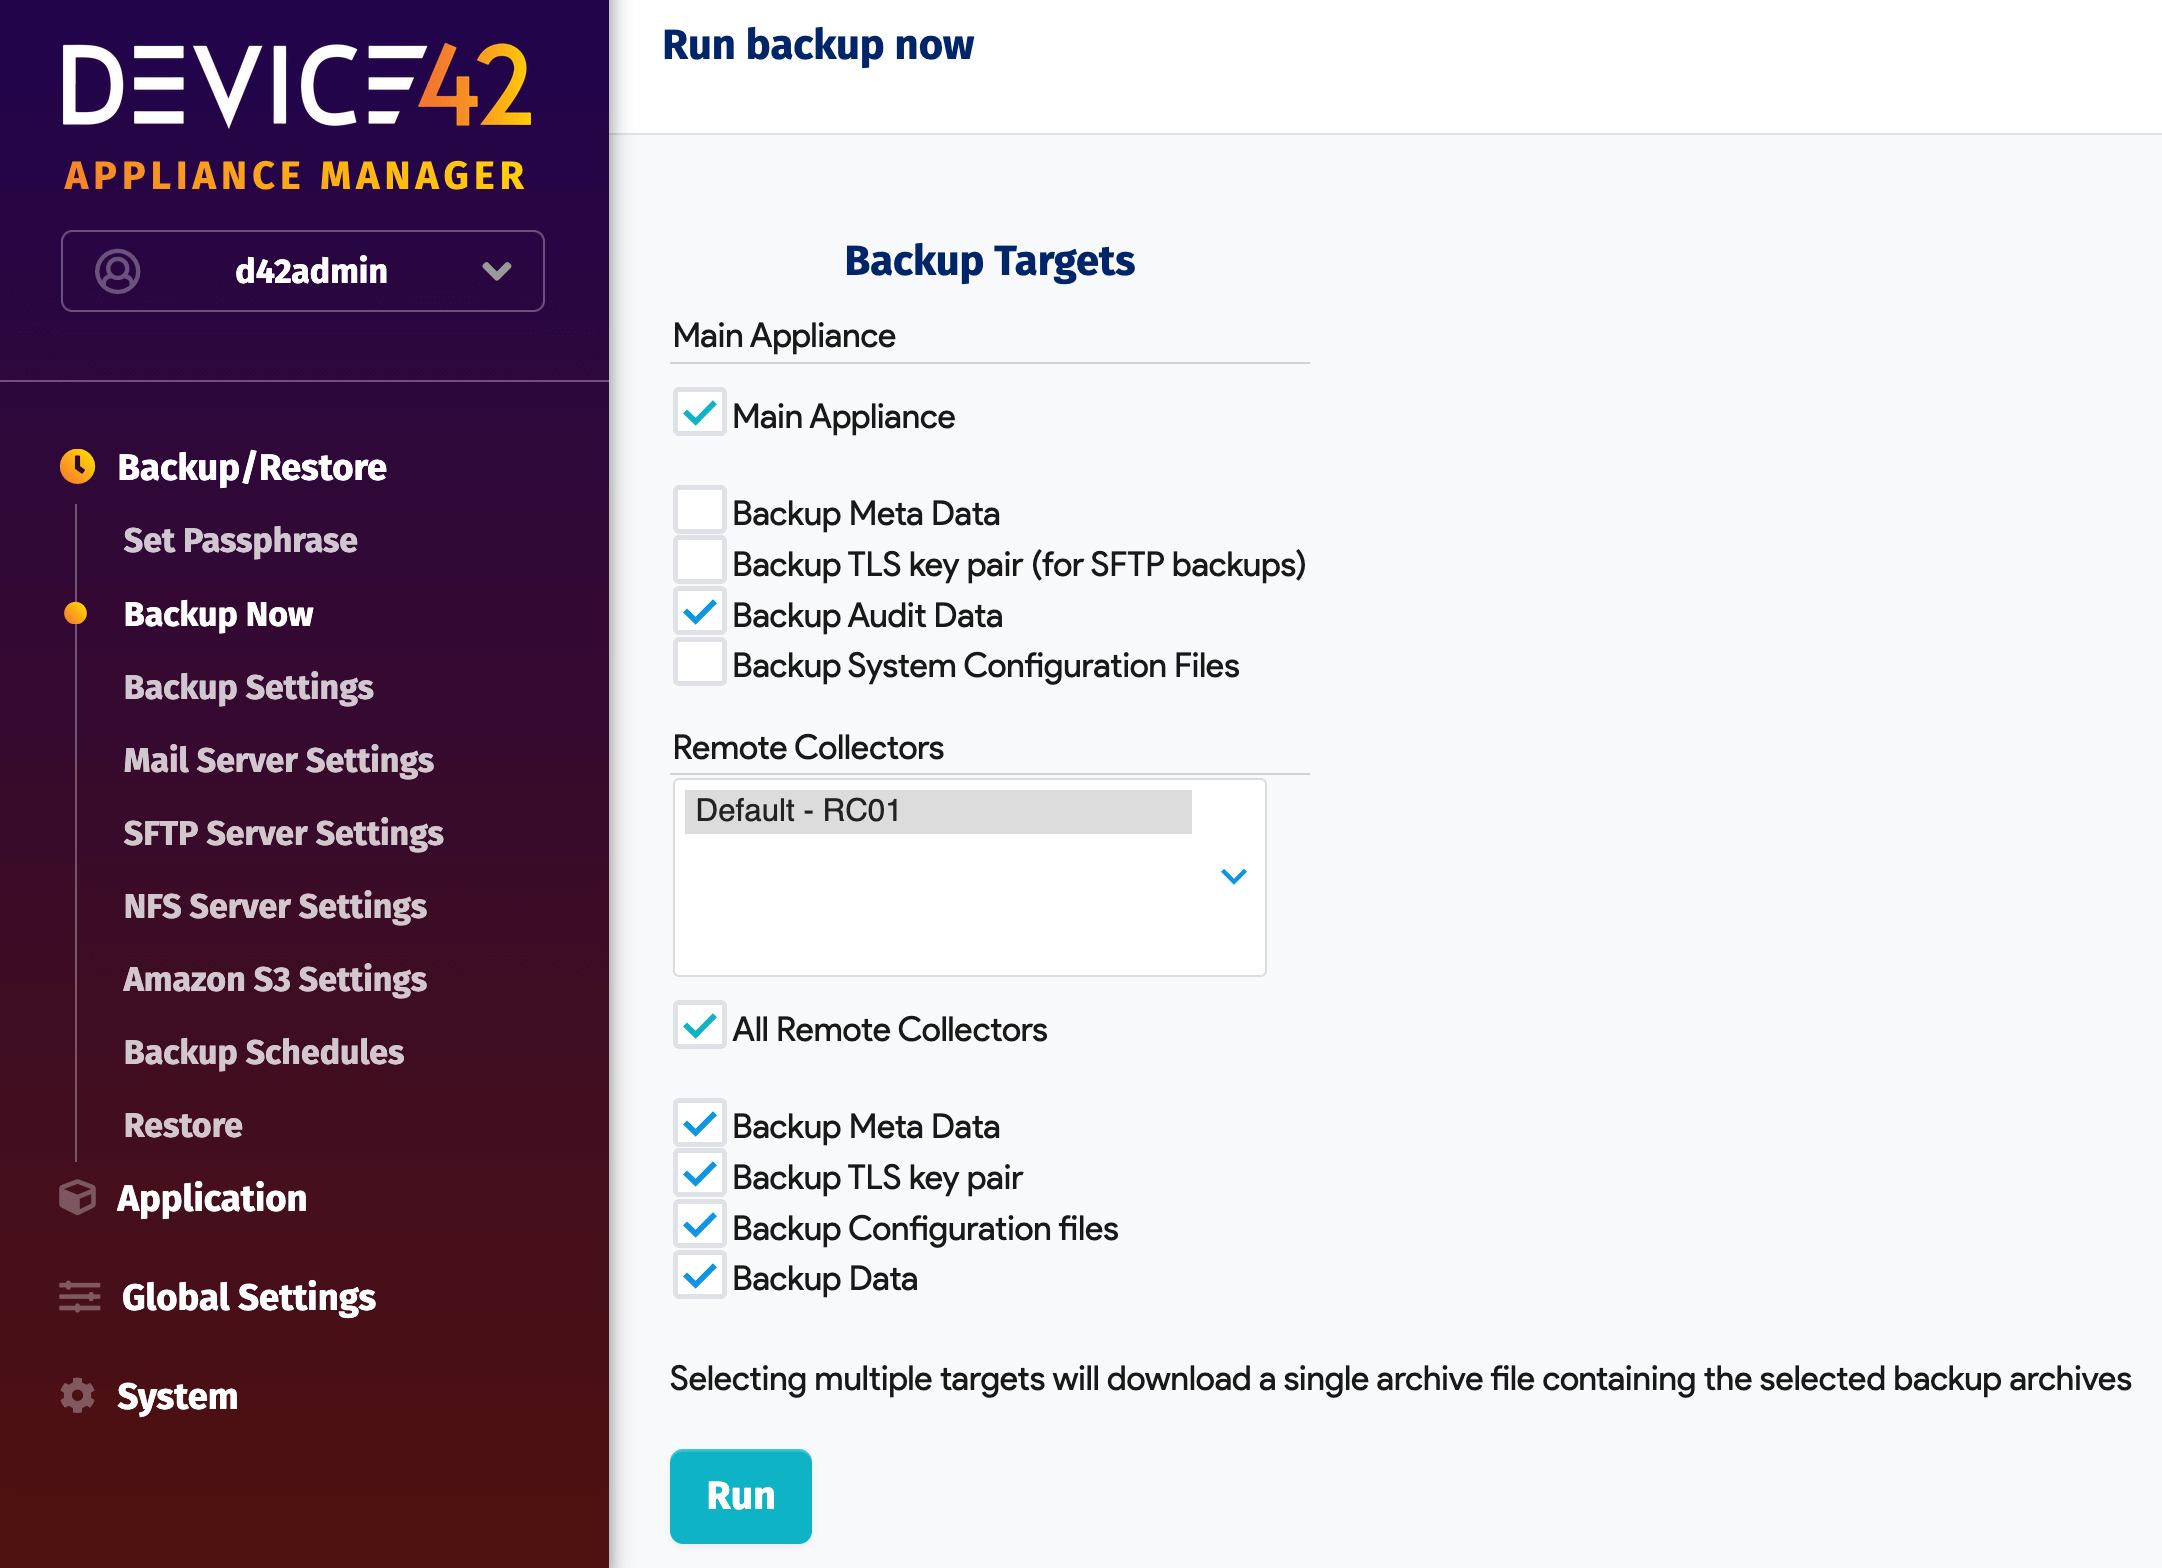
Configure the backup options for the Main Appliance and Remote Collectors (RCs).
Main Appliance Options
-
Backup Meta Data: Include the password passphrase, backup passphrase, Active Directory settings, and the following settings in the backup as well. We recommend backing up the Meta Data, so you don't have to manually re-enter data for the following settings and options:
- Passphrases for backups and password encryption
- Language
- Time
- SSL/HTTPS
- Host/hostname info
- All appliance manager settings (including backup schedules)
- All certificates
-
Backup SSH key pair (for SFTP backups): Back up the key that was used to set up the SFTP server.
-
Backup Audit Data: Back up the audit logs table. If disabled, Device42 backs up the DB without that table.
-
Backup System Configuration Files: Back up the
/data/pgsql/data/postgresql.override.confand/etc/systemctl.confsystem configuration files to preserve any manual config optimizations.
For Standby Instances
Select the Backup Meta Data option when creating a Device42 instance for recovery or failover purposes. Selecting the metadata option copies all system identifiers, passphrases, certificates, and configuration settings – preparing the standby instance to fully replace your production instance when needed.
The standby instance will have the same system identifiers as the production instance, which means it will connect as the primary instance. For this reason, keep one instance with the identifier data active at a time. See the Warm HA Setup documentation for failover procedures.
For Test Instances
Do not select the Backup Meta Data option when creating test or development environments. Backing up and restoring this way is useful when you just want to recover your data, rather than replacing your production instance. The GUIDs will not be copied without the metadata option selected, and without these GUIDs, the machine cannot connect to external services or be used to replace the production instance.
Remote Collector Options
The following table summarizes the backup settings for the selected RC(s):
| Setting | Description | Artifacts Backed Up |
|---|---|---|
| Backup Meta Data | Backs up various settings and registration data. |
|
| Backup TLS Key Pair | Backs up the TLS certificate and key. |
|
| Backup Configuration files | Backs up the microservice configuration files. | Configuration files consumed by individual RC microservices (see the /opt/rc/configs directory) |
| Backup Data | Backs up data files. |
|
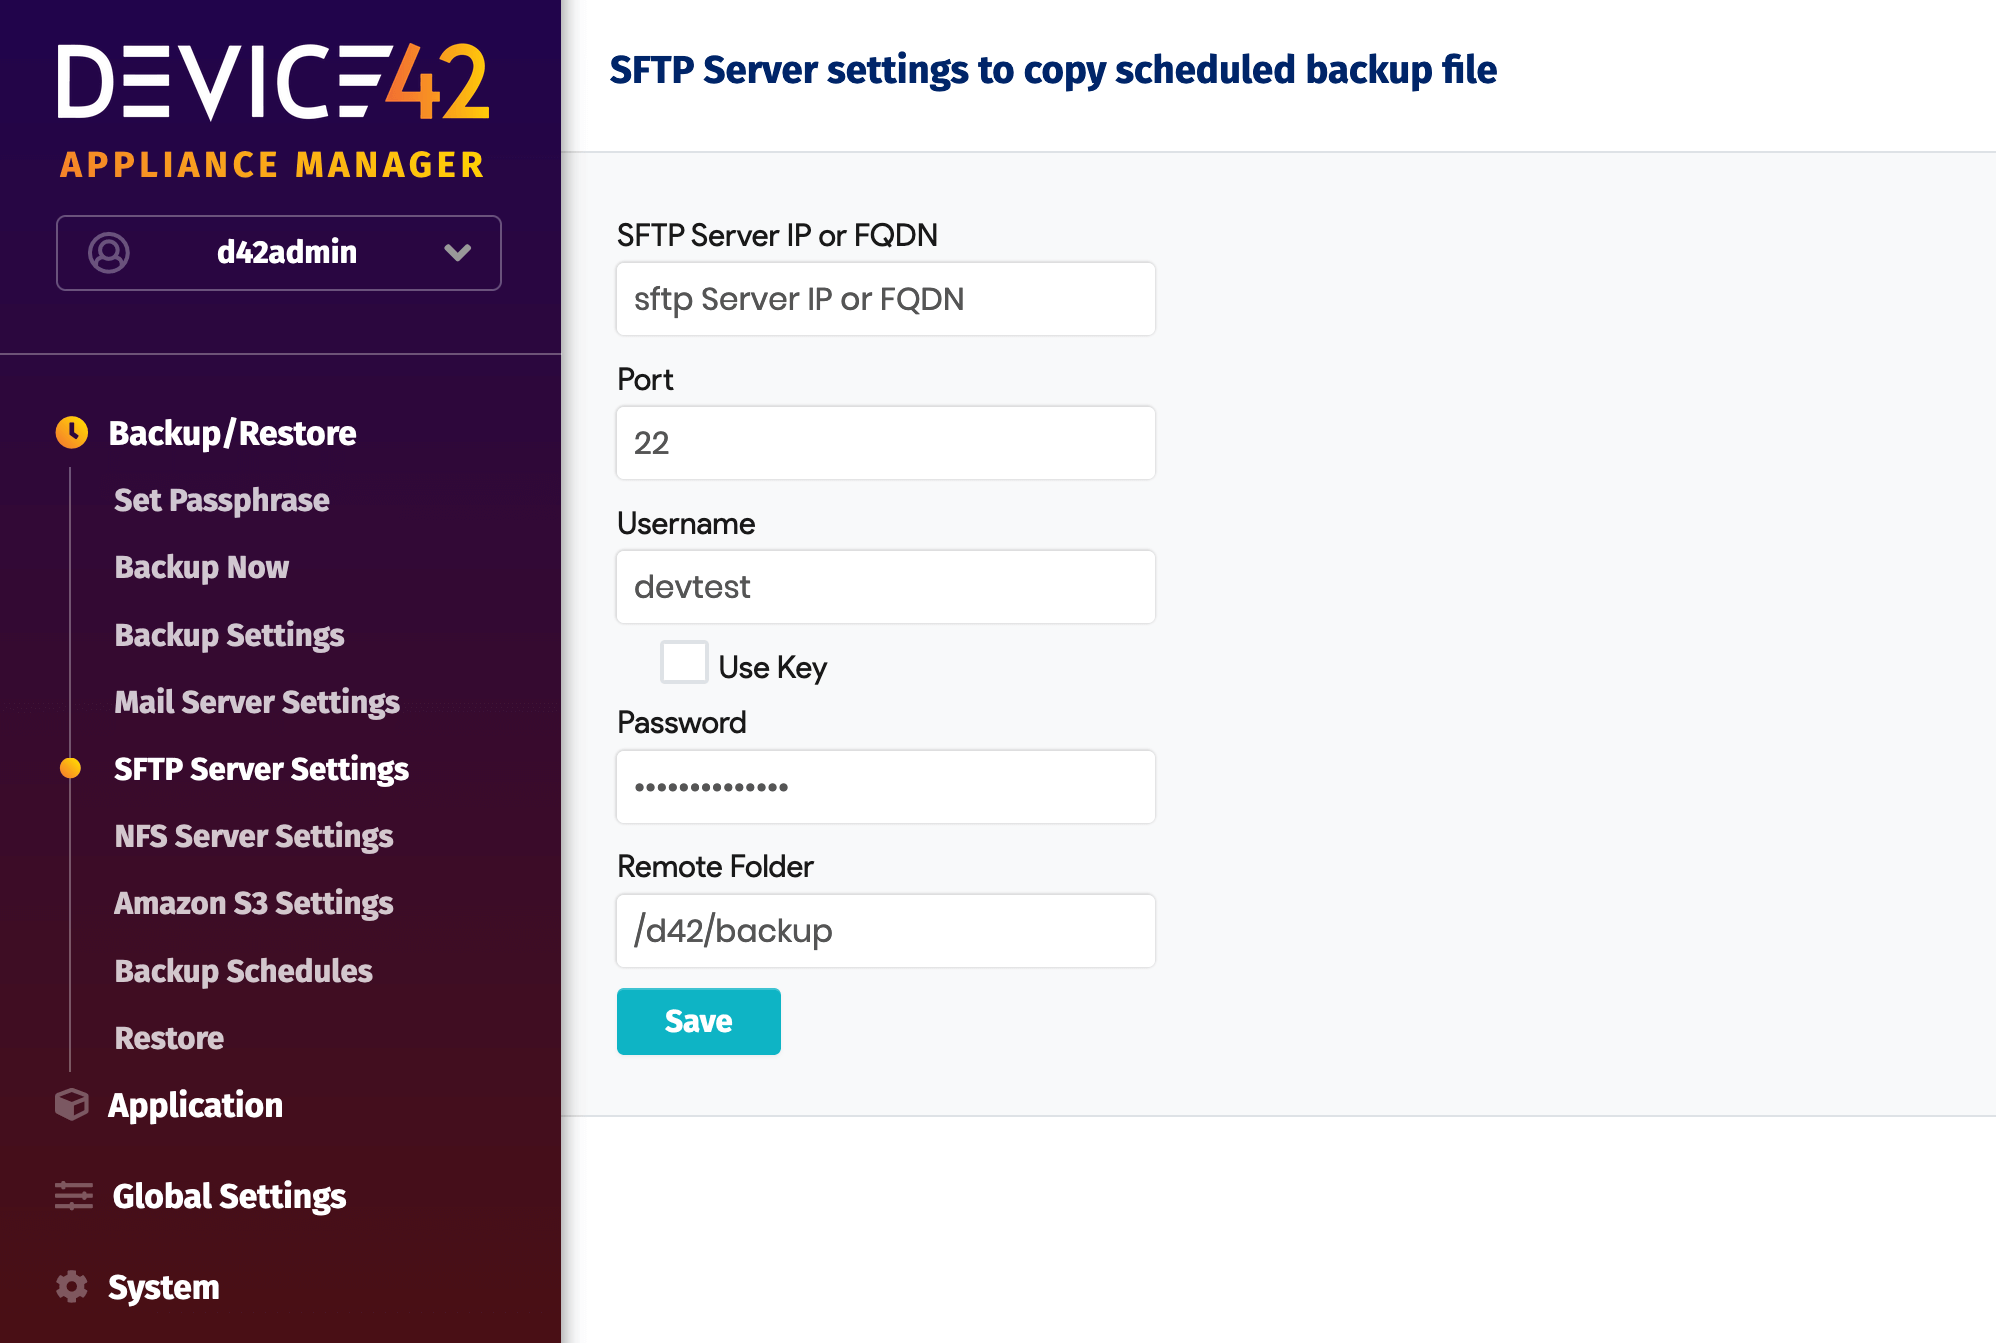
Back Up to an SFTP Server
The backup file can be scheduled to be sent to an SFTP server. All fields are required.
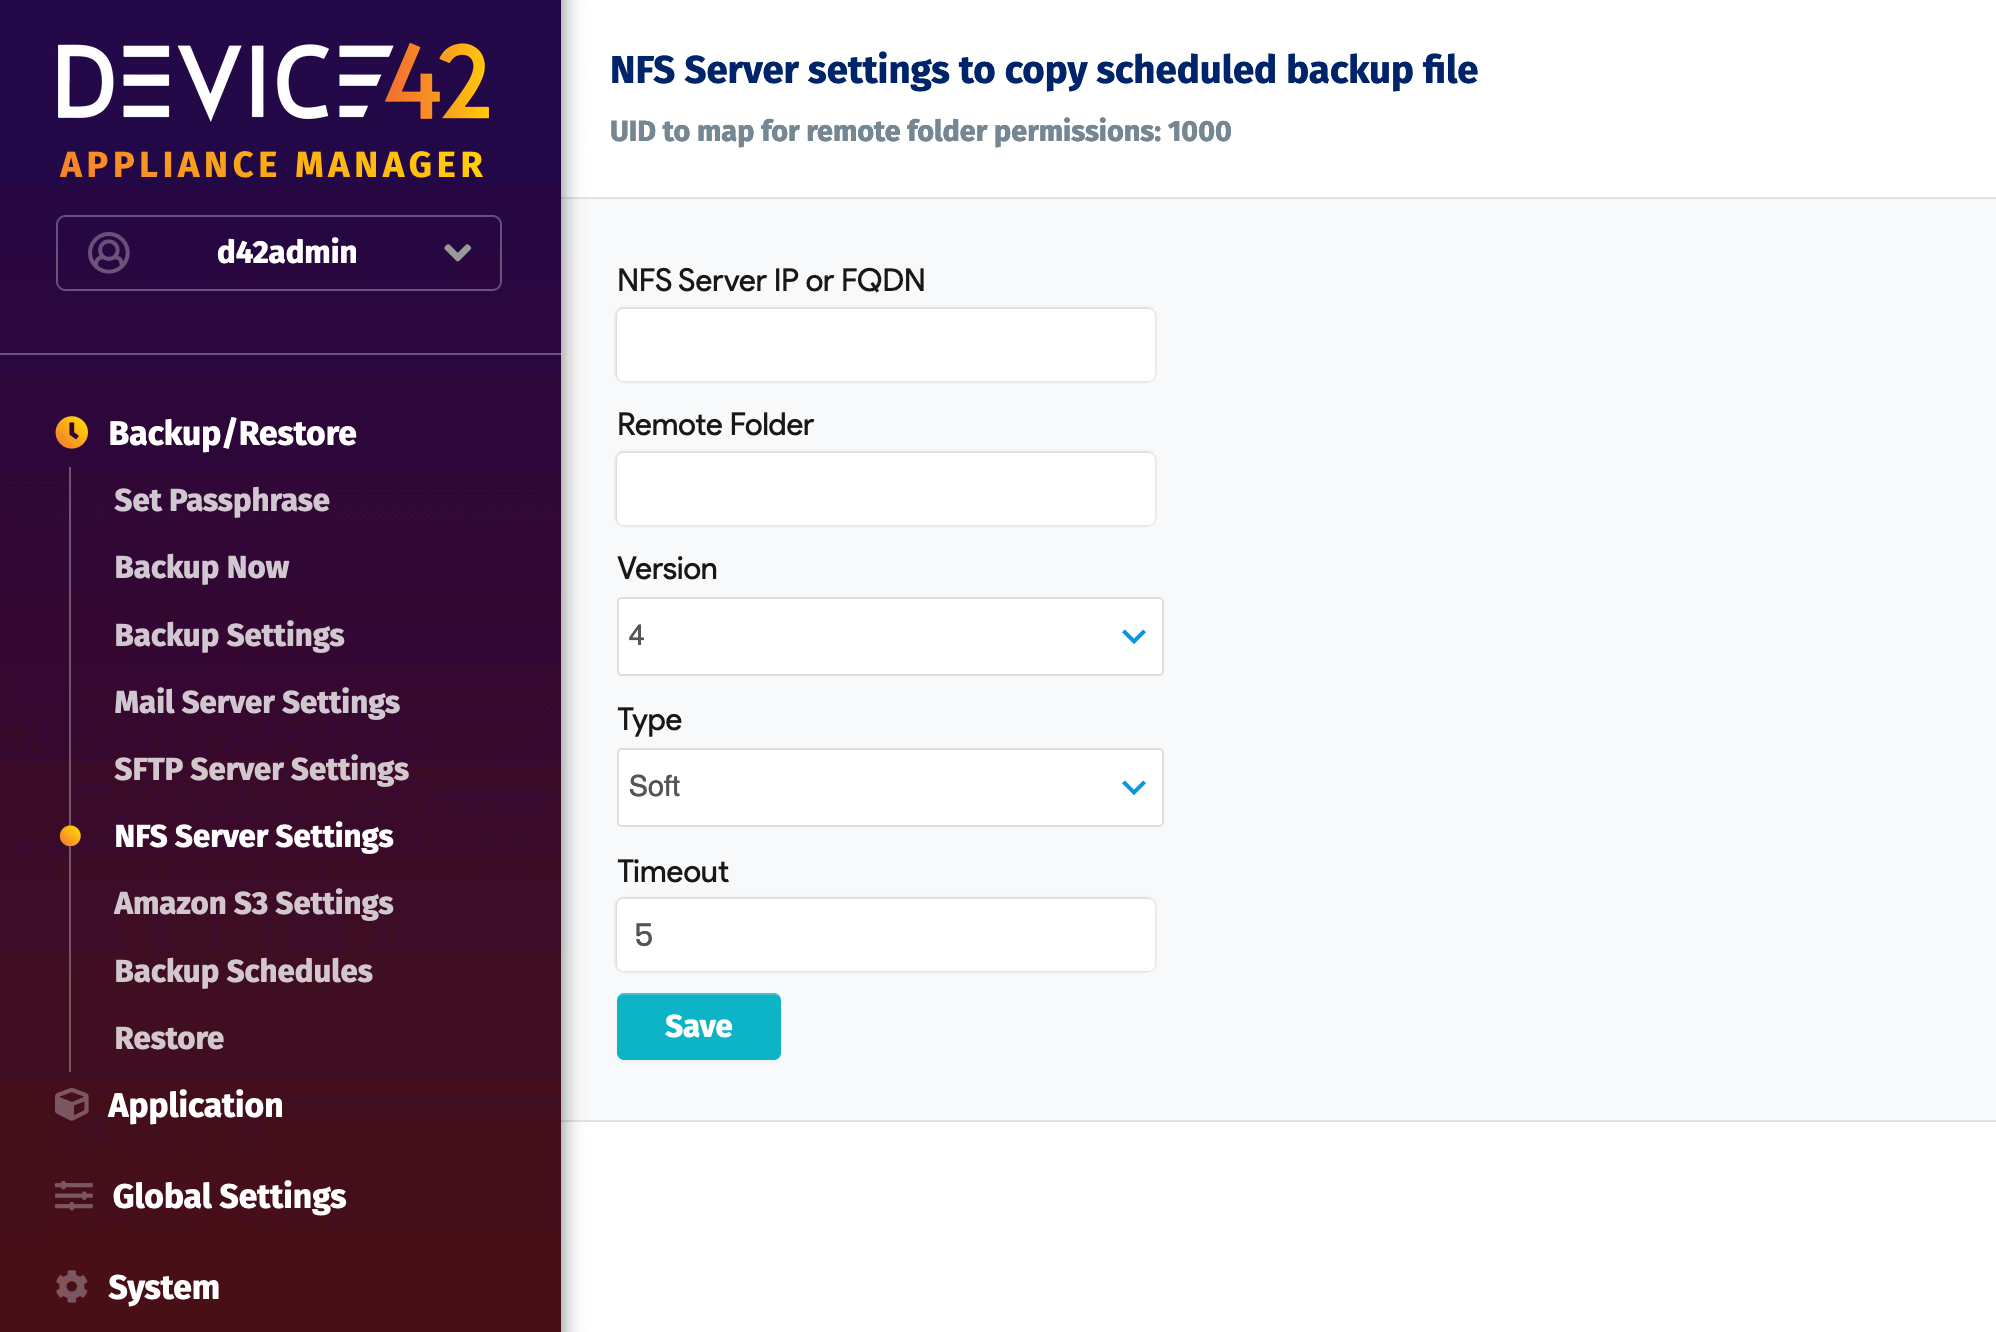
Back Up to an NFS Server
The backup file can be scheduled to be sent to an NFS server. All fields are required. The IP address should be the address of the target NFS server, and the folder path should be the path to the directory where the backups will be stored. This folder should be writable by a user with uid=1000.
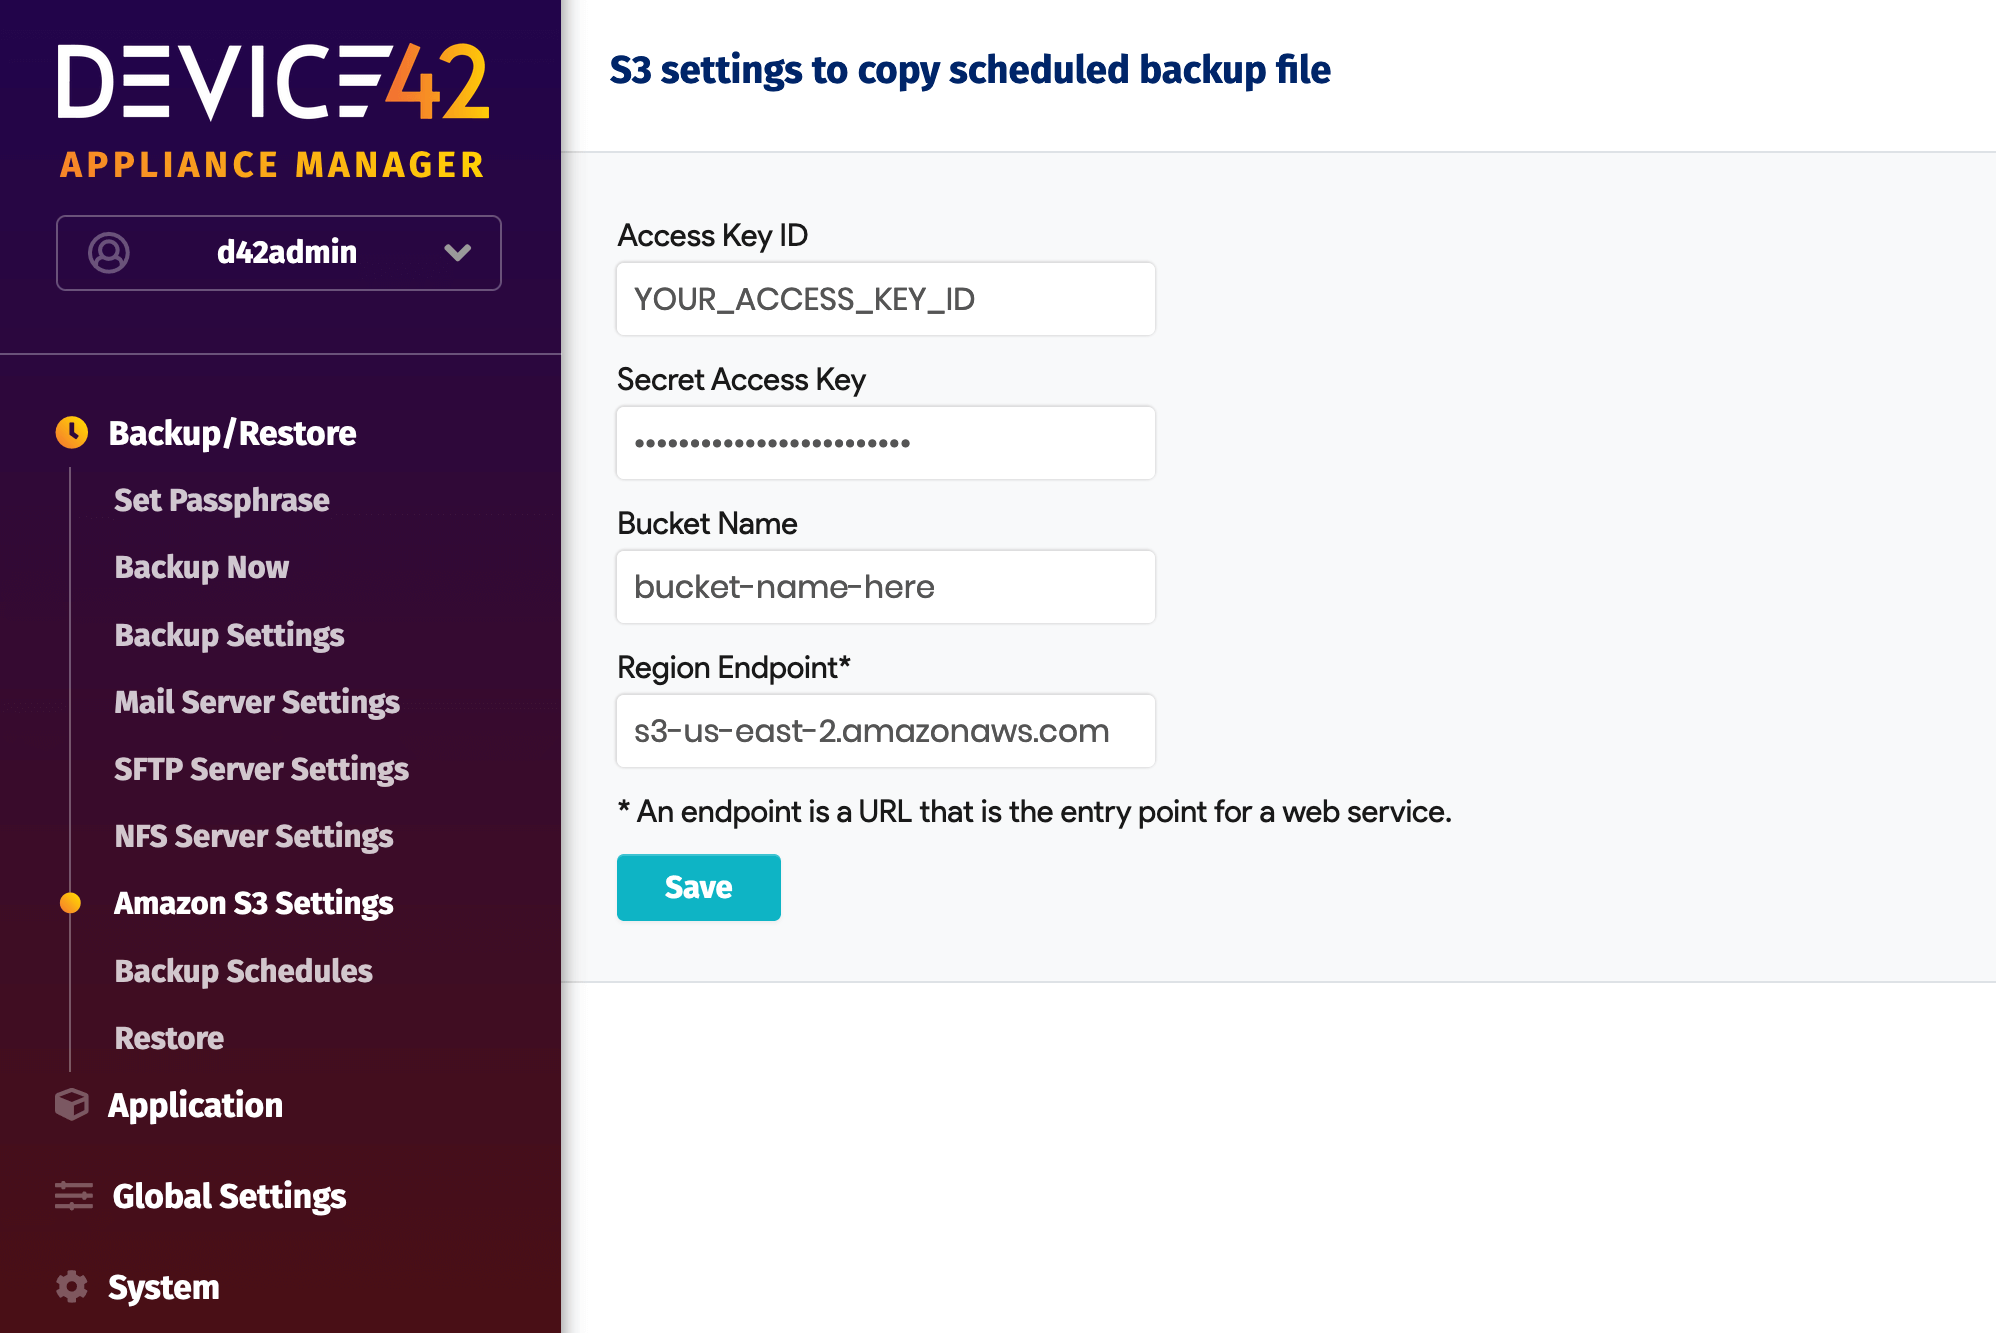
Back Up Using Amazon S3
The backup file can be scheduled to be sent to Amazon S3 as well. All fields are required.
The Region Endpoint field is not simply the endpoint name, as each region has many endpoints. Unknown endpoint URLs can be looked up in the AWS Regions and Endpoints section of the AWS Documentation.
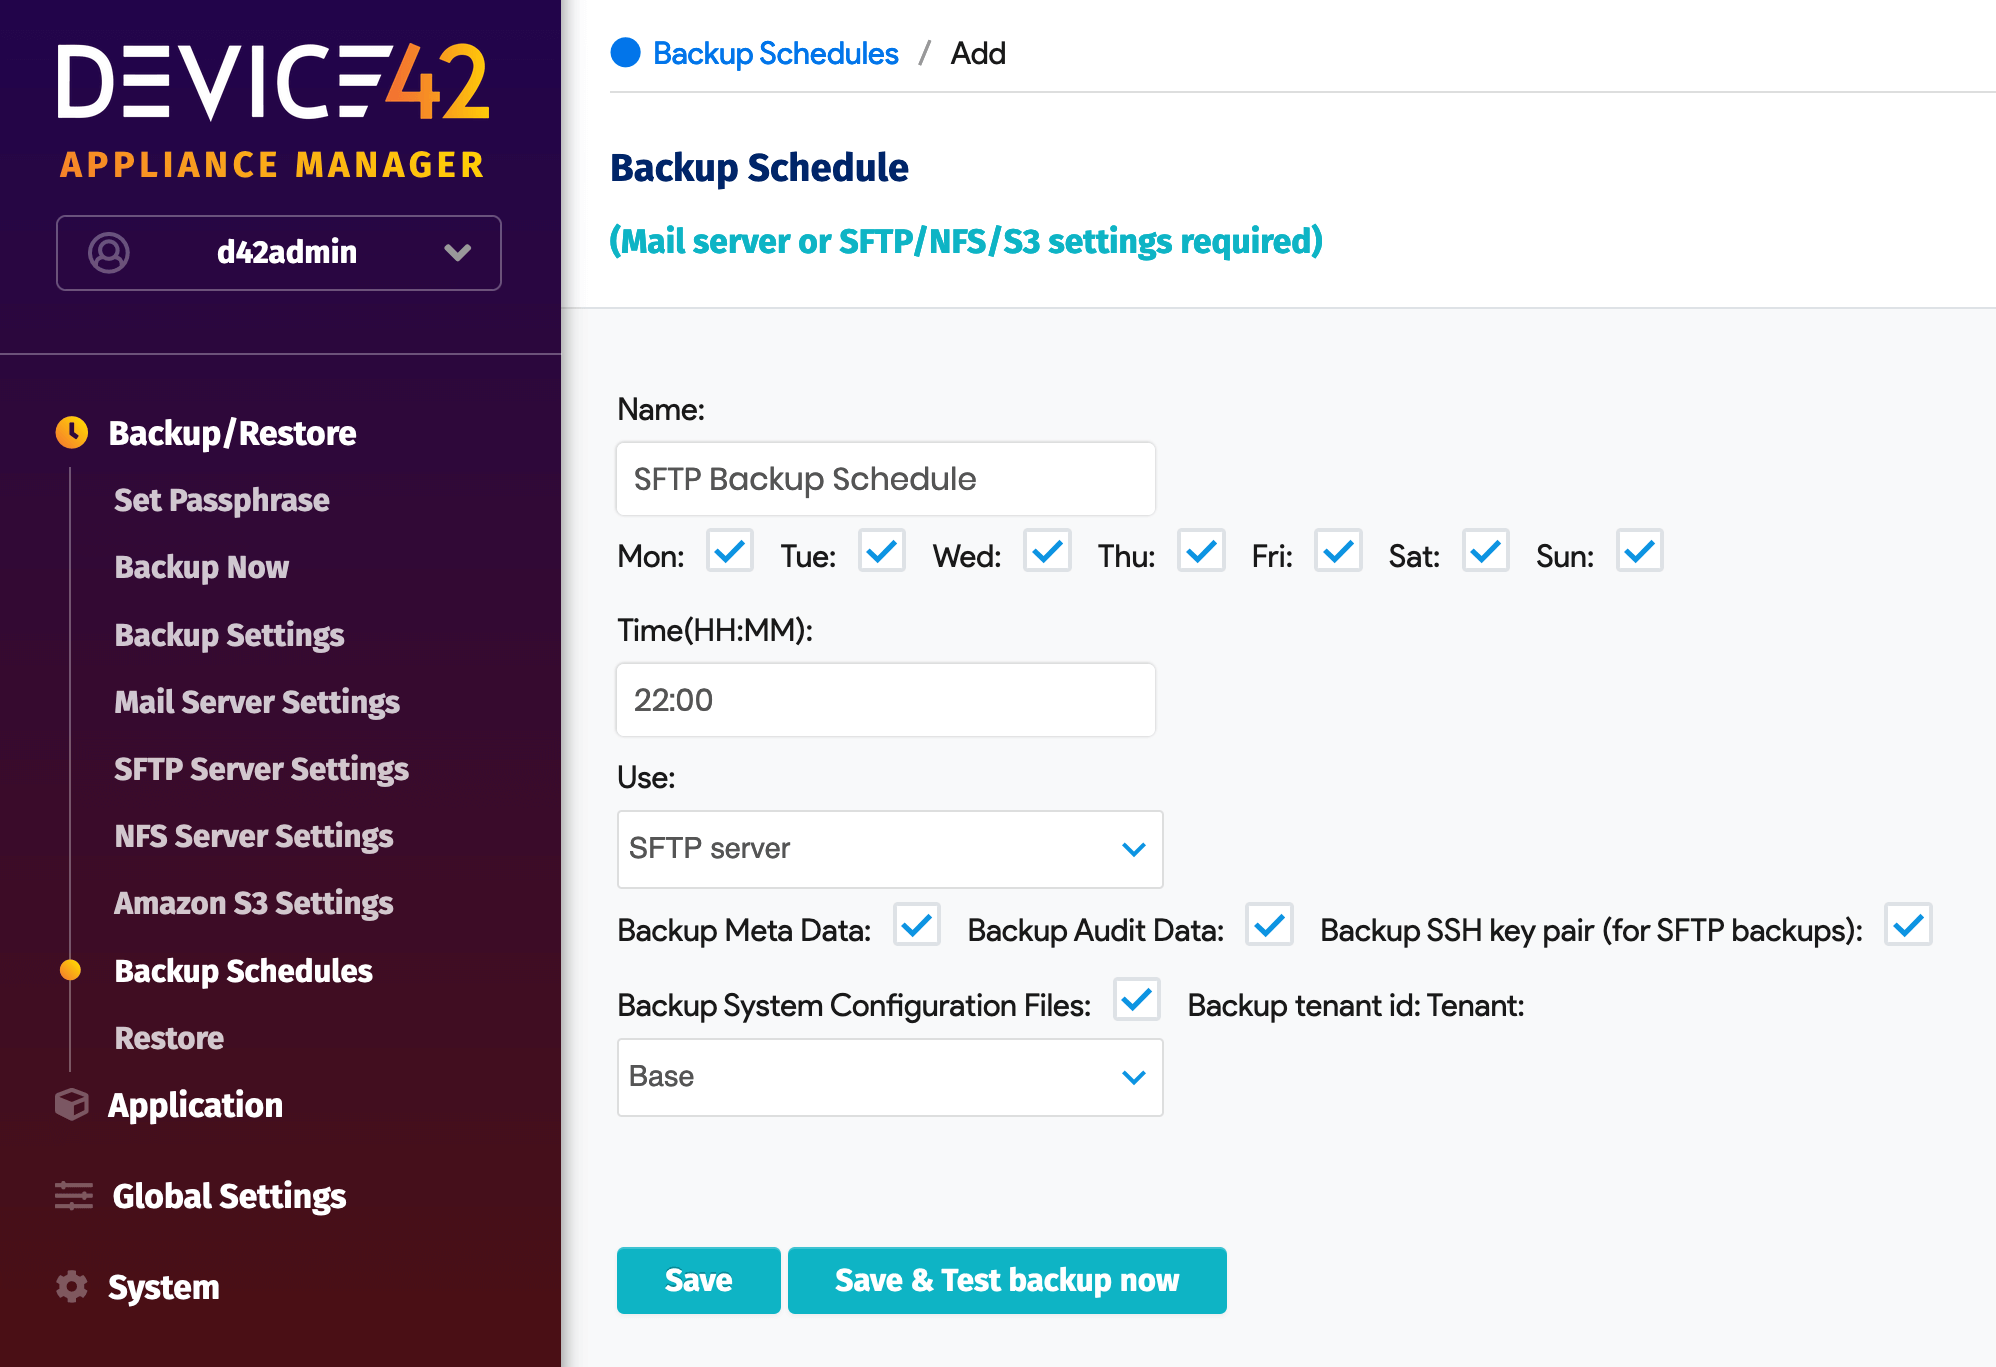
Schedule the Backup
You can create multiple backup schedules to automate the backup process. All fields are required.
Choose the time and days of the week you want the backup to run. Indicate whether you want to use Mail Server, SFTP, Amazon S3, or NFS as the source for the backup.
Test the backup by clicking the Save and Test backup now button.
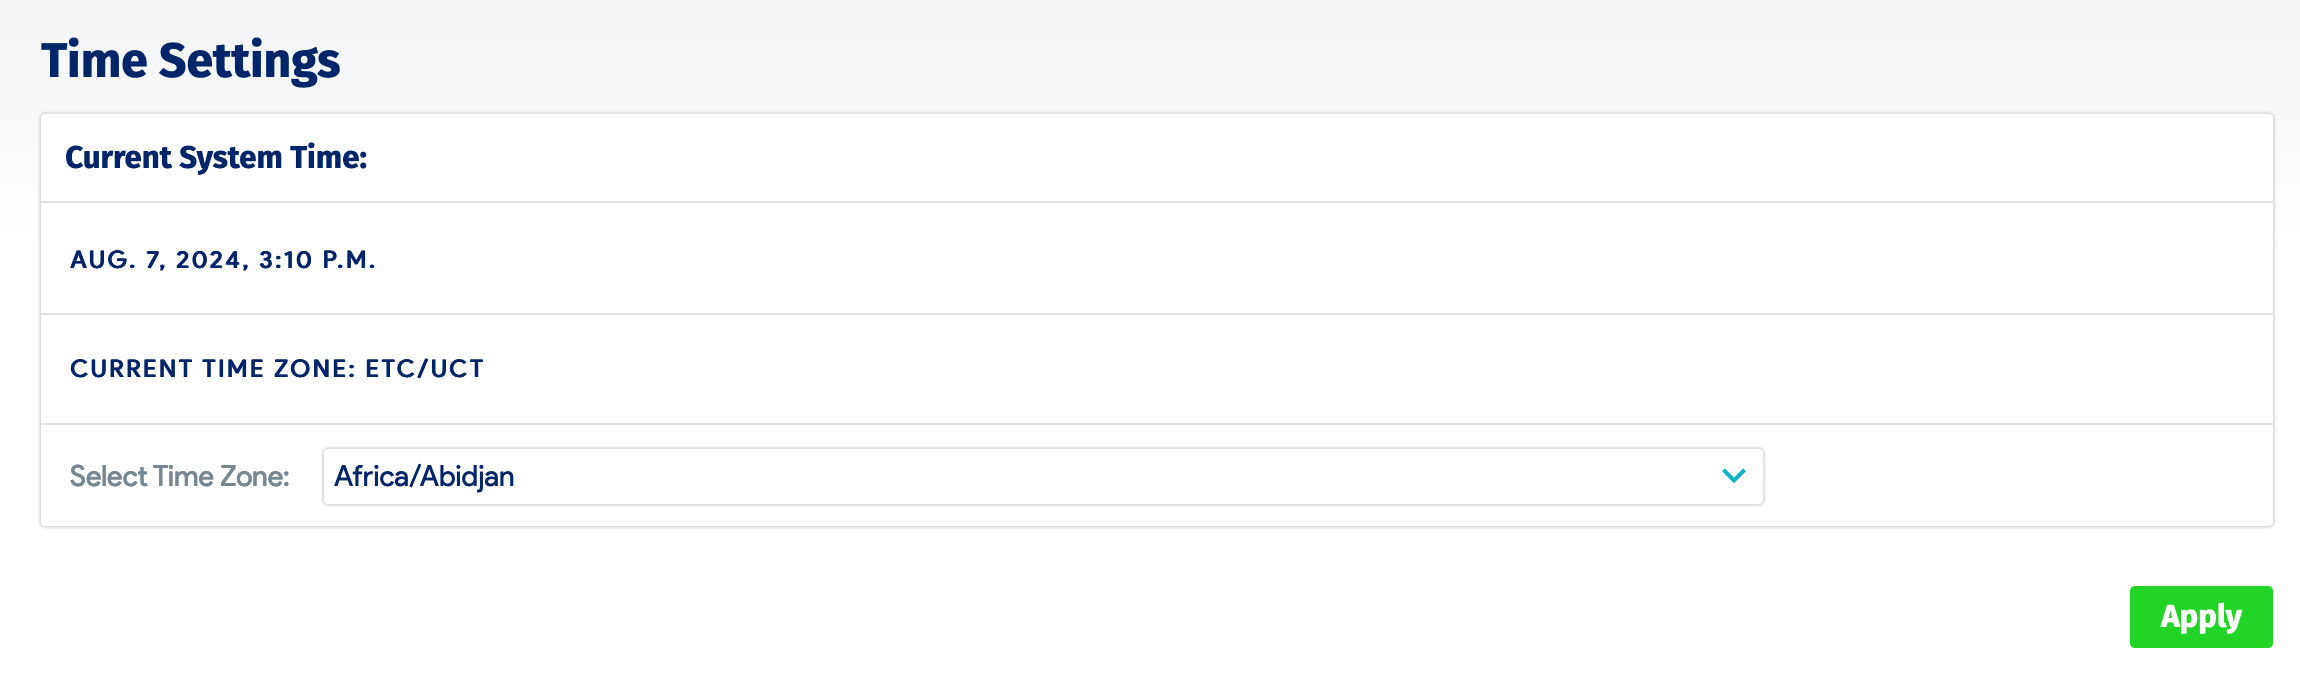
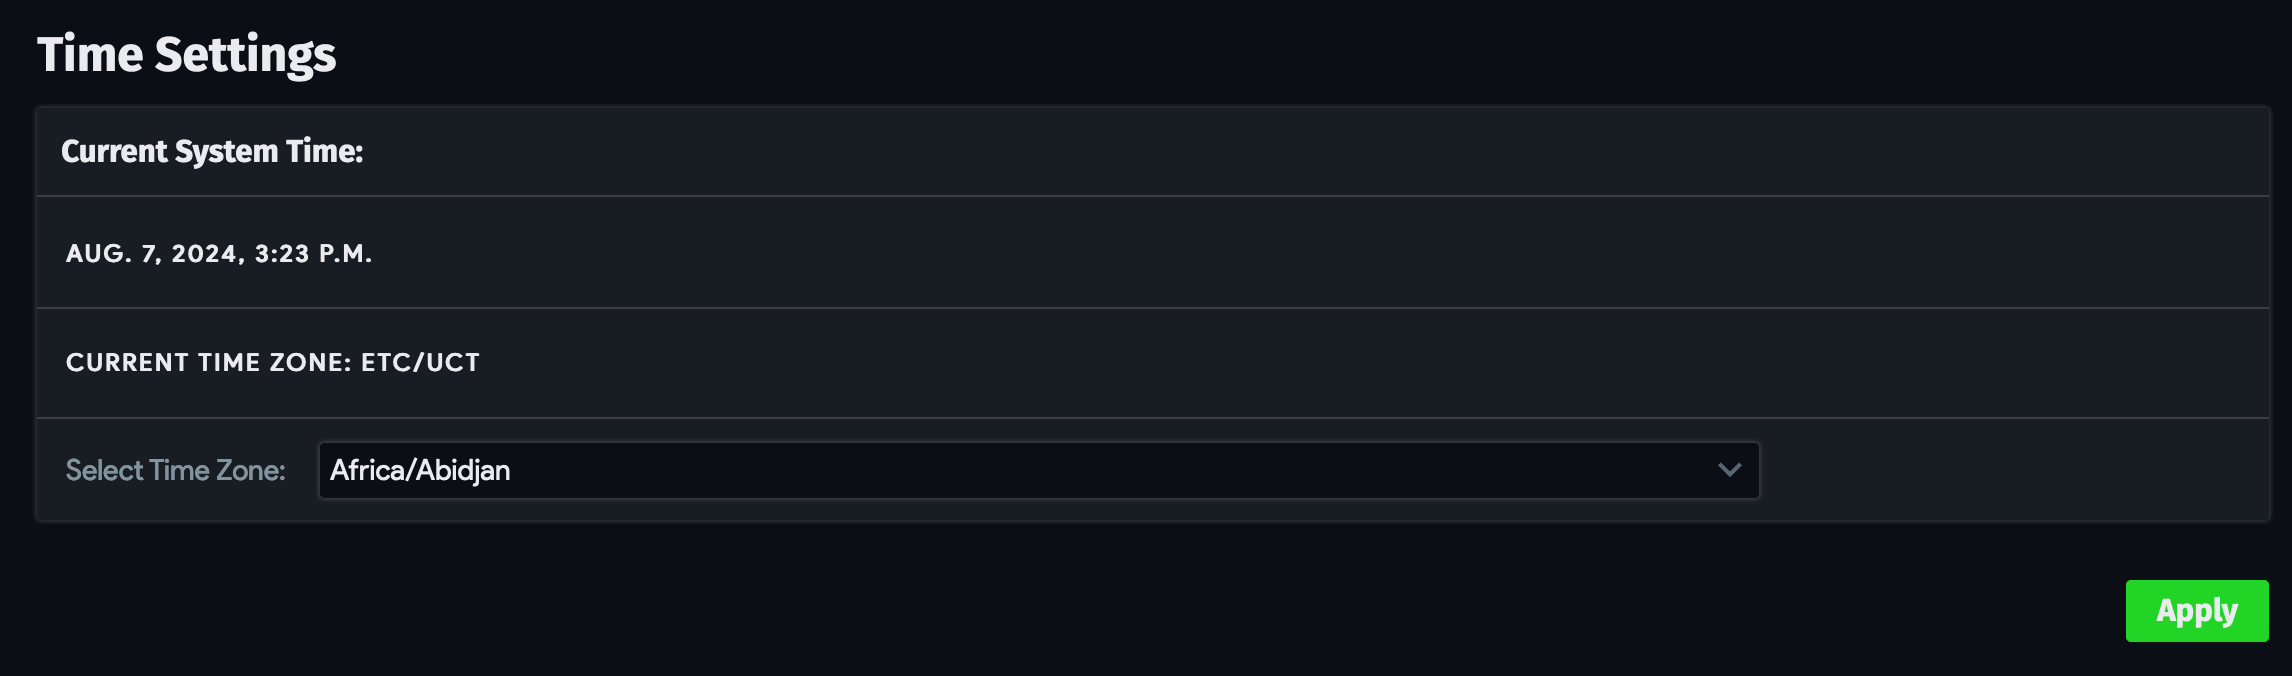
Please check your time settings to avoid potential issues with AWS services. From the Device42 Main Appliance, navigate to Tools > Settings > Time Settings.
If your Current System Time is incorrect, change it in your VM system configuration console.
Important Note for Scheduled Backups
If you intend to use a backup schedule for an auto-restore configuration to a stand-by appliance, as described in the Device42 Warm HA Configuration documentation, it's critical that you select the Backup Meta Data option for the backup schedule.
Without the metadata for scheduled backups, the restore and passphrase settings will not be in the backup archive, and the appliance will have no reference for how to use the data when attempting to restore it.
A backup file without metadata can still be used for an on-demand restore.
Limit Backup Retention
You may want to limit the duration for which backups will be retained.
If you're using a Linux server, the easiest solution is to create a cron job that runs a command to automatically delete backup files that have passed a certain age.
This command deletes any files in the mentioned directory that have a modified timestamp greater than seven days:
find /device42/backup/directory -type f -mtime +7 -delete
For Windows Servers, the following PowerShell script can be used to delete files older than seven days from the targeted directory:
Click to expand the code block
# Delete all Files in C:temp older than 7 day(s)

$Path = "C:device42backups"
$Daysback = "-7"
$CurrentDate = Get-Date
$DatetoDelete = $CurrentDate.AddDays($Daysback)
Get-ChildItem $Path | Where-Object { $_.LastWriteTime -lt $DatetoDelete } | Remove-Item
Restore the Backup
See Restore the Backup.