Hardware Models (Templates)
A hardware model is a template that defines the rack display size, depth, image, part slots, connectivity, and power calculations for a device model. When you create a device and assign it a hardware model, the device inherits those properties. This way, you define rack size, ports, and power details once and every device using that model gets the same configuration.
This page covers how to create and edit hardware models, define ports and slots, manage device layouts, and merge duplicate models.
Hardware Model List Page
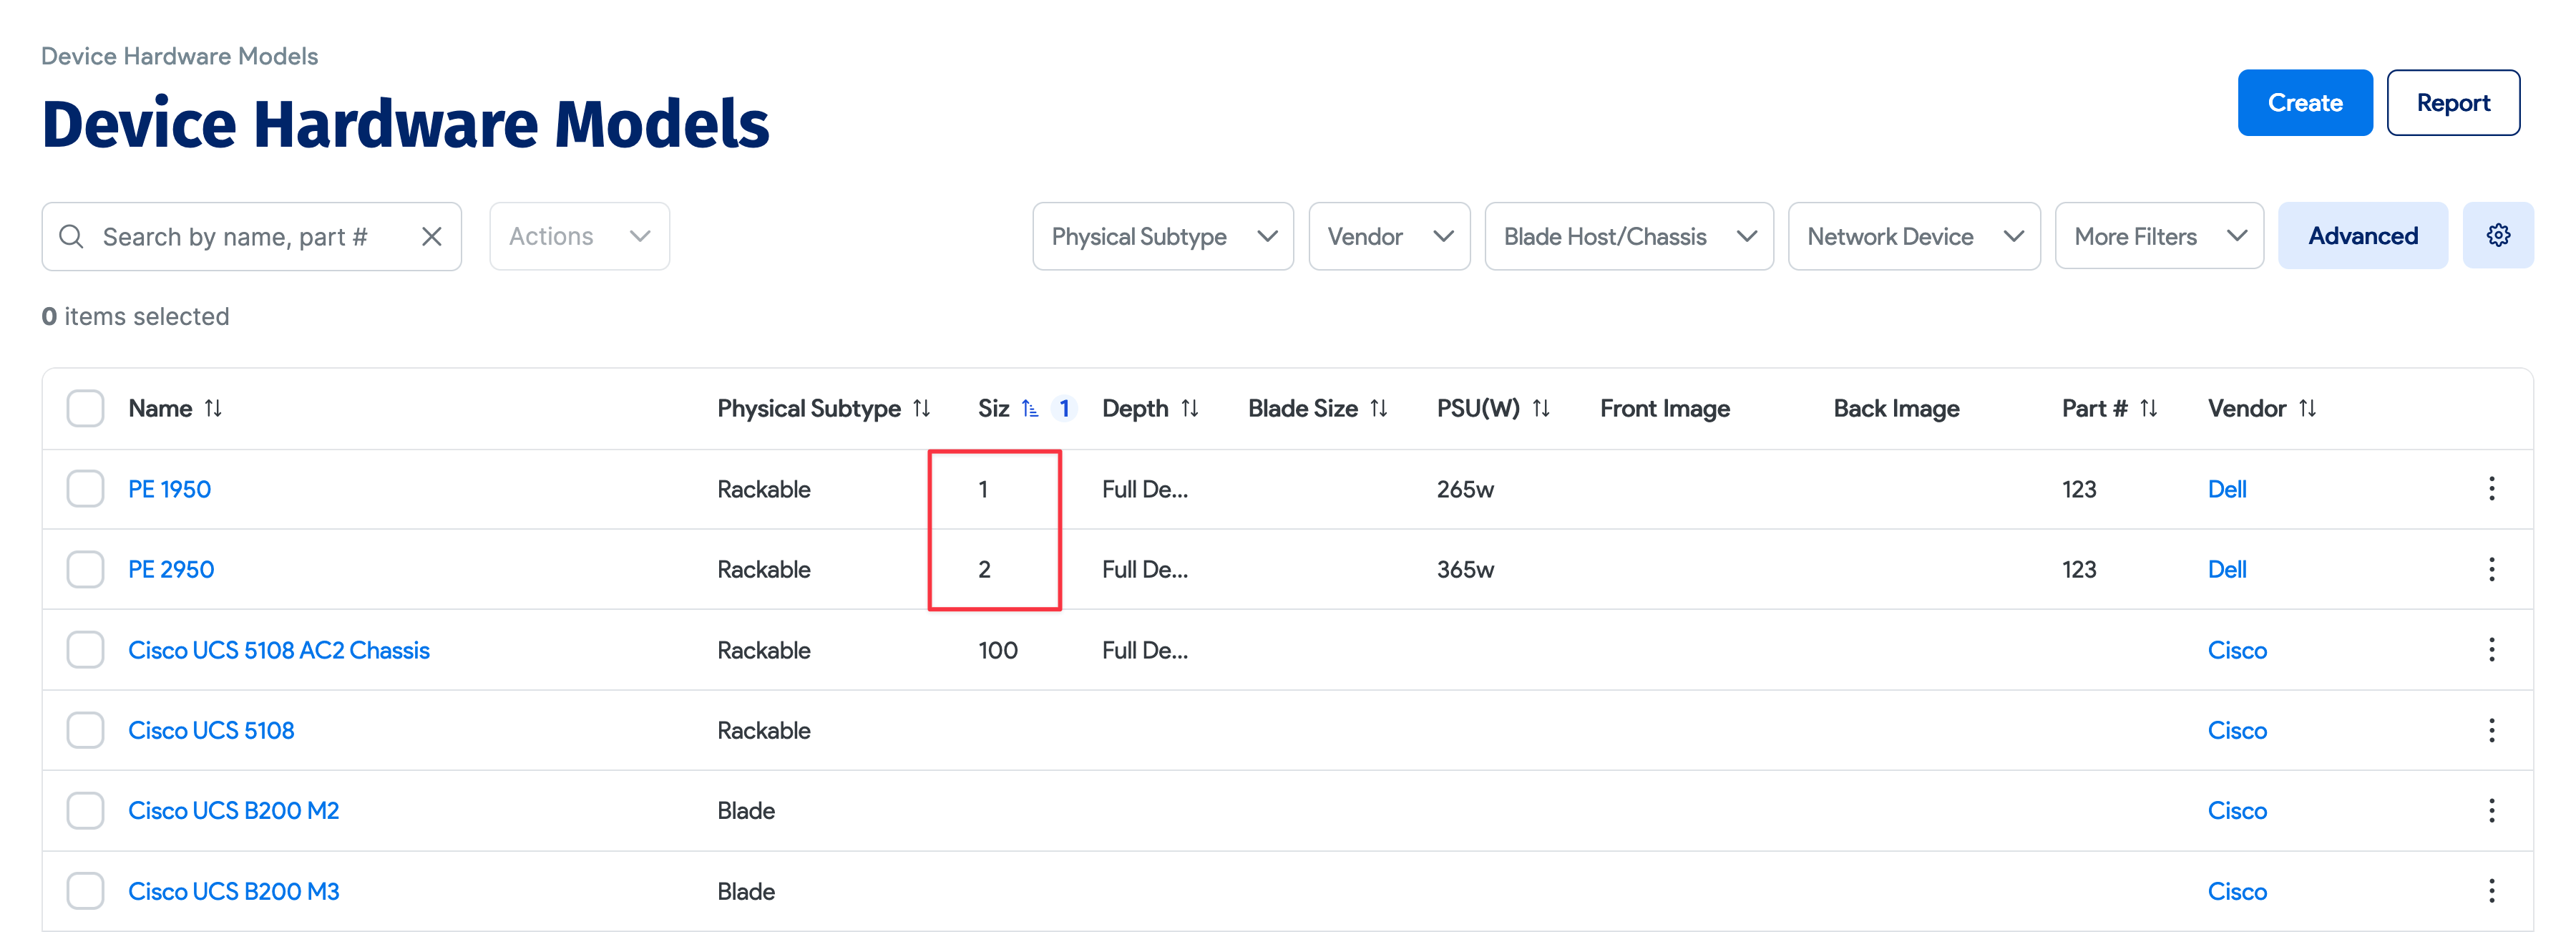
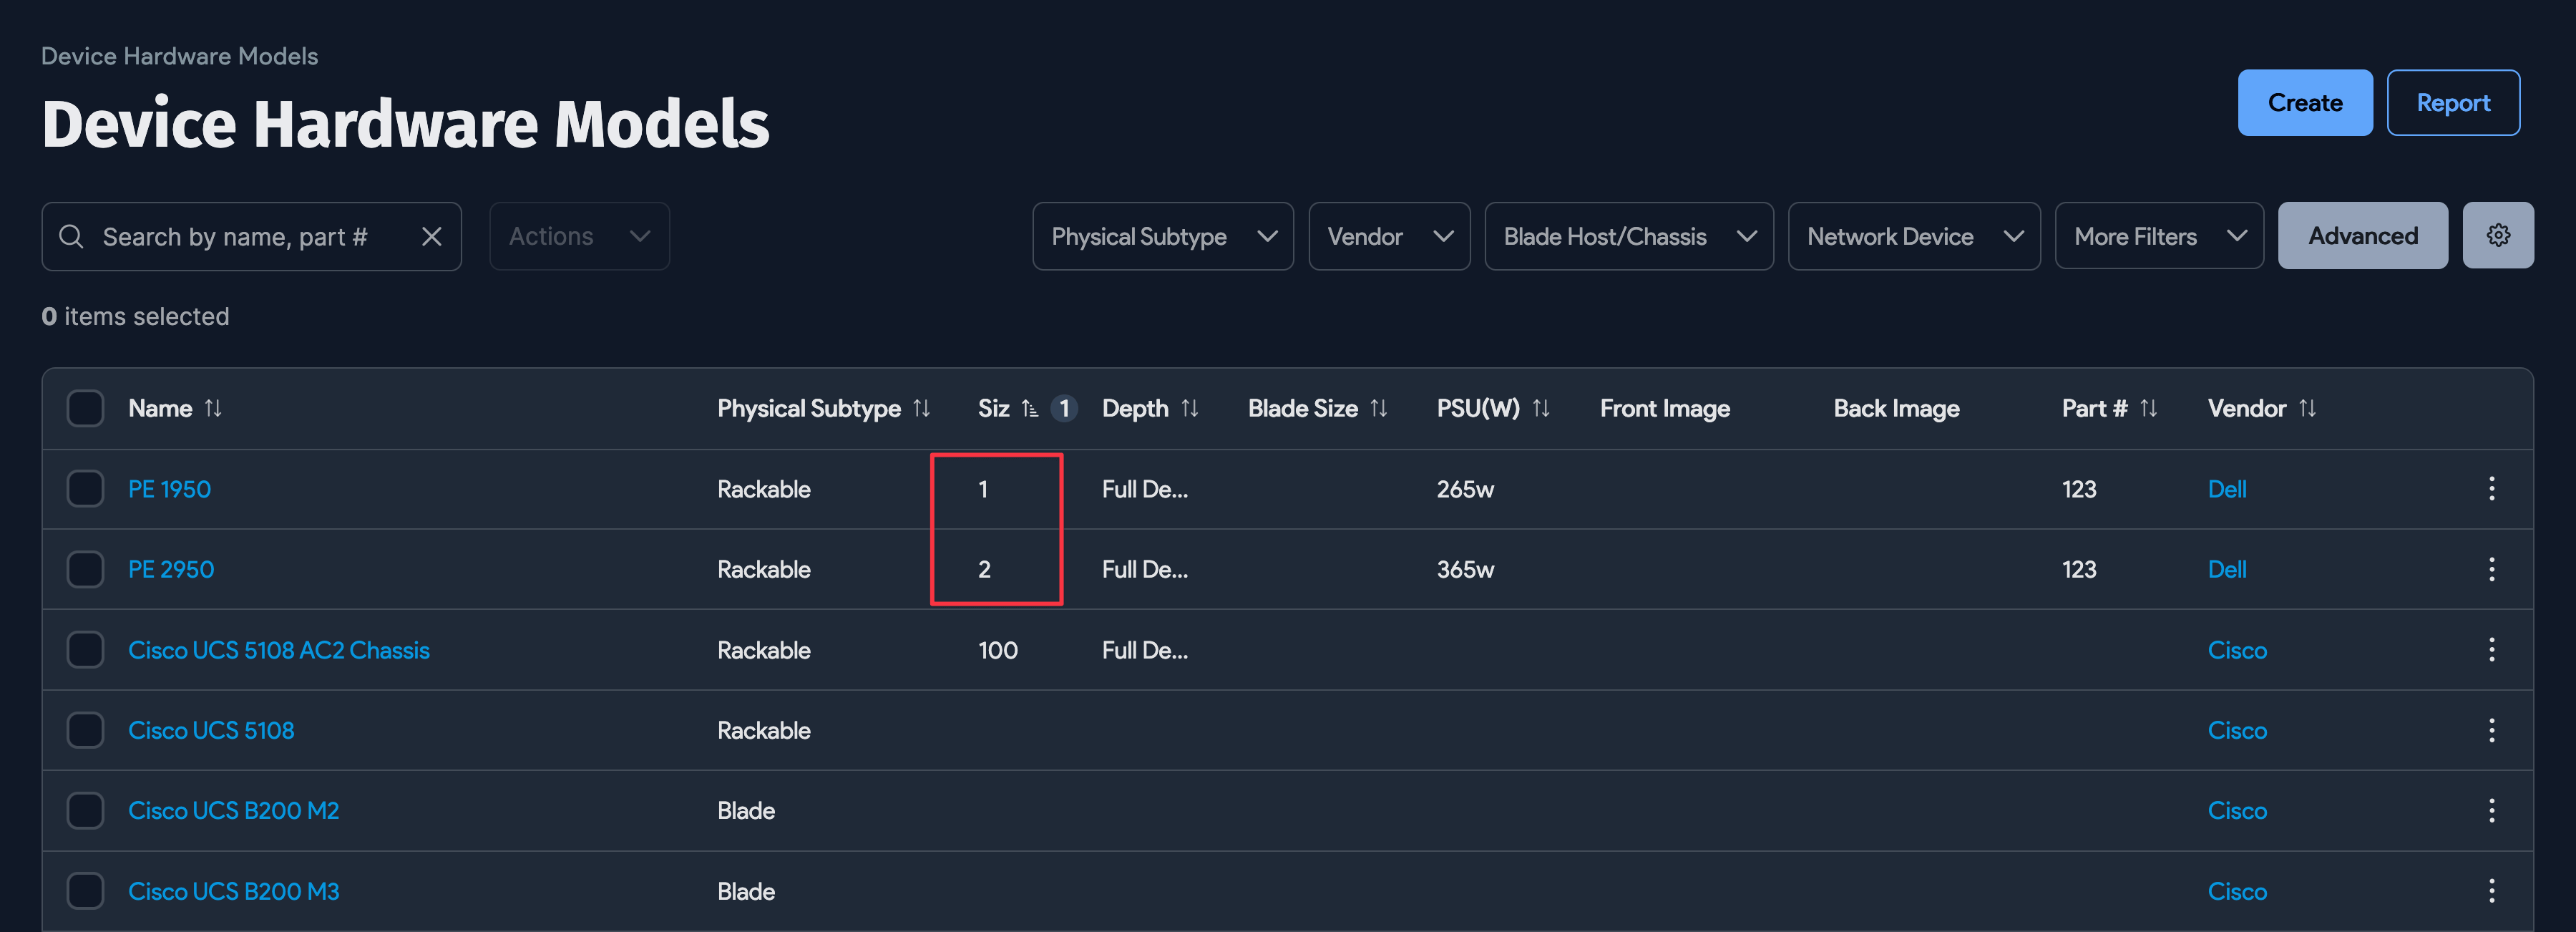
Navigate to Infrastructure > Hardware Models to display the list page. You can filter and search existing models from this page. Click the name of a hardware model to view its properties, then click Edit to make changes.
Create a Hardware Model
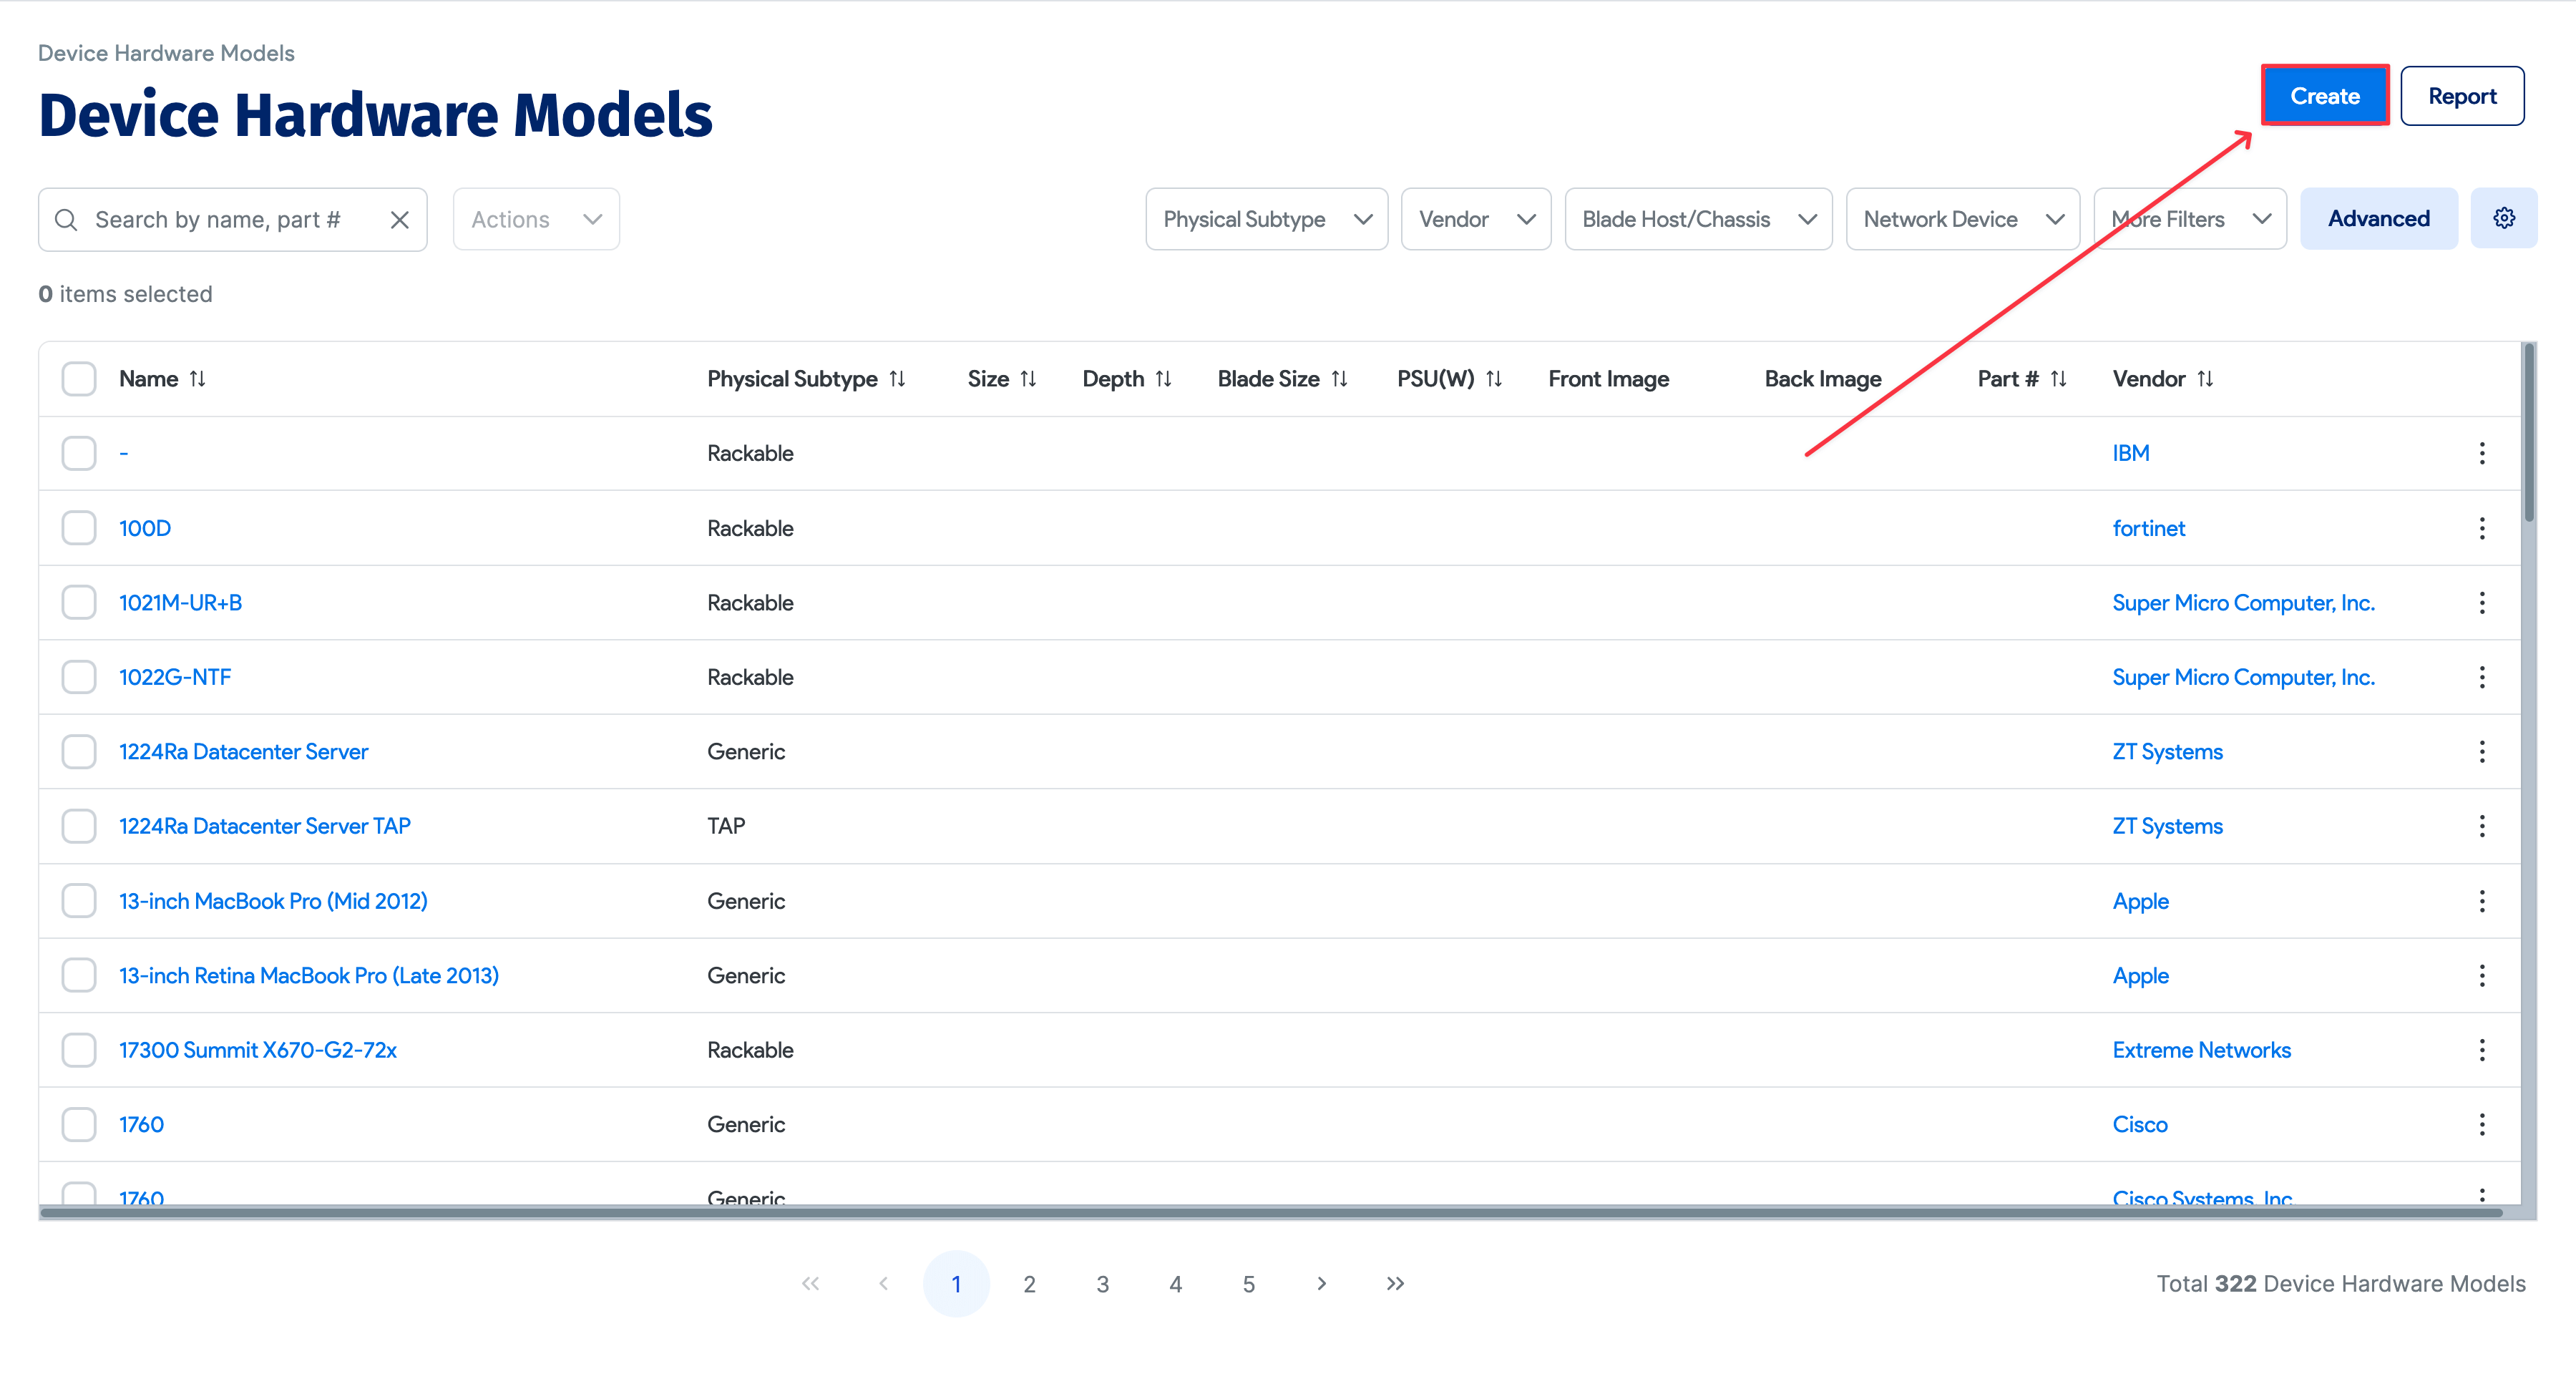
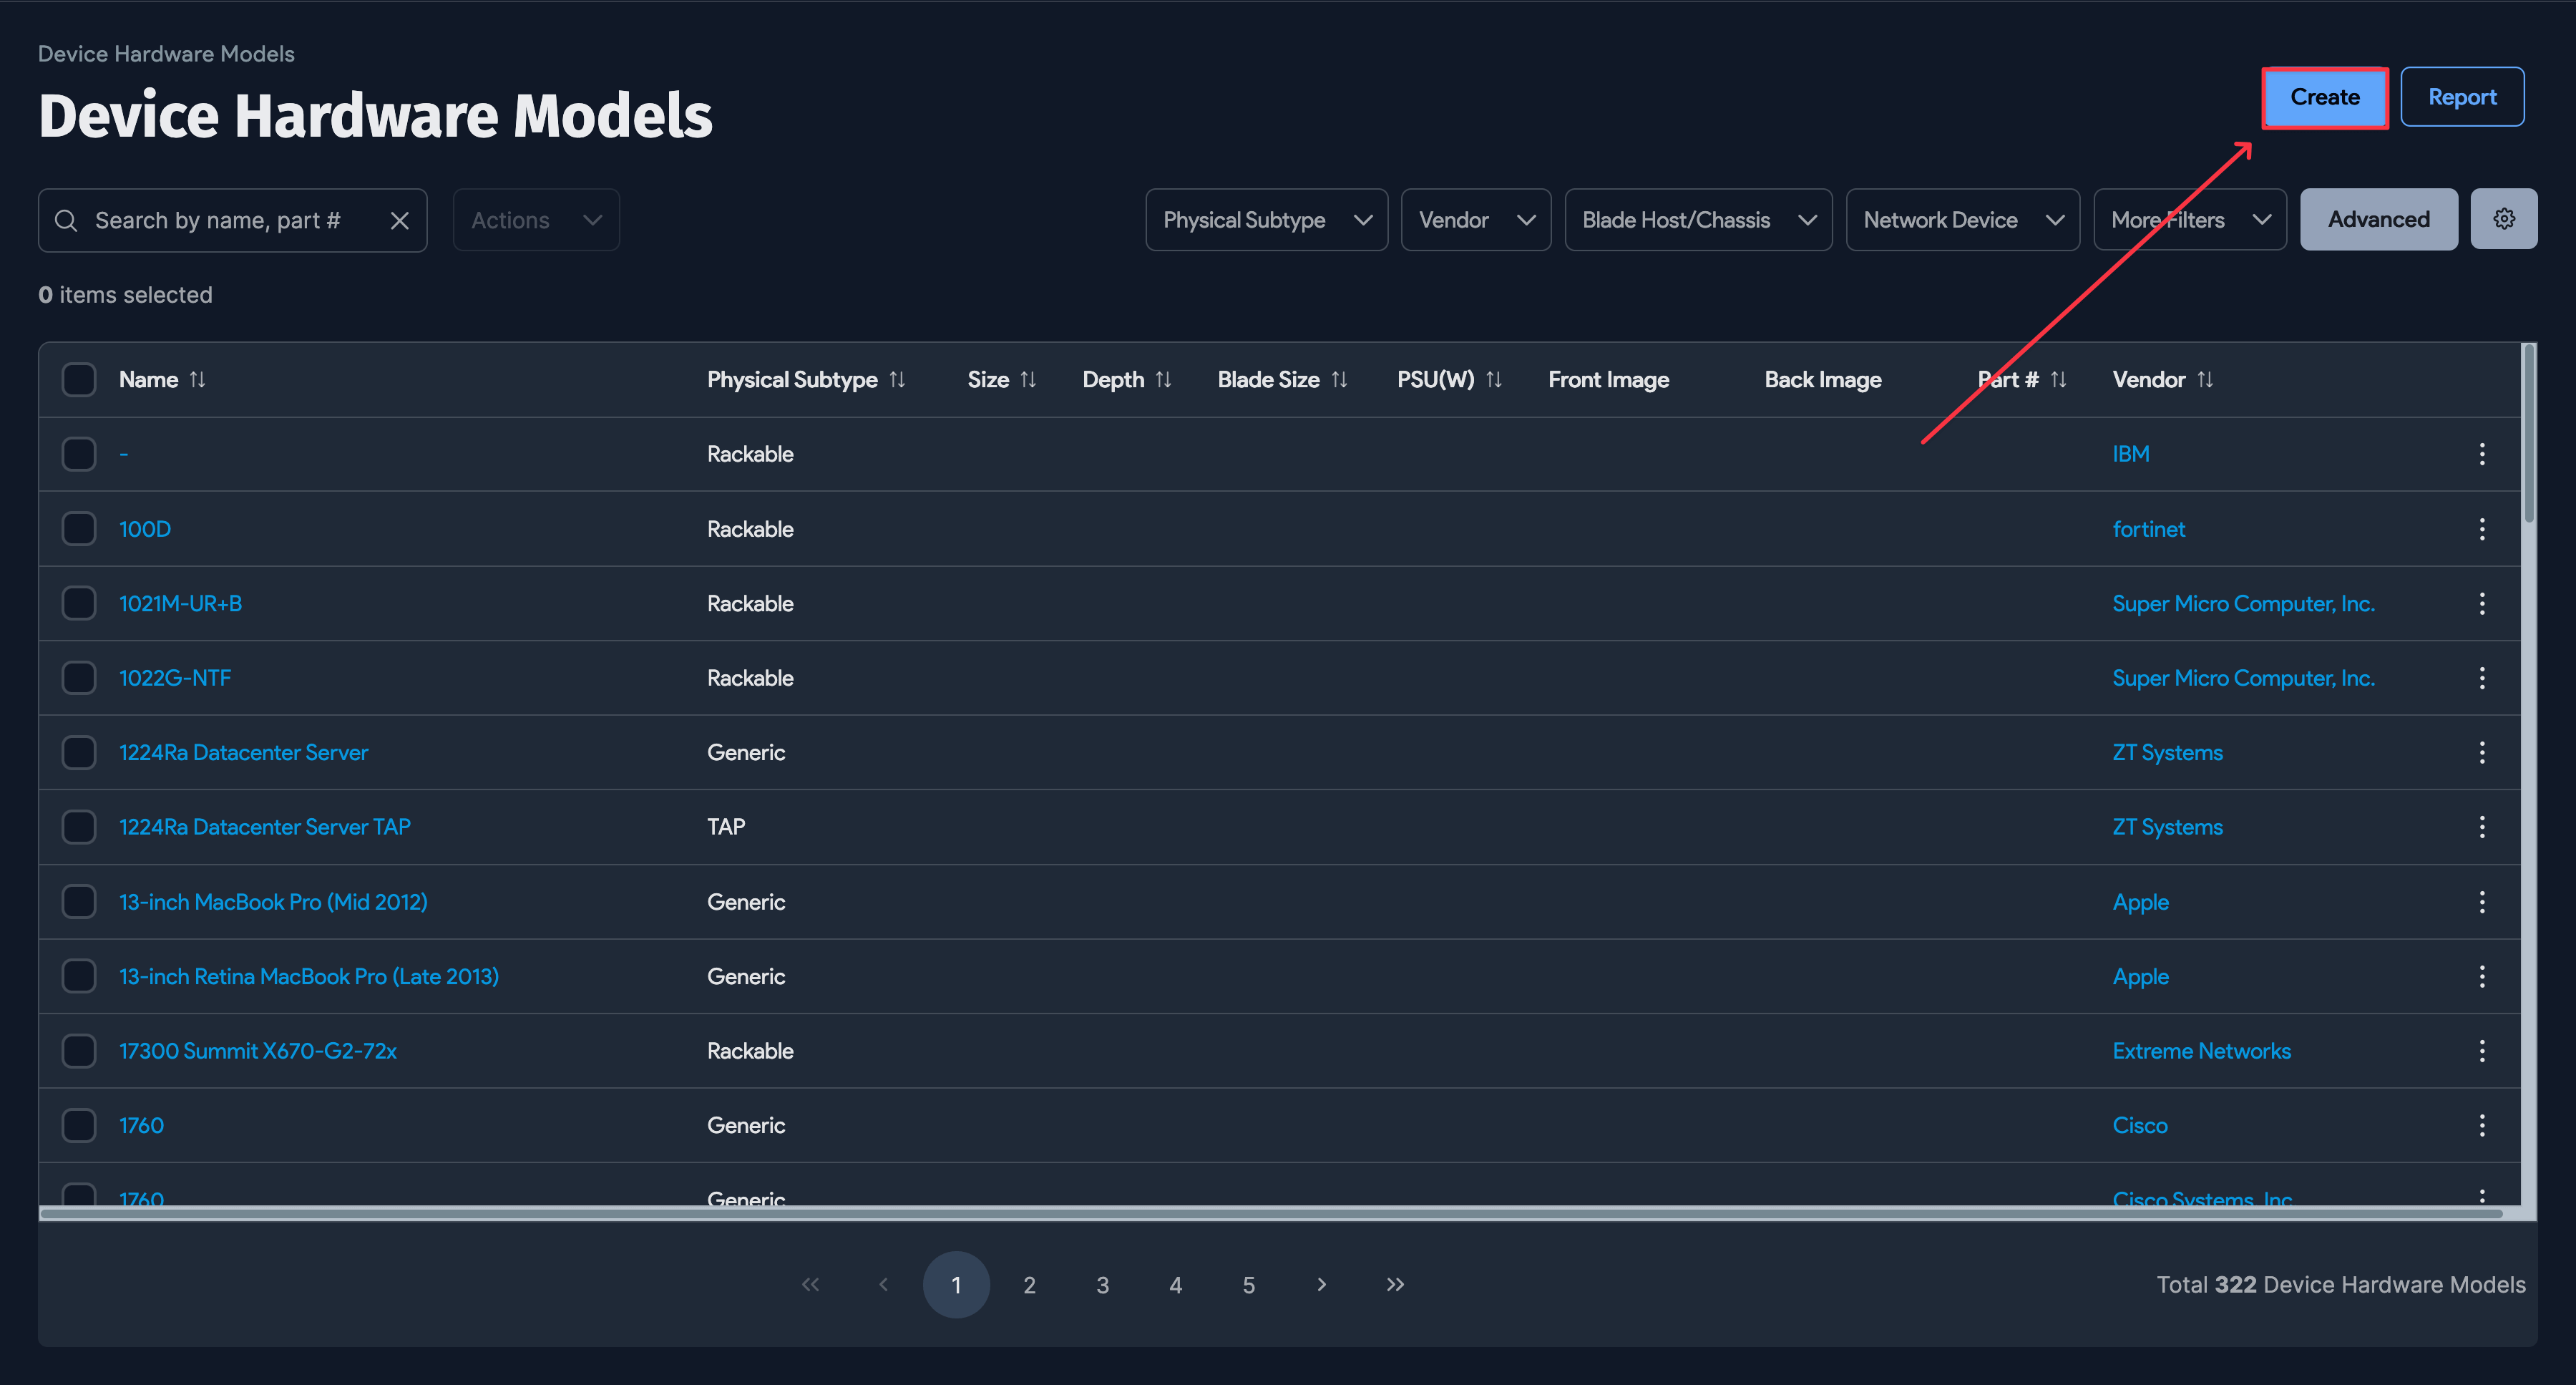
Click Create at the top right of the list page to open a new hardware model form.
Enter the model name in the Name field. The manufacturer name is automatically prepended when the hardware model is displayed. For example, if the manufacturer is Dell and you enter PE2950, the model displays as "Dell PE2950".
Select a Physical Subtype to indicate whether the model is for a rackable device, blade device, or another type (for example, laptops or workstations). Different fields become available depending on the subtype.
- Size: The size of the device in Us. You can enter
1/2or0.5. - Blade Size: The available blade size combinations.
- Depth: Set to
Half Depthto support back-to-back devices in the rack.
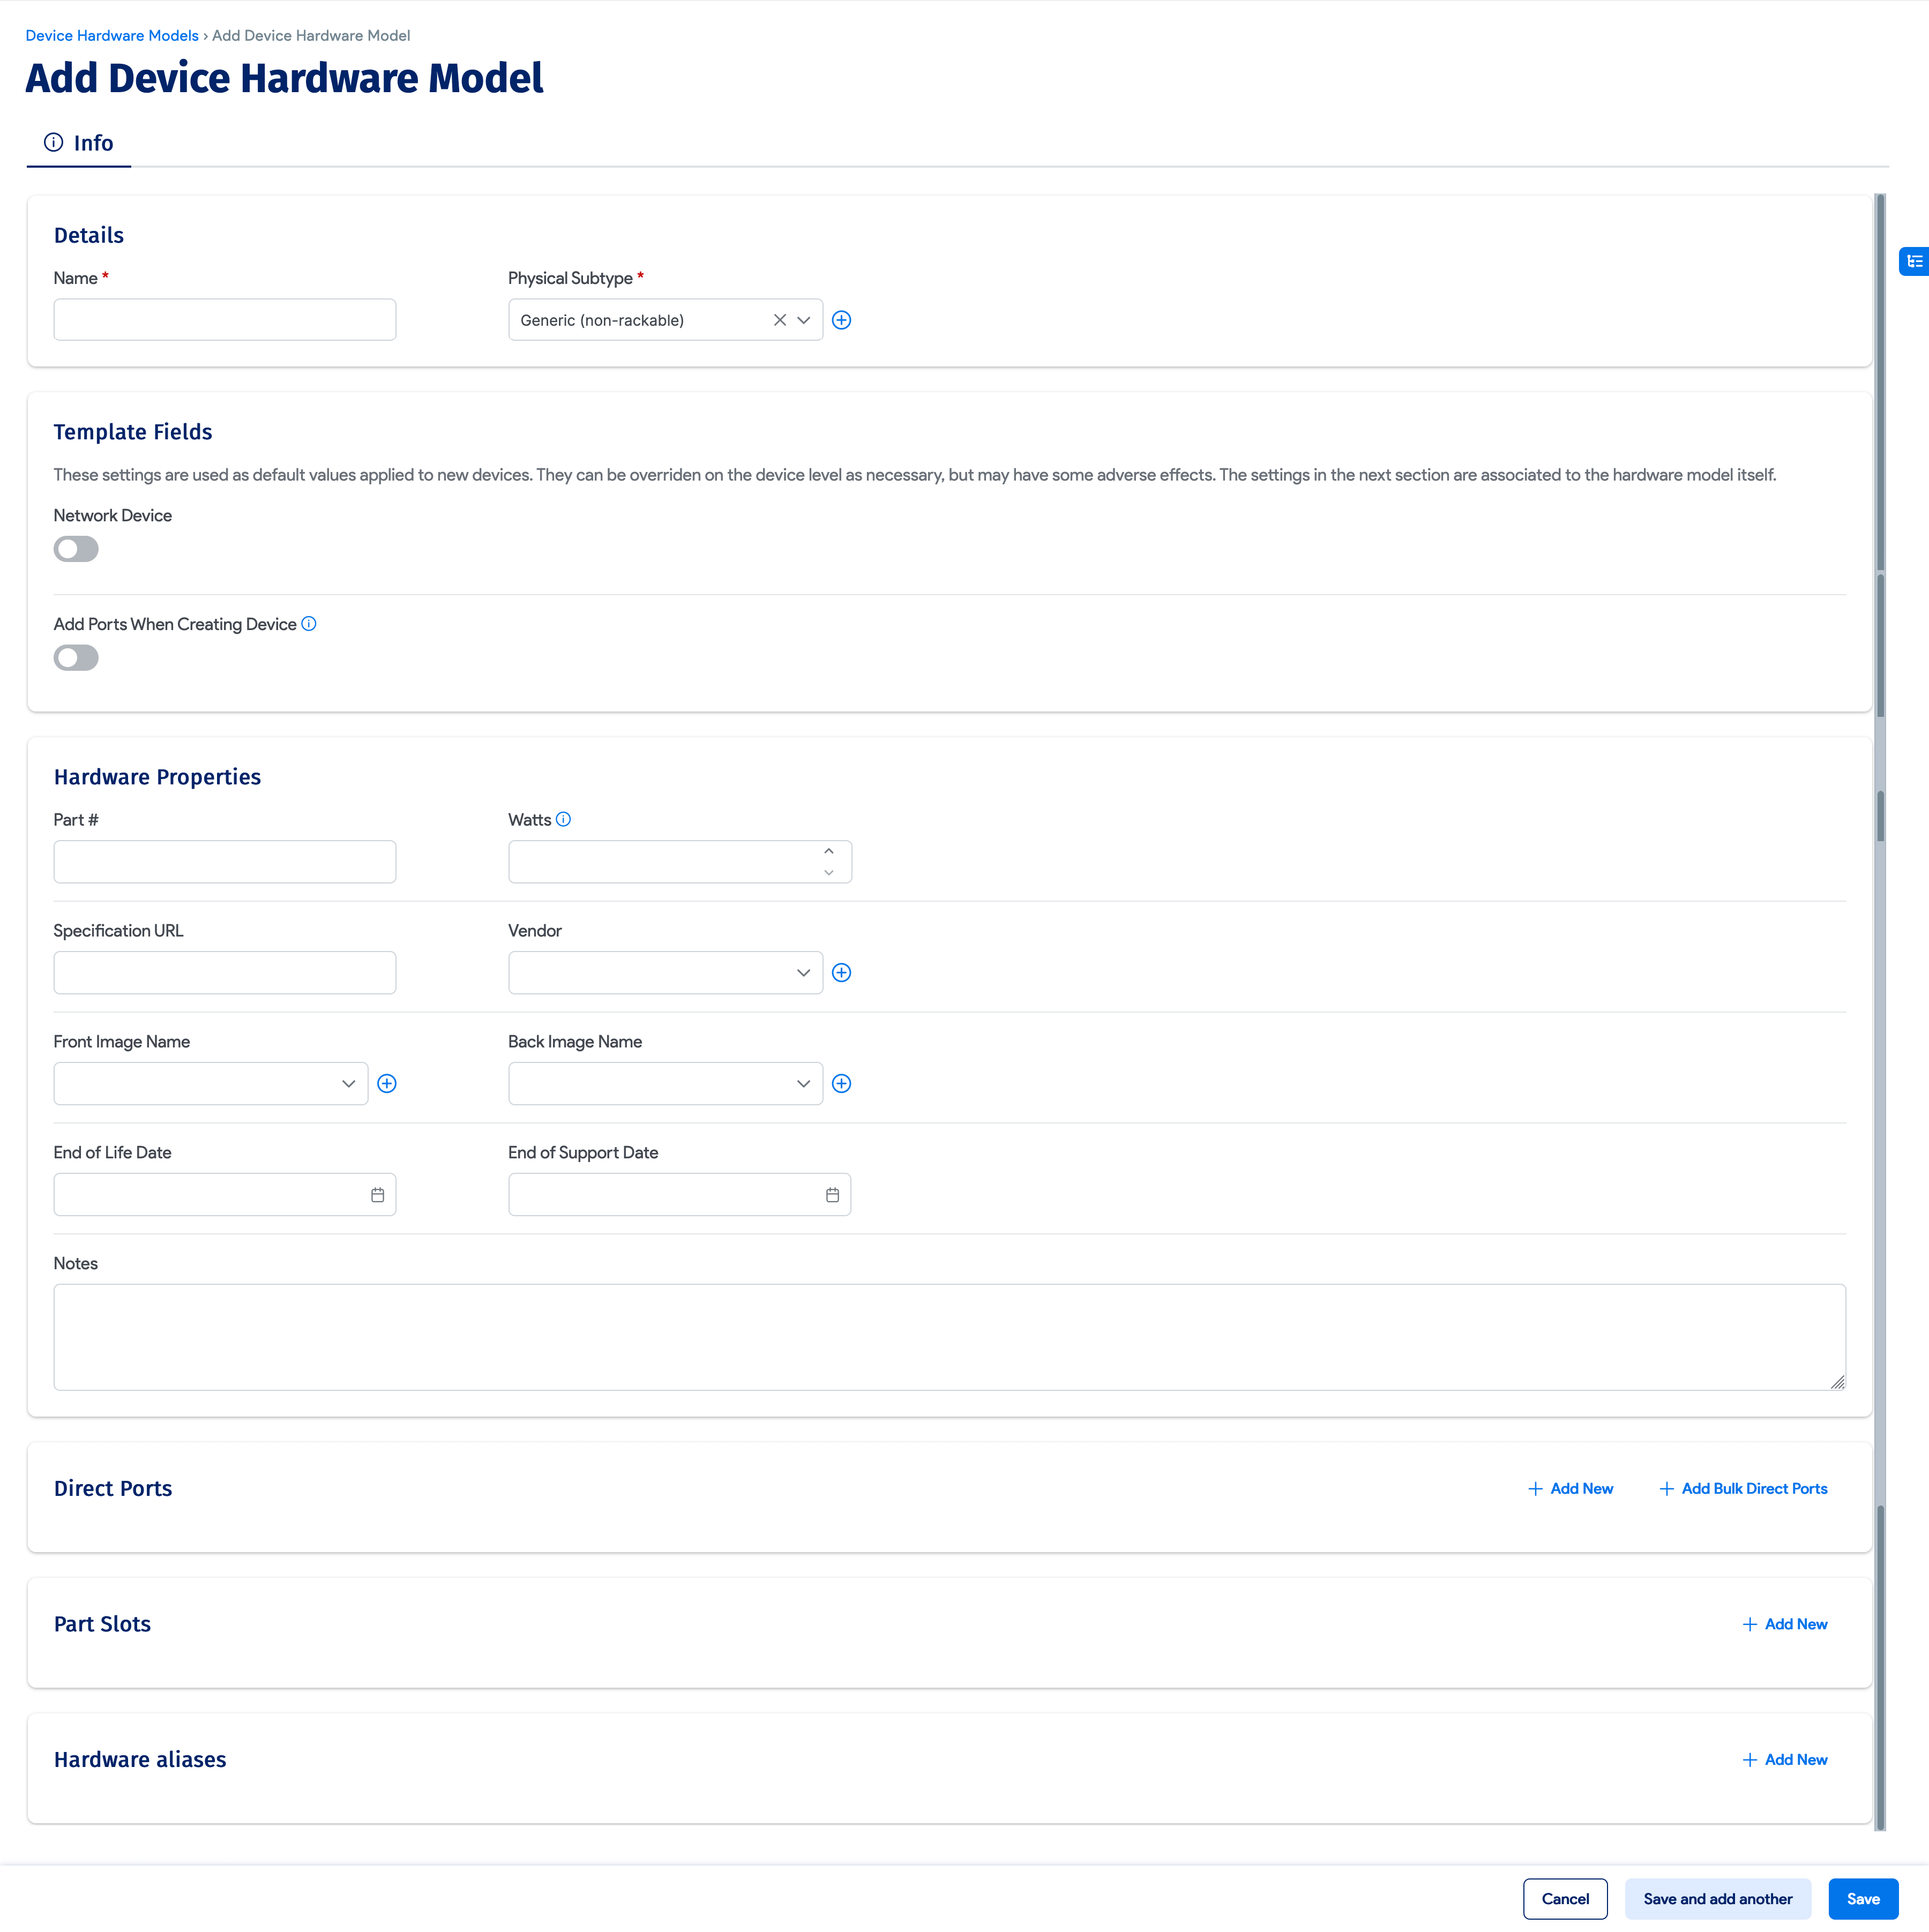

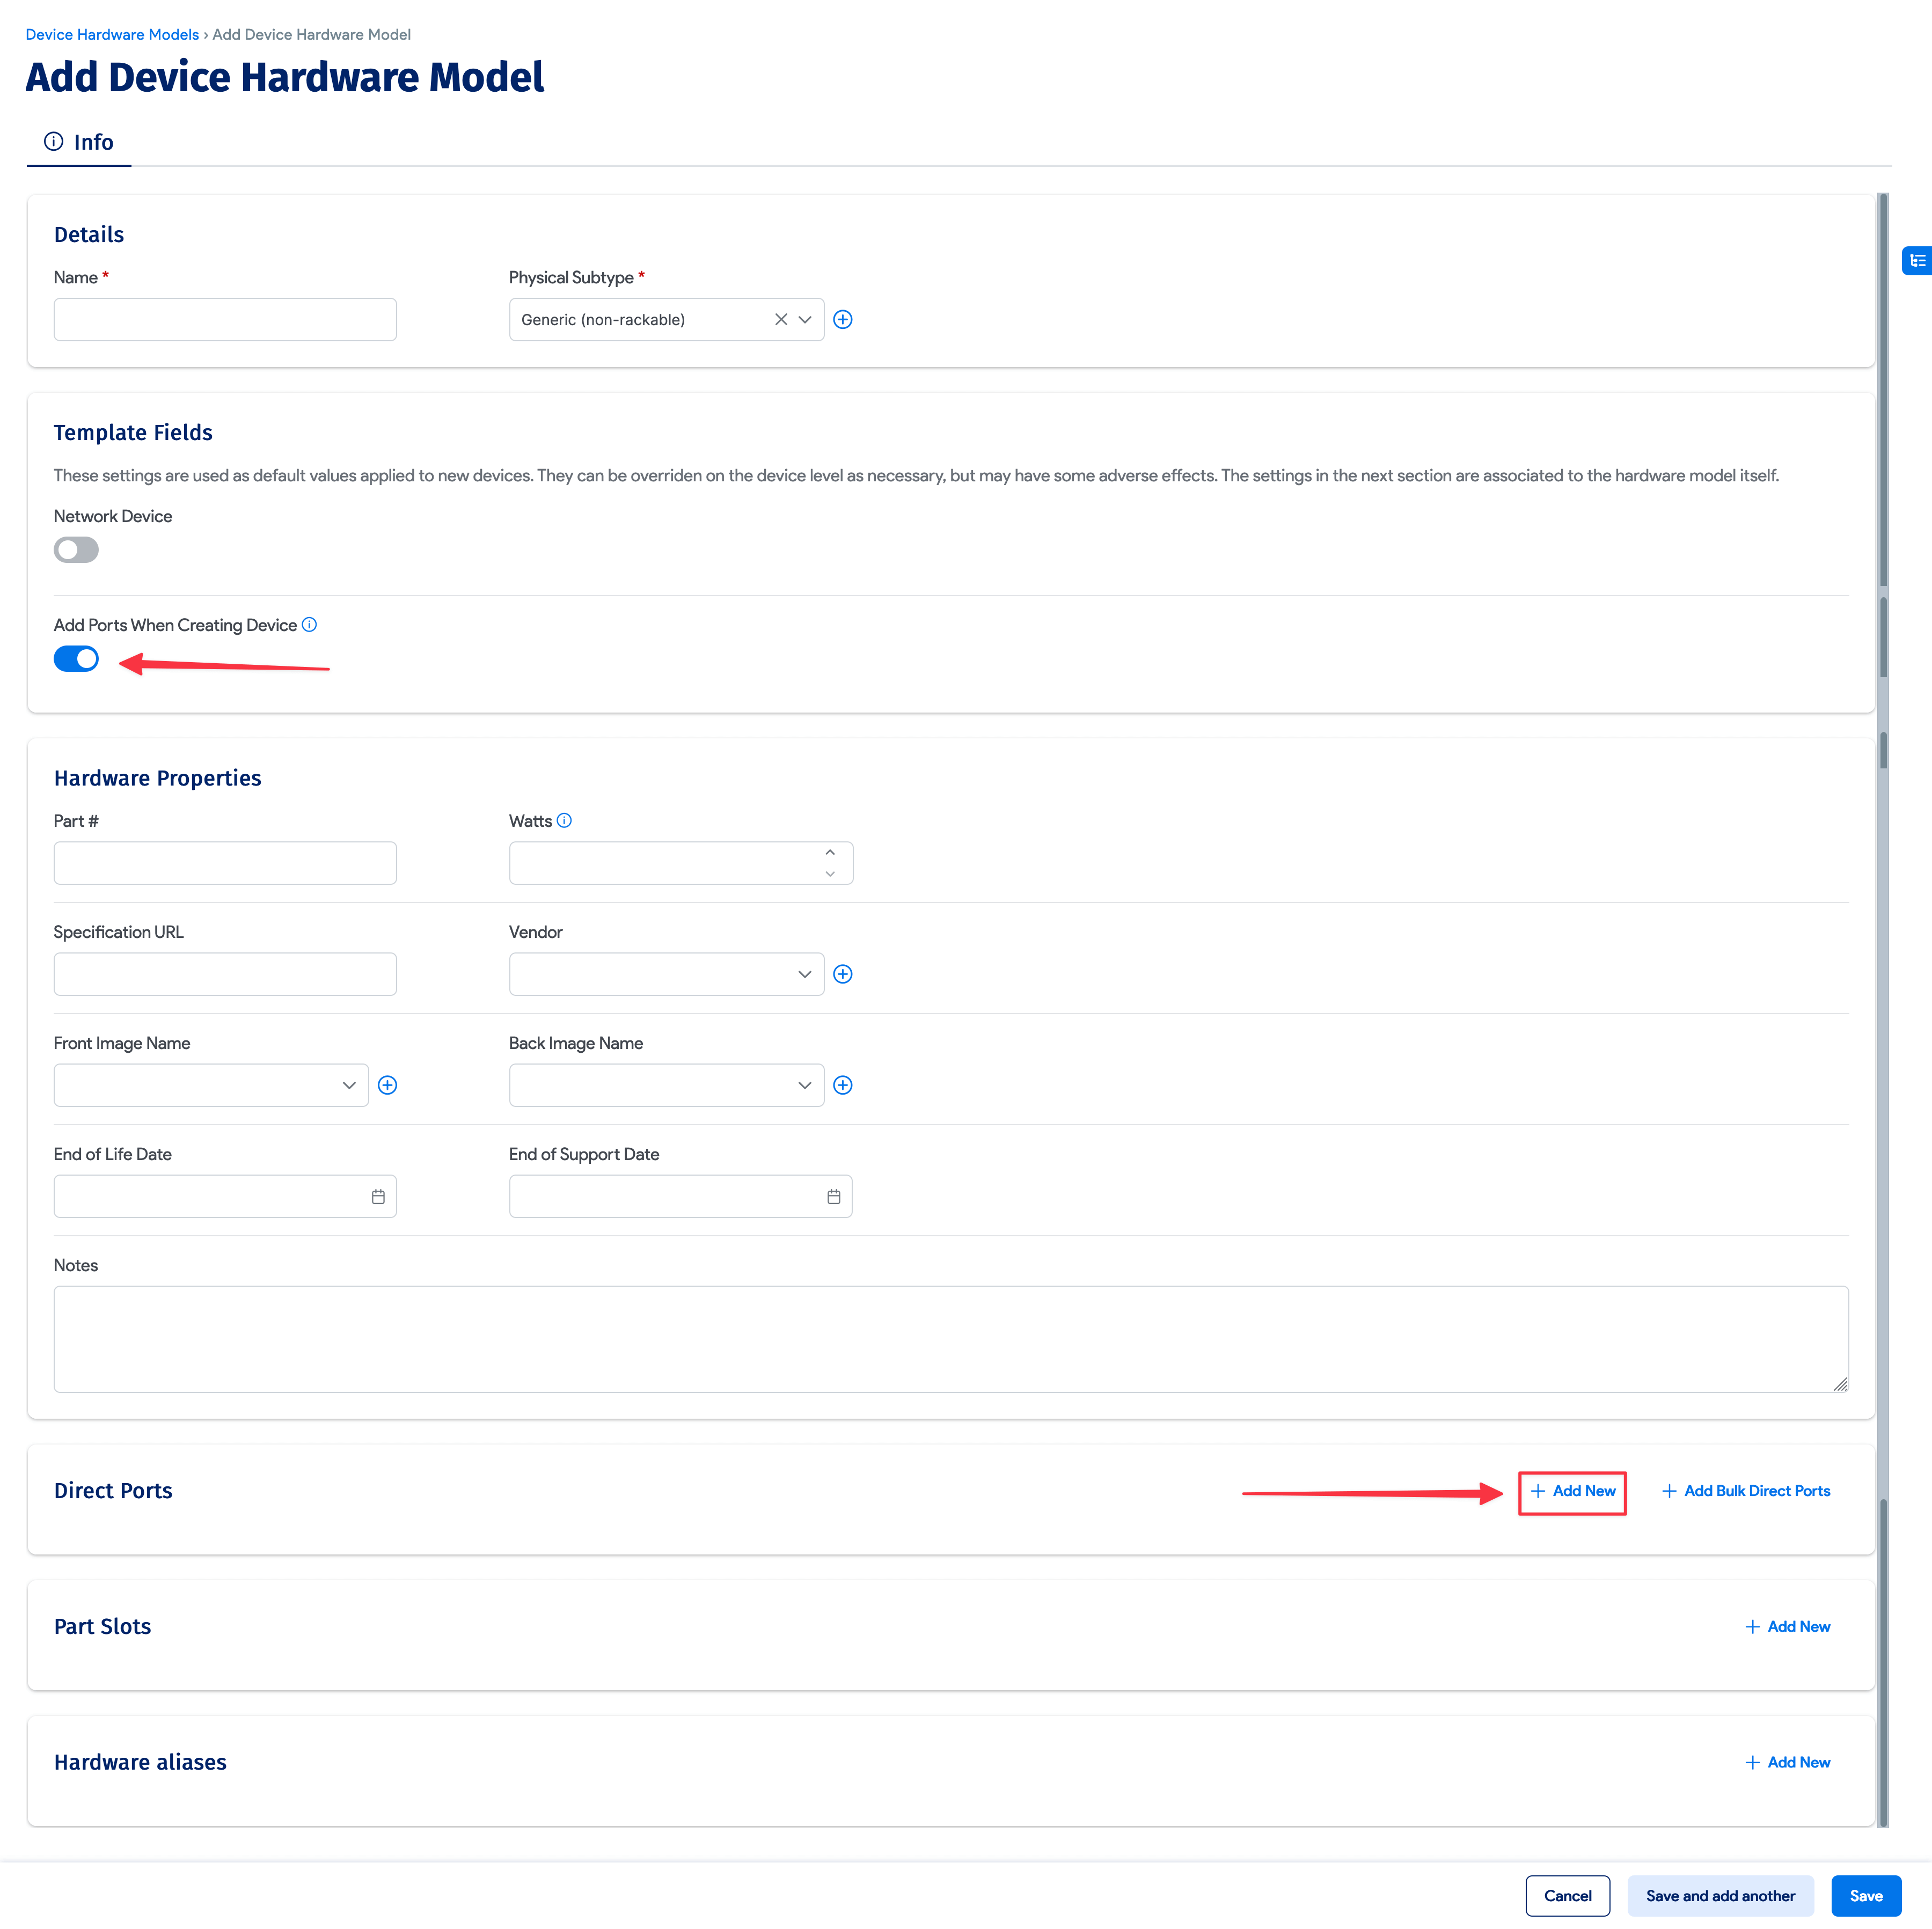
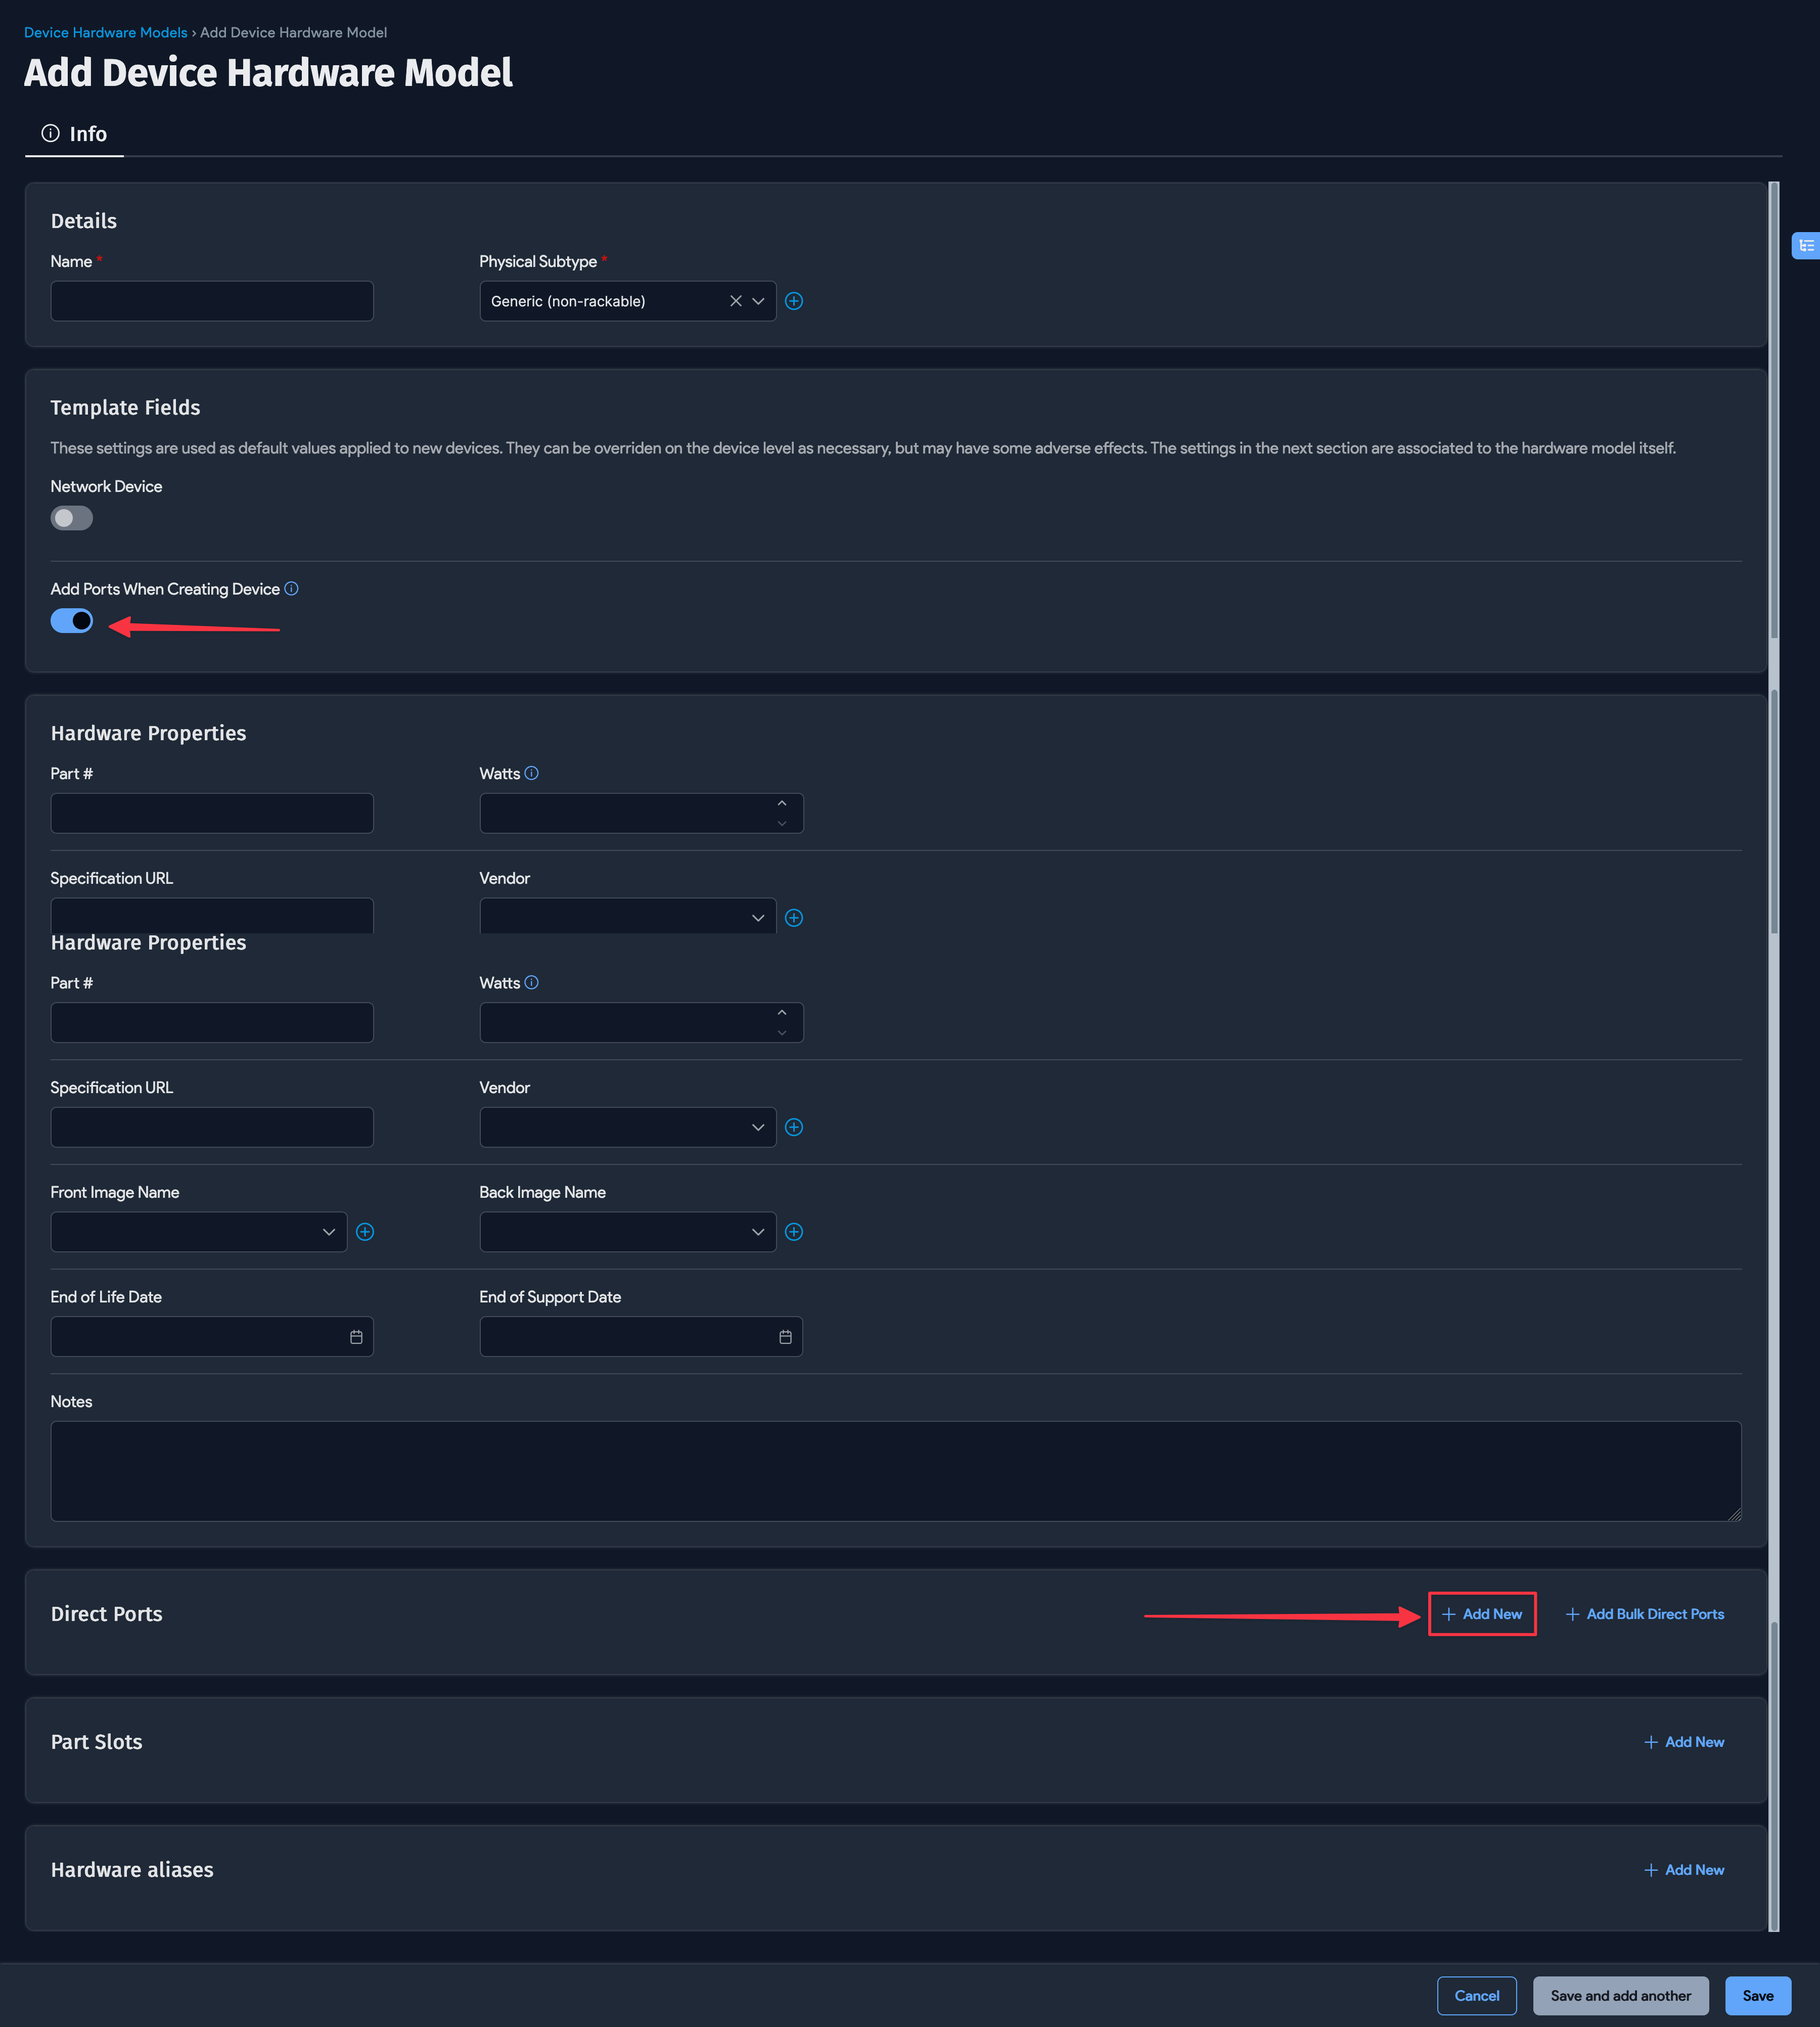
Define Ports on Hardware Models
You can define direct ports, part slots, and blade slots on a hardware model.
Direct Ports are ports built into the hardware chassis that are not removable. Select Add Ports When Creating Device to automatically create all defined direct ports when a device is created.
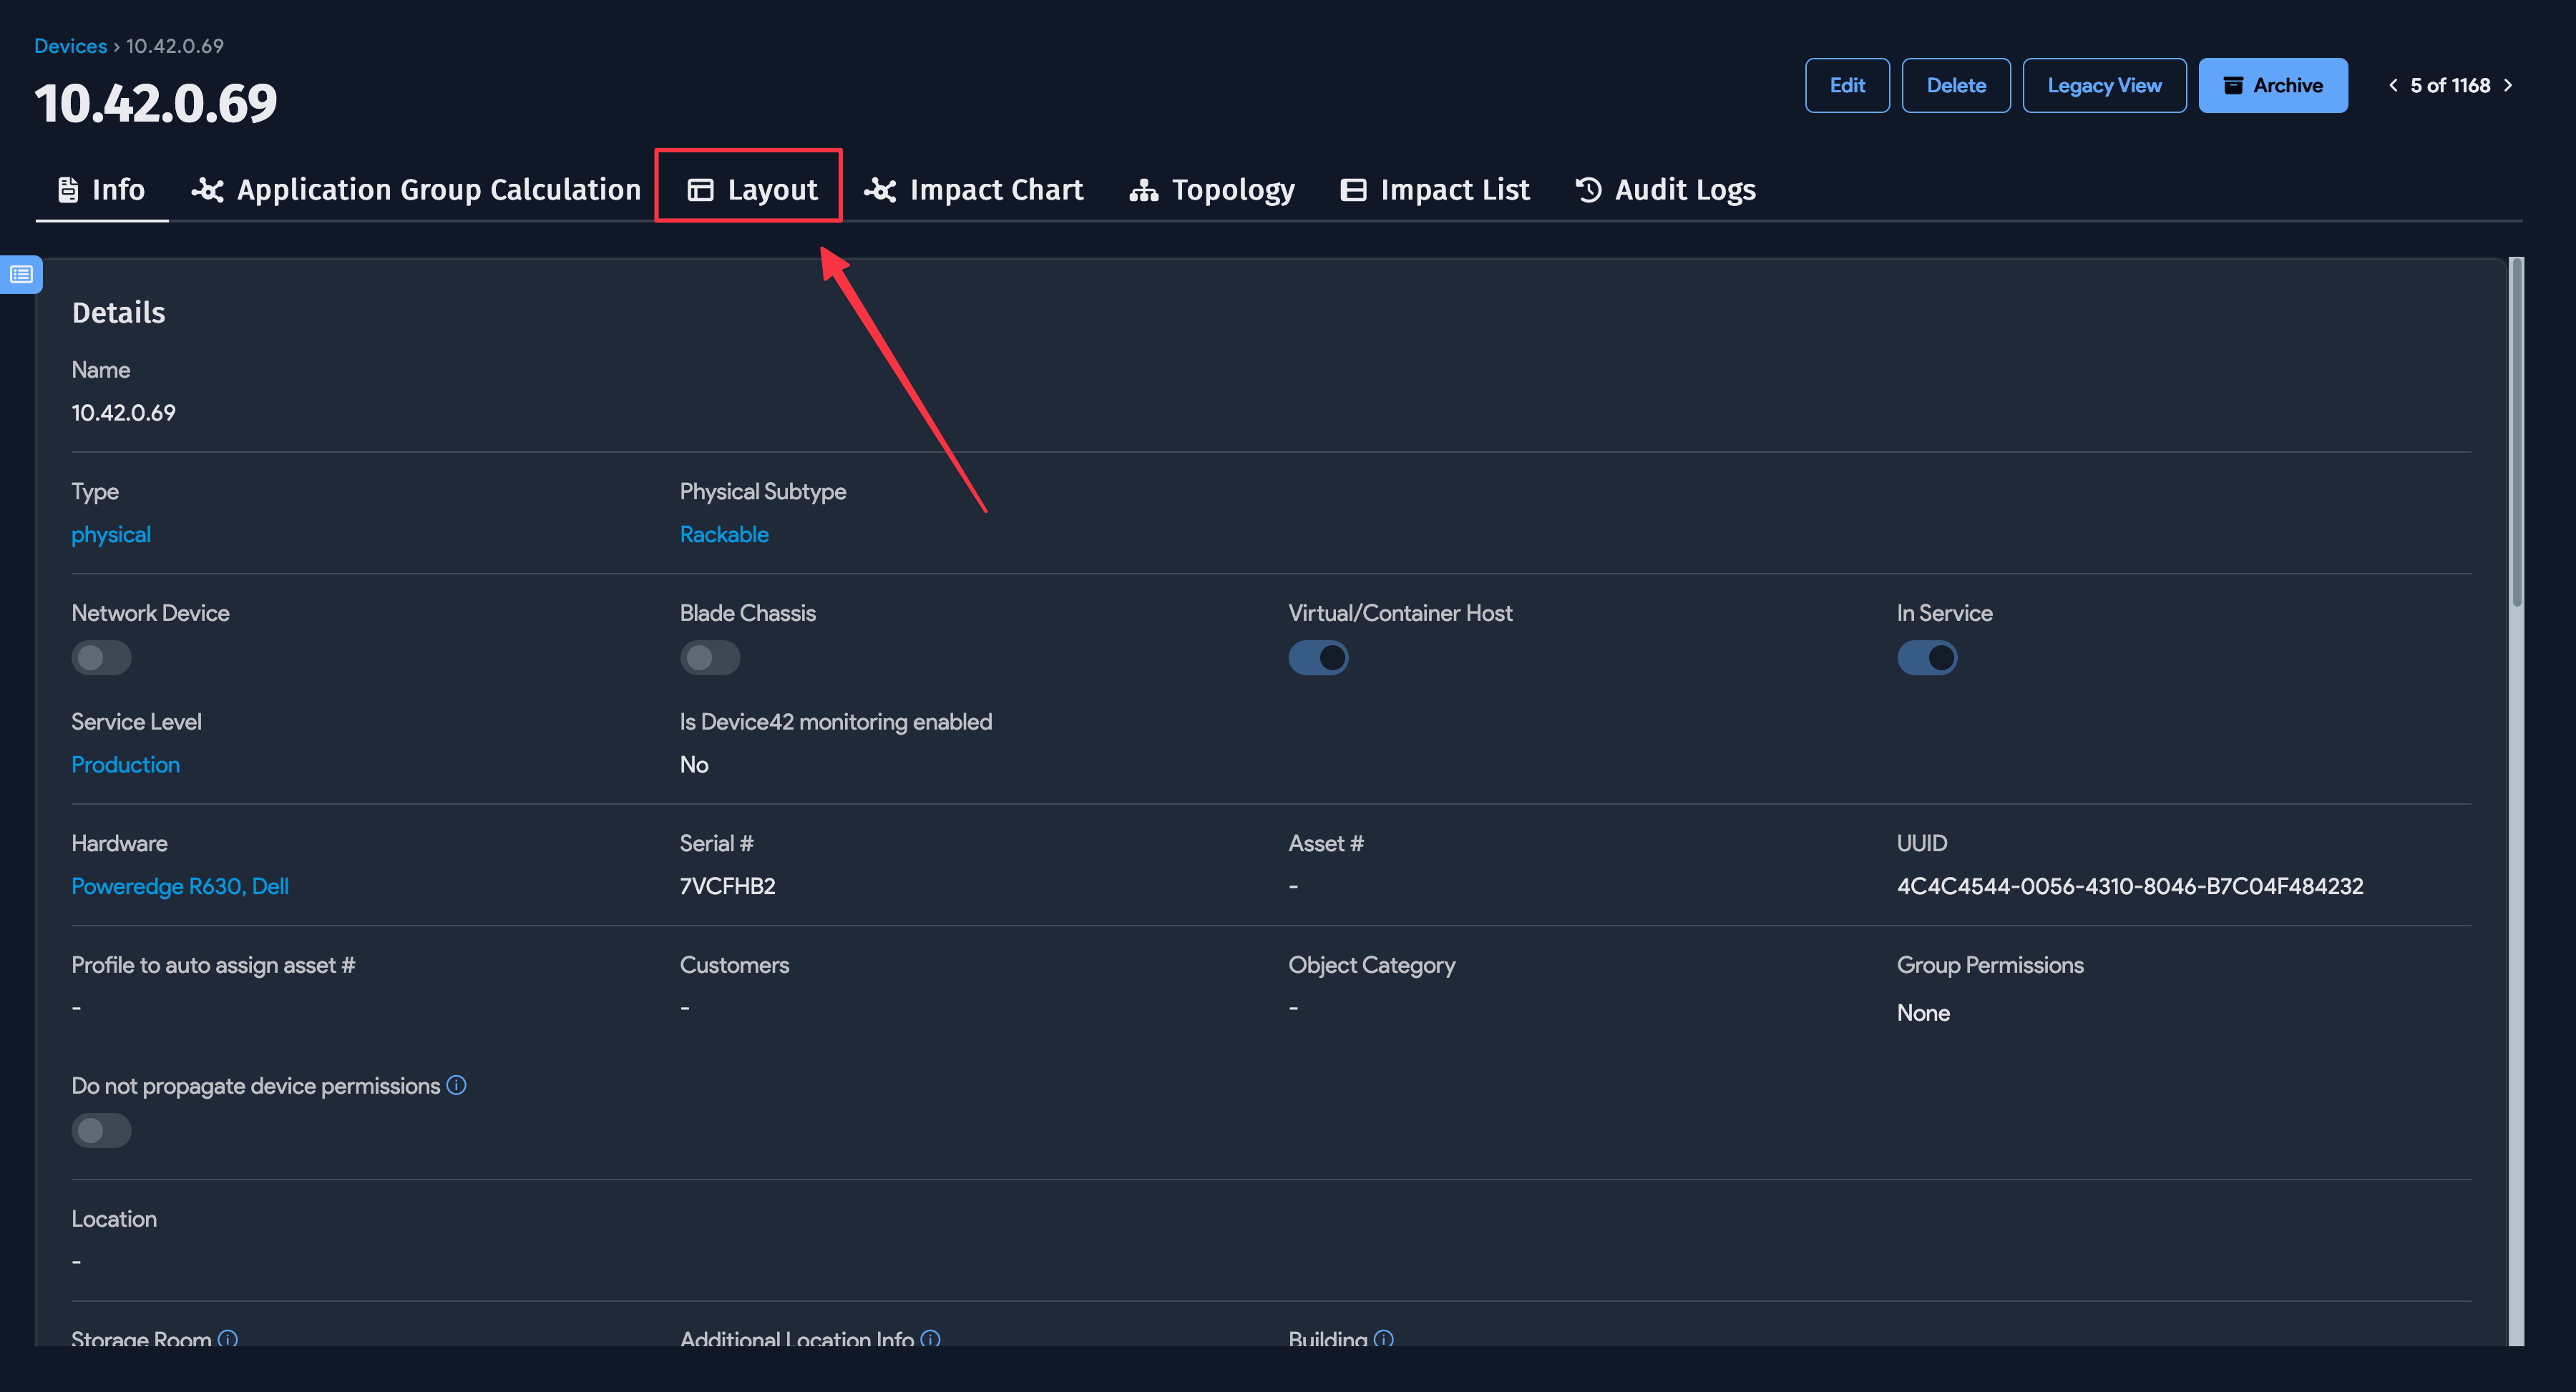
Edit a Device Layout
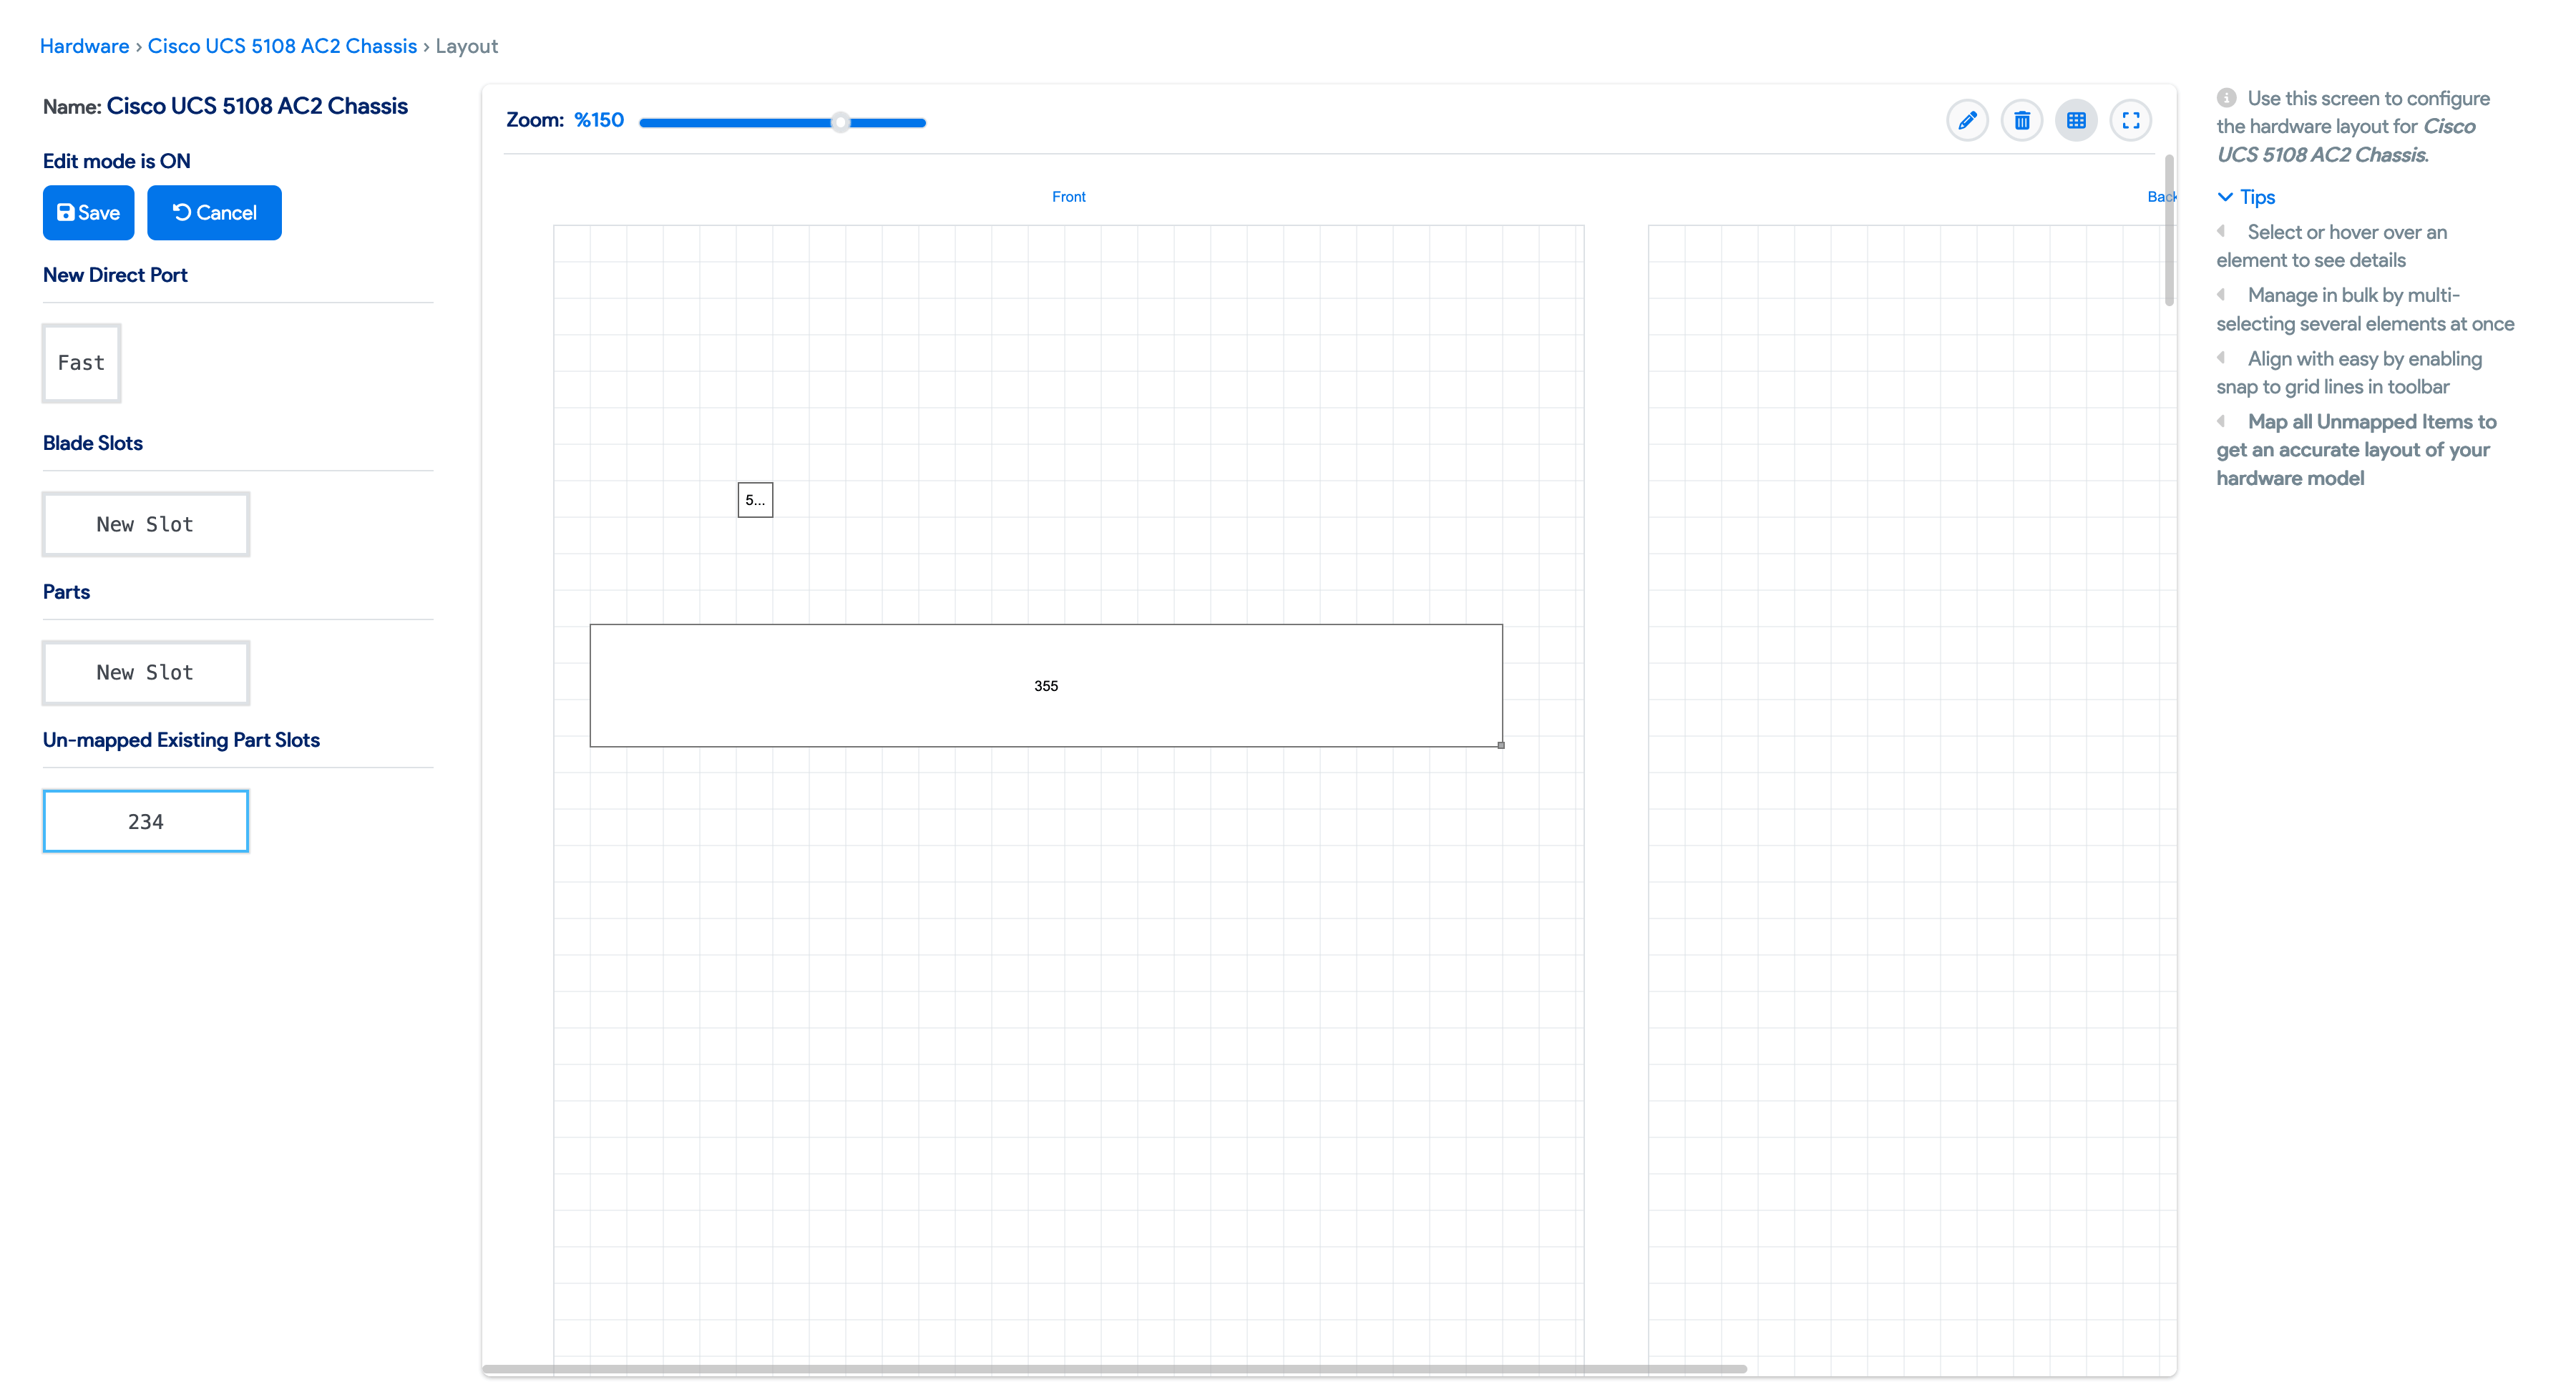
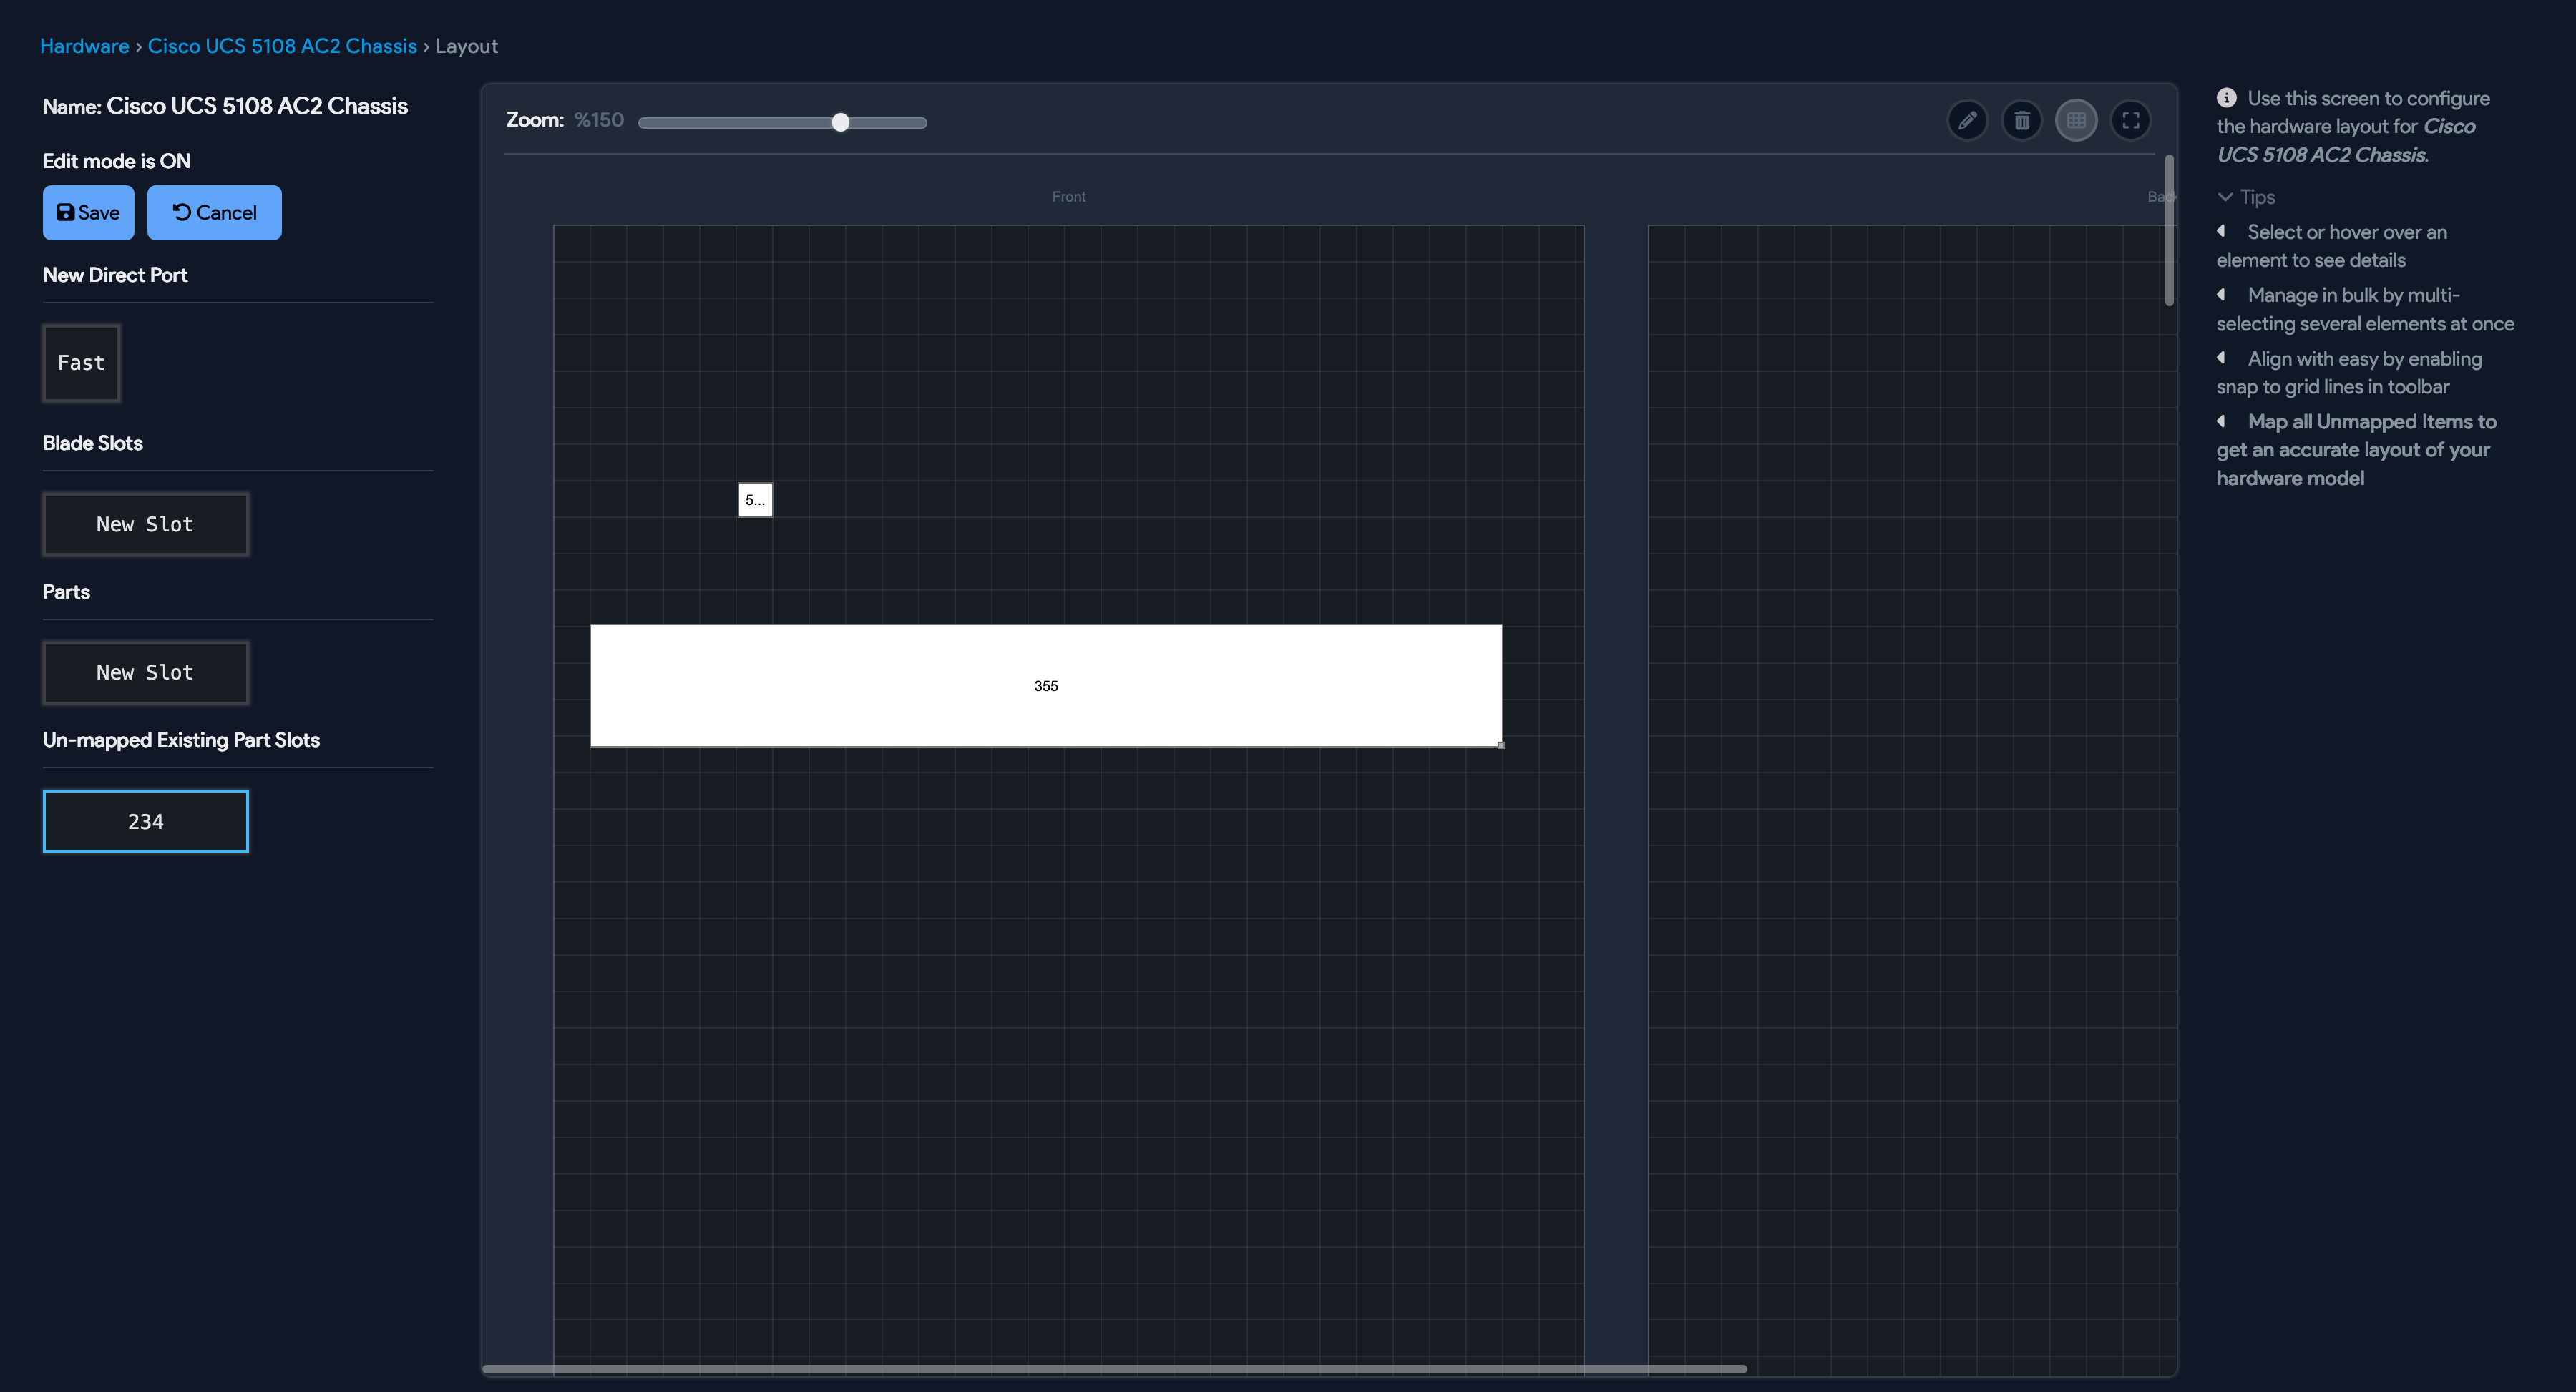
Each device has a visual layout based on its hardware model. To edit it, navigate to the device details page and click Layout in the top right.
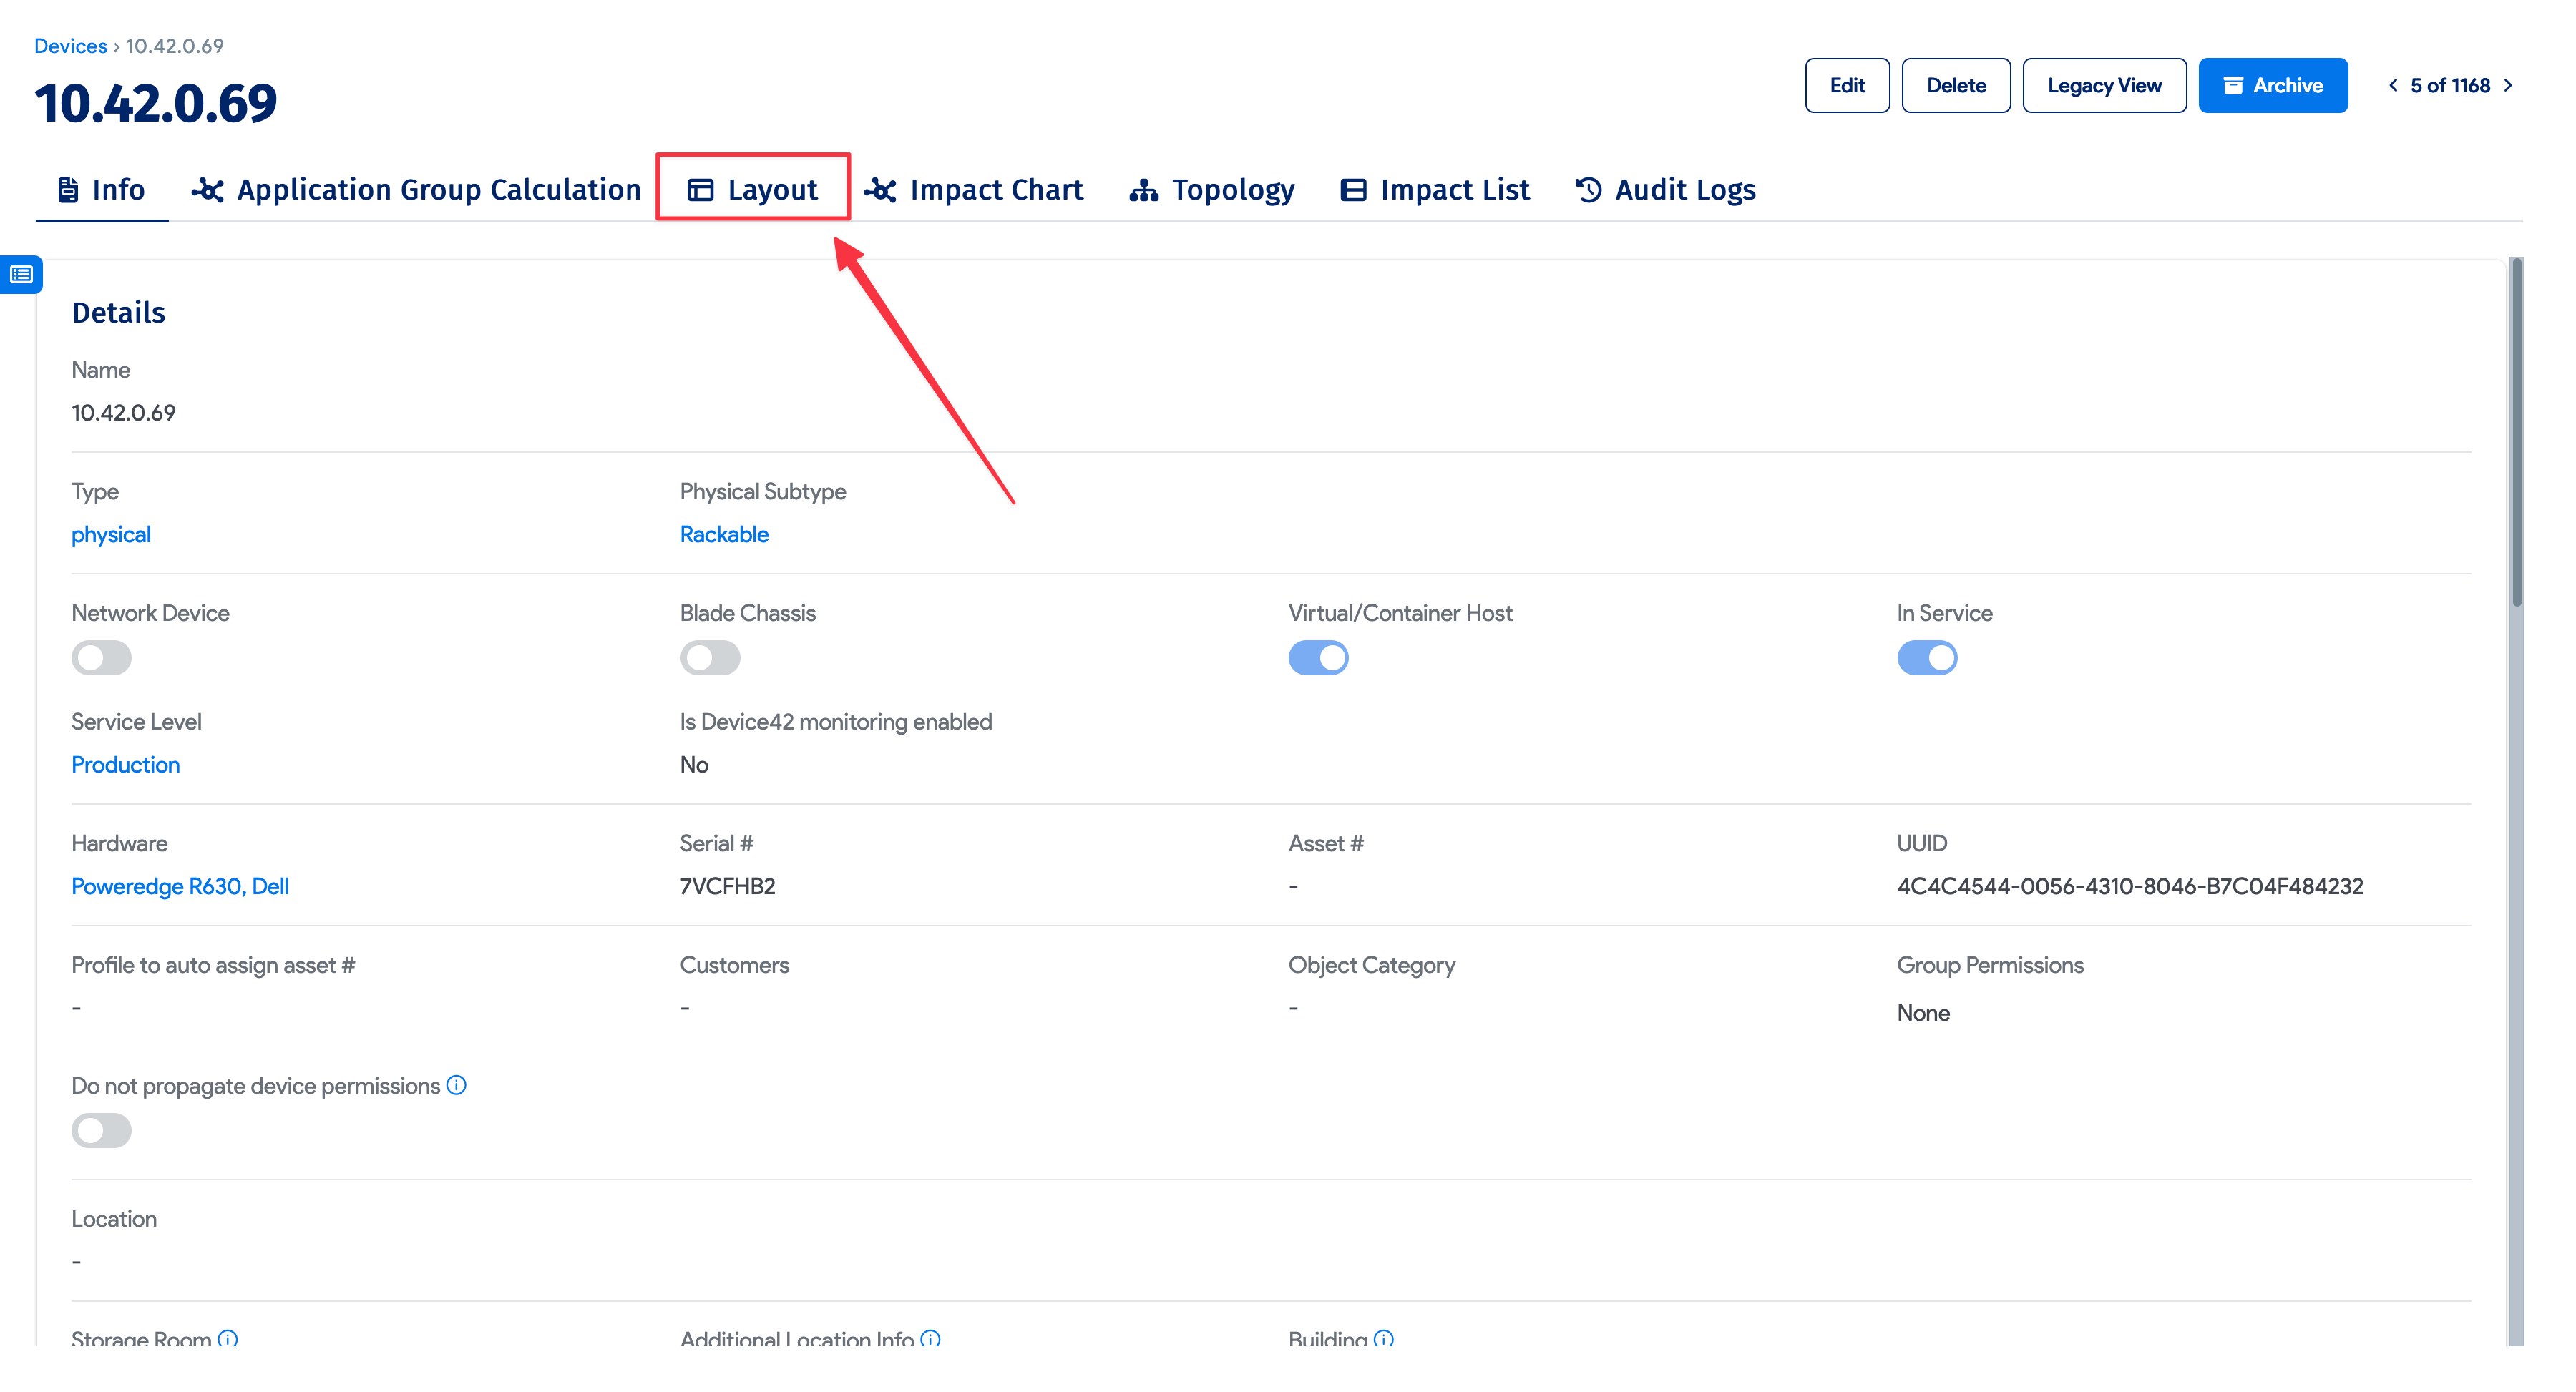
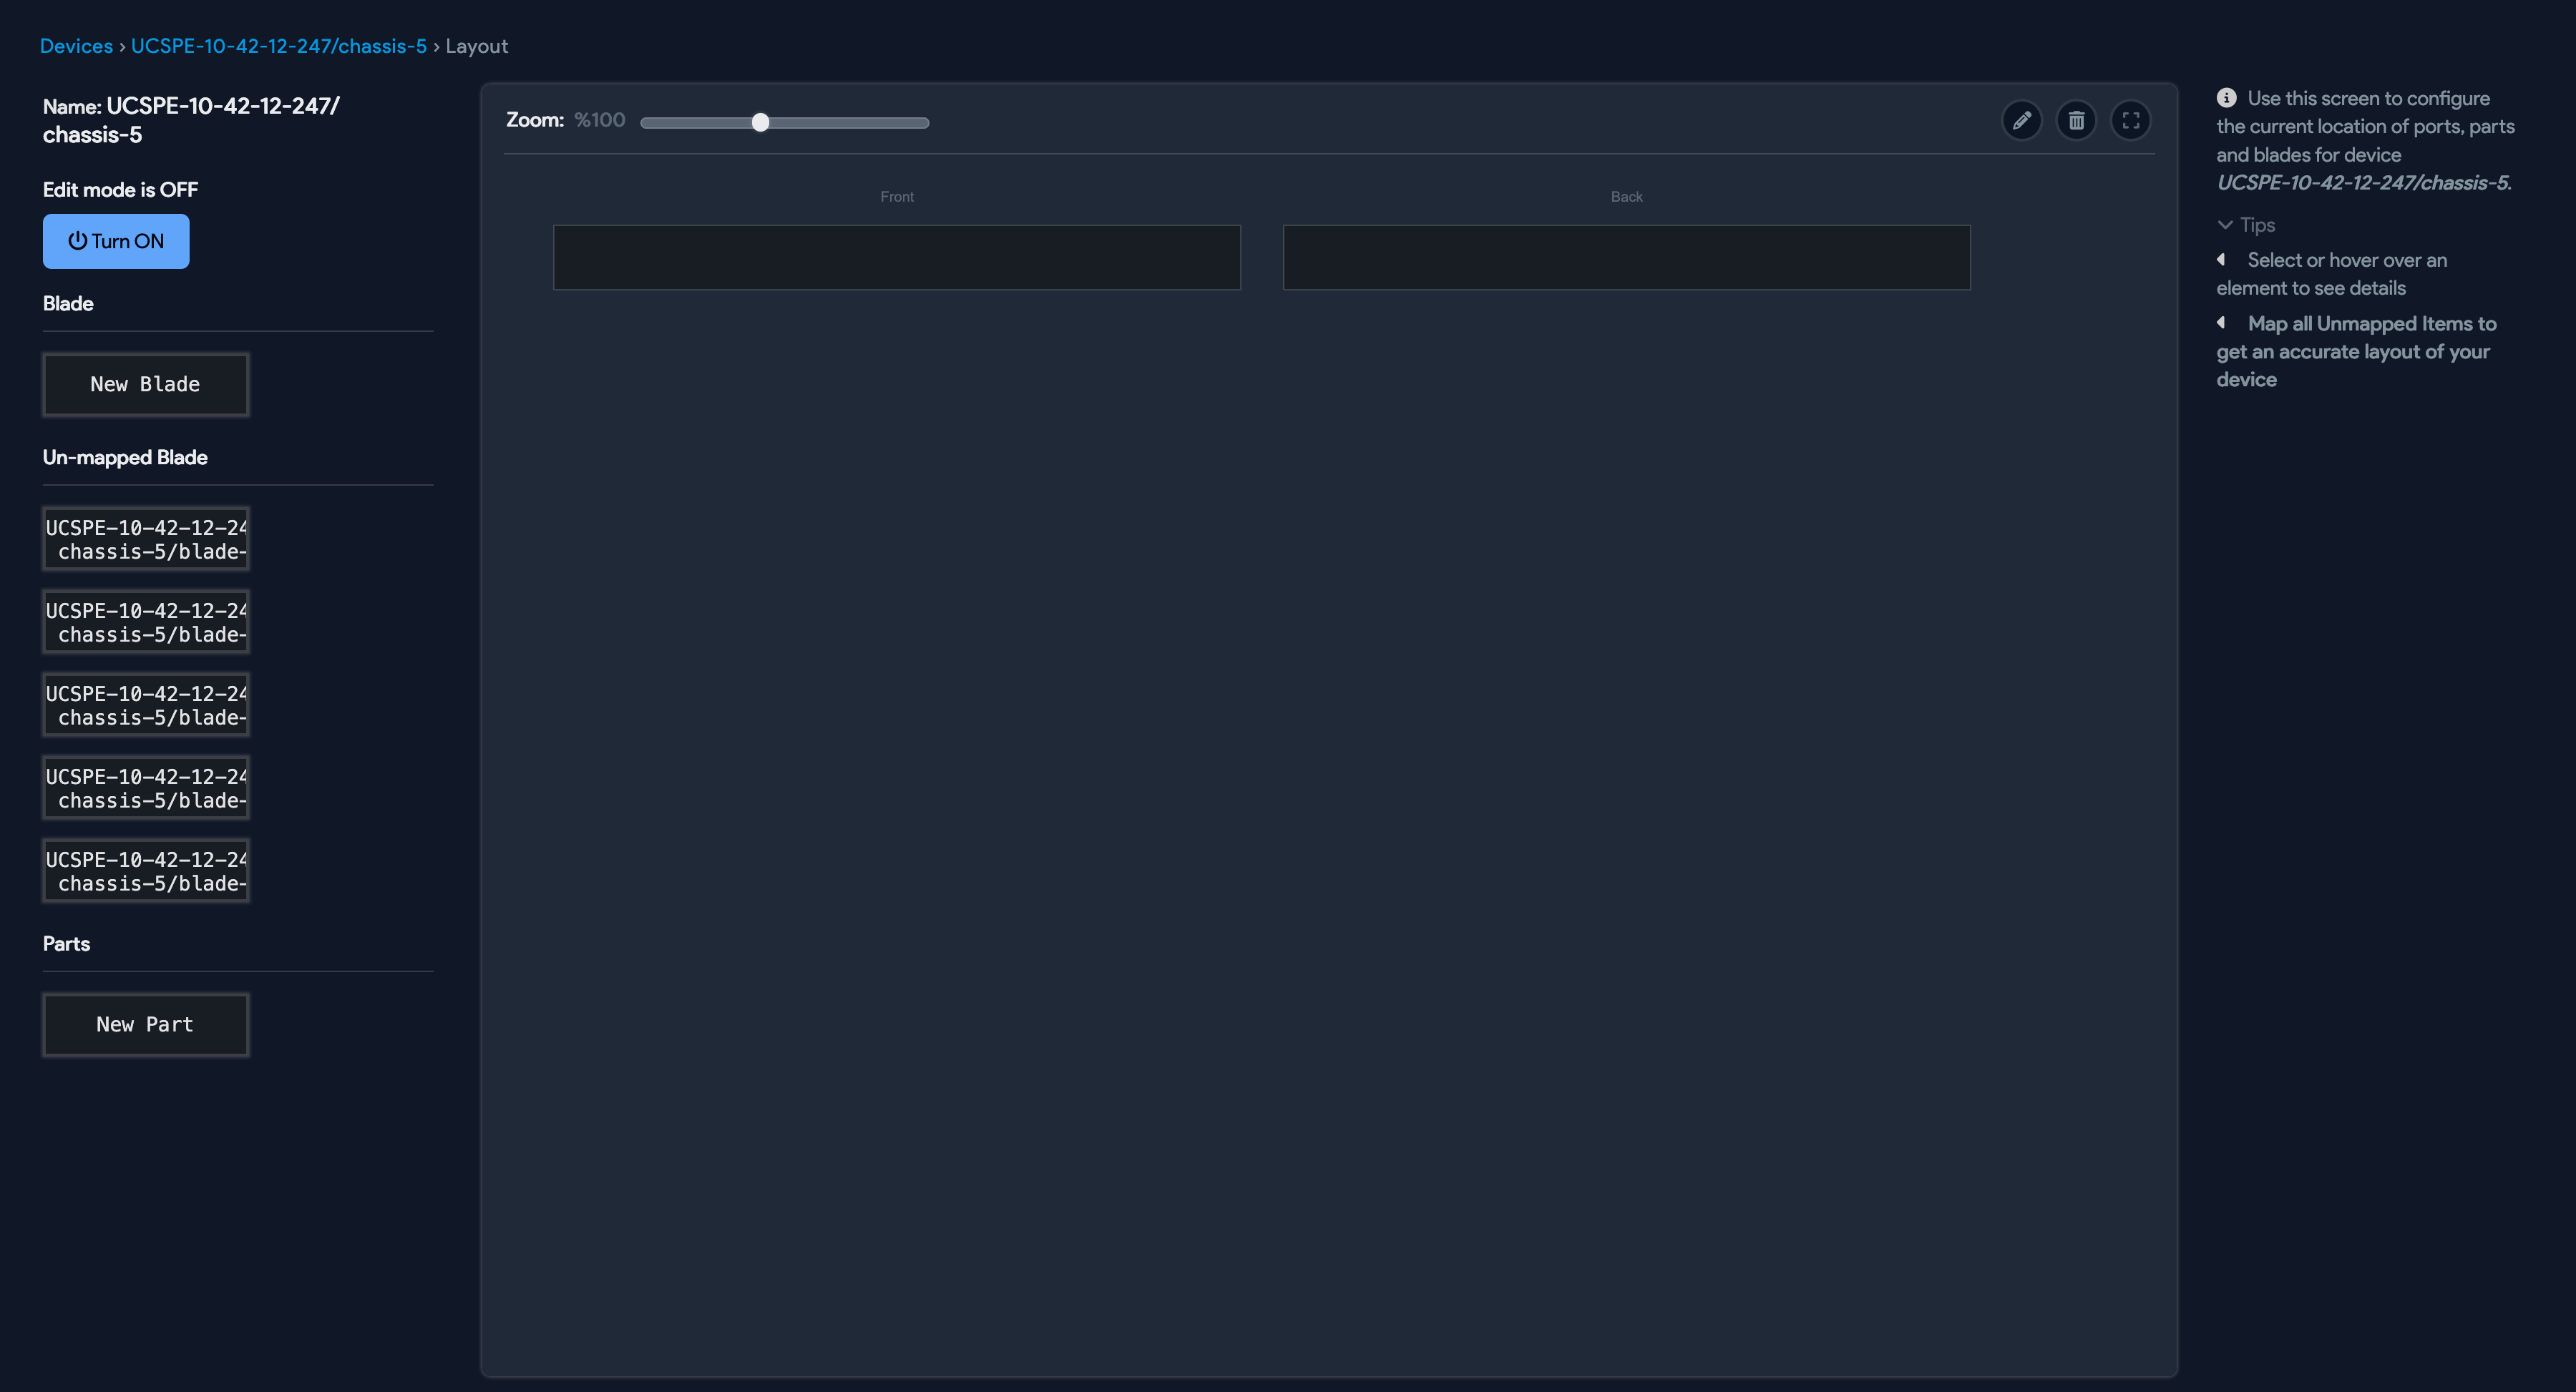
In the layout view, click Turn ON to enter edit mode. Add parts slots, parts, and direct ports to the hardware chassis by dragging and dropping the icons from the left column onto the Front or Back of the device.
Fix a Blank Device Layout
If the layout is empty, the hardware model does not have ports, parts slots, or blade slots defined yet. You need to add them to the hardware model first.

-
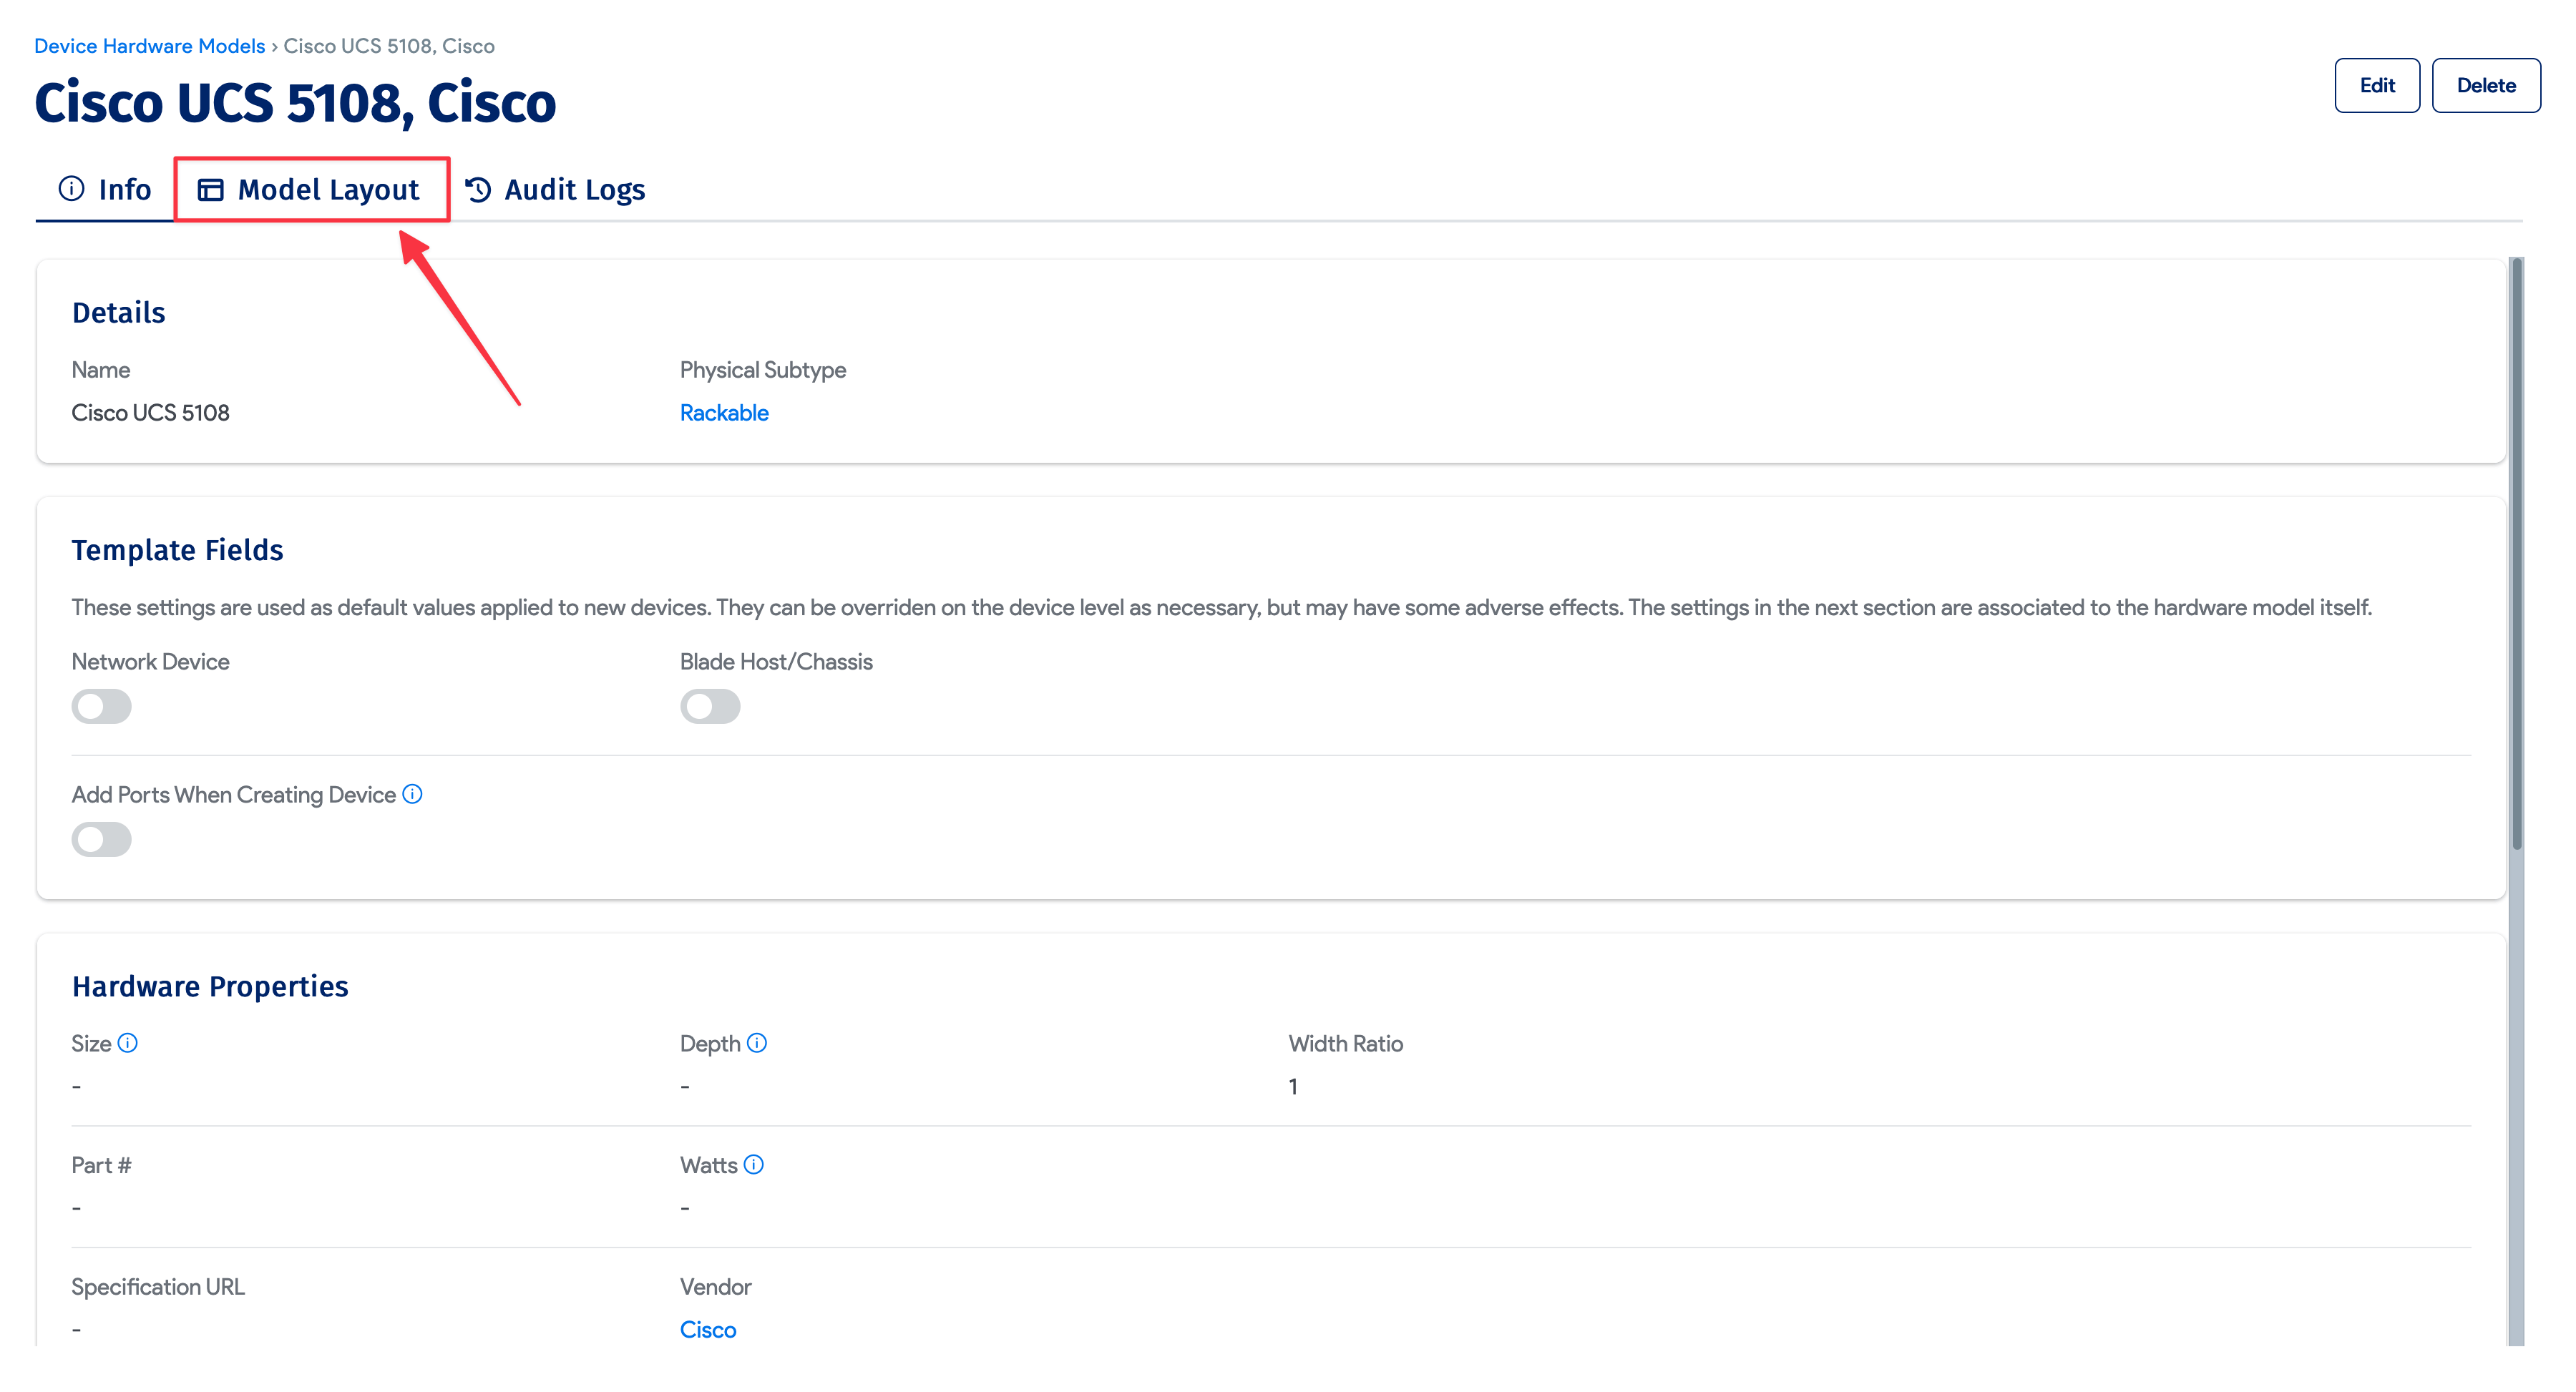
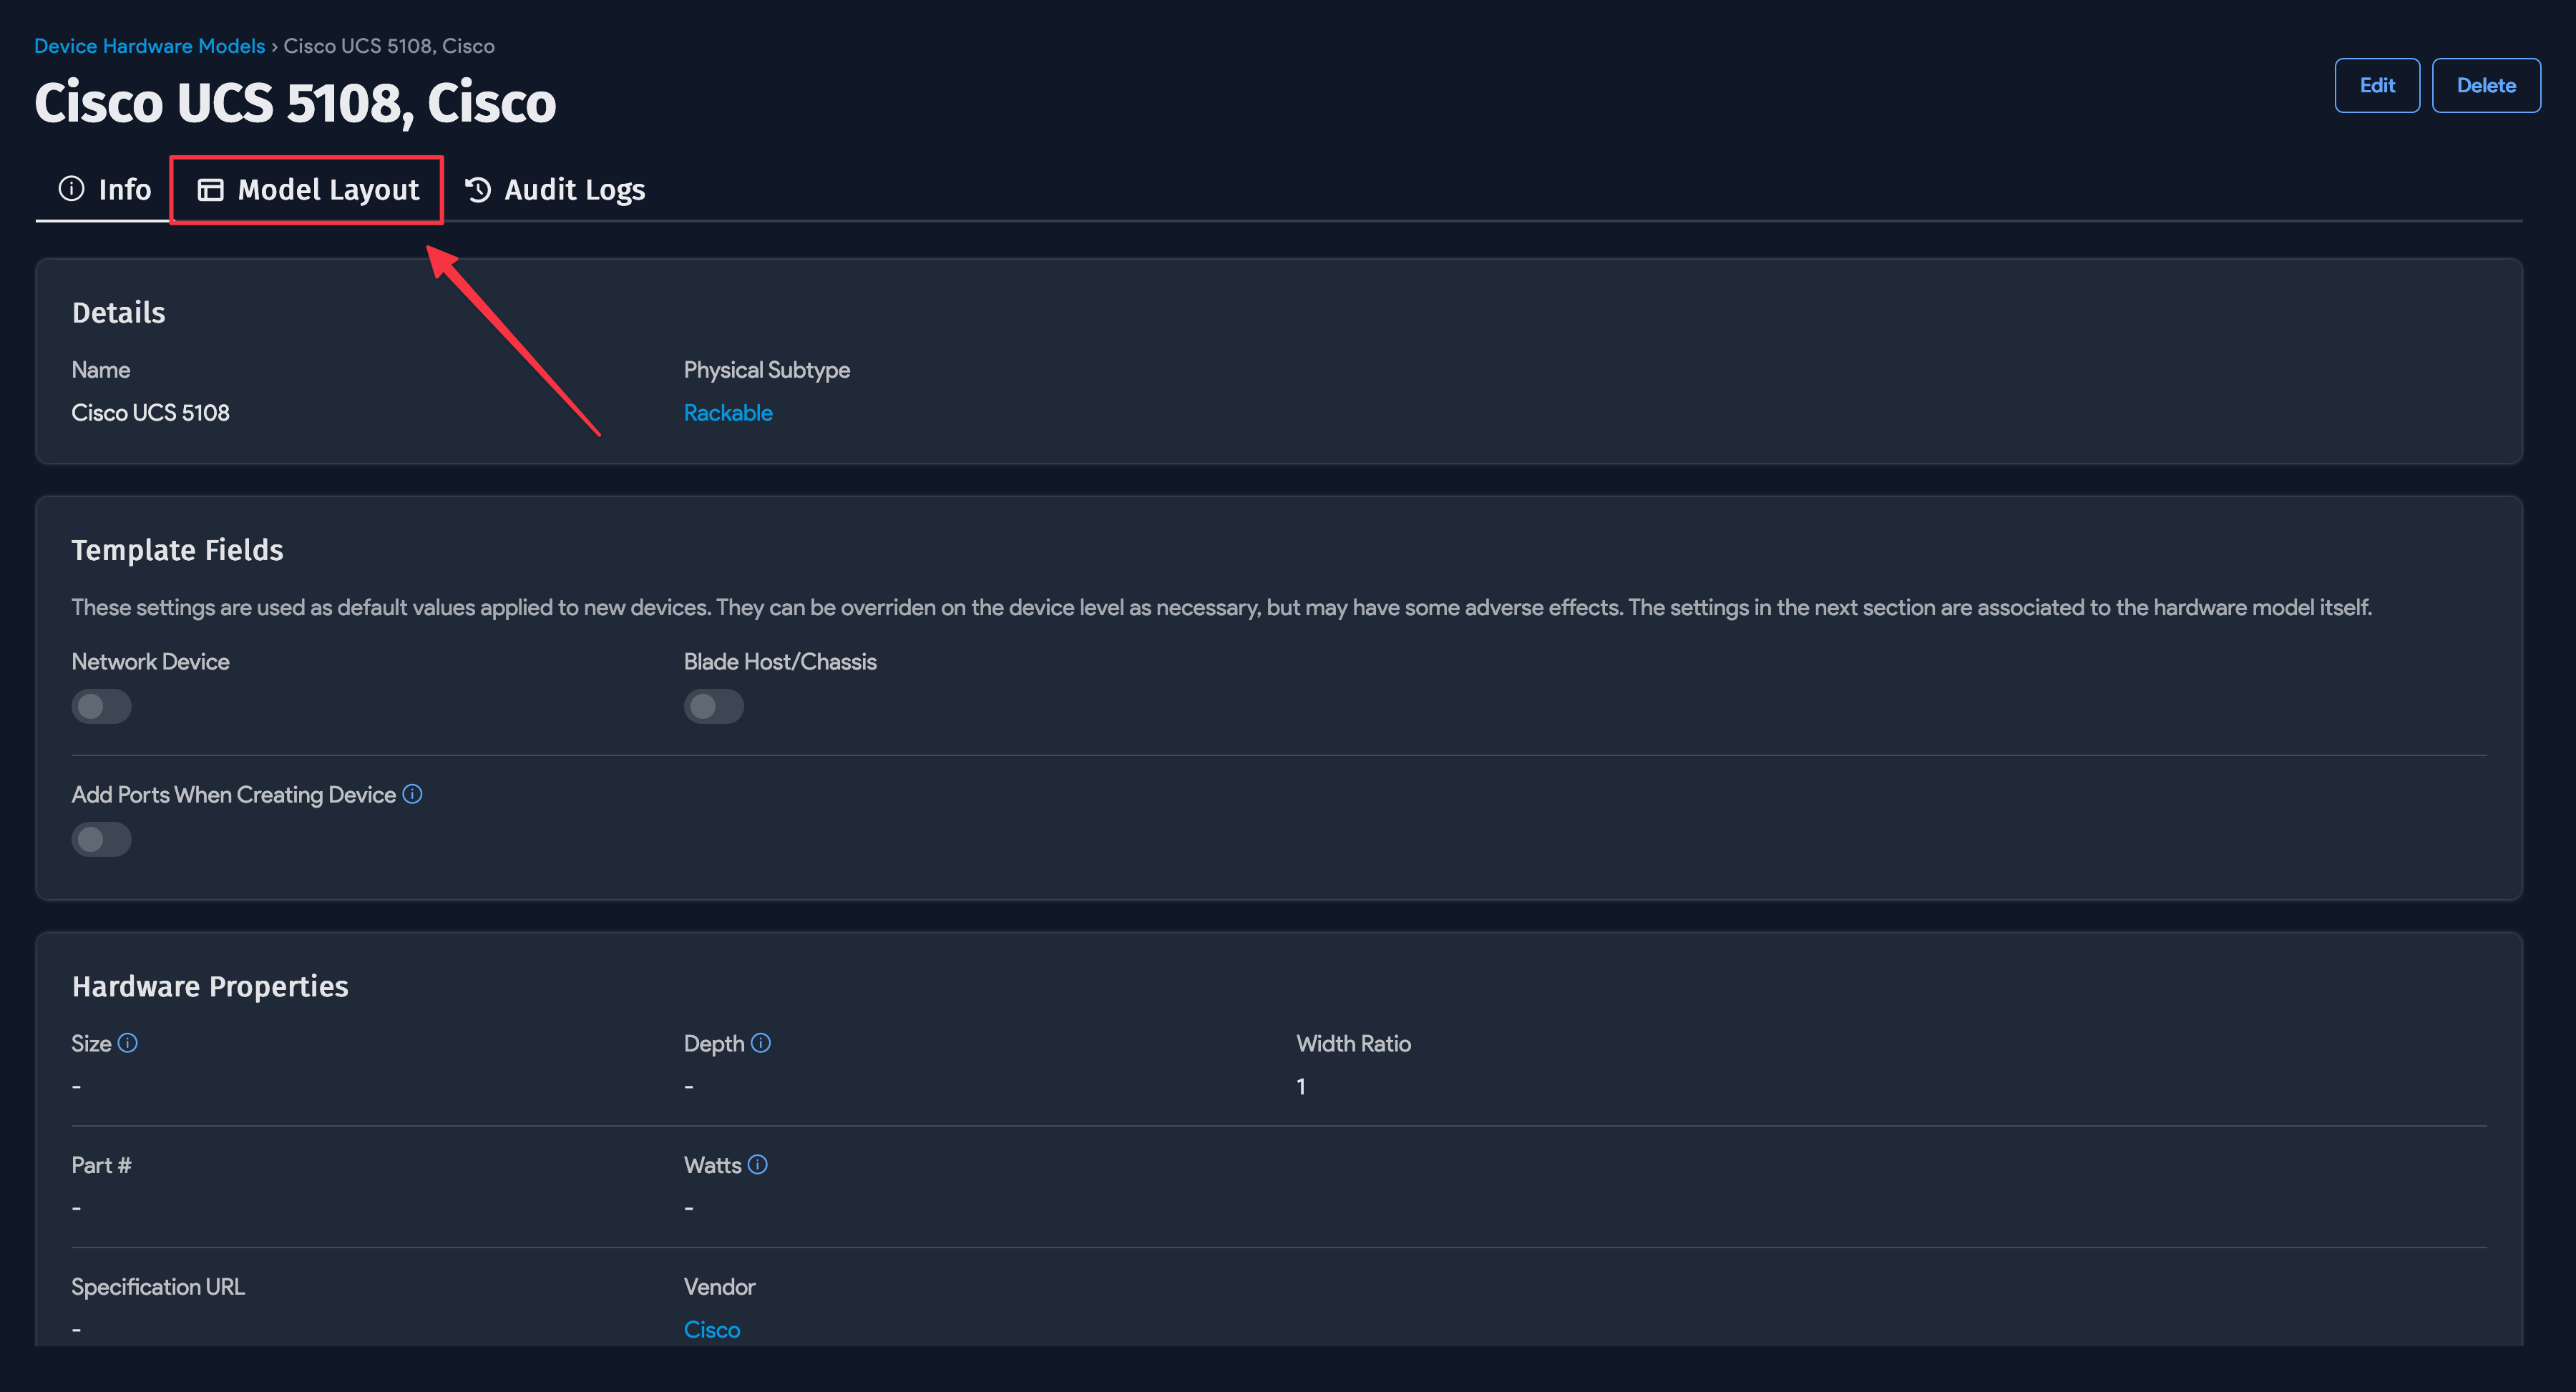
On the device details page, click the link to the hardware model.
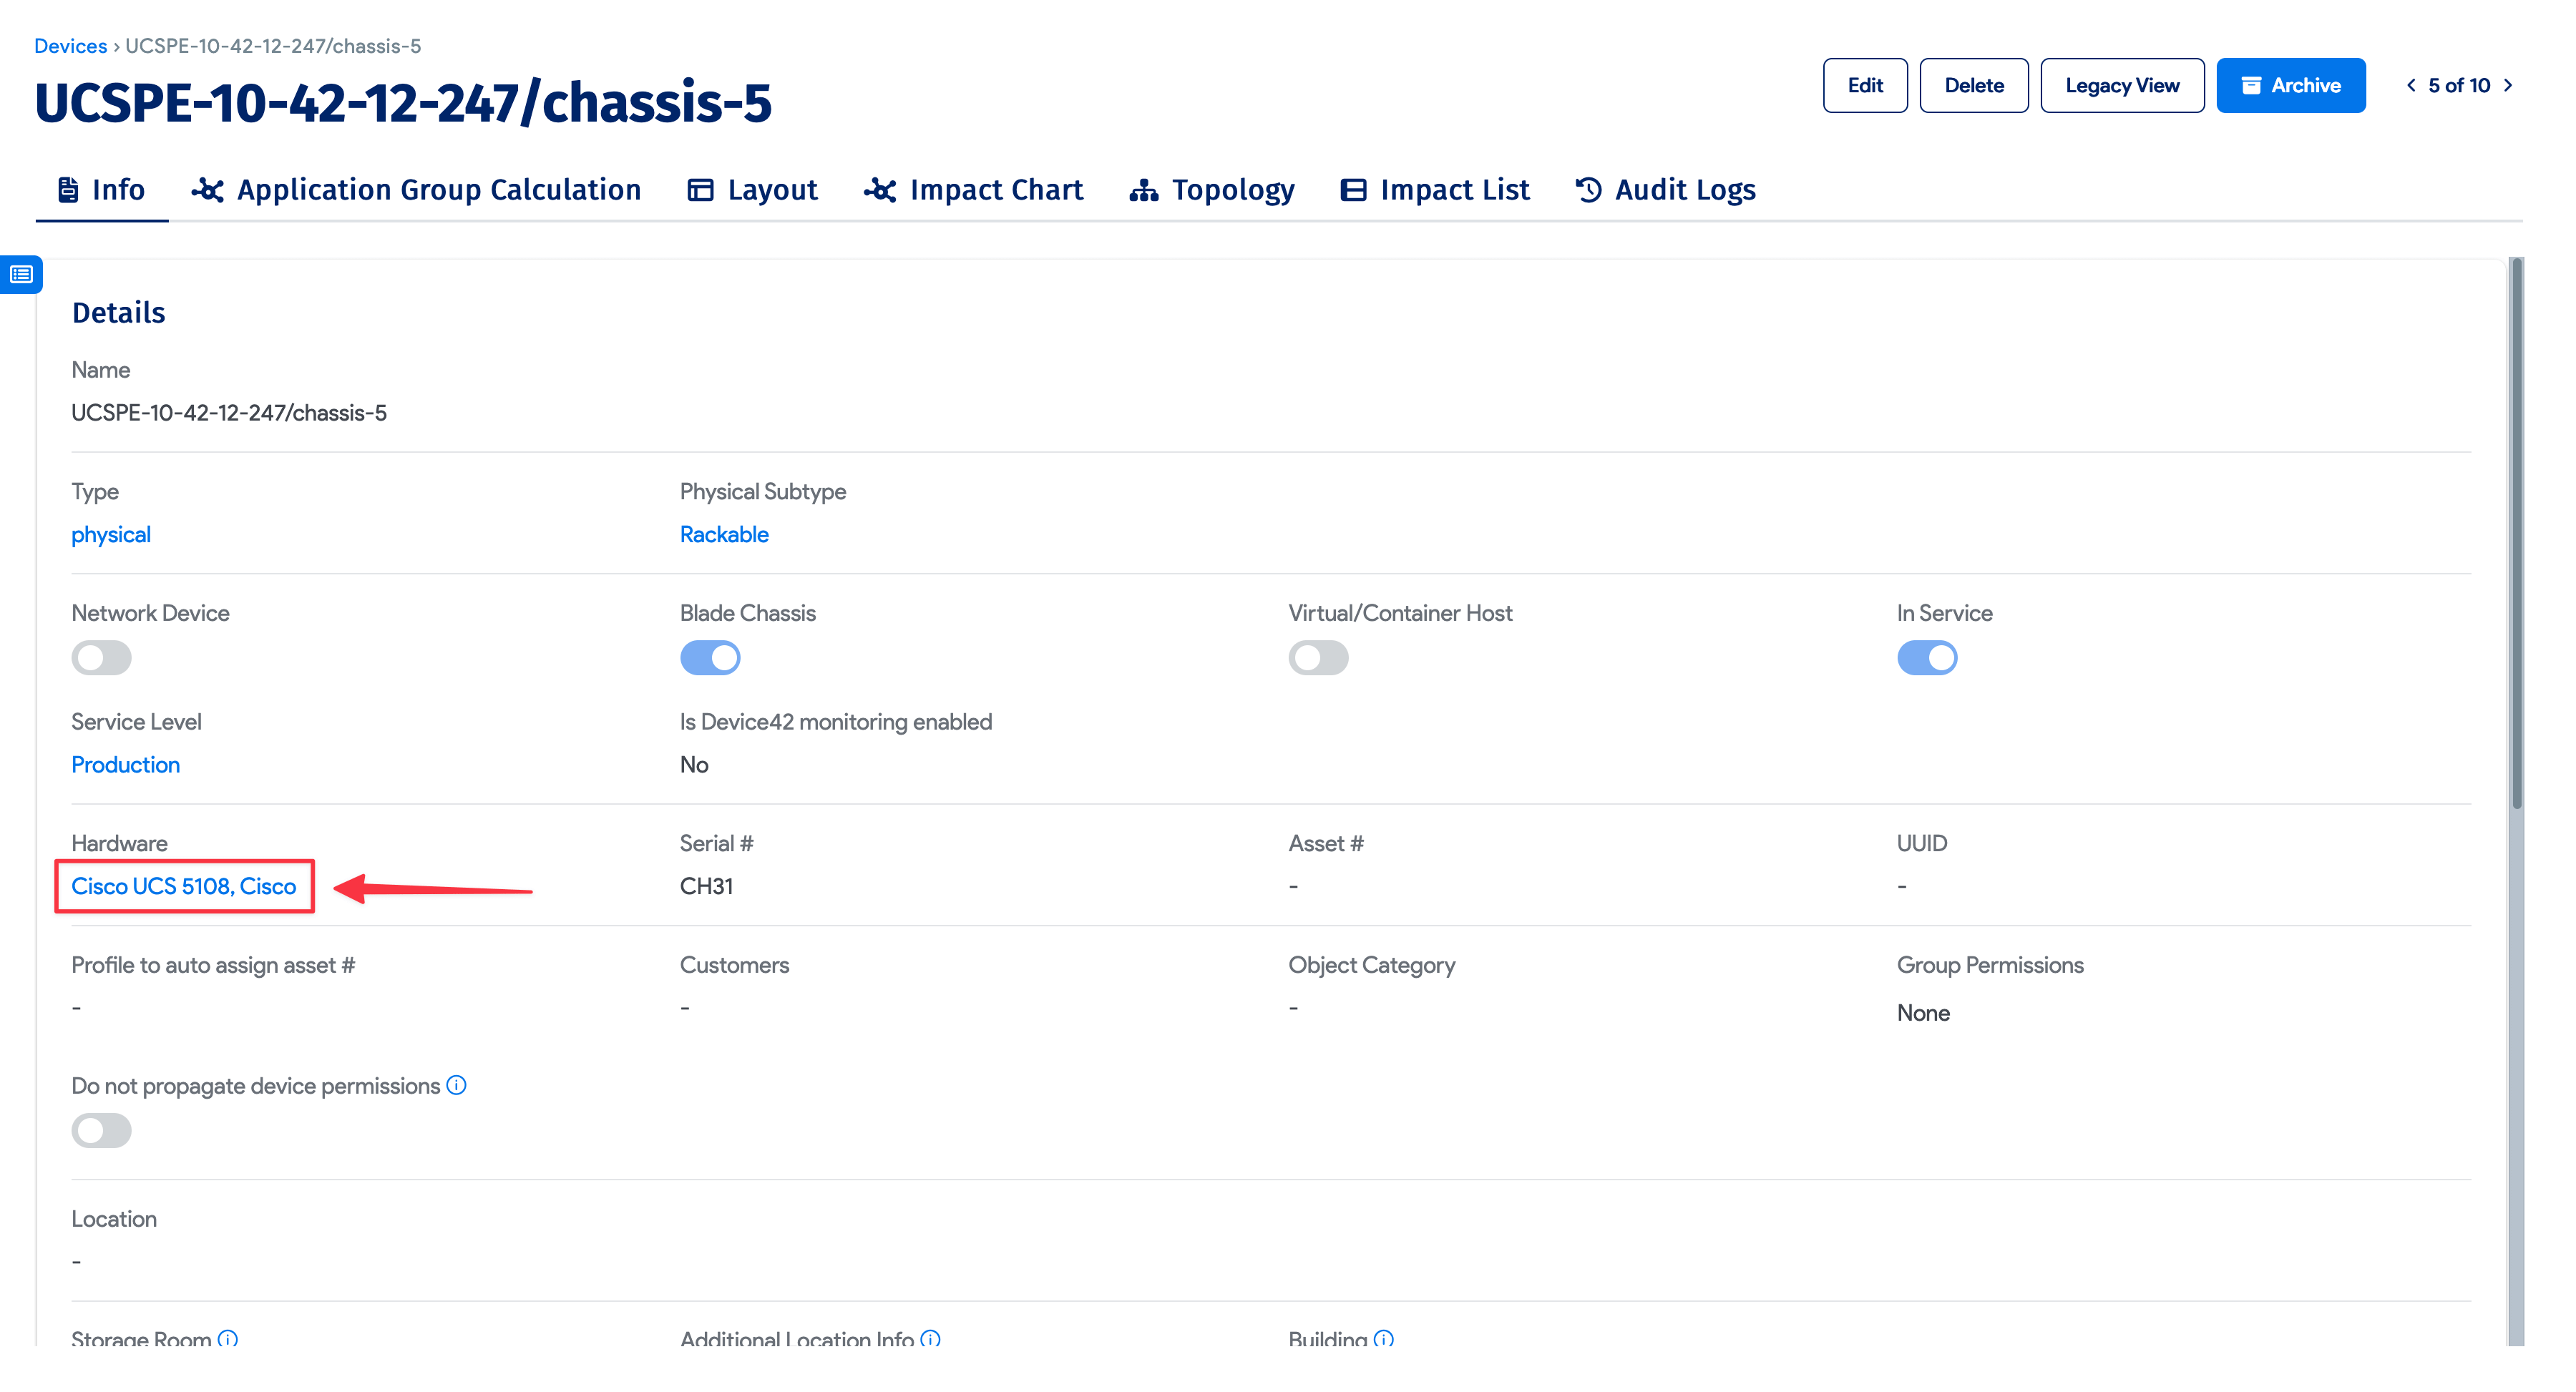
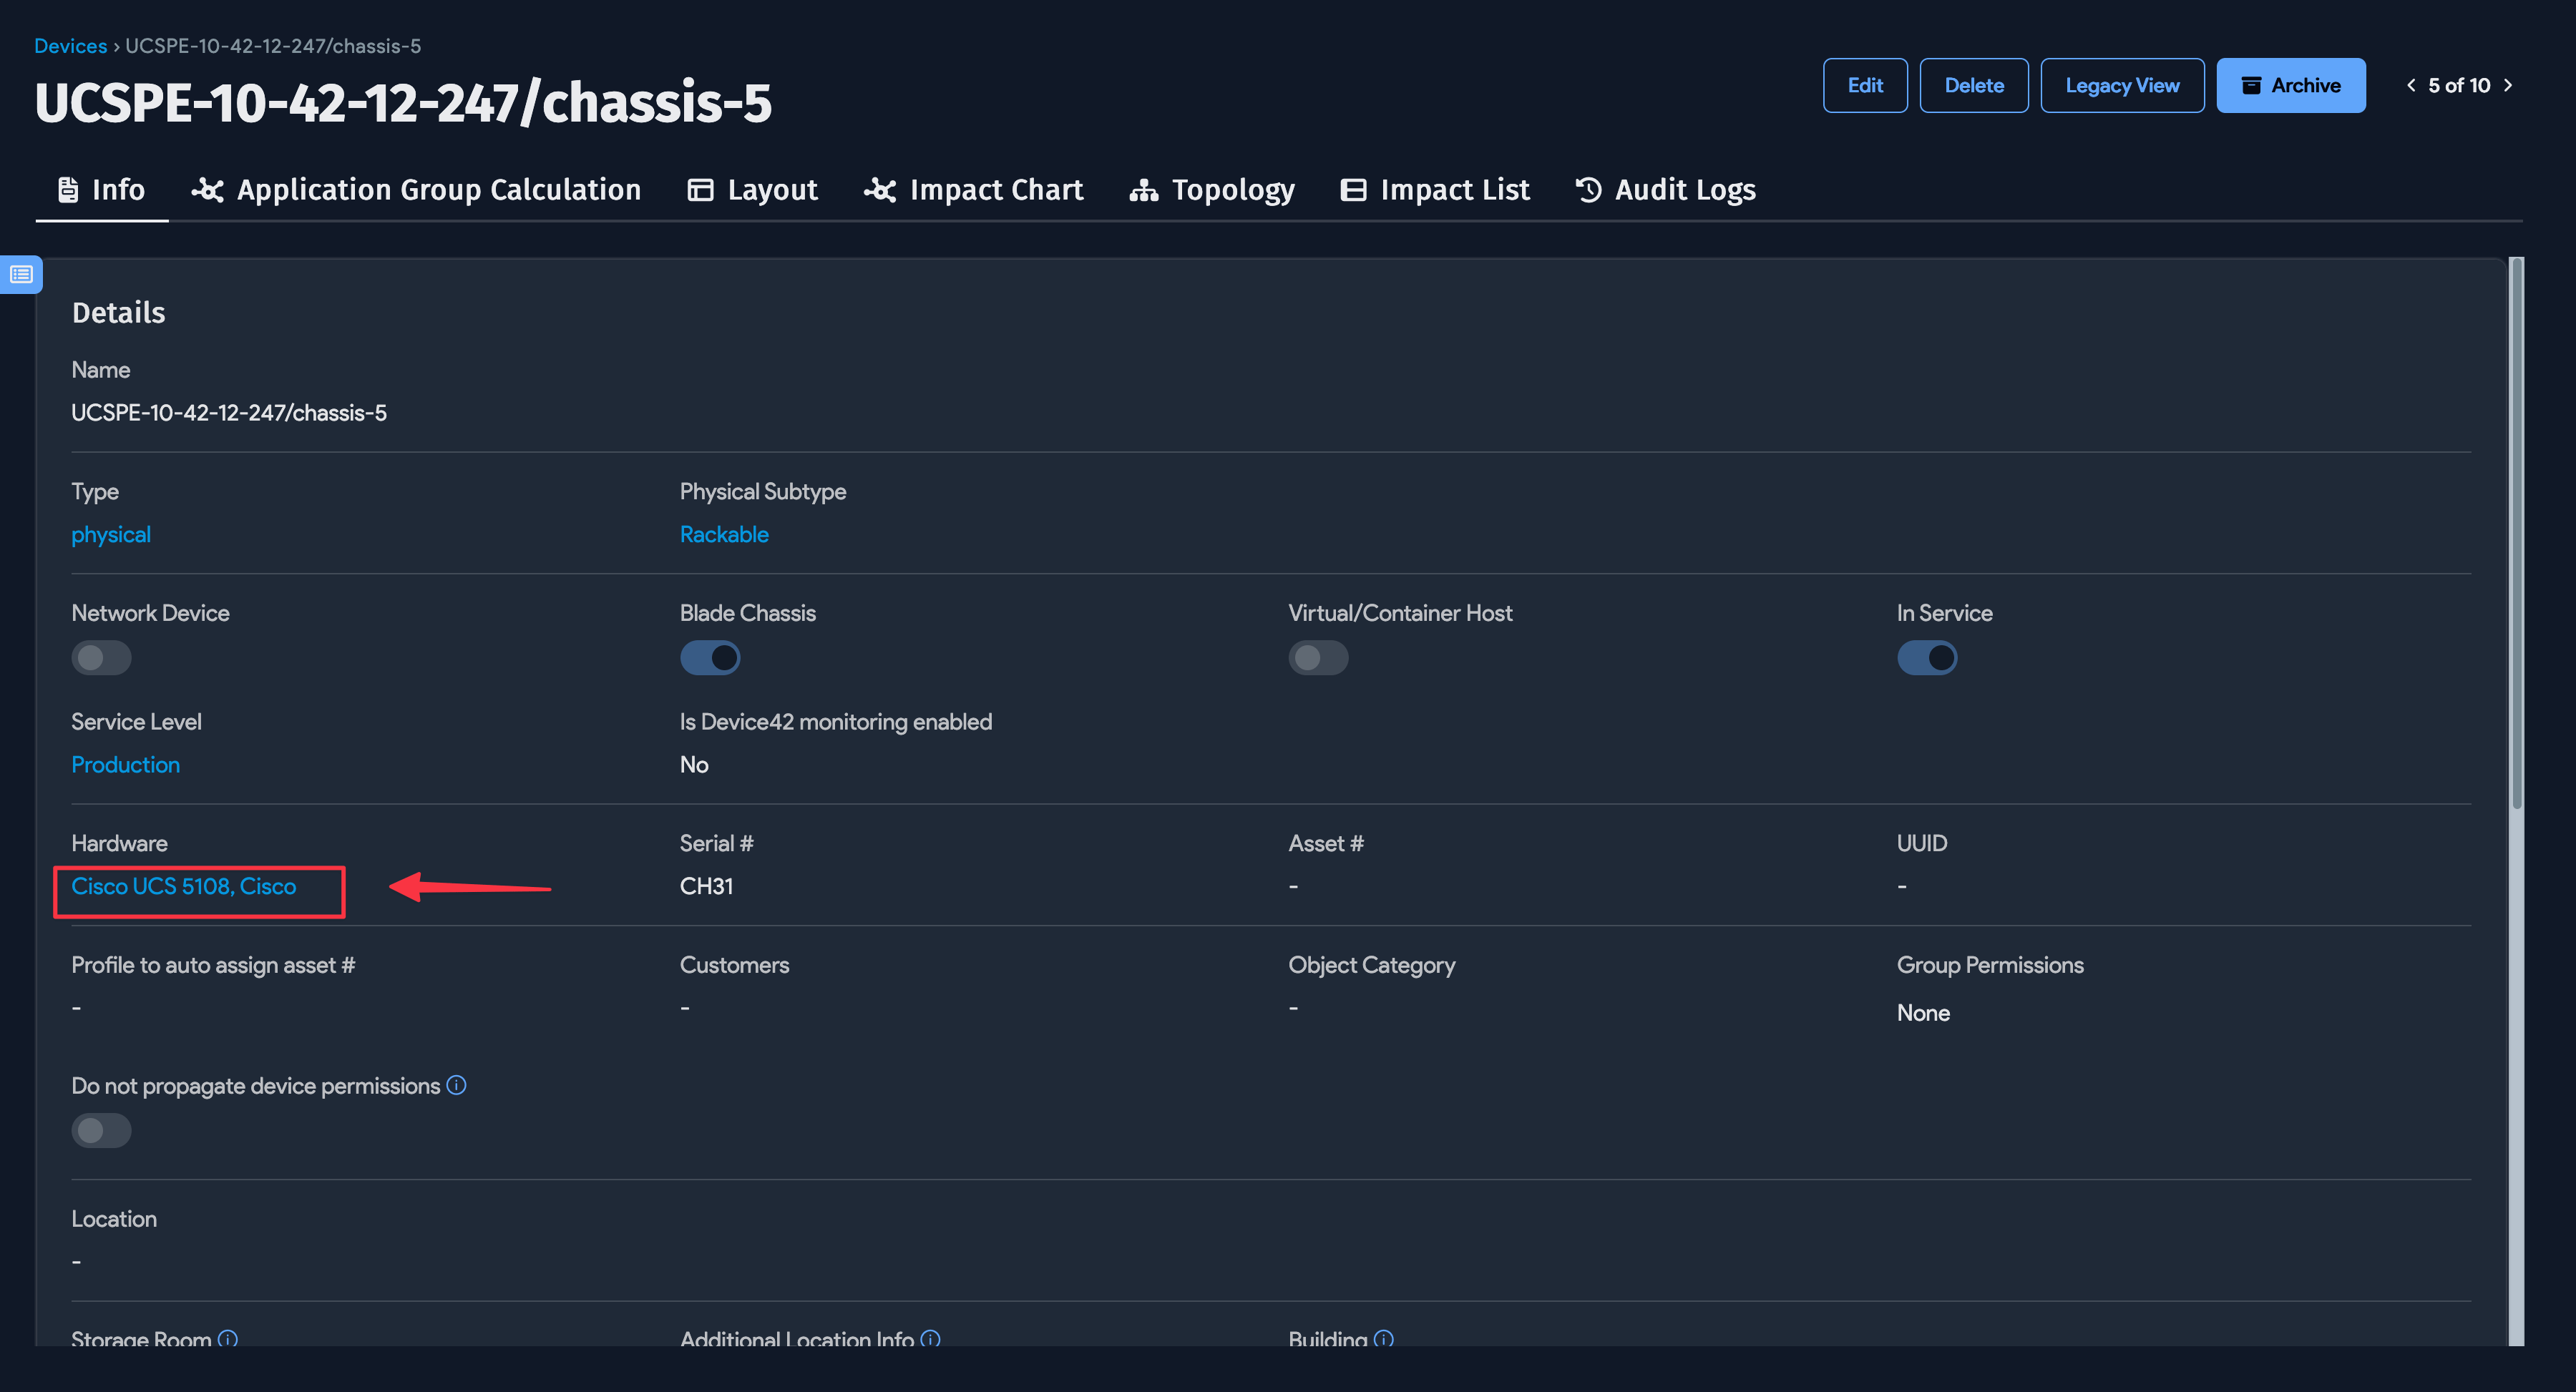
-
Click Model Layout and add the missing ports and slots to match the actual physical hardware.
-
Return to the device details page and click Layout again. The slots and ports from the hardware model are now available.
Device Type and Hardware Type
A device's type controls which fields and features are available — for example, rack placement fields appear for physical devices, and chassis assignment appears for blade devices. When a non-virtual device is discovered, it is classified as type unknown, as the discovered device could be physical, blade, or another type.
There are two ways to fix this:
Change Type via Hardware Model
If many devices share the same hardware model, change the type on the hardware model to update all of them at once. For example, if 50 devices are discovered with hardware Dell PE1950 and classified as unknown, you can edit the PE1950 hardware model by changing the Type to regular (rack mountable) and assigning a Size of 1. All associated devices automatically change to physical and any future discovery with hardware PE1950 is categorized as physical.
Change Type via Bulk Edit
If you need to change the type for specific devices regardless of their hardware model, use the Change type bulk action.
- Navigate to Resources > Compute > All Devices.
- Select the devices you want to edit. You can filter for devices with the unknown type using the dropdown menu.
- Choose the Change type action.
- Select the new device type and click Change.
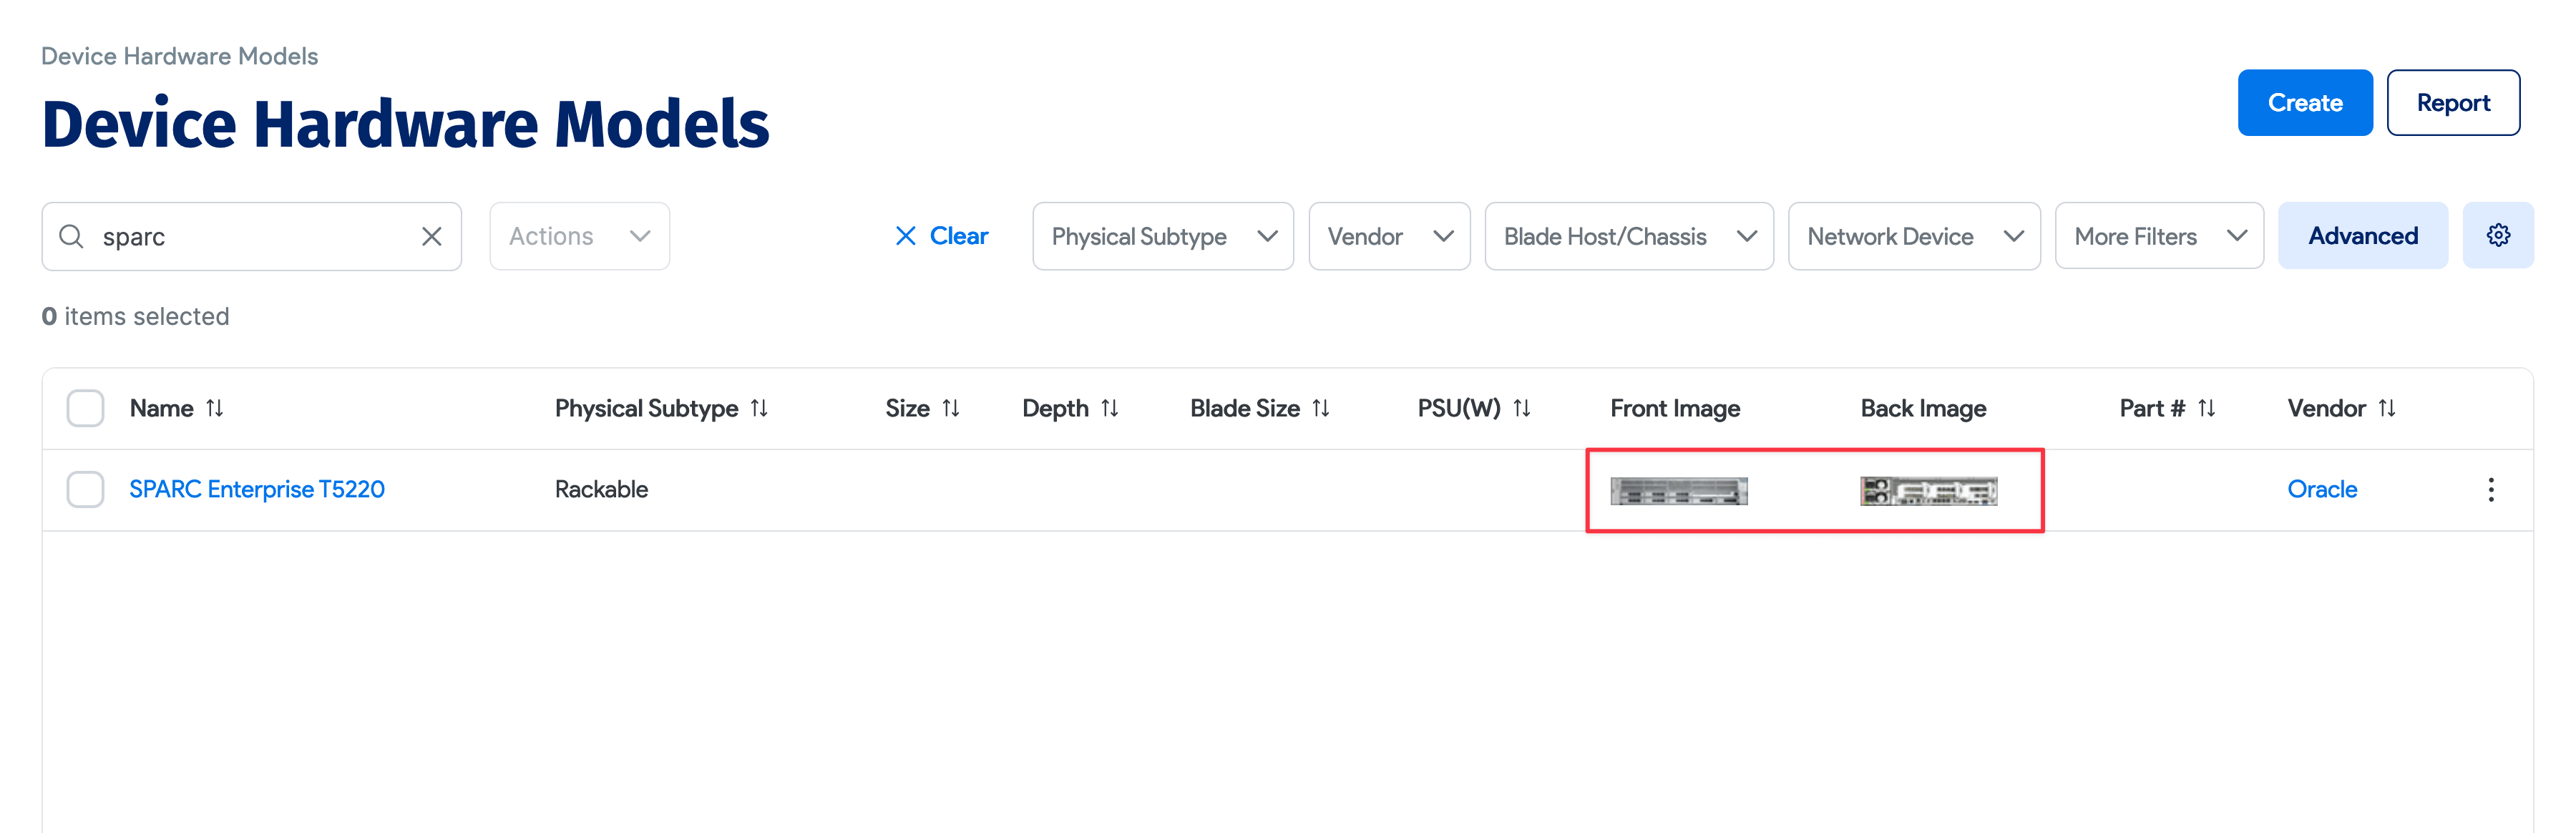
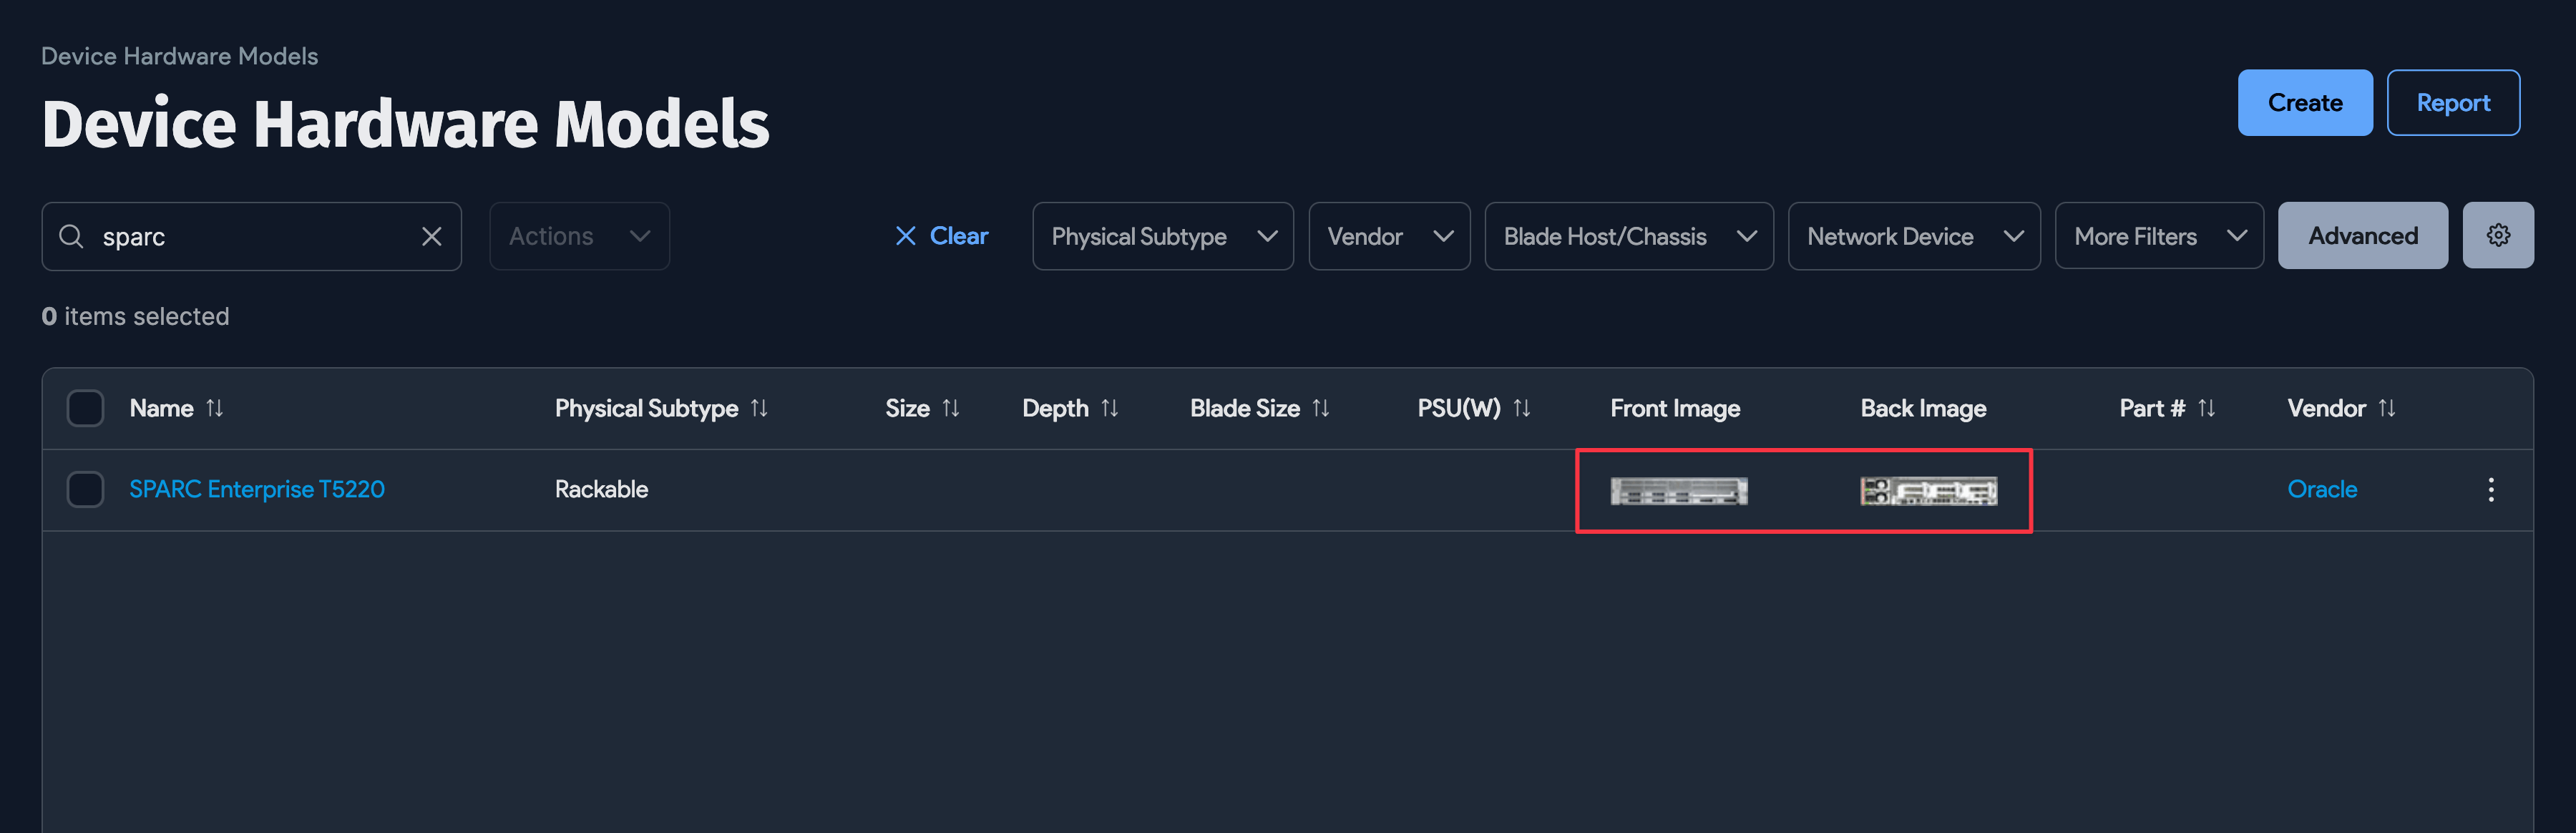
Upload Images
You can upload images of devices (such as front and rear views) and associate them with hardware models. The images show up on the hardware model list page, which helps when you need to tell similar models apart.
- Navigate to Tools > Templates and Bulk Operations > Image Files.
- Click Create in the top right.
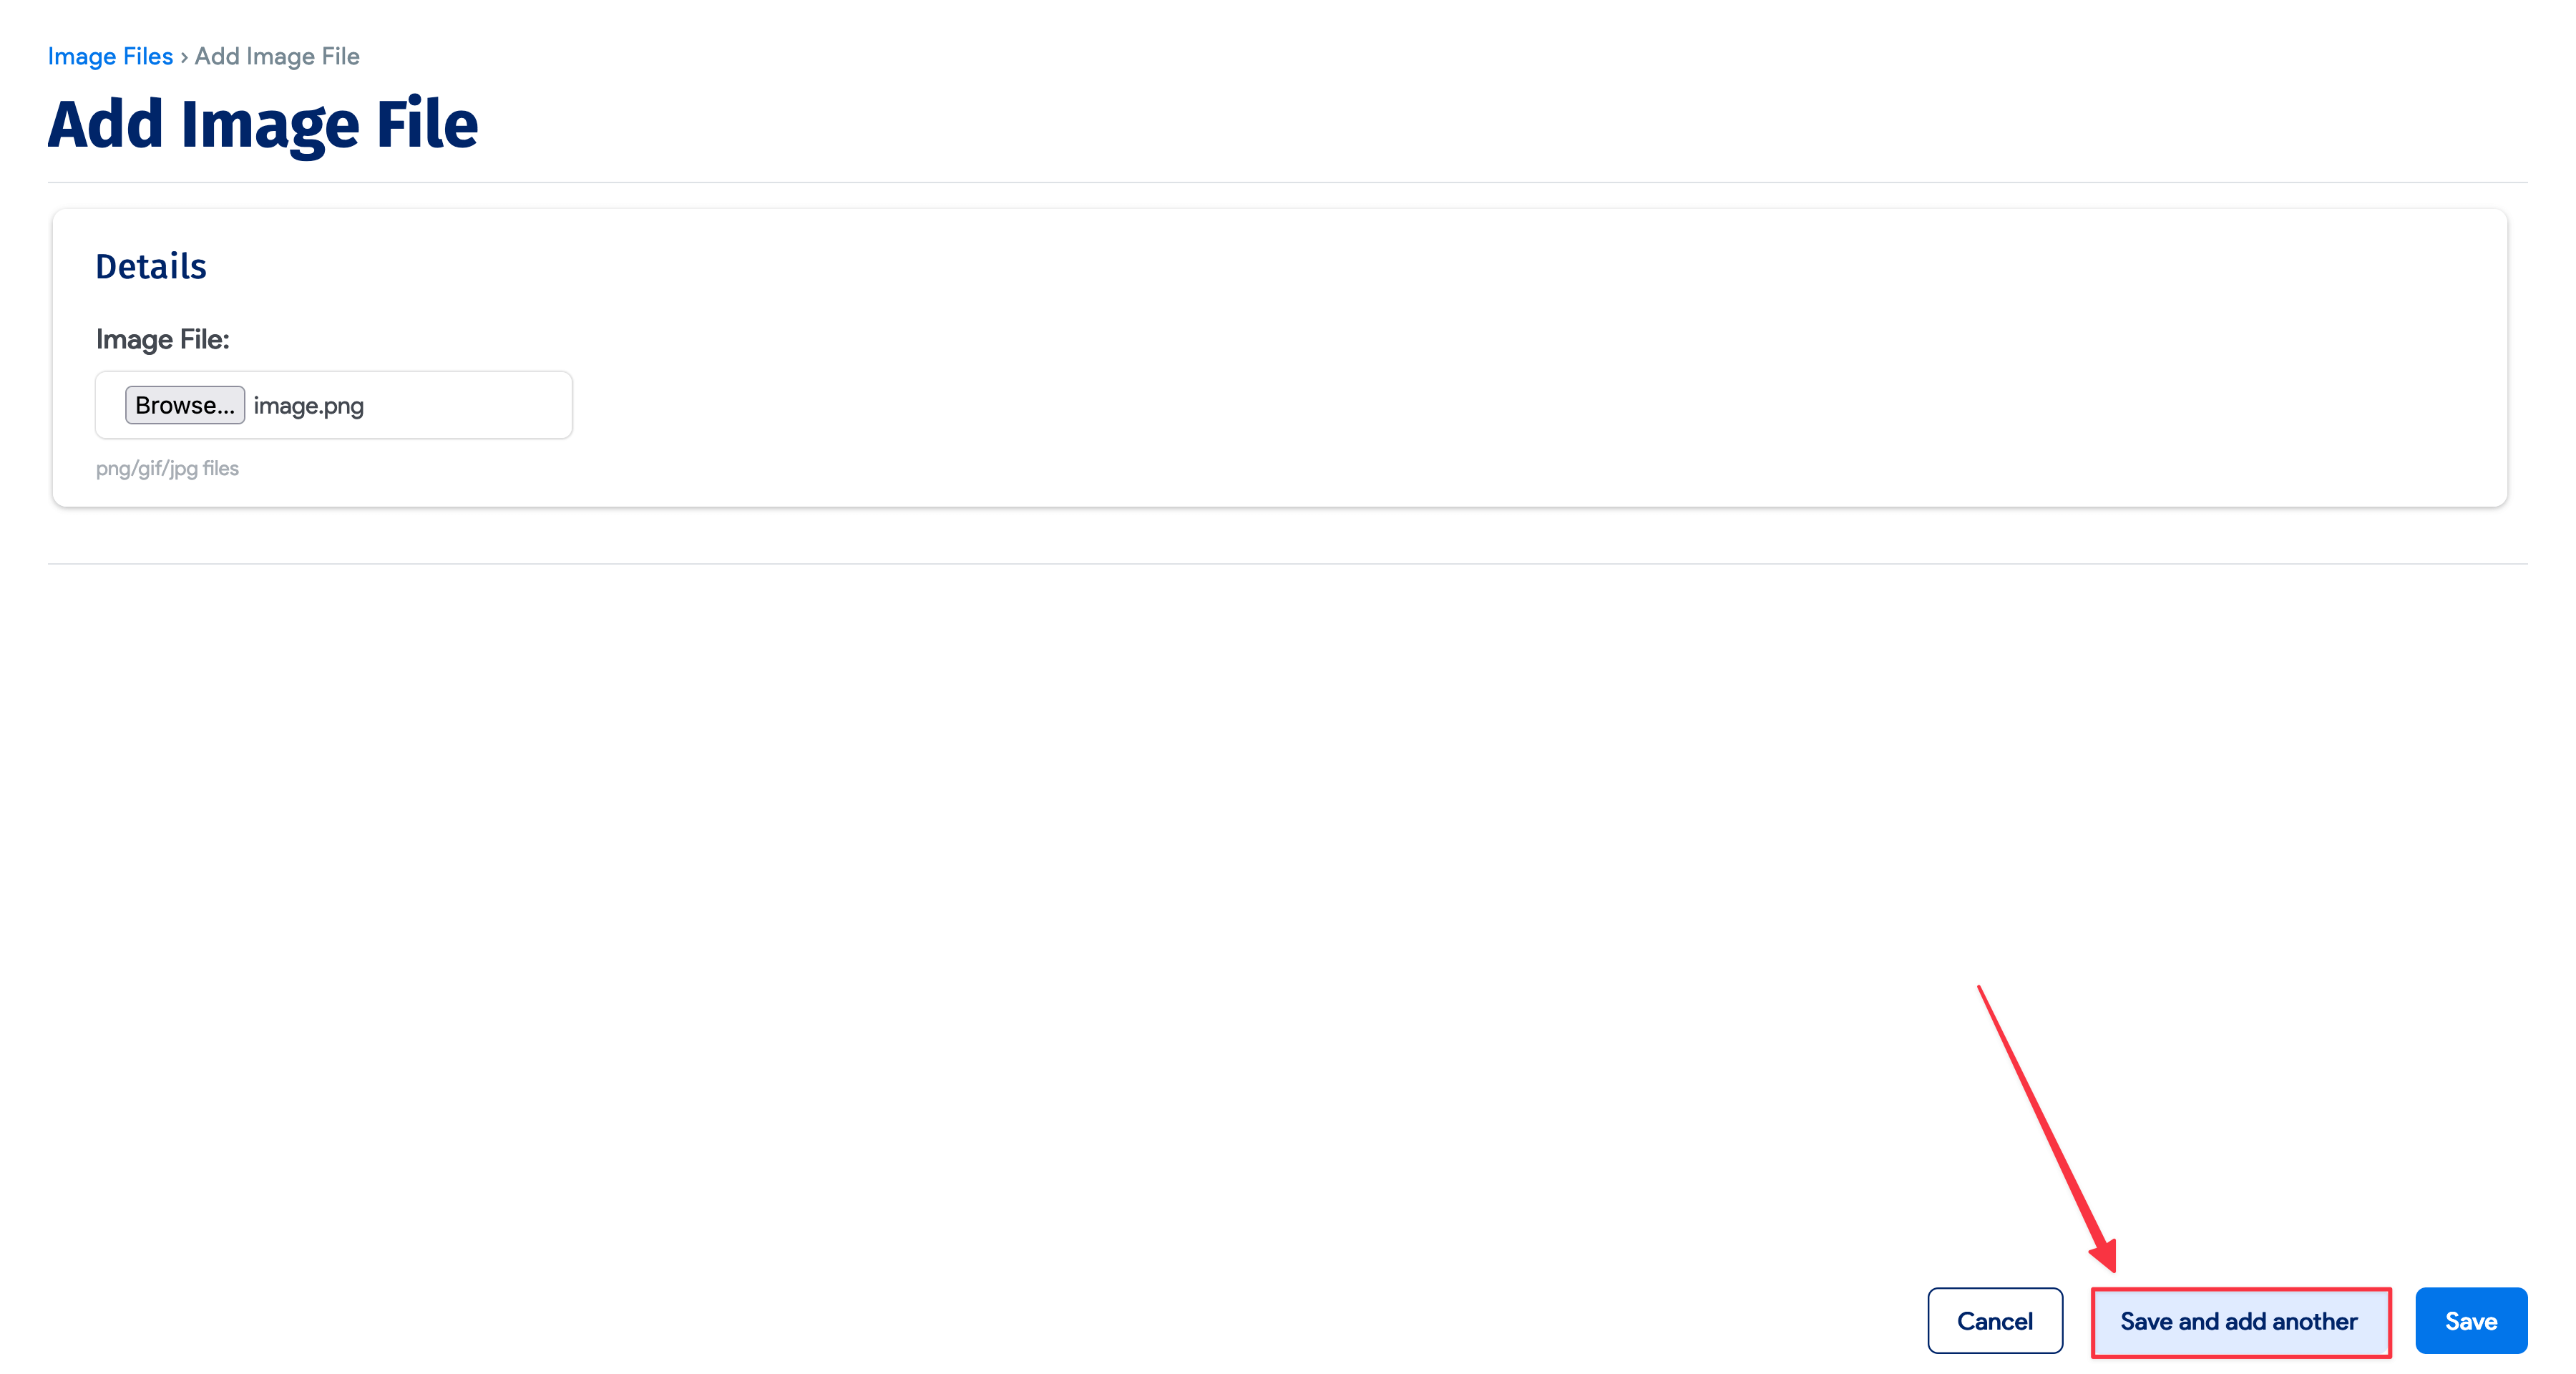
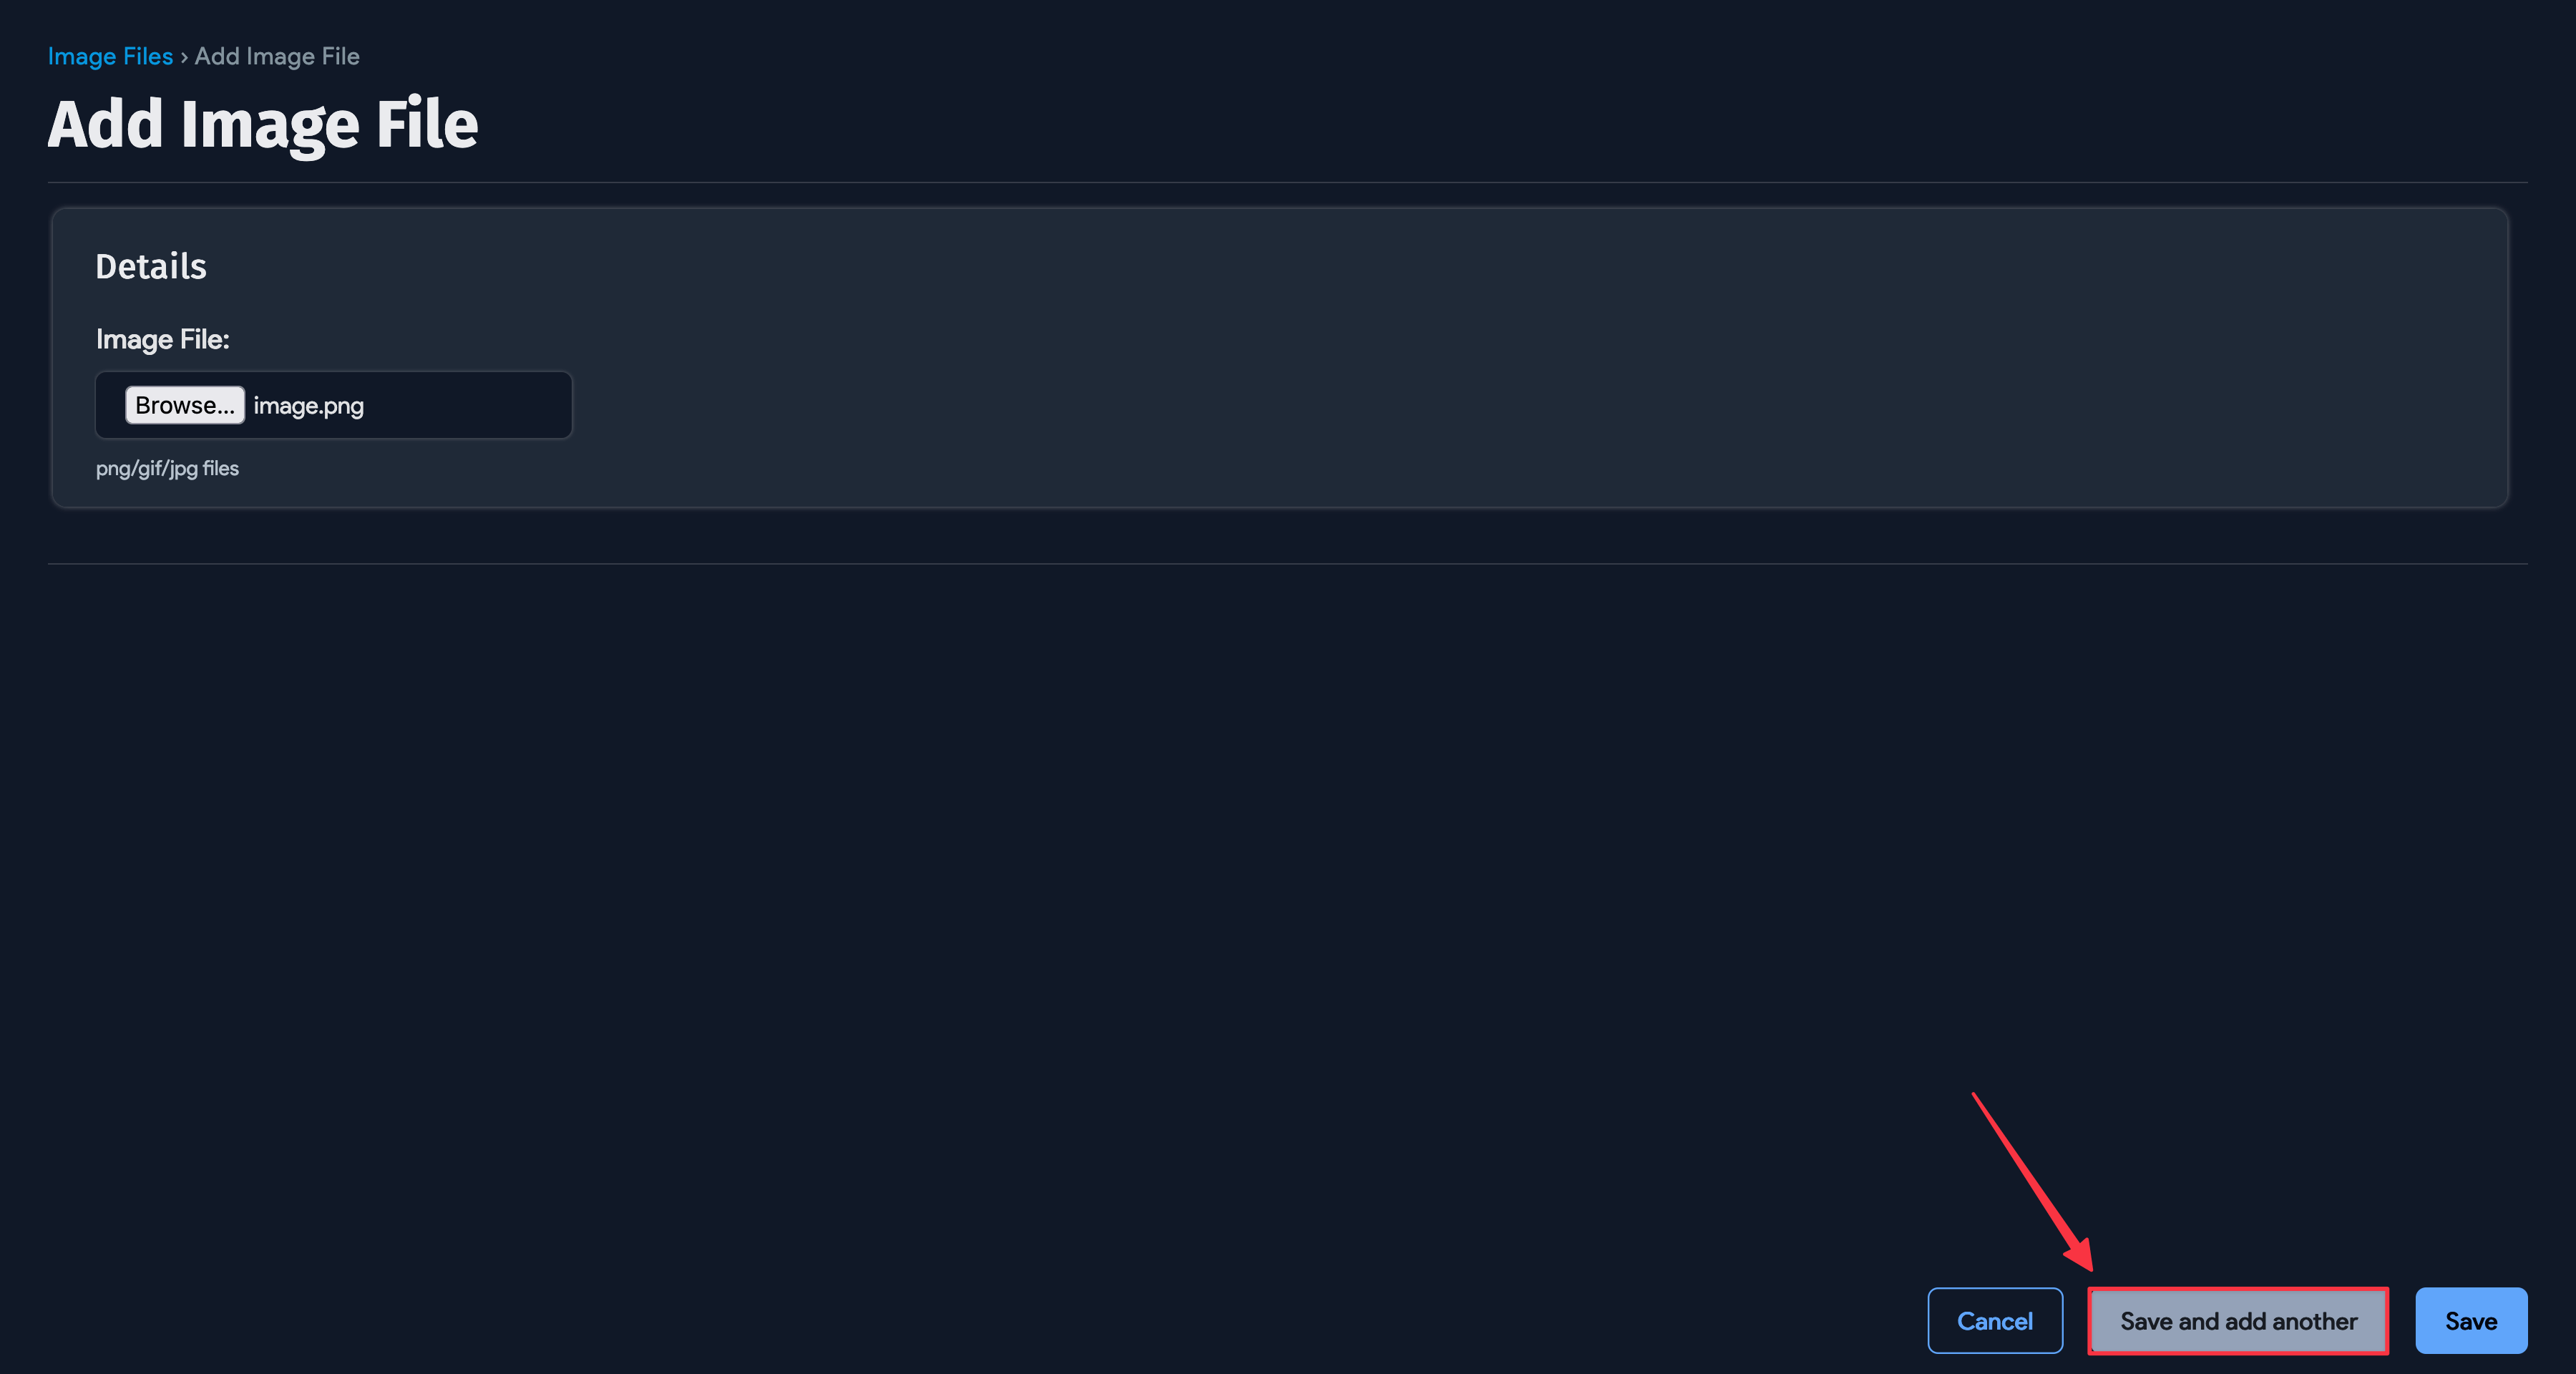
- Browse to select the image file from your computer.
- Click Save. To upload more images, click the Save and add another button.
Add Images to Hardware Models
Add images to a hardware model by selecting them from the hardware model's edit page.
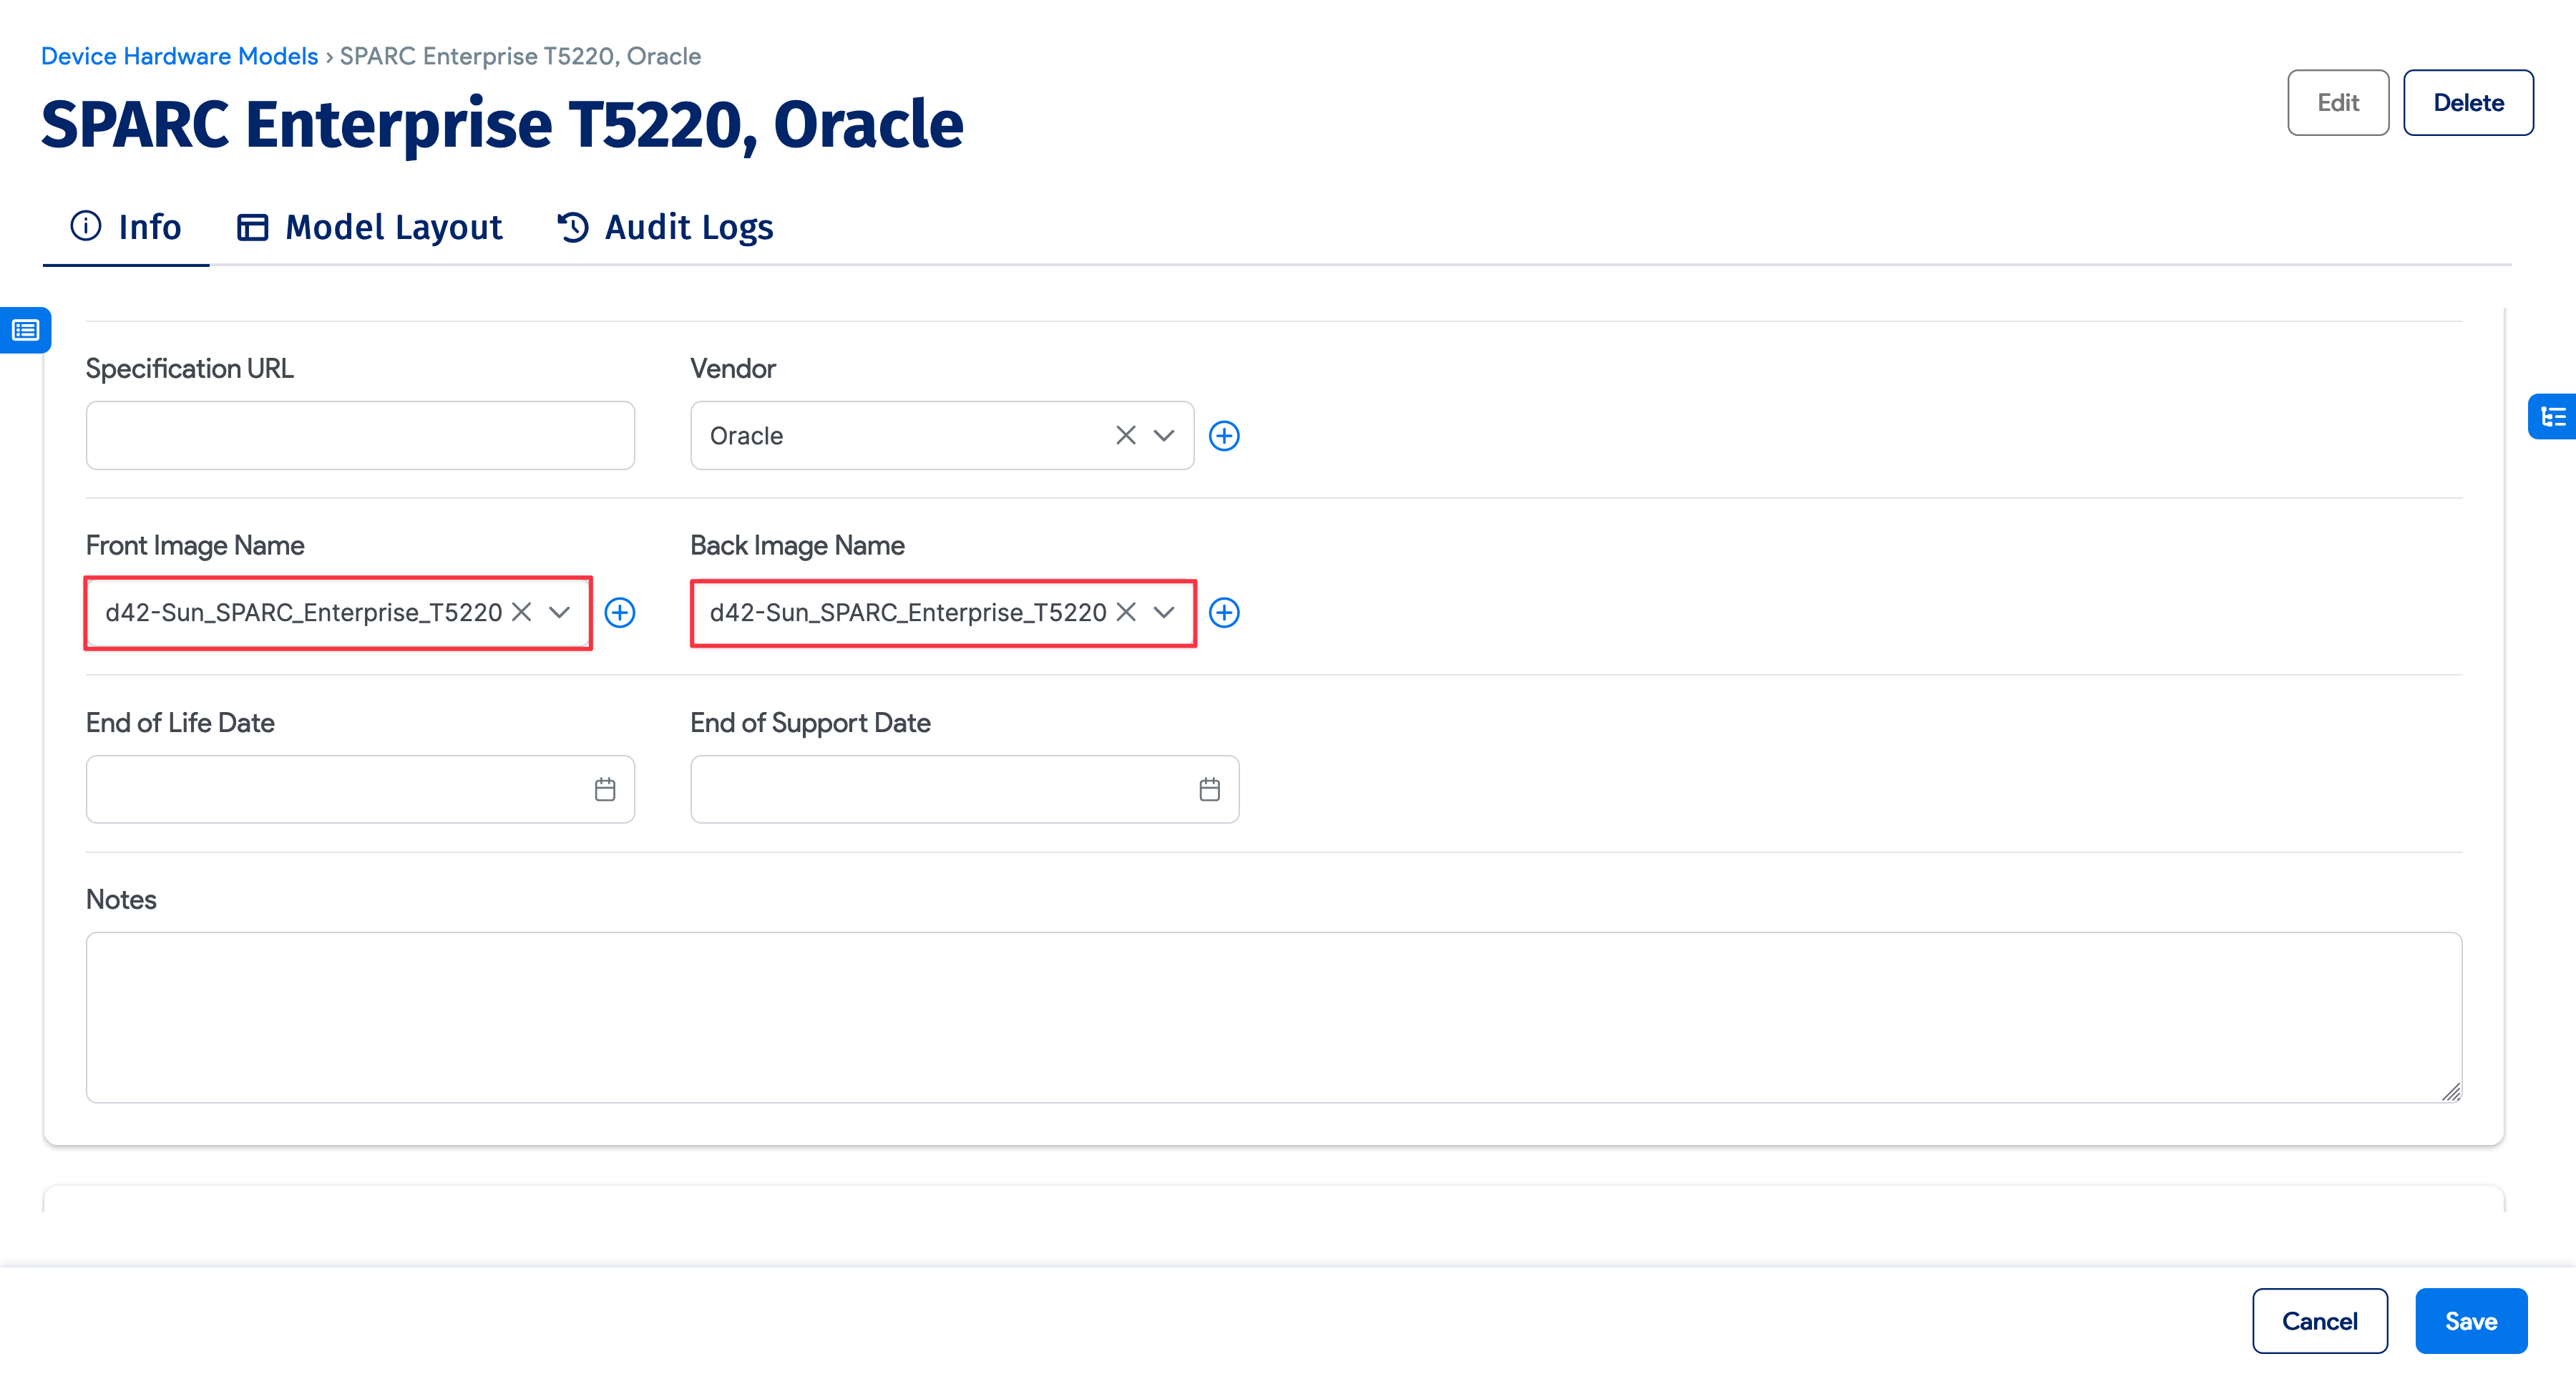
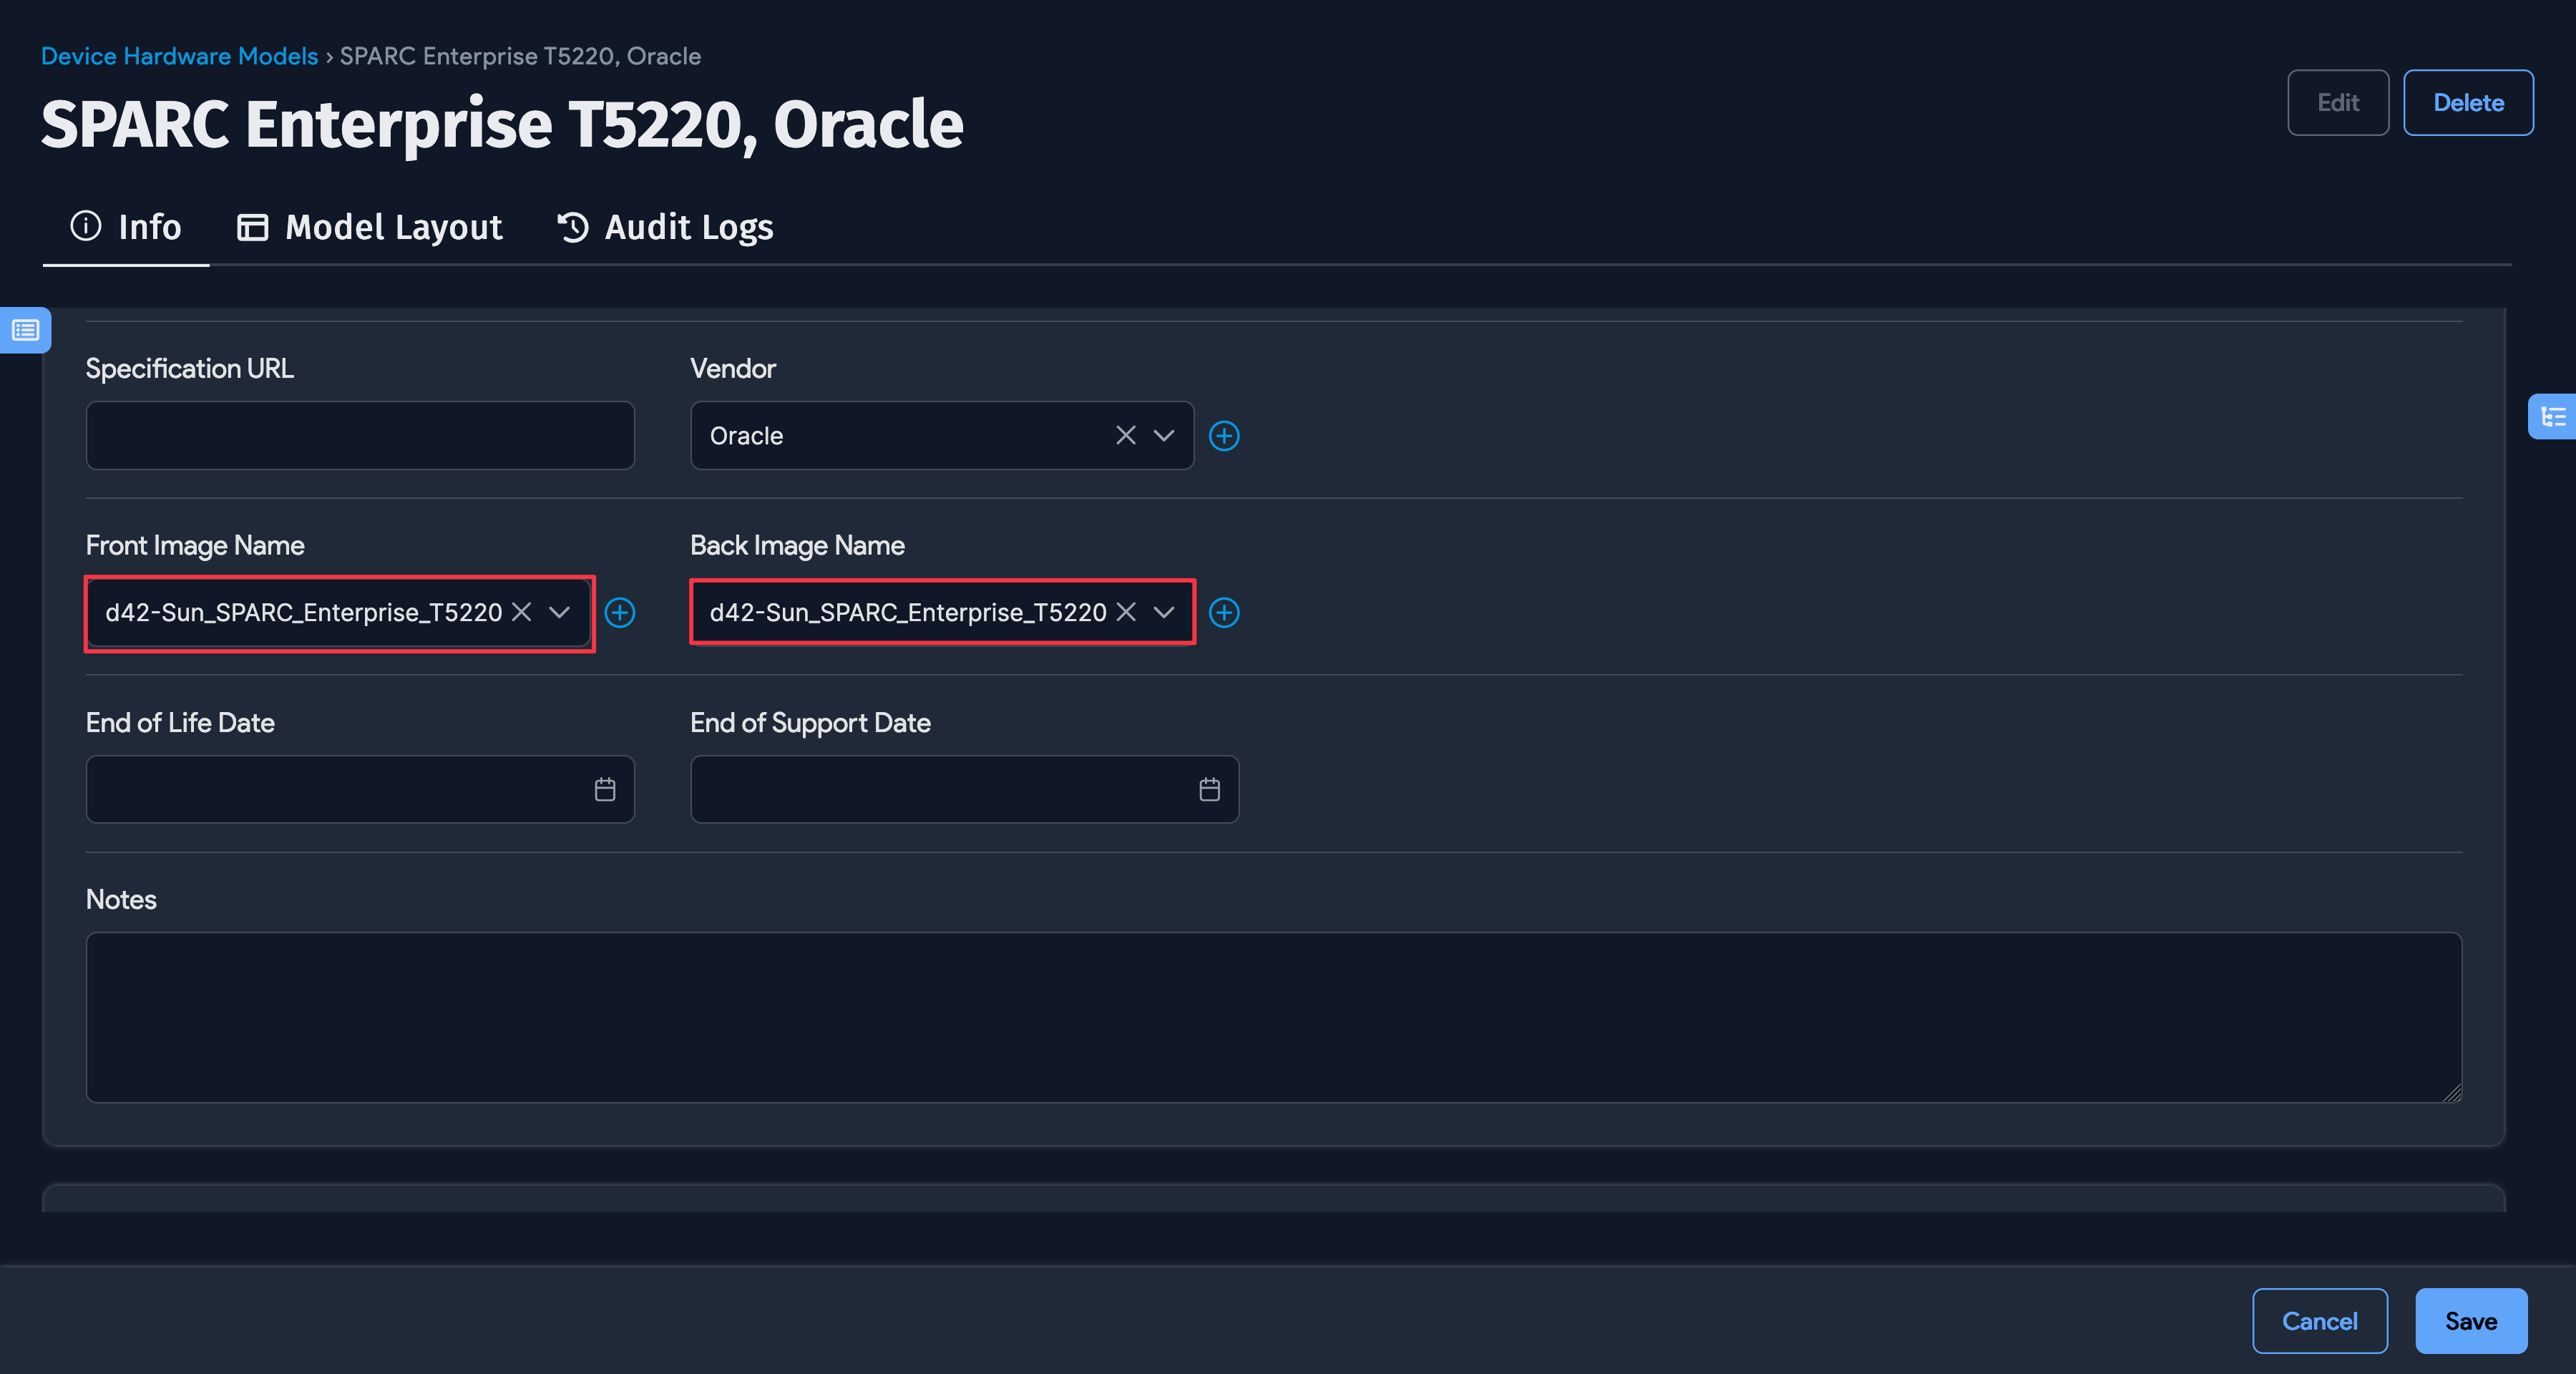
The images are then displayed on the hardware model list page.
Merge Hardware Models
Discovery, imports, or API calls can create multiple hardware models that describe the same hardware. Having duplicates means your devices are spread across separate models. You can merge duplicates as long as their size, depth, type, and blade size (for blade types) match. When you merge, device relationships are reassigned to the master model and the duplicate models are deleted.
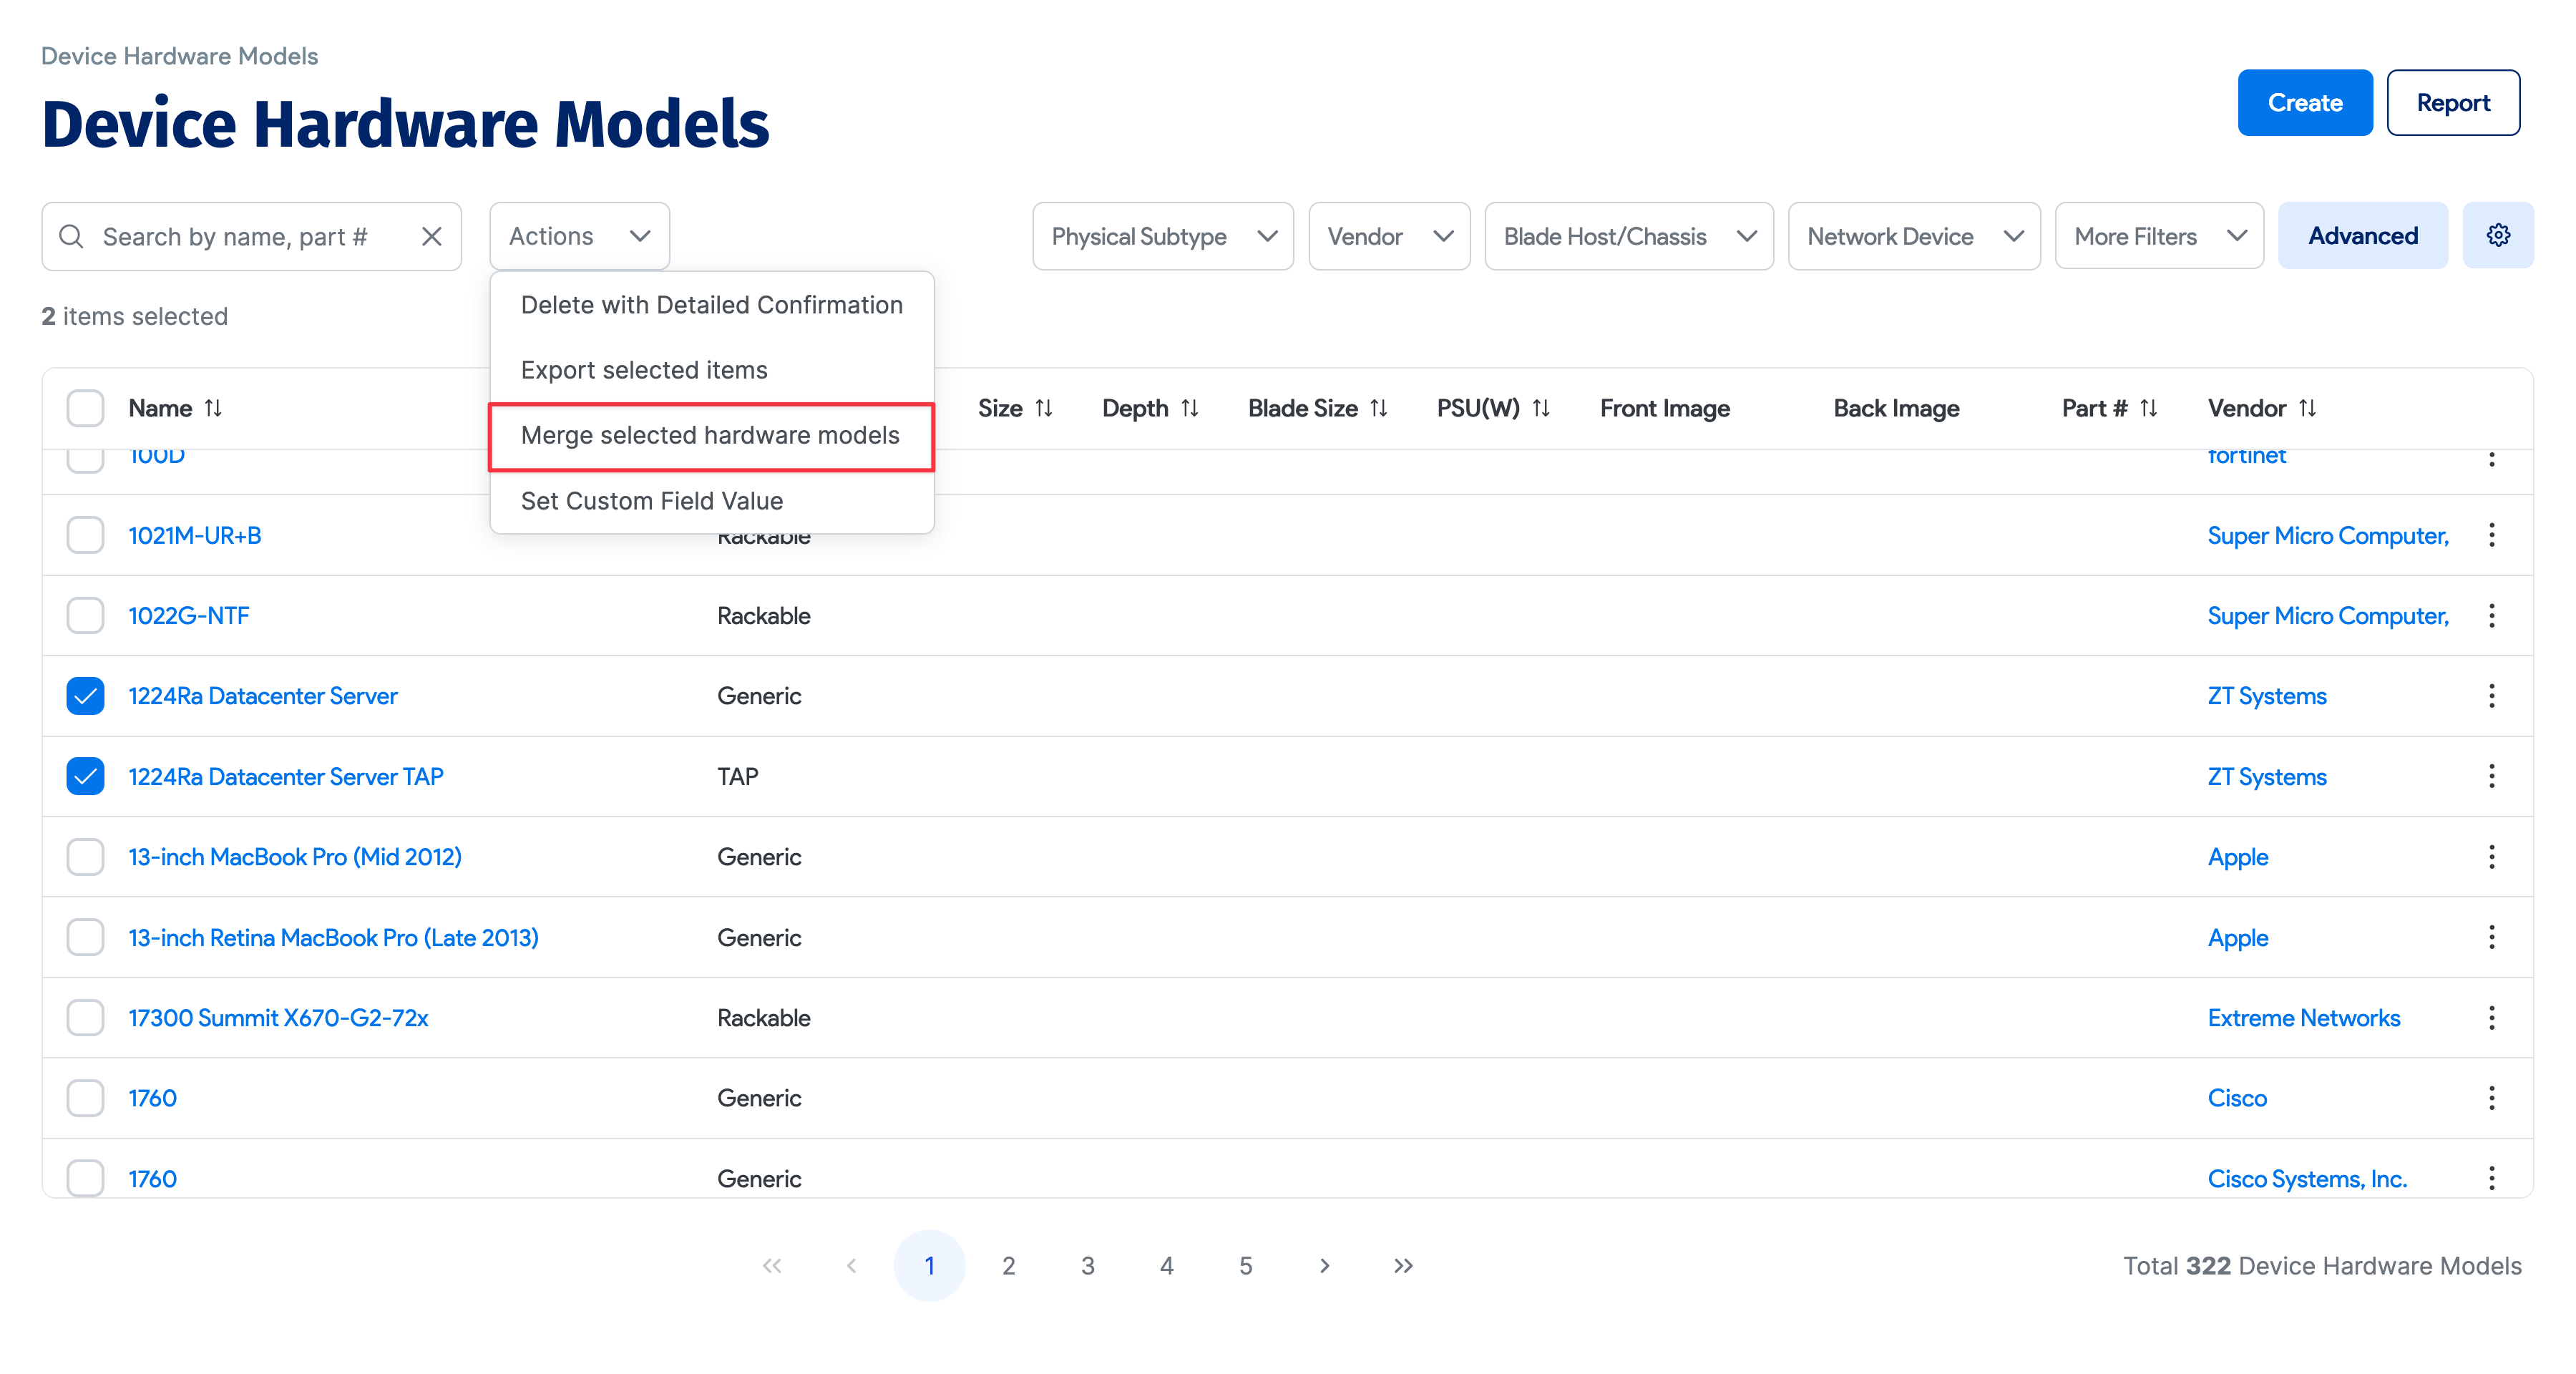
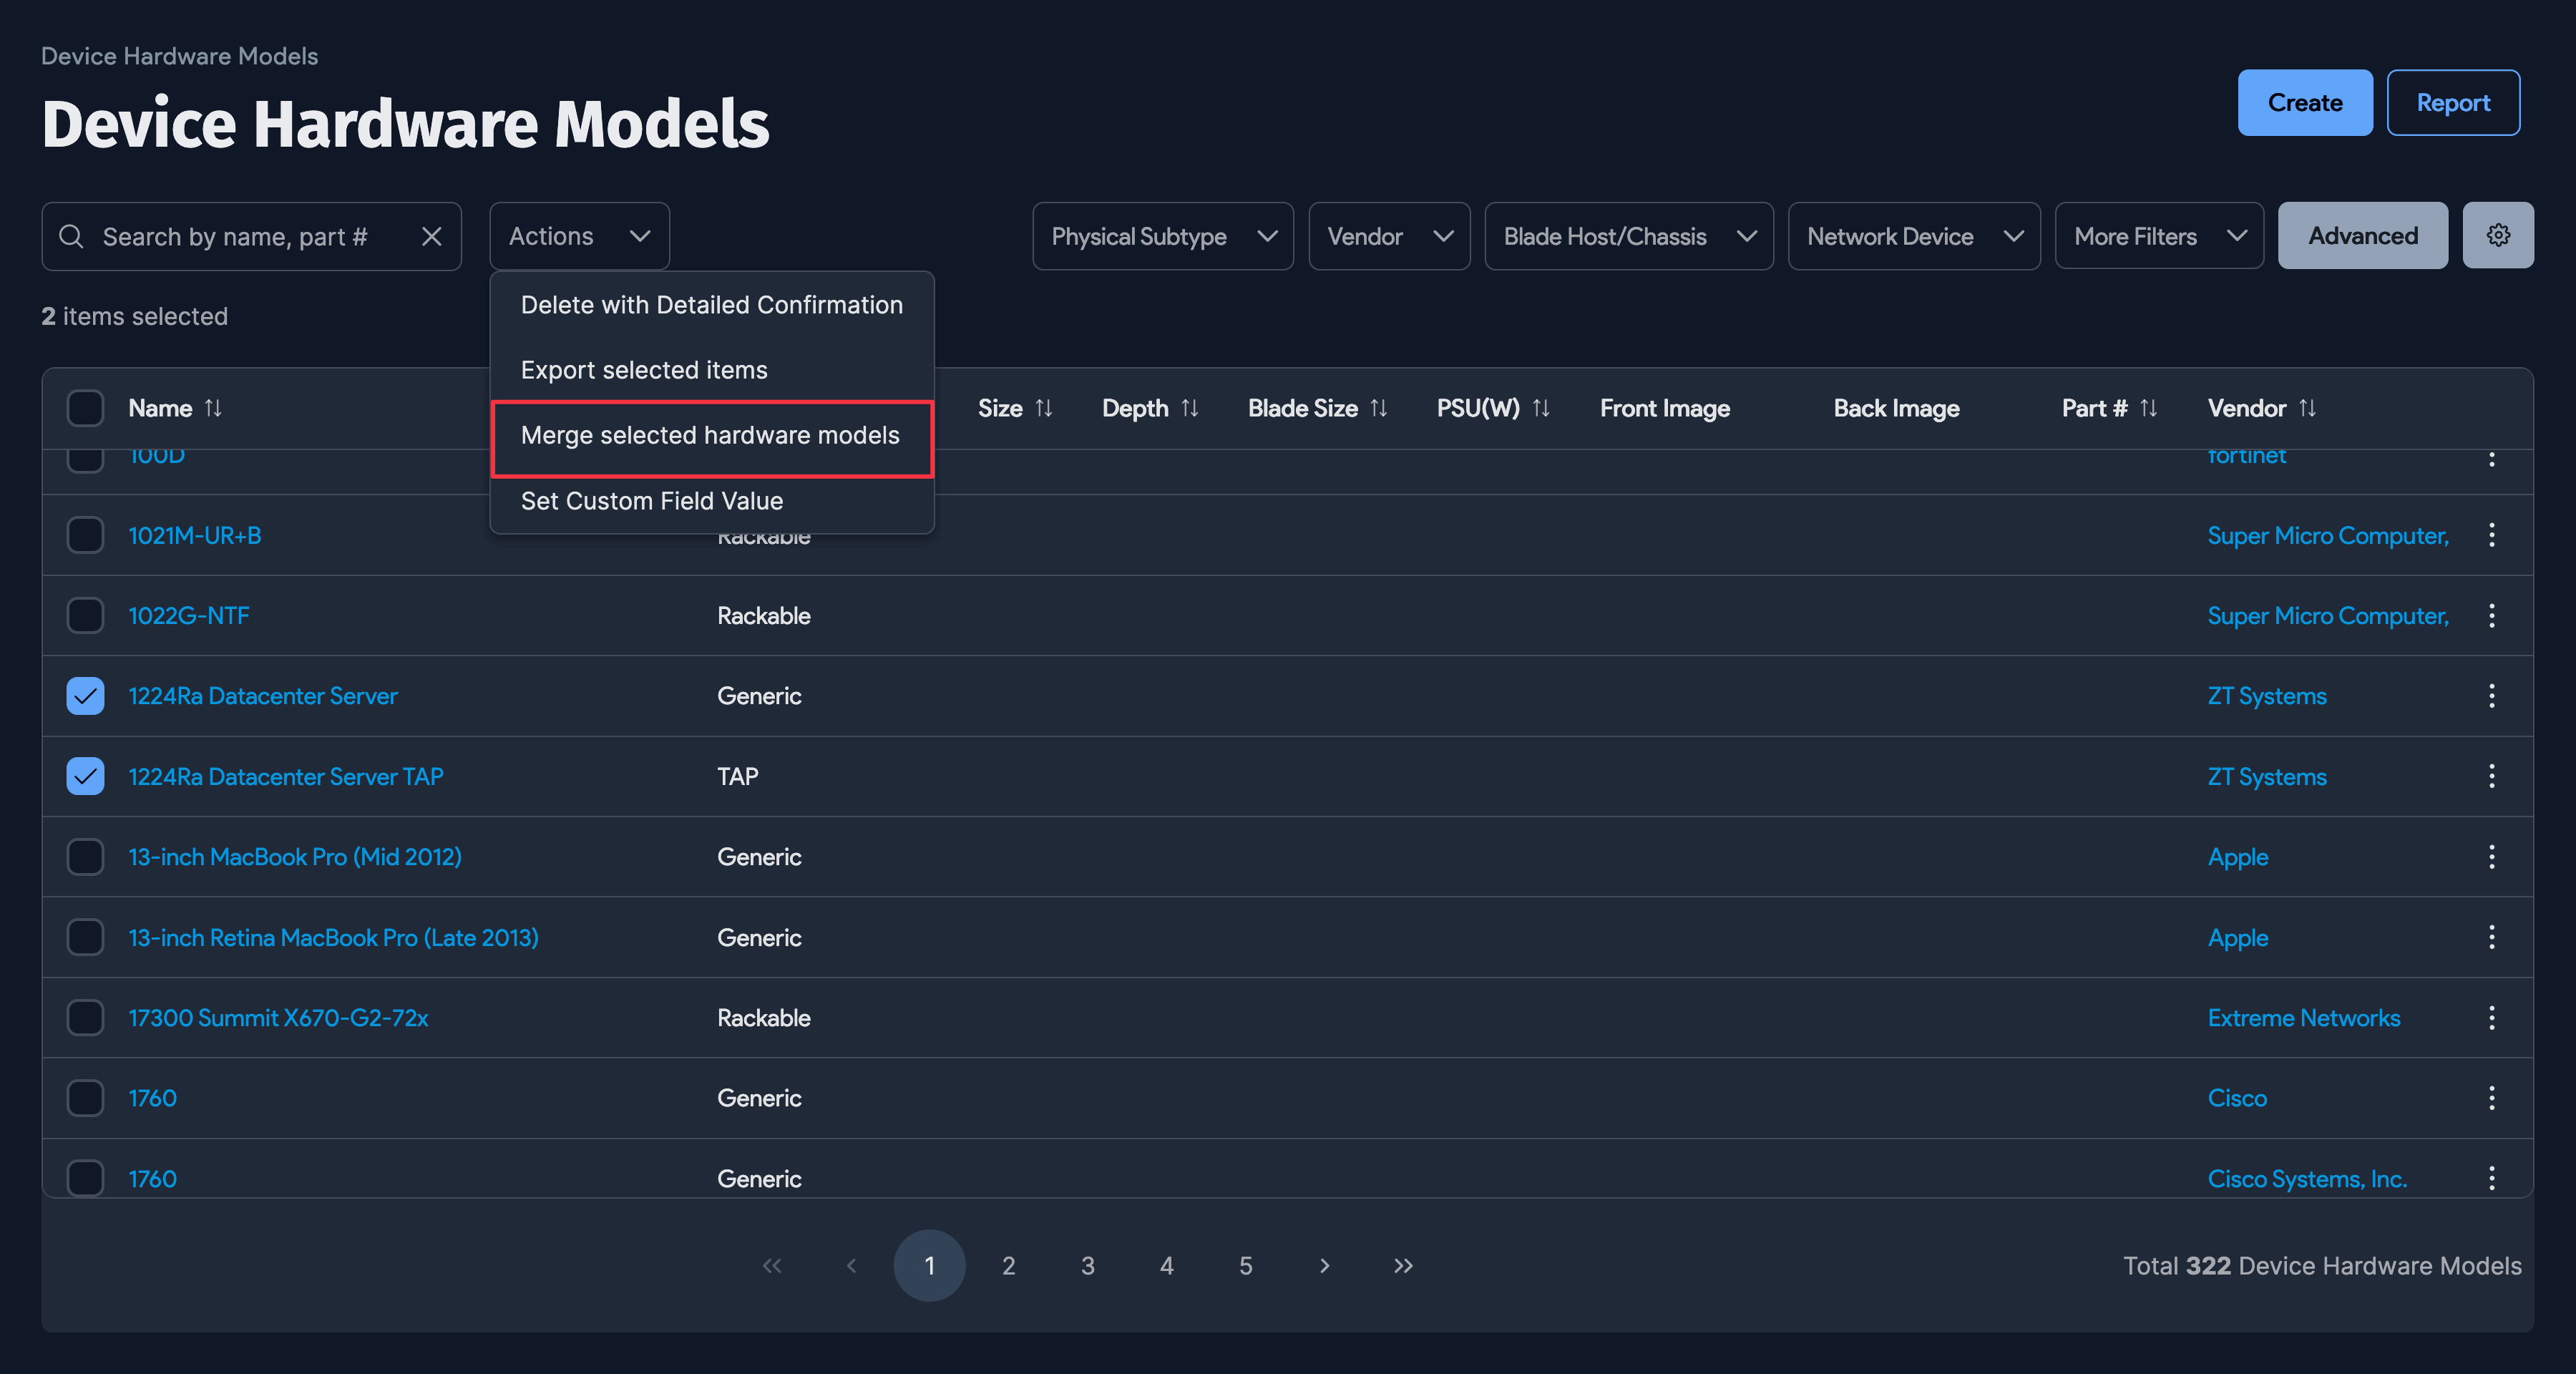
Navigate to Infrastructure > Hardware Models and select two or more models to merge. From the Actions menu, select Merge selected hardware models.
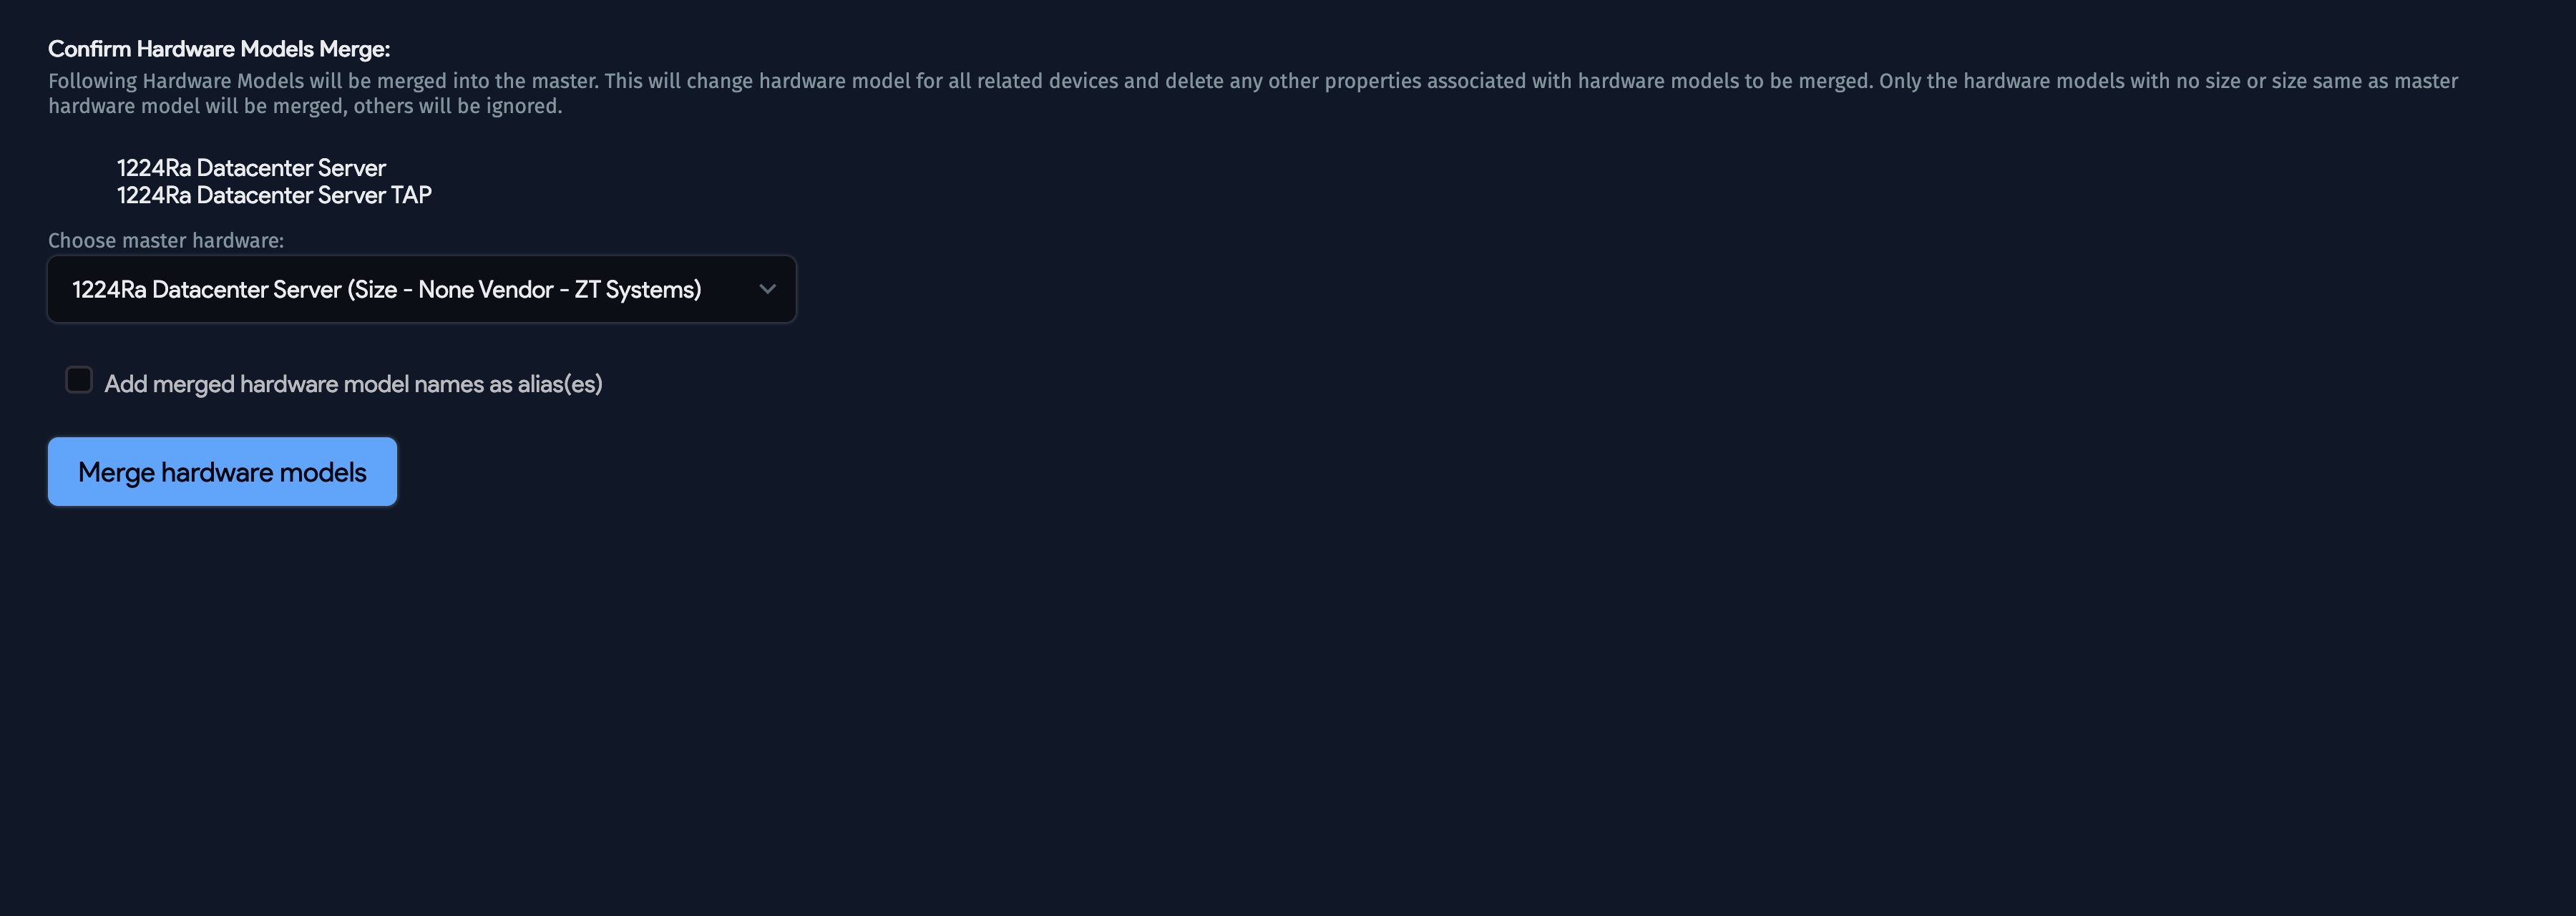
Select the hardware model that should be the master model. All selected models are merged into this model.
You can optionally add the merged model names as aliases on the master model for reference. All existing devices are reassigned to the master model regardless.
Click Merge hardware models to complete the merge.

If the U size differs between models, the merge will not proceed. The models with mismatched sizes remain on the list page.