Device - Parts Slots
Parts slots define where parts can be installed in a hardware model. When you add parts slots to a hardware model, every device that uses that model inherits the same slot layout, ensuring consistency across your infrastructure.
You can add parts slots to both blade-based and non-blade hardware models. This page covers how to define parts slots on a hardware model and arrange their visual layout using the model editor. For information on blade slots, which accept blades instead of parts, see Device - Blade Slots.
Add Parts Slots to a Hardware Model
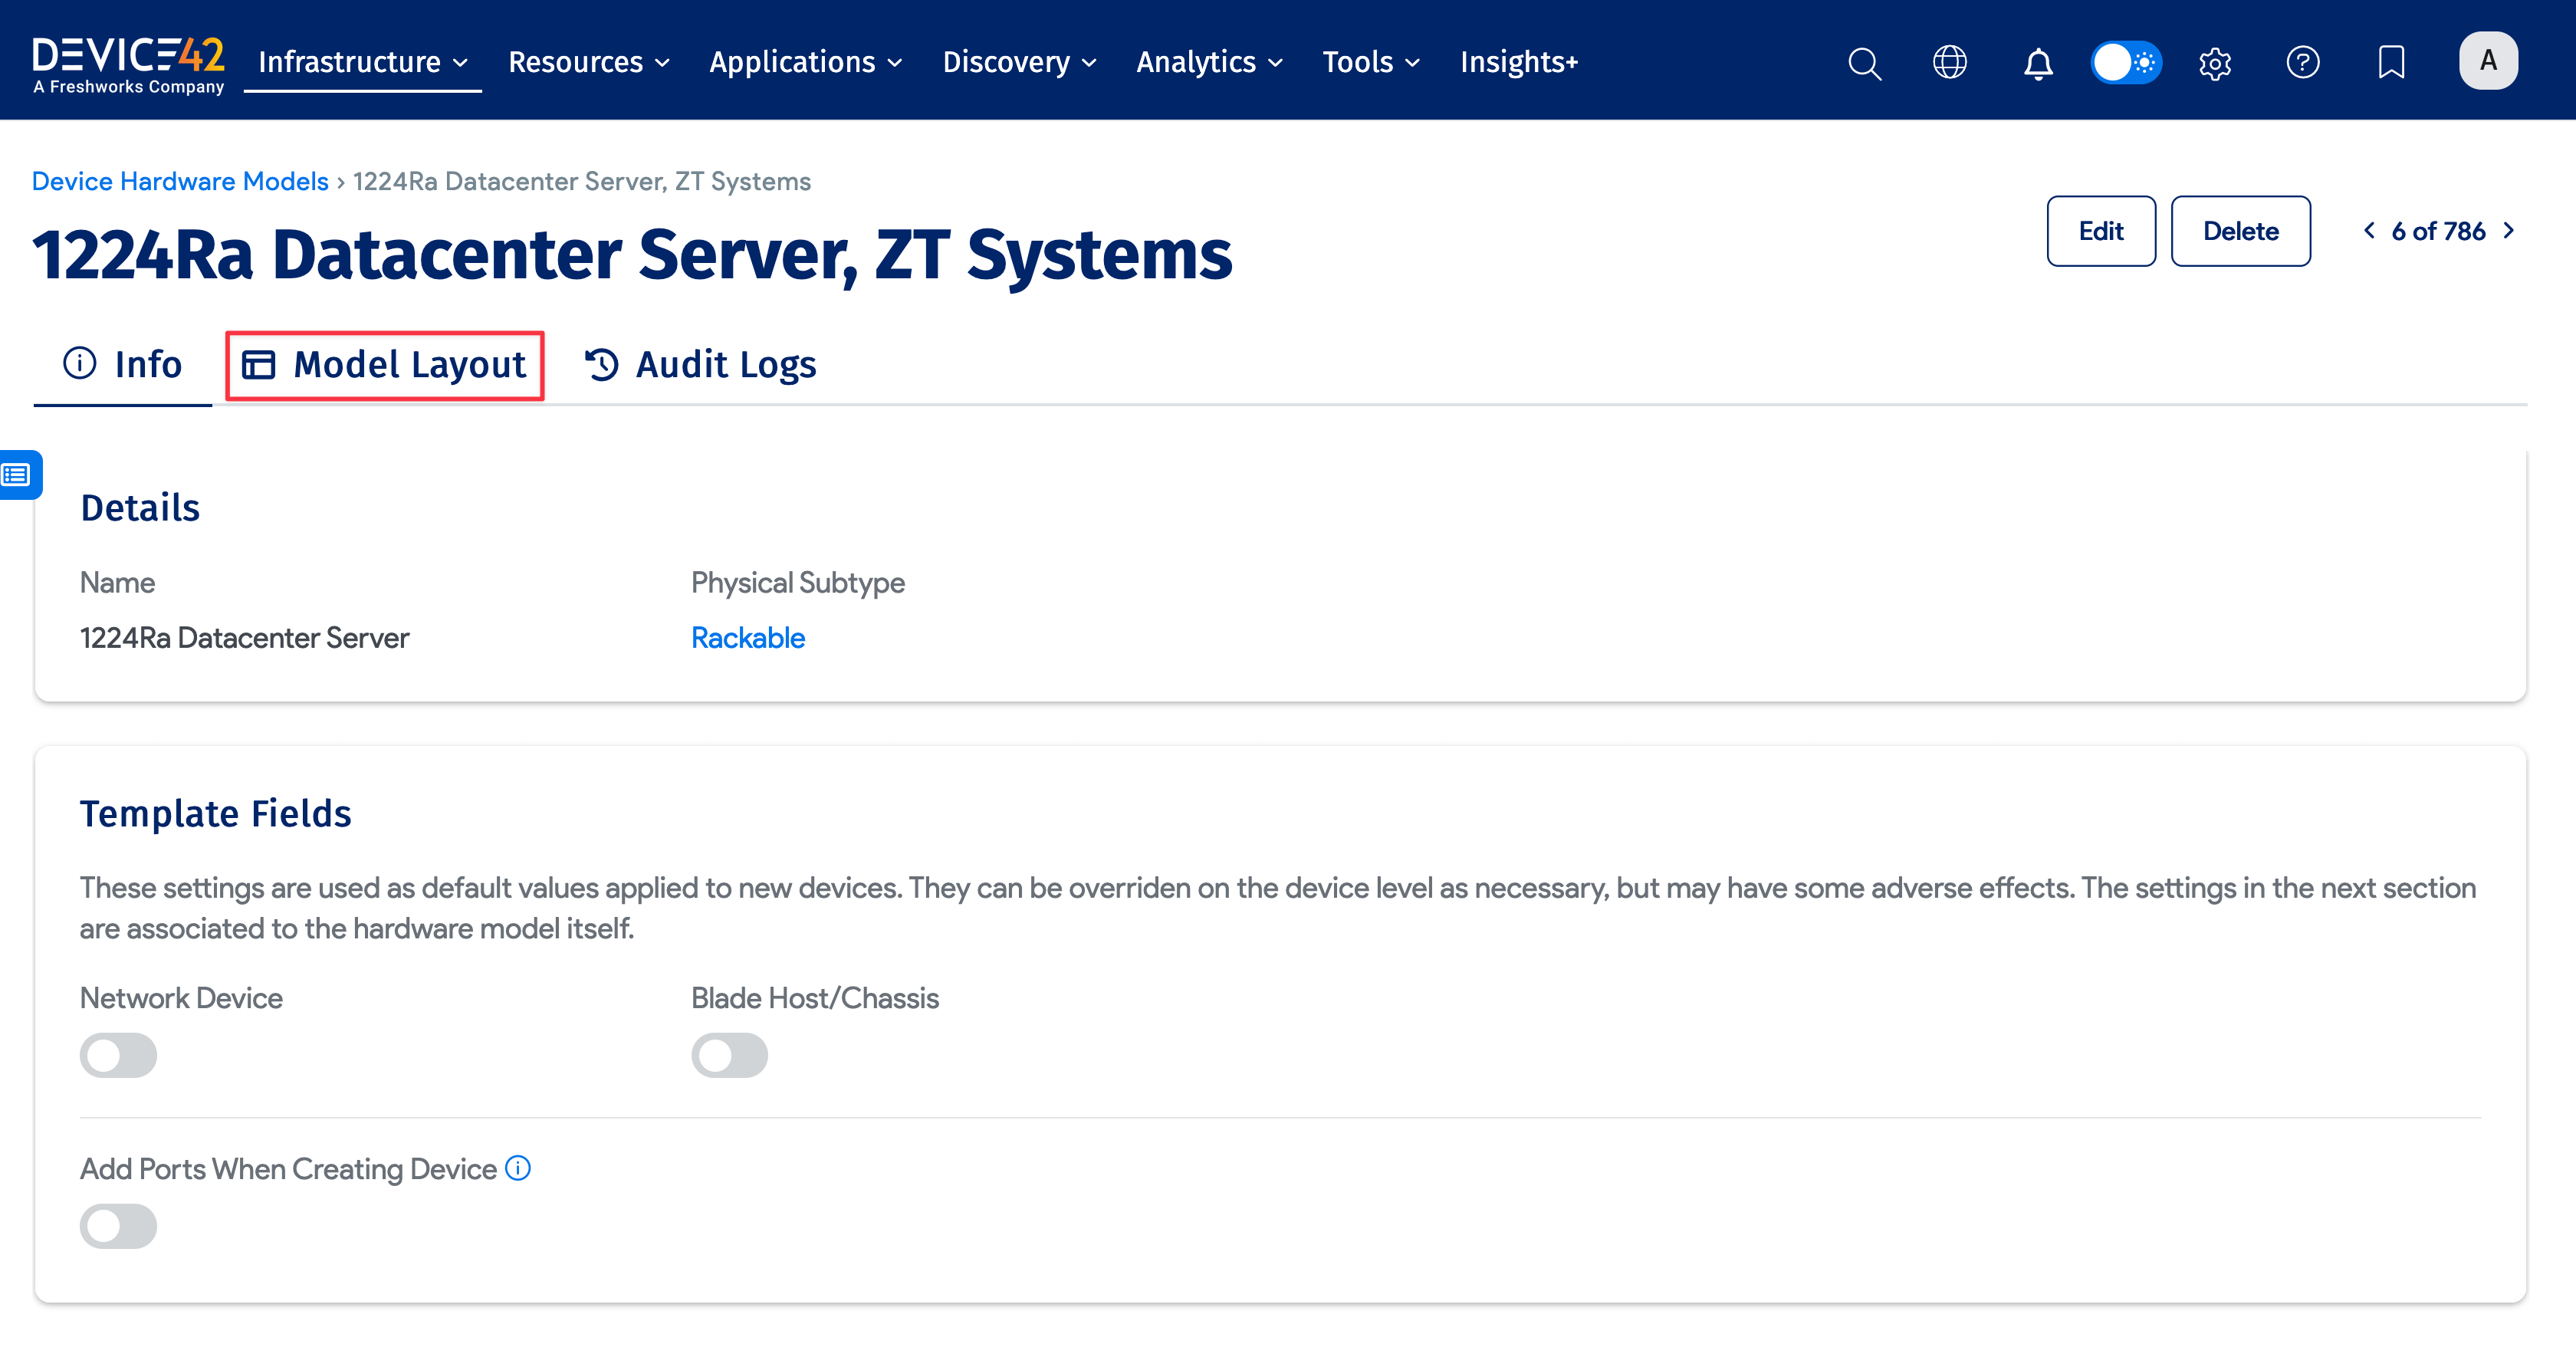
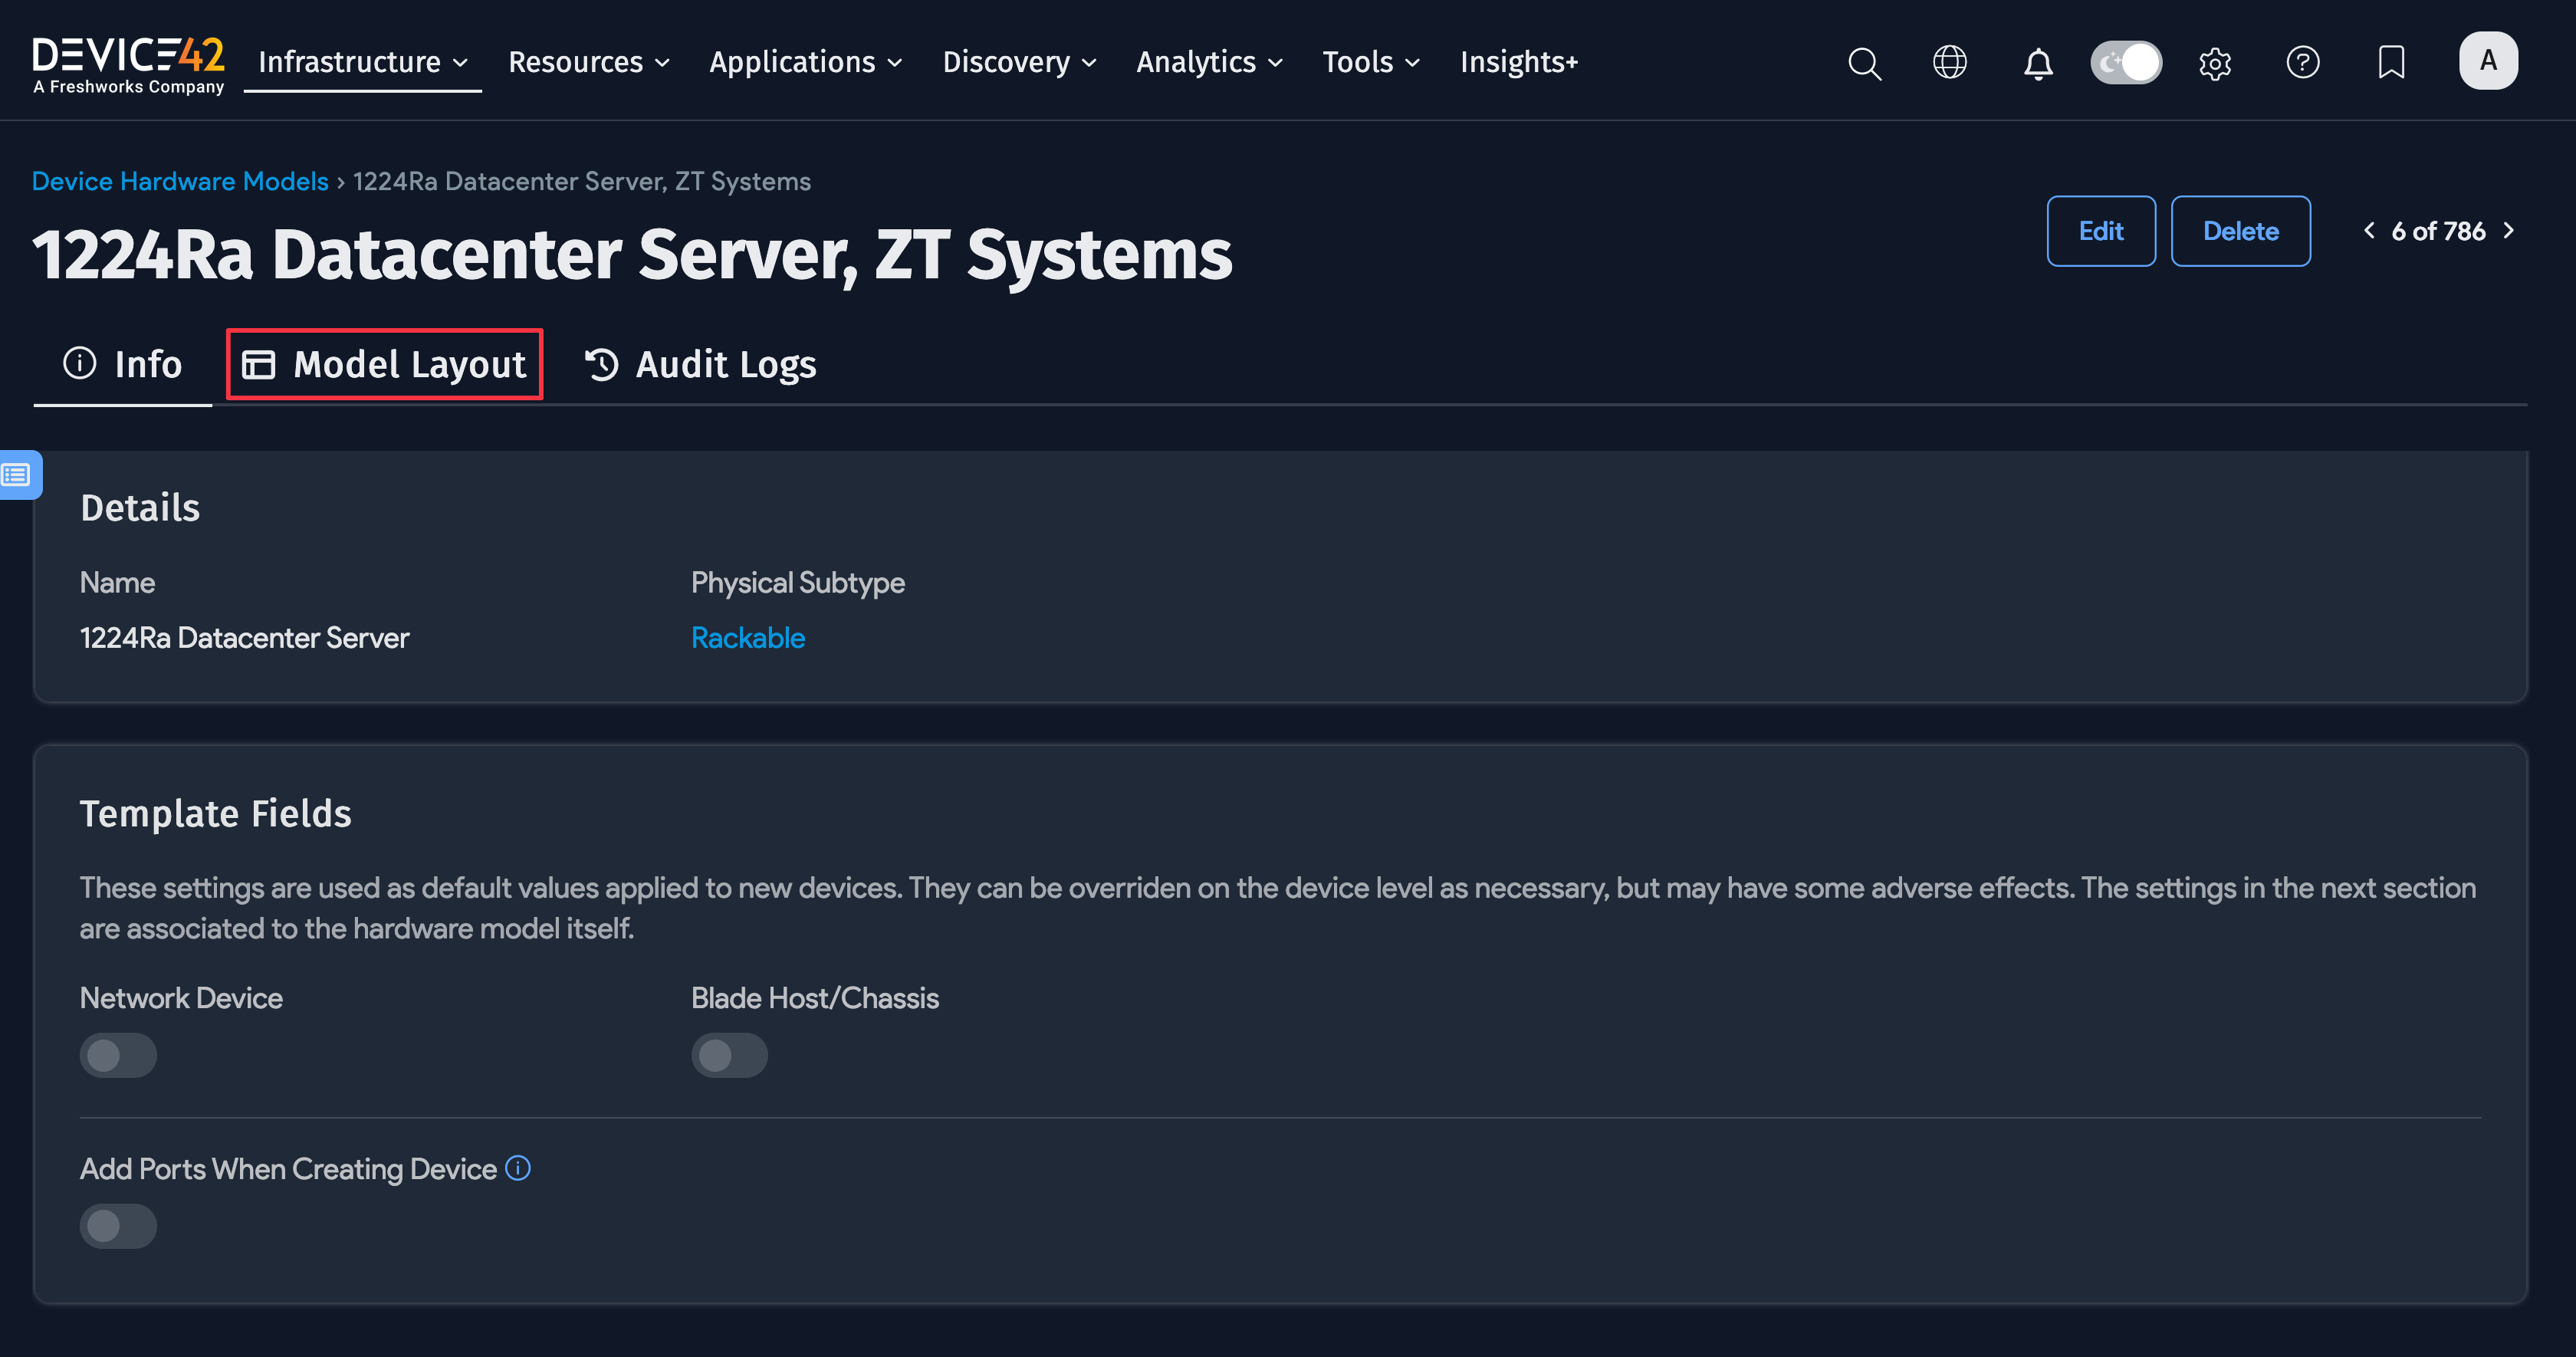
Navigate to Infrastructure > Hardware Models and select or create a hardware model with a Rackable, or similar, Physical Subtype.
Search for the hardware model from the list page and click Model Layout to open the layout editor.
Add a parts slot by dragging and dropping a New Slot icon to the front or back of the chassis. You can specify the part model during this step.
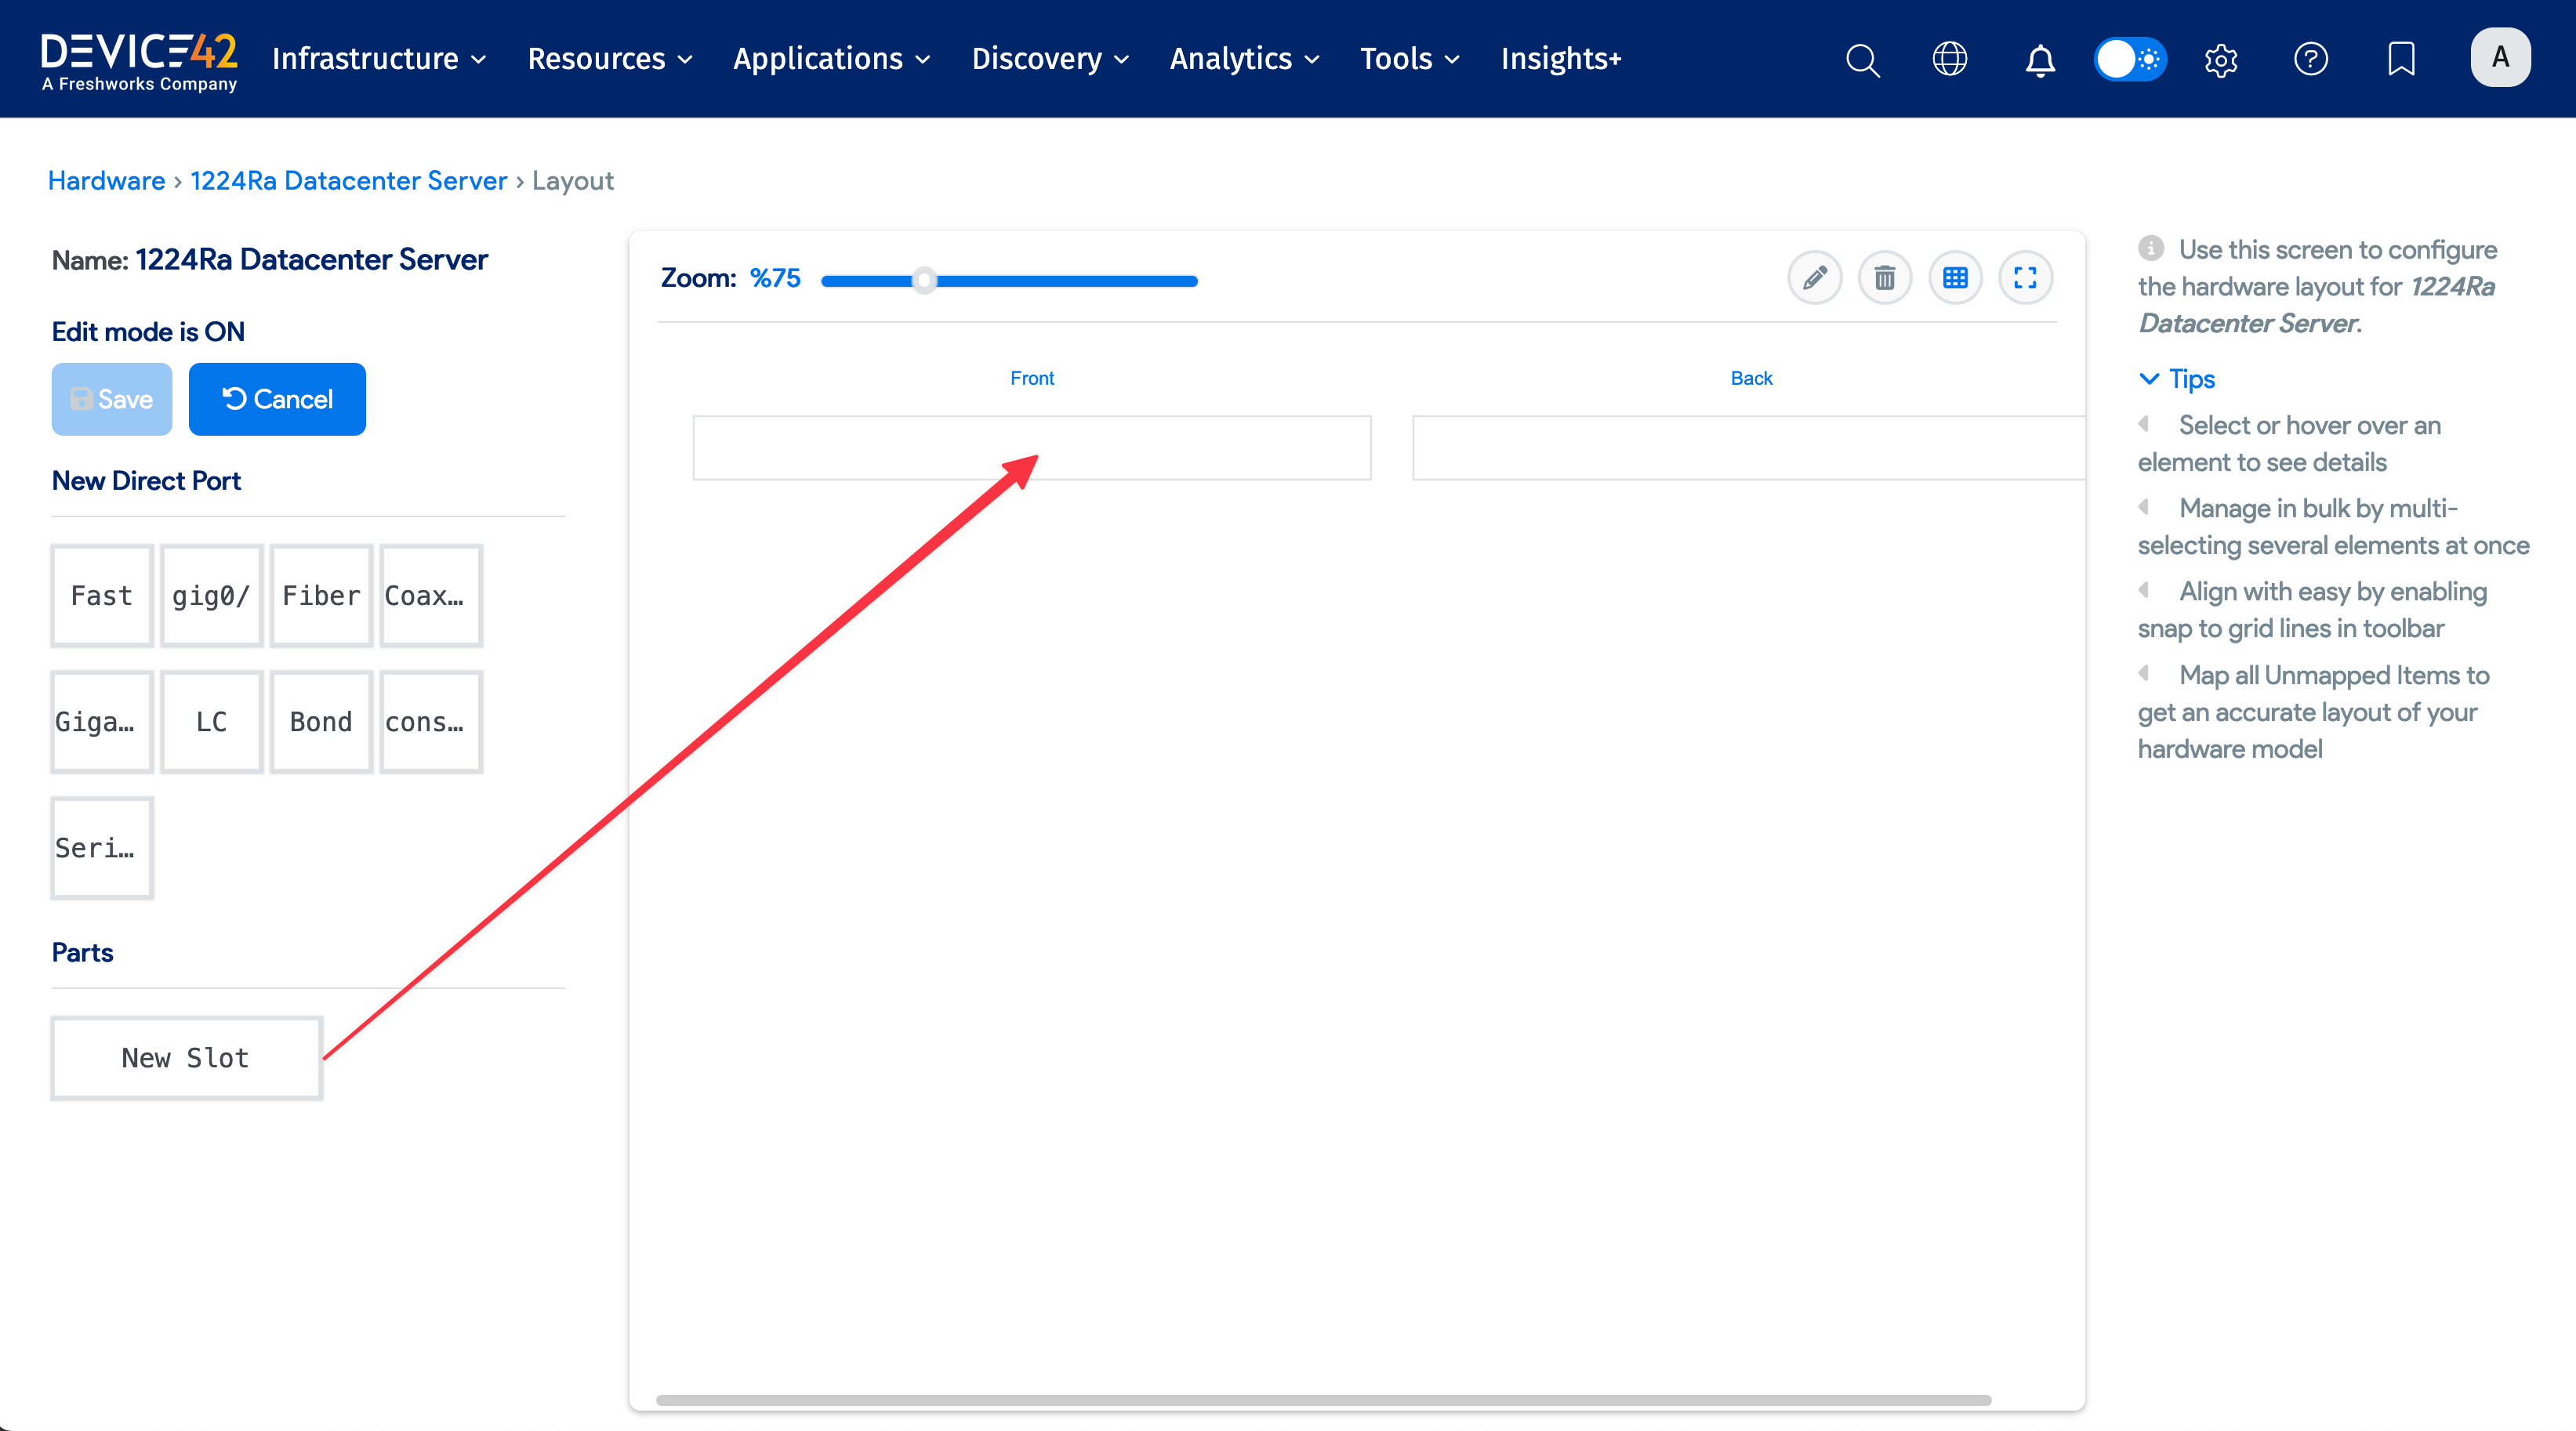
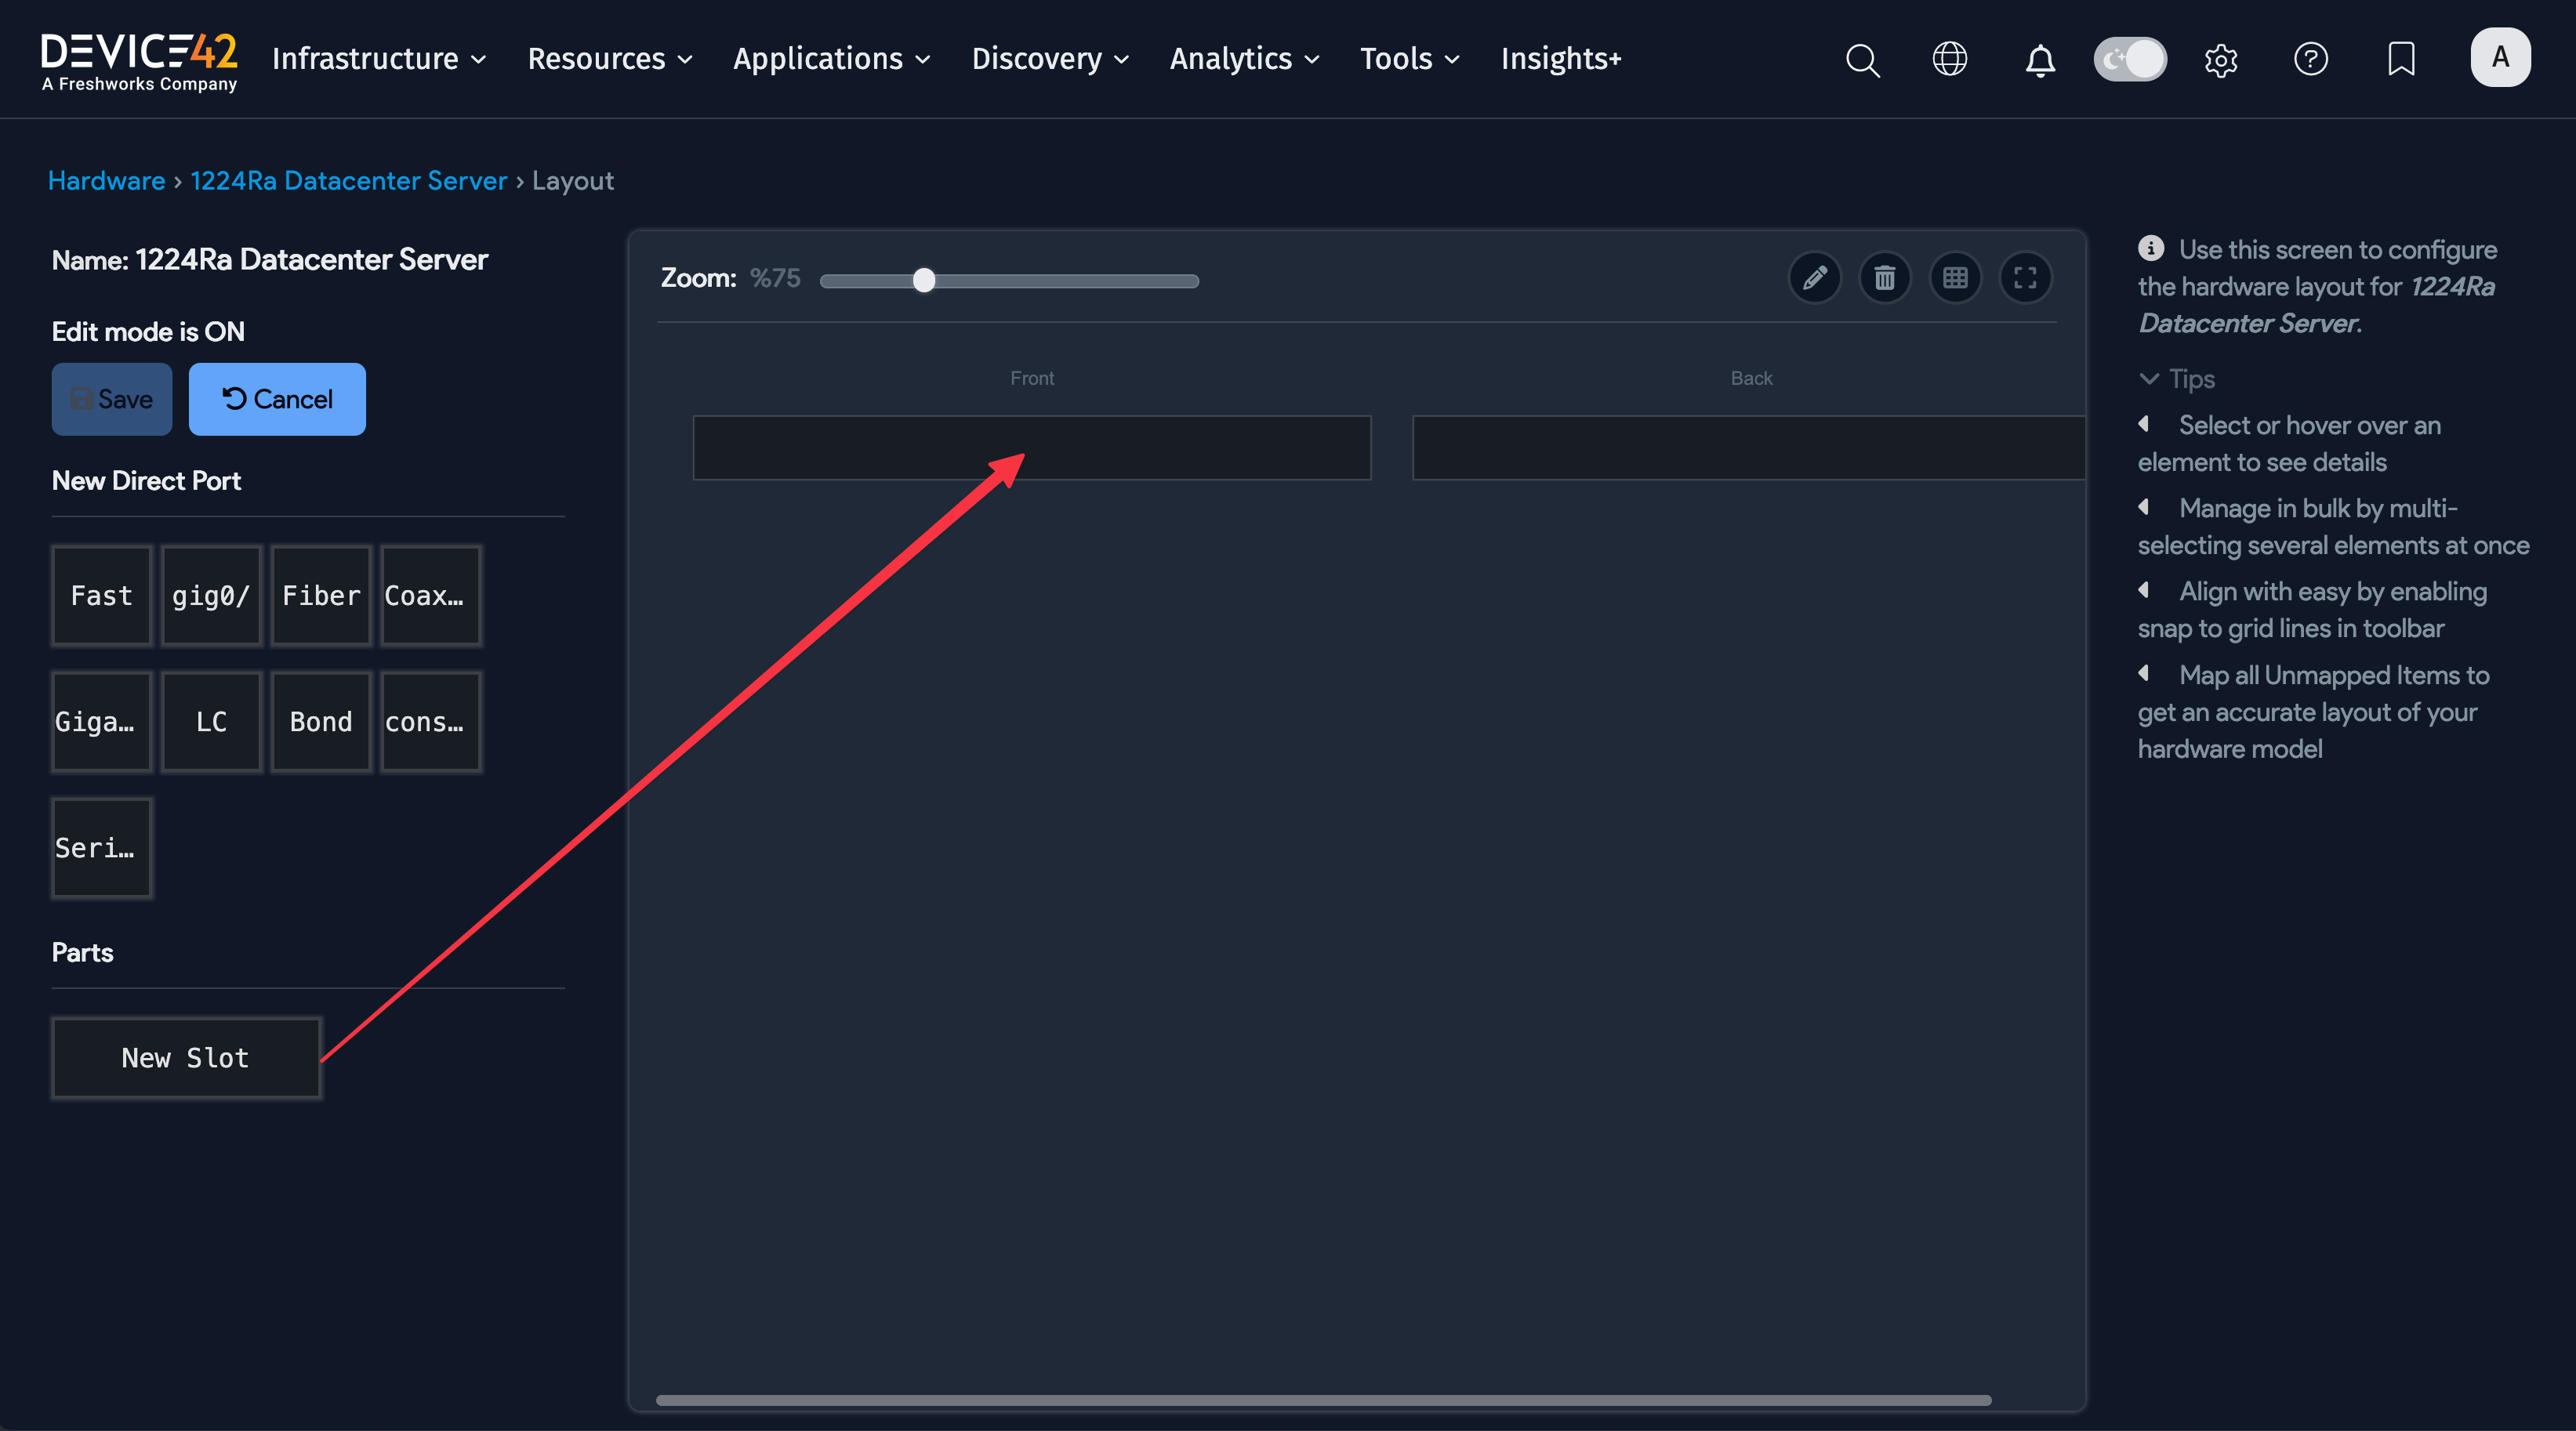
Arrange the Layout with the Visual Model Editor
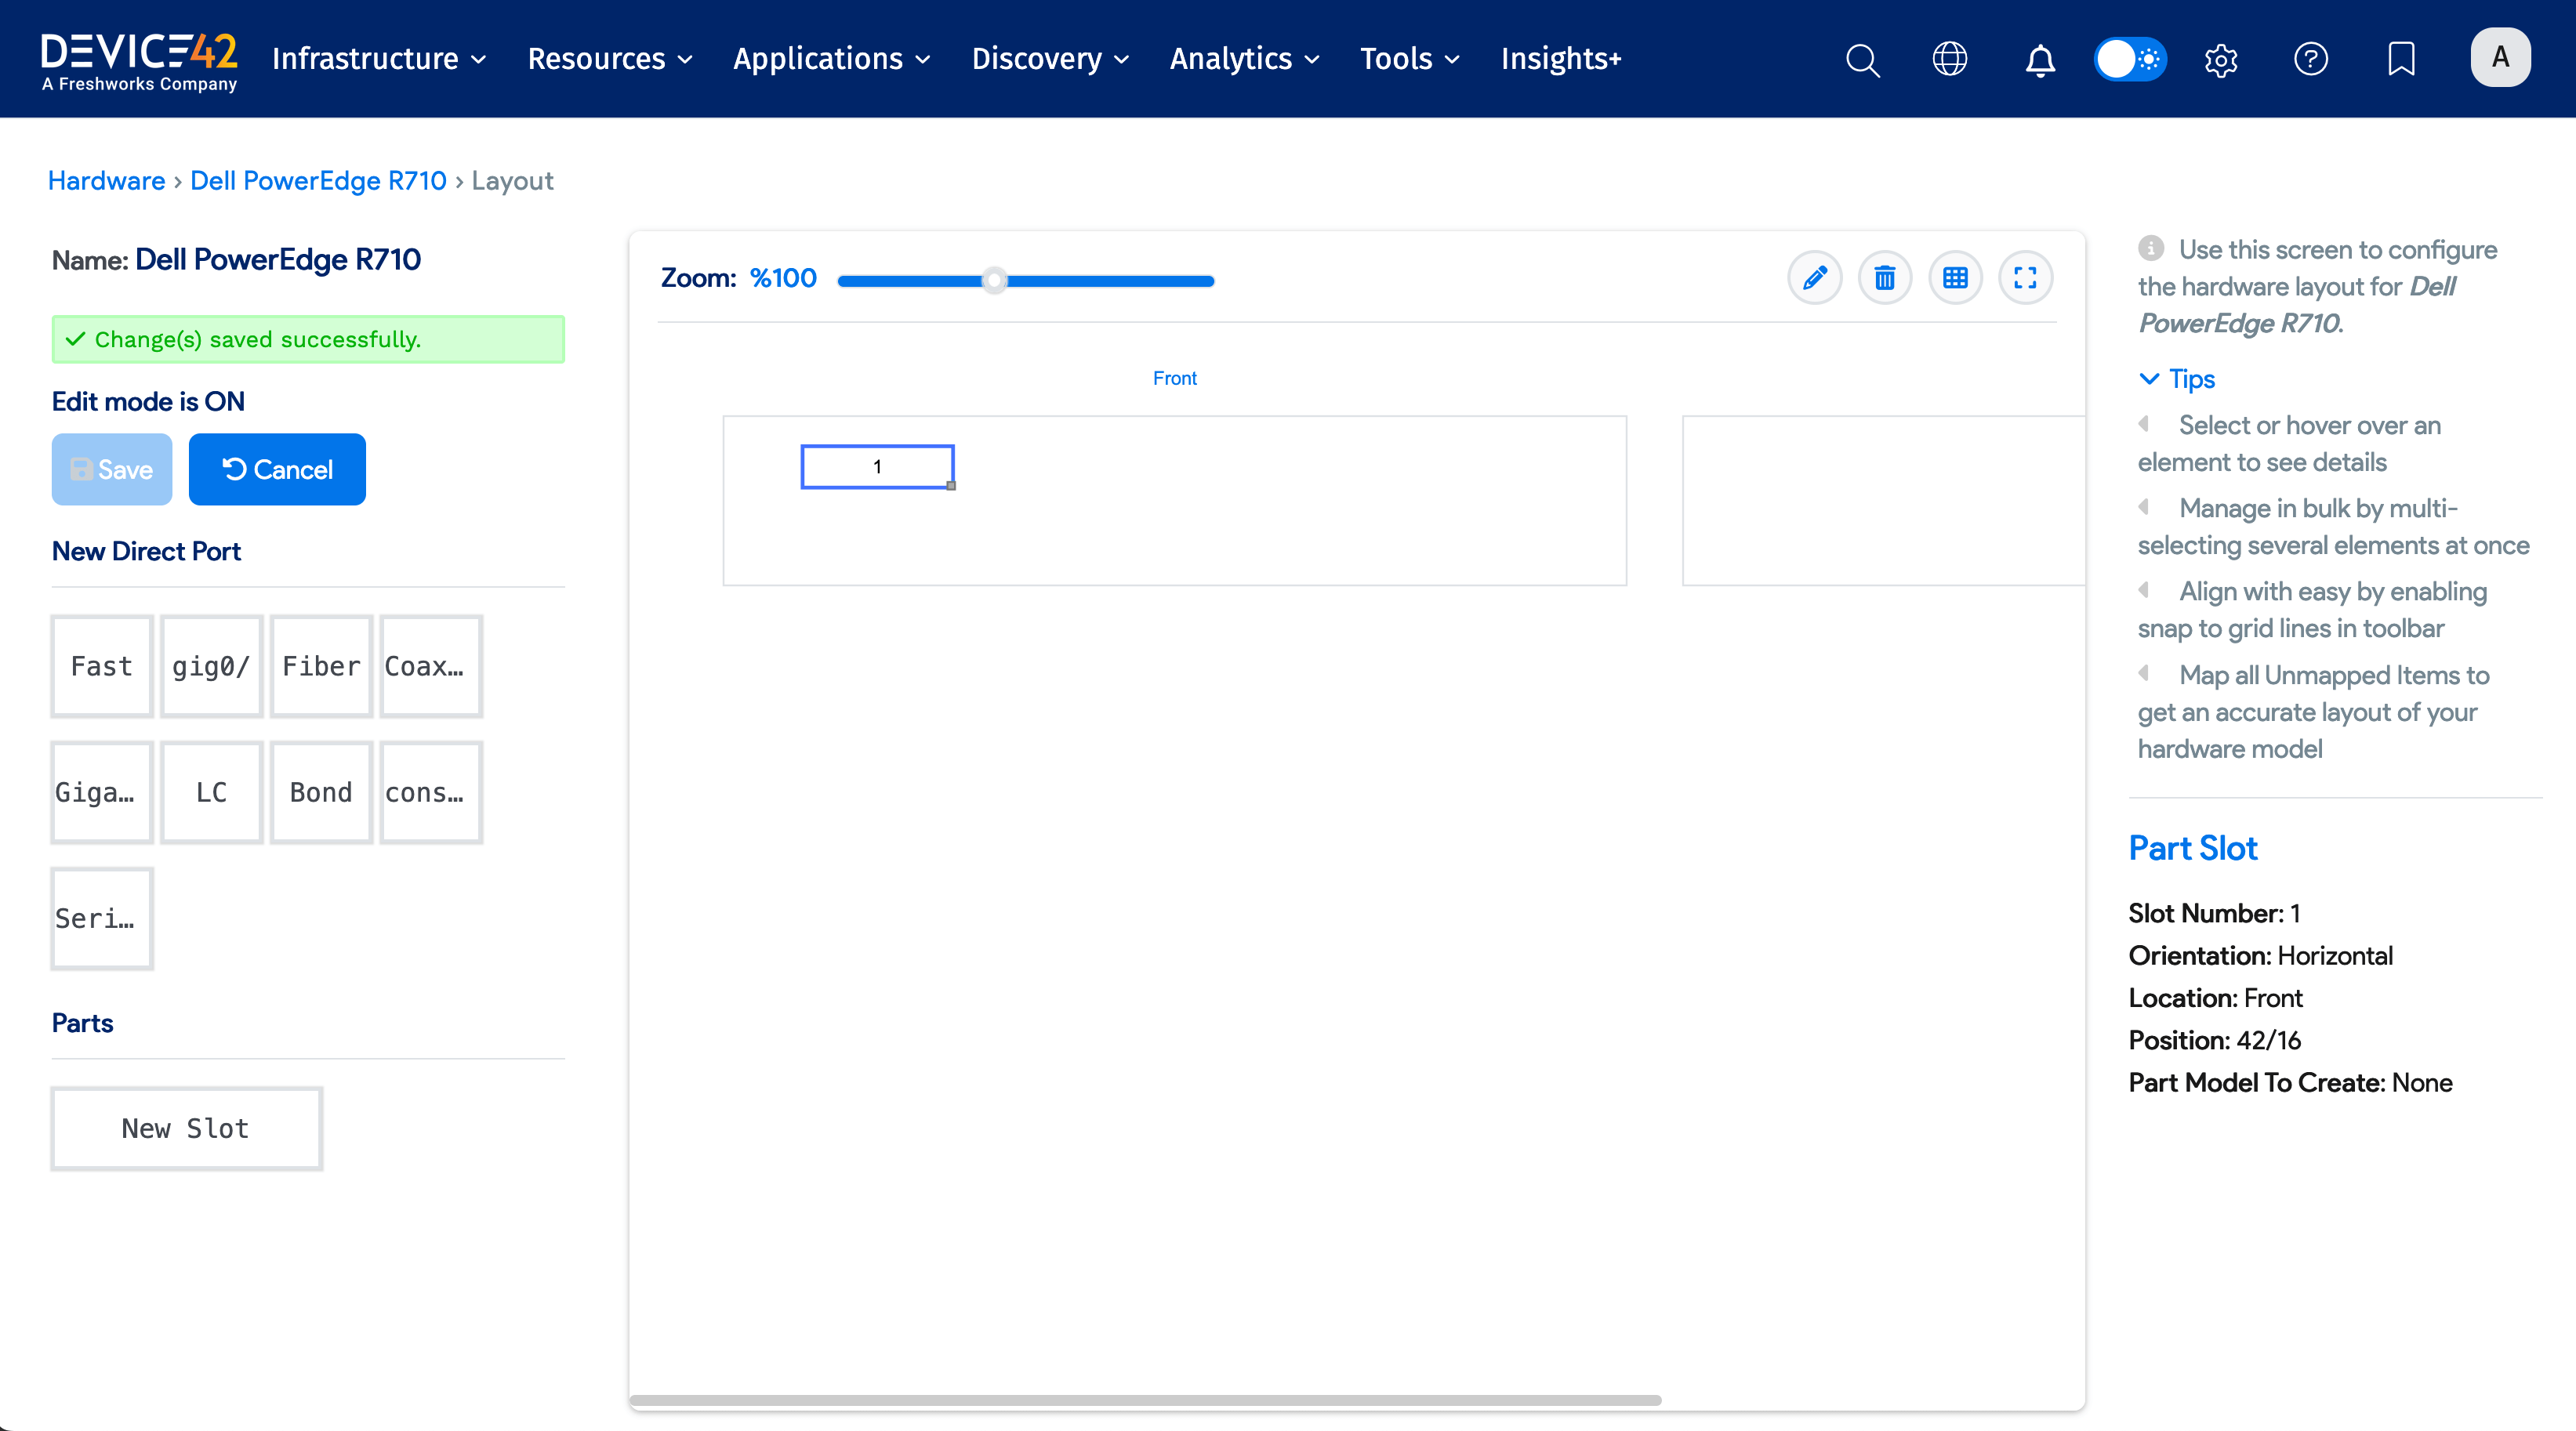
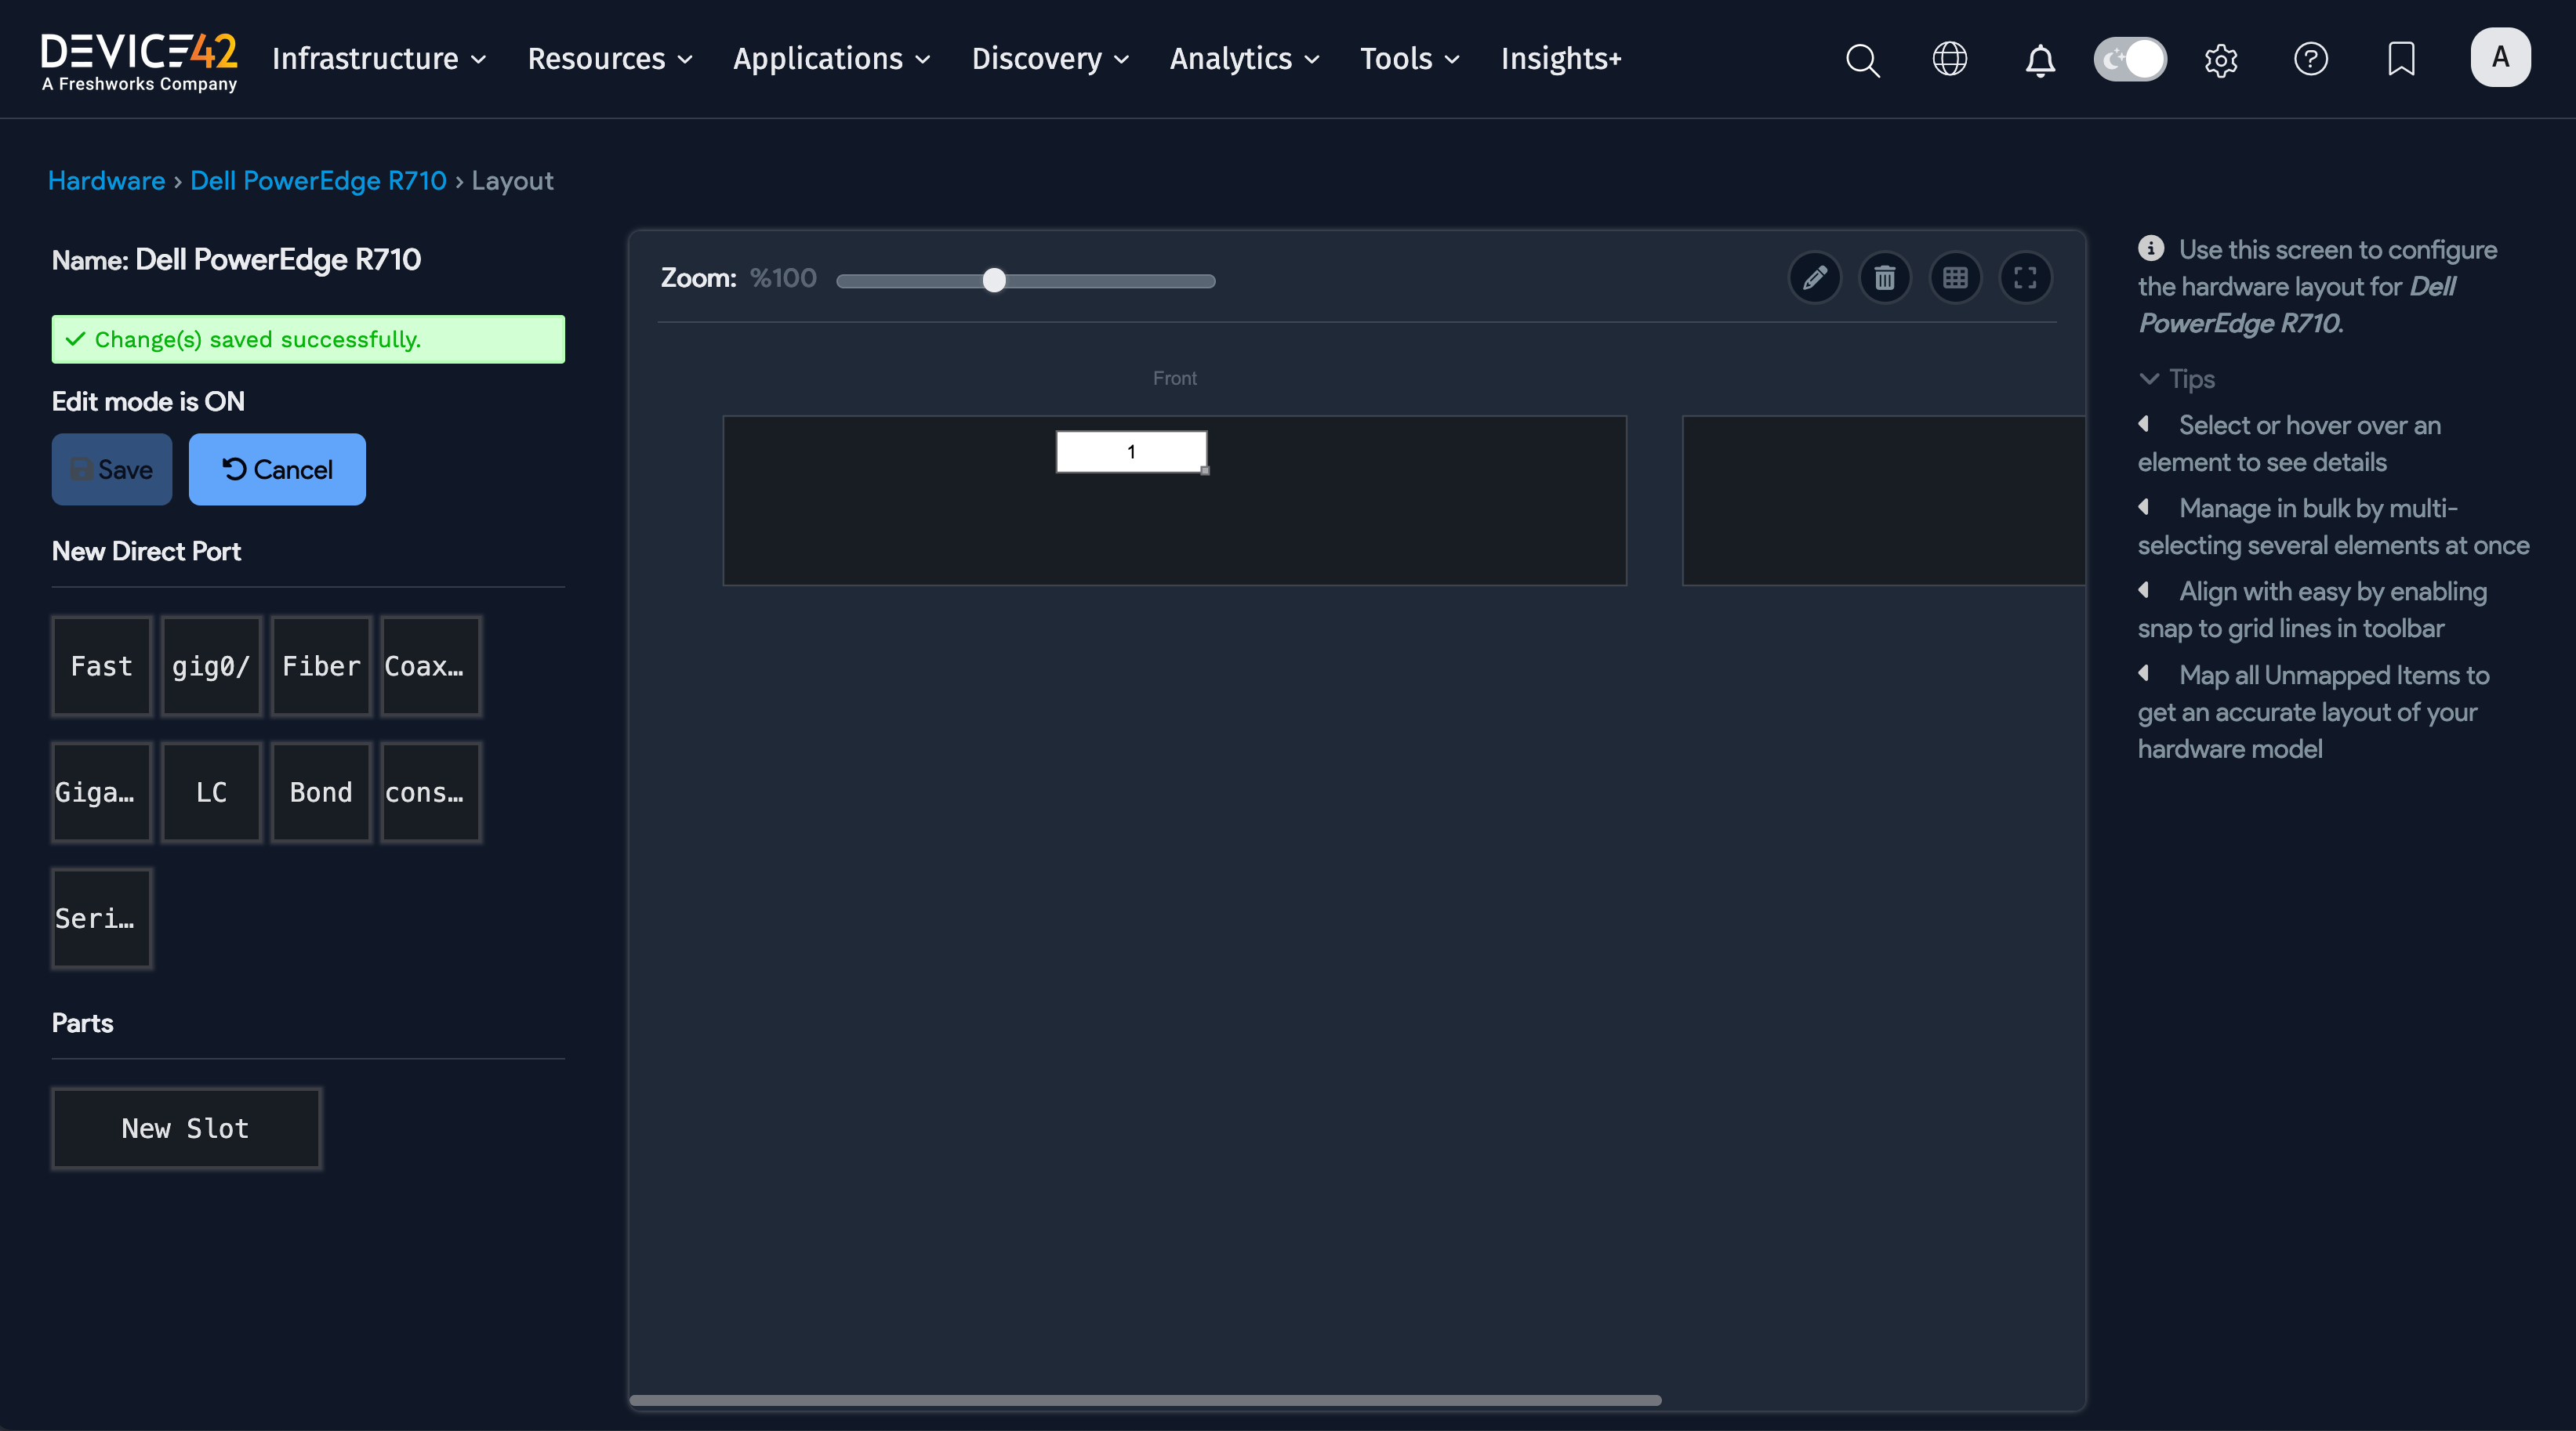
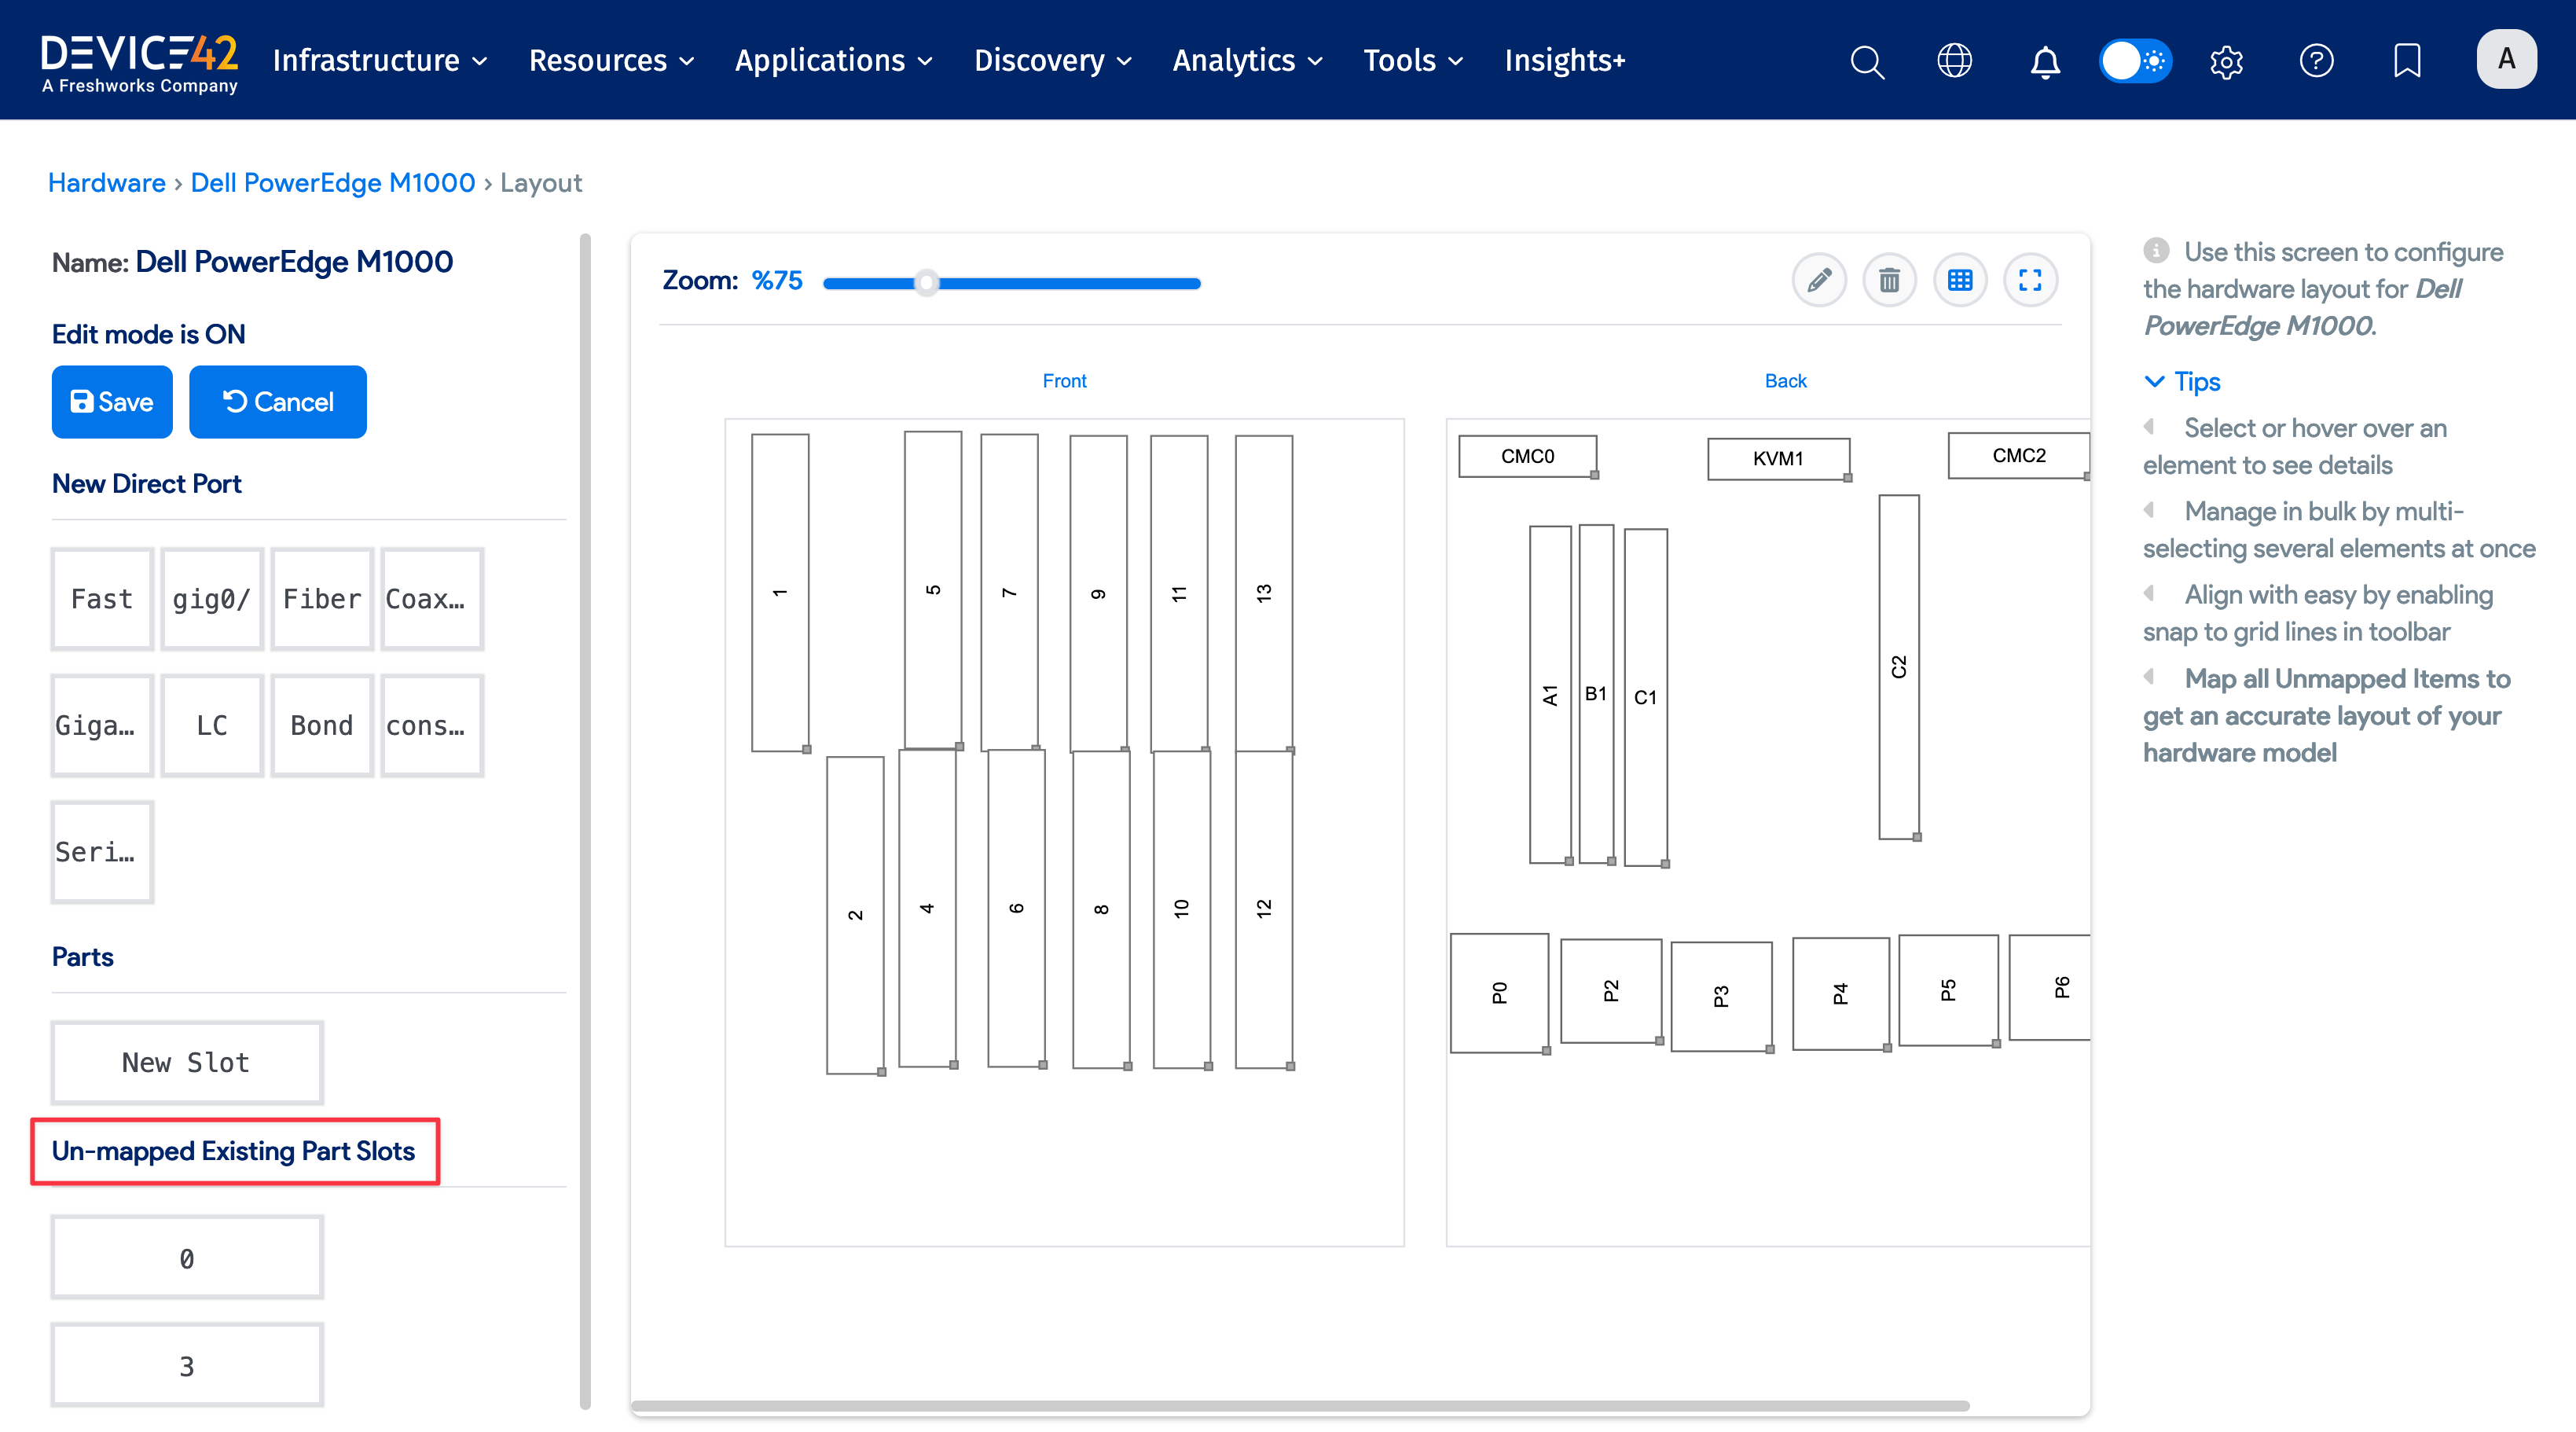
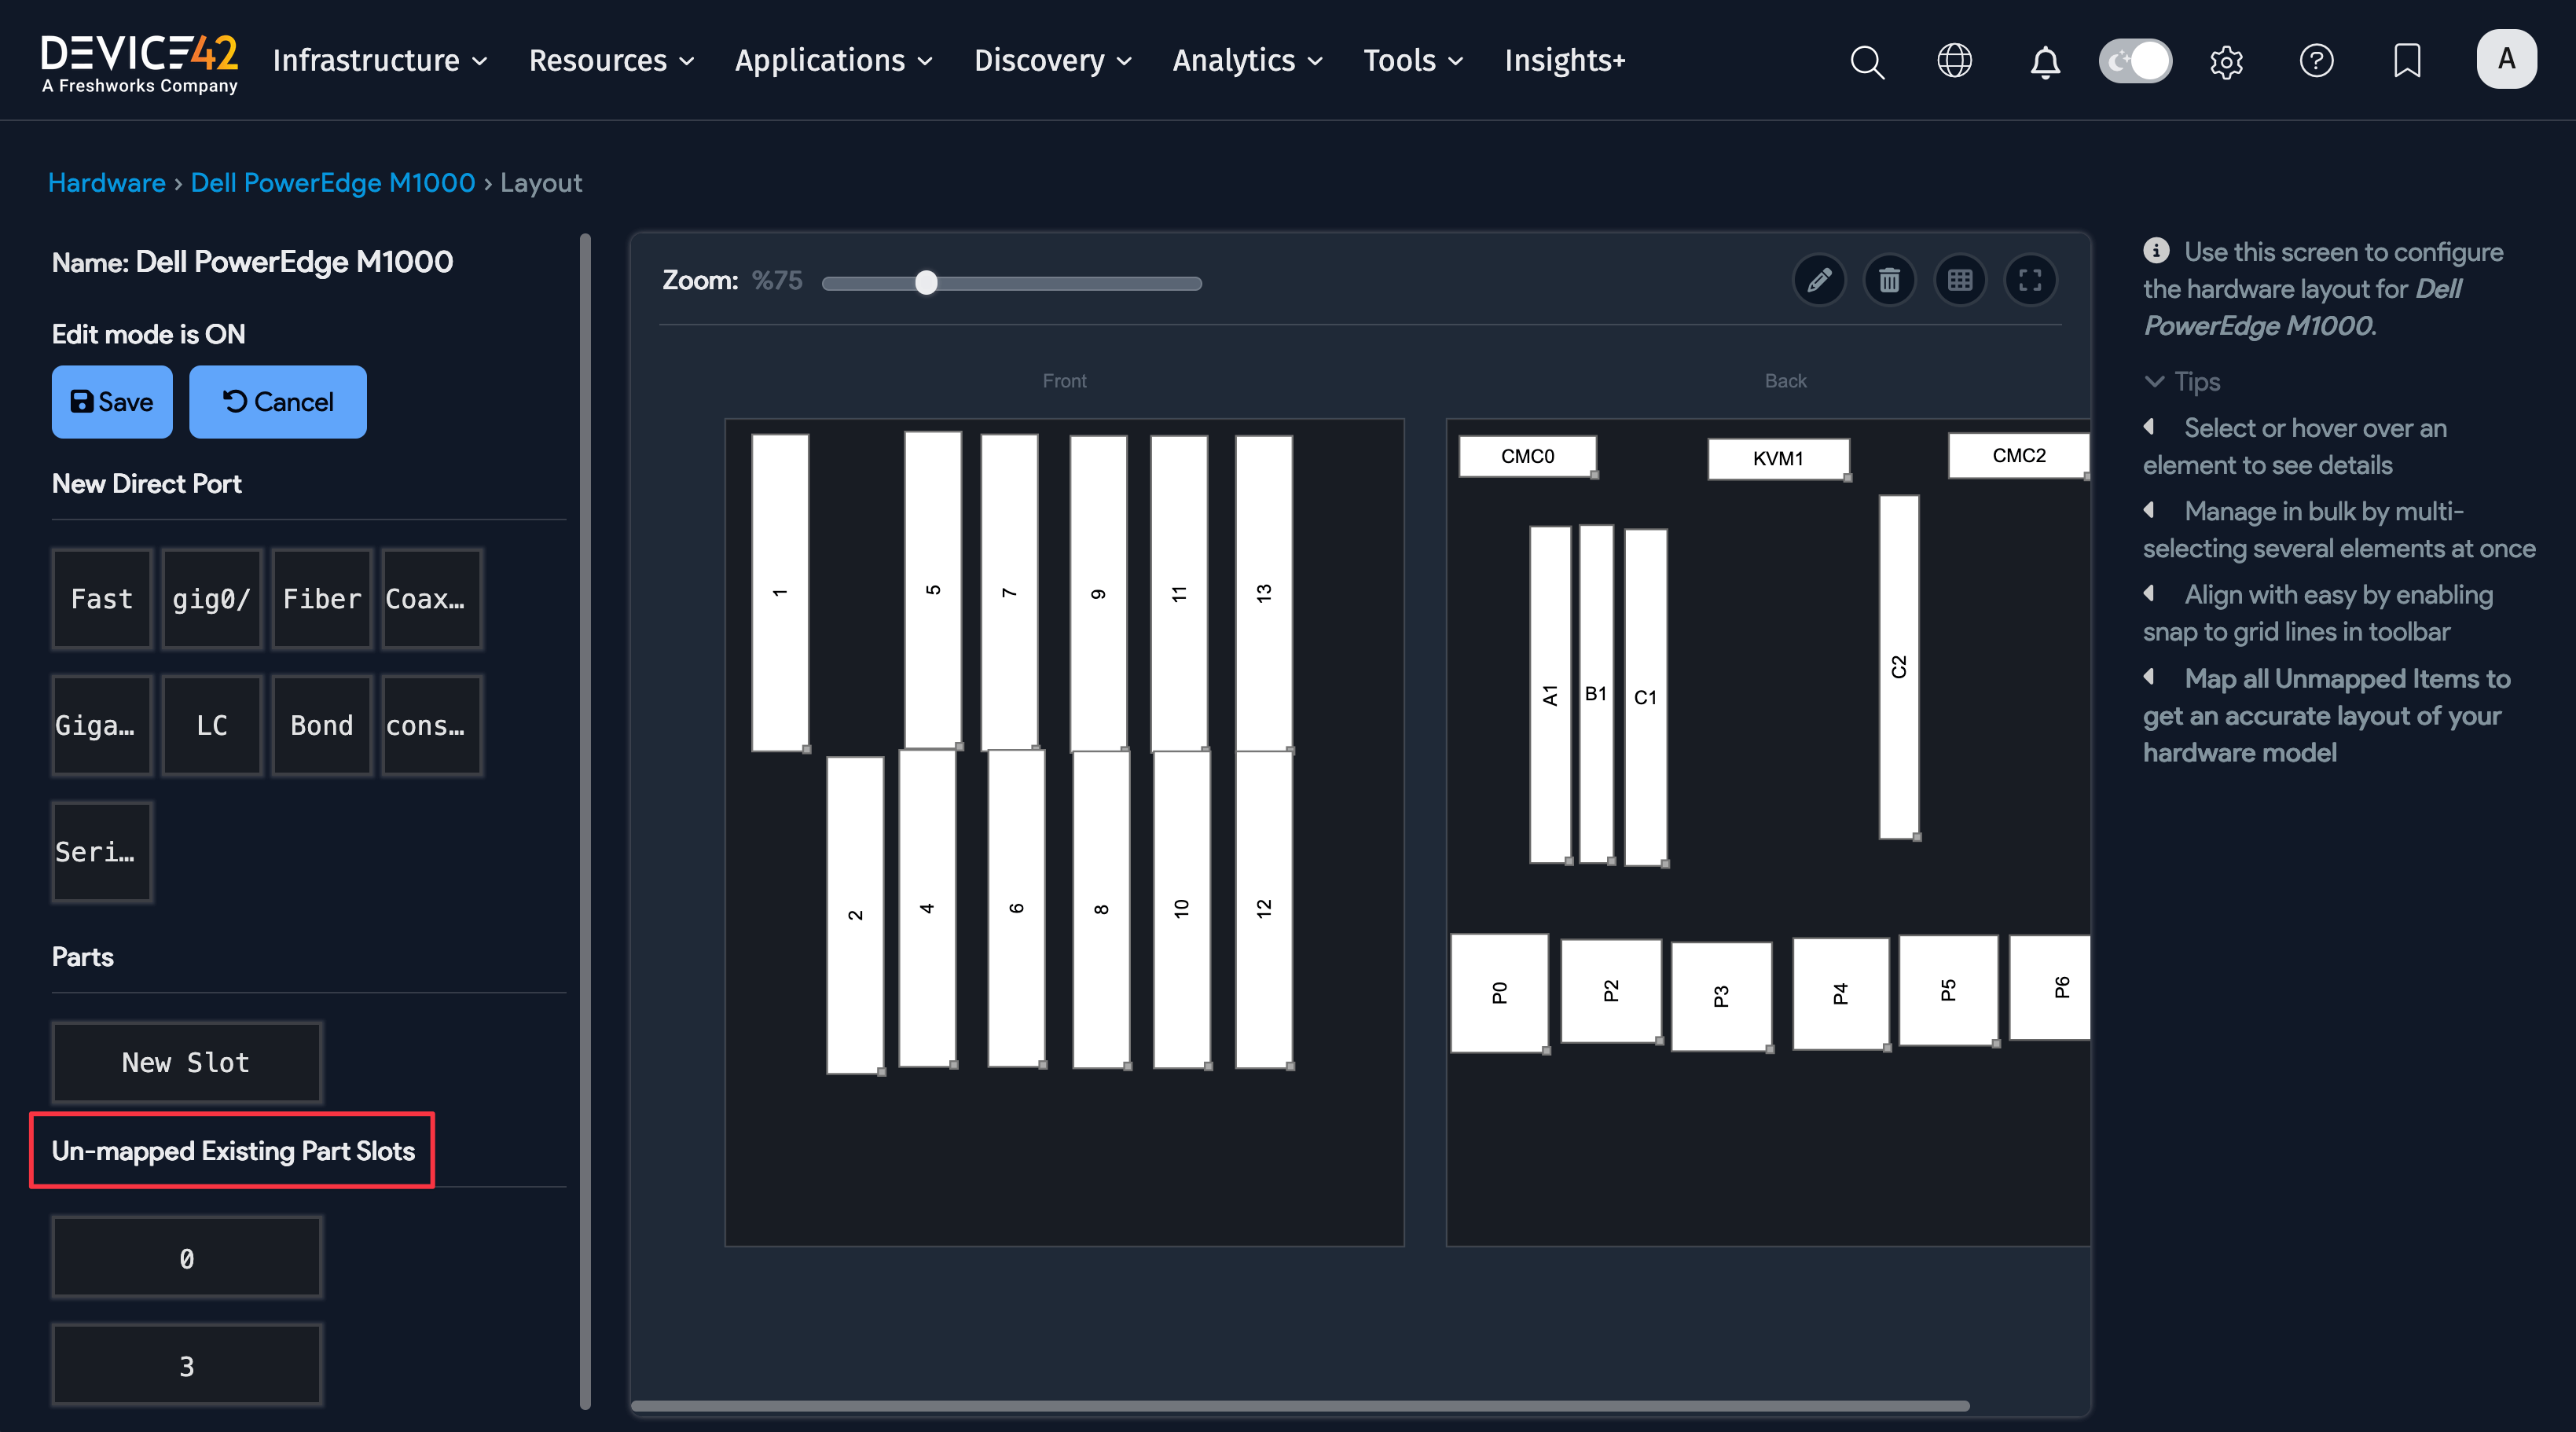
After adding parts slots to a hardware model, use the visual model editor to arrange their position on the front and back of the chassis.
Click Turn ON to enable edit mode, then drag and drop parts slots as desired.
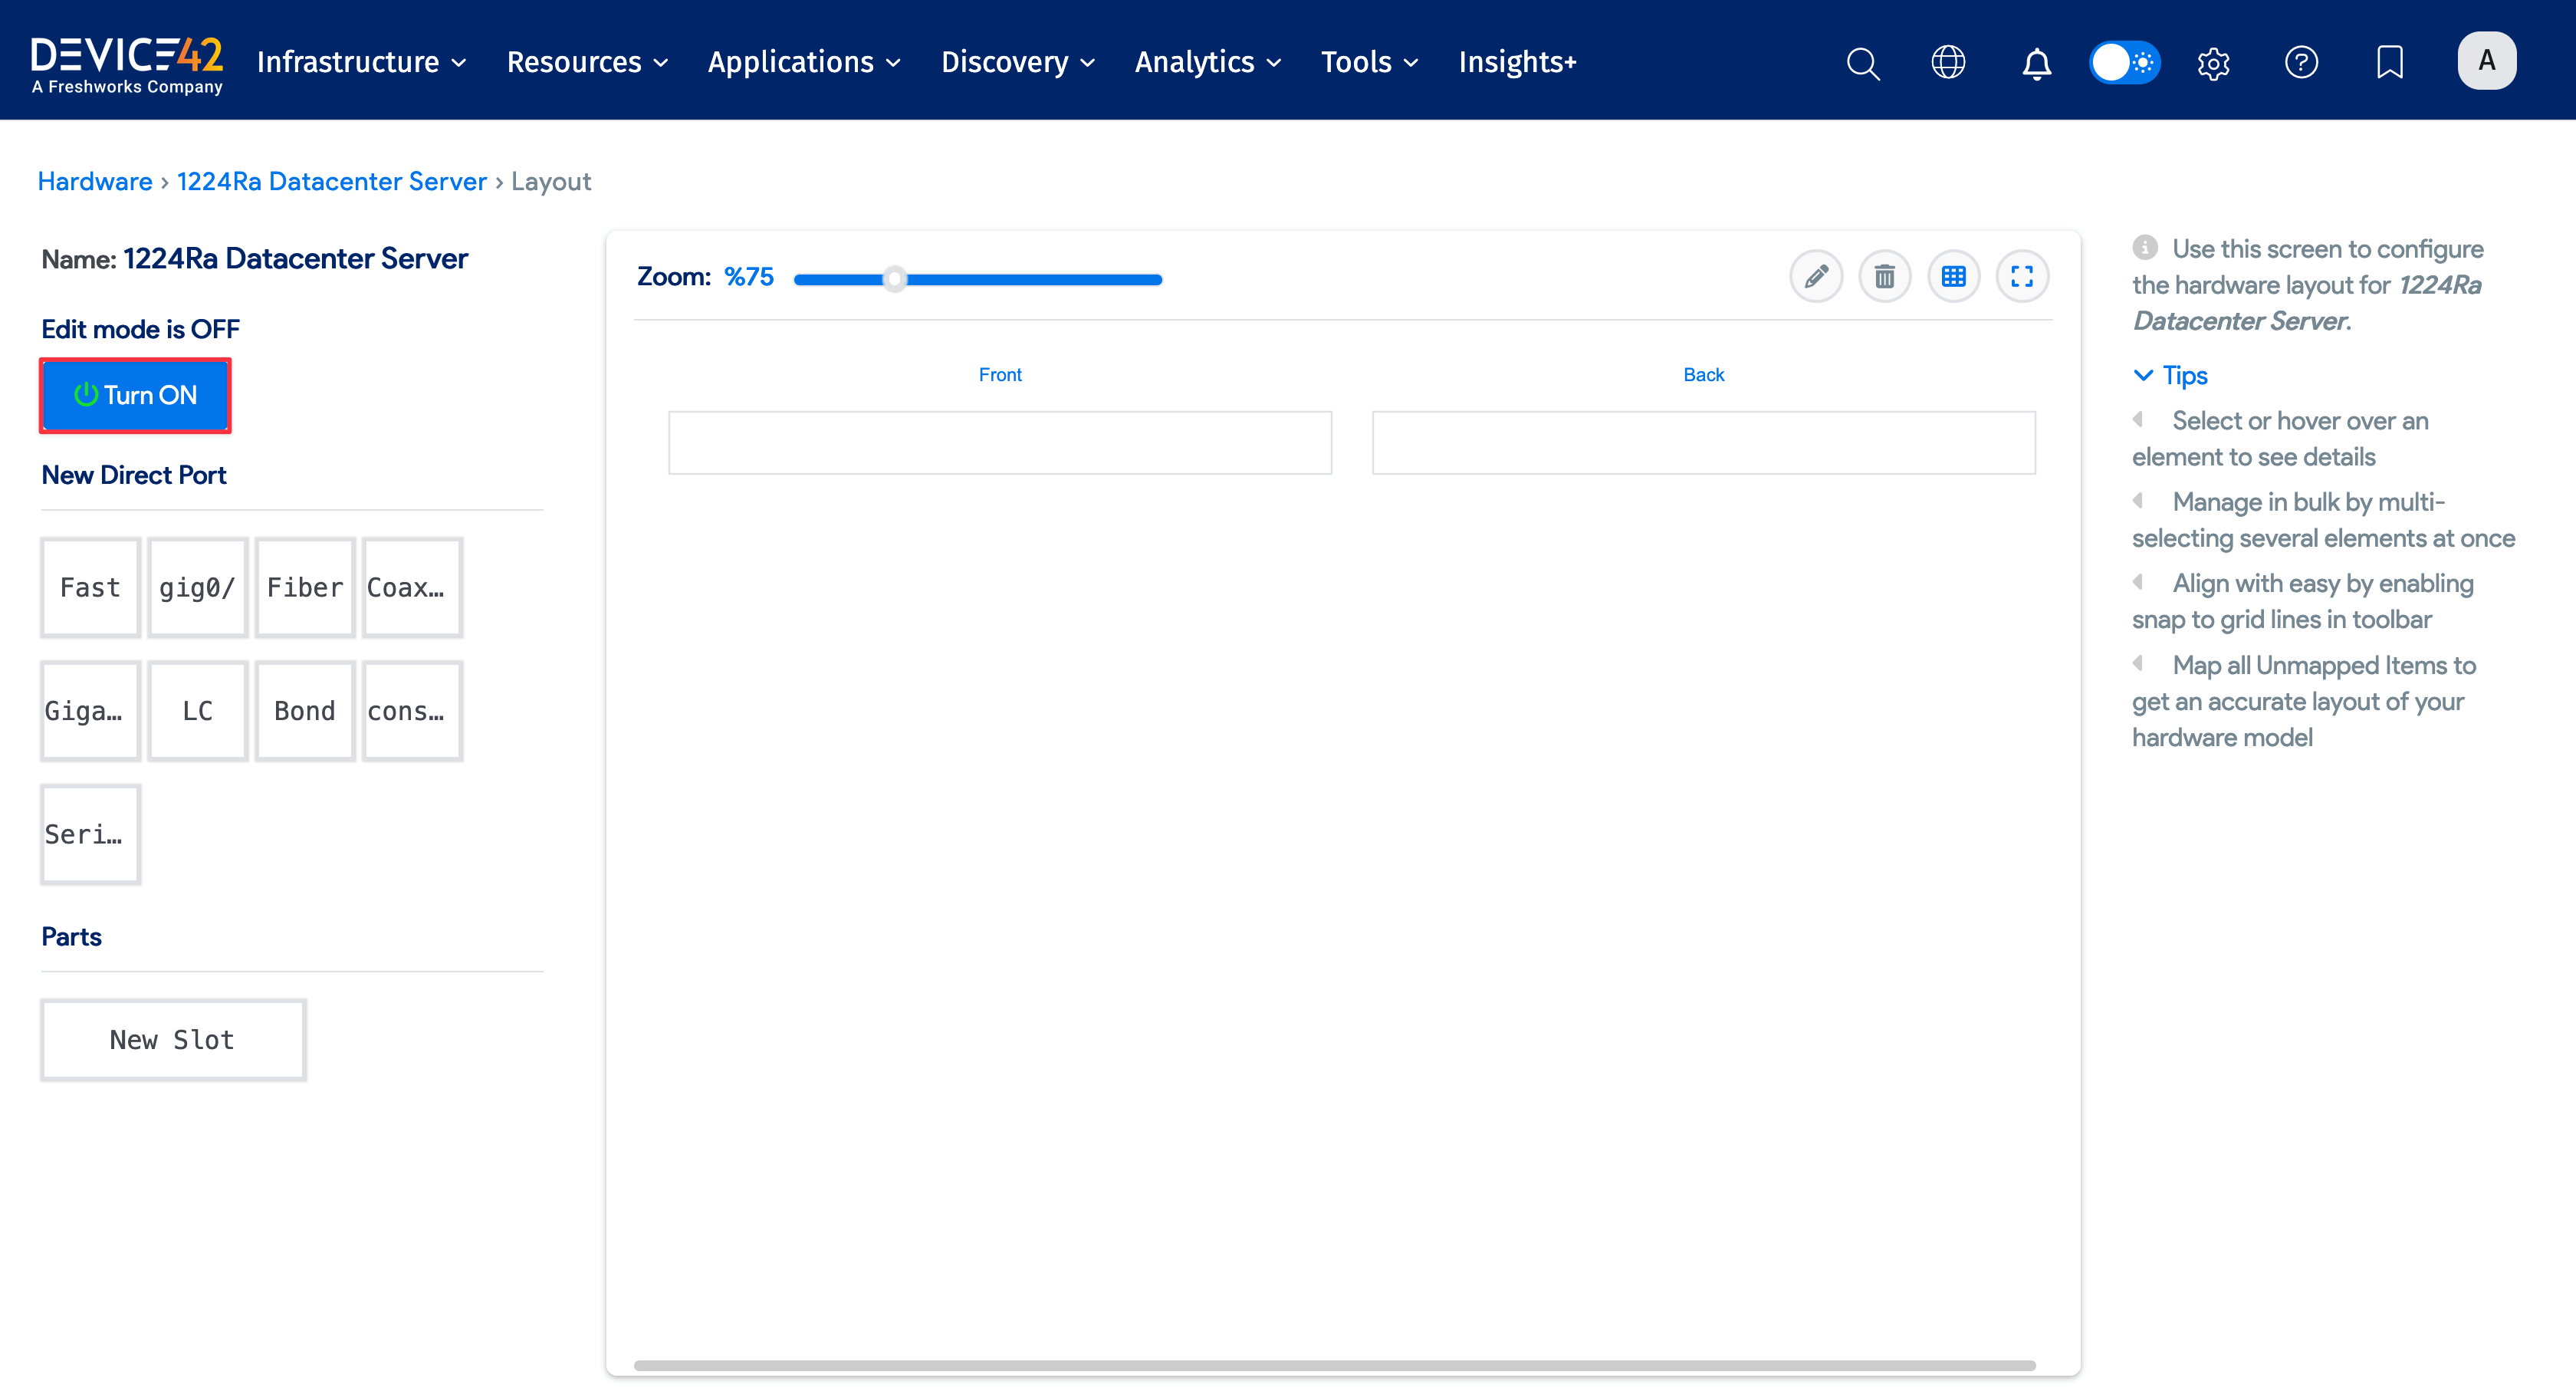
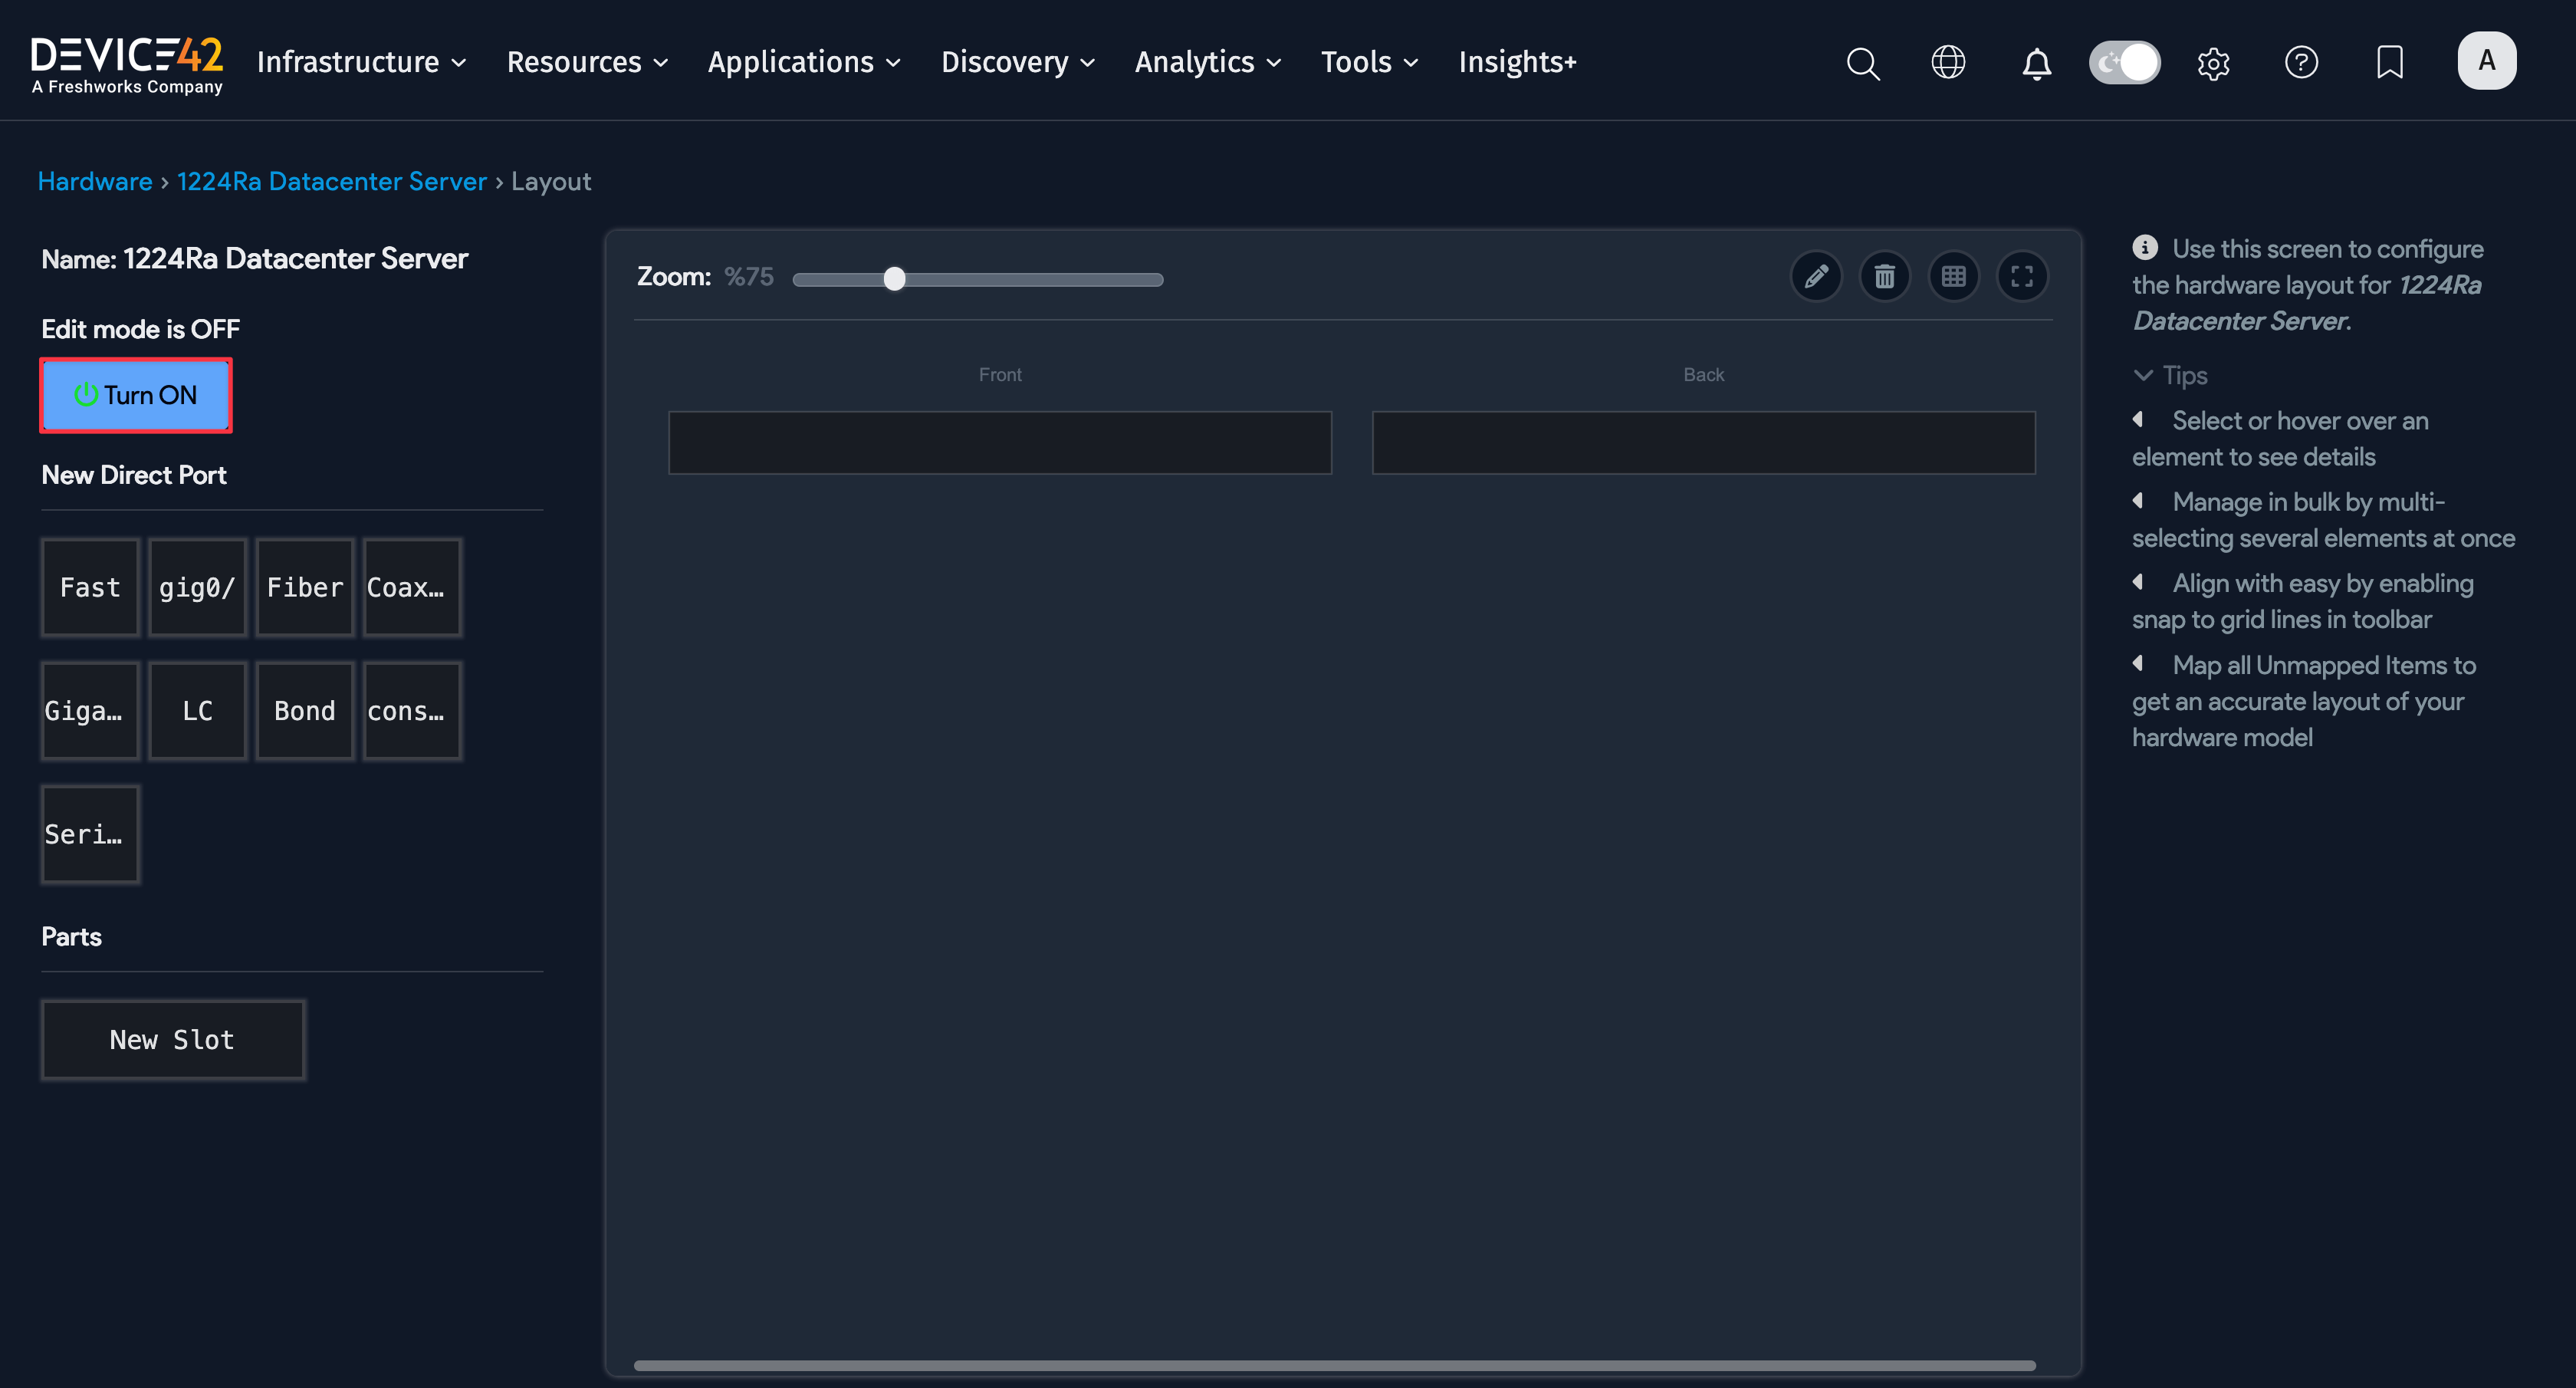
Slots defined in the hardware model appear in the left column under Unmapped Existing Parts or Unmapped Existing Blade Slots.
Edit a Parts Slot
Click a parts slot or blade slot and click the pencil icon in the top-right corner to reorient, rename, or place a part in a parts slot.
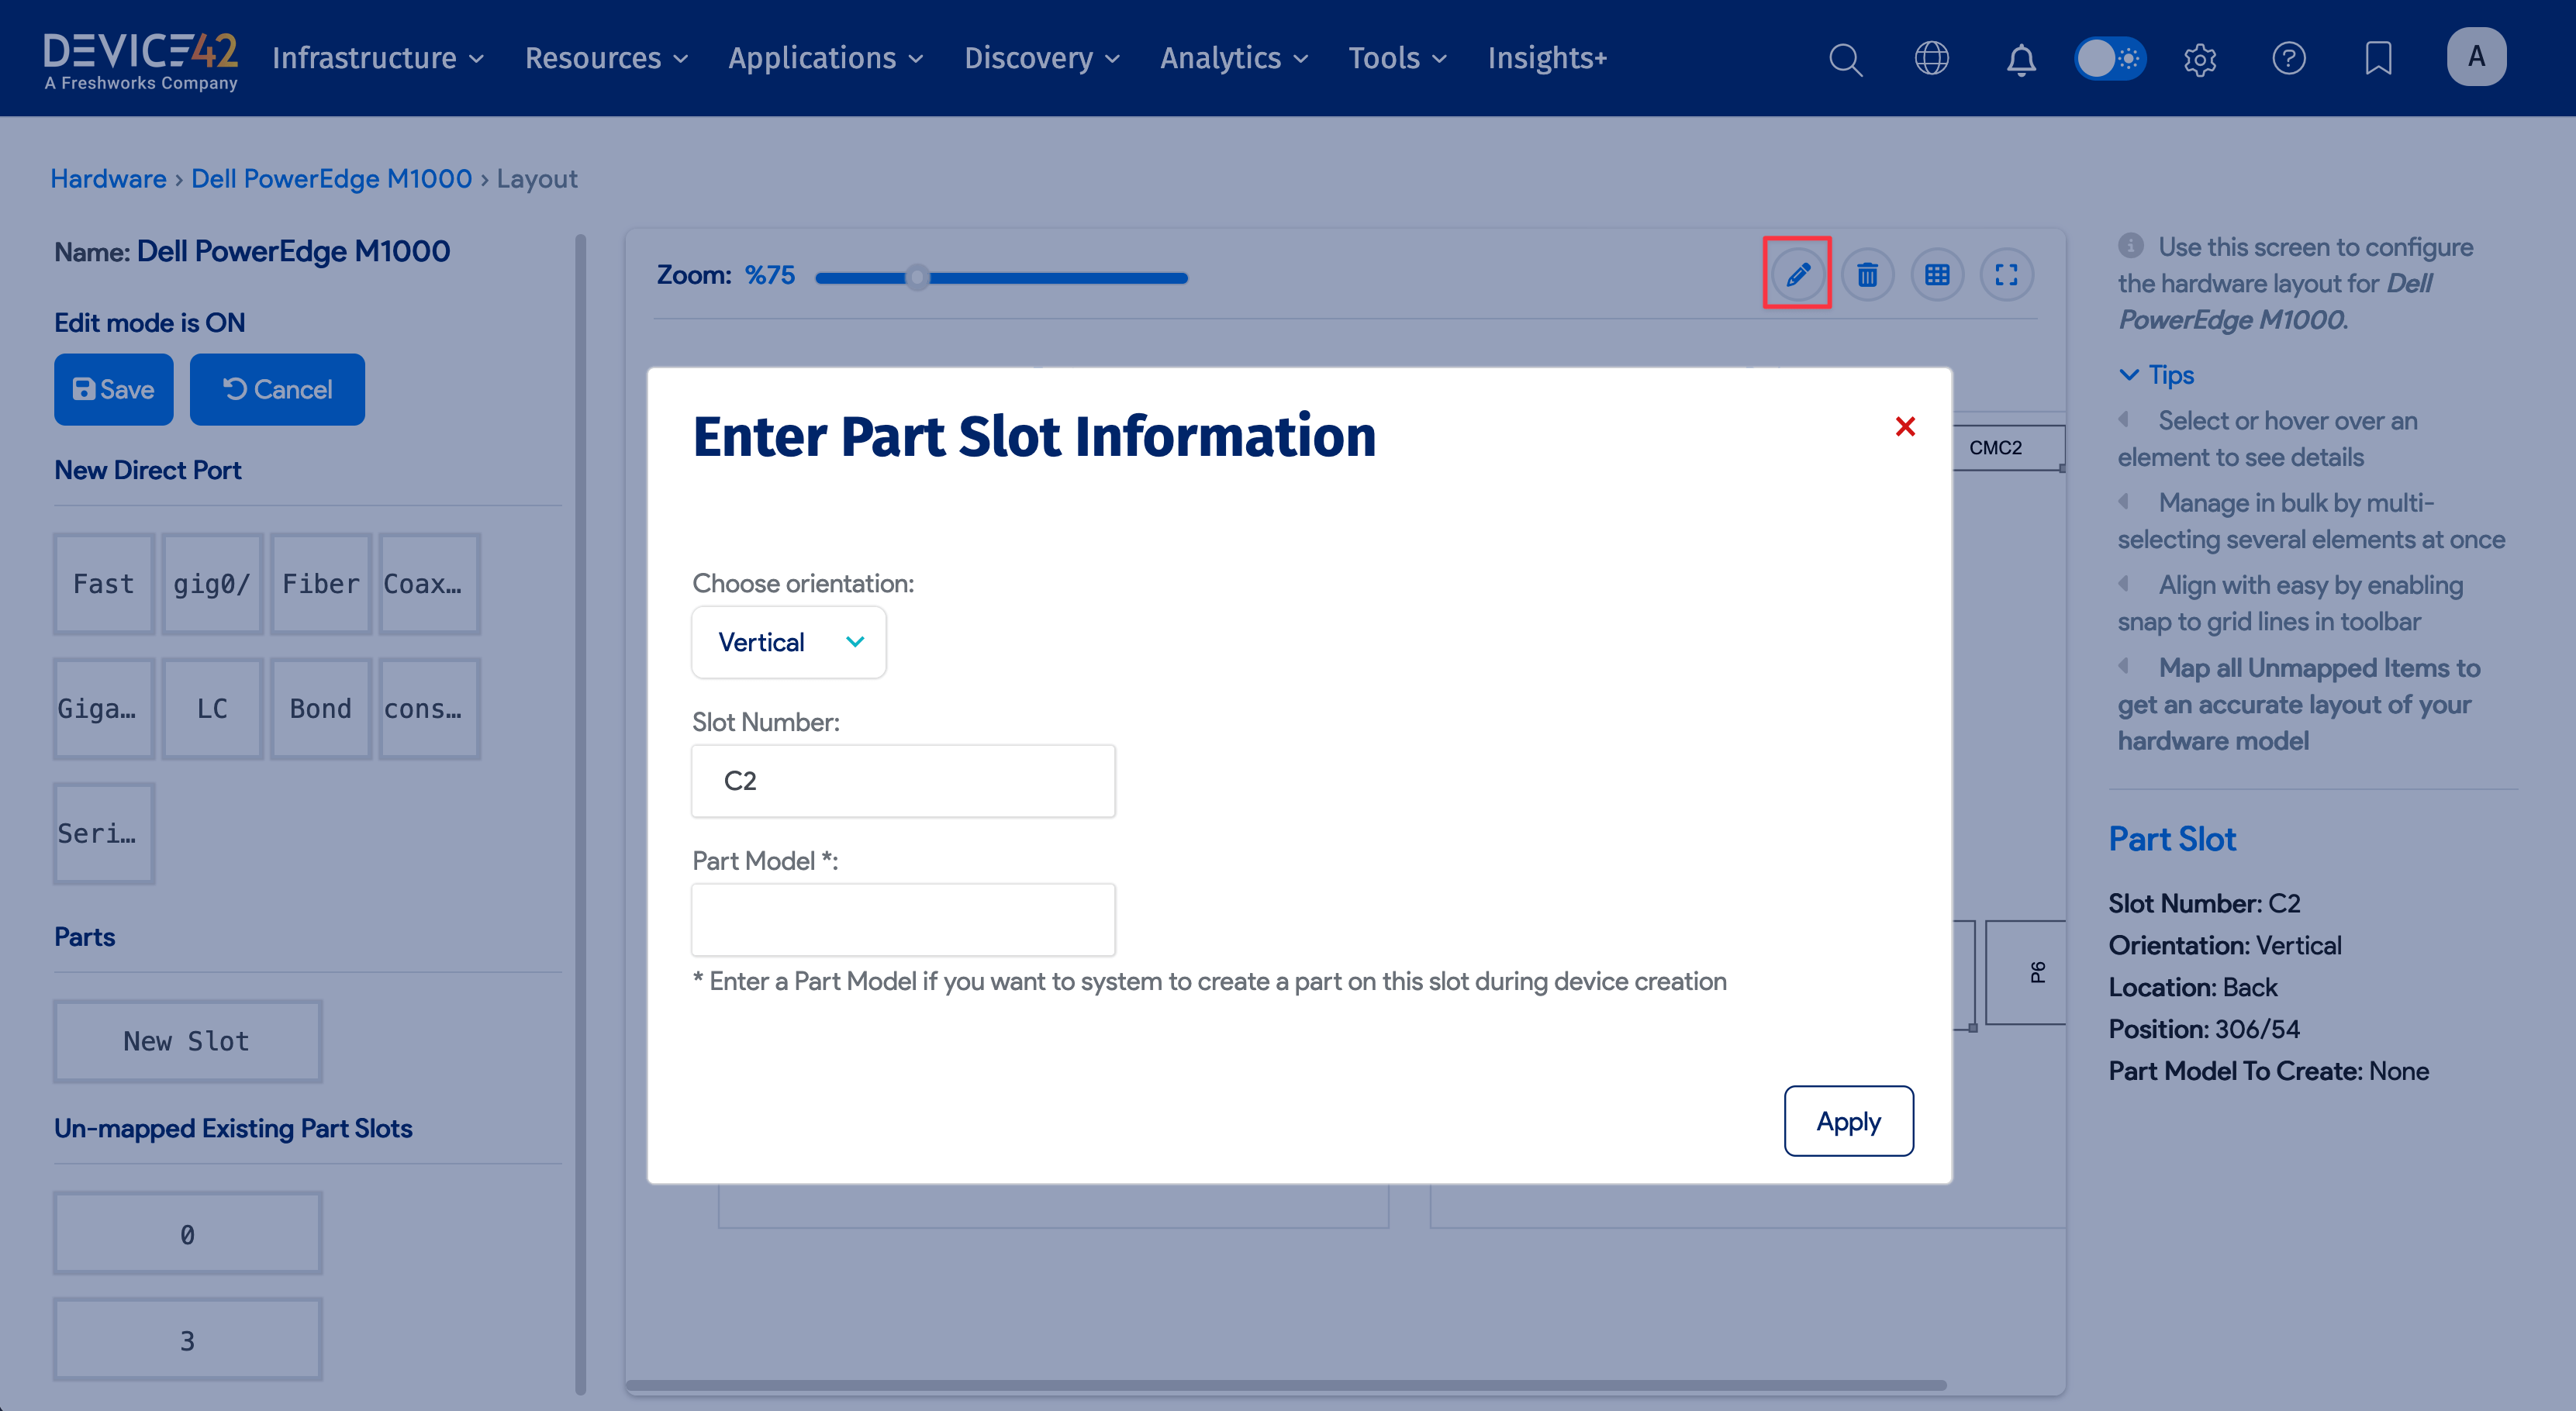
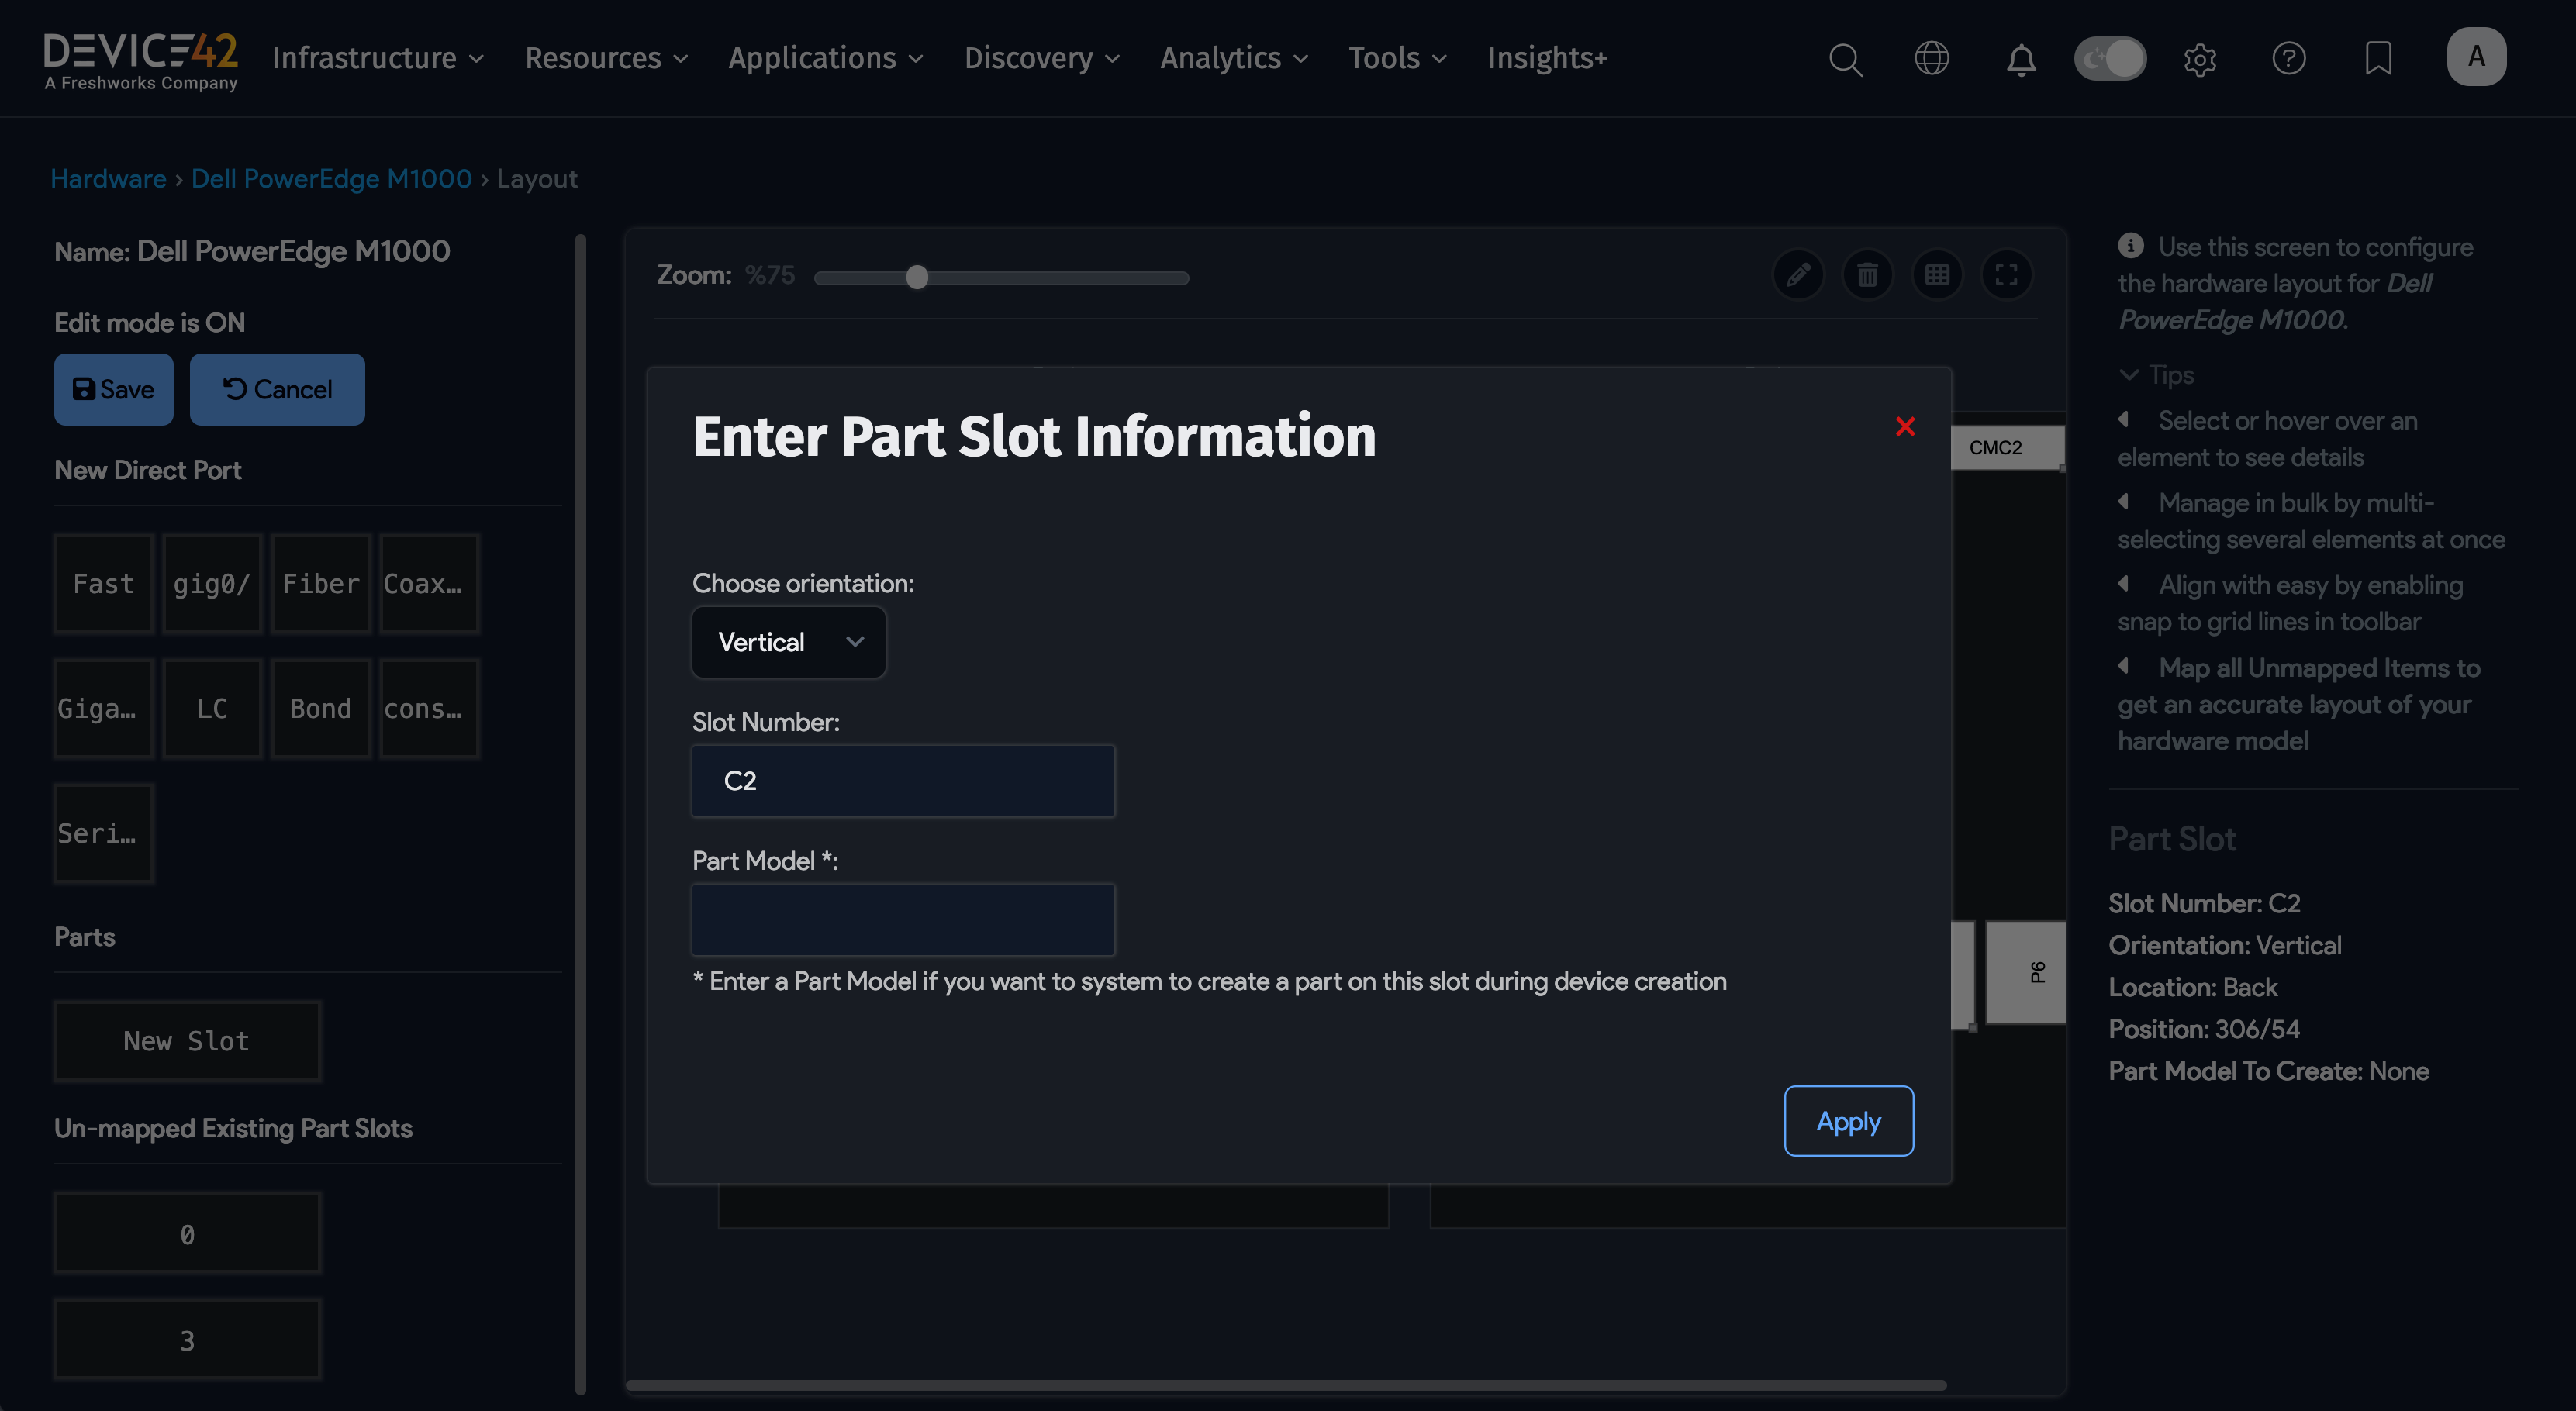
Blade slots have different options: you can add a number or change the orientation, but instead of placing a part, you set the blade height. For more details, see Device - Blade Slots.
When you have finished editing the layout, click Save. A green confirmation appears in the upper left.
Move Parts with Auto-Add Ports Enabled
When a hardware model has auto-add ports enabled, Device42 automatically creates network ports for parts placed in slots. Be aware of the following behavior when moving parts in the editor.
If you manually move a part from one slot to another in the layout (for example, from Slot A to Slot B), any auto-added ports associated with that part will not automatically regenerate. The system assumes you are correcting the displayed location of a part that has not physically moved.
If you are moving the physical part from one slot to another, first remove the part from the device, save, and then add it back to the new slot. The system deletes all associated network ports and auto-adds new ones for the new slot ID, as long as auto-add ports is enabled for that hardware model.