Assets
Assets are useful for tracking items that may not be directly discoverable. Like devices in Device42, assets support lifecycle events, can be racked, and can be assigned parts. Unlike devices, assets do not consume licenses.
Navigate to Resources > All Assets to search, view, add, and edit assets.
Add an Asset
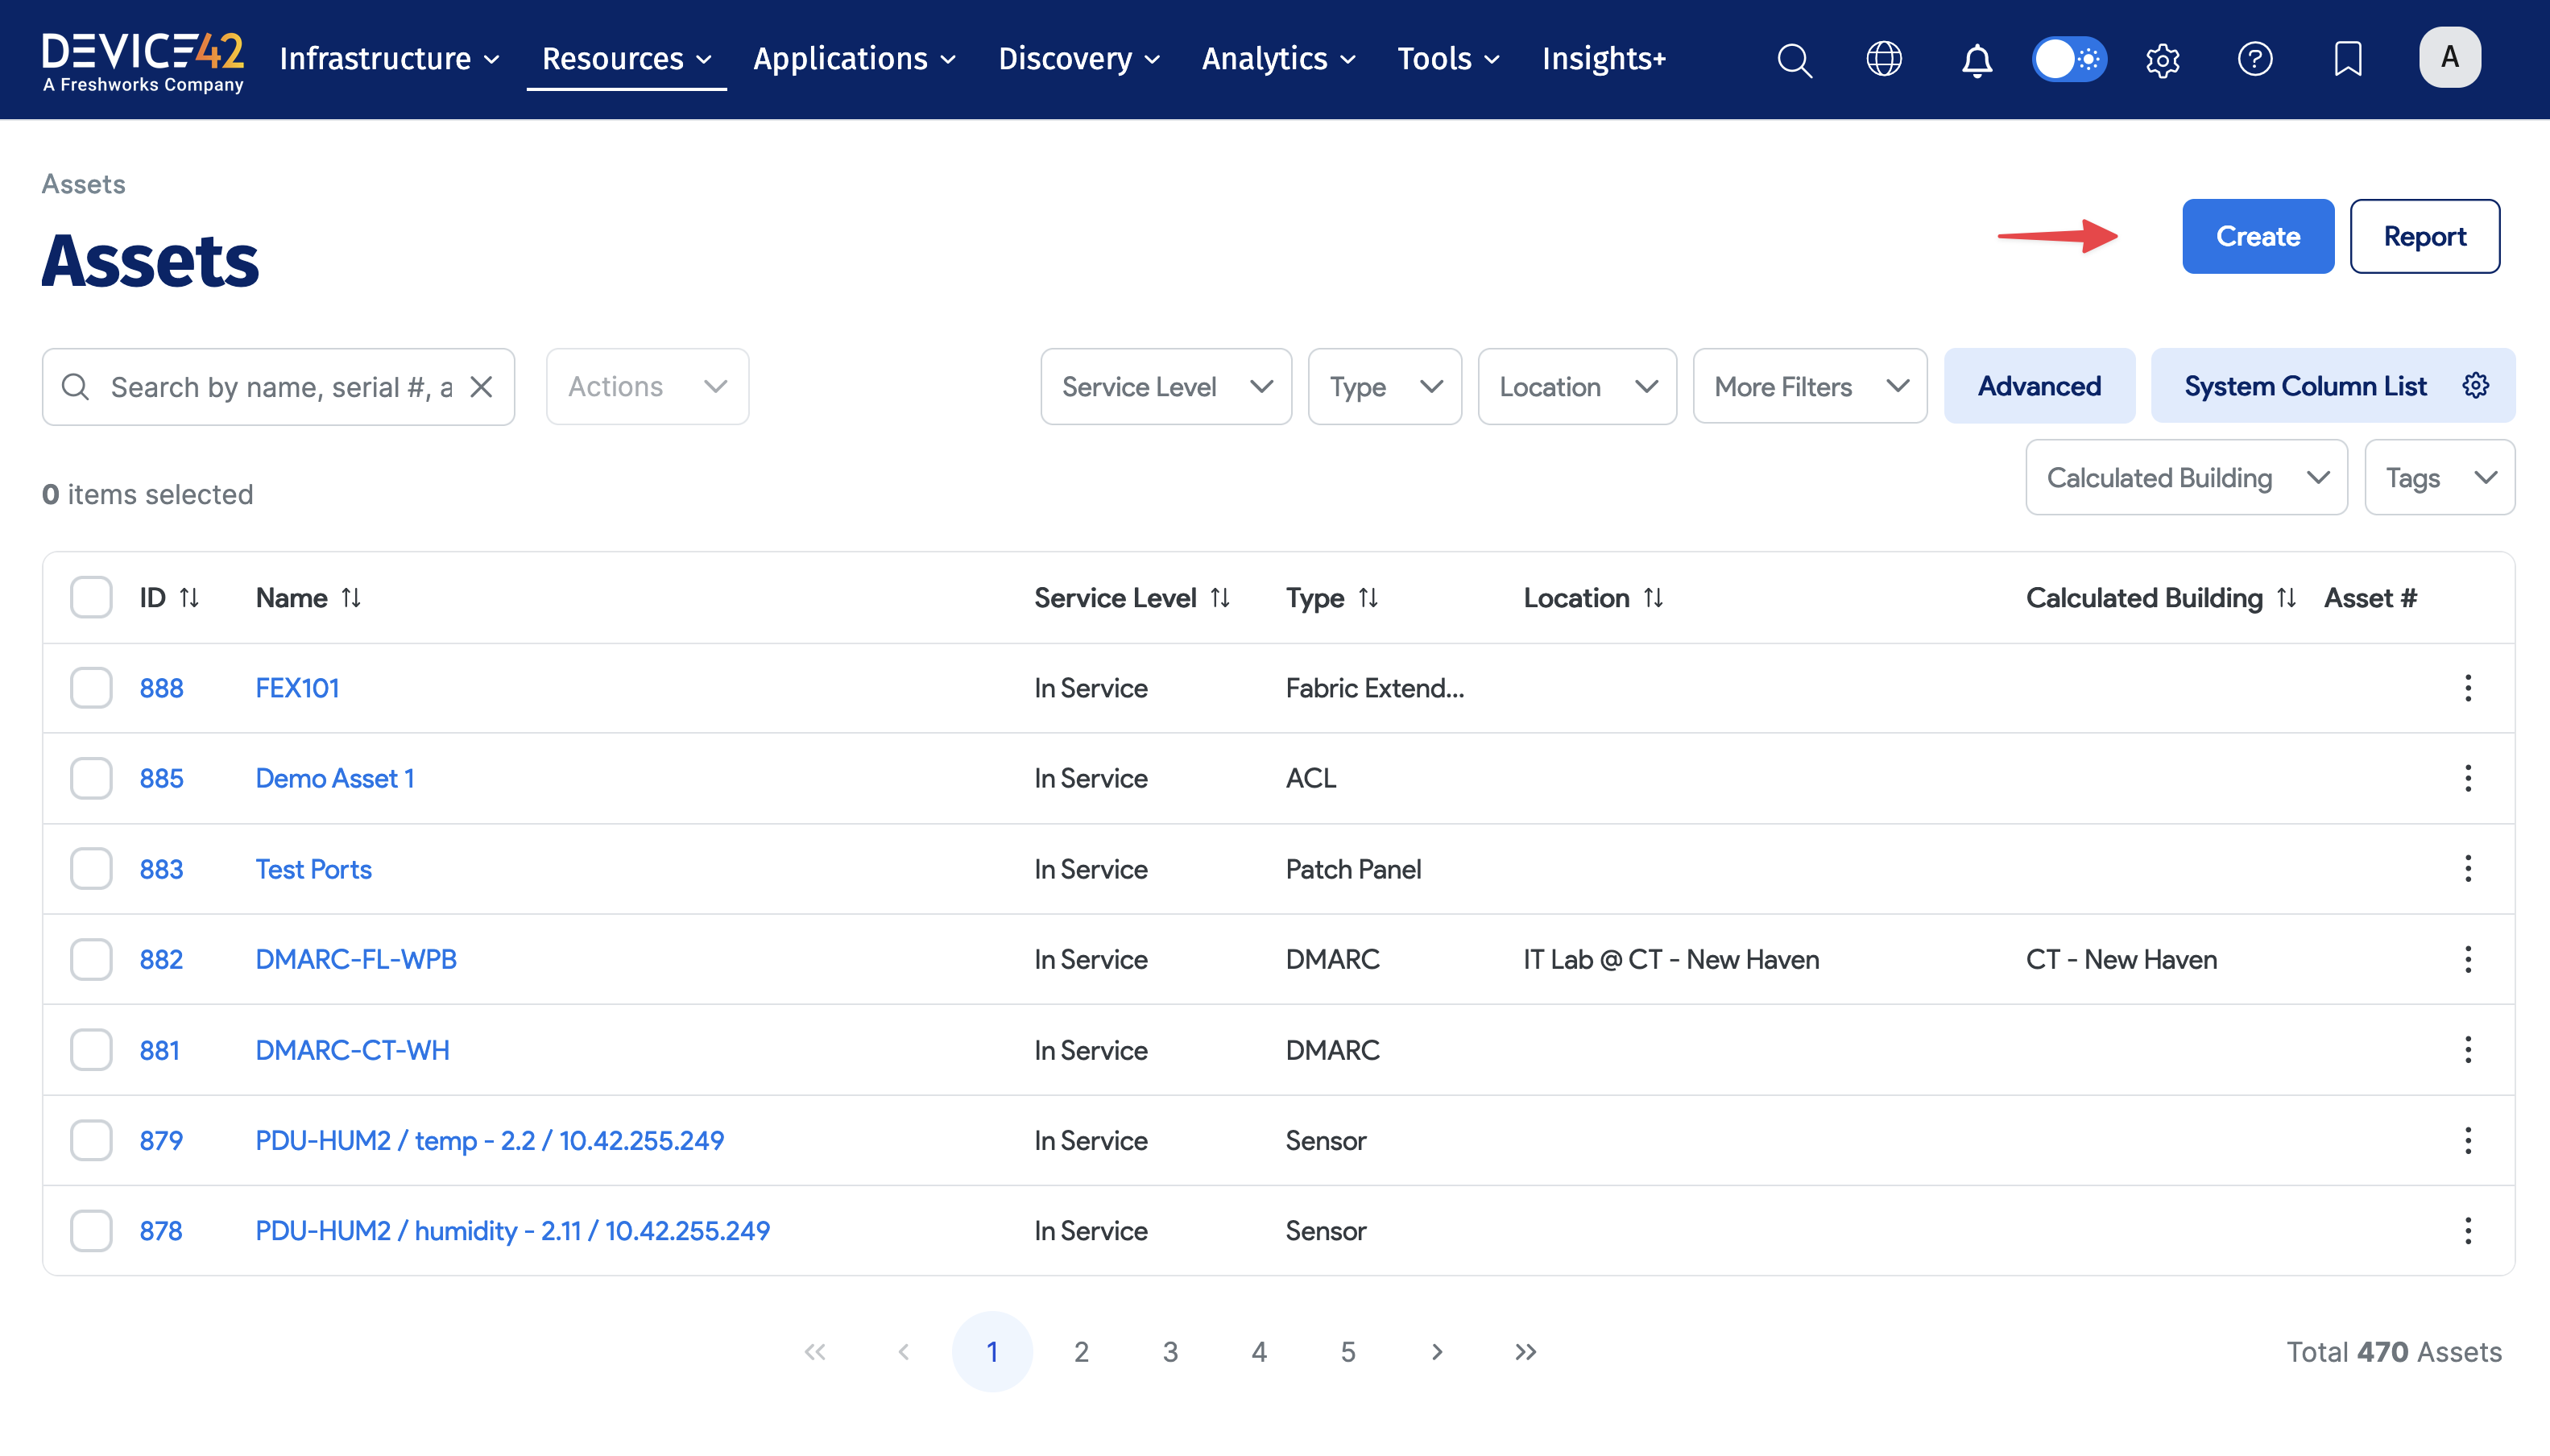
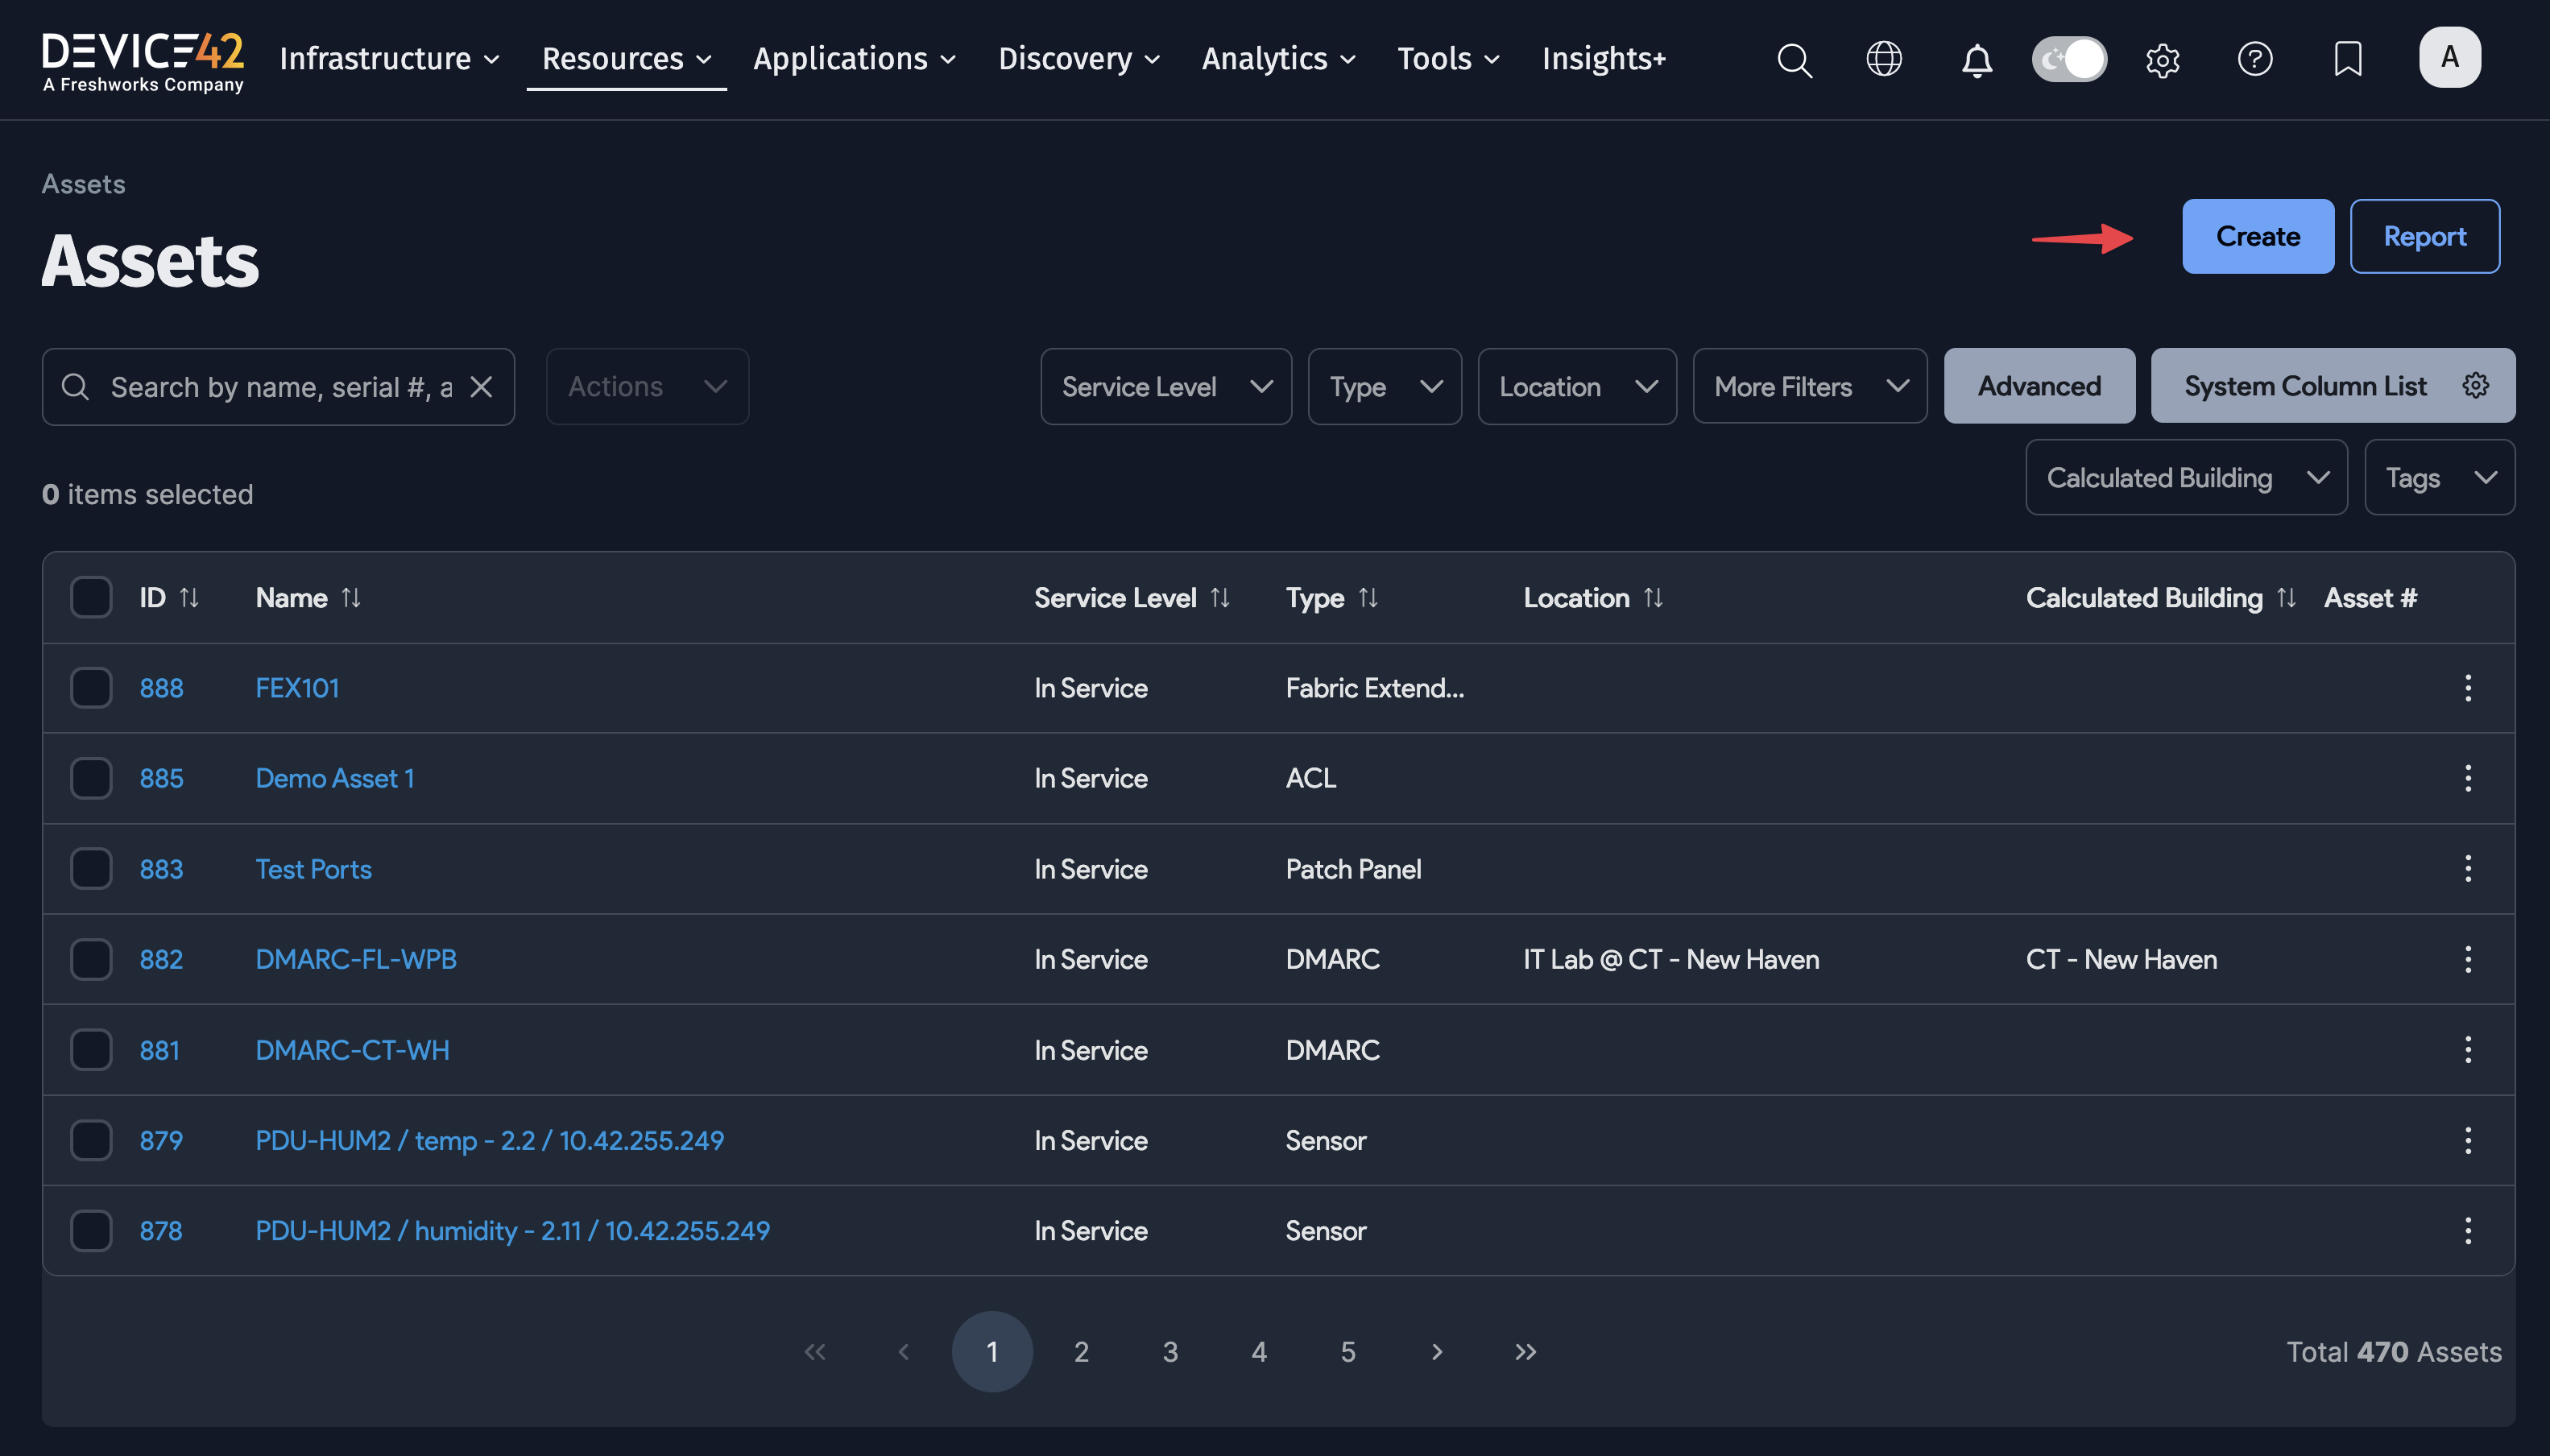
On the Assets list page, click Create.
Asset Types
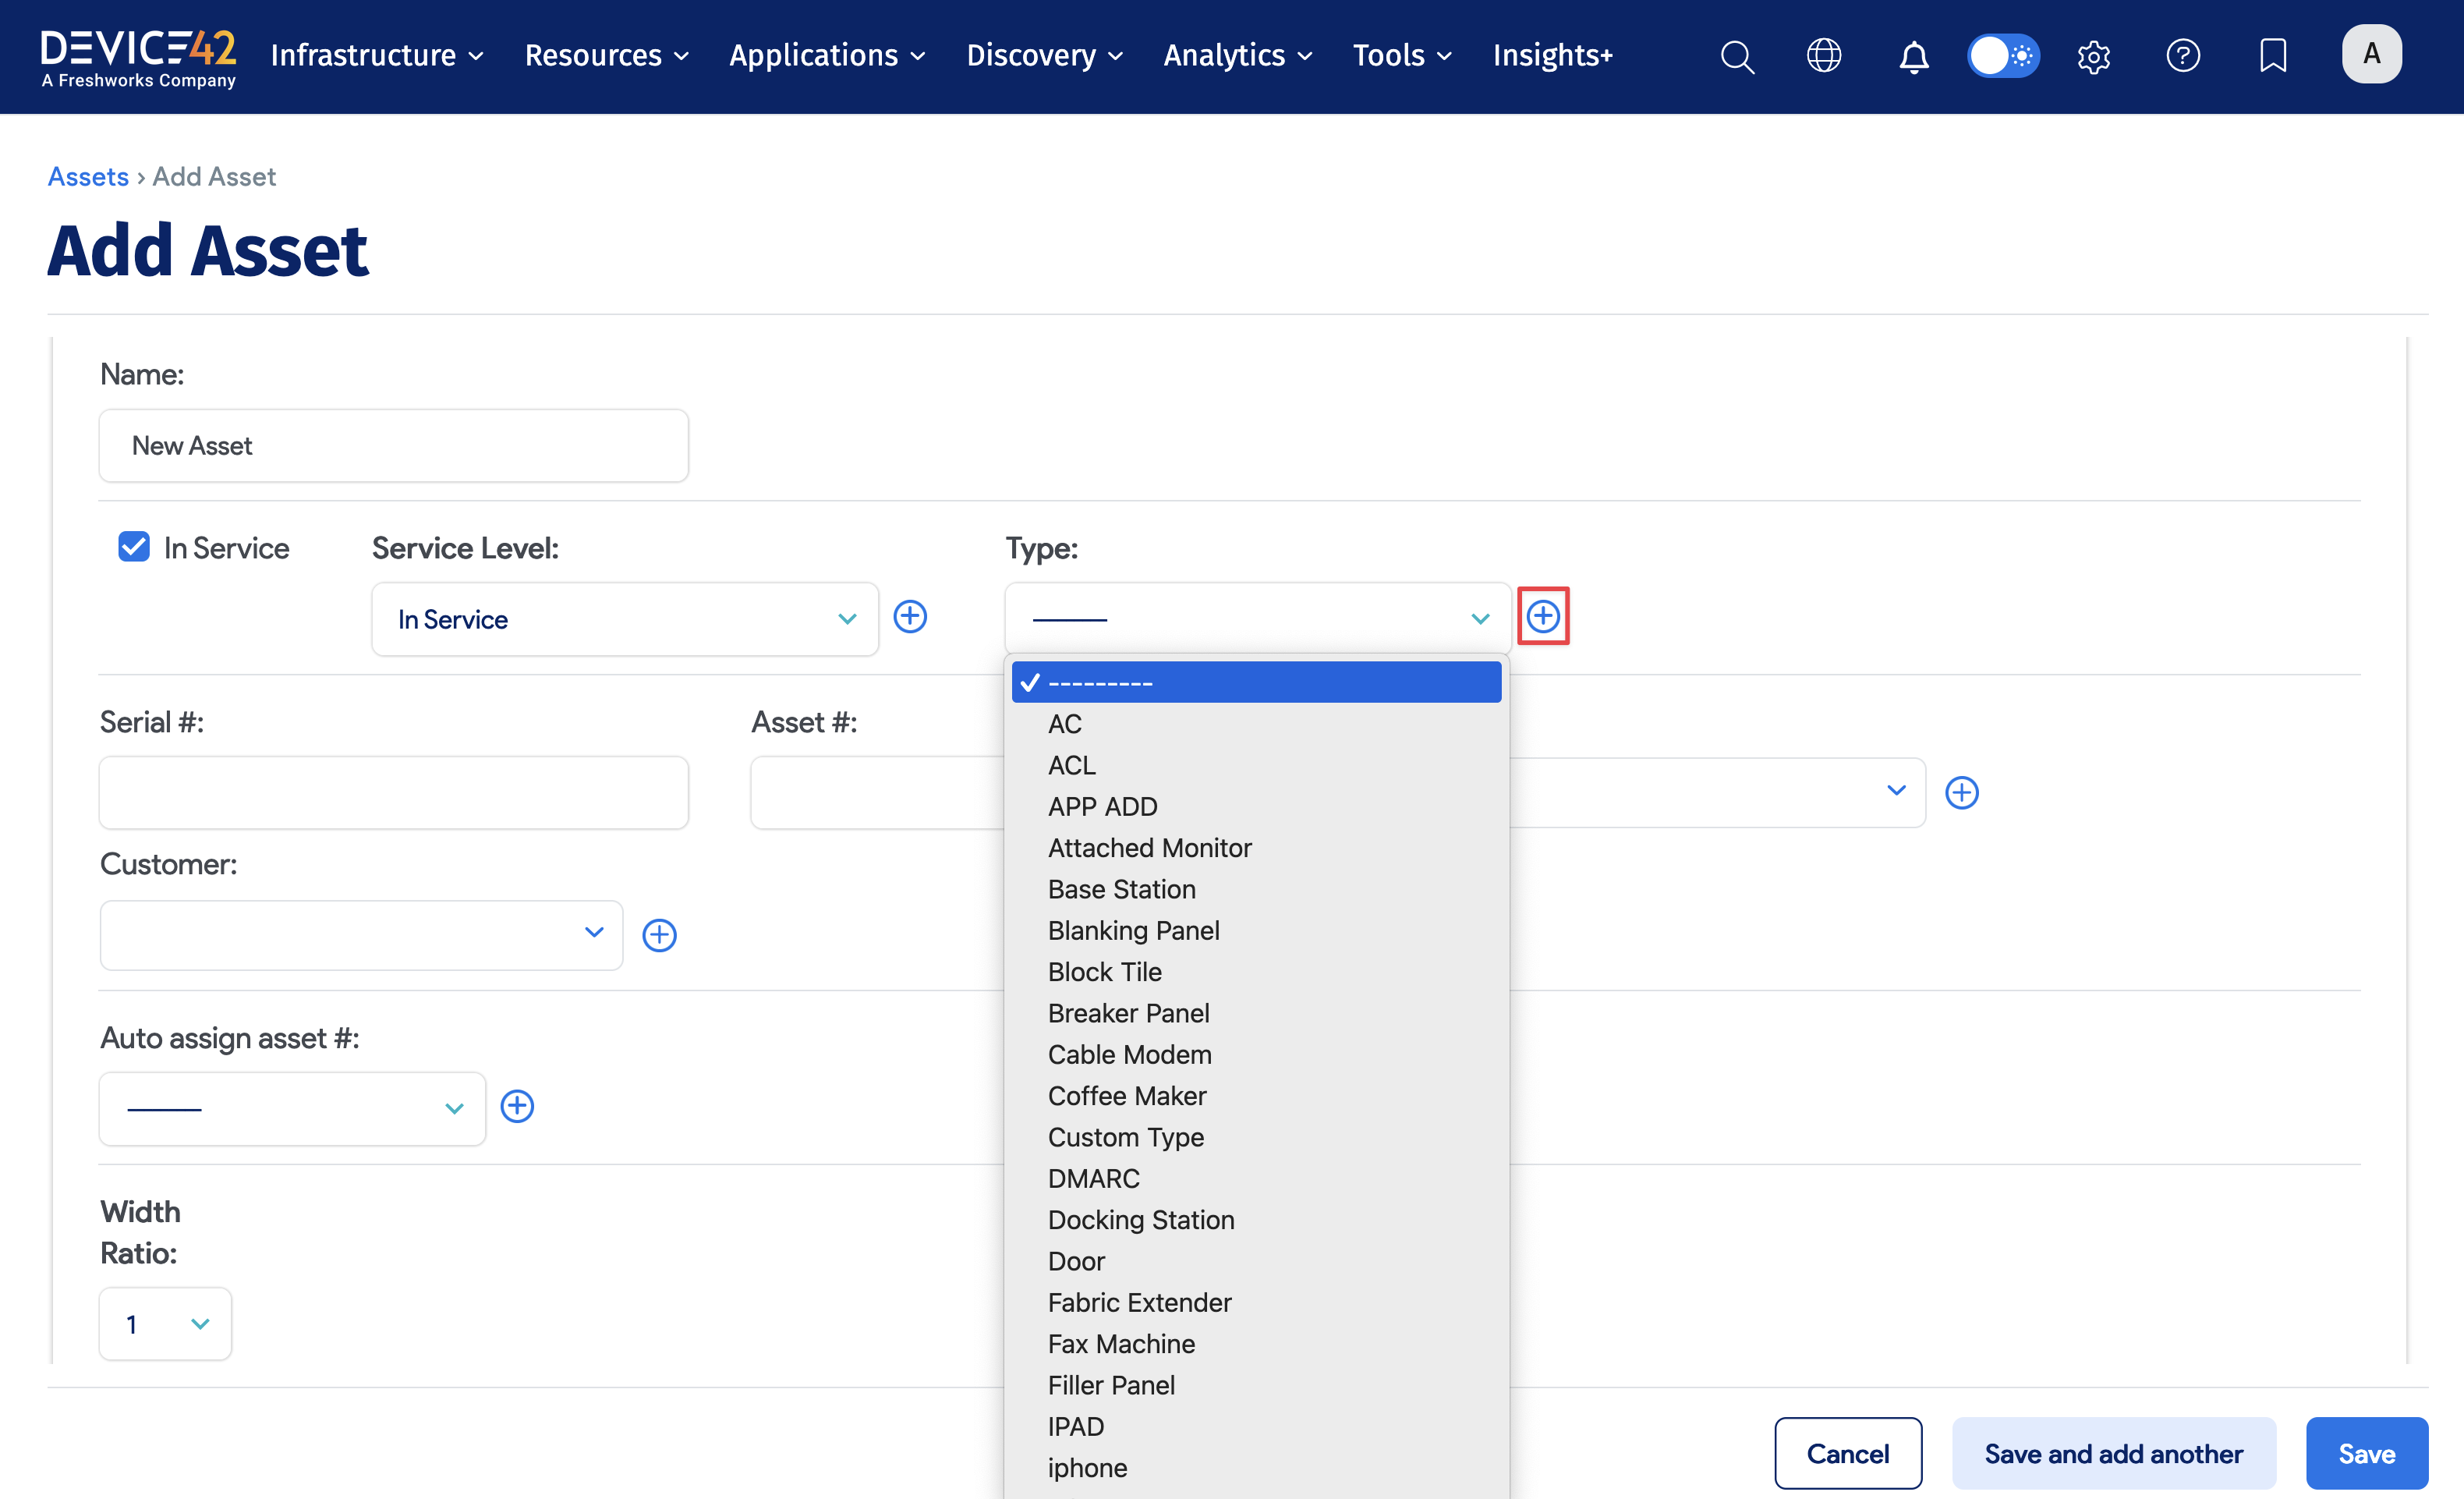
Choose an asset Type from the dropdown menu, or click the plus icon to create a custom asset type. The options available in the Add Asset form depend on the asset type you select.
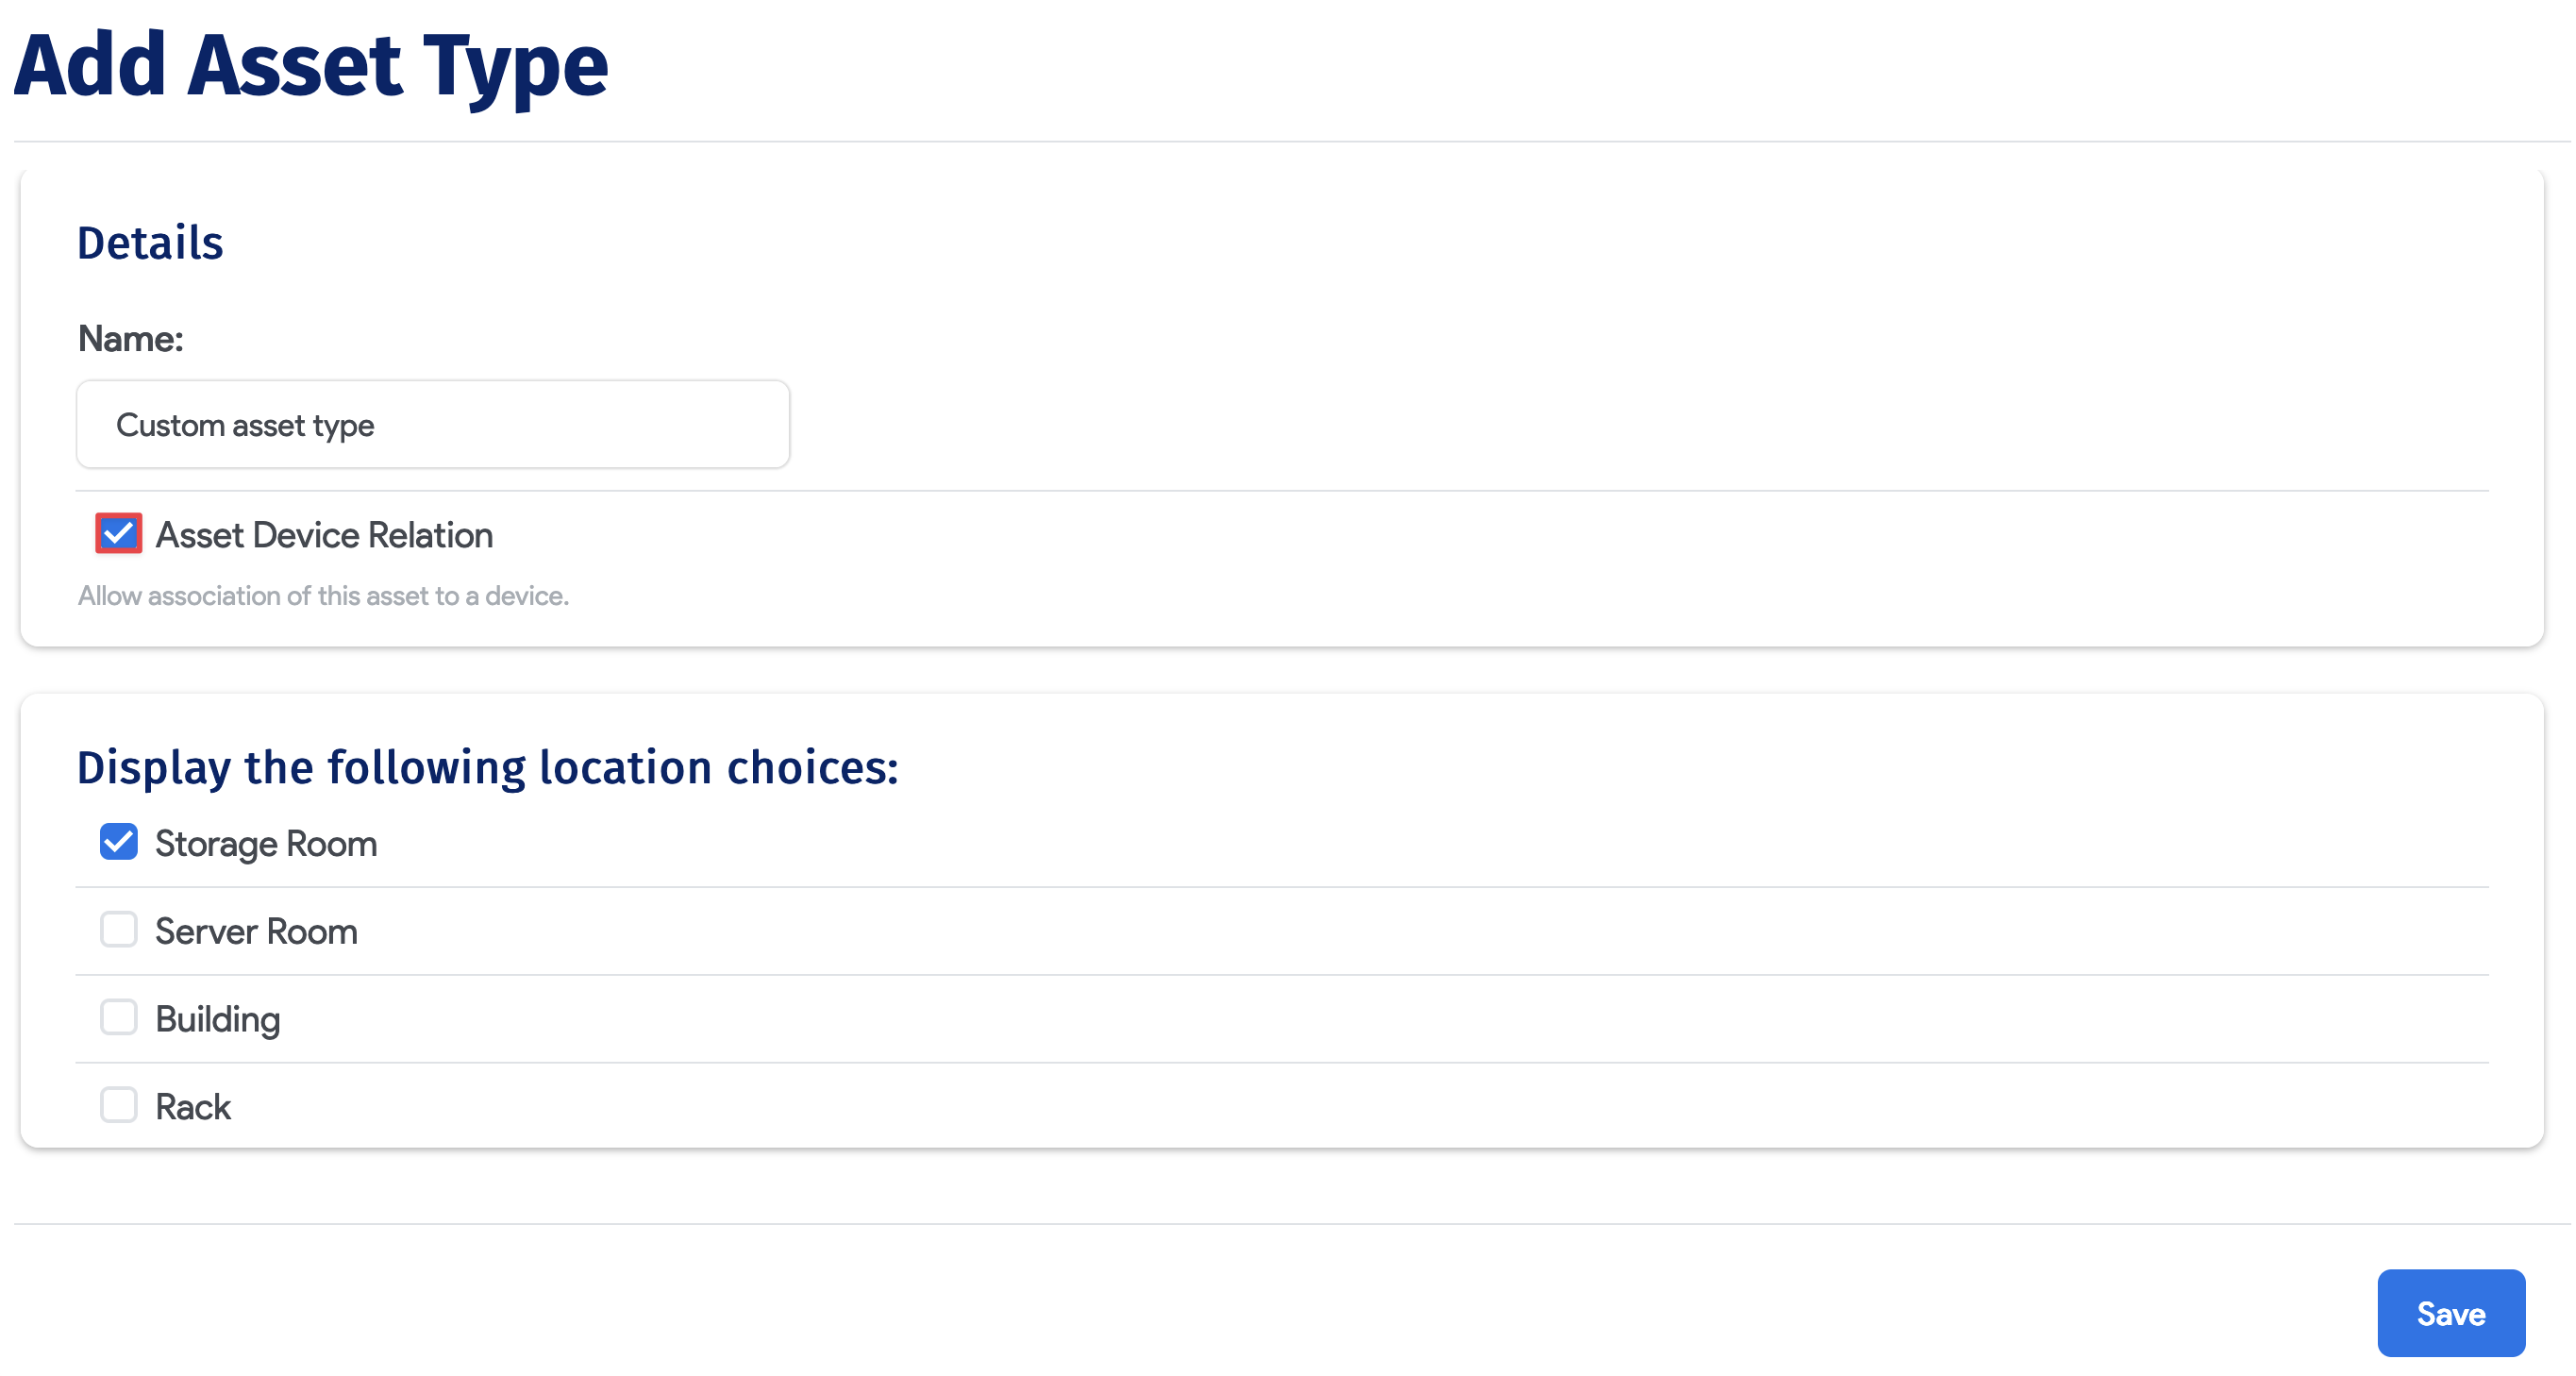
Name your custom asset type. To associate assets of this type with devices, check the Asset Device Relation checkbox. Then designate the location types (Storage Room, Server Room, Building, and Rack) that assets of this type will be assigned to.
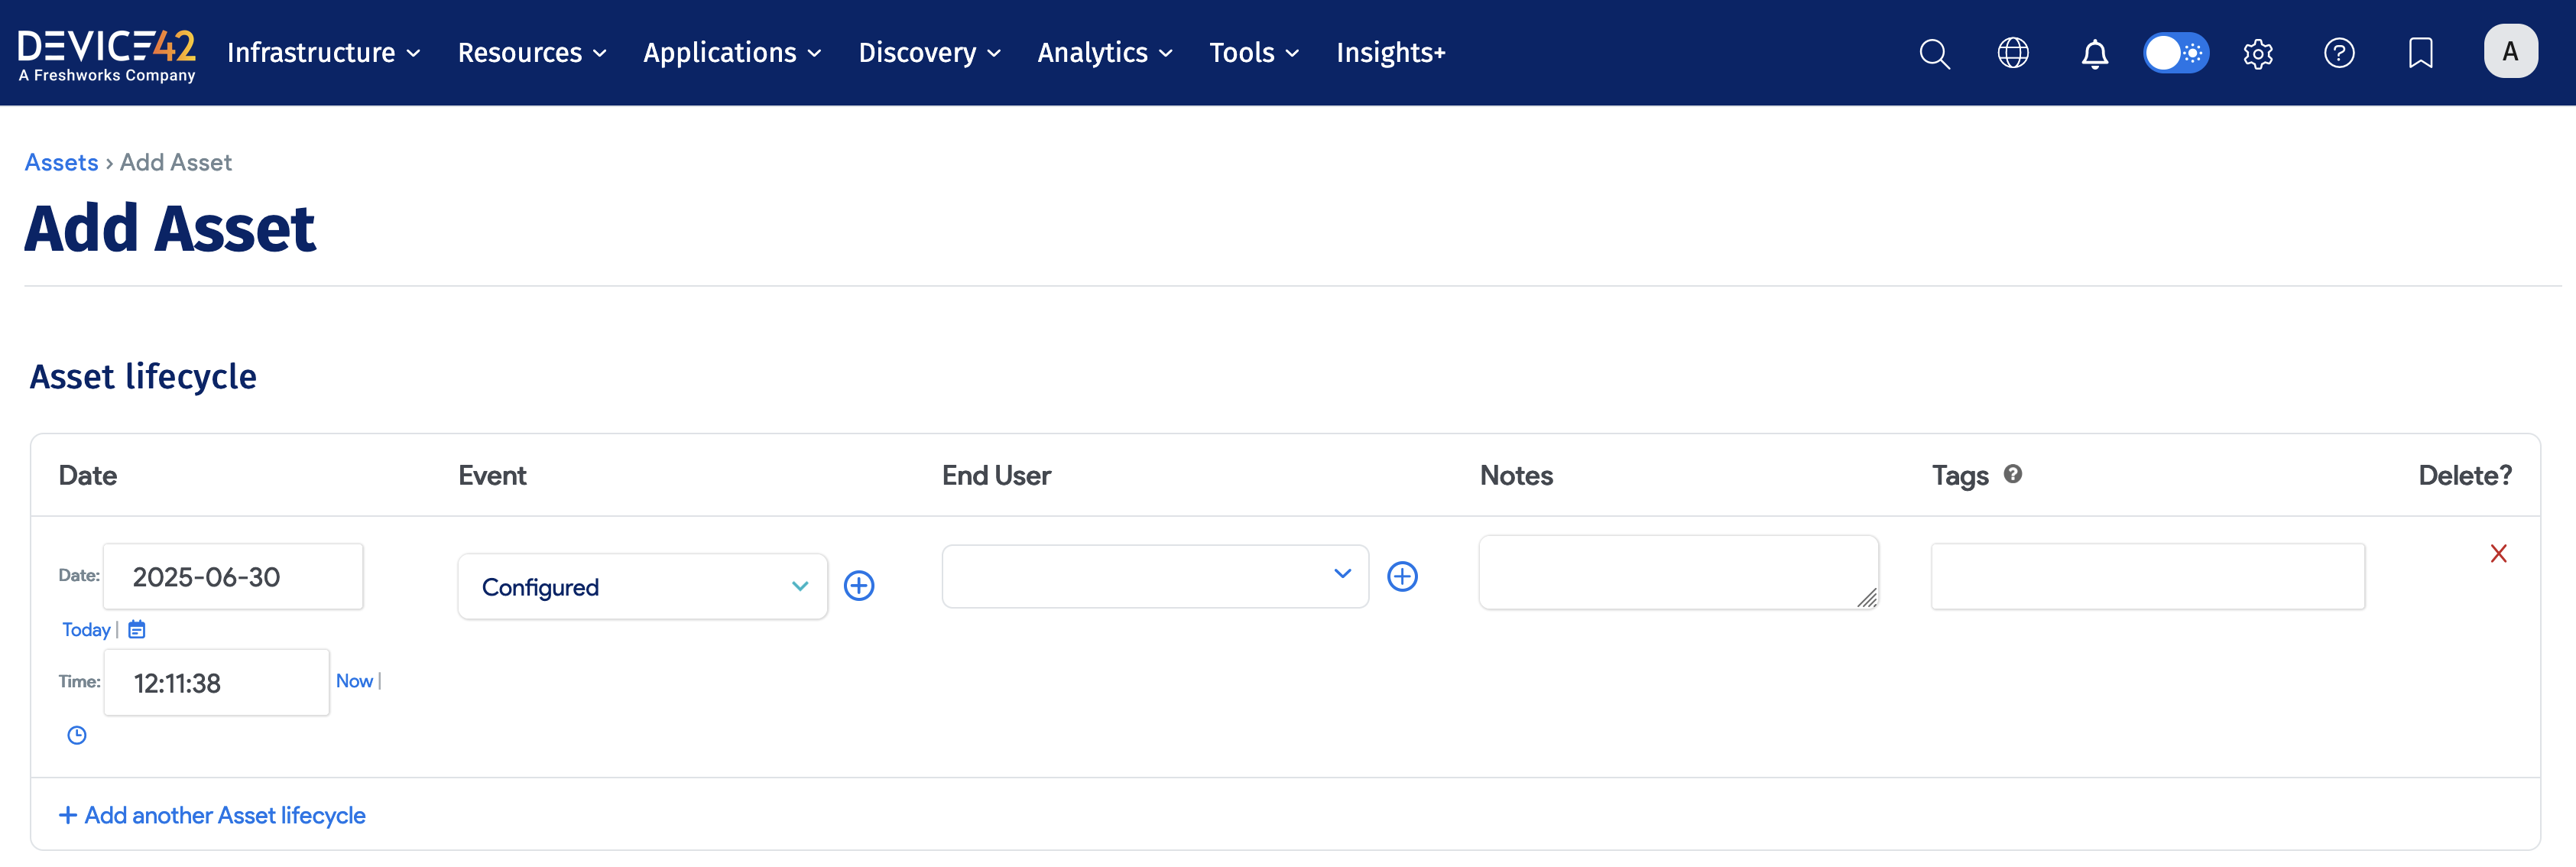
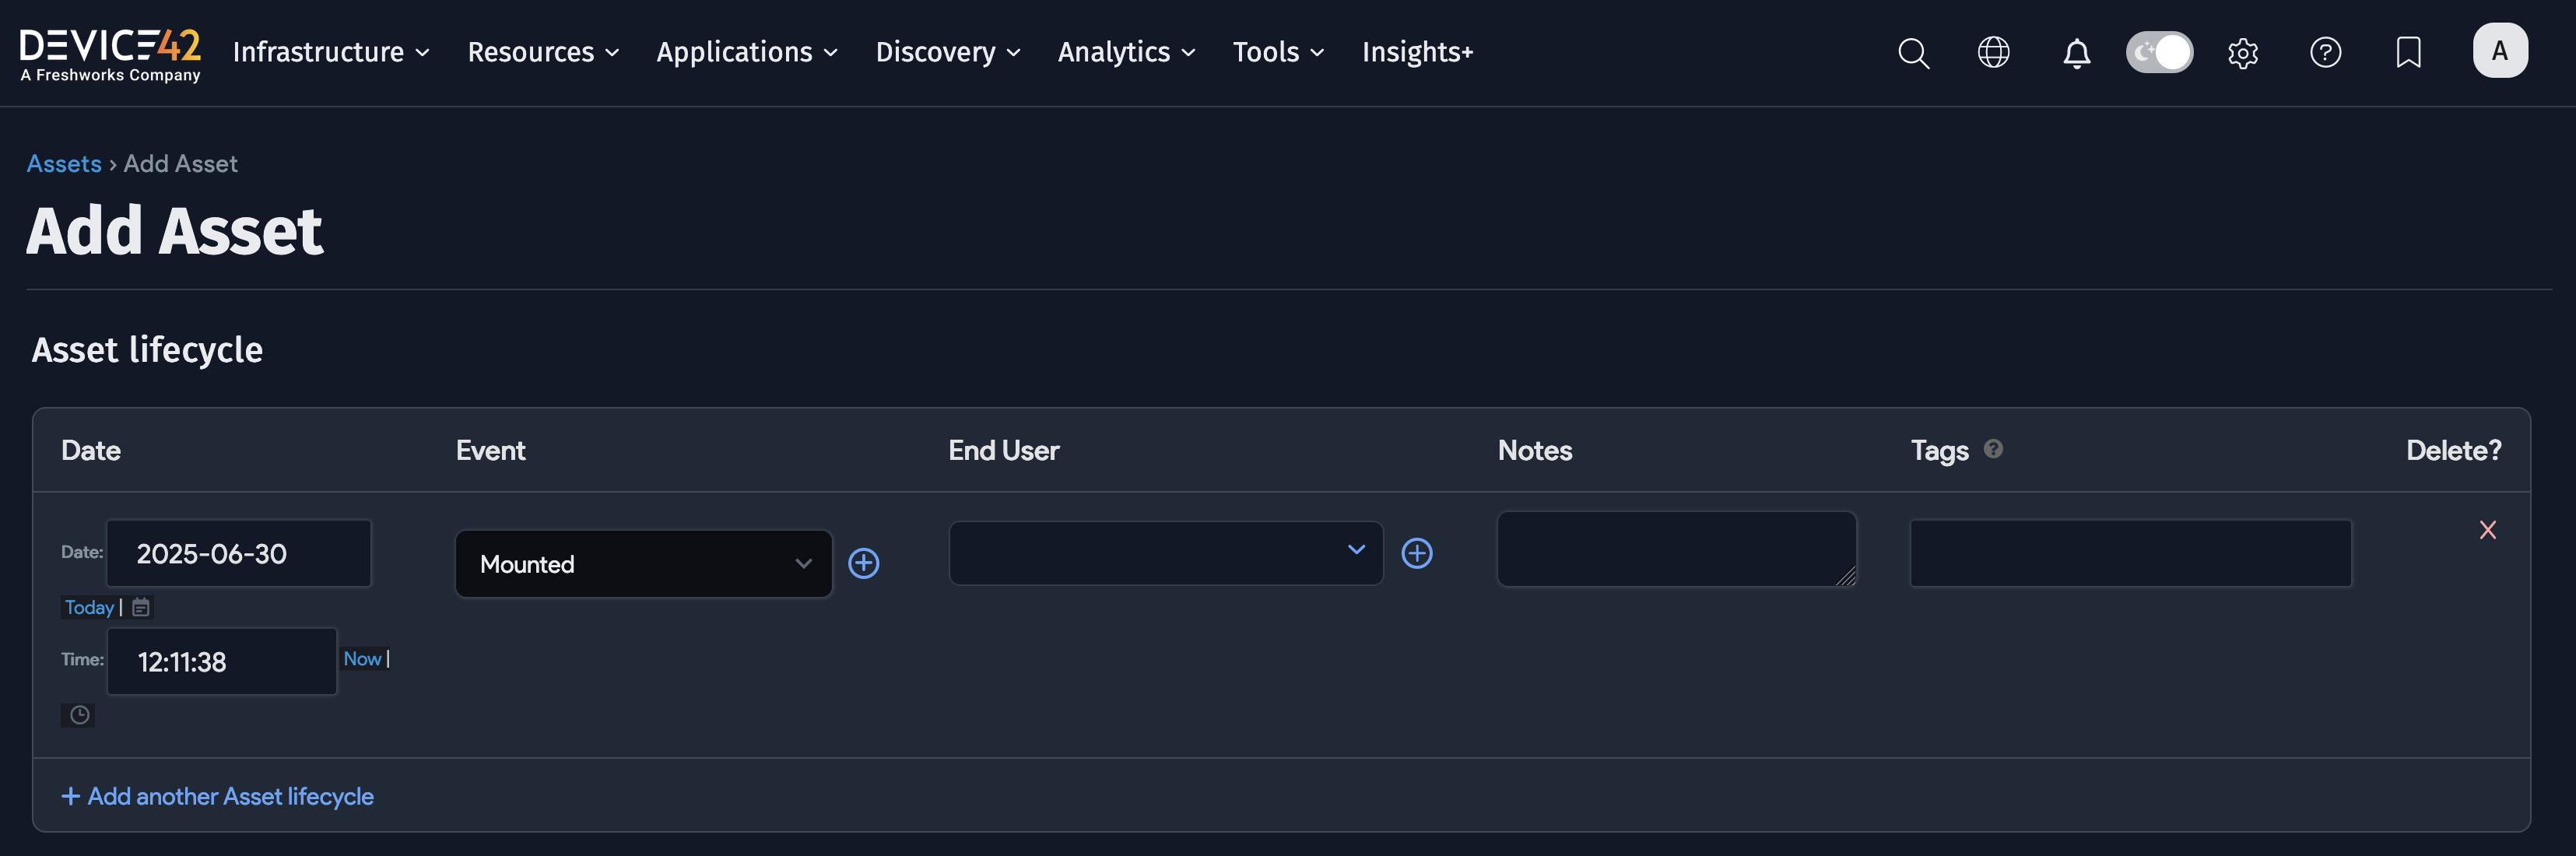
Asset Lifecycle
Add the Date and choose the lifecycle Event. Optionally, add an End User, any Notes, and a comma-separated list of Tags to categorize the lifecycle event.
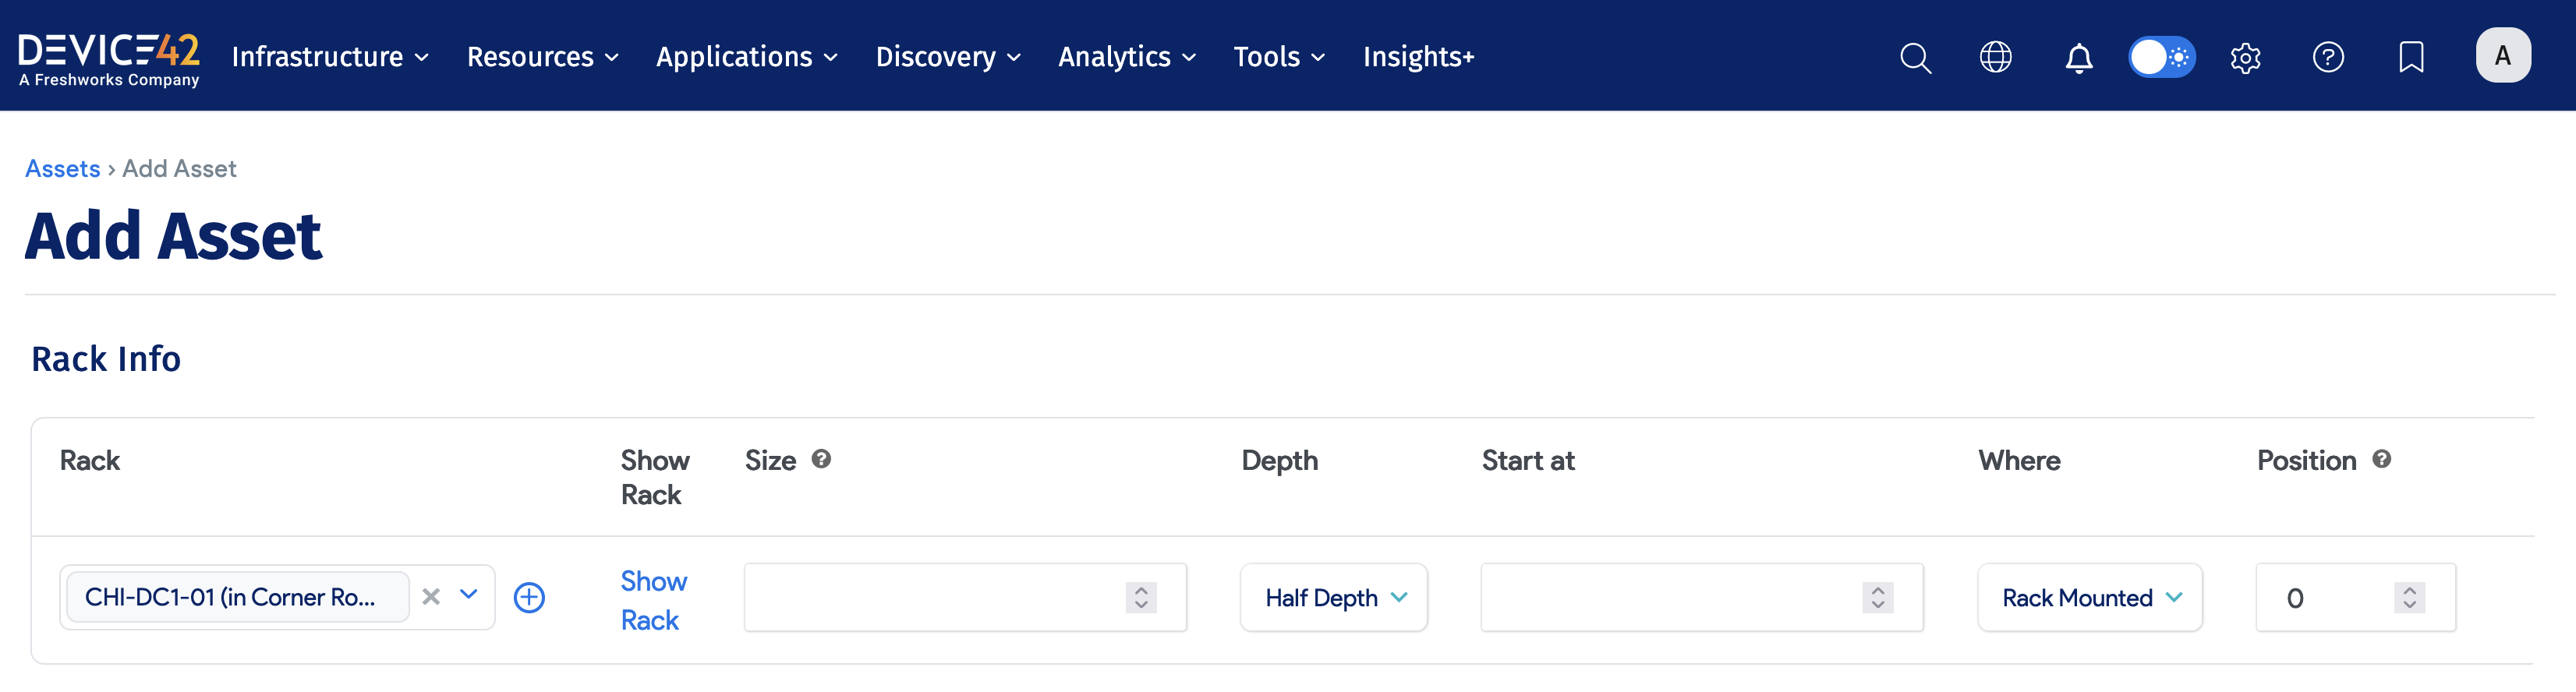
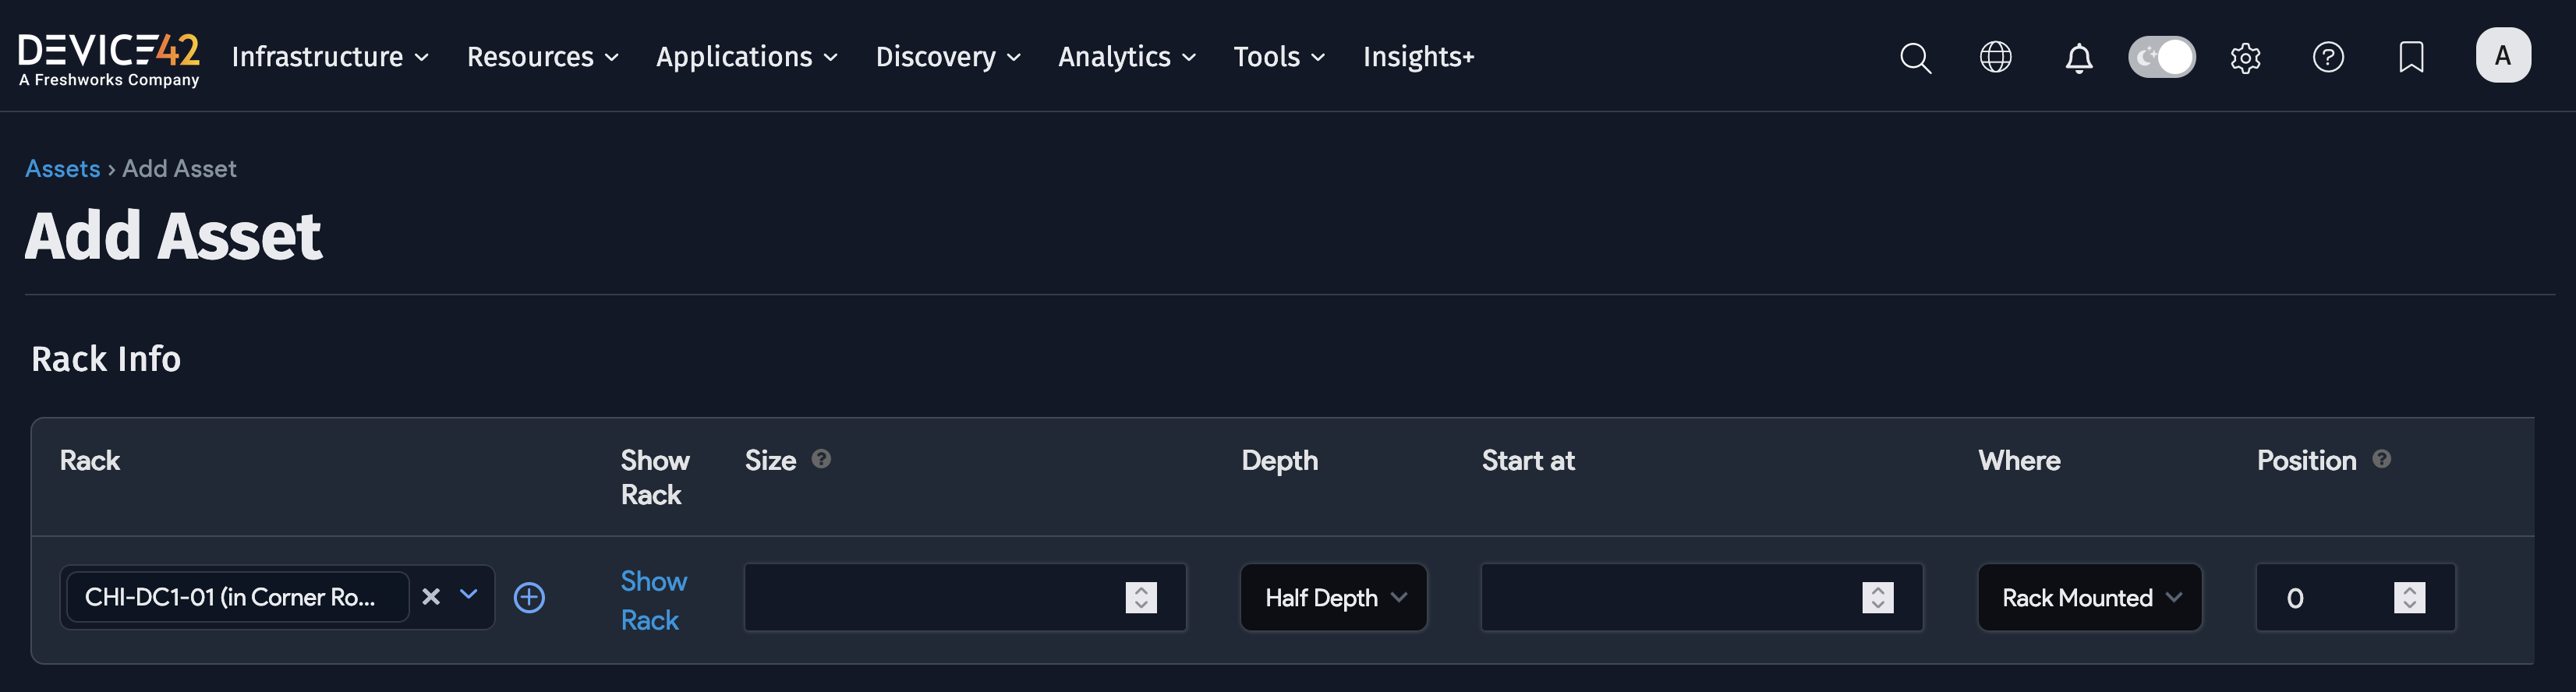
Rack Info
Show the Rack Info section by choosing ACL from the Type dropdown (or another similarly configured custom asset type).
Object Category Field
The Object Category field appears on asset view pages only when Role-Based Access Control (RBAC) is enabled globally.
As a workaround, click Legacy View to see the Object Category field.
Turn on Role-Based Access Control under Tools > Settings > Global Settings.
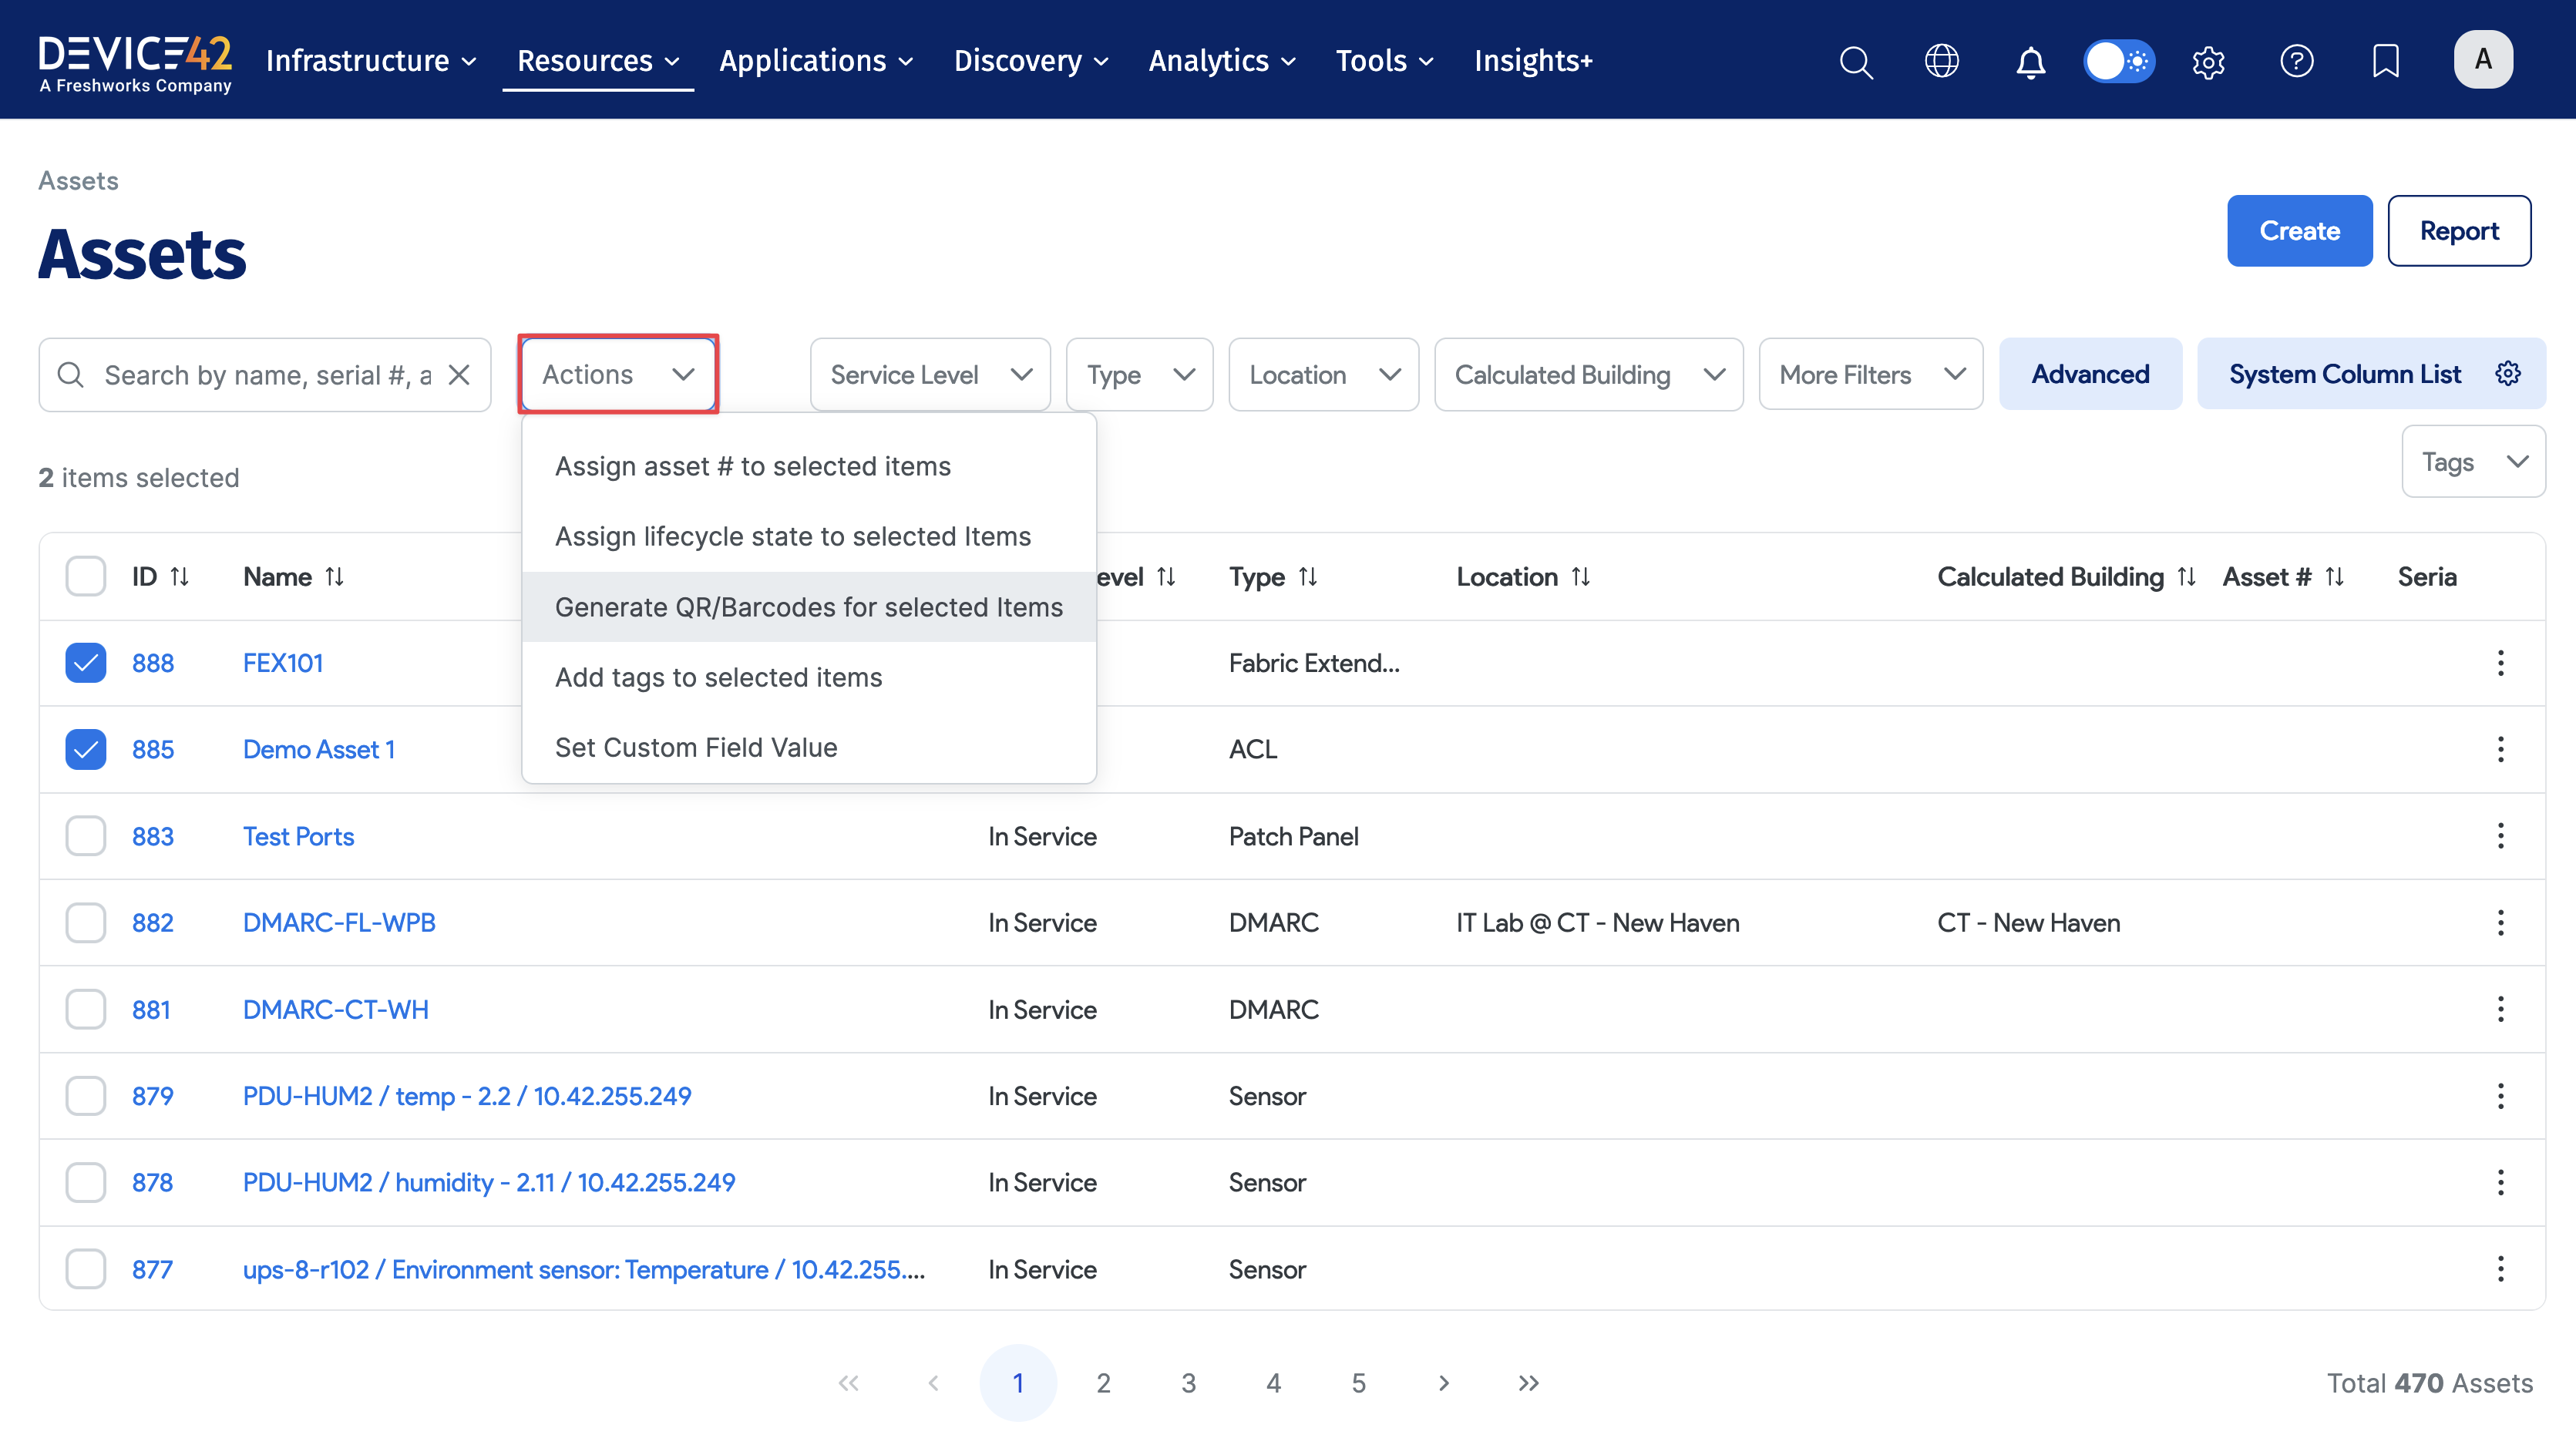
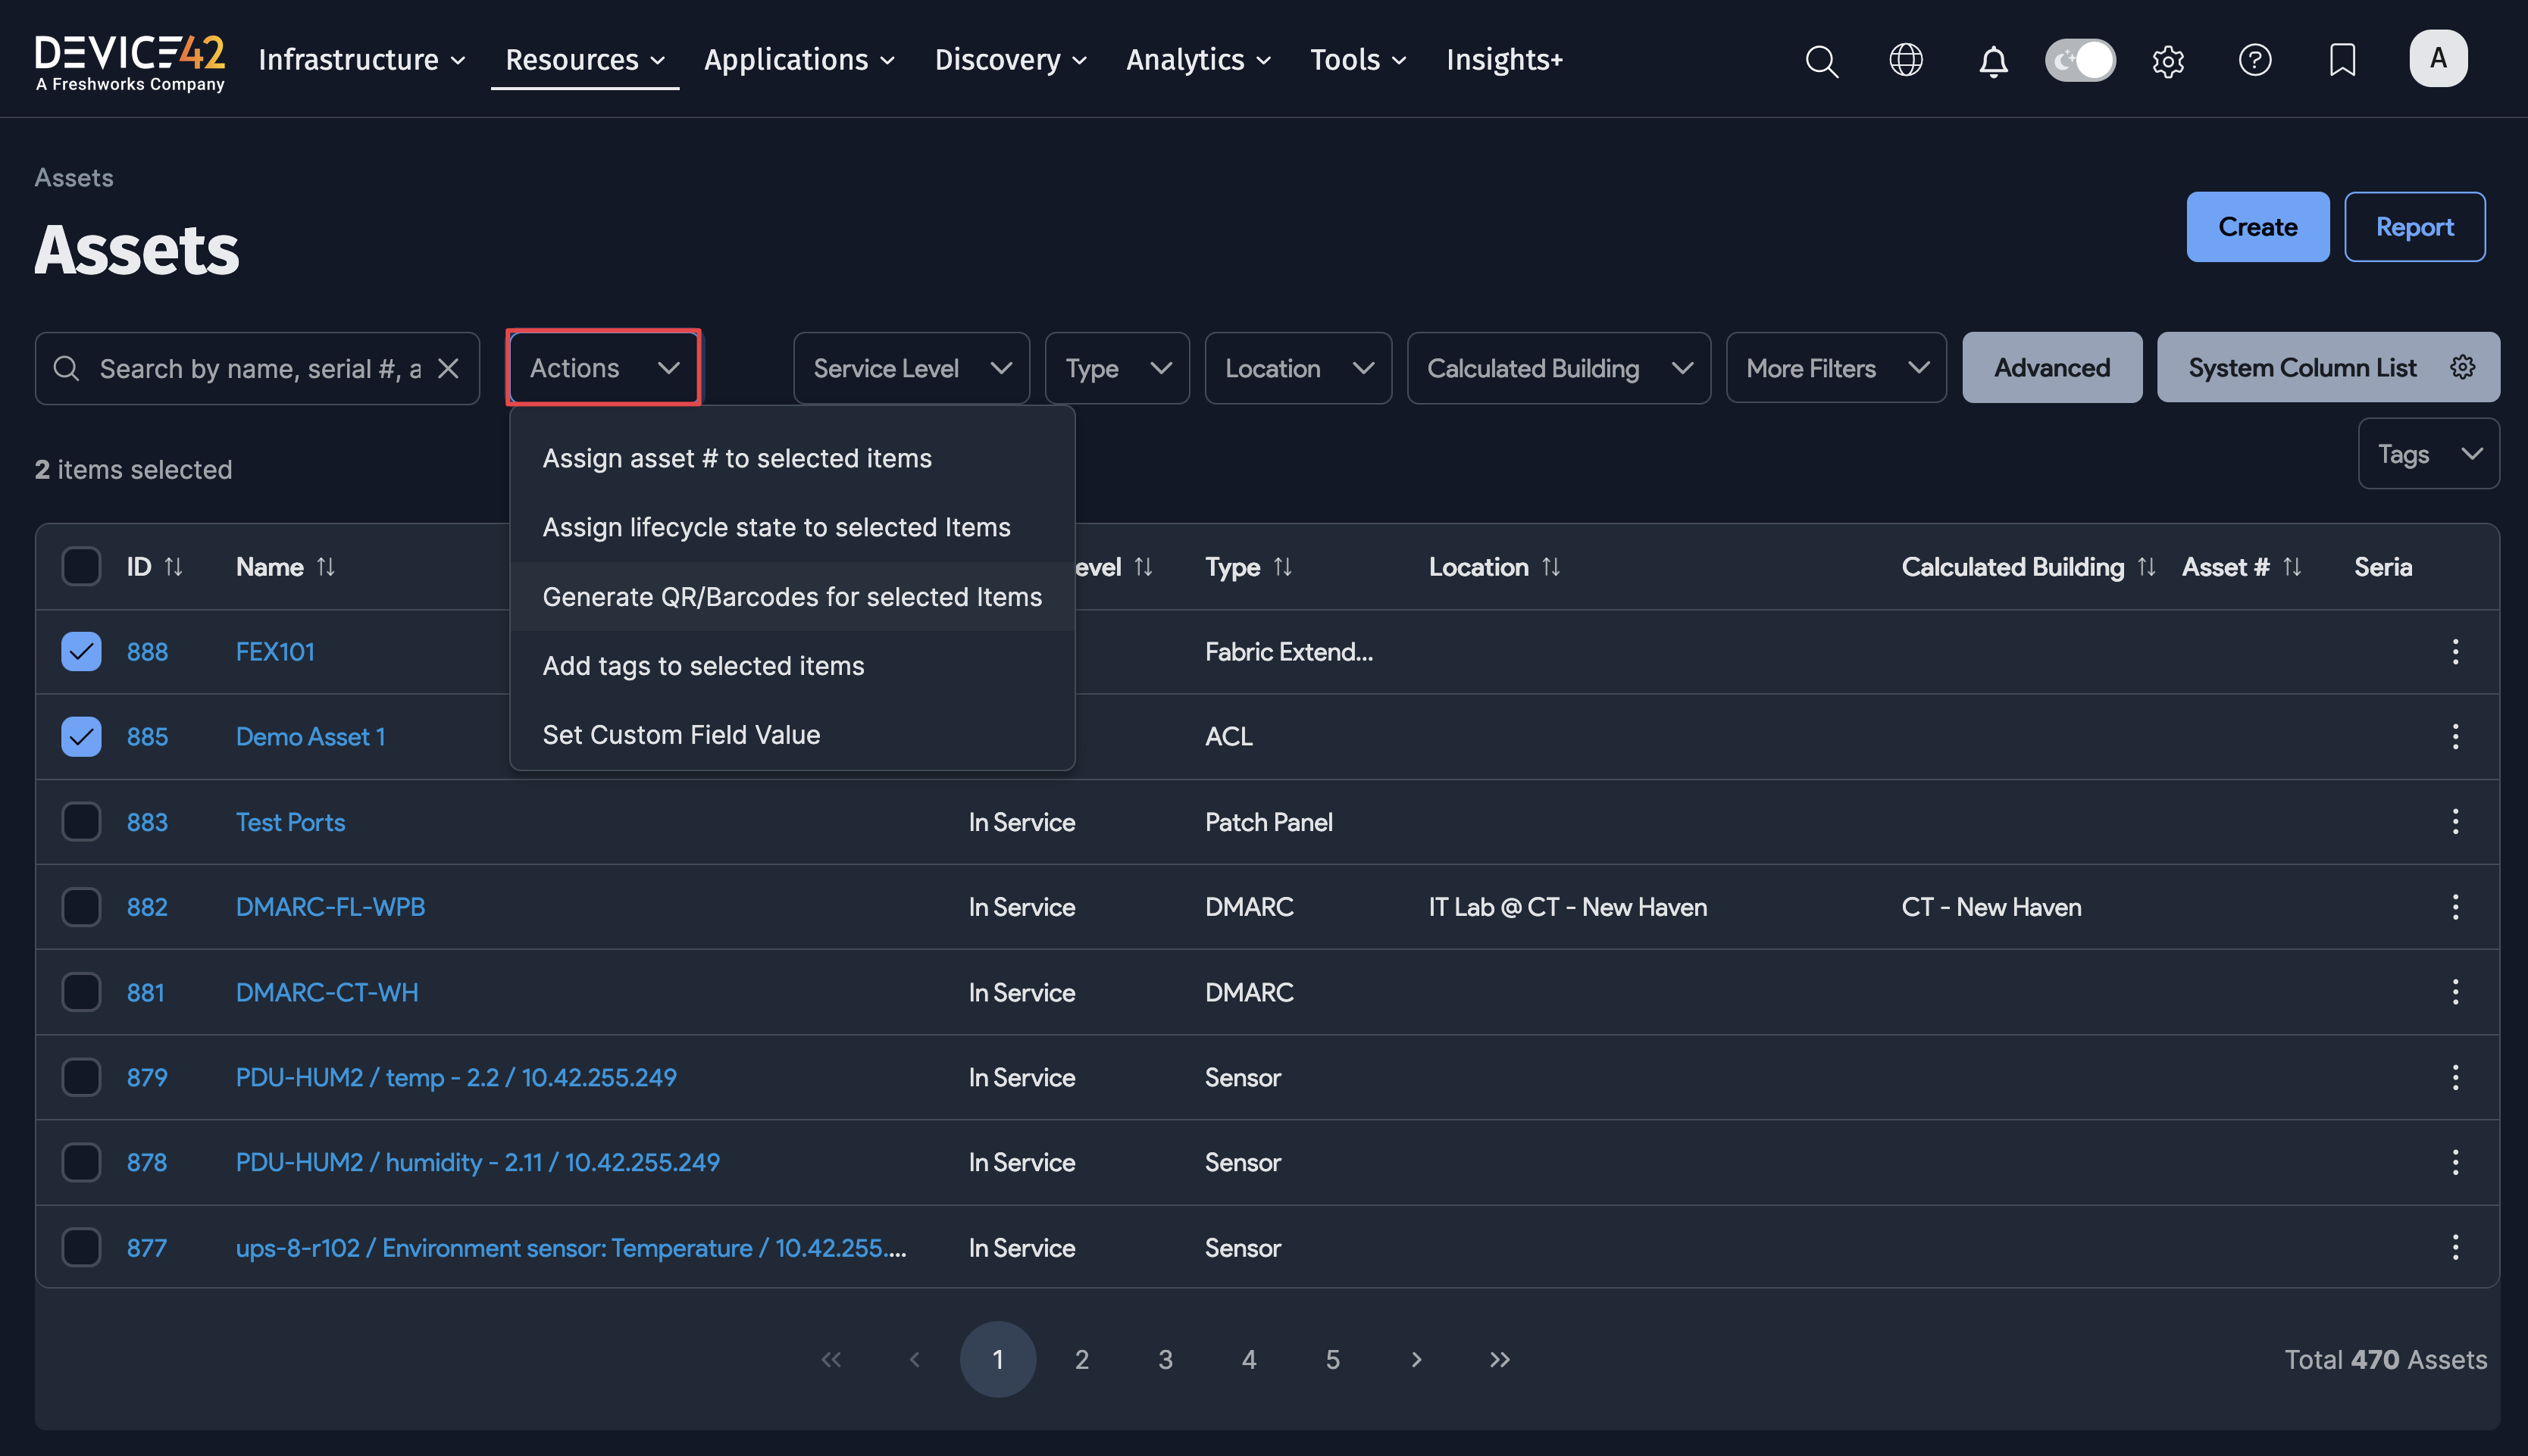
Asset Actions
Select one or more assets from the list, then choose an action from the Actions dropdown:
- Delete with Detailed Confirmation
- Fast Background Delete
- Export Selected Items
- Set Object Category (visible when RBAC is enabled)
- Delete category assets
- Change Customer
- Assign asset # to selected items
- Assign lifecycle state to selected Items
- Generate QR/Barcodes for selected Items
- Add tags to selected items
- Set Custom Field Value