Updating Device42
Updating to the latest version of Device42 ensures you get the most out of your CMDB and benefit from the newest features, integrations, and security and performance improvements.
How to Update the Device42 Main Appliance
To update your Main Appliance, follow these steps:
- Obtain the update file or URL via email.
- Back up your Device42 data in the Appliance Manager.
- Upload the update file or enter the update URL in the Appliance Manager.
- Log in to the Virtual Machine (VM) console.
- Apply the update from the VM console.
- Verify the update from the Main Appliance.
Watch the quick How To Update the Device42 Main Appliance walkthrough video of the process.
1. Obtain the Upgrade File or URL
To update the Main Appliance, you need to download the update file. In some cases, technical support may have emailed you an update URL to use instead of the update file. If you've received an email with an update URL, proceed to the next step: Back Up Your Data.
-
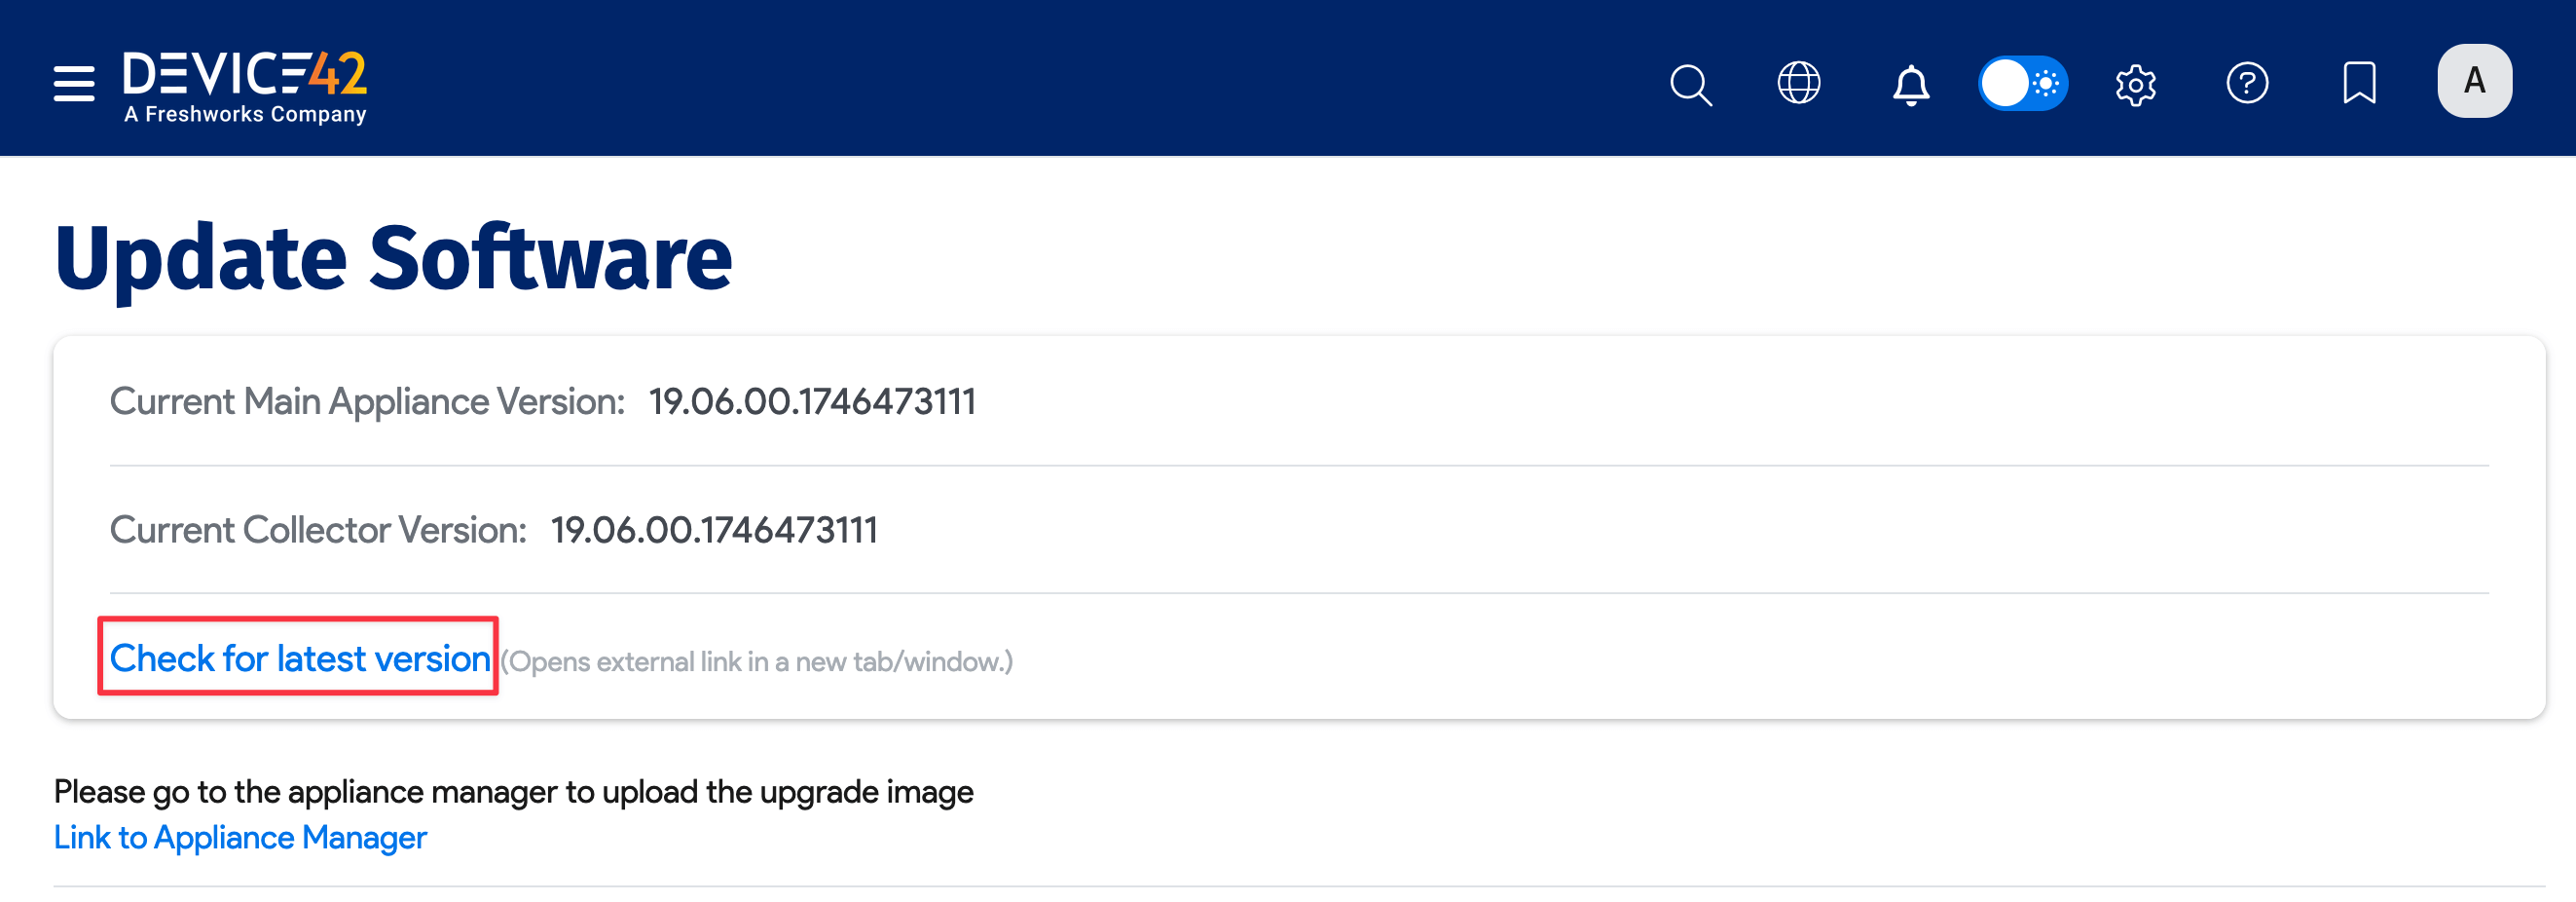
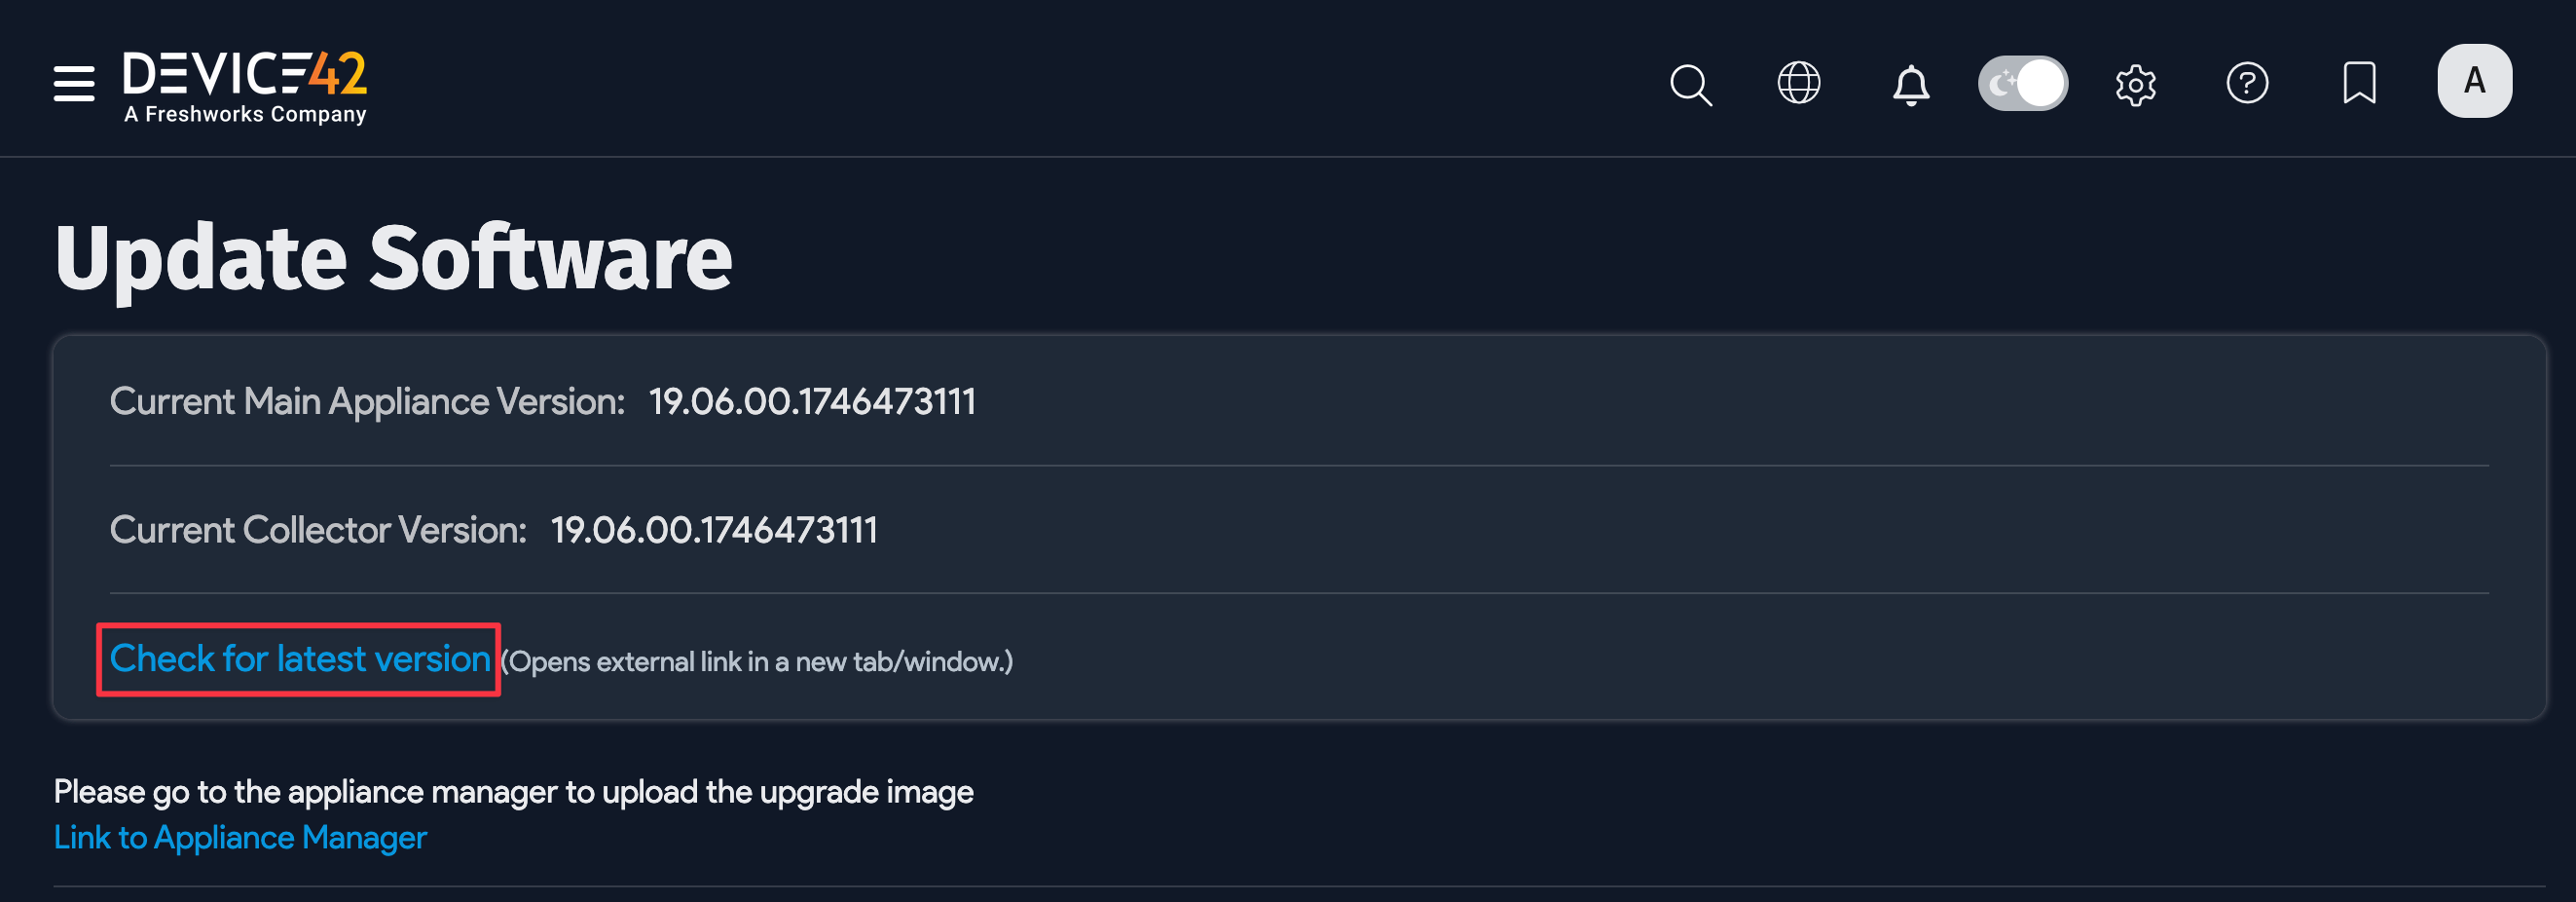
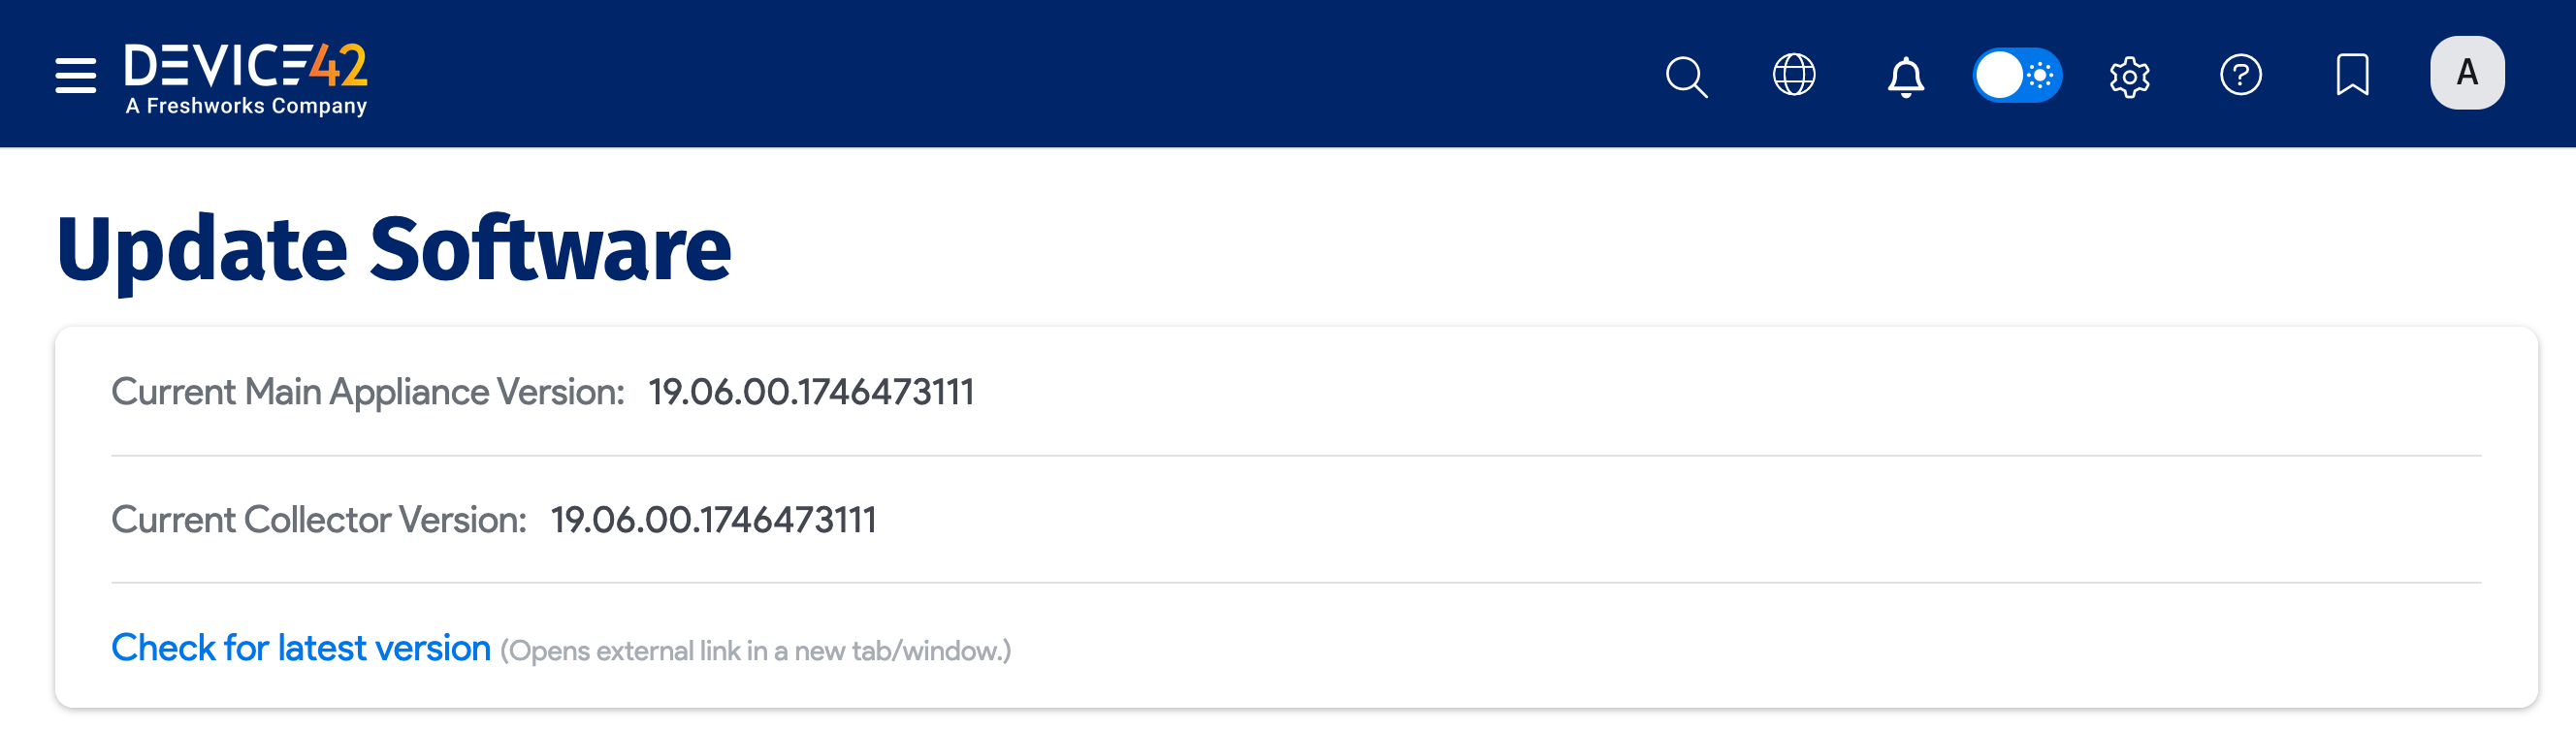
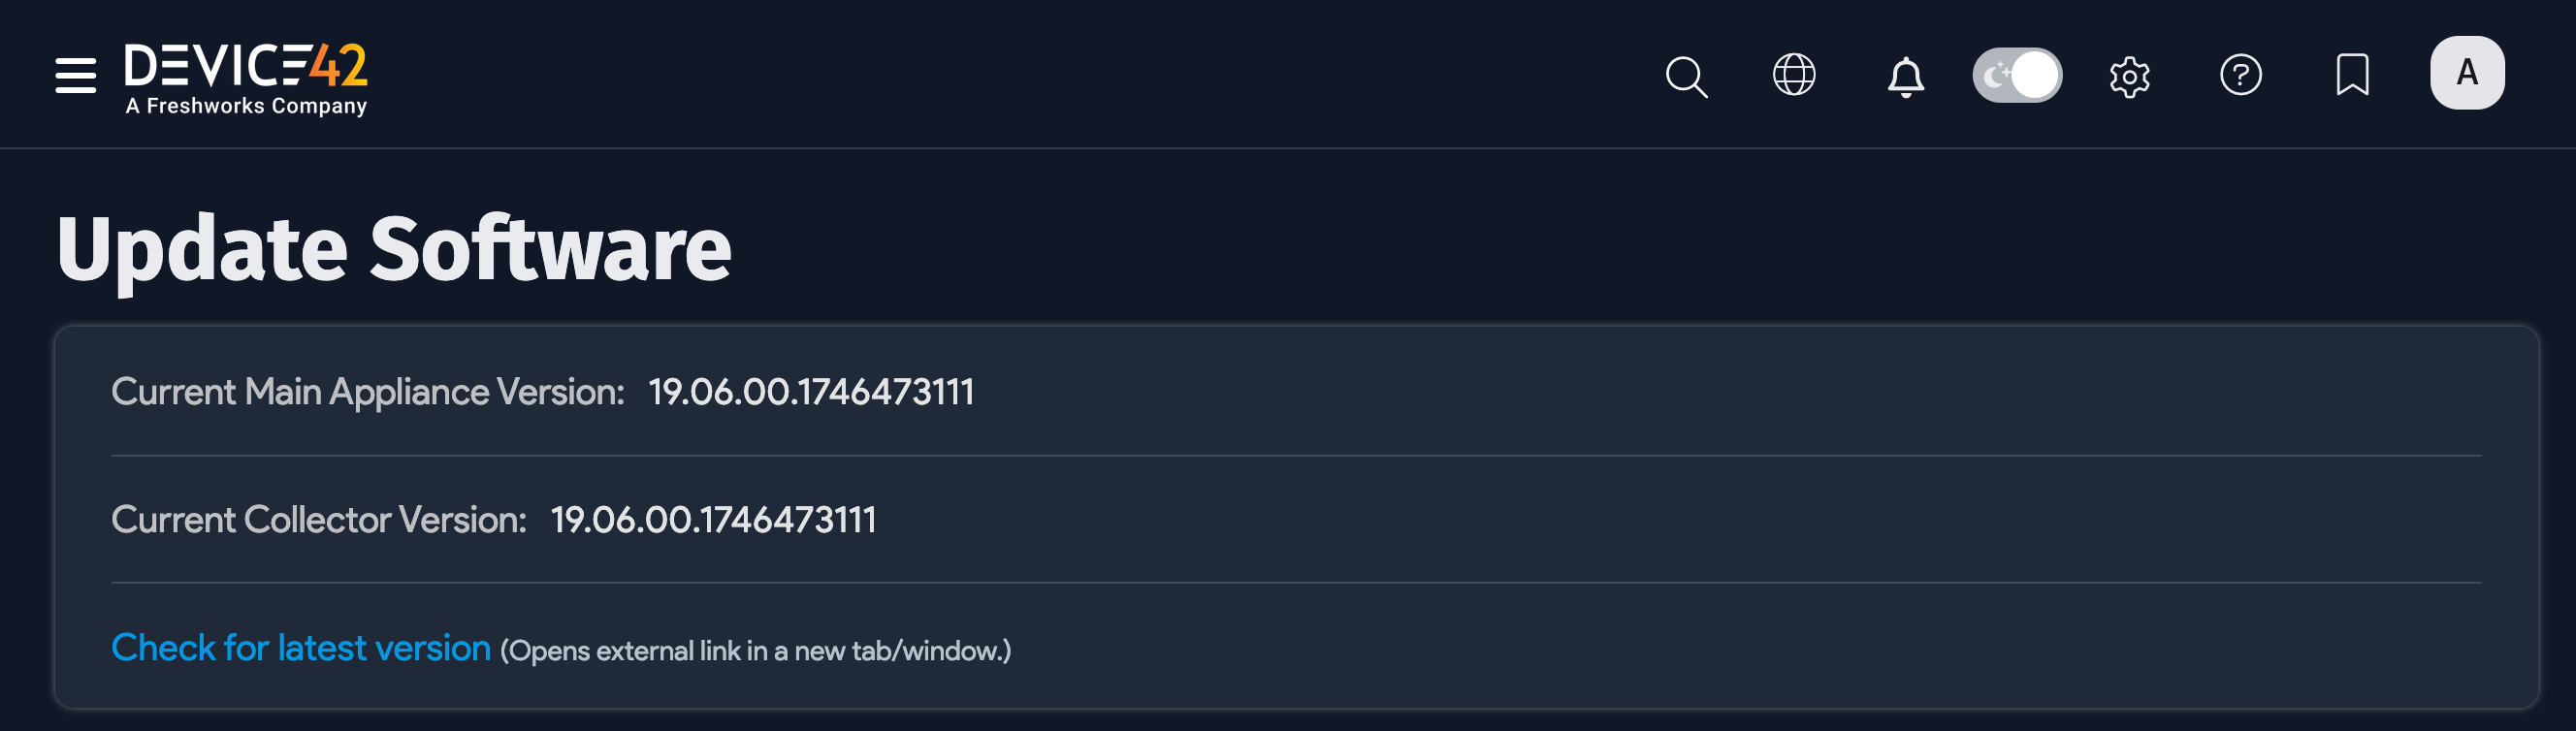
From the Main Appliance, navigate to Tools > Settings > Update and click the Check for latest version link.
You can visit https://www.device42.com/update/ directly, but navigating to the link on the Update Software page allows you to take note of your current version, which is useful for verifying a successful update later.
-
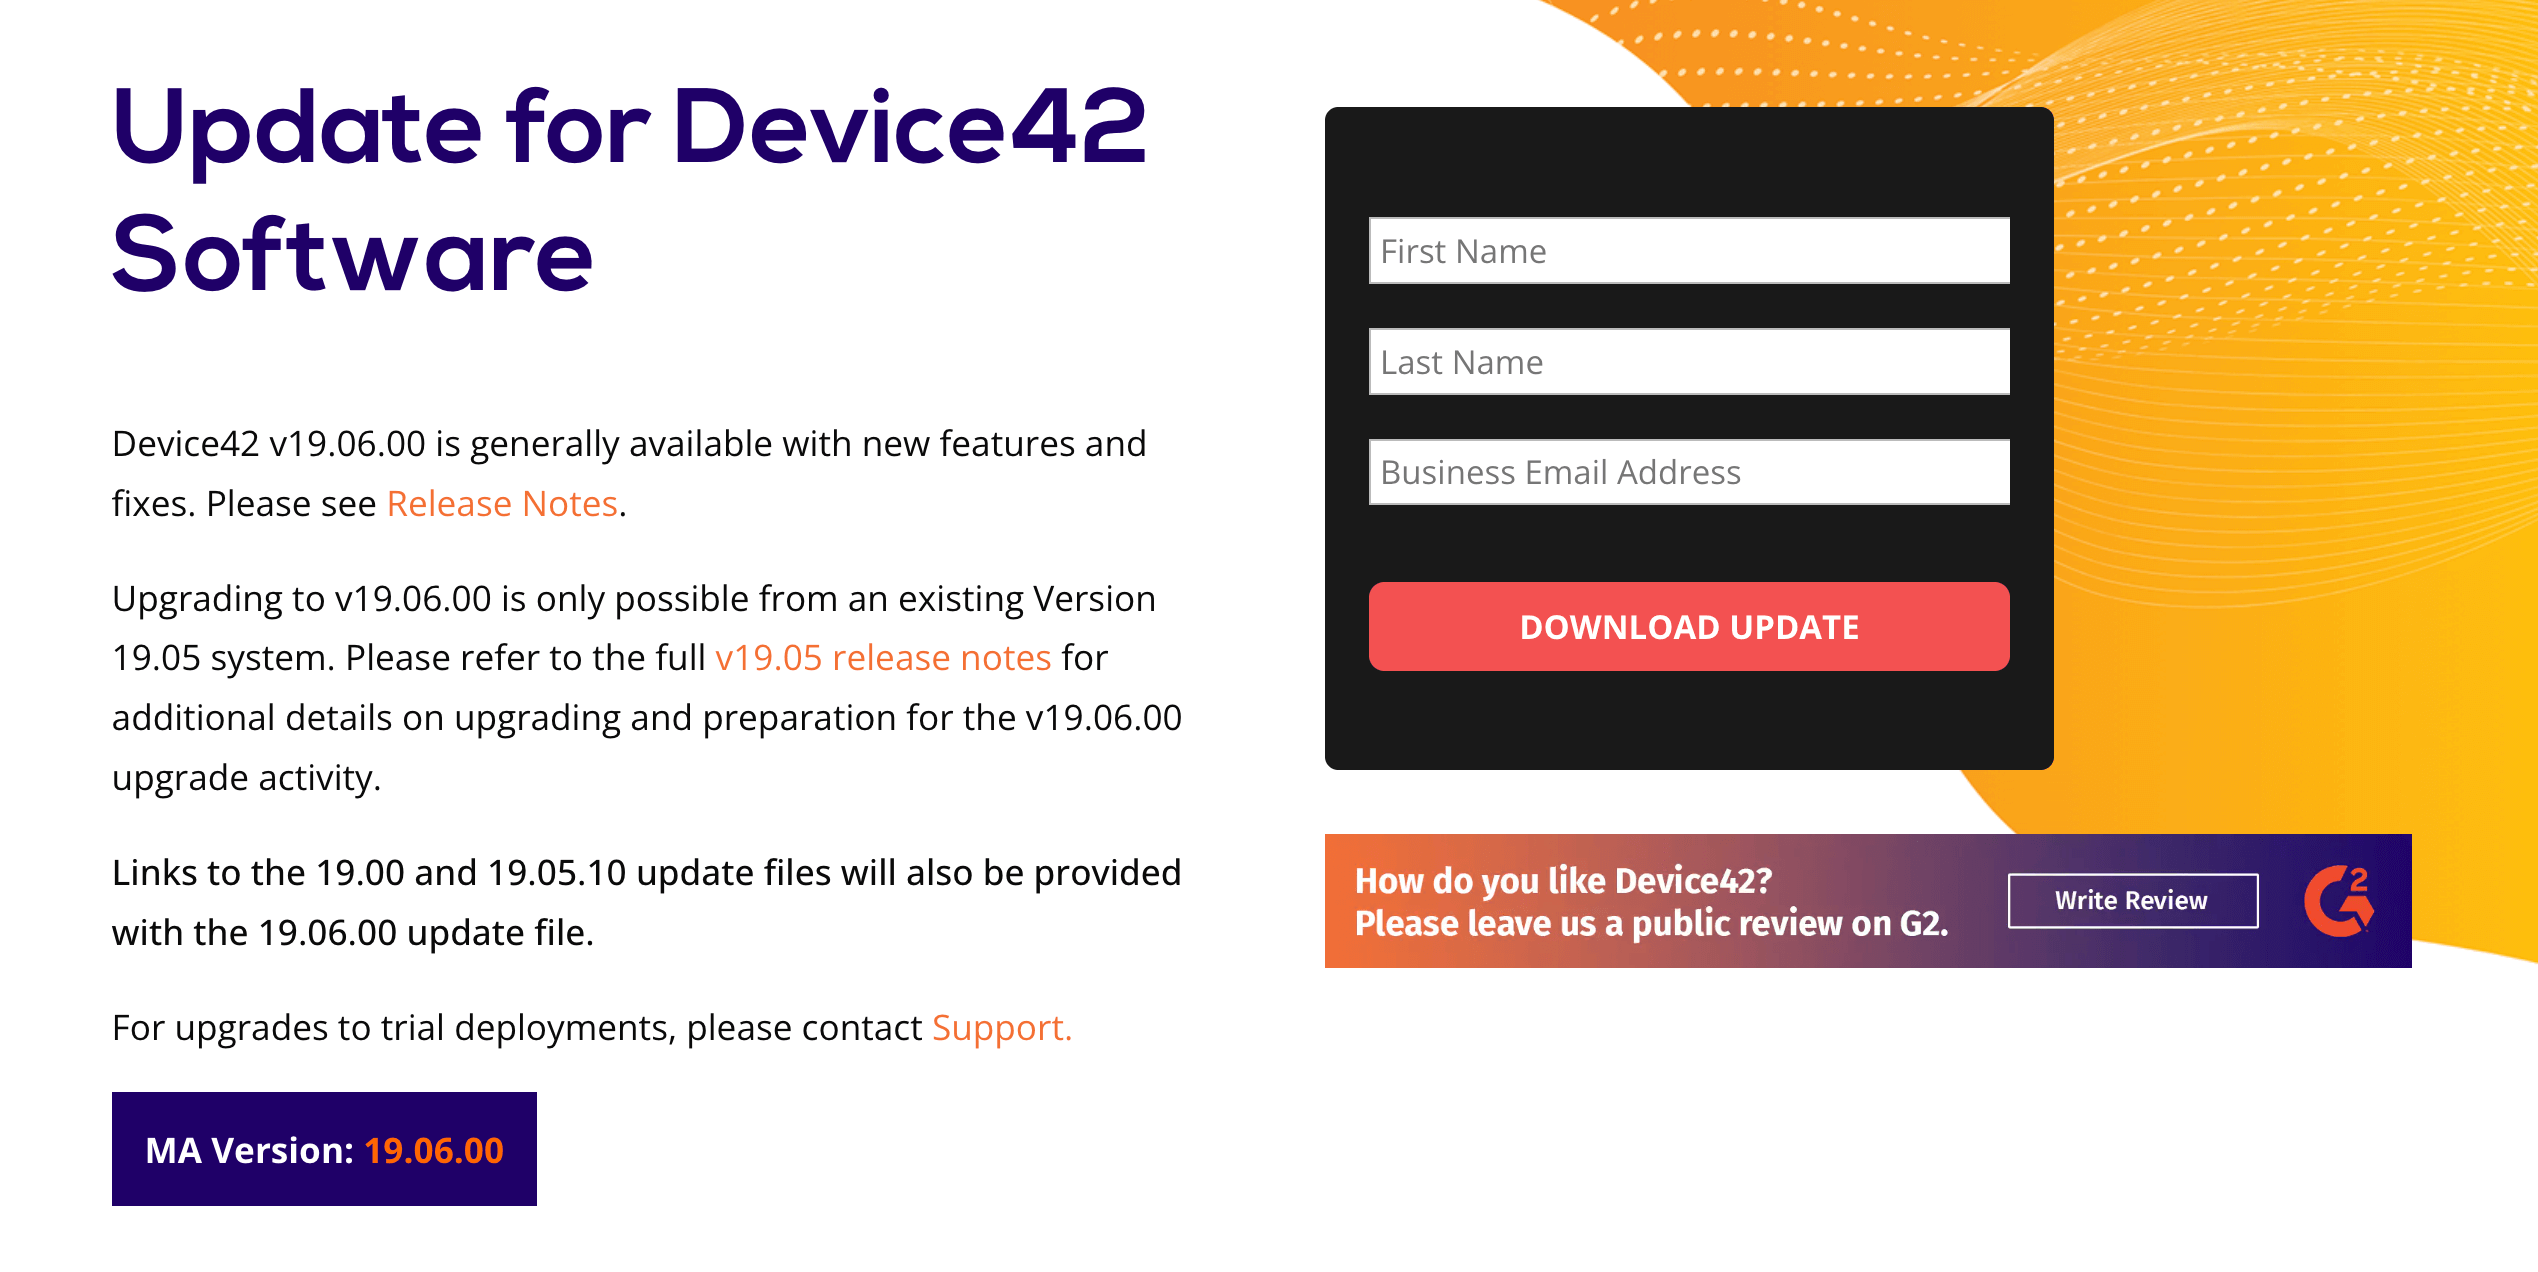
Fill in the form on the website and click Download update.
-
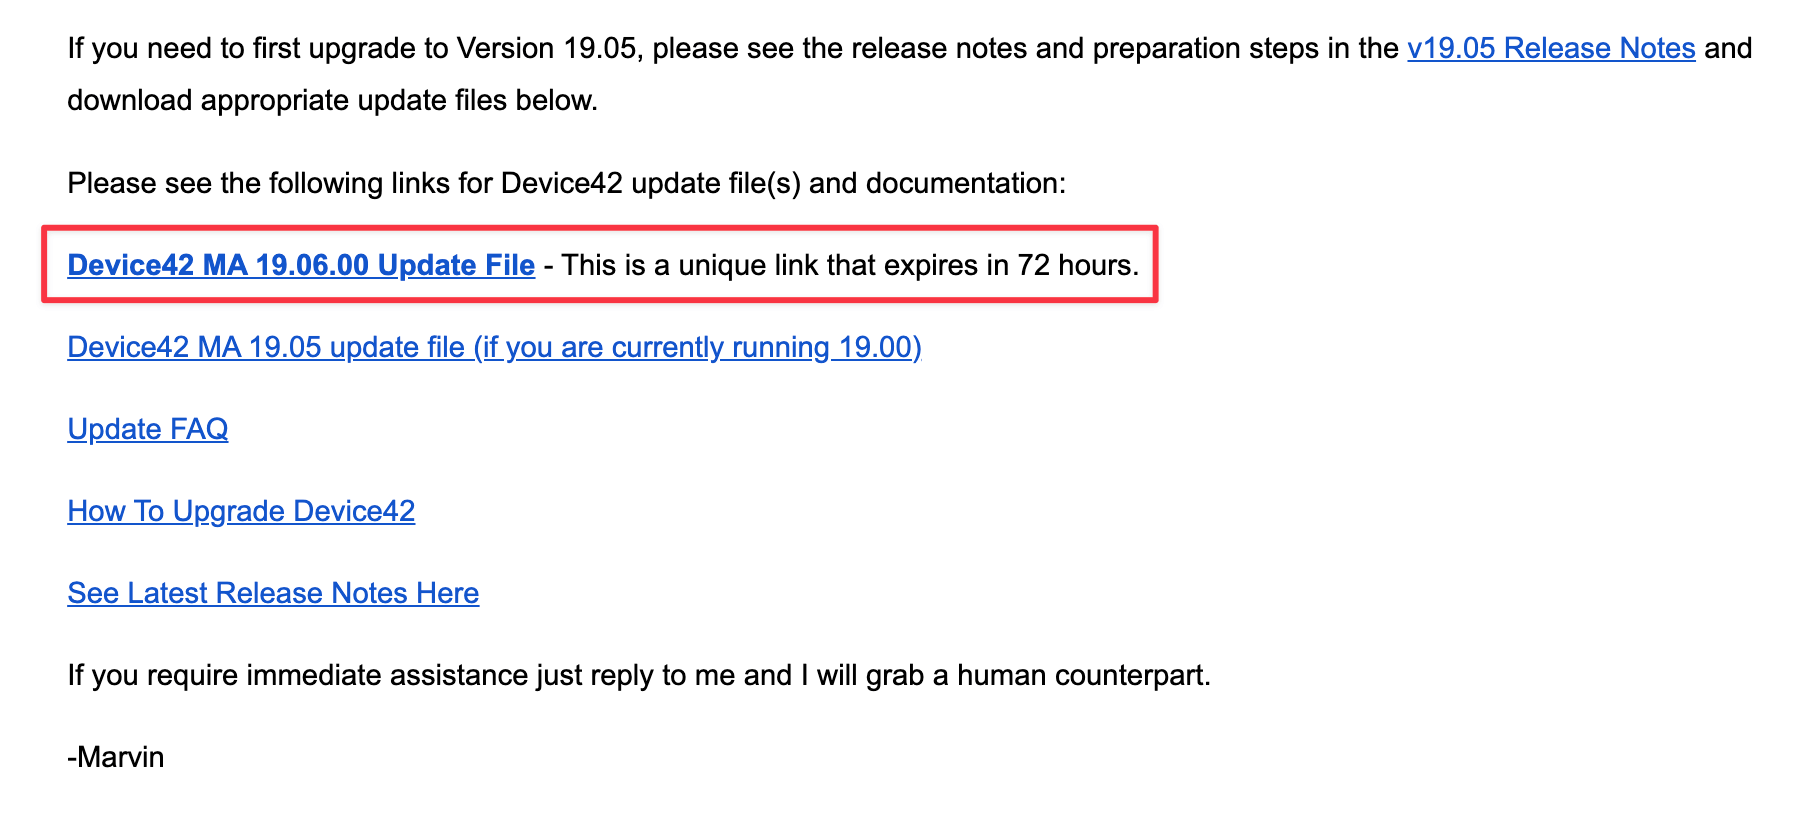
You'll receive an automated email with several links to download the
.zip.encfile. If your Main Appliance has already been updated to the latest major version and you're applying a minor or patch-release update, or if your MA's latest update was to a major version, choose the first link (in bold).If your Main Appliance is one or several releases behind the current major version, choose the second or third link, depending on your version, to first update it to the major version. When you've updated to the latest major version, you may need to perform a second update to the current minor or patch-release version afterward.
2. Back Up Your Data
Head to the Appliance Manager by entering http://your-device42-IP-or-FQDN:4242 or https://your-device42-IP-or-FQDN:4343 into your browser. Optionally, you can take a virtual machine snapshot from your virtualization platform as a backup.
The default credentials for the Appliance Manager are d42admin / default, or for AWS instances, d42admin / AWS_INSTANCE_ID. Please ensure you change the default password to your own secure credentials.
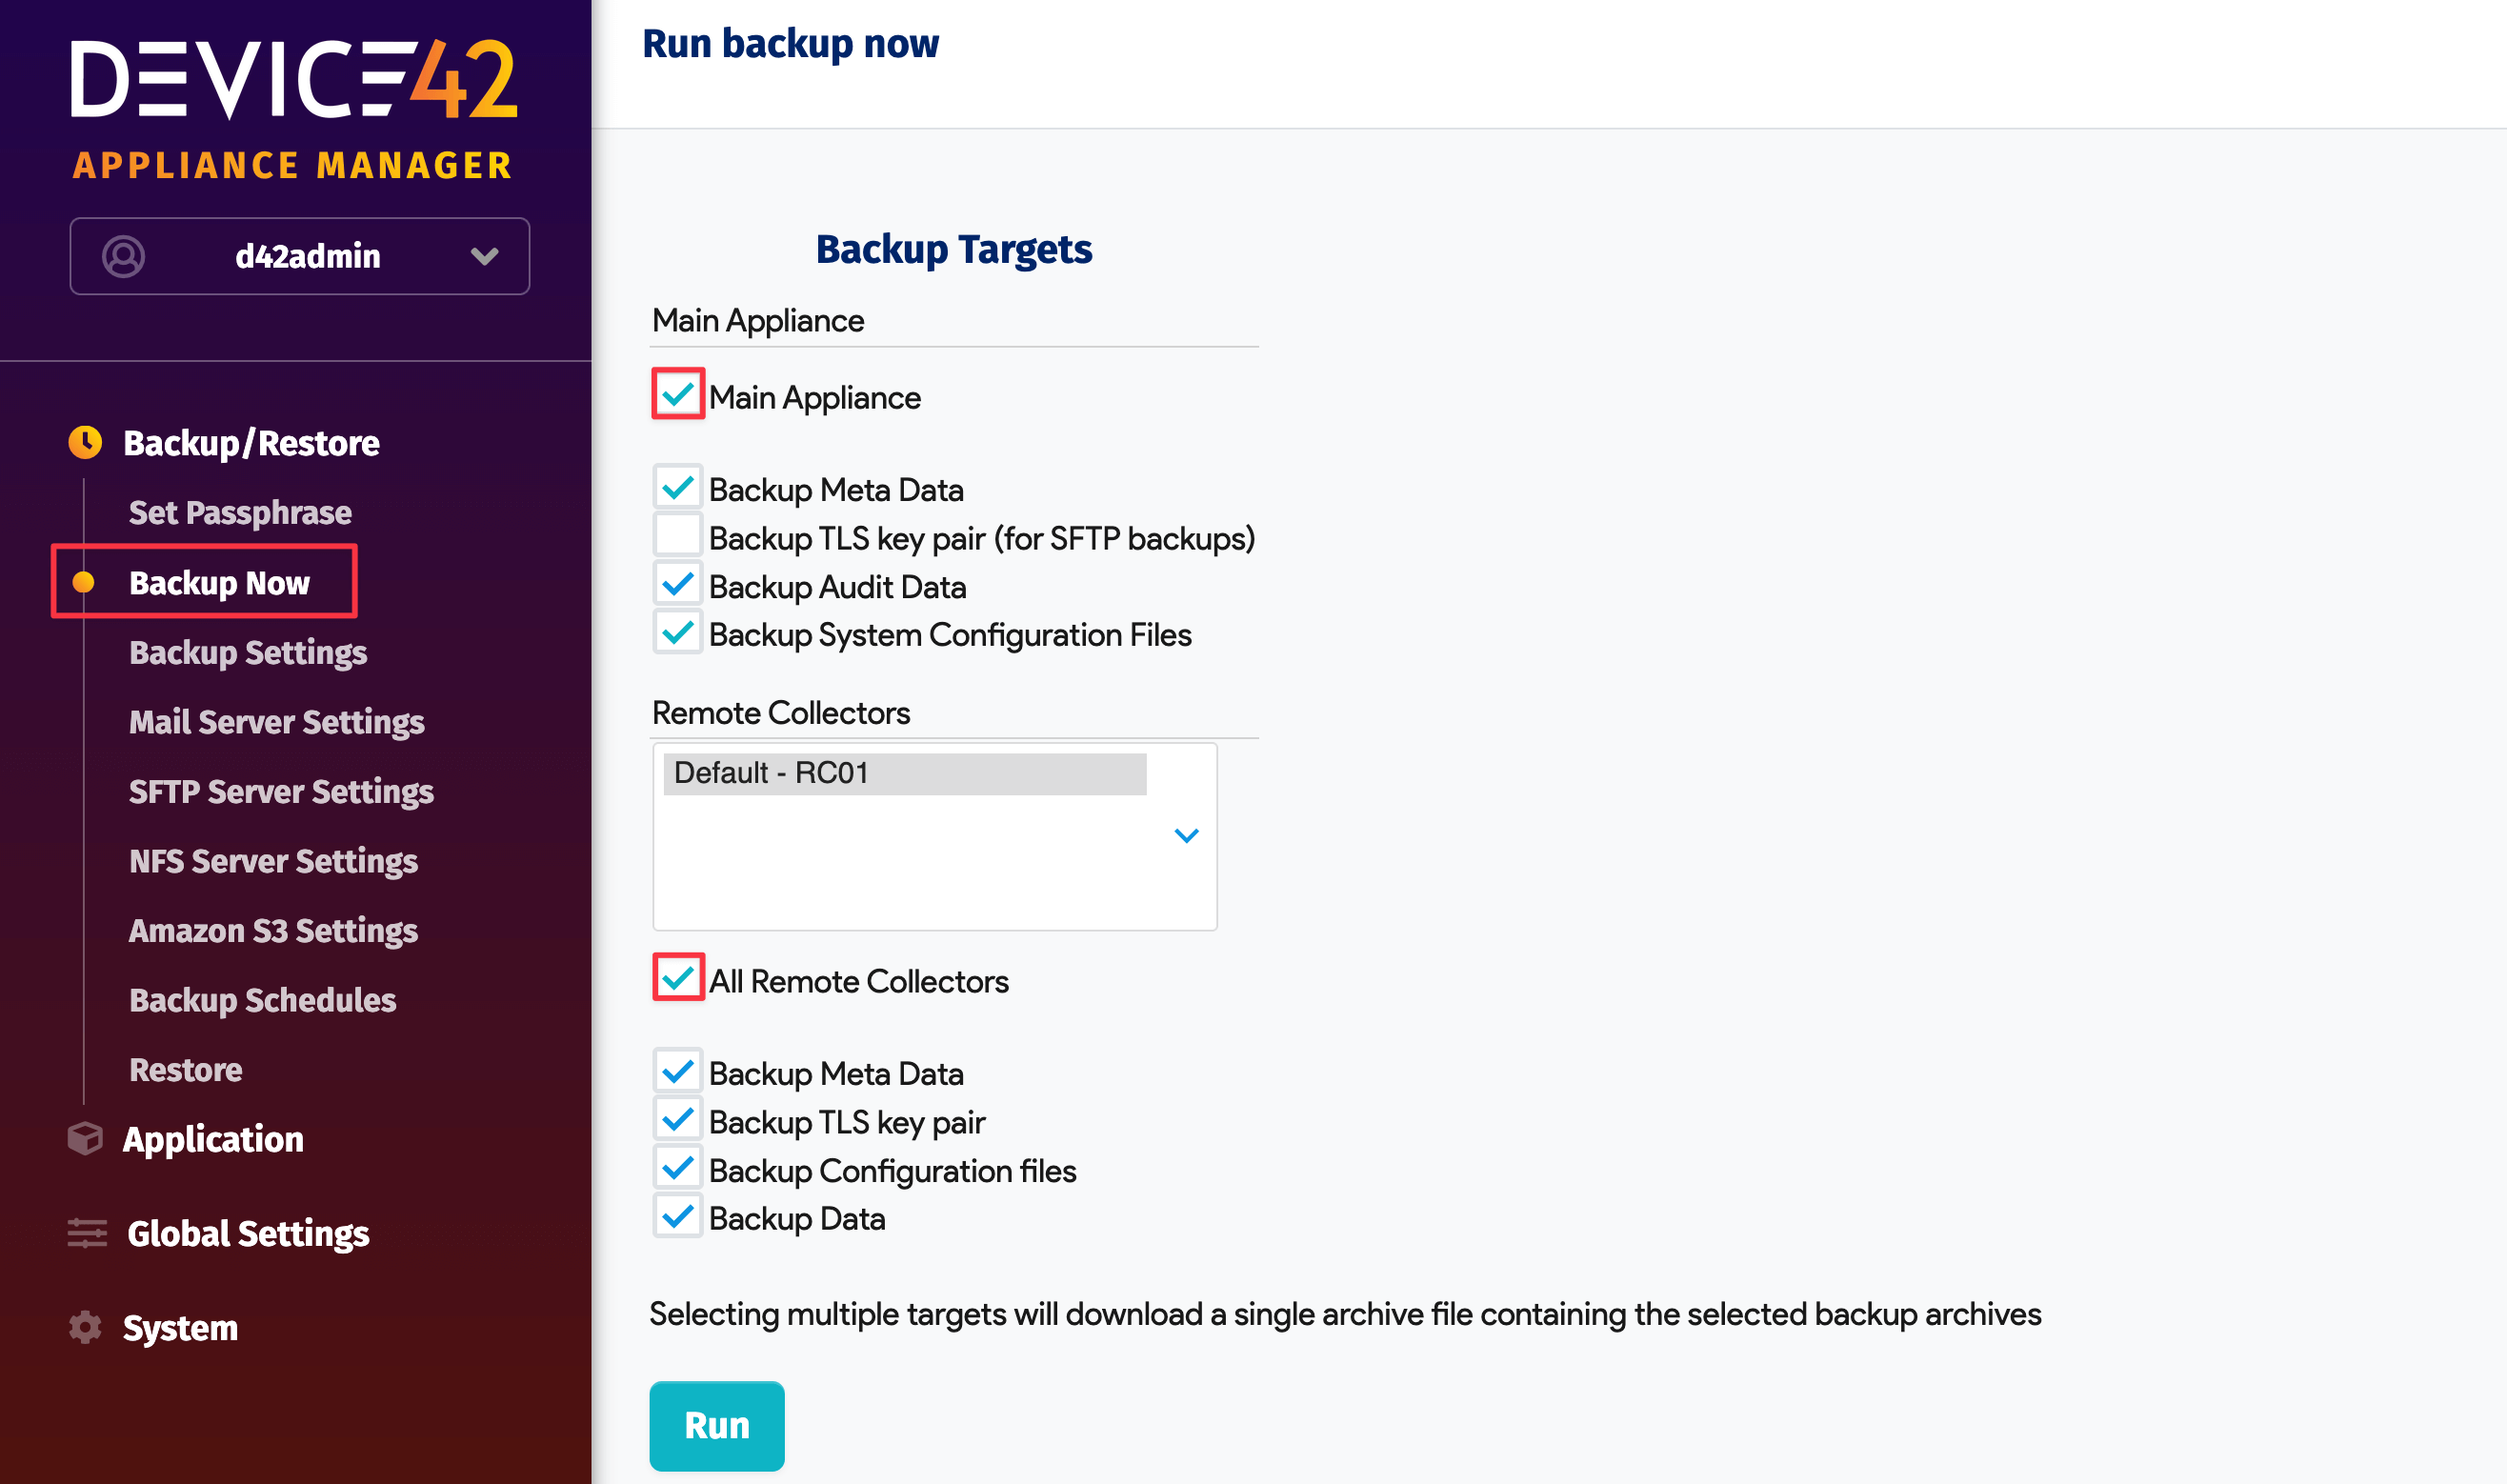
Navigate to Backup/Restore > Backup Now and select the Main Appliance checkbox. If you want to include users and settings, select the Backup Meta Data option. Run the backup.
For an explanation of the backup options, see the Backup via the Appliance Manager page.
3. Upload the Update File
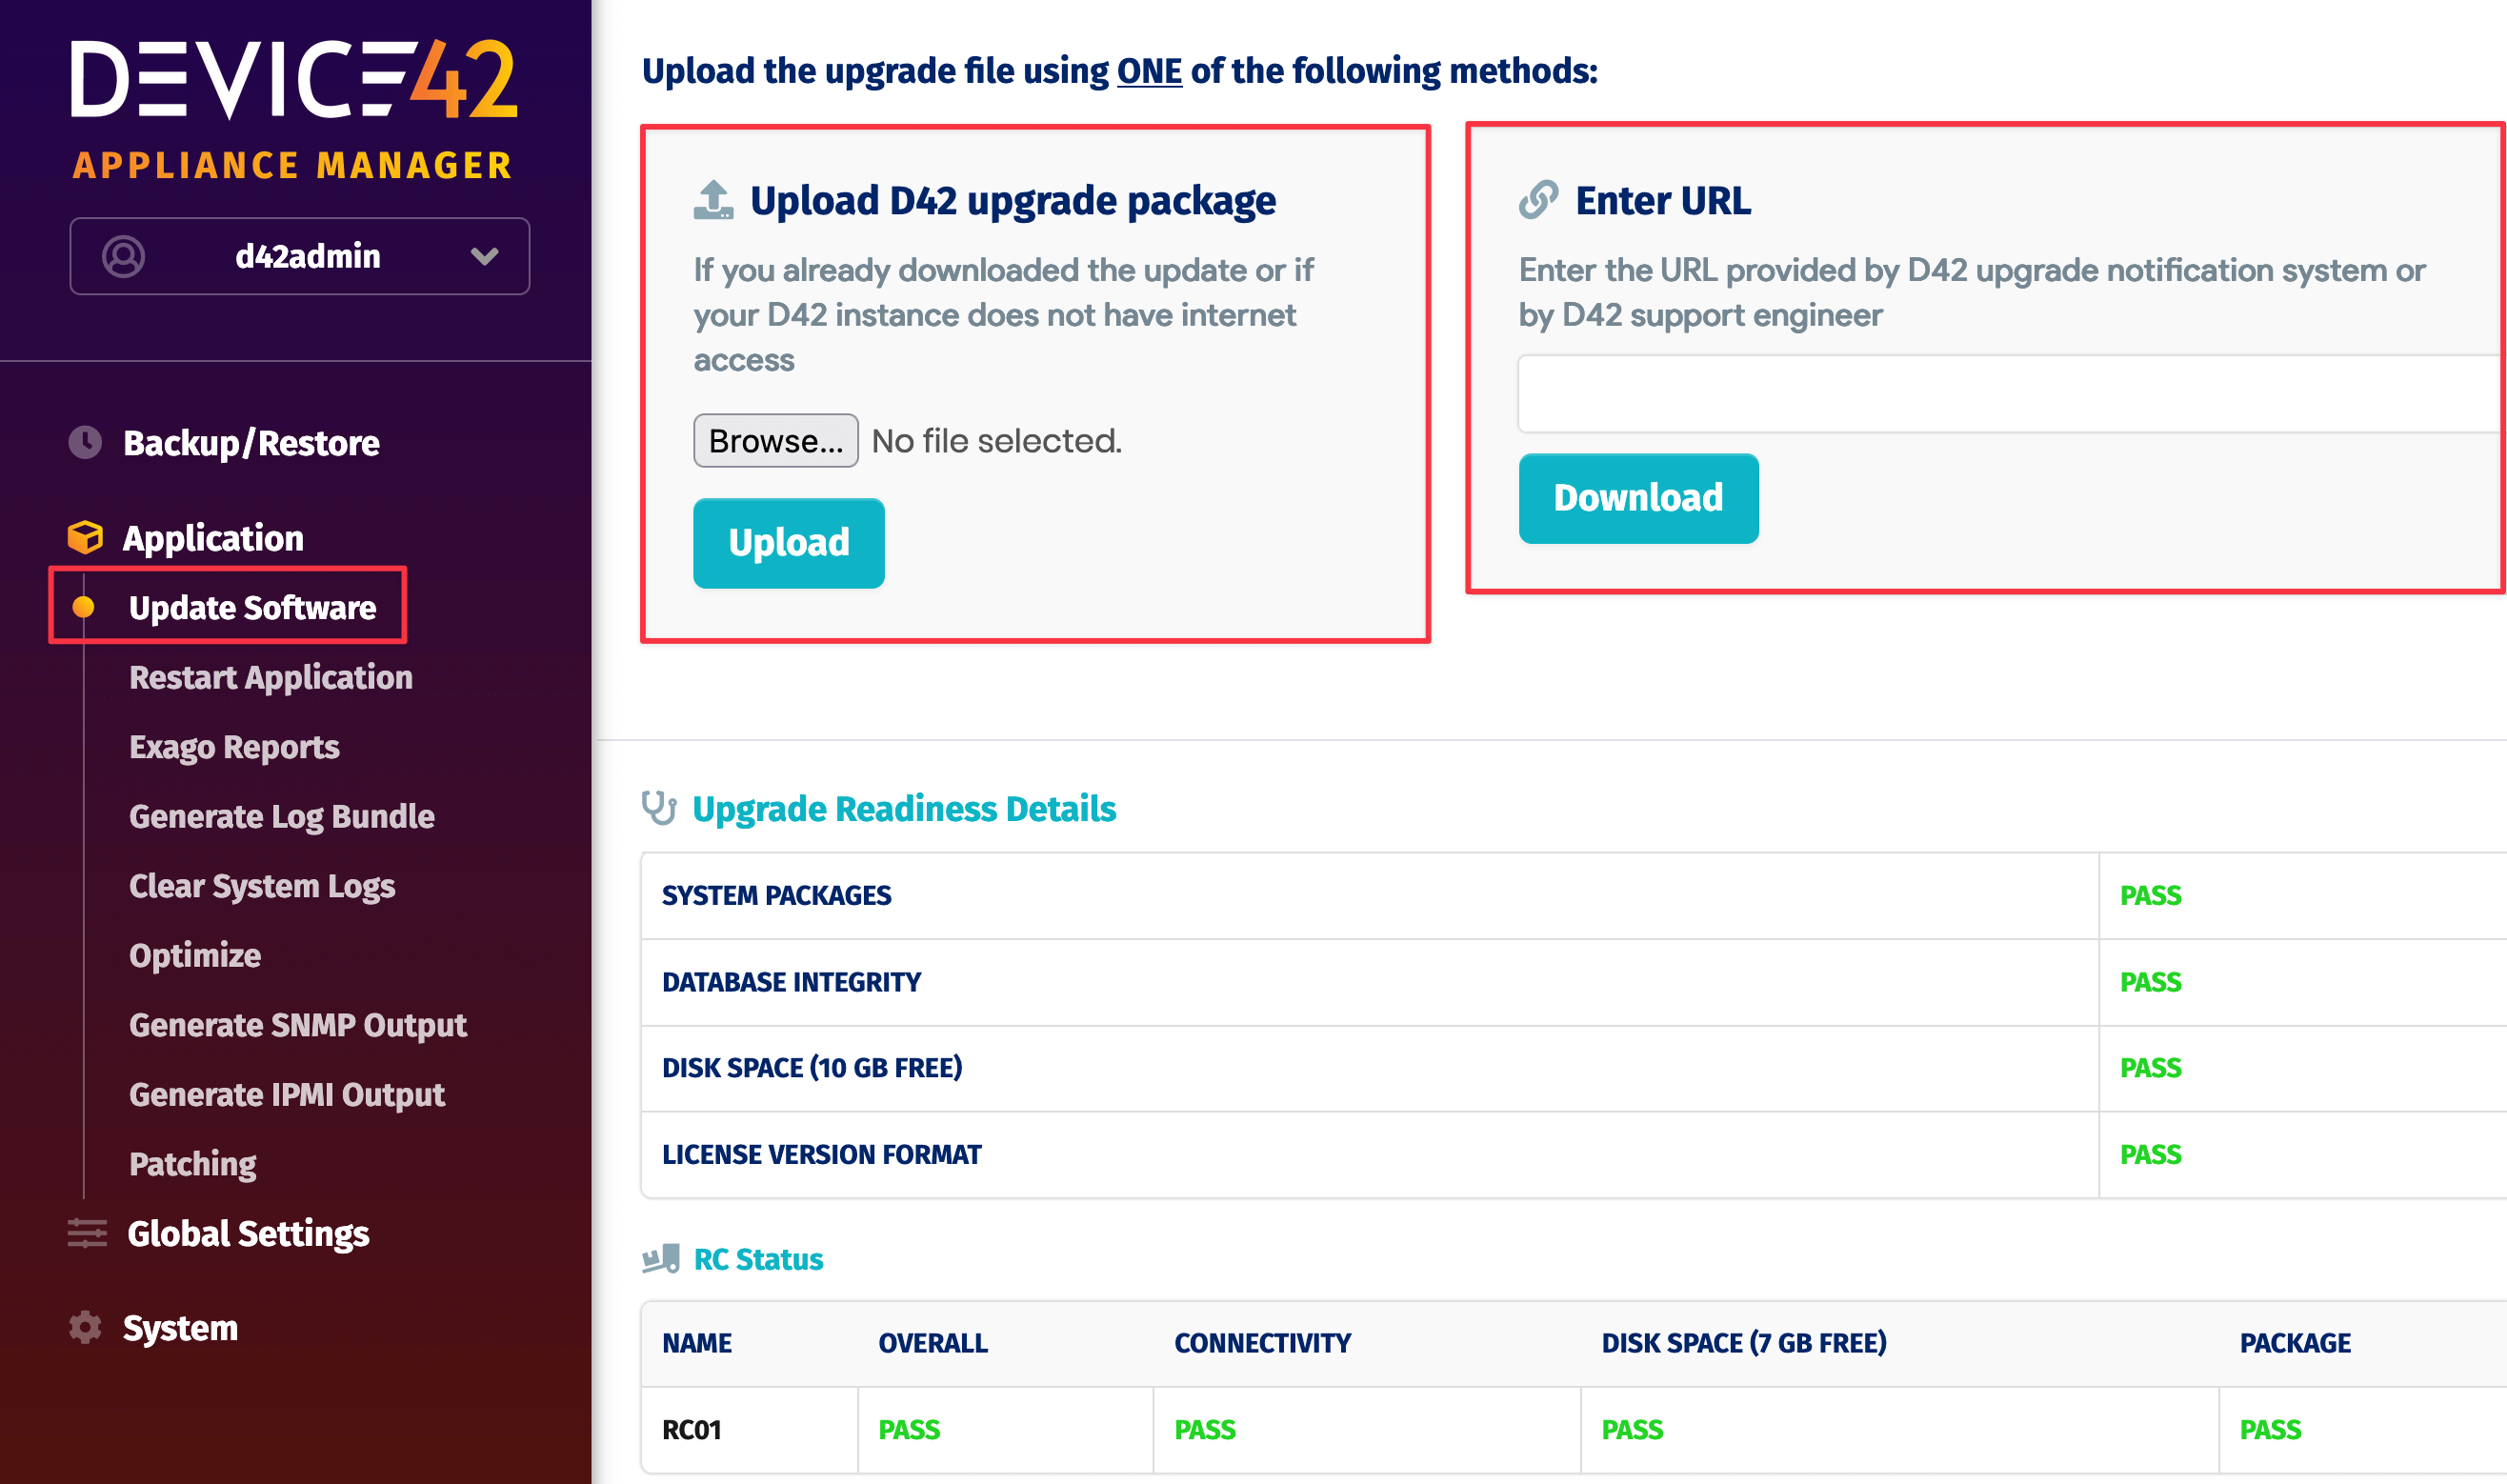
From the Main Appliance, navigate to Application > Update Software and either browse and upload the .zip.enc file or enter the update URL.
A green status bar indicates the upload progress.
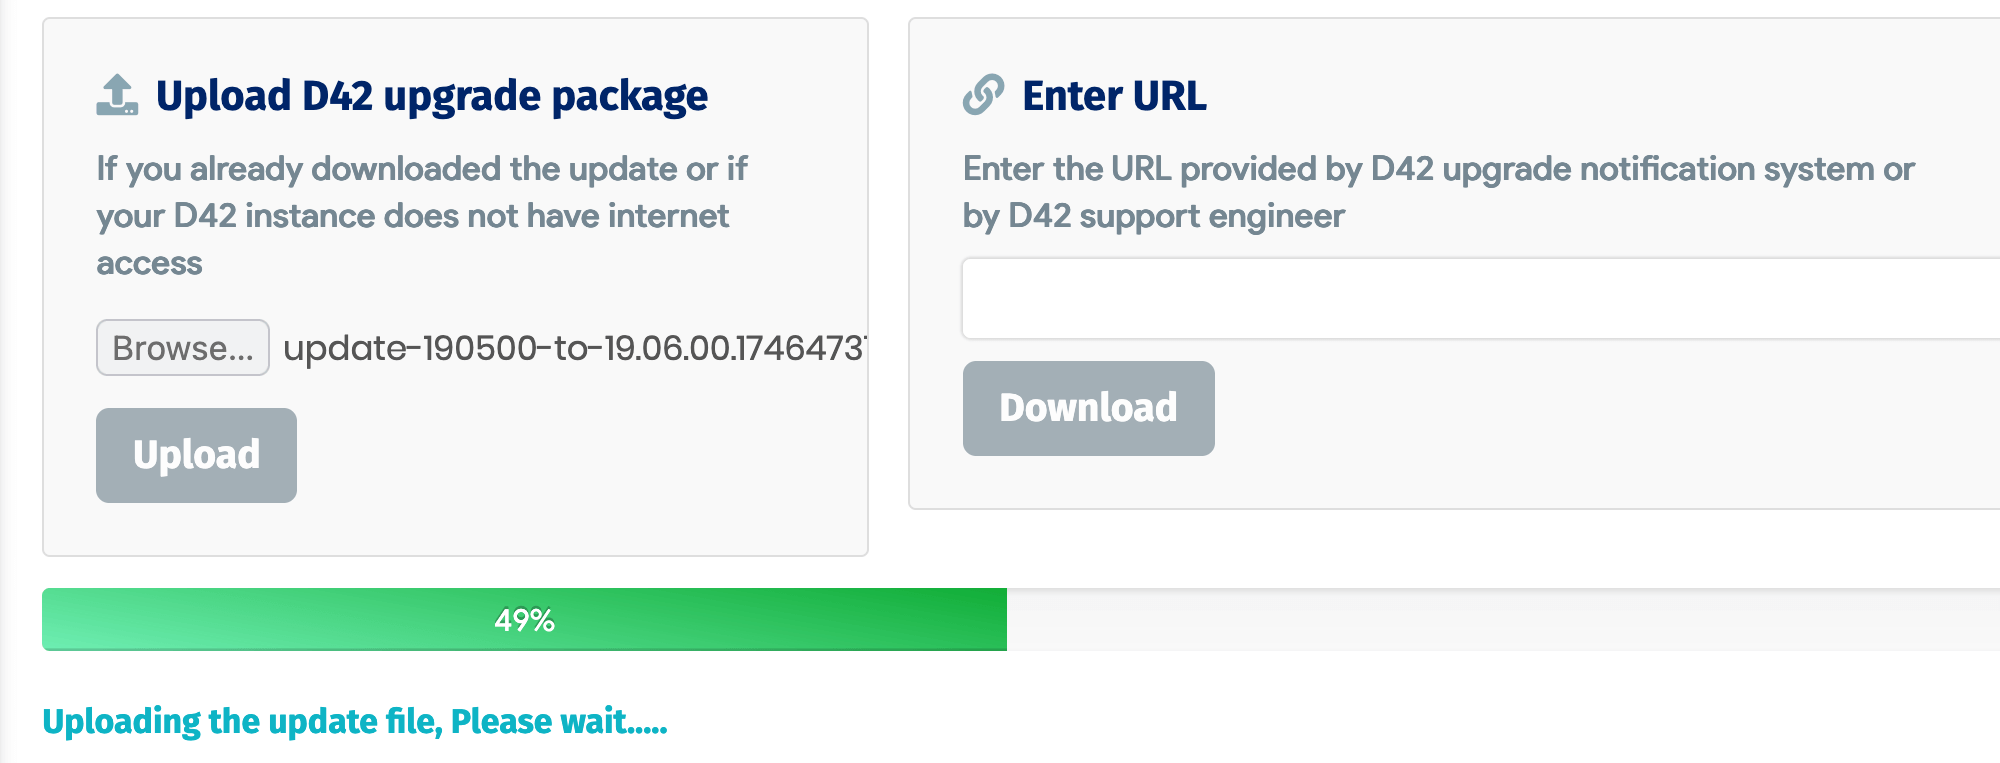
When the file has been uploaded, log in to the VM console.
4. Log In to the VM Console
There are two ways to log in to the VM console:
-
Access the VM console through your virtual platform.
-
Via SSH:
- Use port 404 on the Device42 IP address.
- If you're using a power appliance, use port 442.
- For AWS deployments, SSH in to the device using
device42as your username andAWS-KEYFILEas your password. For example:
ssh -i /path/to/your/private-key.pem -p port_number username@hostname
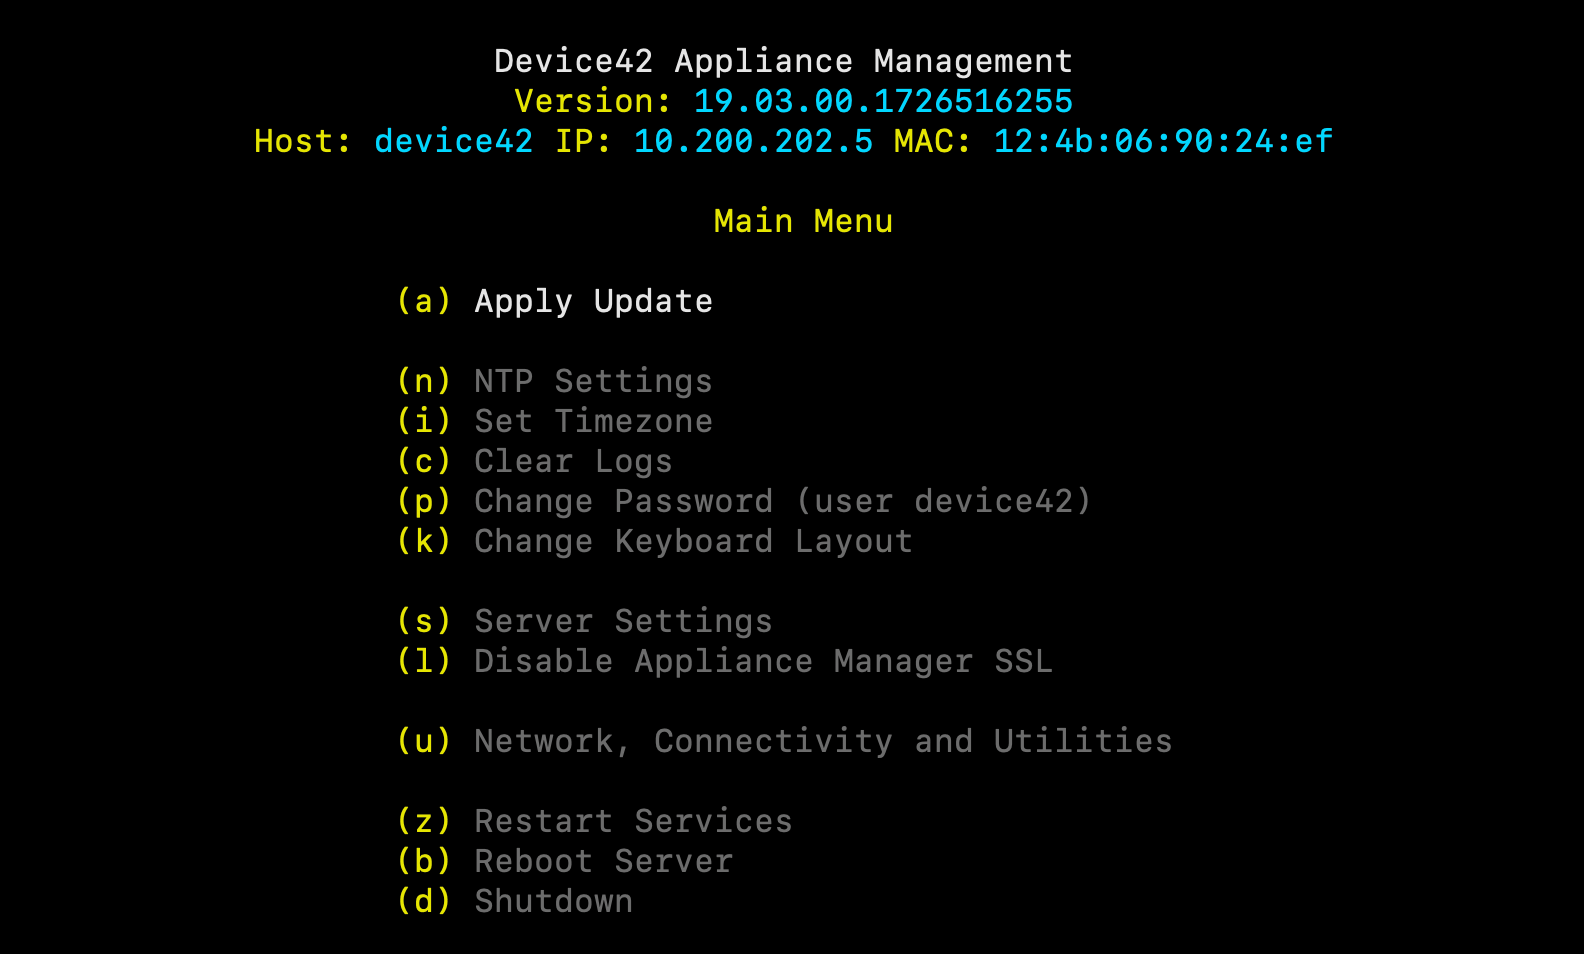
5. Apply the Update
Select option a in the console to apply the update. It usually takes 15 to 30 minutes to apply the update.
6. Verify the Update
Return to the Update Software page (Tools > Settings > Update) of the Main Appliance to confirm that the new version has been applied.
Updating the Remote Collectors
Device42 RCs are updated automatically as long as they are connected to a Device42 MA. Updates to the MA instance include updates to your RC(s), which are pushed out automatically as part of the regular Device42 update process. By keeping your main Device42 instance up to date, you ensure that your RCs are also up to date.
Migrating Existing Power Appliance Jobs to a Remote Collector
It is possible to use existing tools to migrate jobs that were created for the original, standalone power appliance to RCs.
Follow the Power Job Migration Guide to migrate jobs to your choice of RC(s).