Role-based Permissions and Access
Role-based access can be defined at either the group or user level. If you have many users but a smaller number of different permission sets, it would make sense to use admin groups. In the example below, we will create a new group with selected IP address, DNS, and VLAN management permissions.
Create a New Admin Group
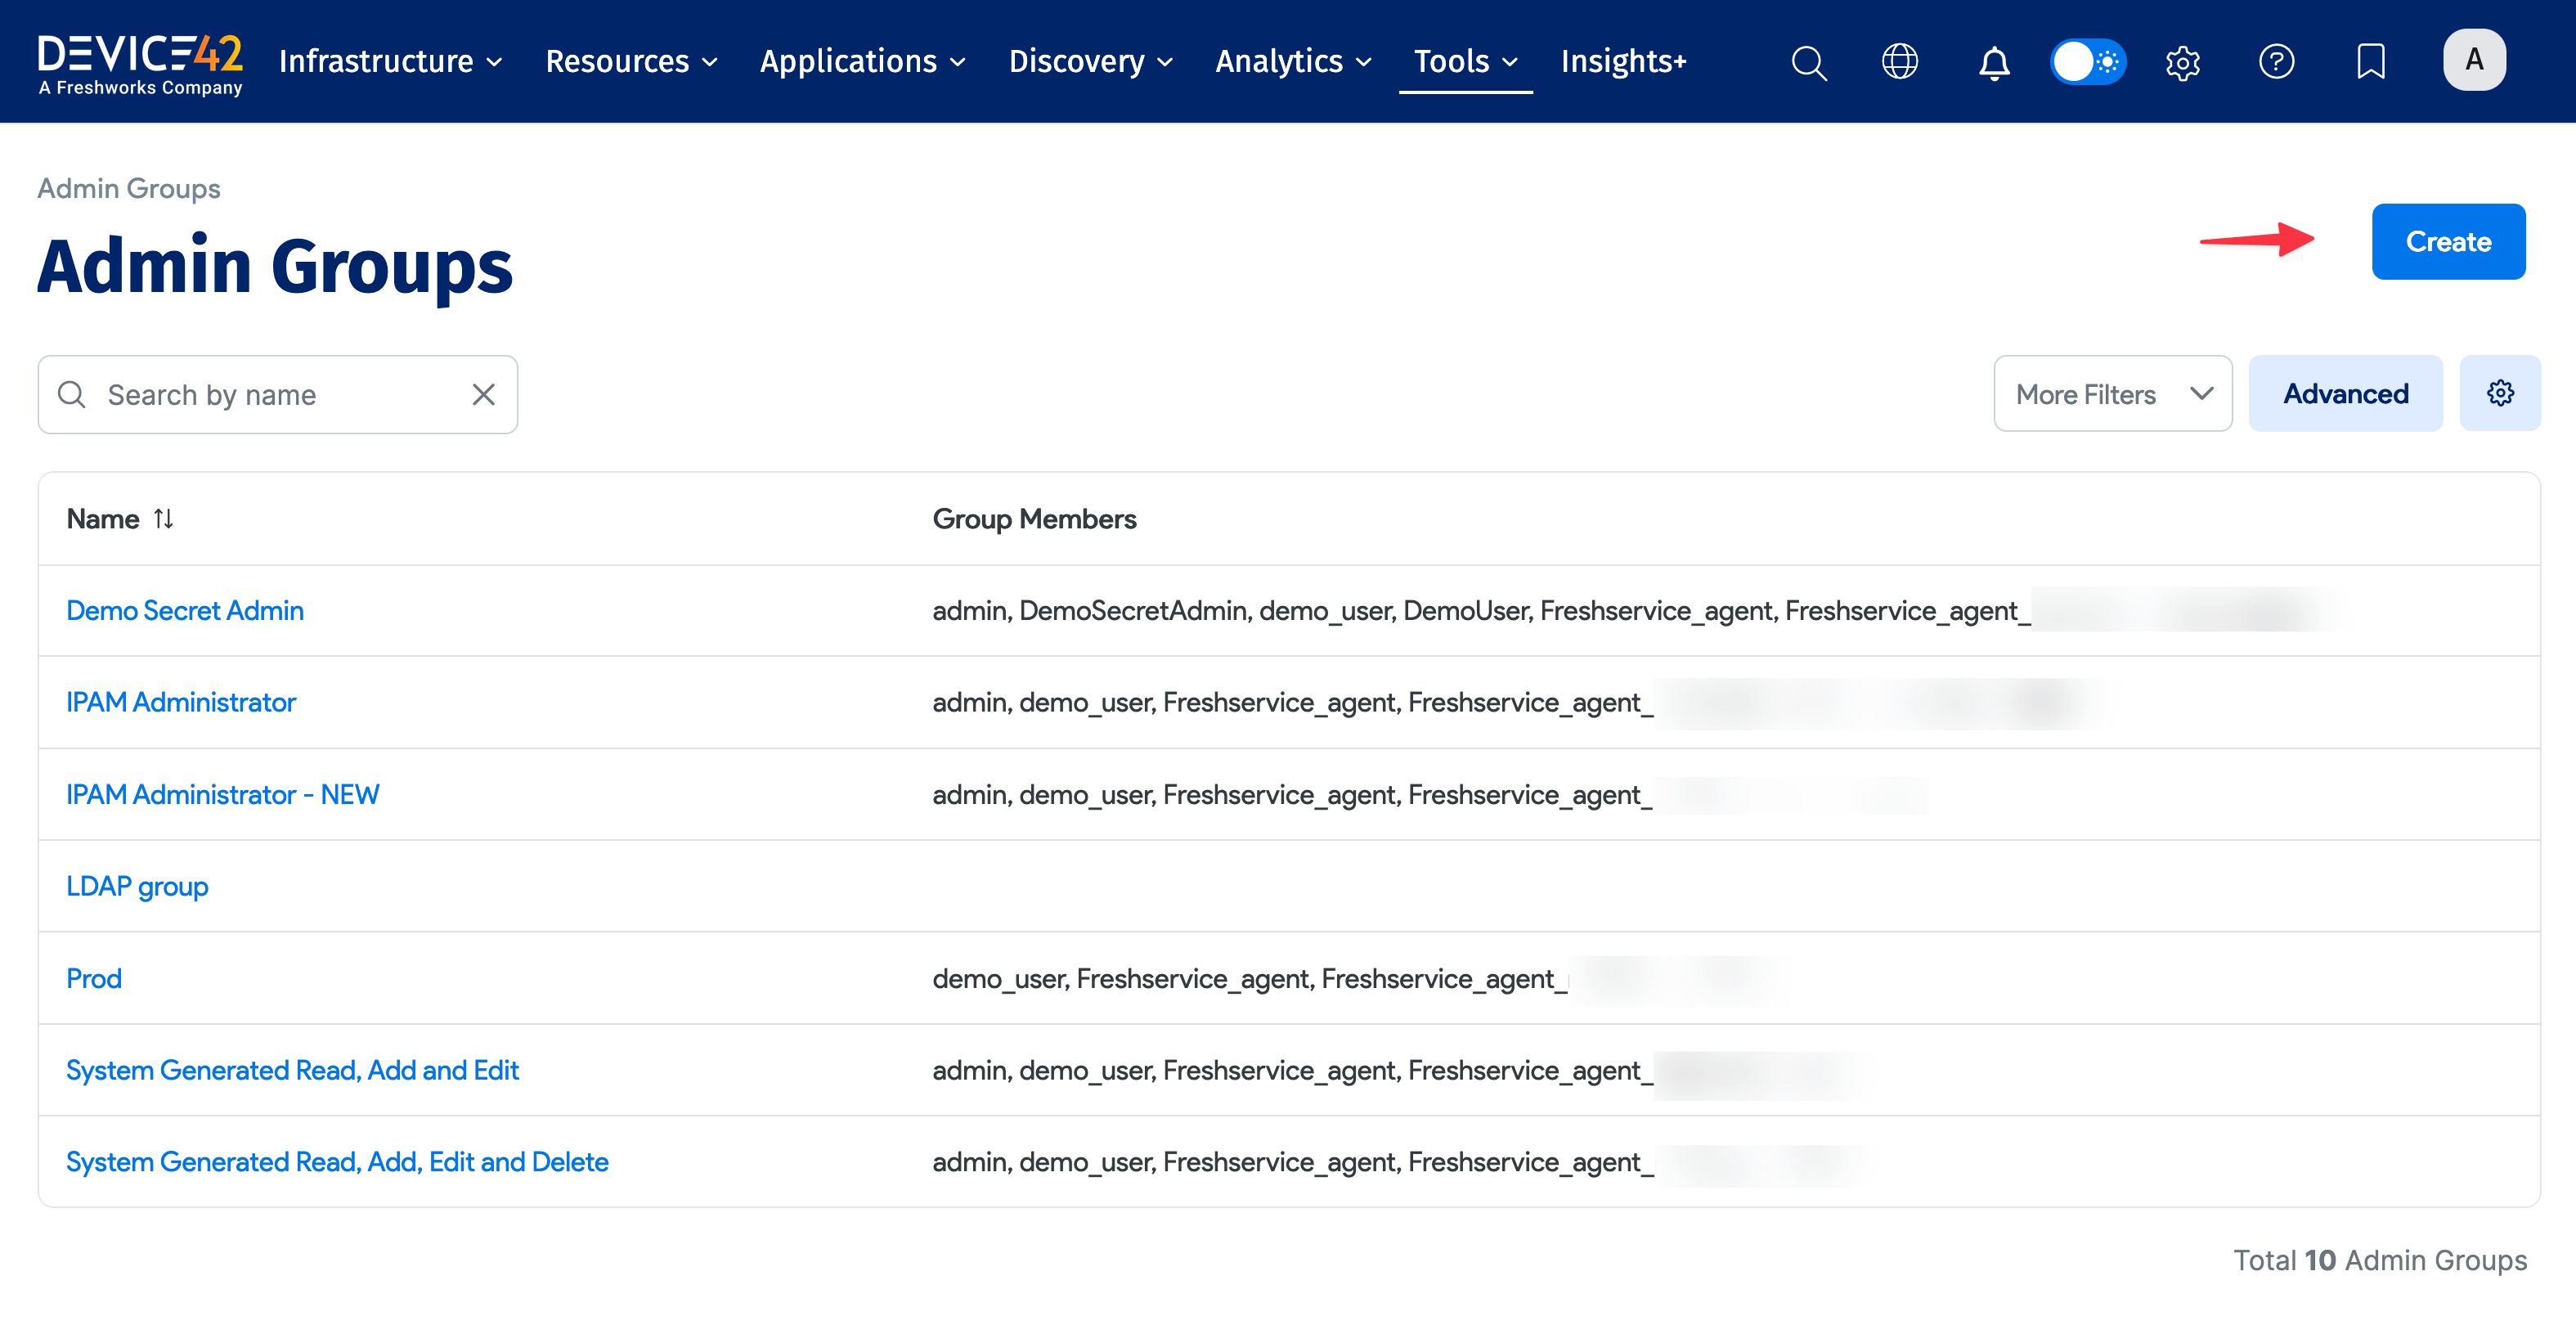
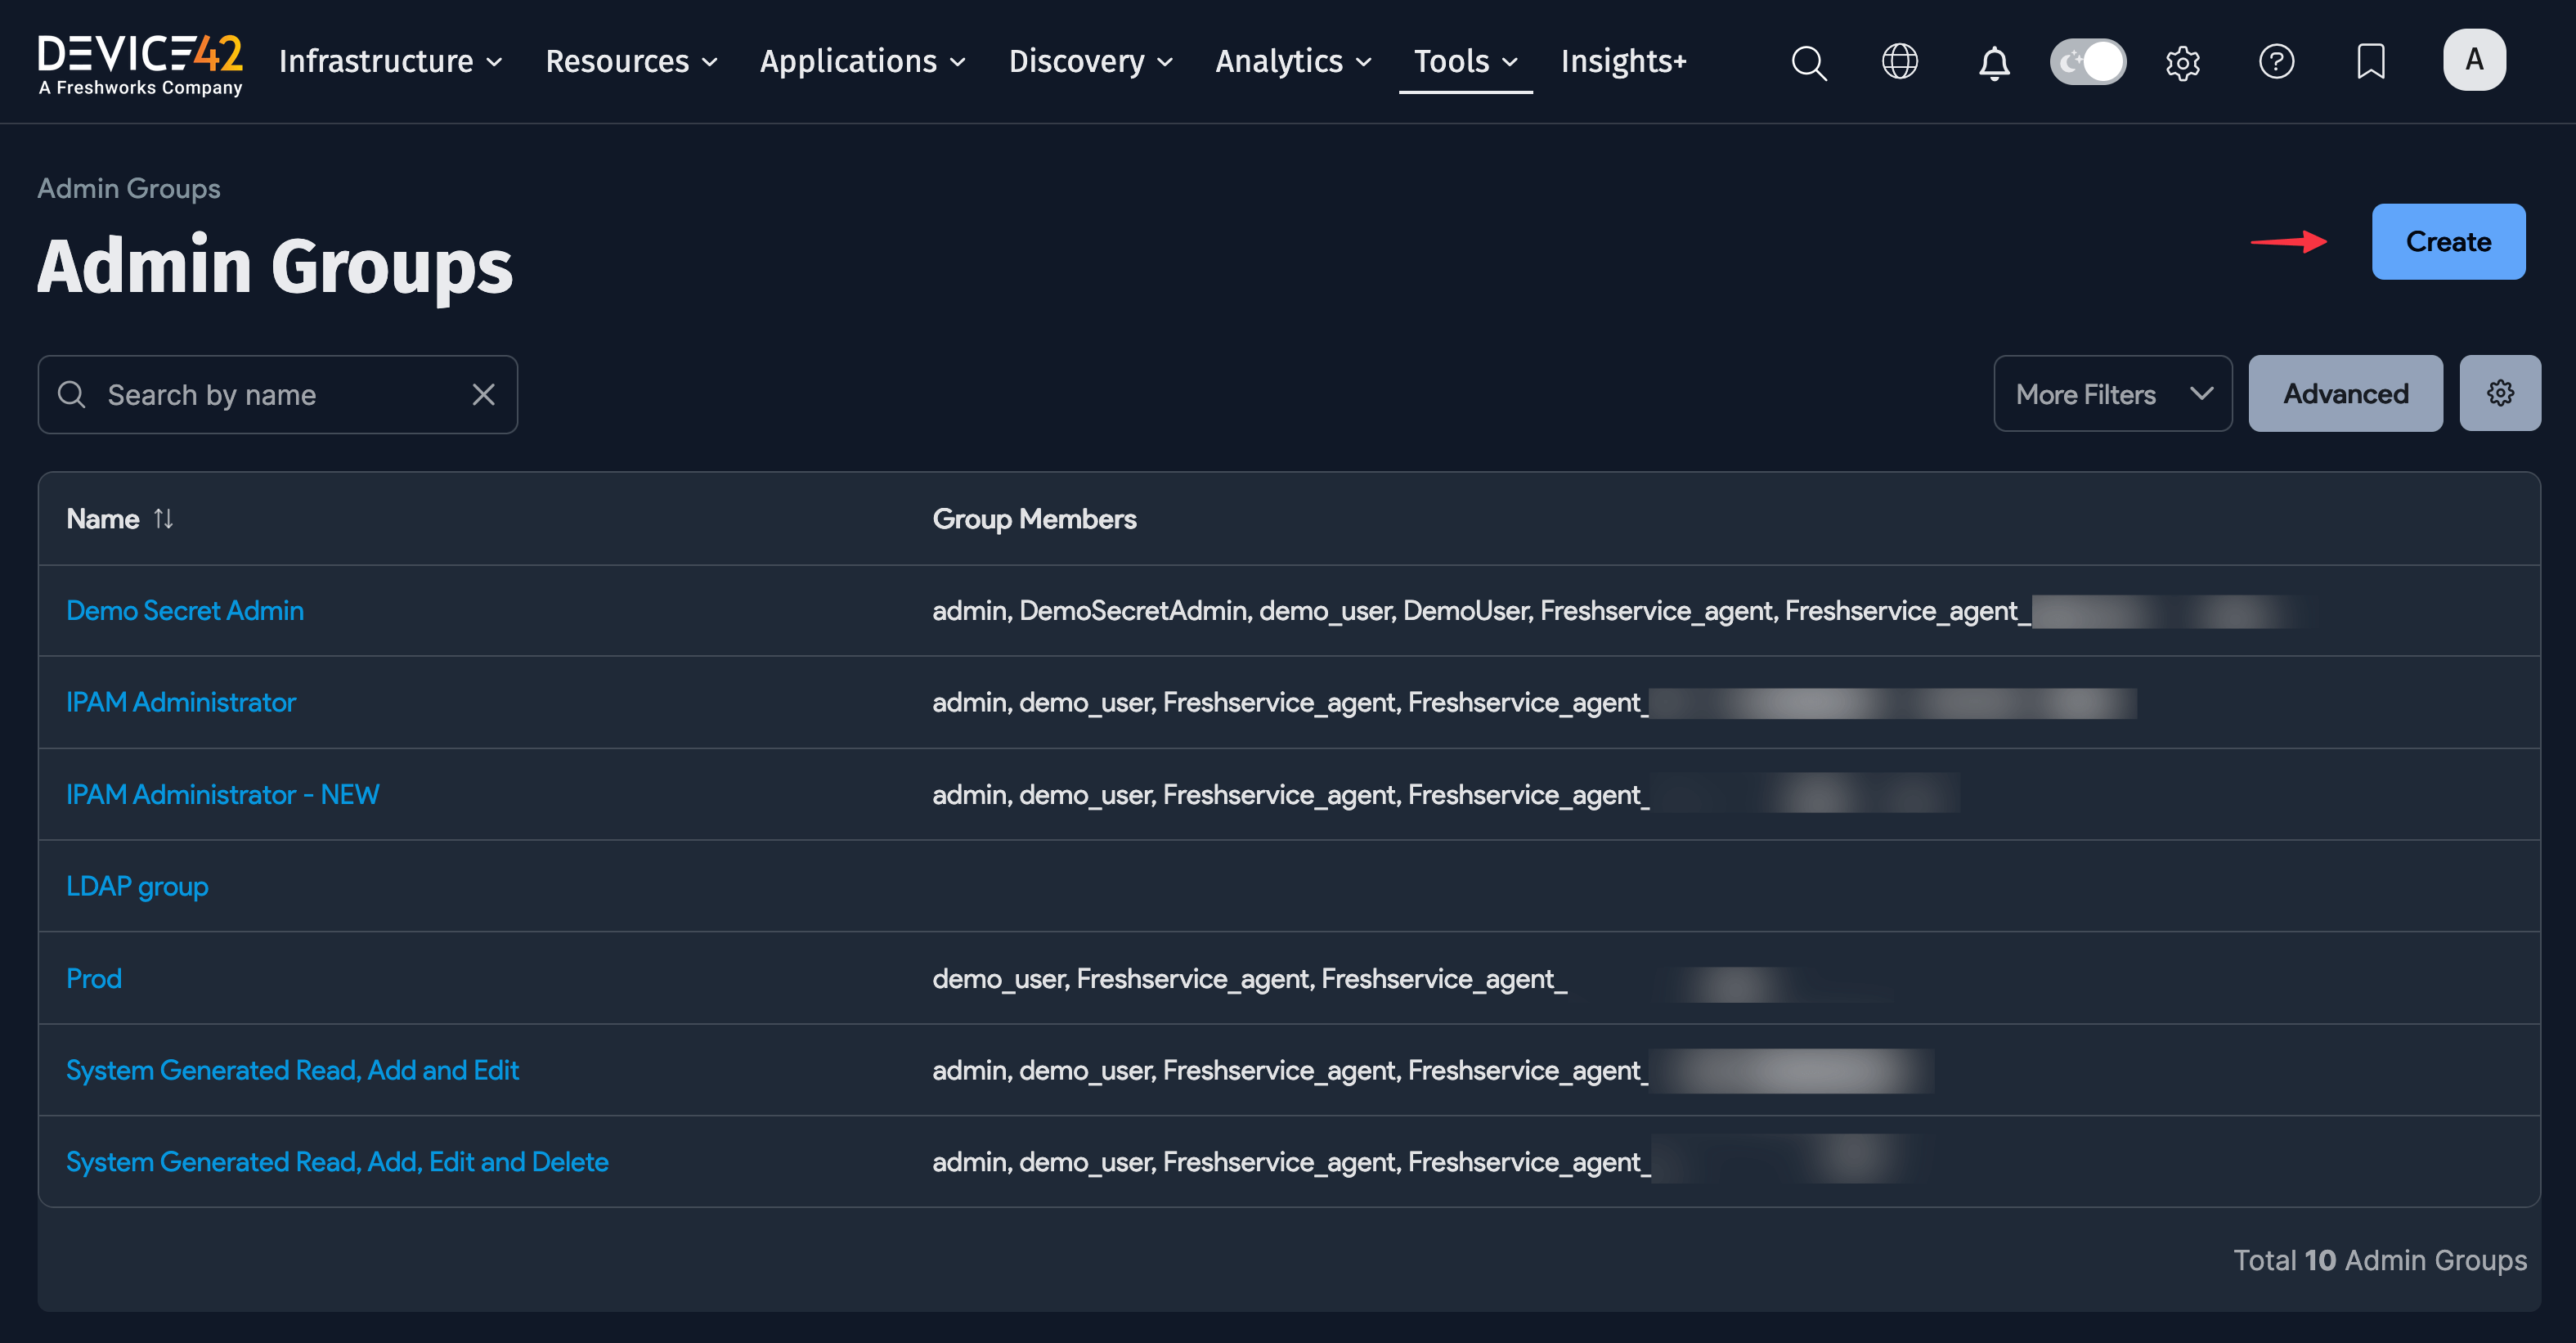
To create a new admin group, navigate to Tools > Admin Groups and click the Create button on the right-hand side of the screen.
First, enter a Name for the group.
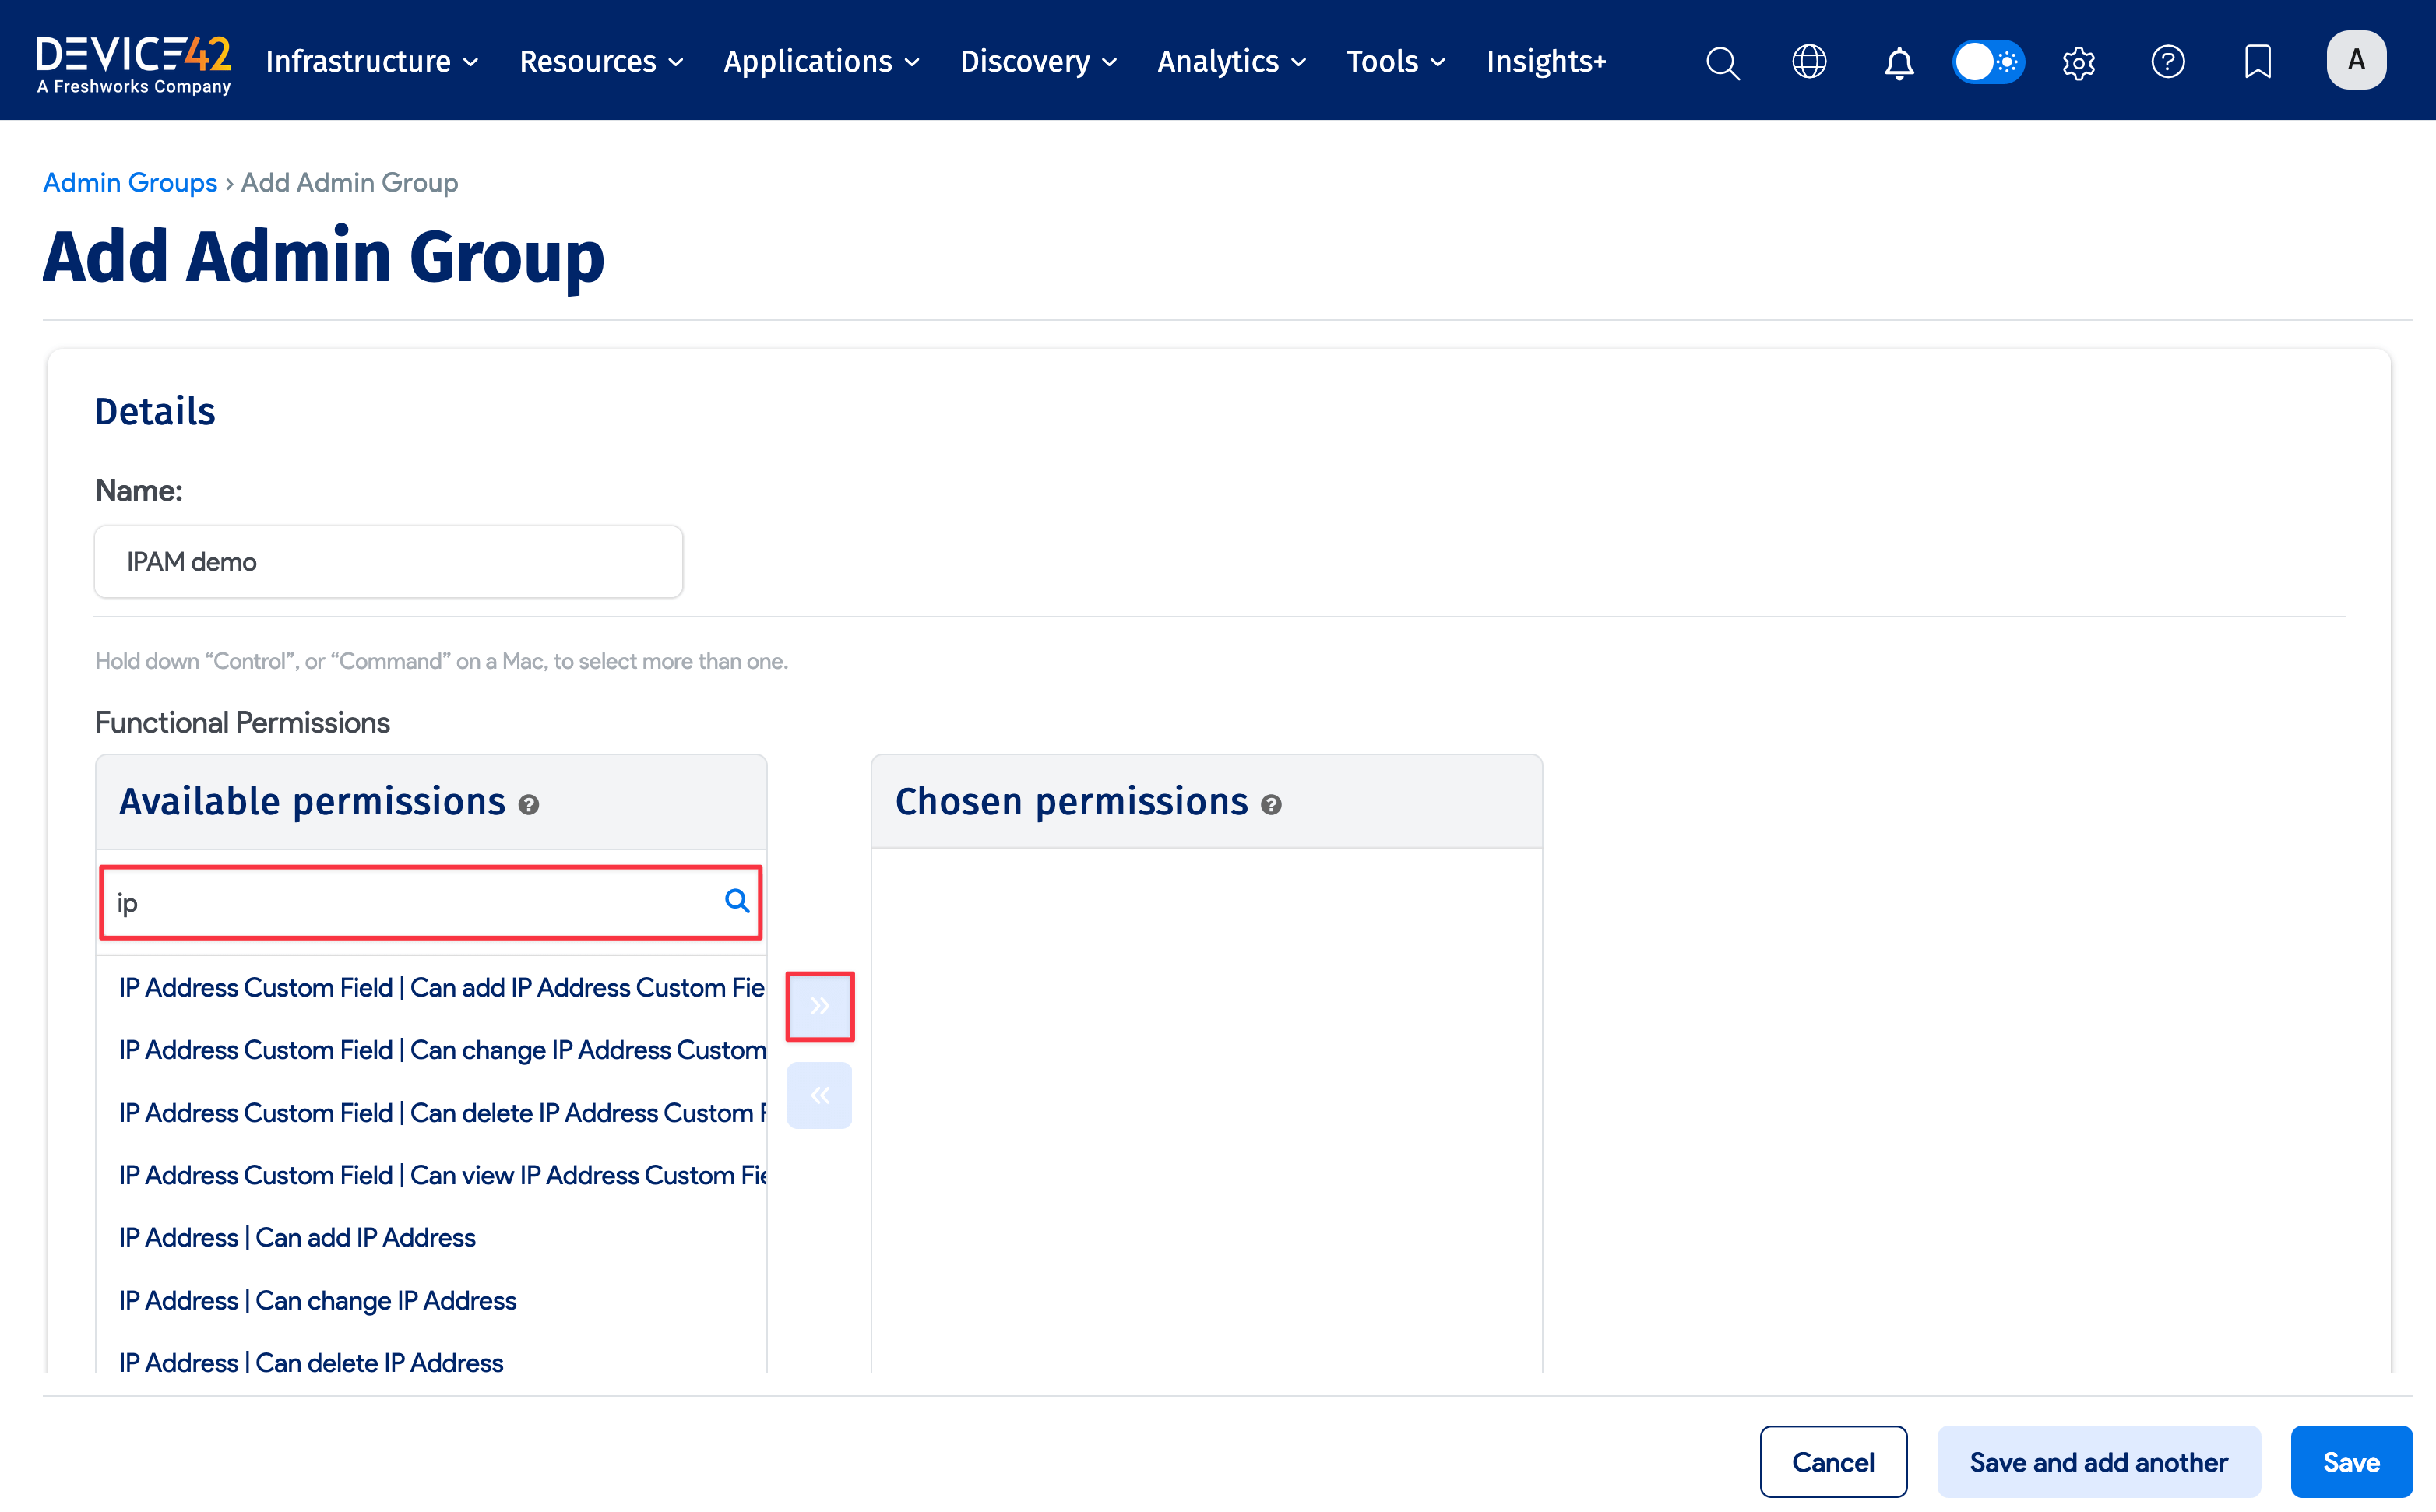
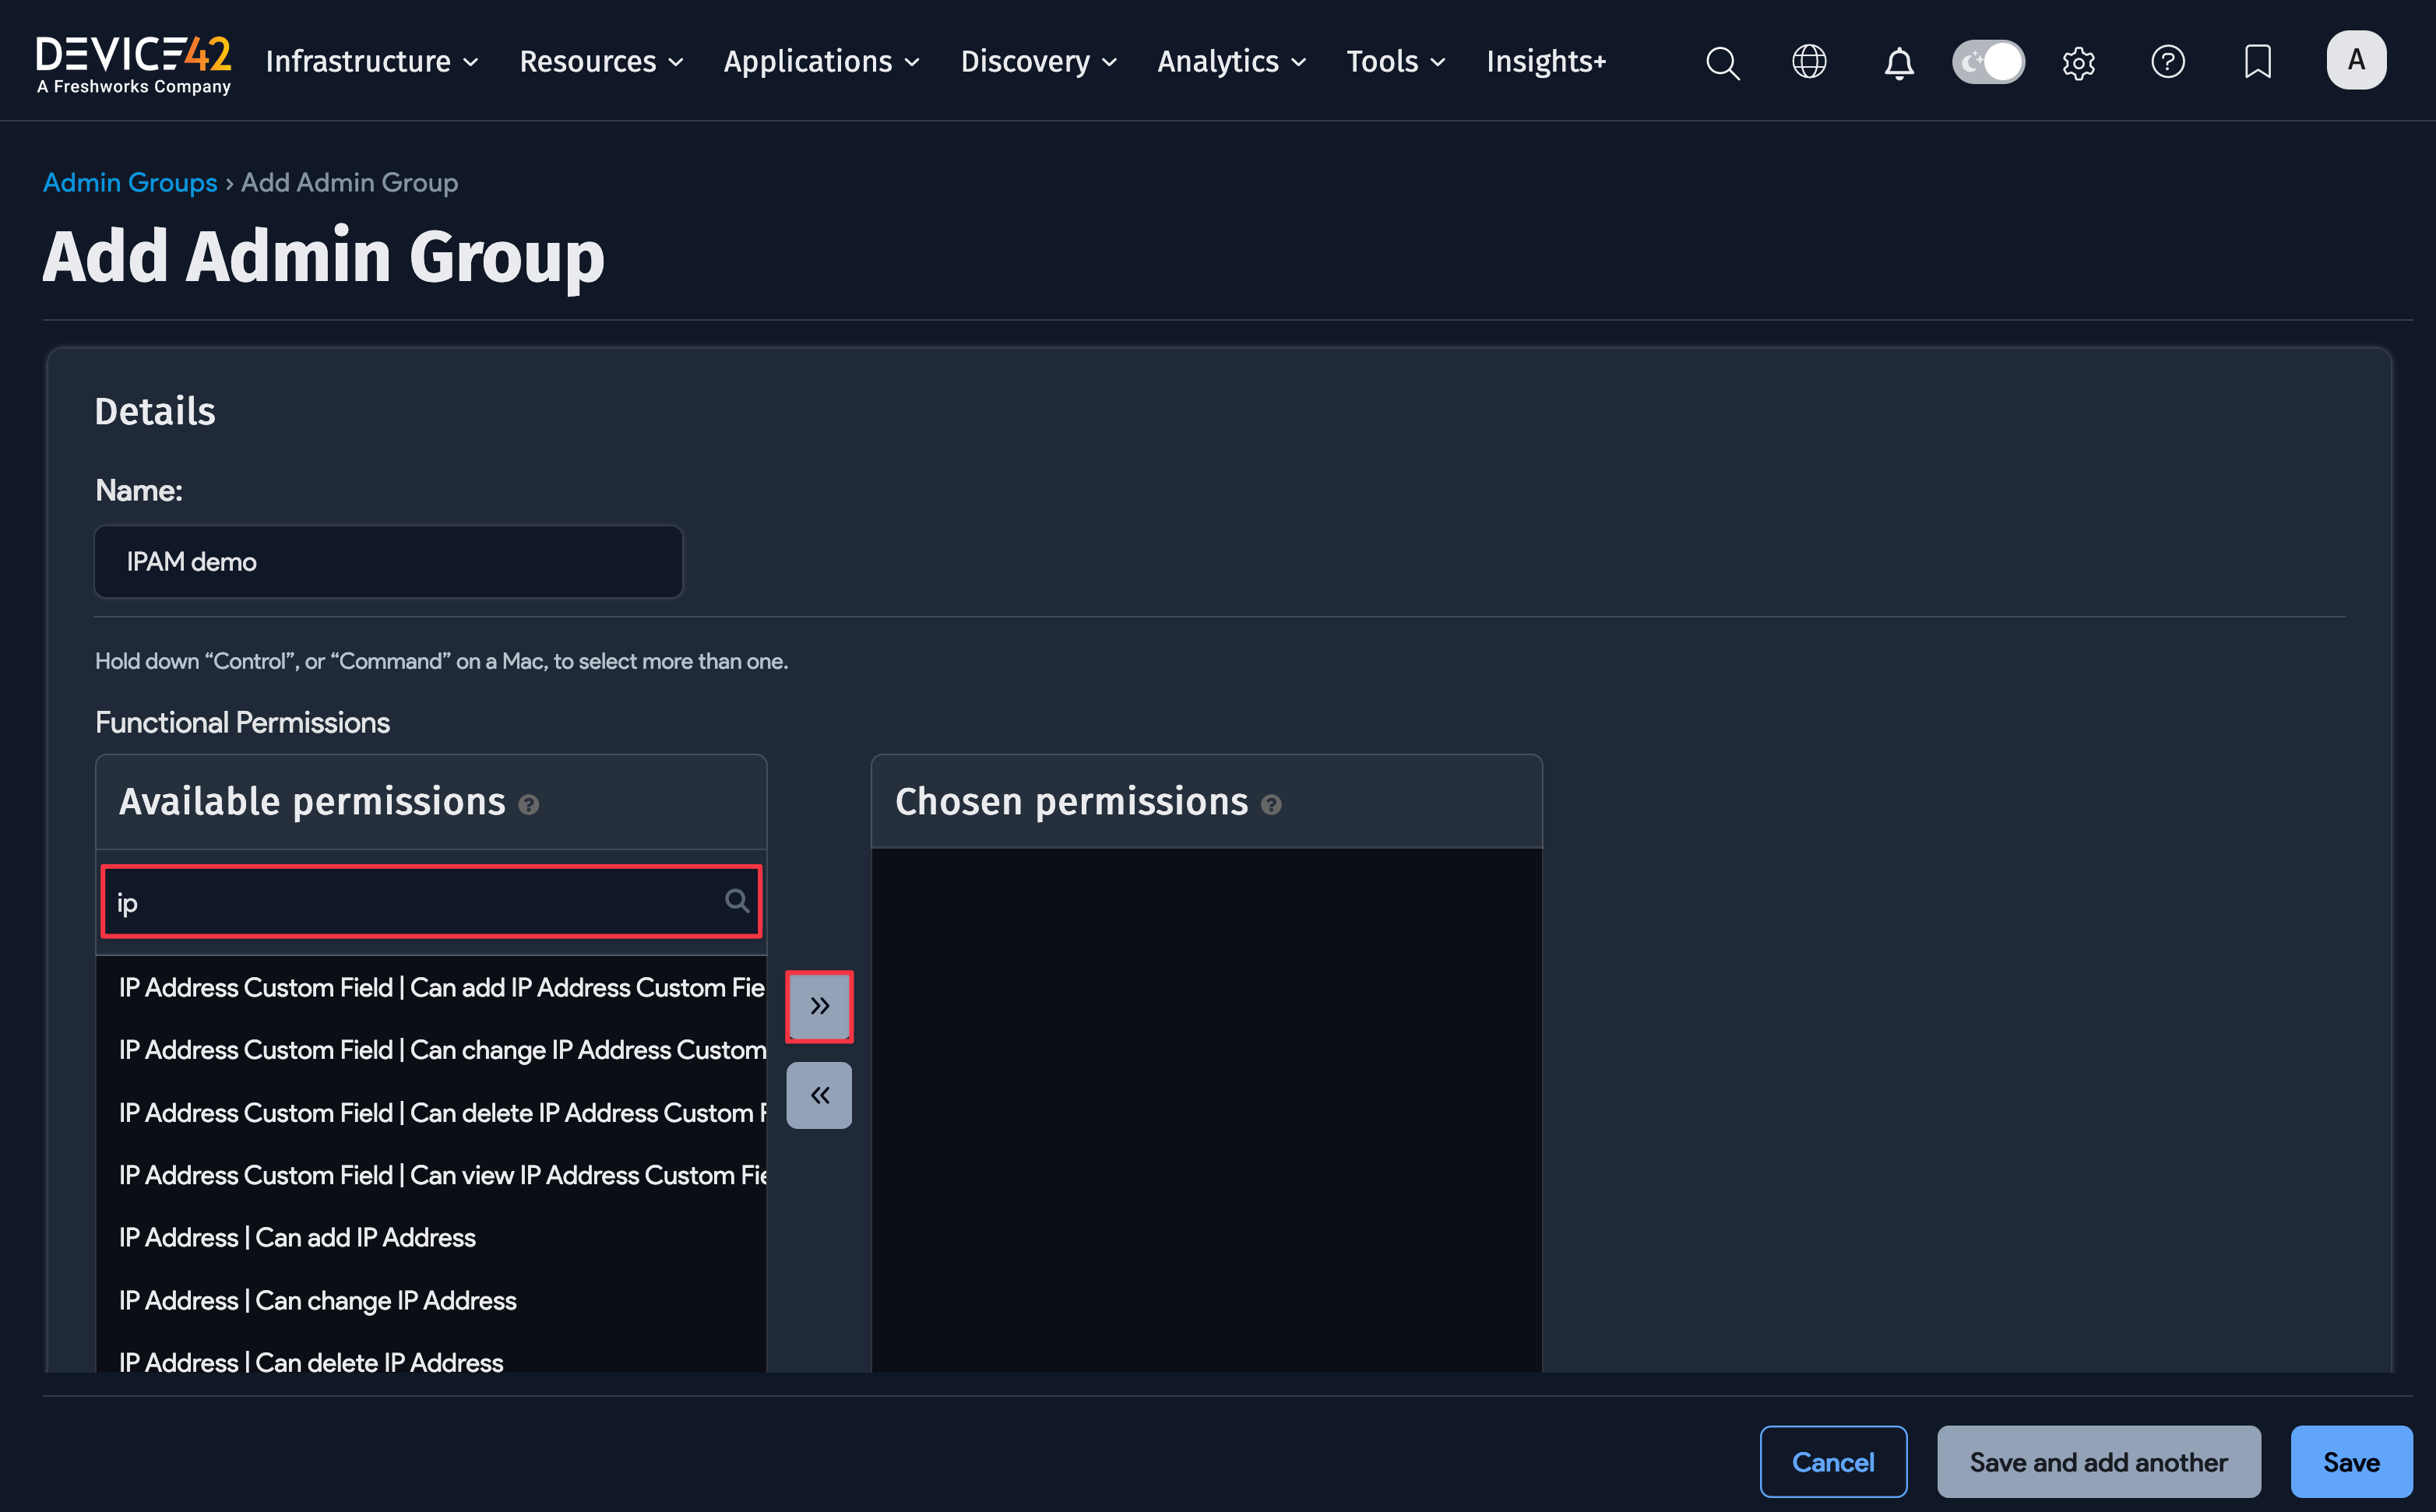
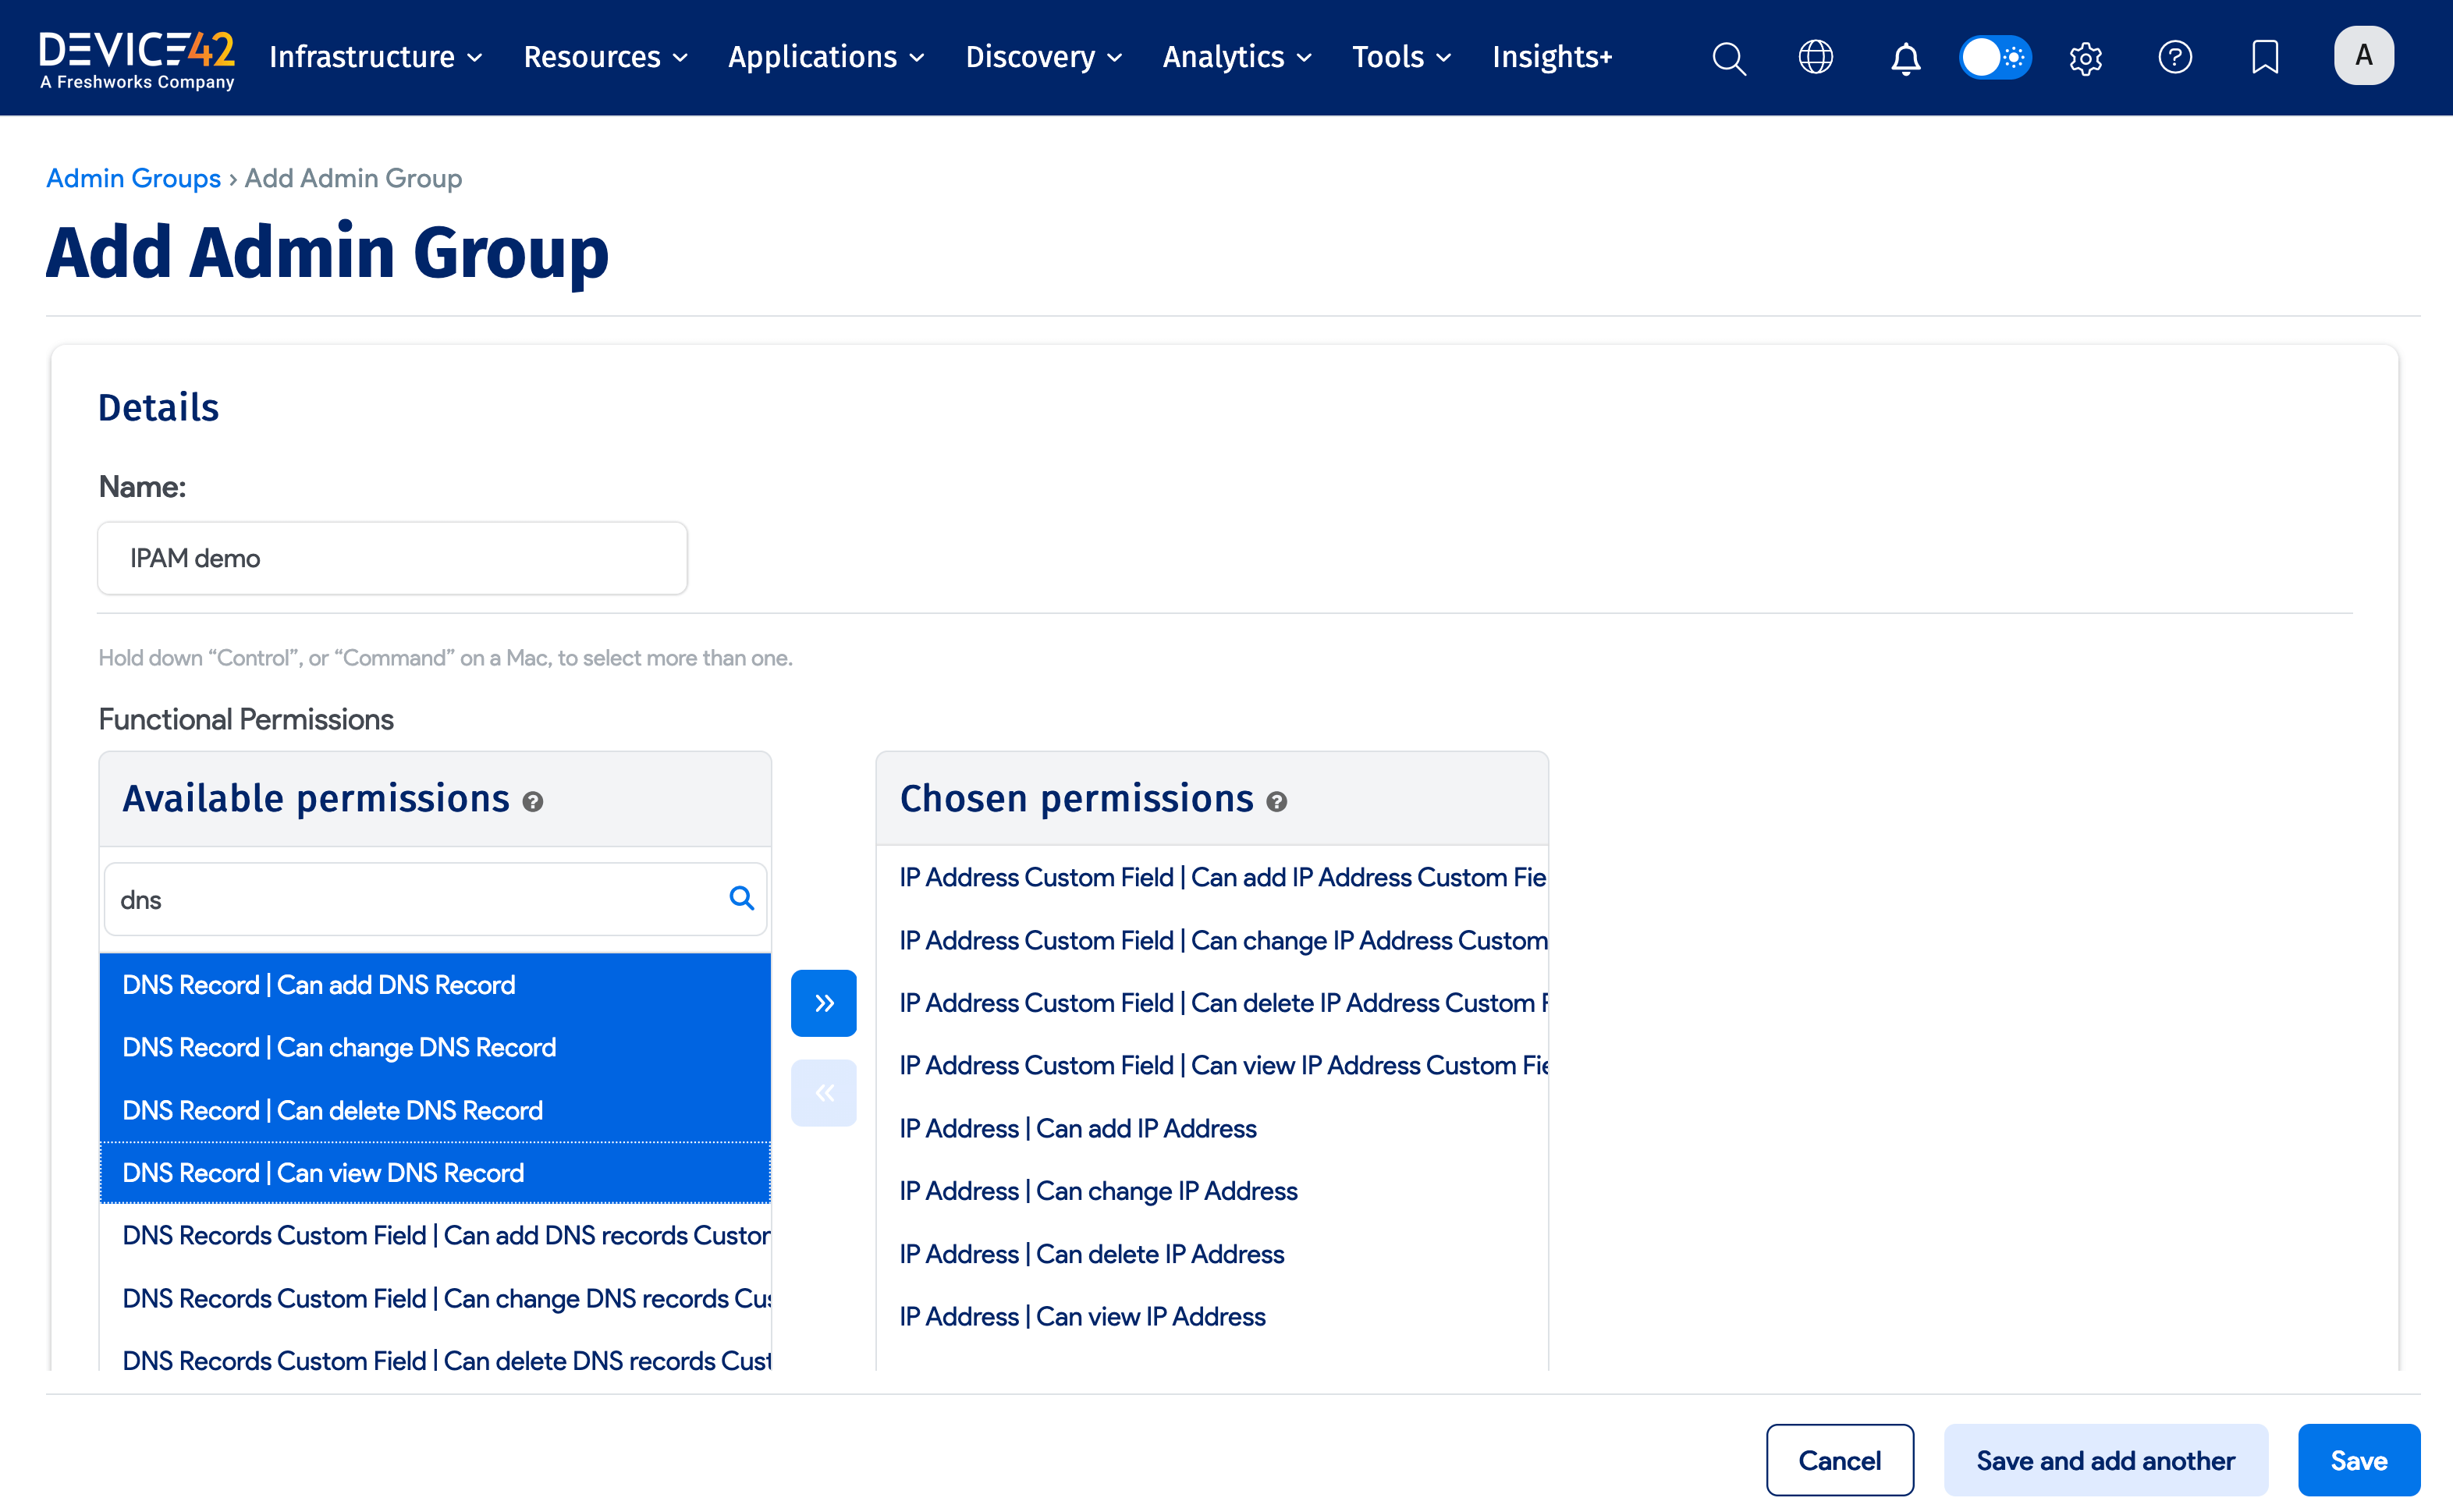
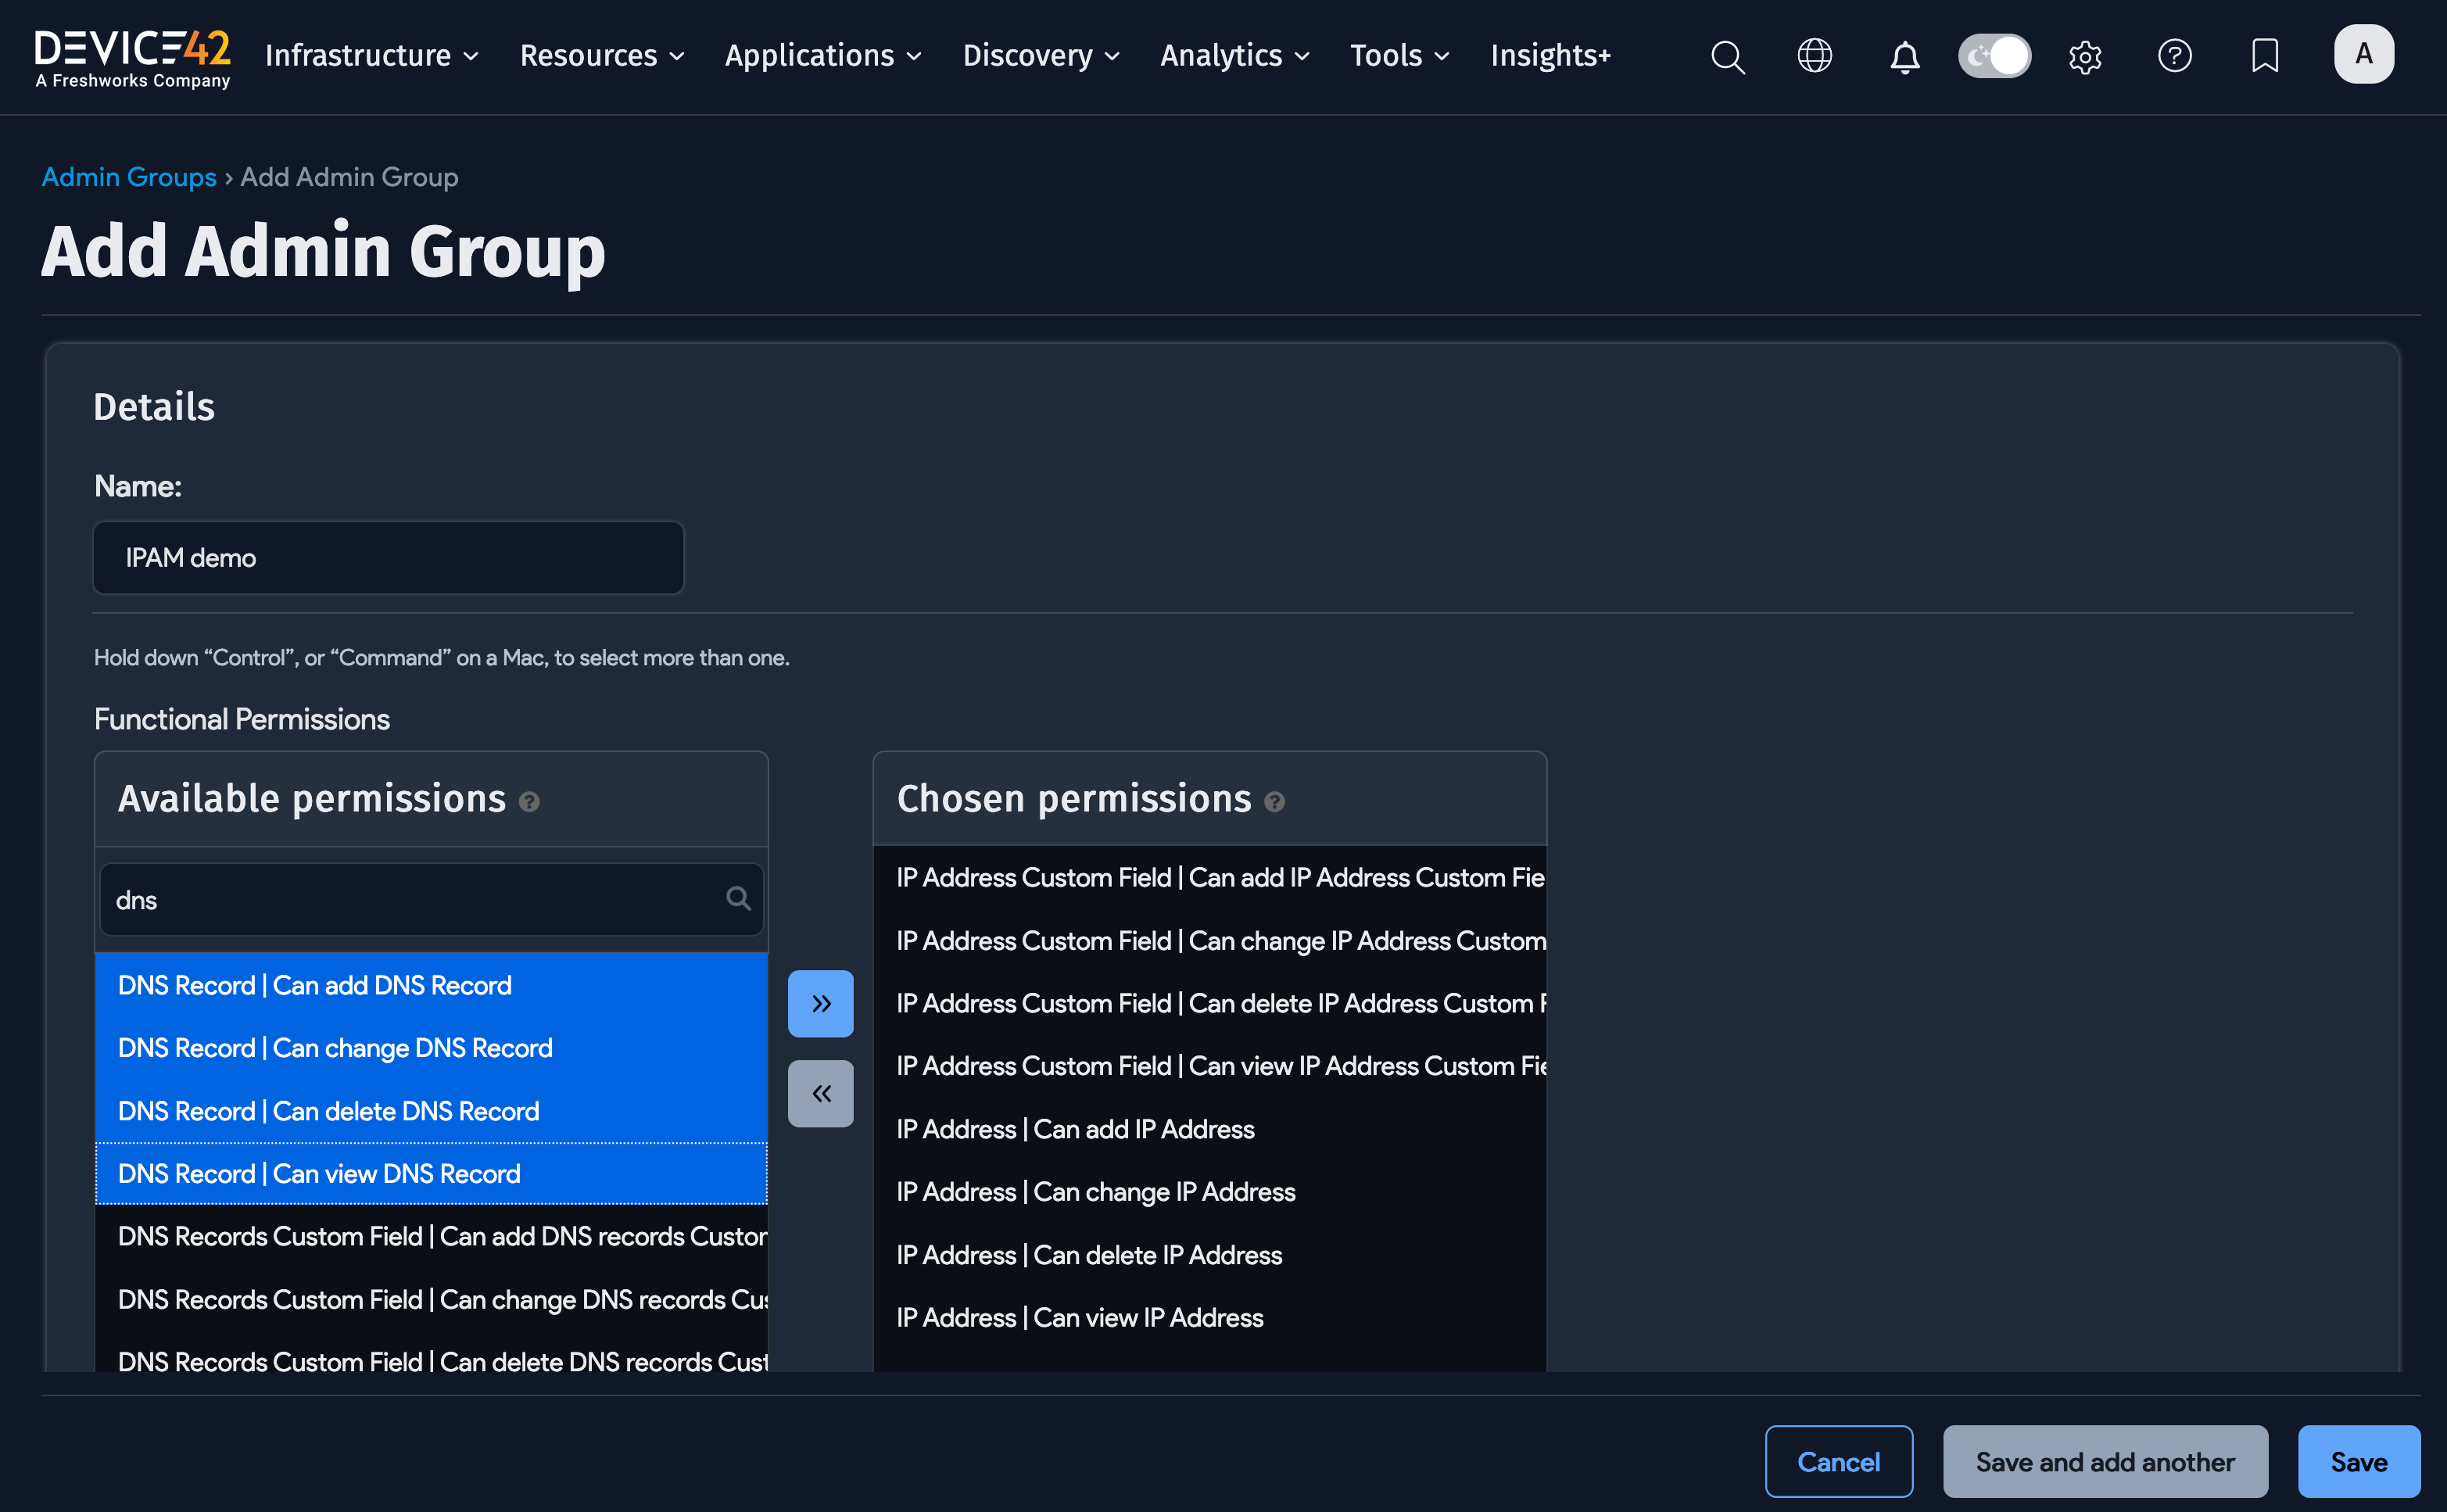
In the Available permissions box, you will see all the permissions available. In the example, we searched for all permissions that contain "ip" (not case sensitive).
Select the permissions you would like to grant the members of the group. You can select multiple permissions by clicking and dragging your selection over into the Chosen permissions box. Alternatively, you can use the right arrow between the boxes to add the selected permissions to the Chosen permissions box.
In the screenshot below, we have added several IP-related permissions and are about to add some DNS-related permissions.
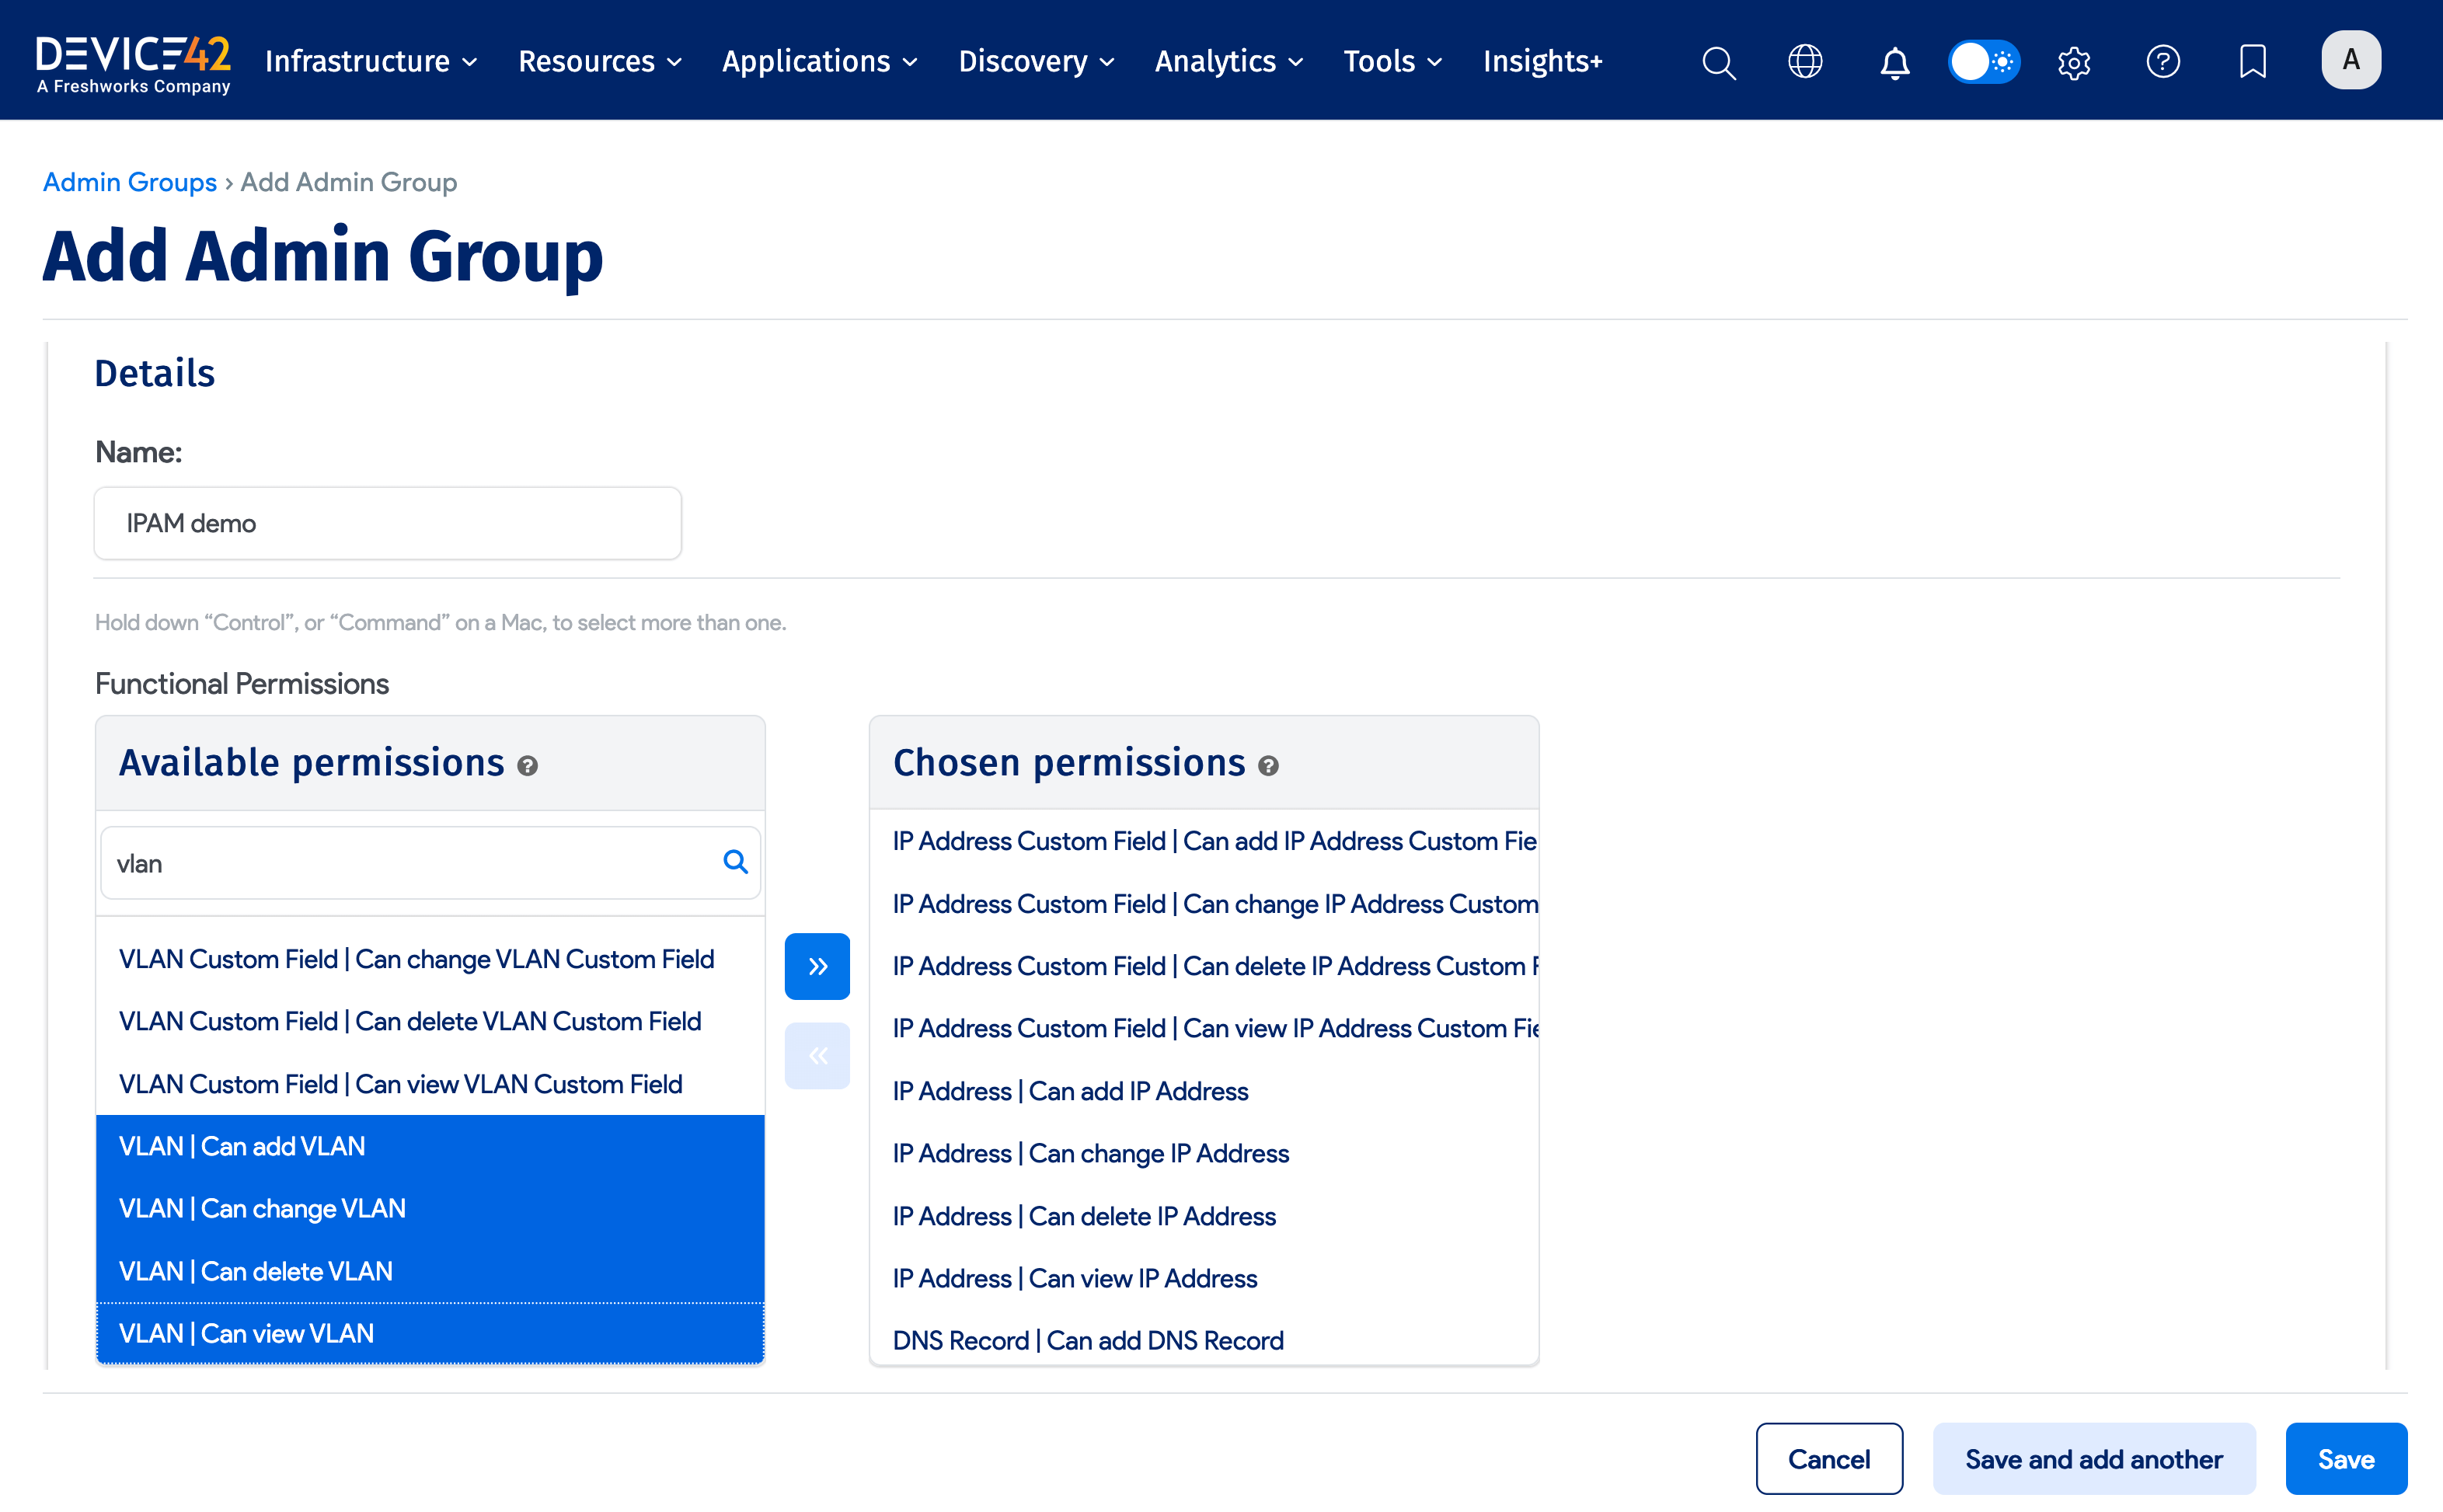
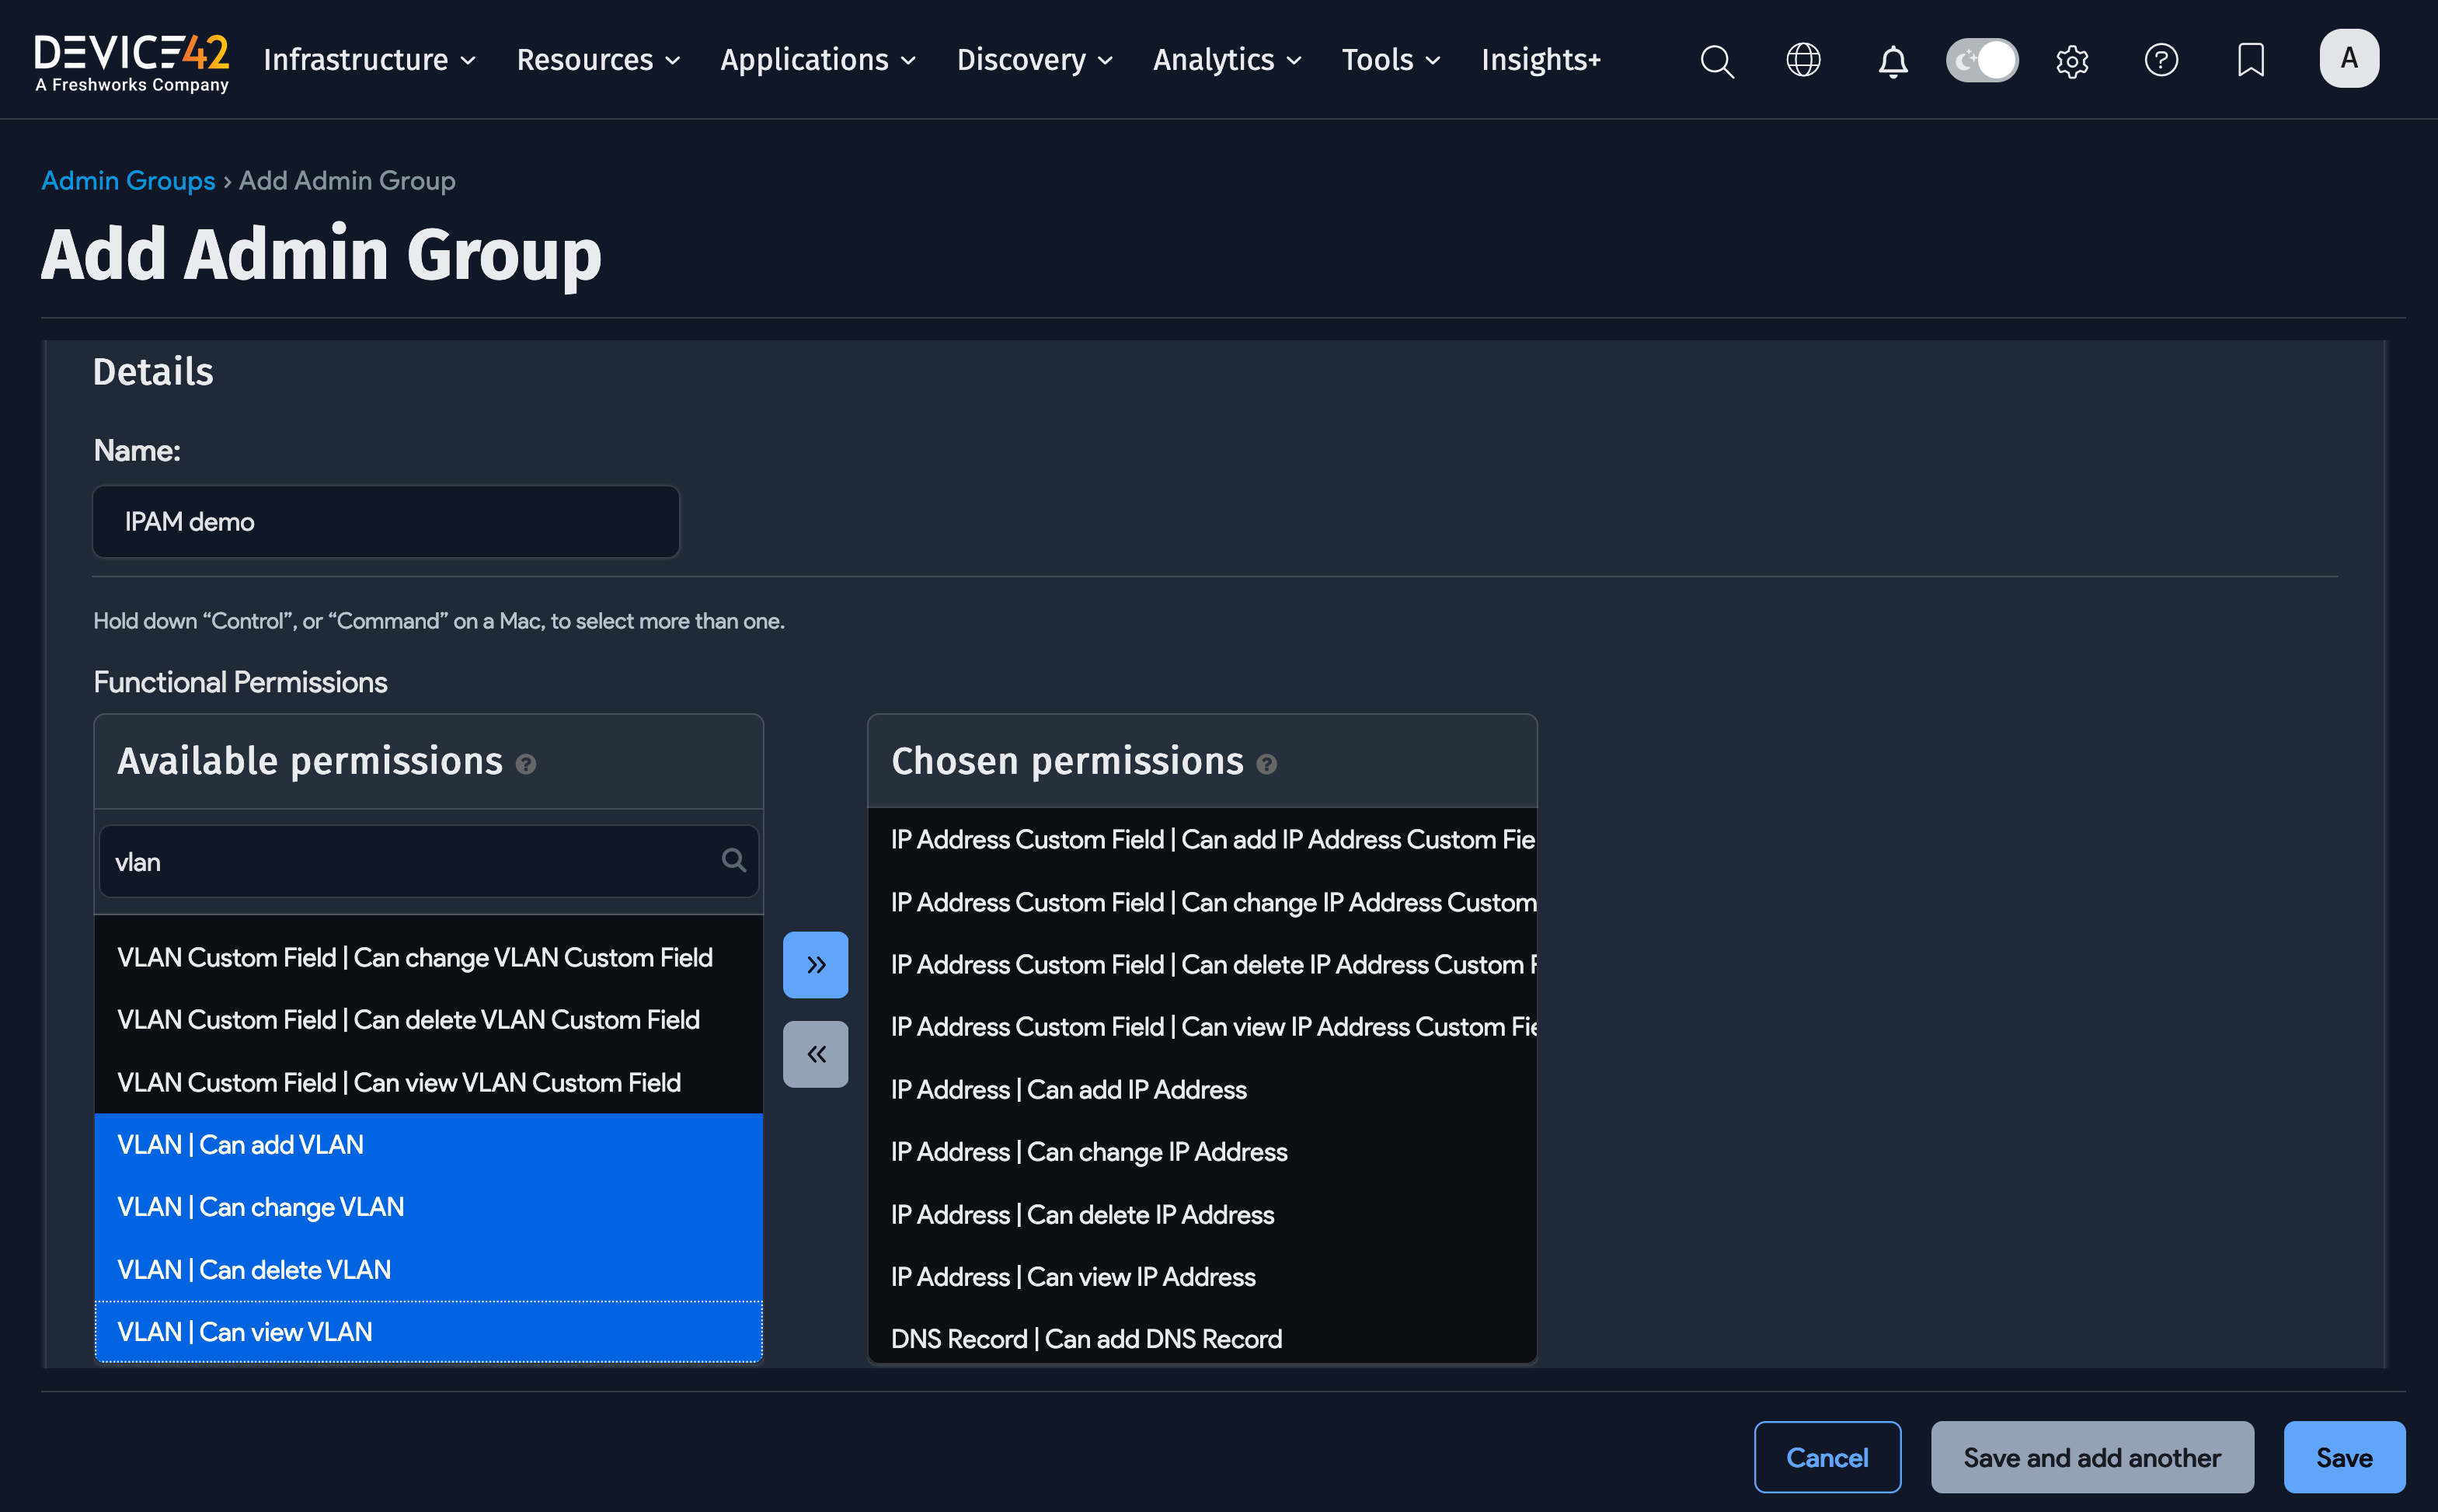
And now we'll add some VLAN permissions.
Assign Users to Admin Groups
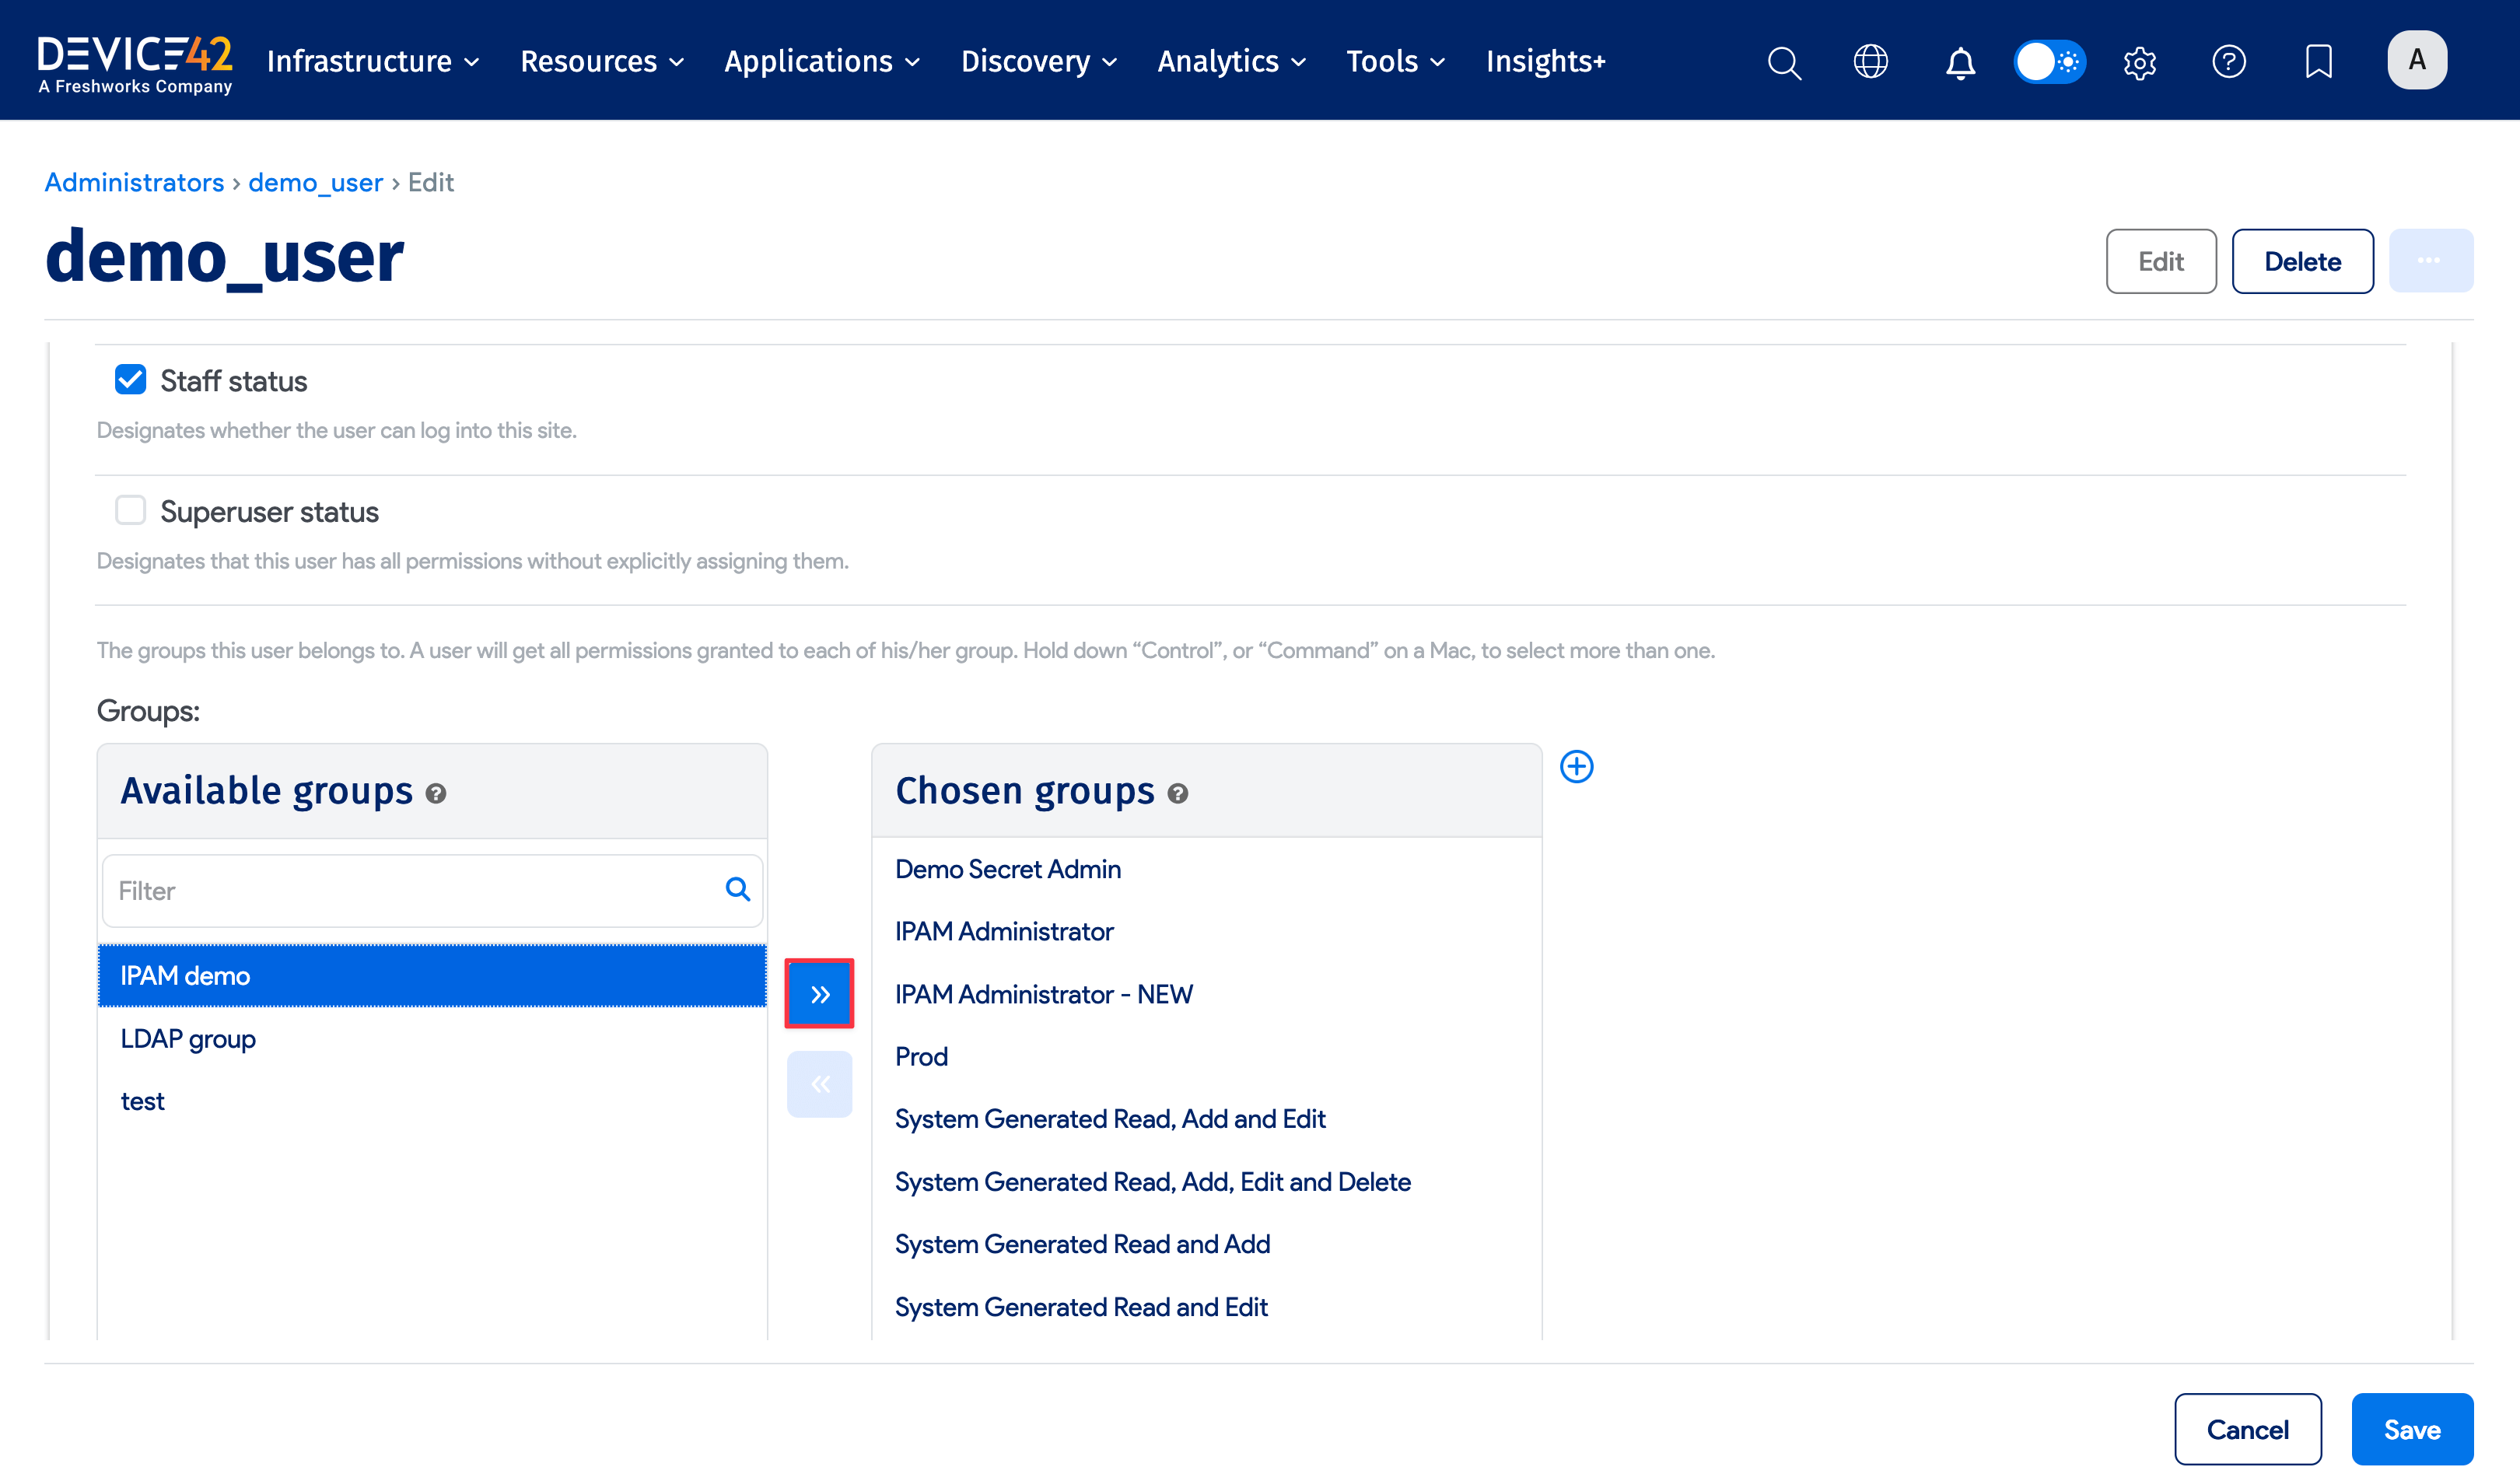
Navigate to Tools > Administrators, select the user from the list page, and click Edit from their profile. Assign the user to the newly created admin group under the Permissions box.
When you click Save, the user will only have permissions to act on the IP addresses, DNS records, and VLANs defined in the admin group they are assigned to.
Please make sure the Superuser Status checkbox is unchecked before saving.
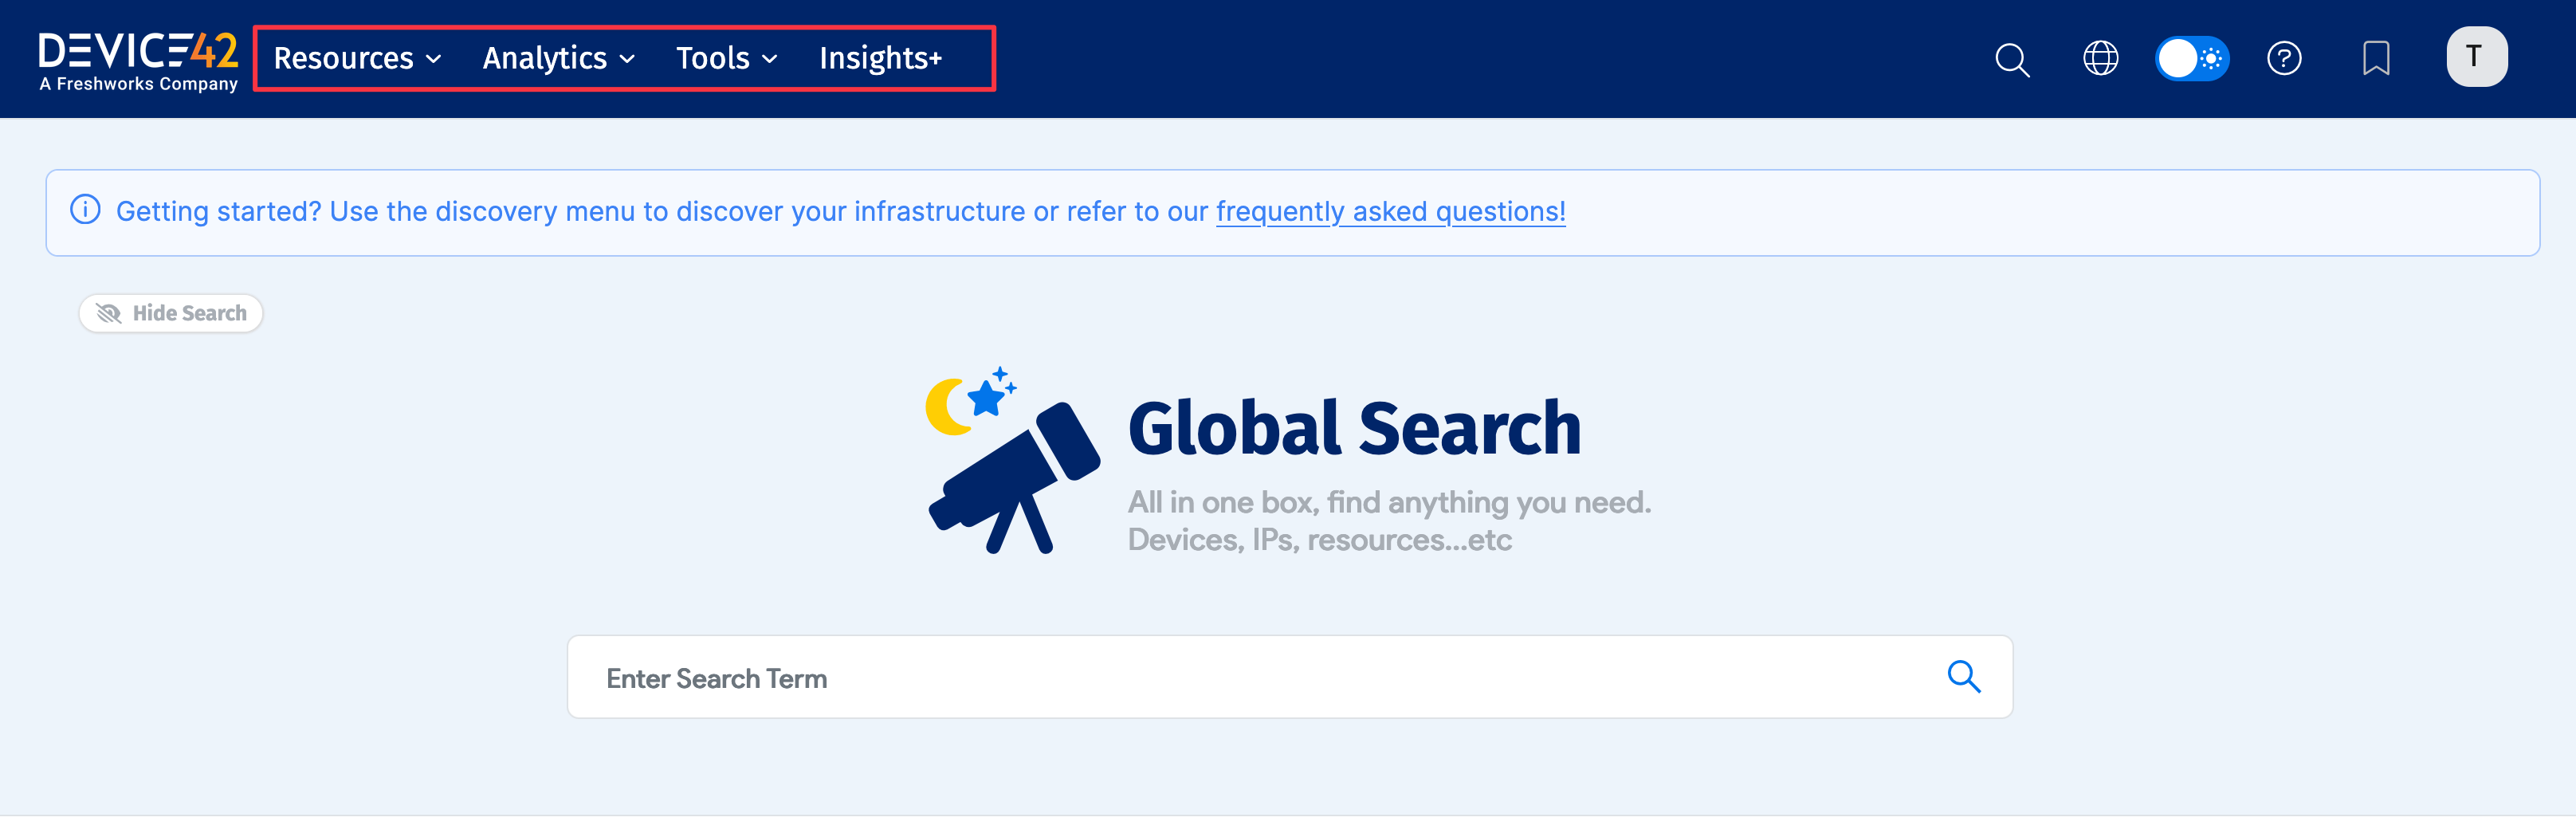
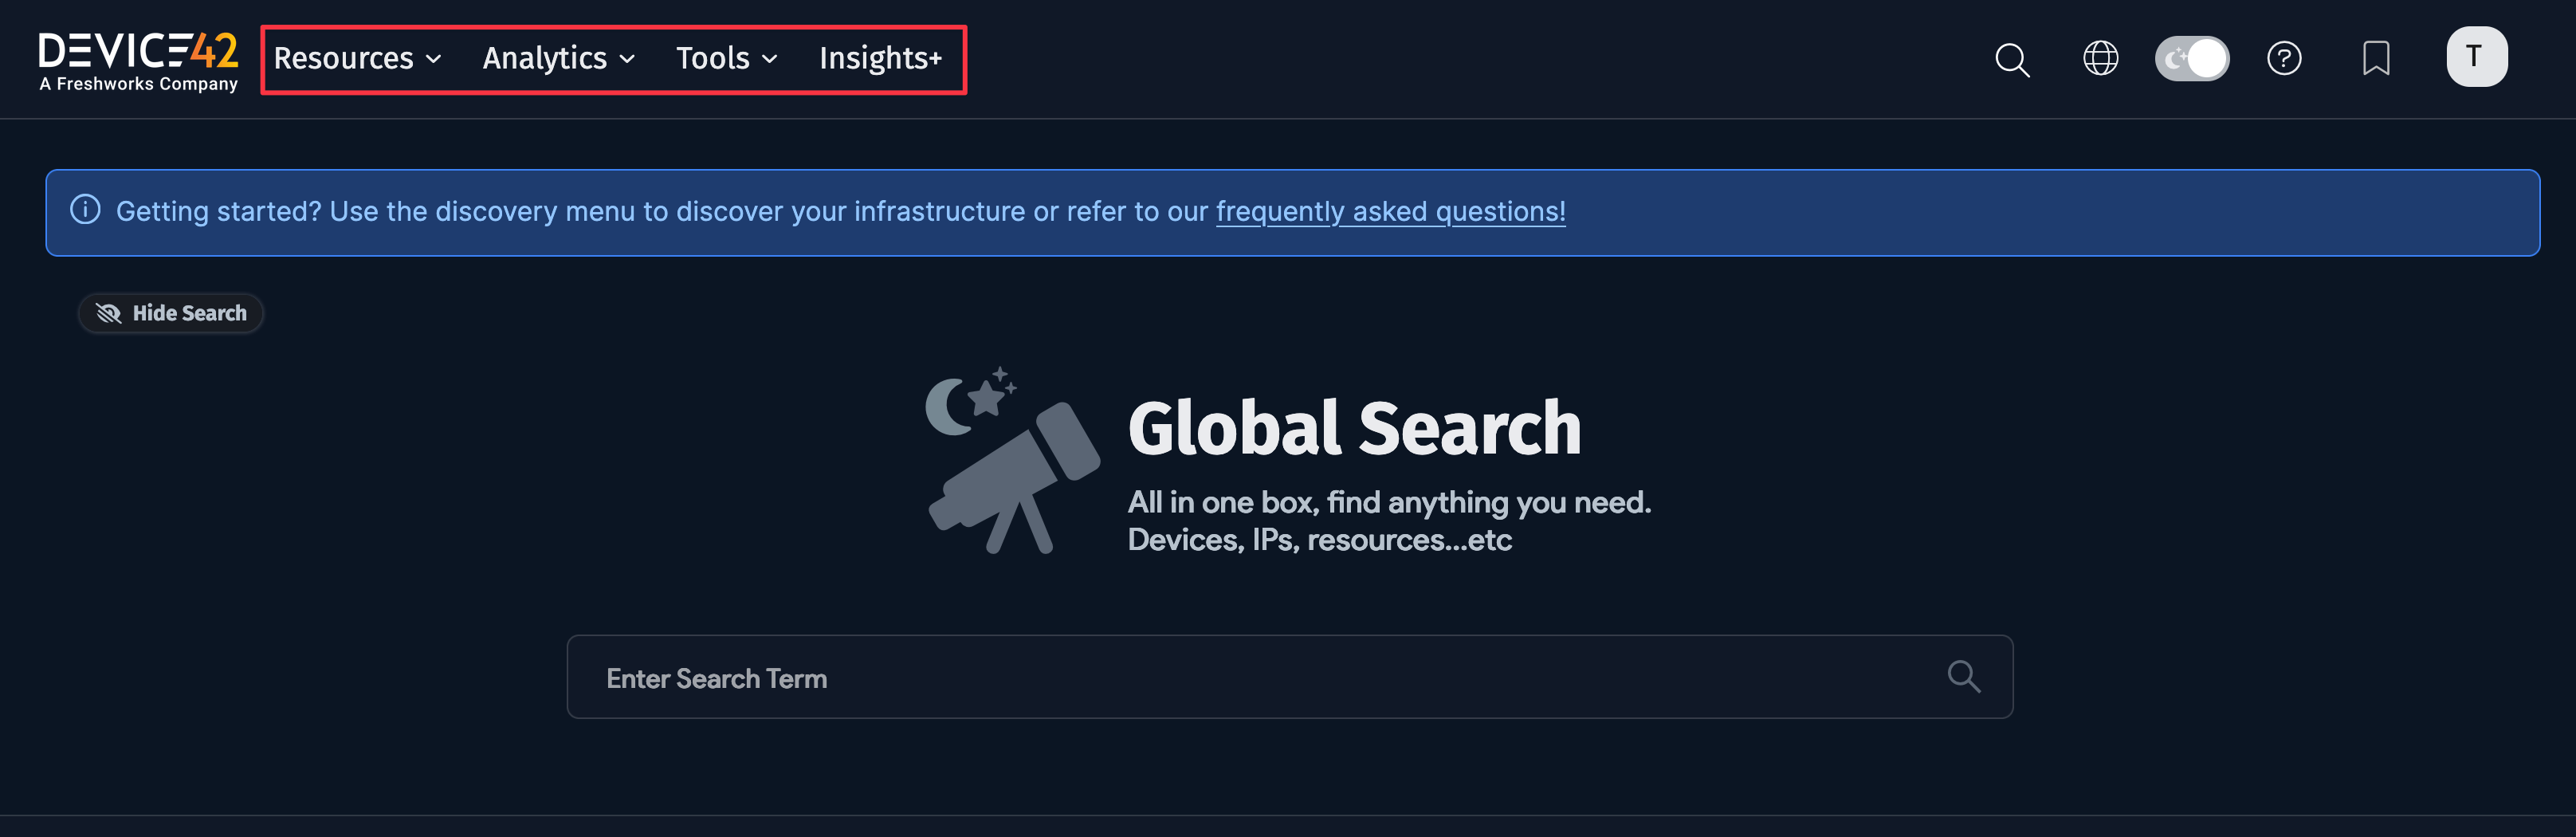
When the user logs in, the menu they see will be limited according to the permissions that you have assigned to their admin group.
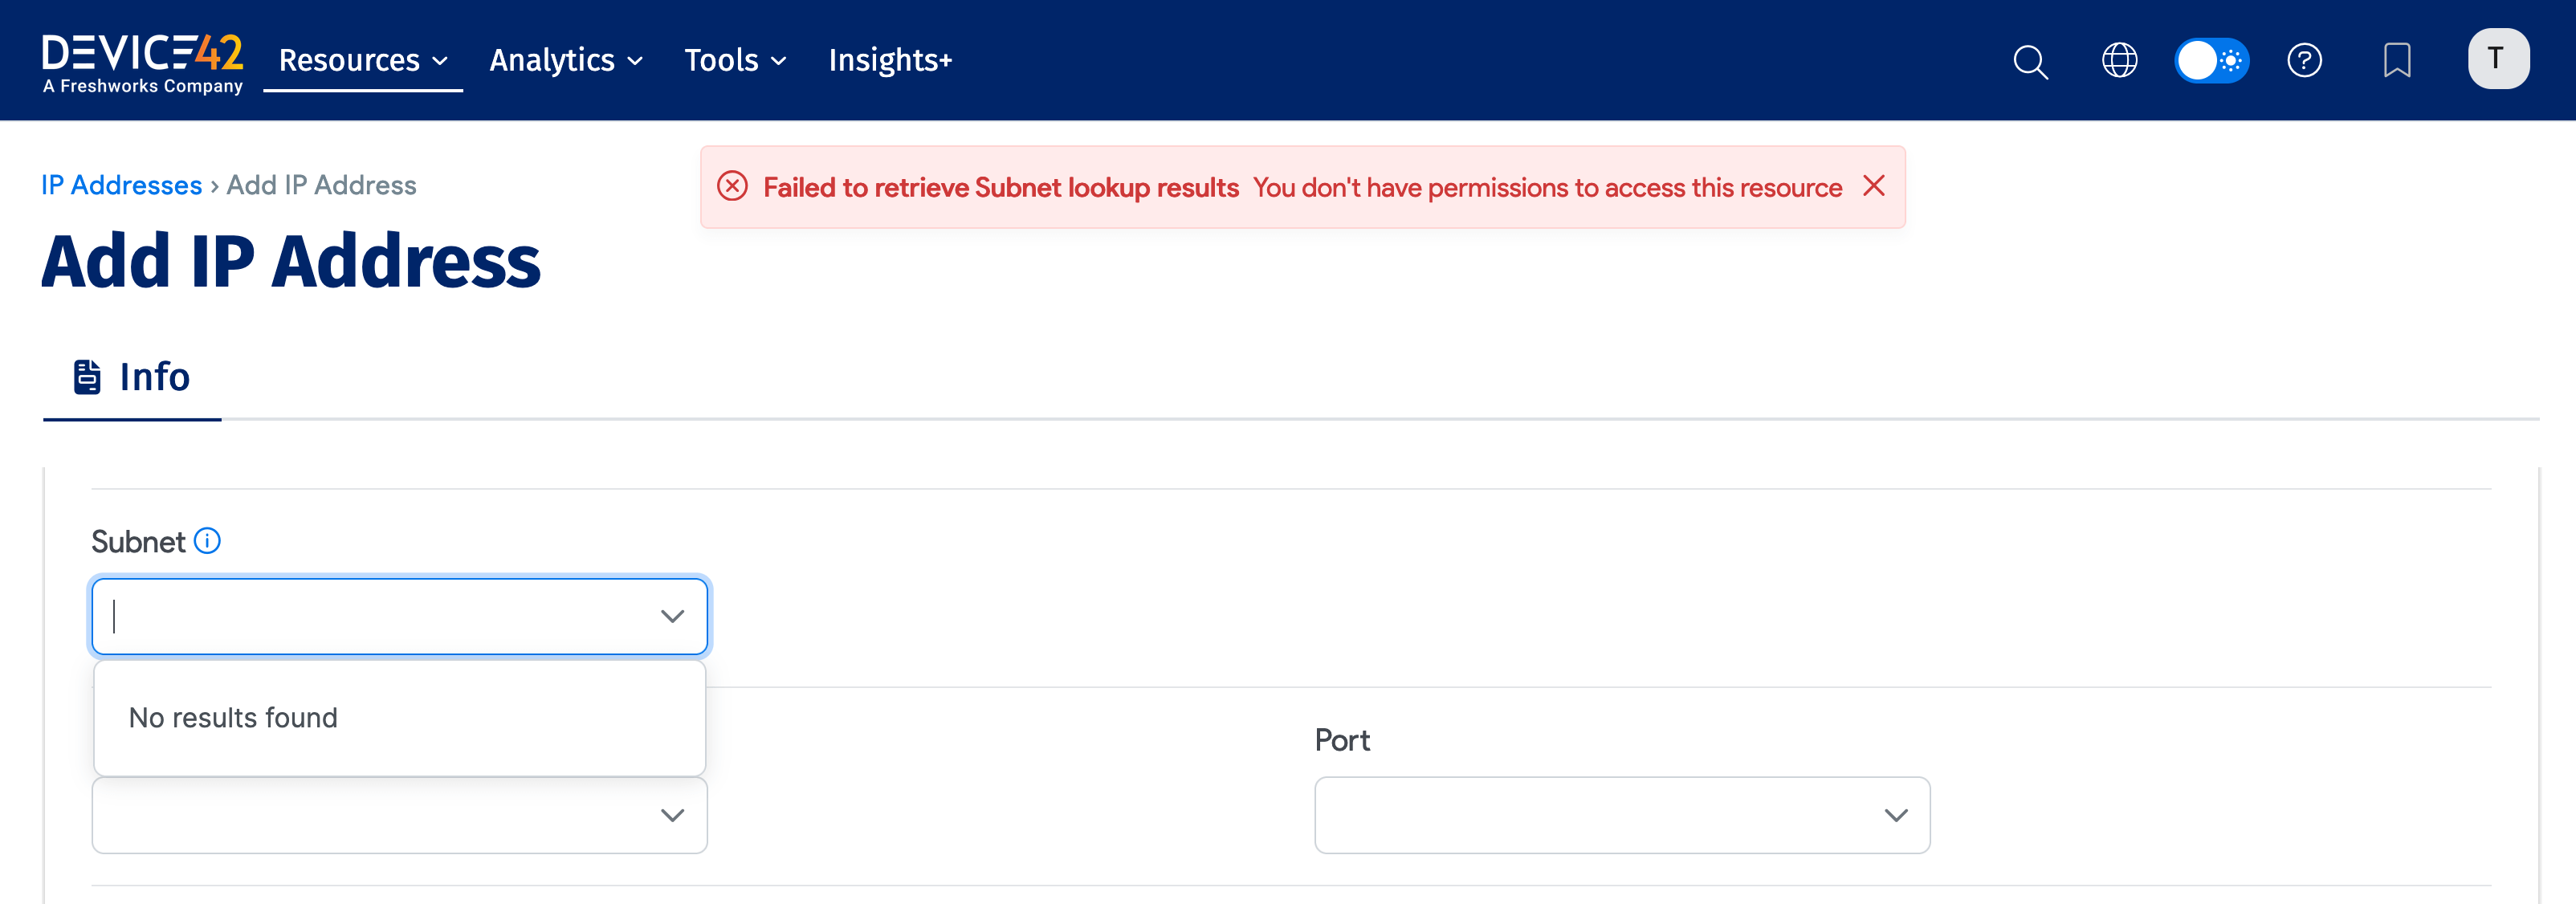
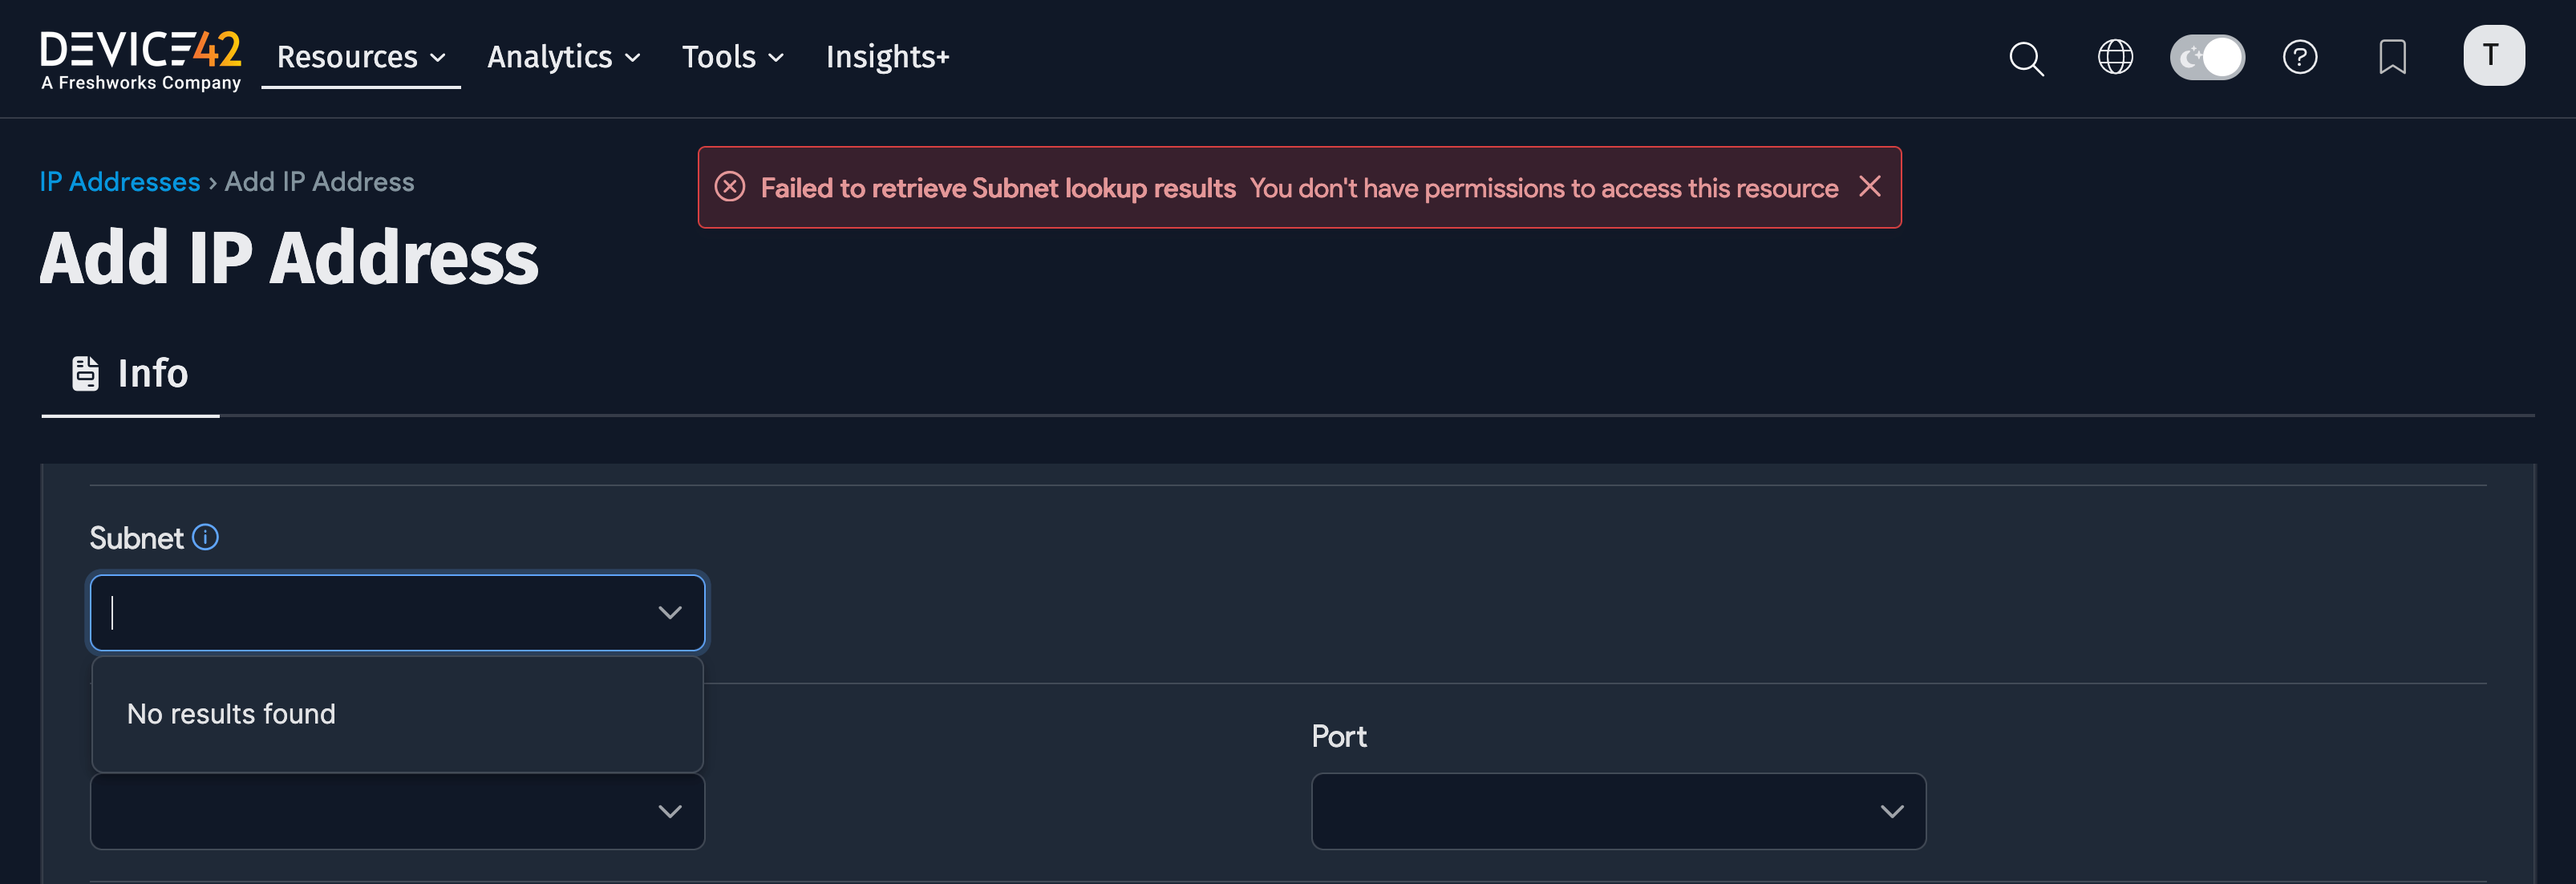
For example, this user will not be able to add subnets to IP addresses because they do not have the necessary permissions.
Note that you can create a new user by clicking the Create button on the Administrators list page.