Business Services
Business Applications are now named Business Services. Affinity Groups have also been renamed Application Groups. See Calculation Rules (previously AppFocus Filters) for details on the new ADM flow.
Overview
Device42 Business Services offers a powerful method for building custom maps of business-critical functions. Business Services differ from Application Groups in appearance and design. Business Services are not automatically built out based solely on discovered connections and devices, they can be designed and customized entirely by you, and can include any and all of the resources that you identify as critical to your business!
Using Business Services, you'll be able to catalog all of your business and mission-critical applications. All of the following are possible:
- Creating Business Services from scratch or from existing Application Groups.
- Adding and removing devices and connectivity.
- Customizing the resource layout, connections, and their labels.
- Saving customized layout(s) and returning to edit them at any time.
- Migrating Business Services.
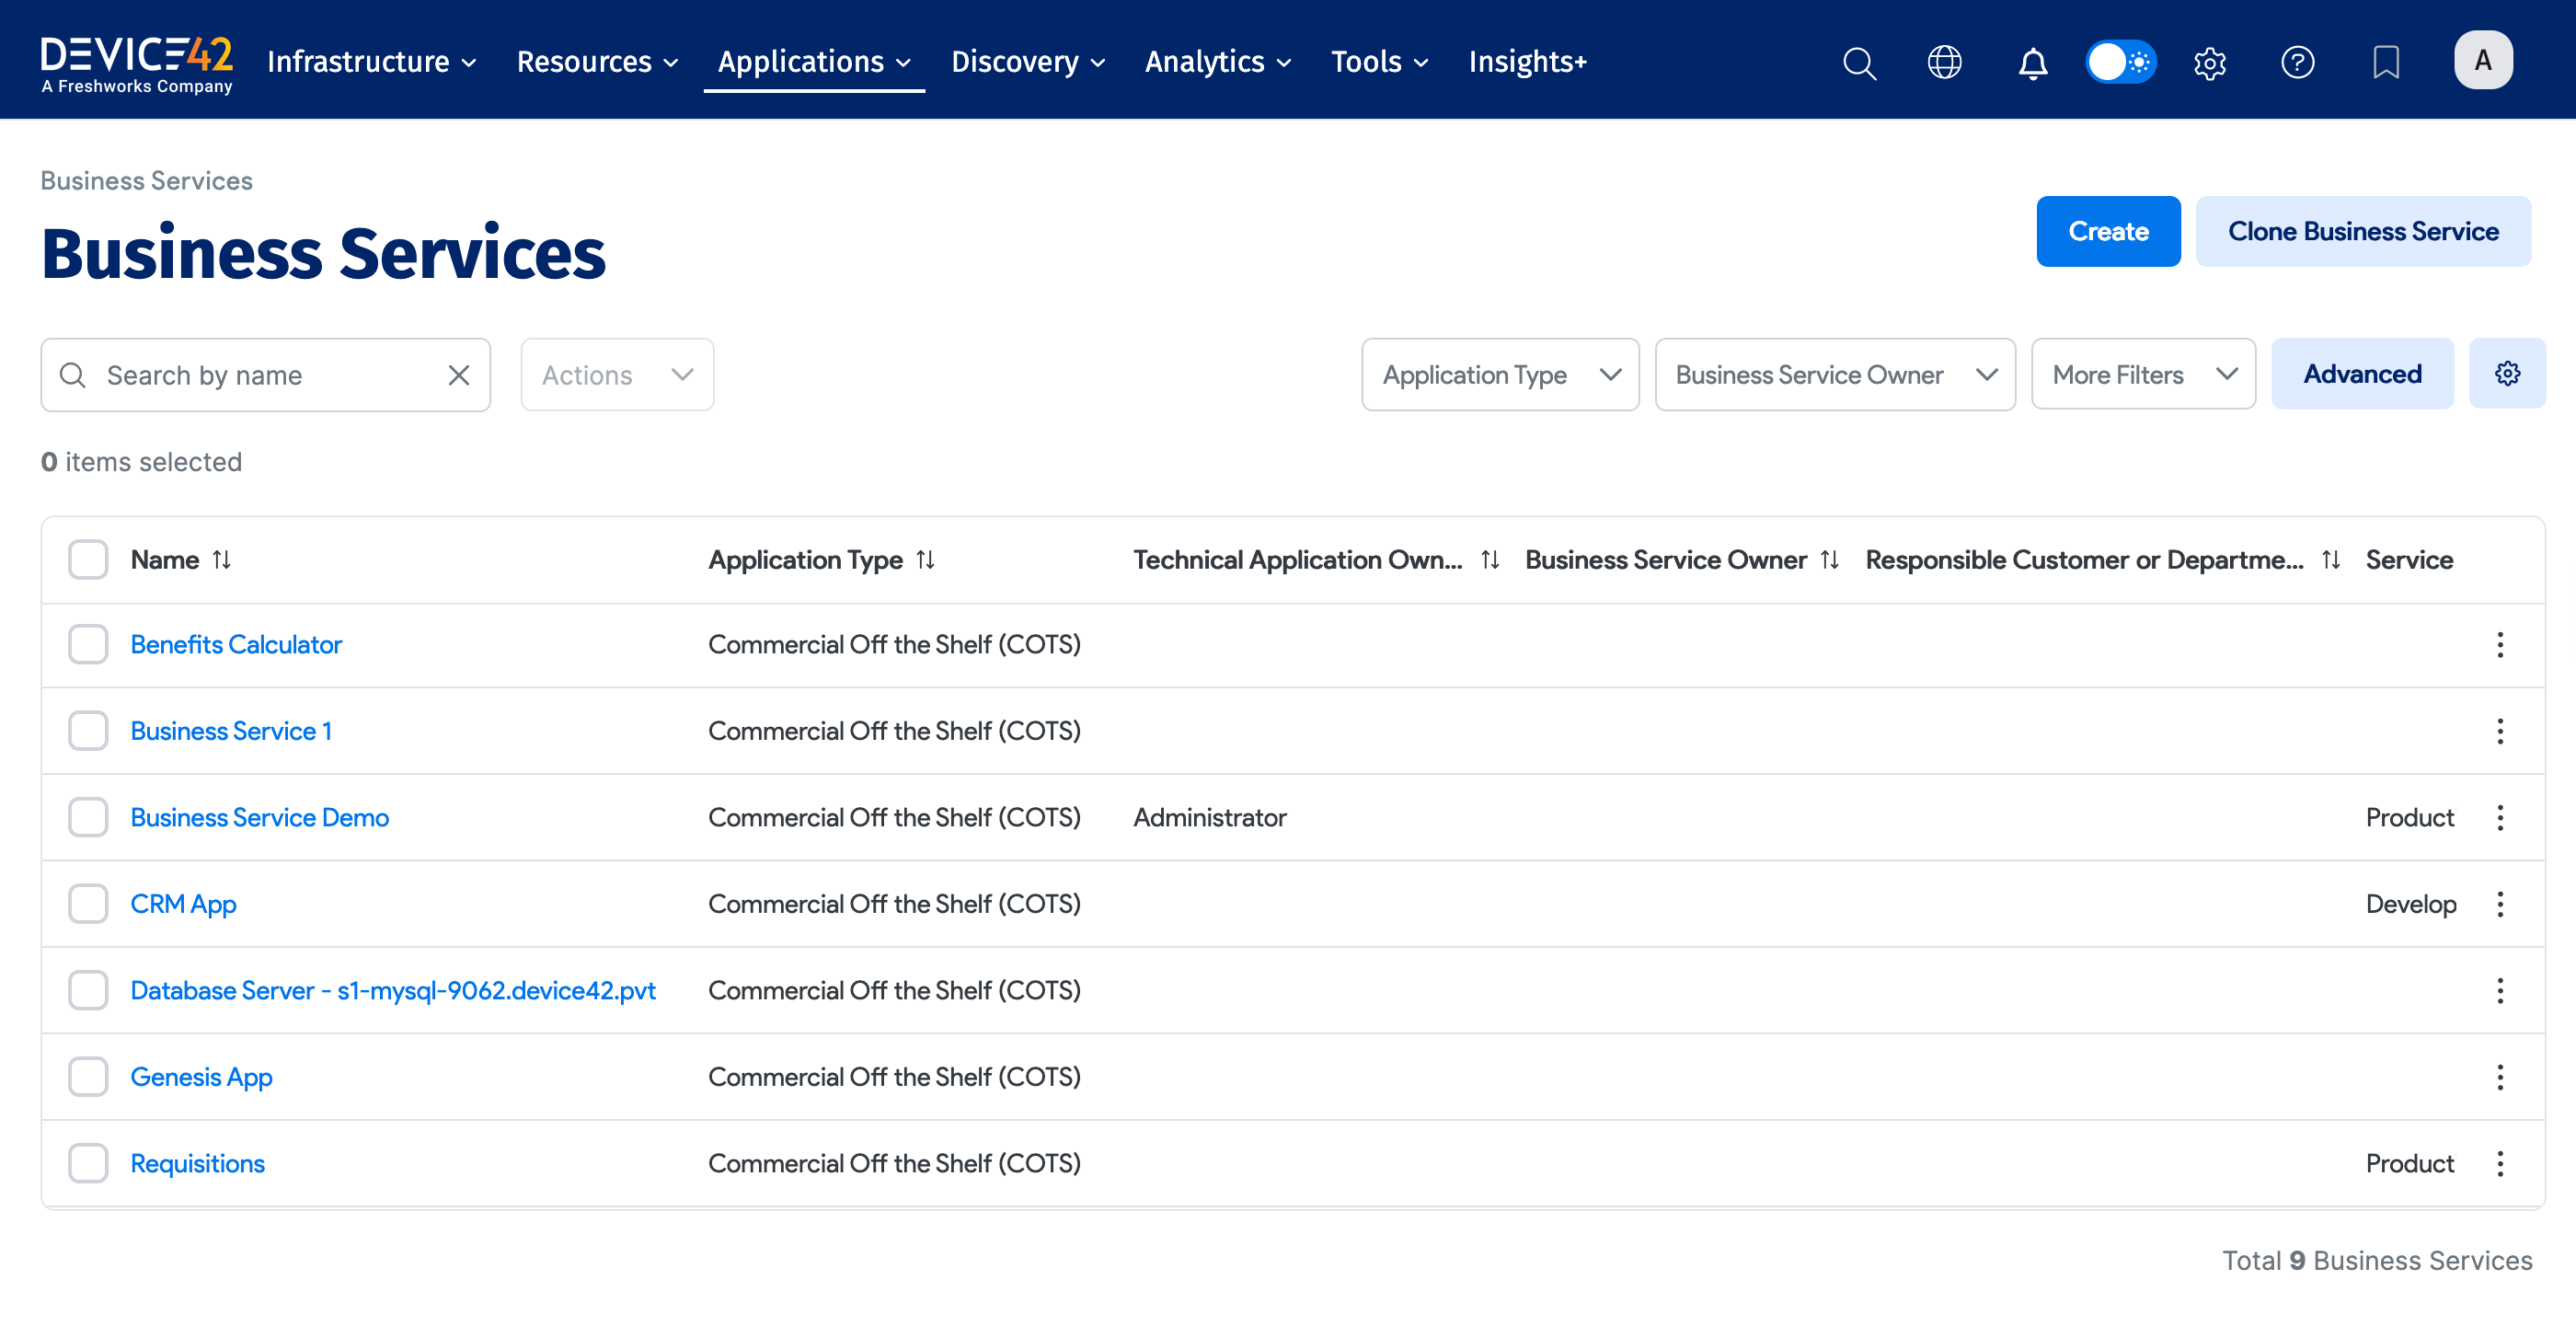
Navigate to Applications > Business Services from the Device42 menu to display the Business Services list page.
Create a Business Service
Business Services are created in two steps:
- First, you need to fill out the Info form.
- Then, you can add Devices, Application Groups, and Application Components to your Business Service from the visualization canvas.
Alternatively, you can work from an existing layout by cloning an existing Business Service and making changes to the cloned Business Service.
Select Applications > Business Services from the Device42 menu to display the applications list, and then click Create.
-
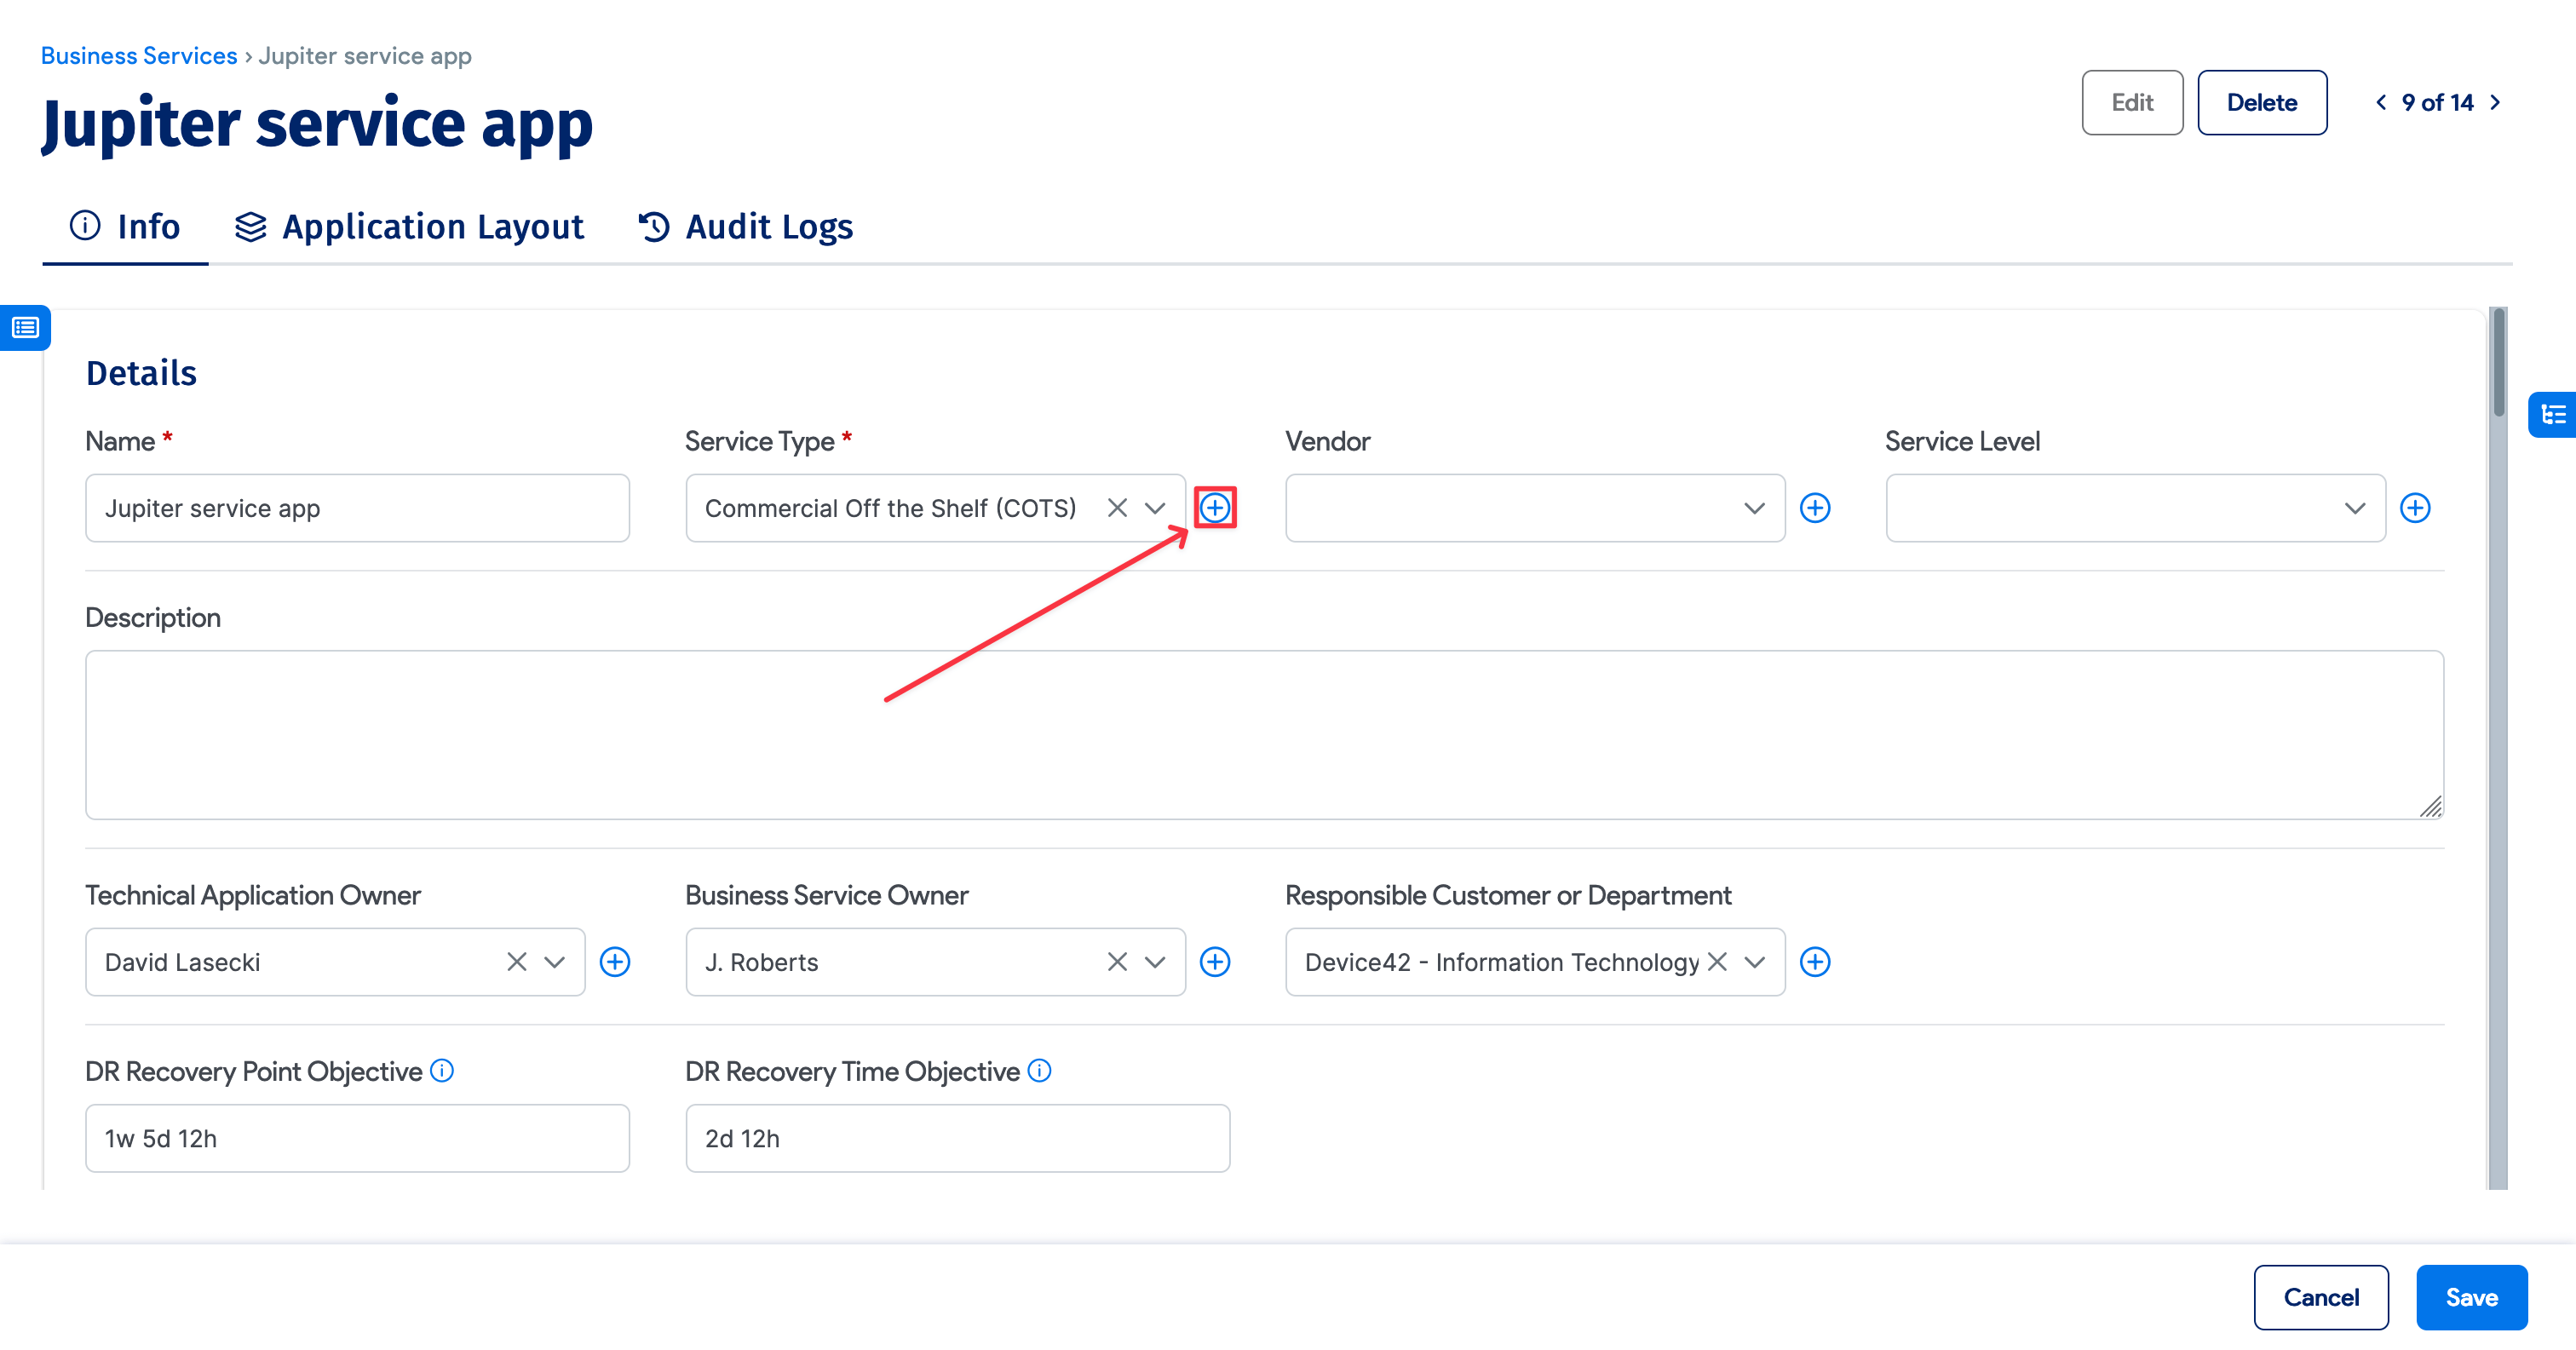
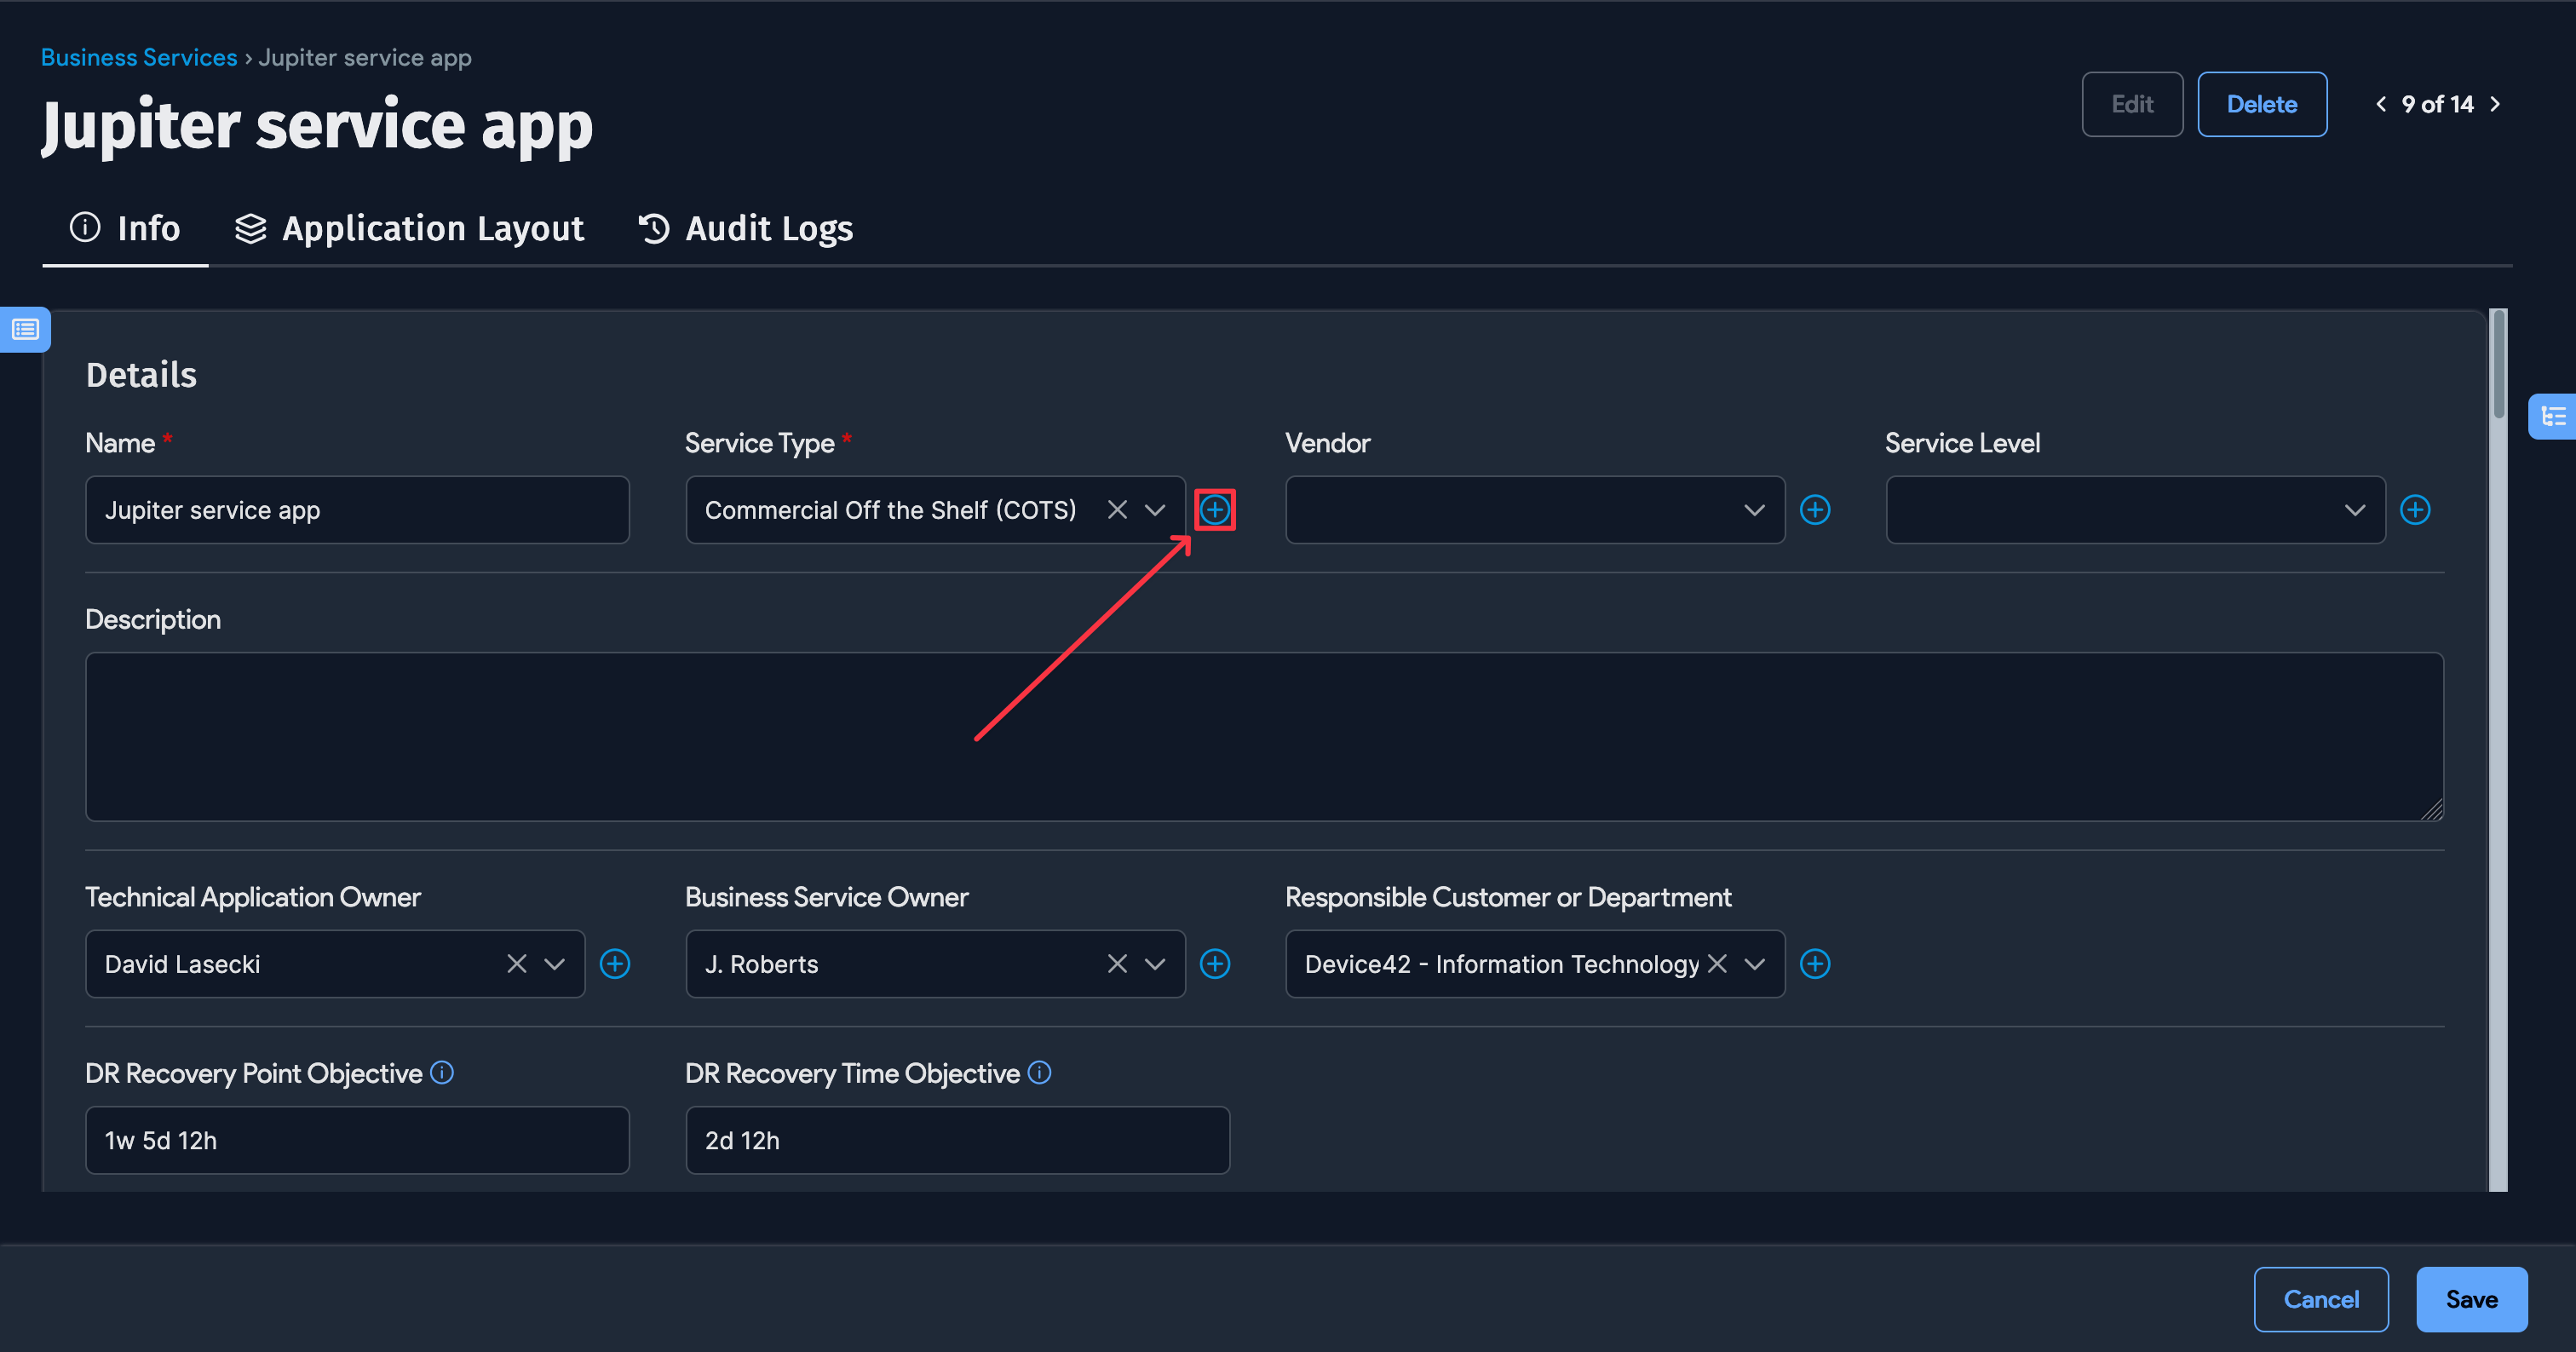
Enter the application Name and select the Service Type (COTS, COTS with Customization, or Custom). Optionally, add a Service Level. You can also define the Vendor and Version of the service.
- You can add a new Service Type by clicking the + button next to the Service Type field. See Edit or Delete a Service Type below to edit or delete the Service Type itself.
-
Use the magnifying glass icons to select or enter the Technical Application Owner, Business Application Owner, and Responsible Customer or Department.
-
For DR Recovery Point Objective and DR Recovery Time Objective, use the format 1w 2d 3h 4m 5s (1 week, 2 days, 3 hours, 4 minutes, and 5 seconds) to denote the time period. The individual terms are optional and all numbers must be integers. For example, you can enter 2d 6h to define a period of two days and six hours.
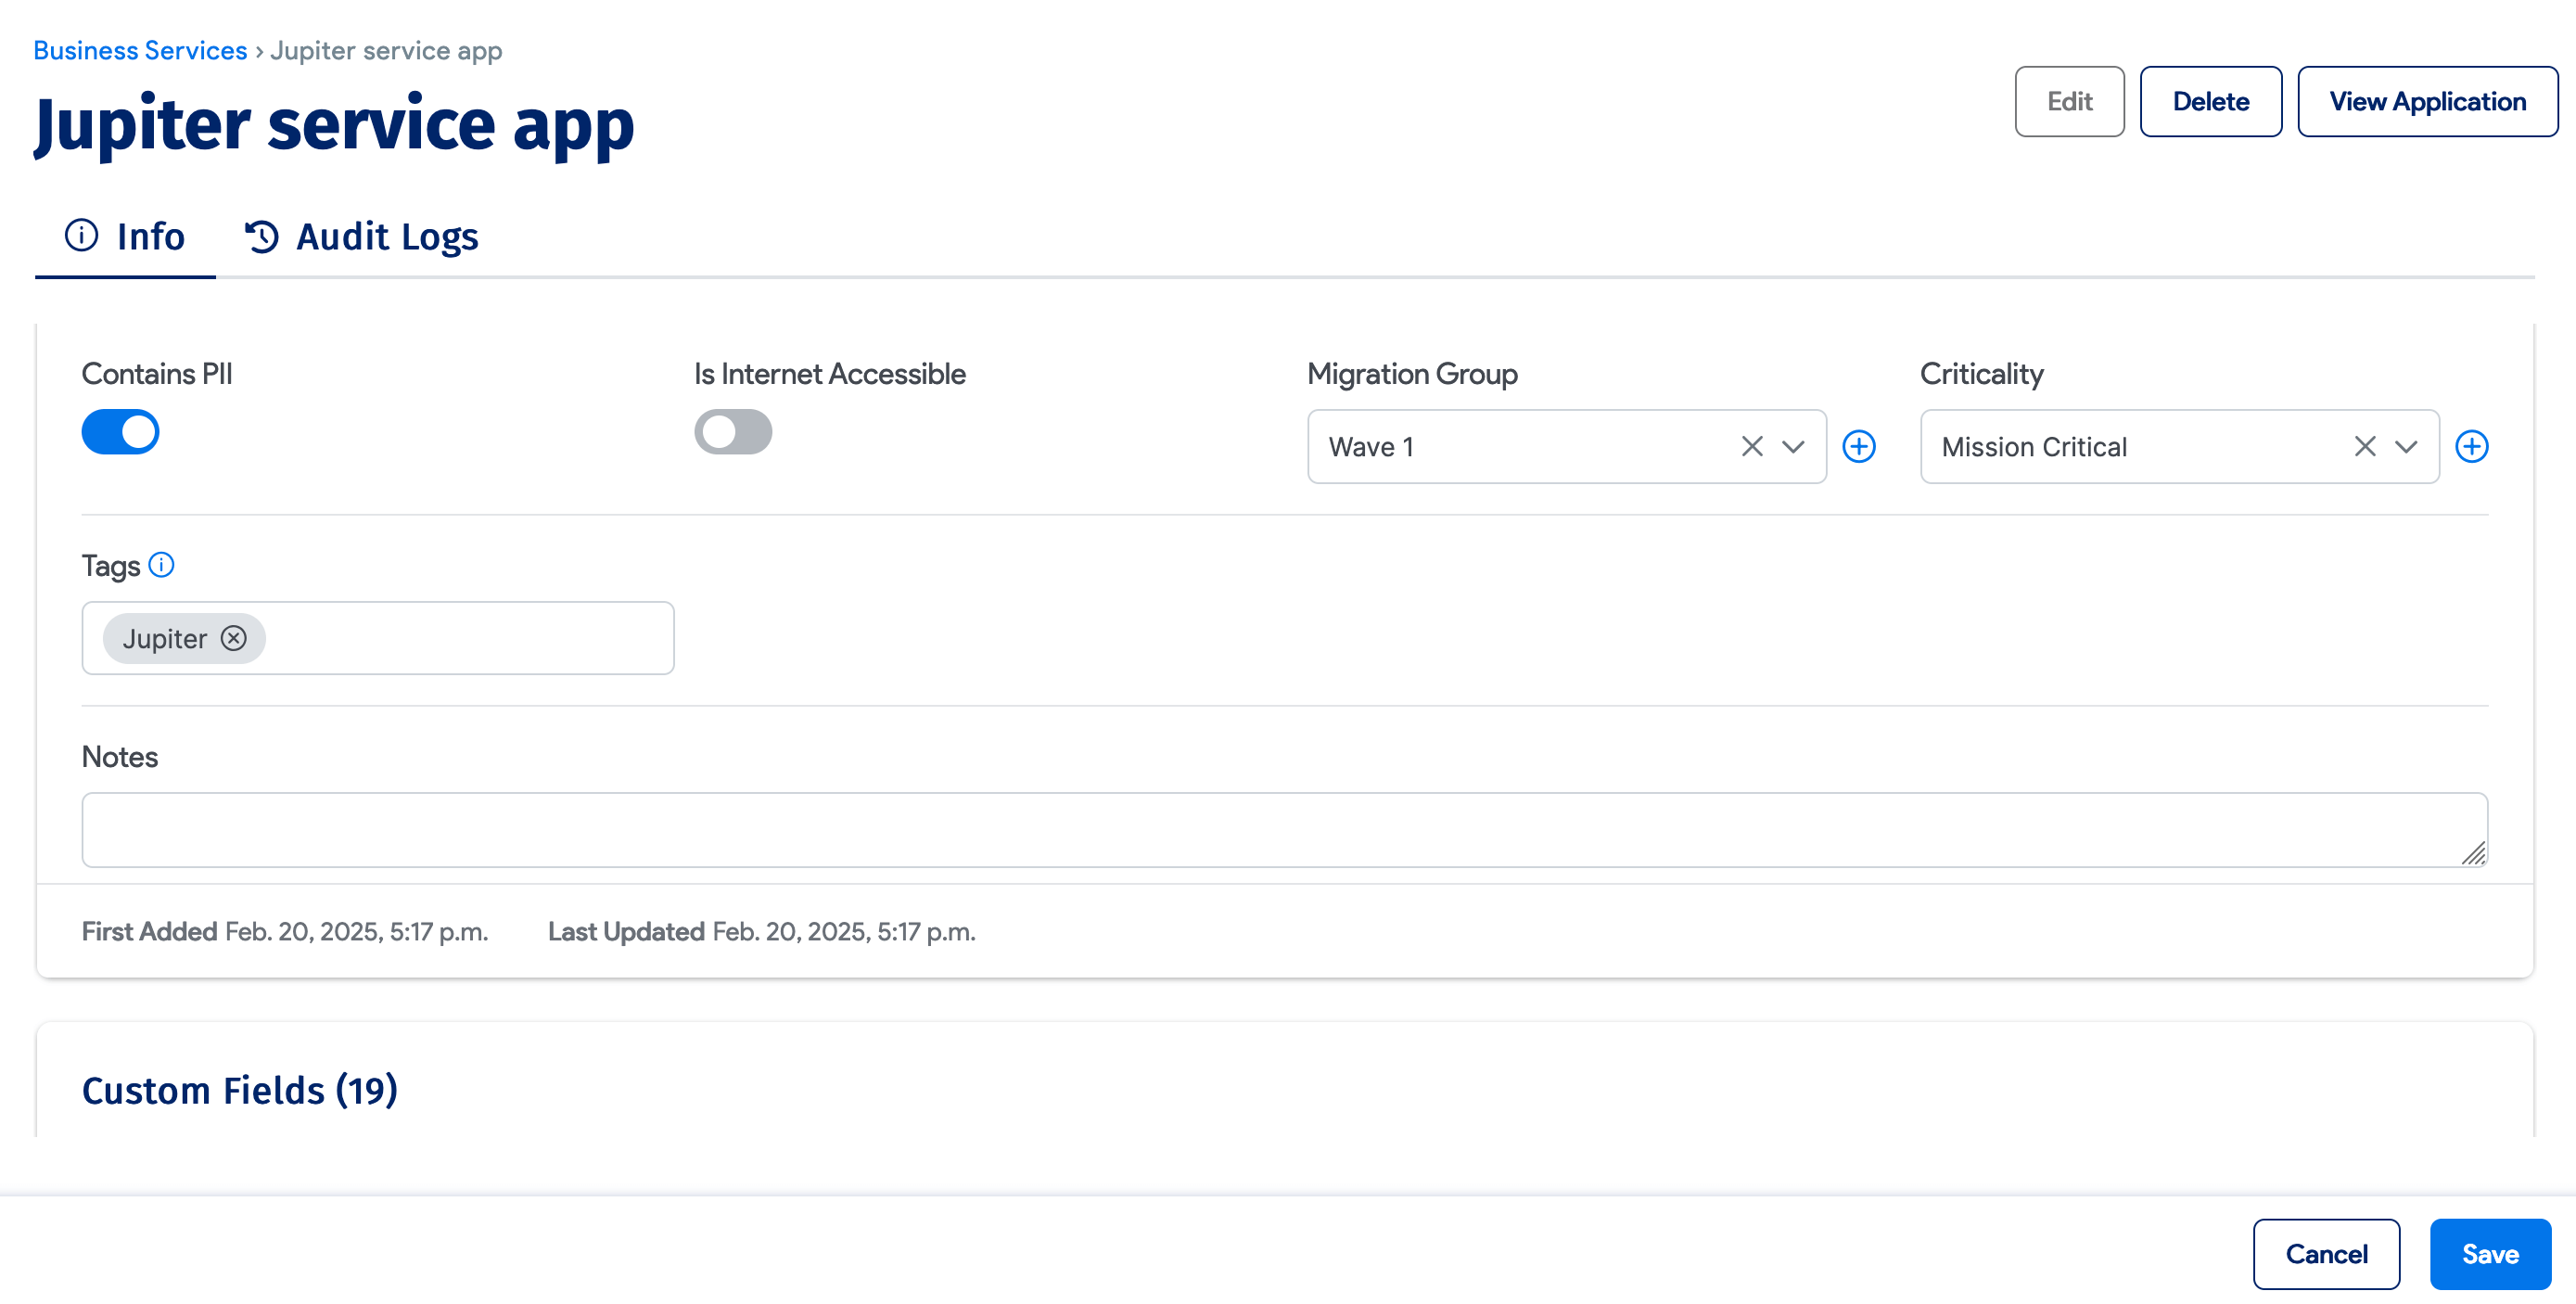
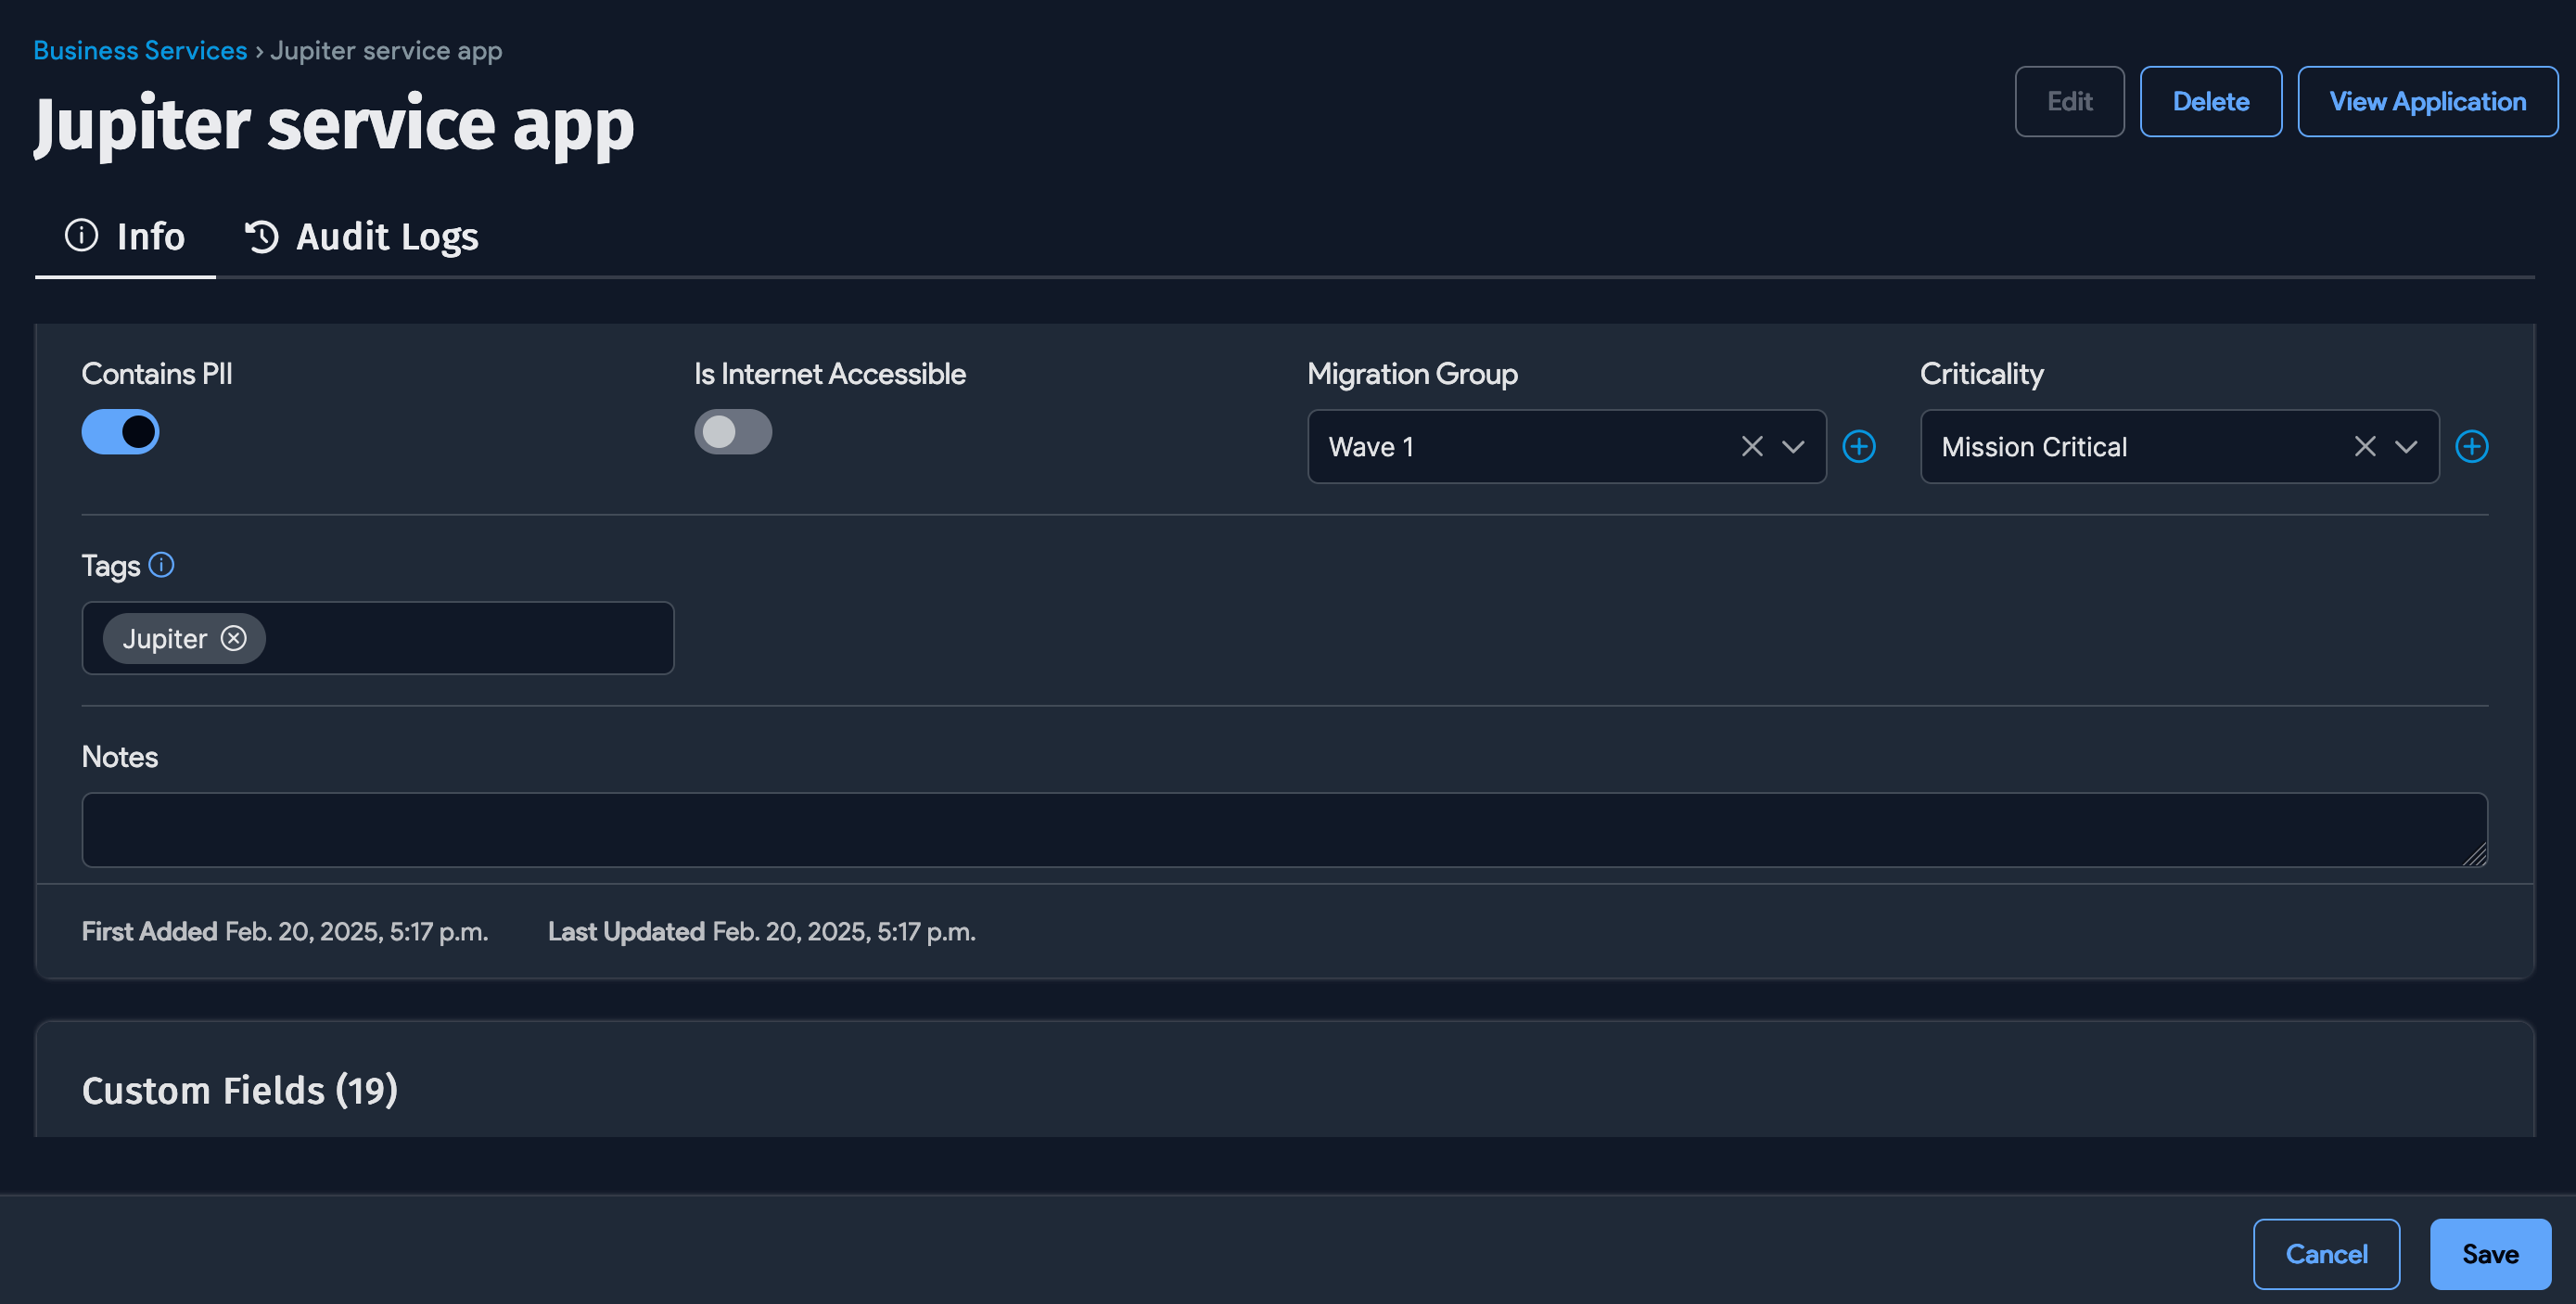
- Select or enter the Migration Group and Criticality, and add any Notes or Tags you want.
- Click Save at the bottom right of the page to save the Business Service and add it to the applications list page.
You'll be directed to a summary page for the new Business Service. Now it's time to work from the visualization canvas to add items to your new Business Service.
Adding and Removing Items
There are two methods of adding items to Business Services: inline and via the Application Layout canvas. Currently, Application Groups can only be added using the canvas. See the Add Application Groups section below.
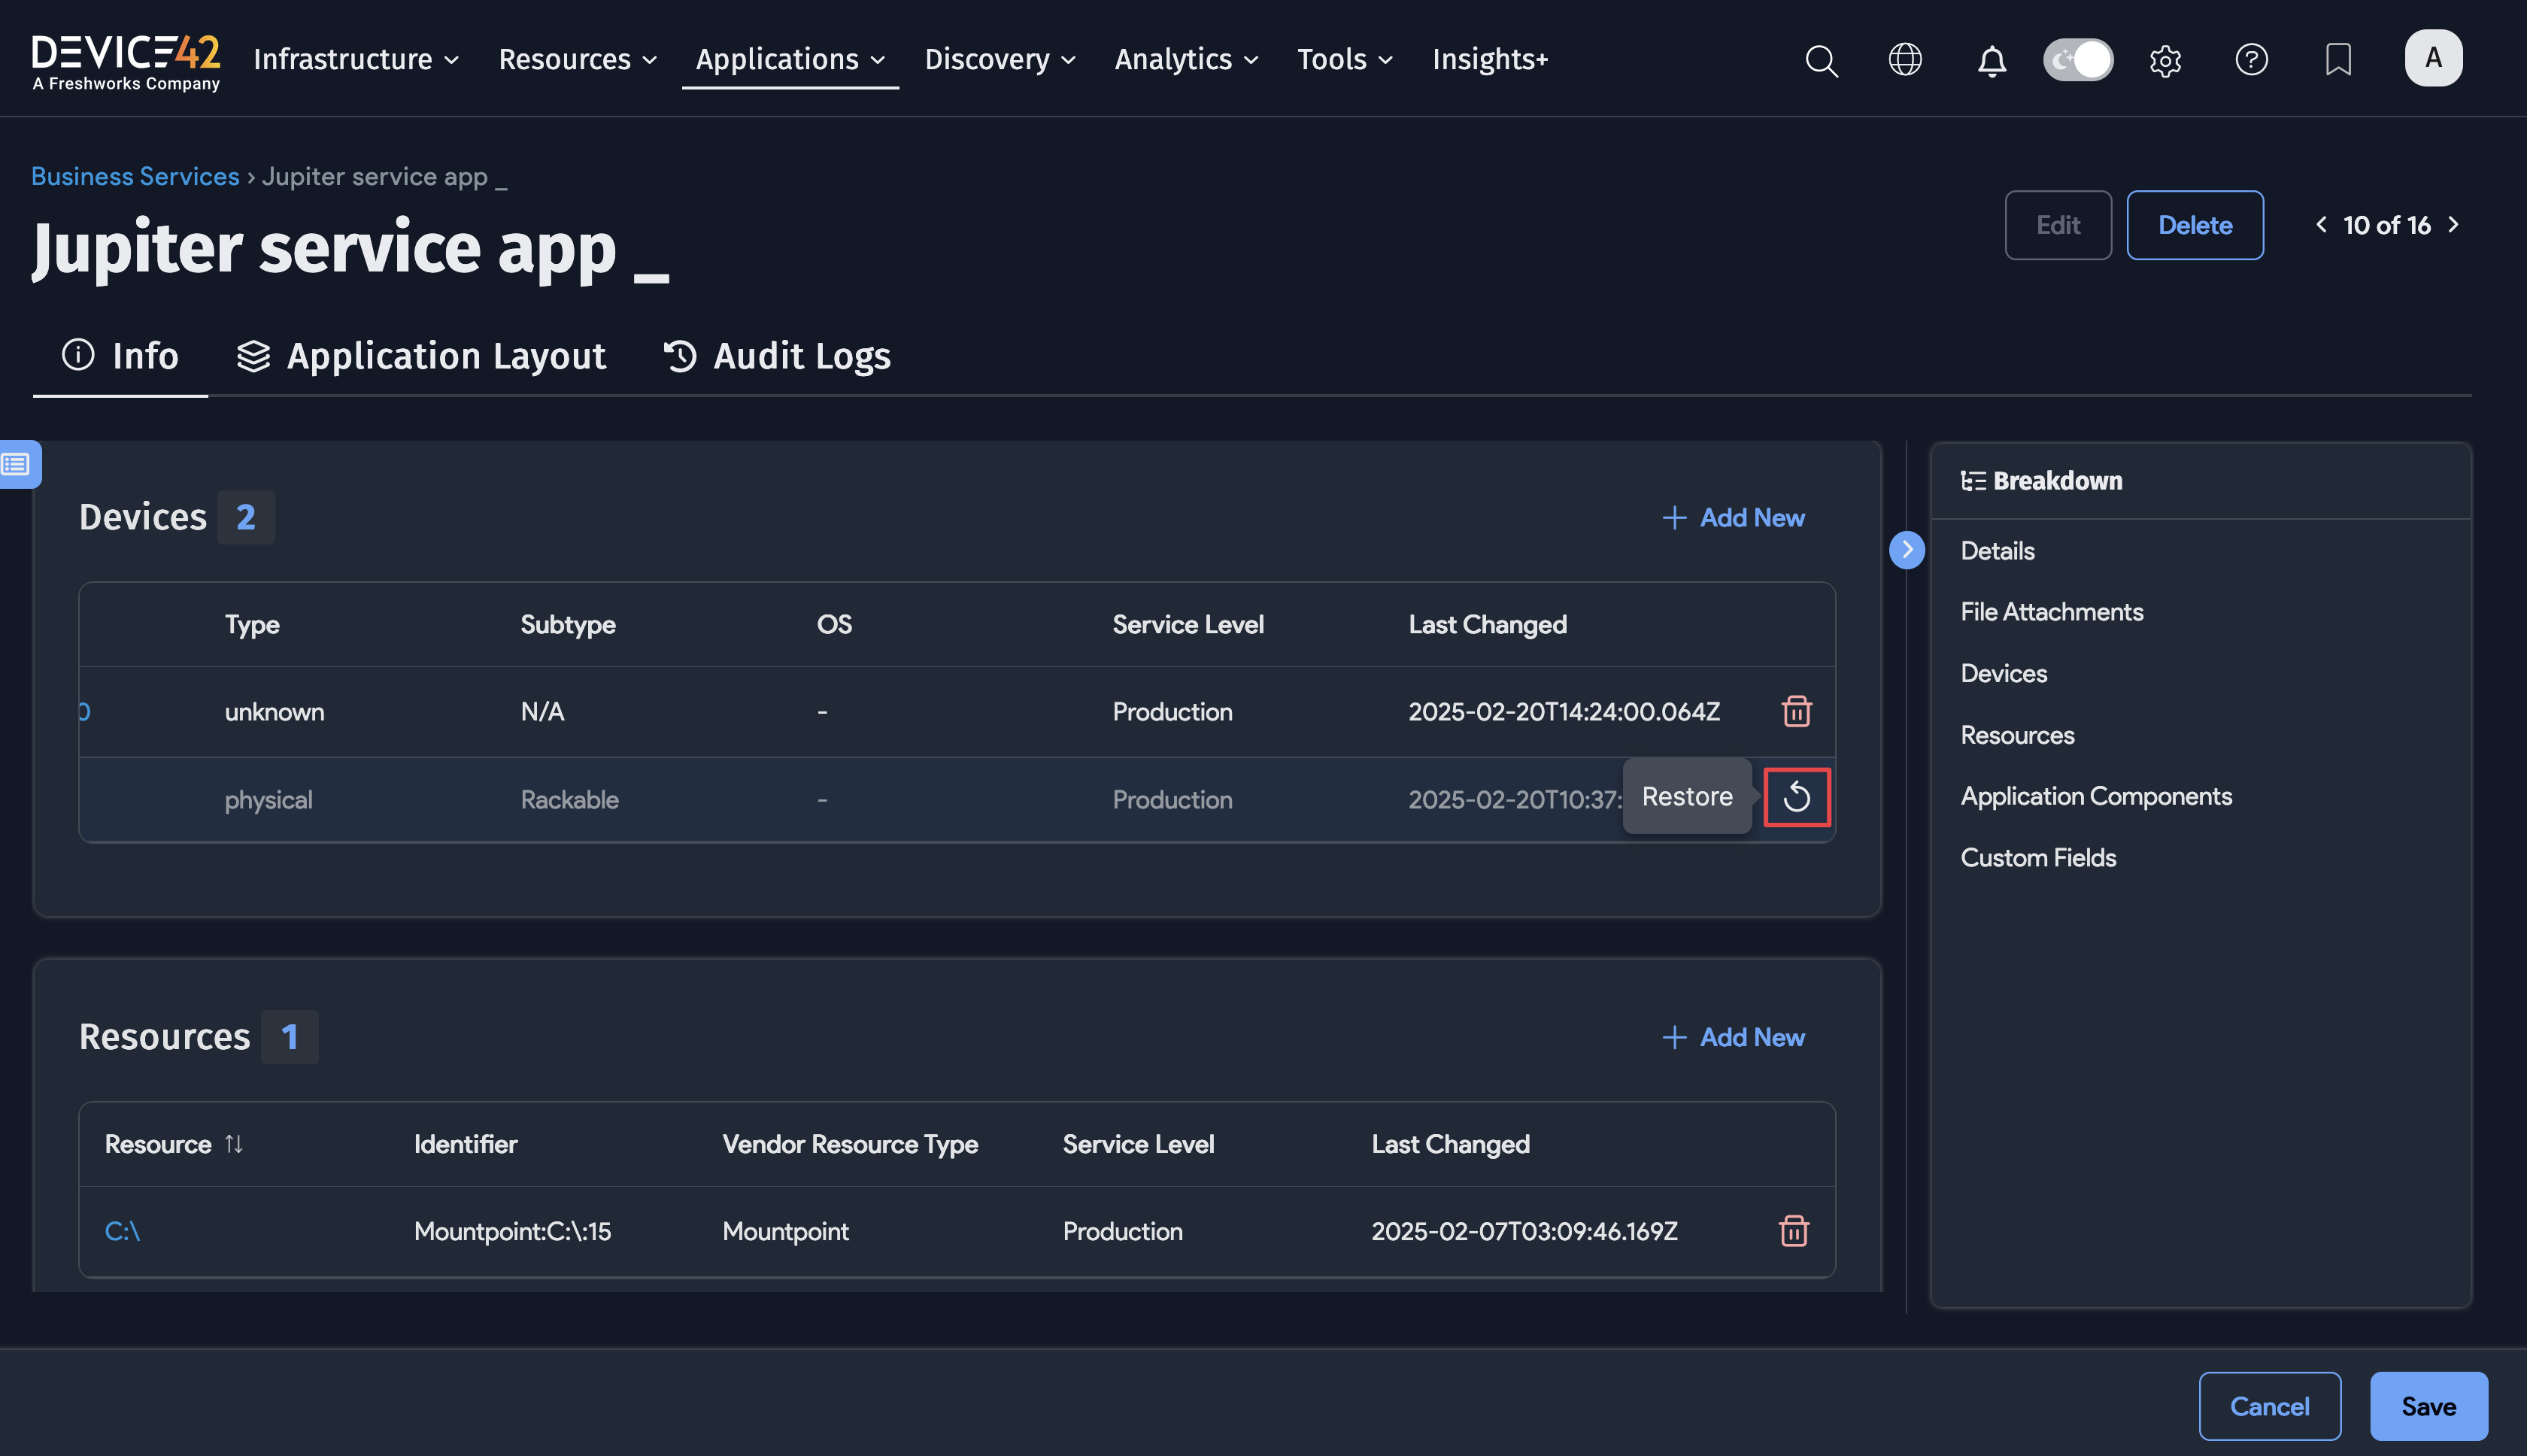
You can add, edit, and remove devices, resources, and application components as inline items from a Business Service details view page.
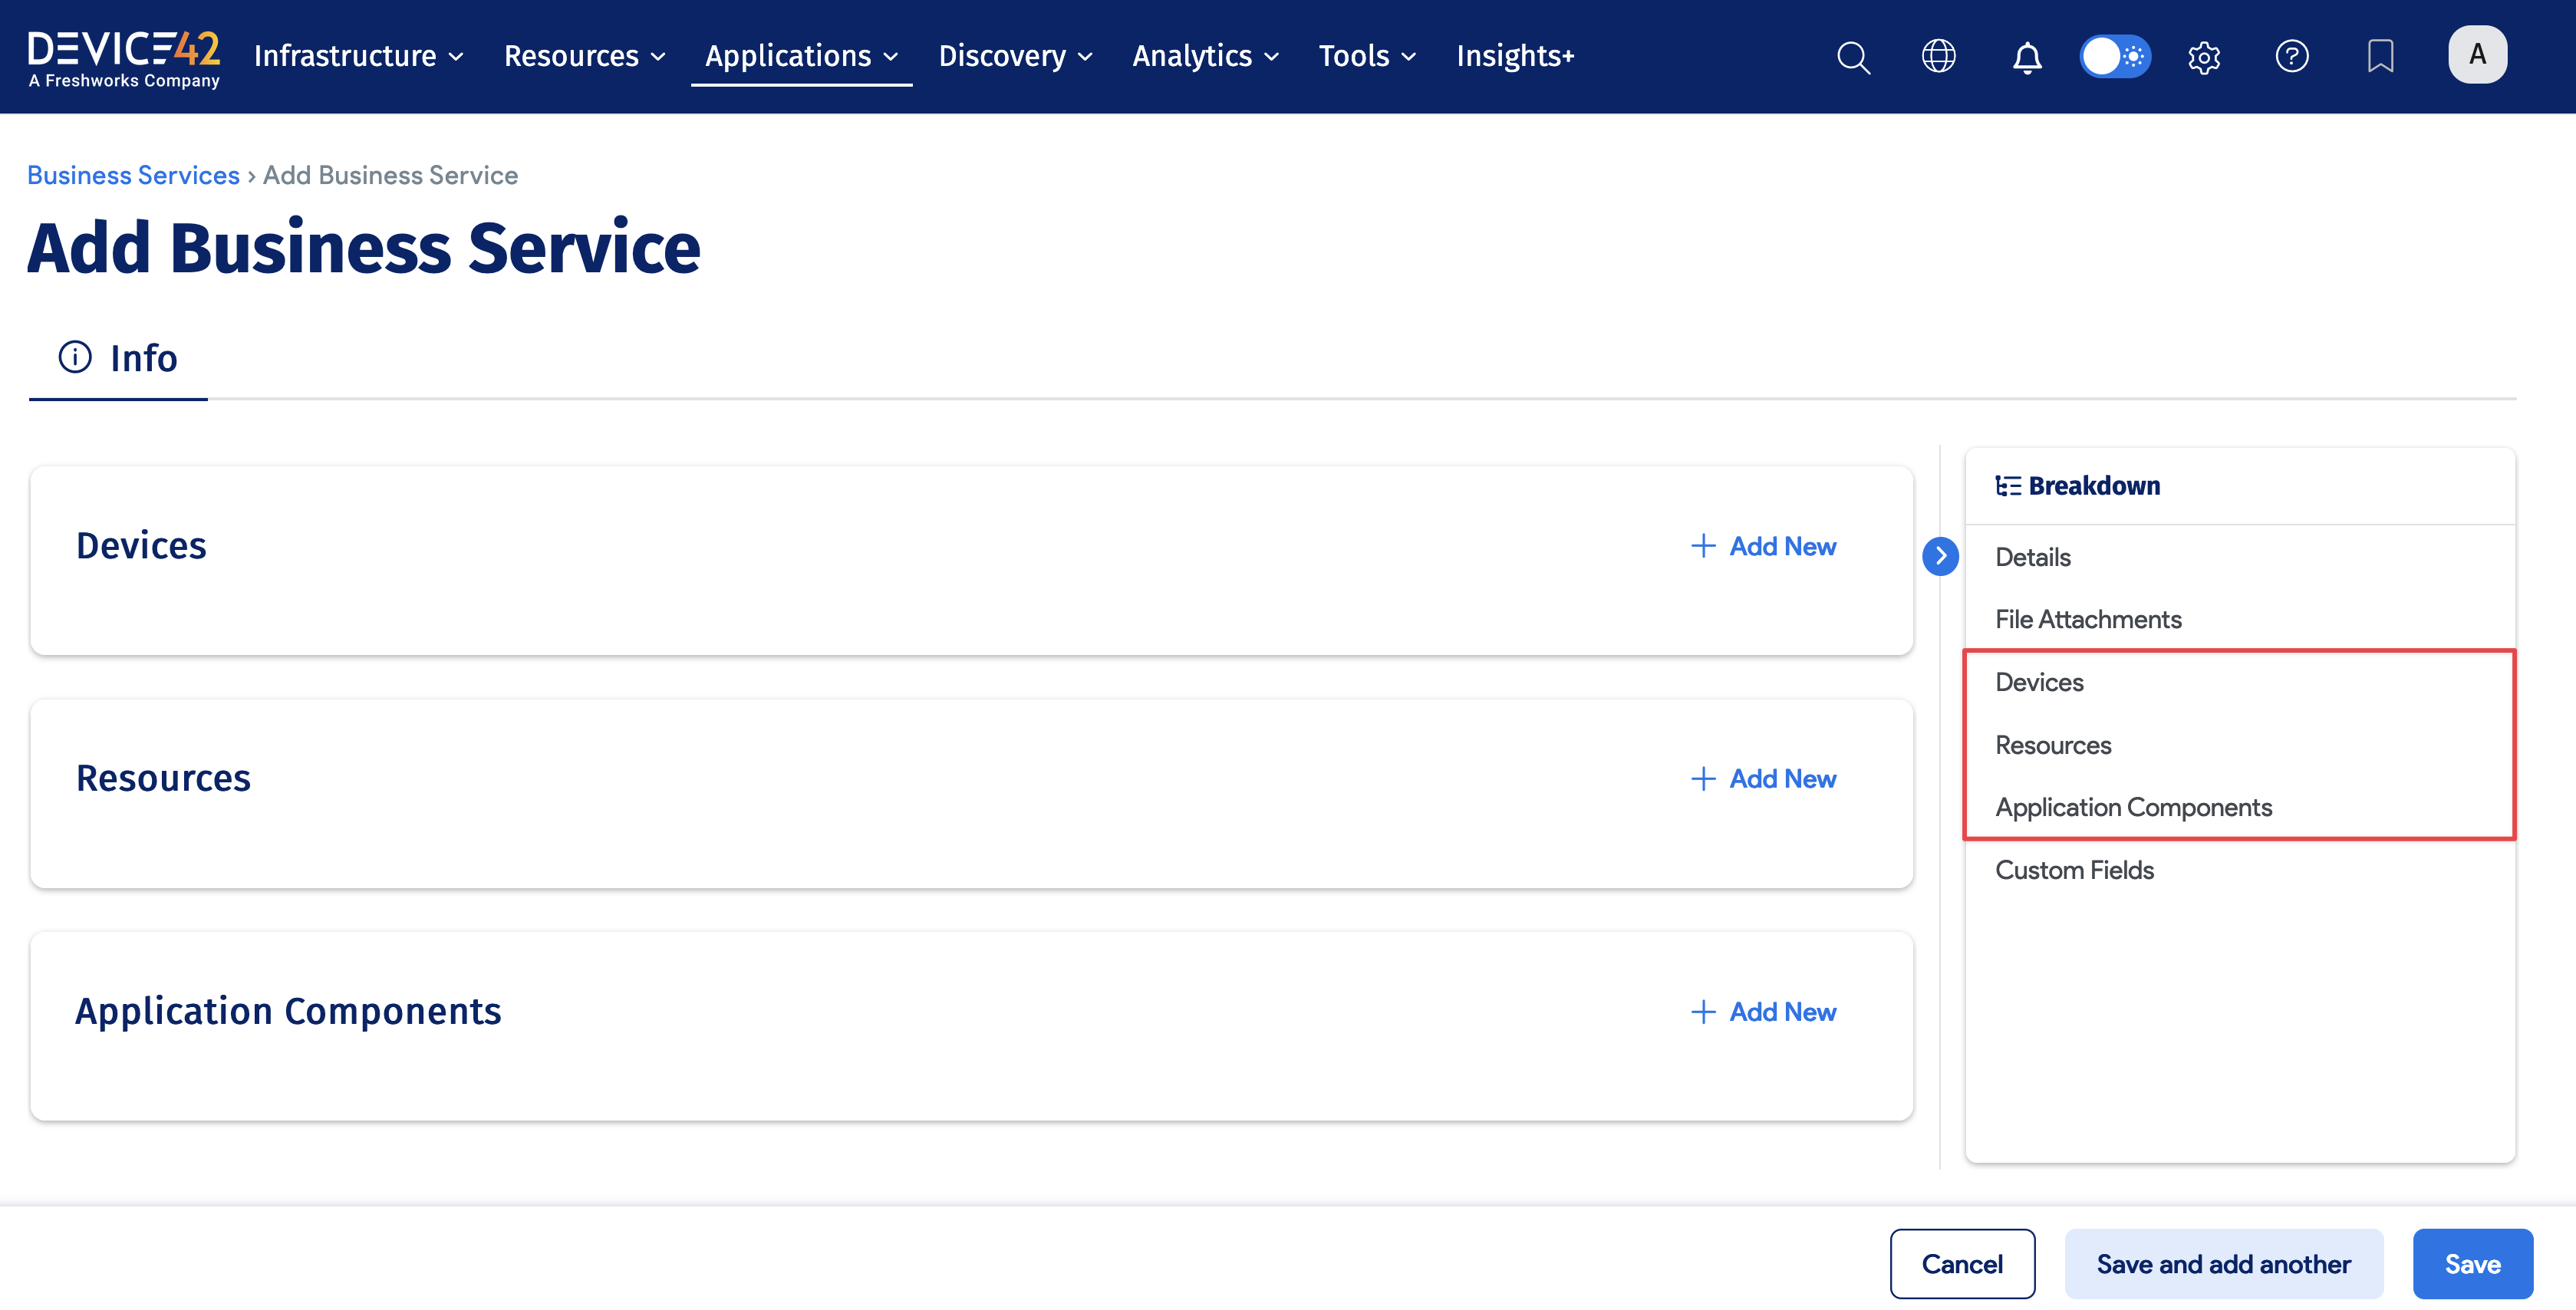
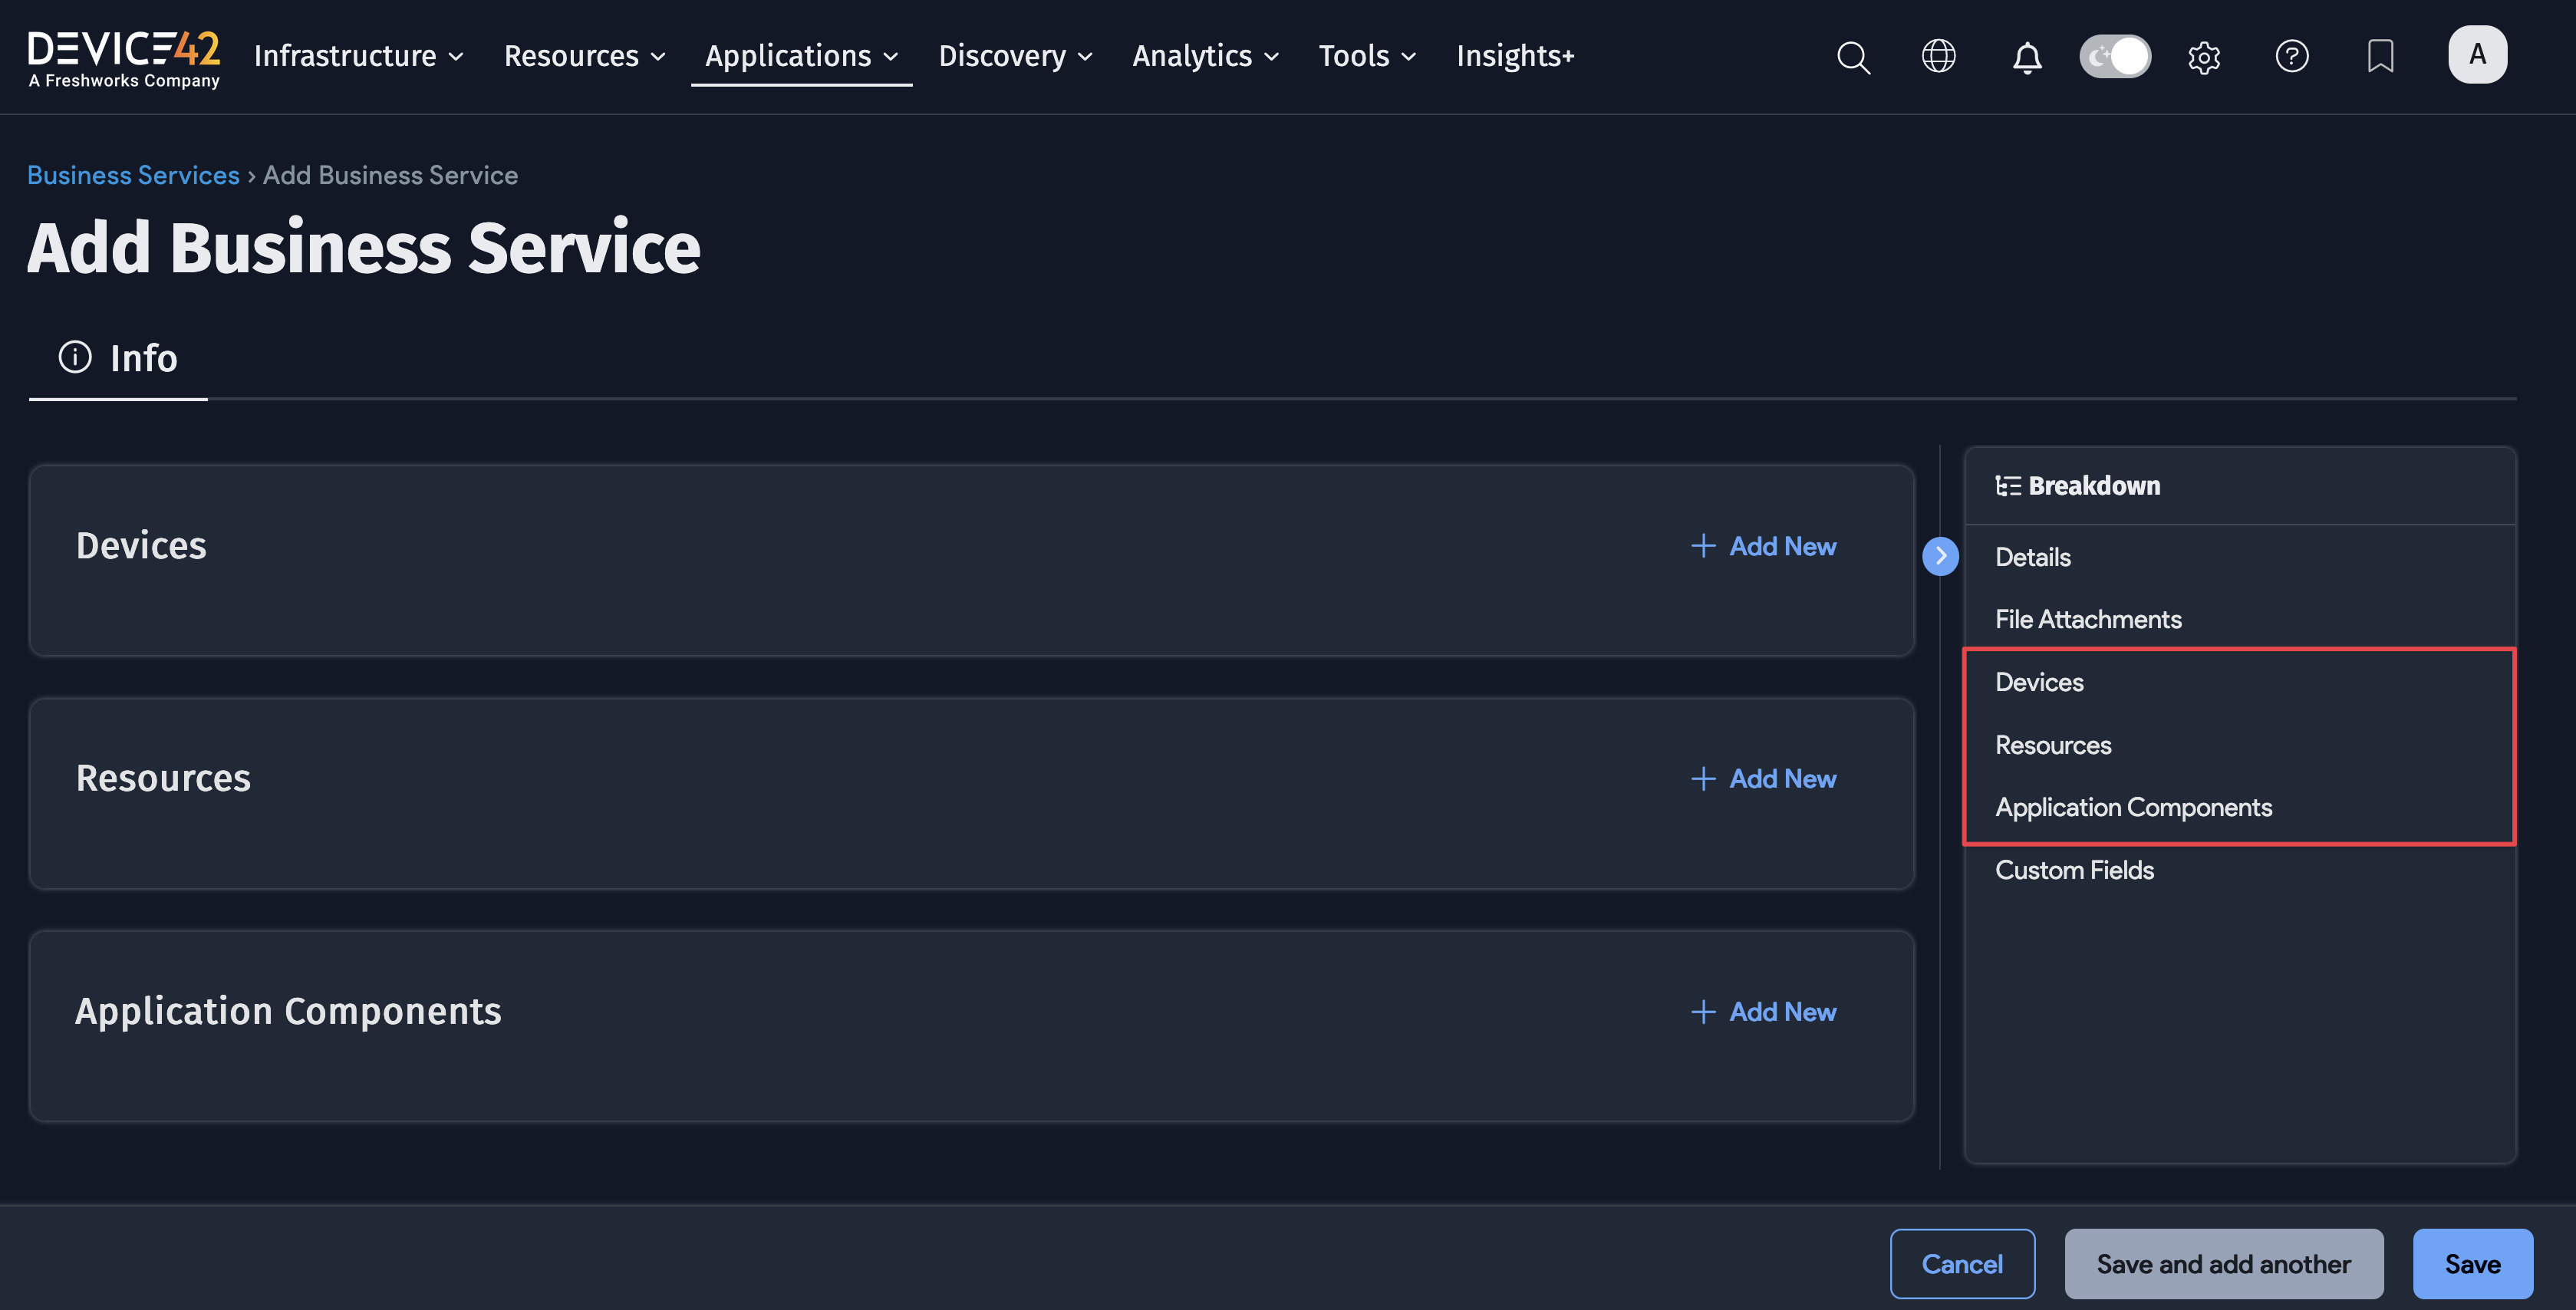
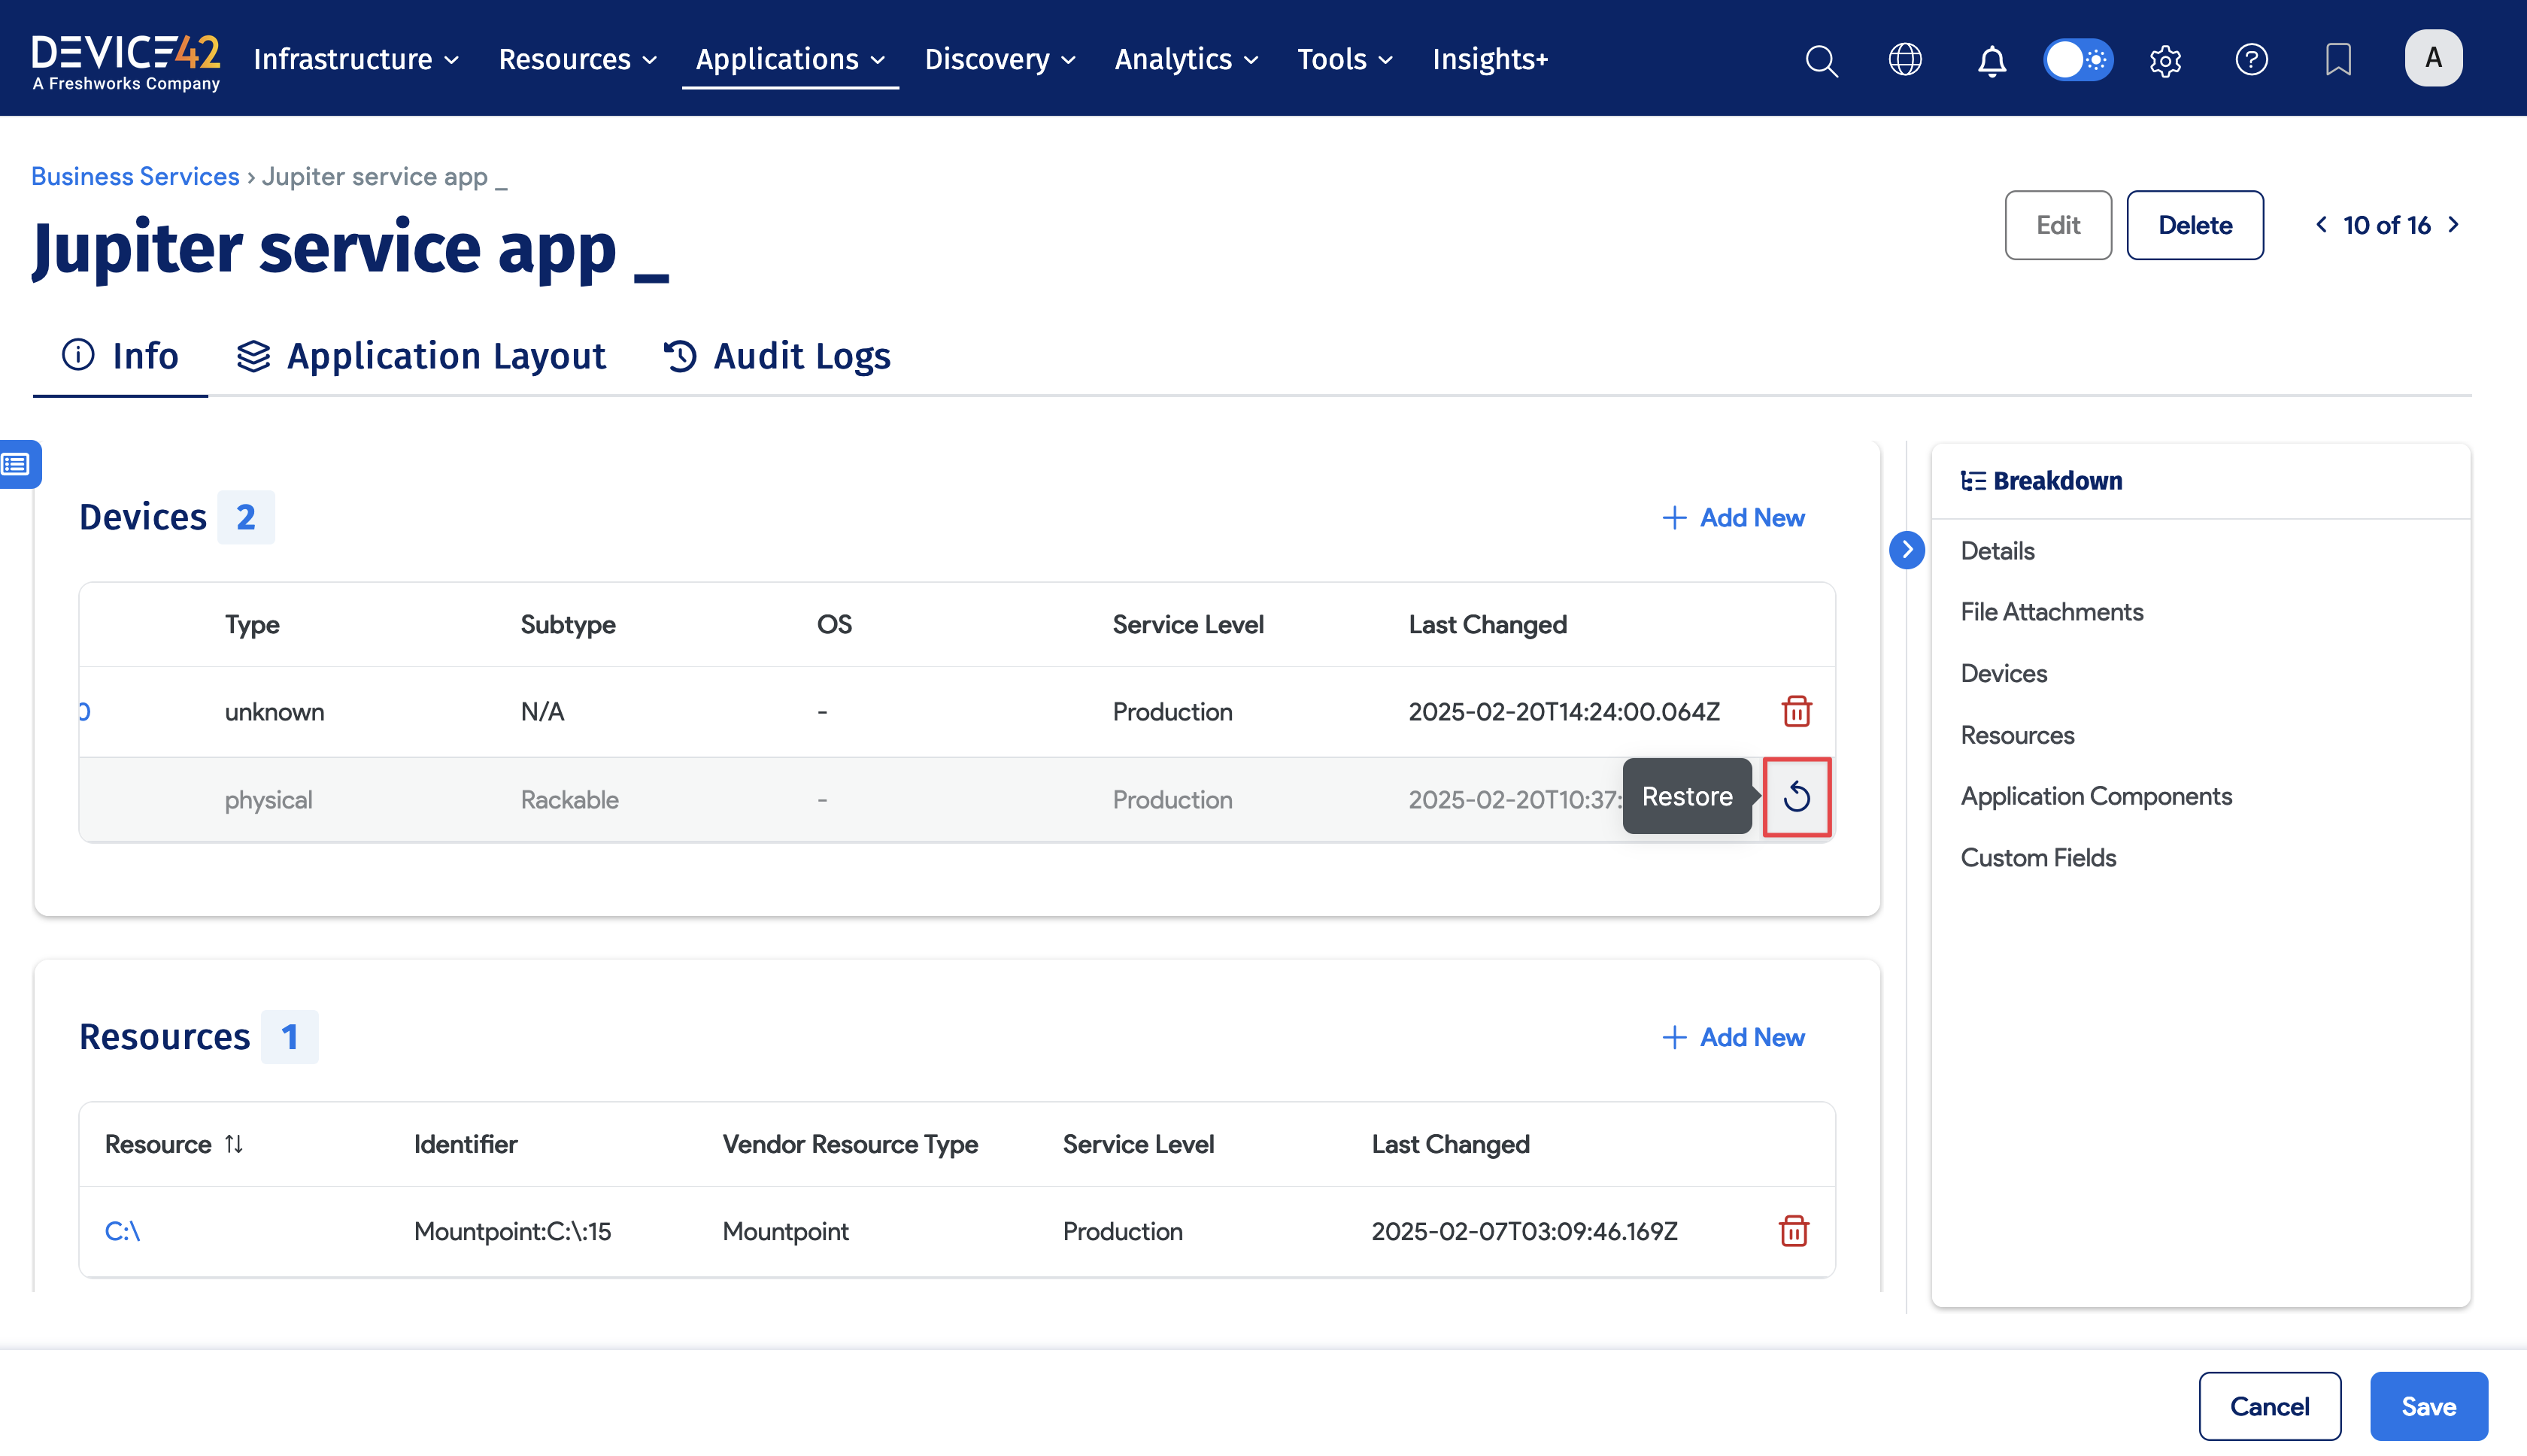
Remove inline items by clicking the Tashcan icon. The item to be removed will be grayed out, giving you the option to restore the item in this session by clicking the Restore icon.
The Application Layout Canvas
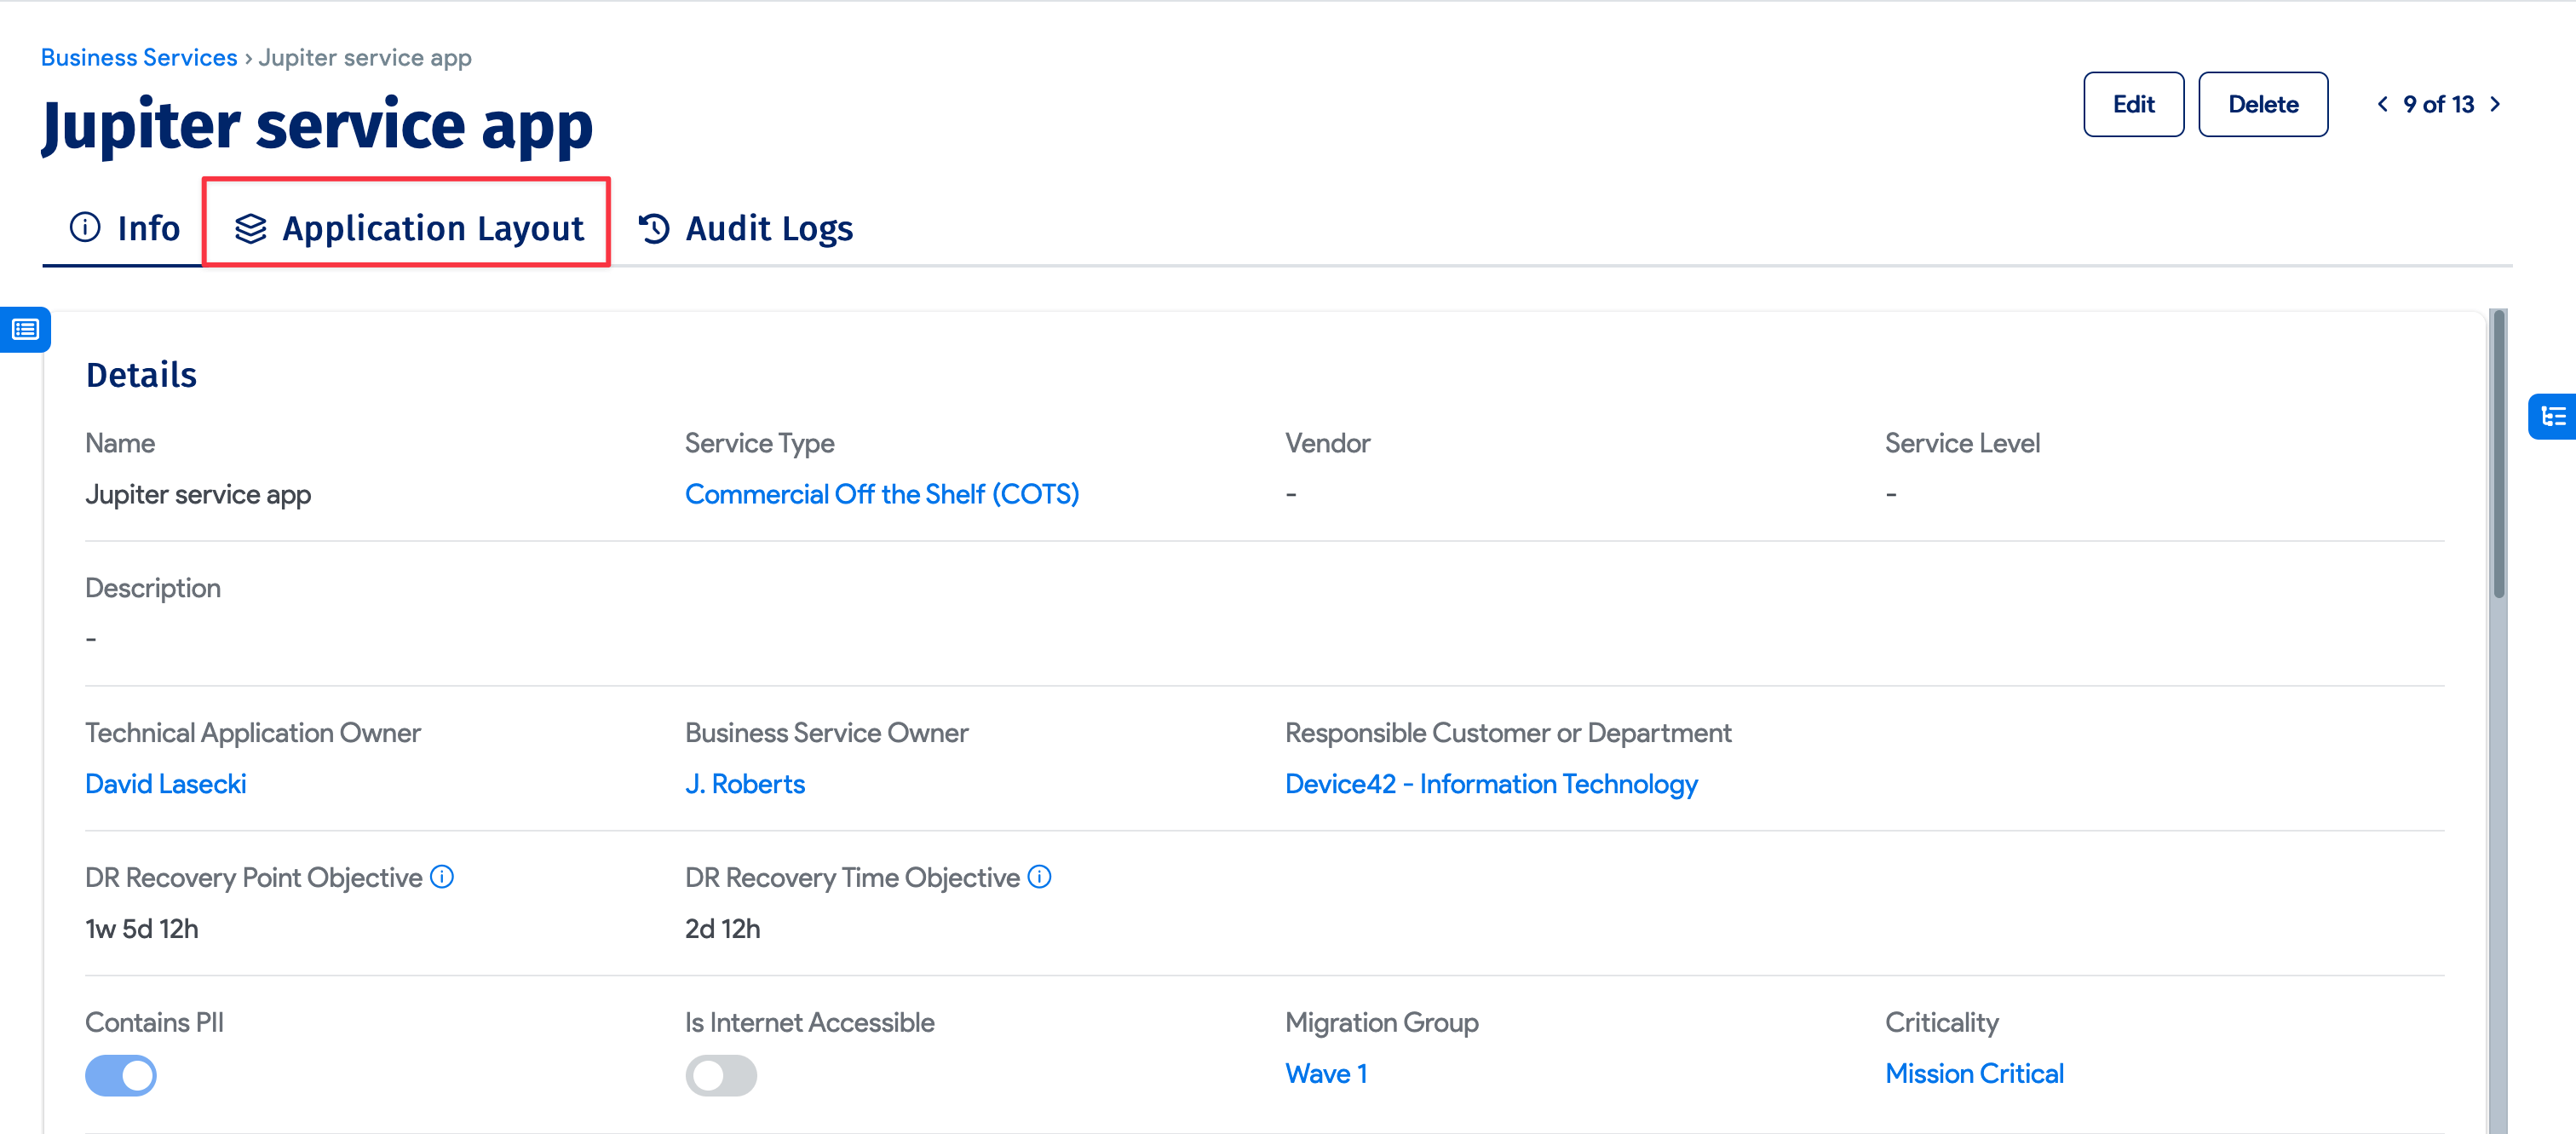
Click the Application Layout button from the Business Services details page to display the visualization canvas.
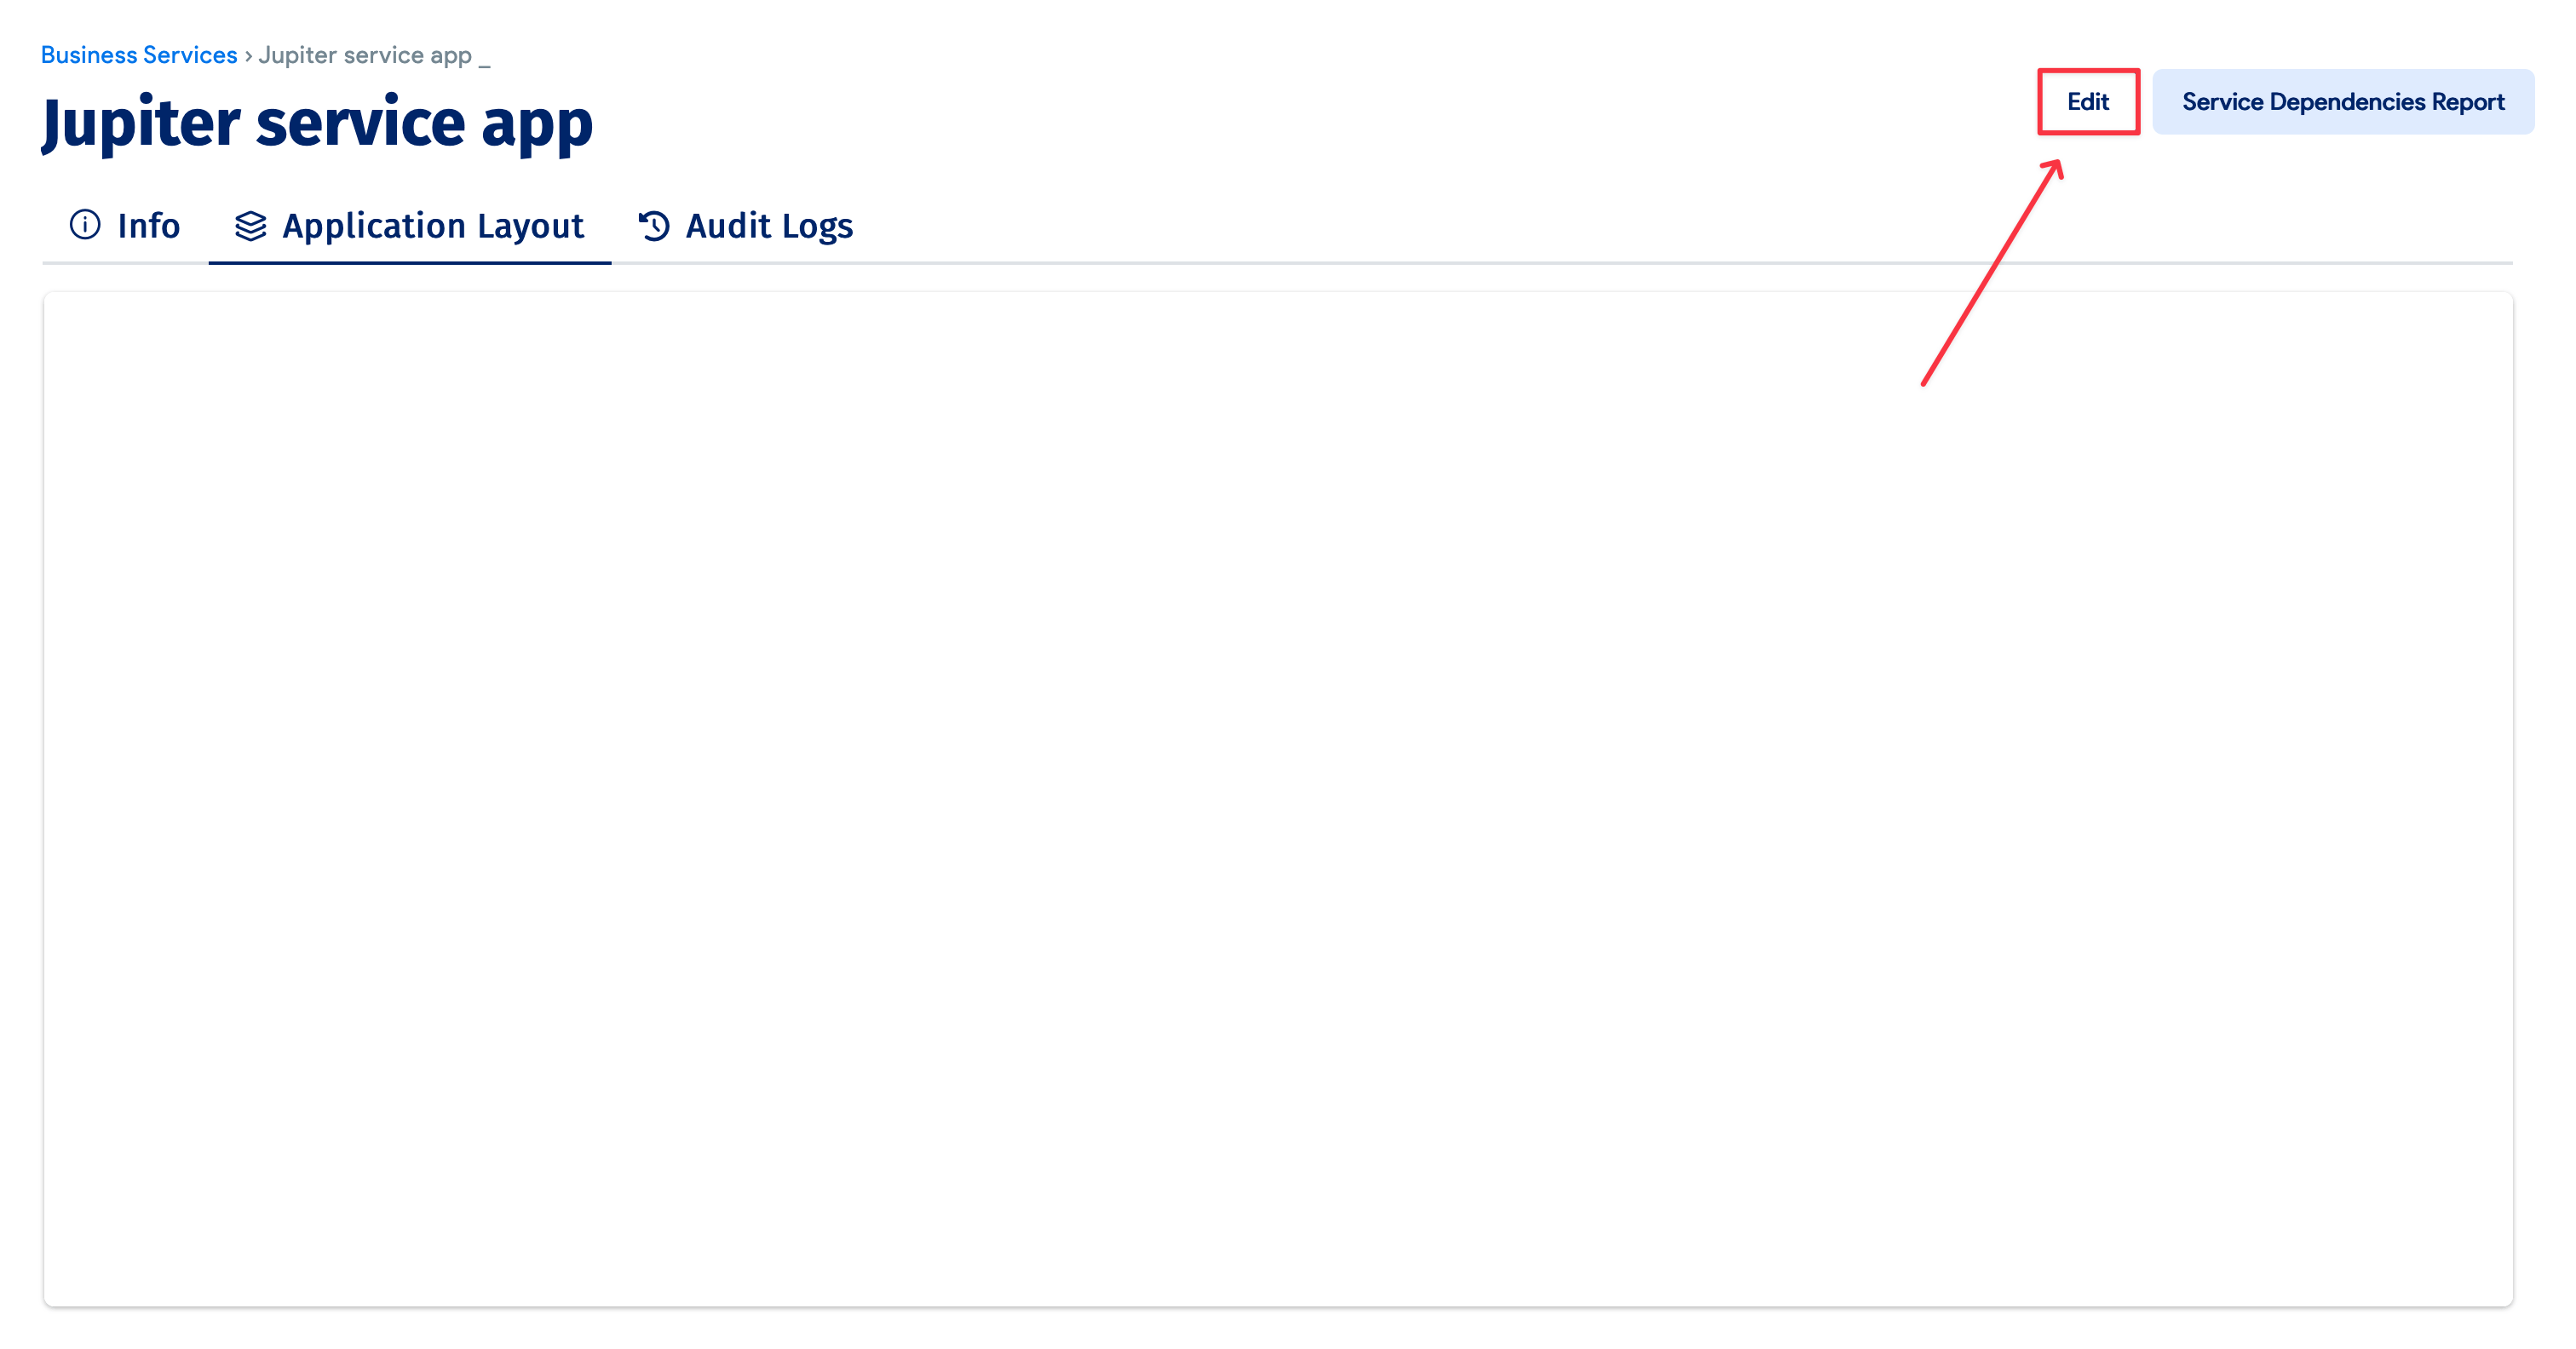
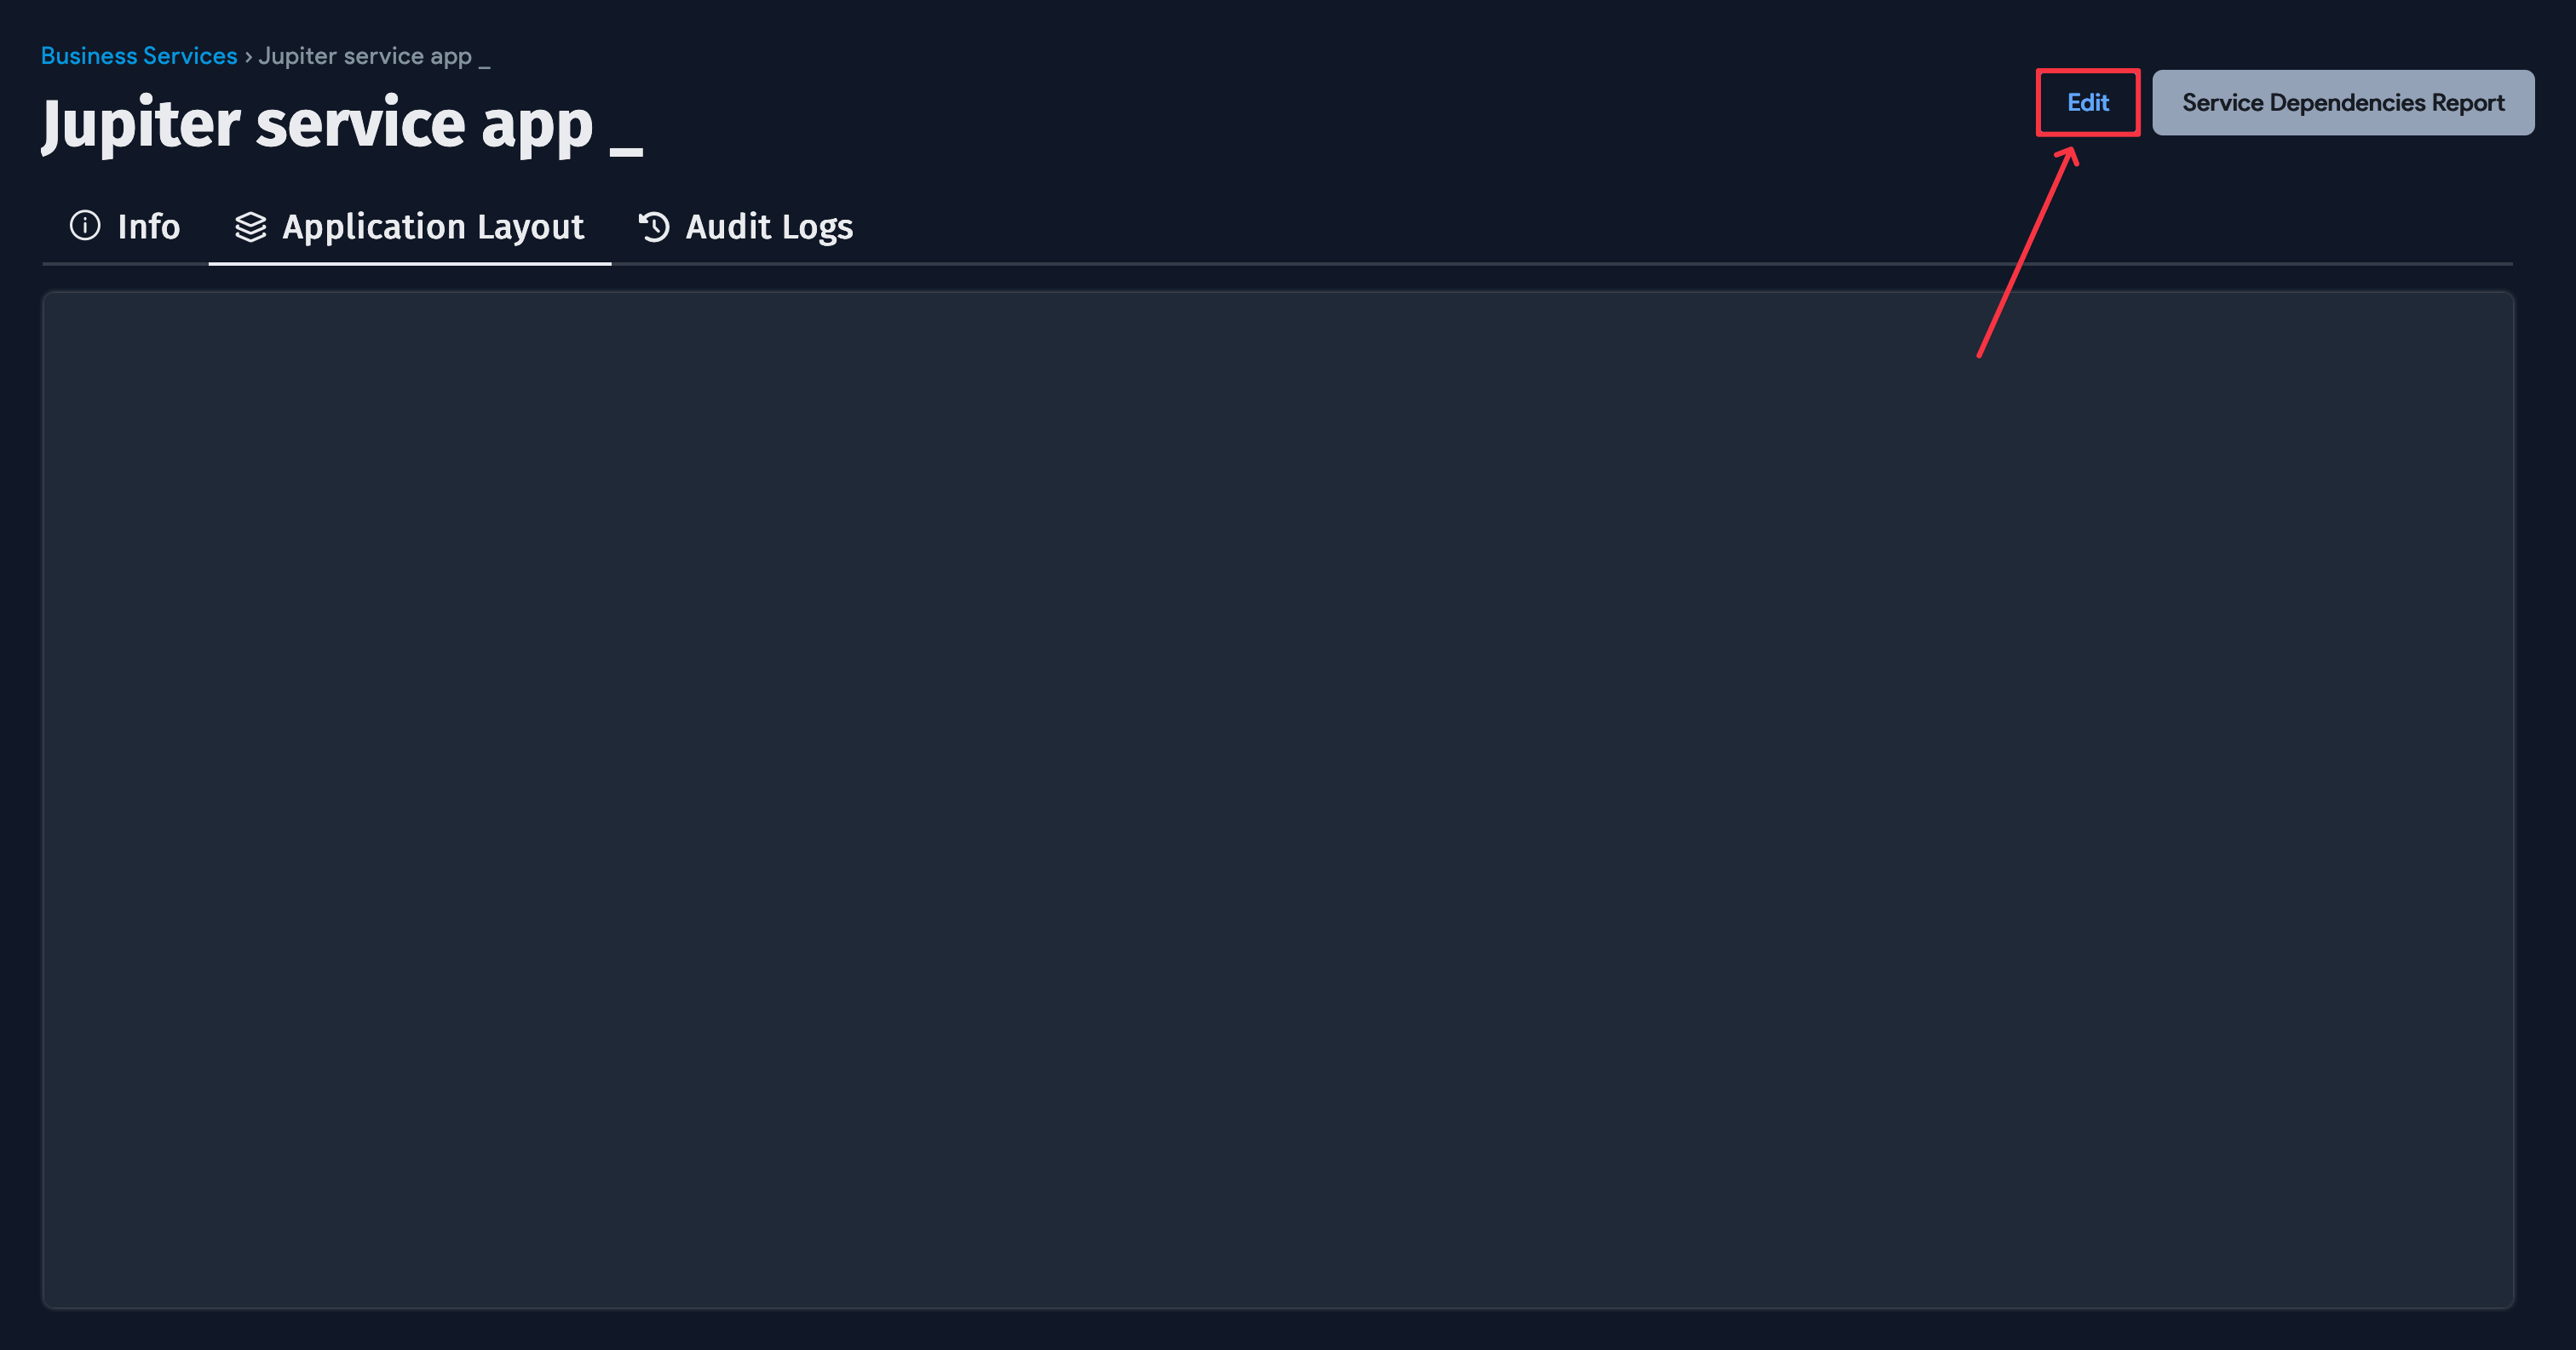
Click the Edit button on the top right of the canvas to activate the Edit mode.
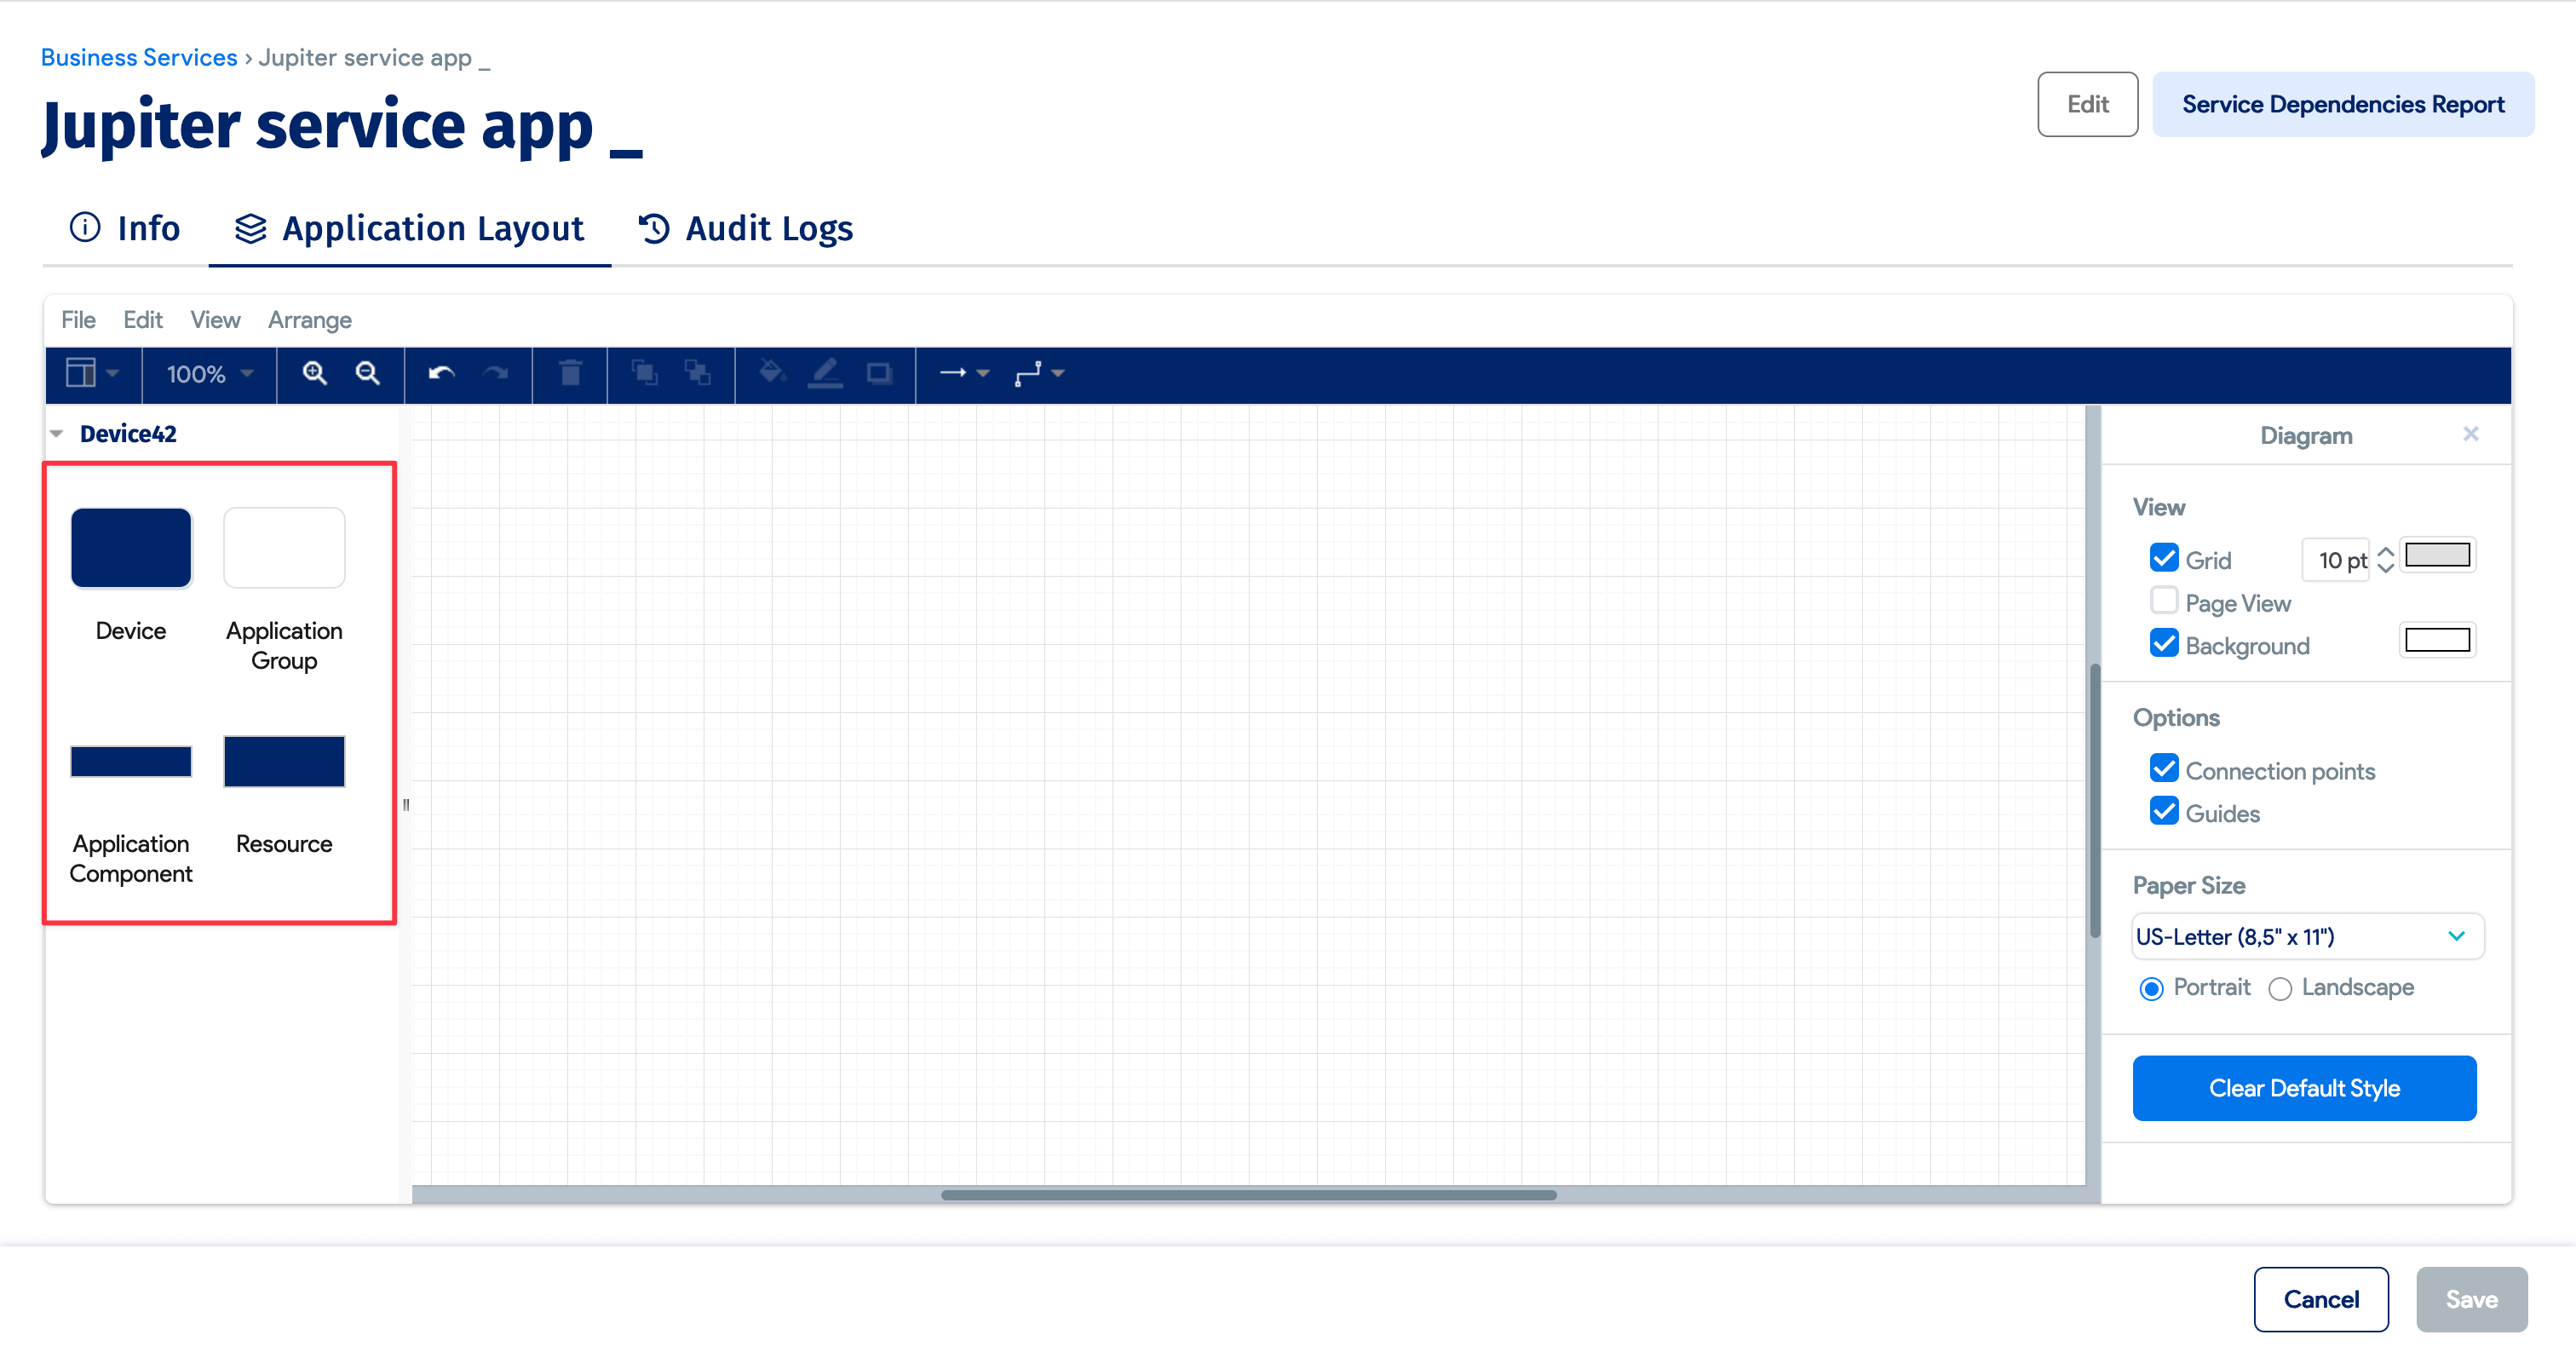
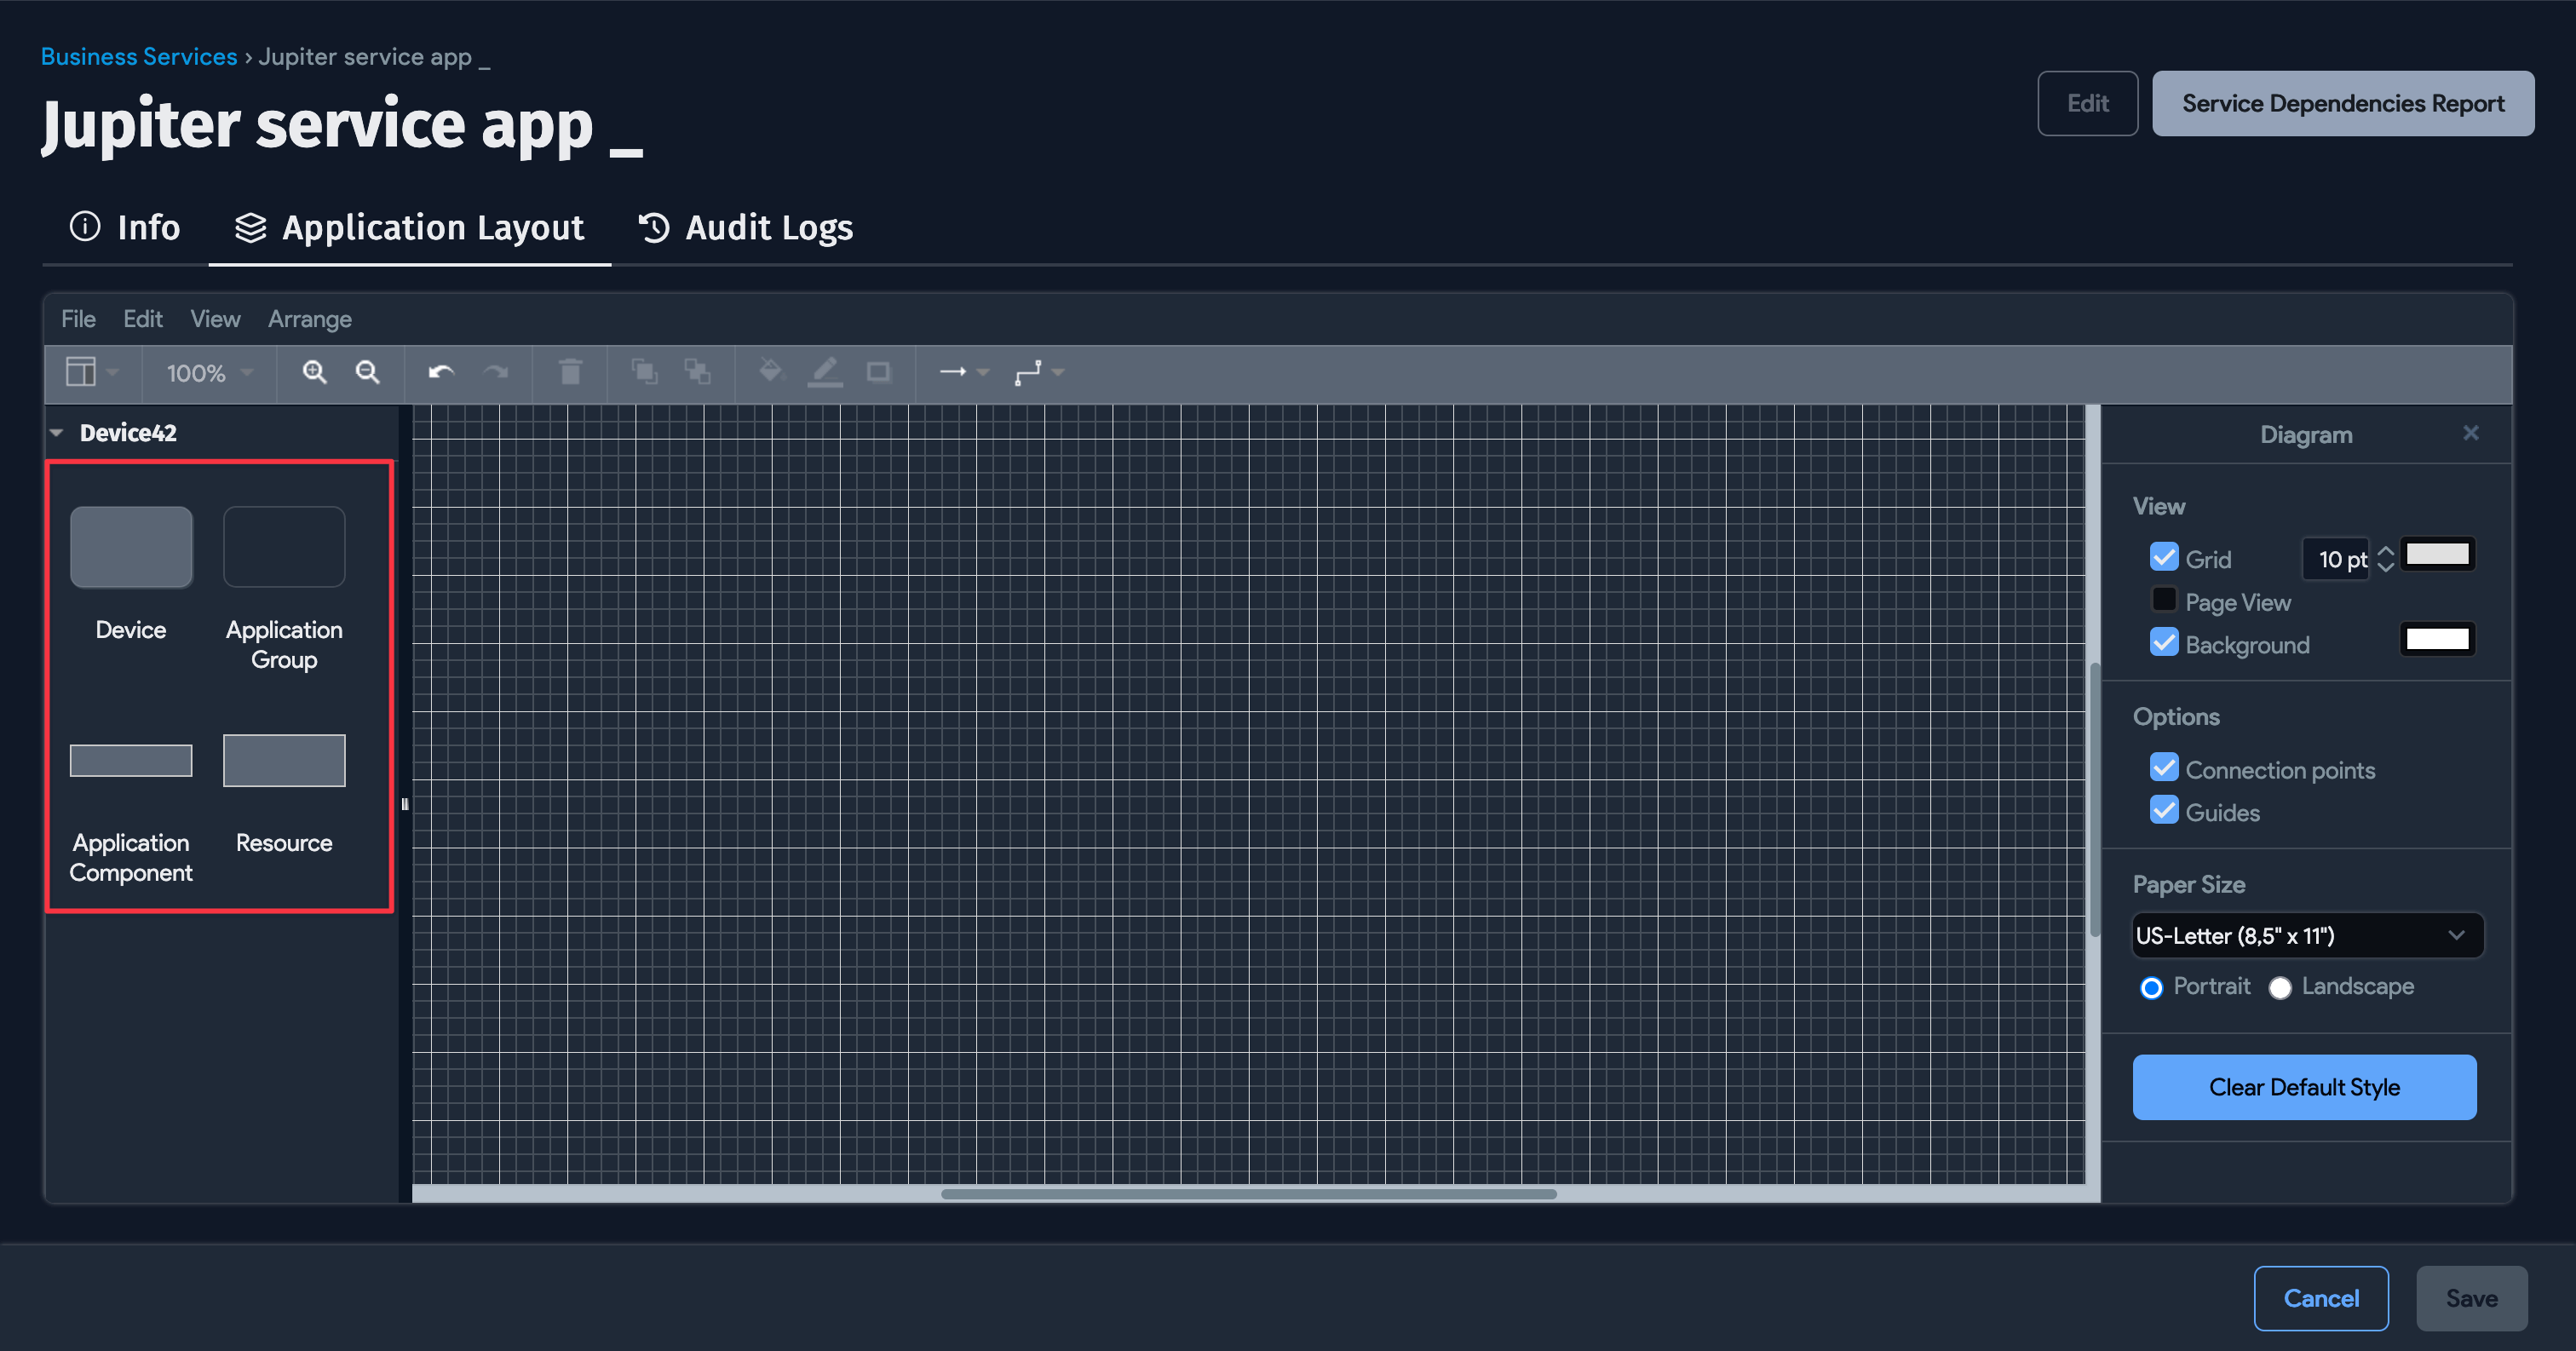
From the left panel, drag the Device, Resource, Application Group, and Application Component boxes onto the canvas to open the dialog that allows you to search for specific items to add to the canvas.
For efficiency, you can add multiple items of each item type at a time.
Add Application Components
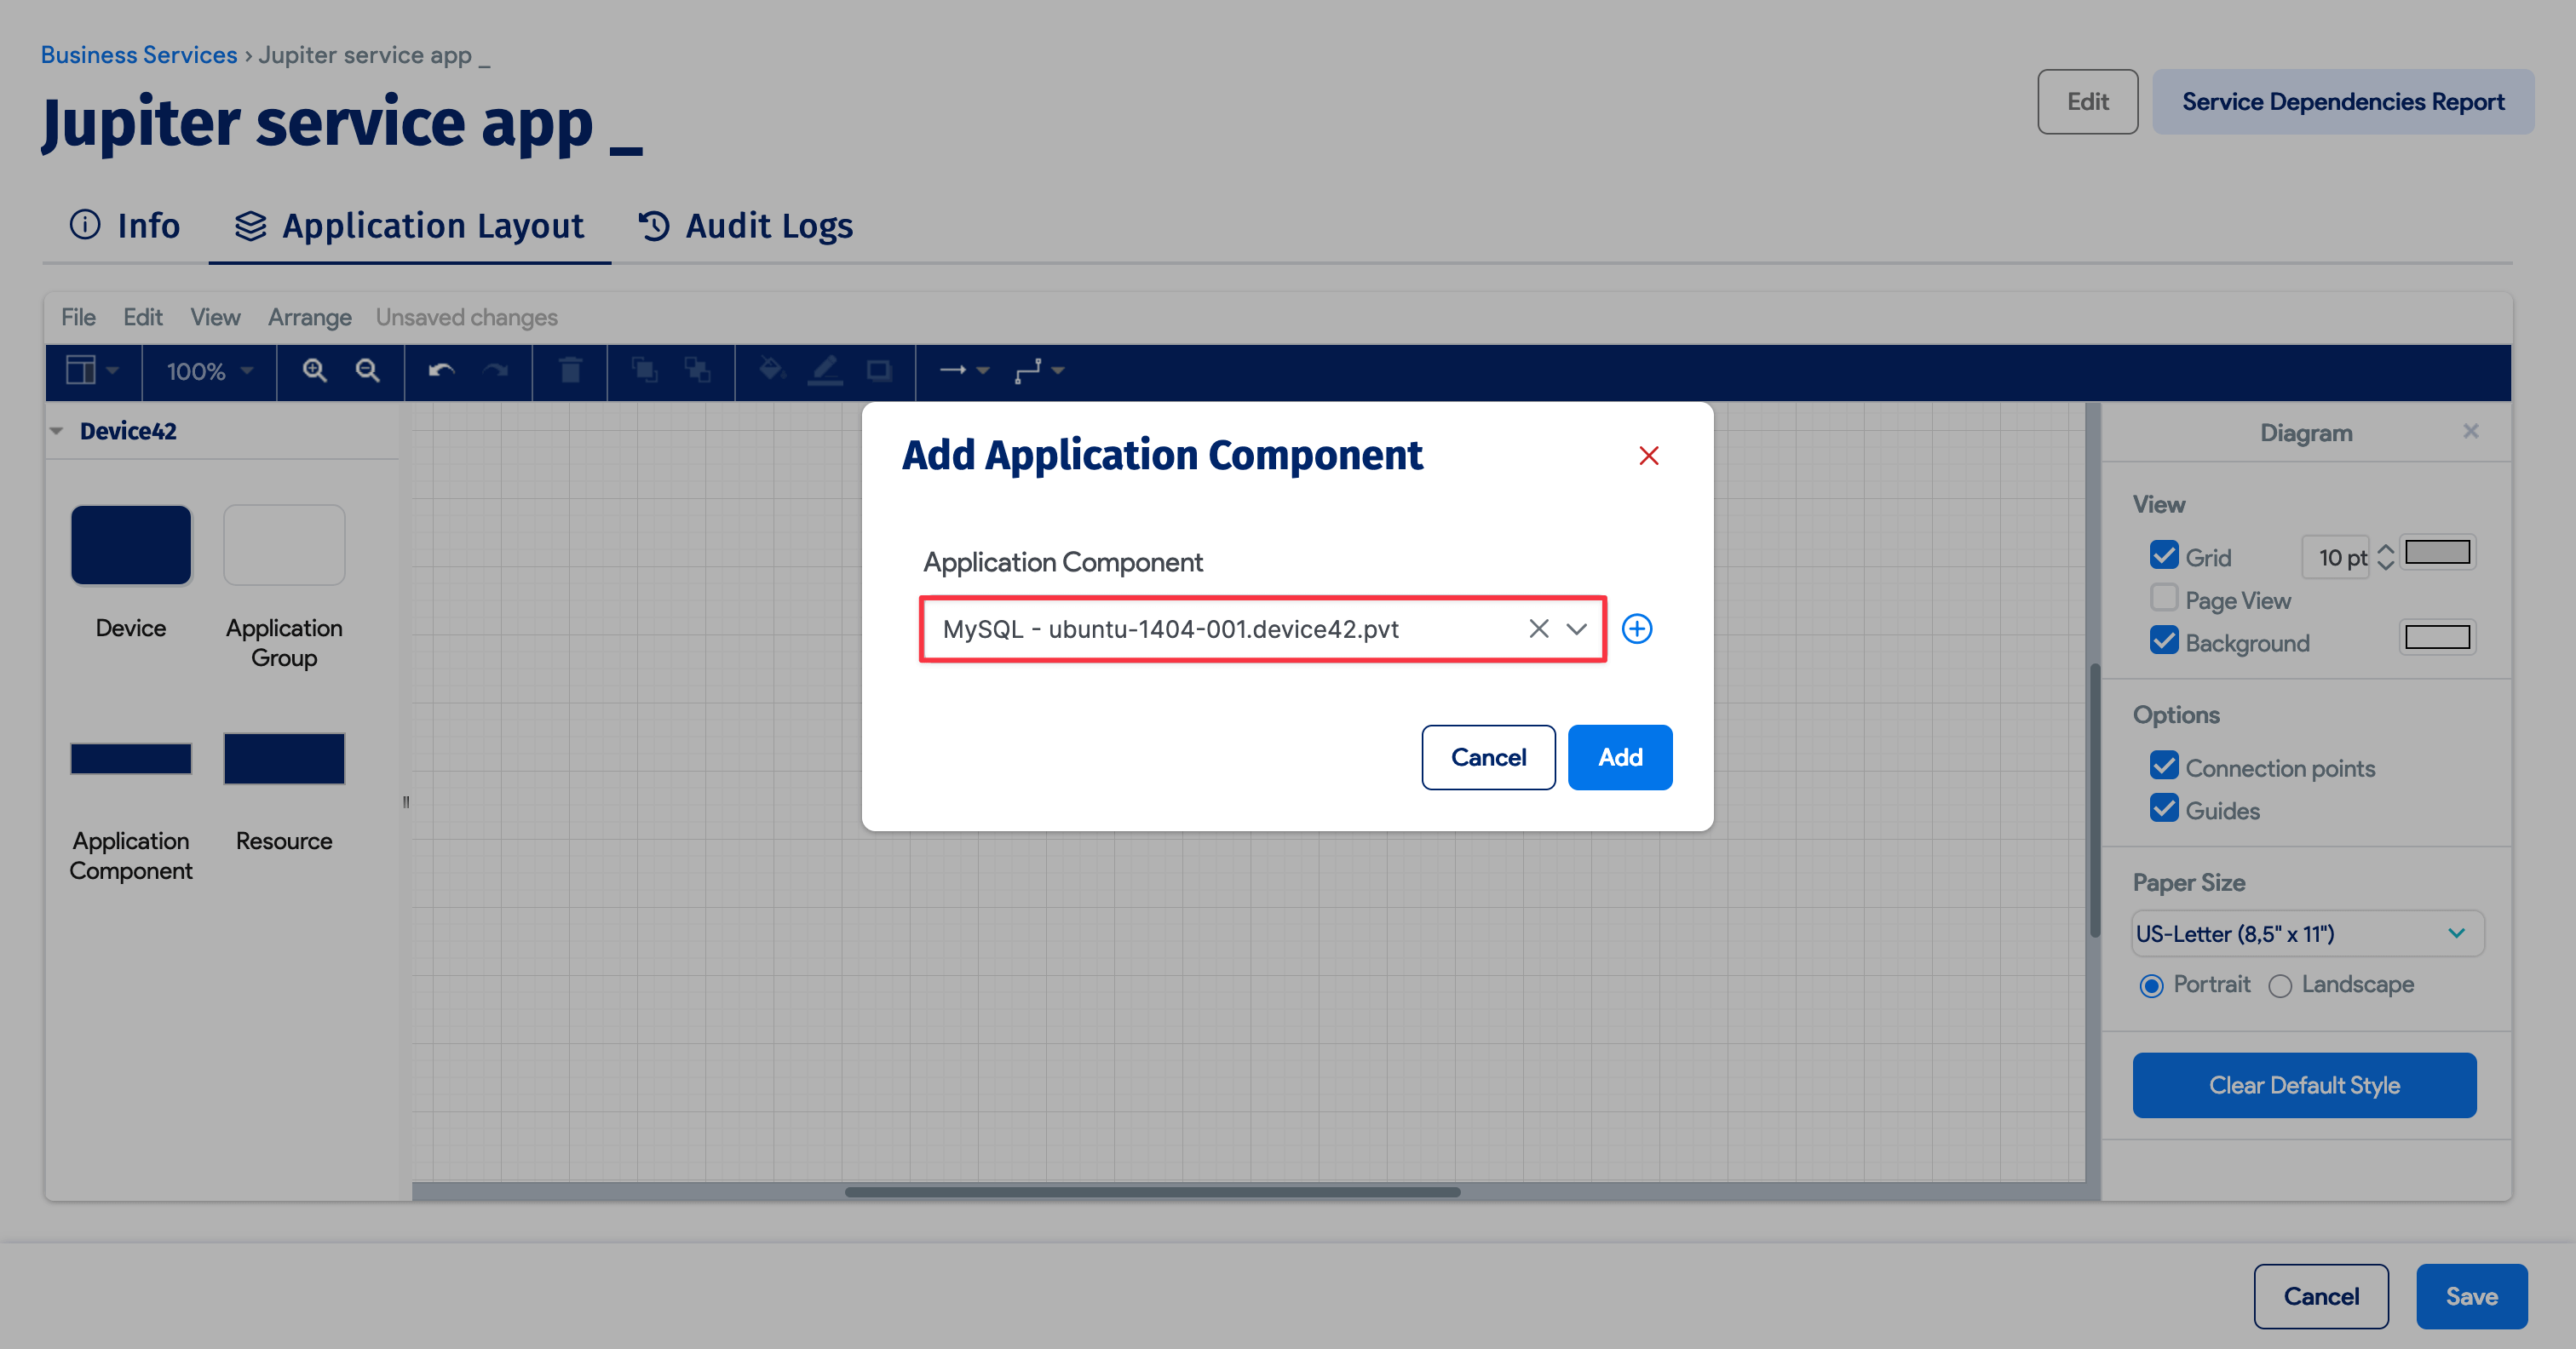
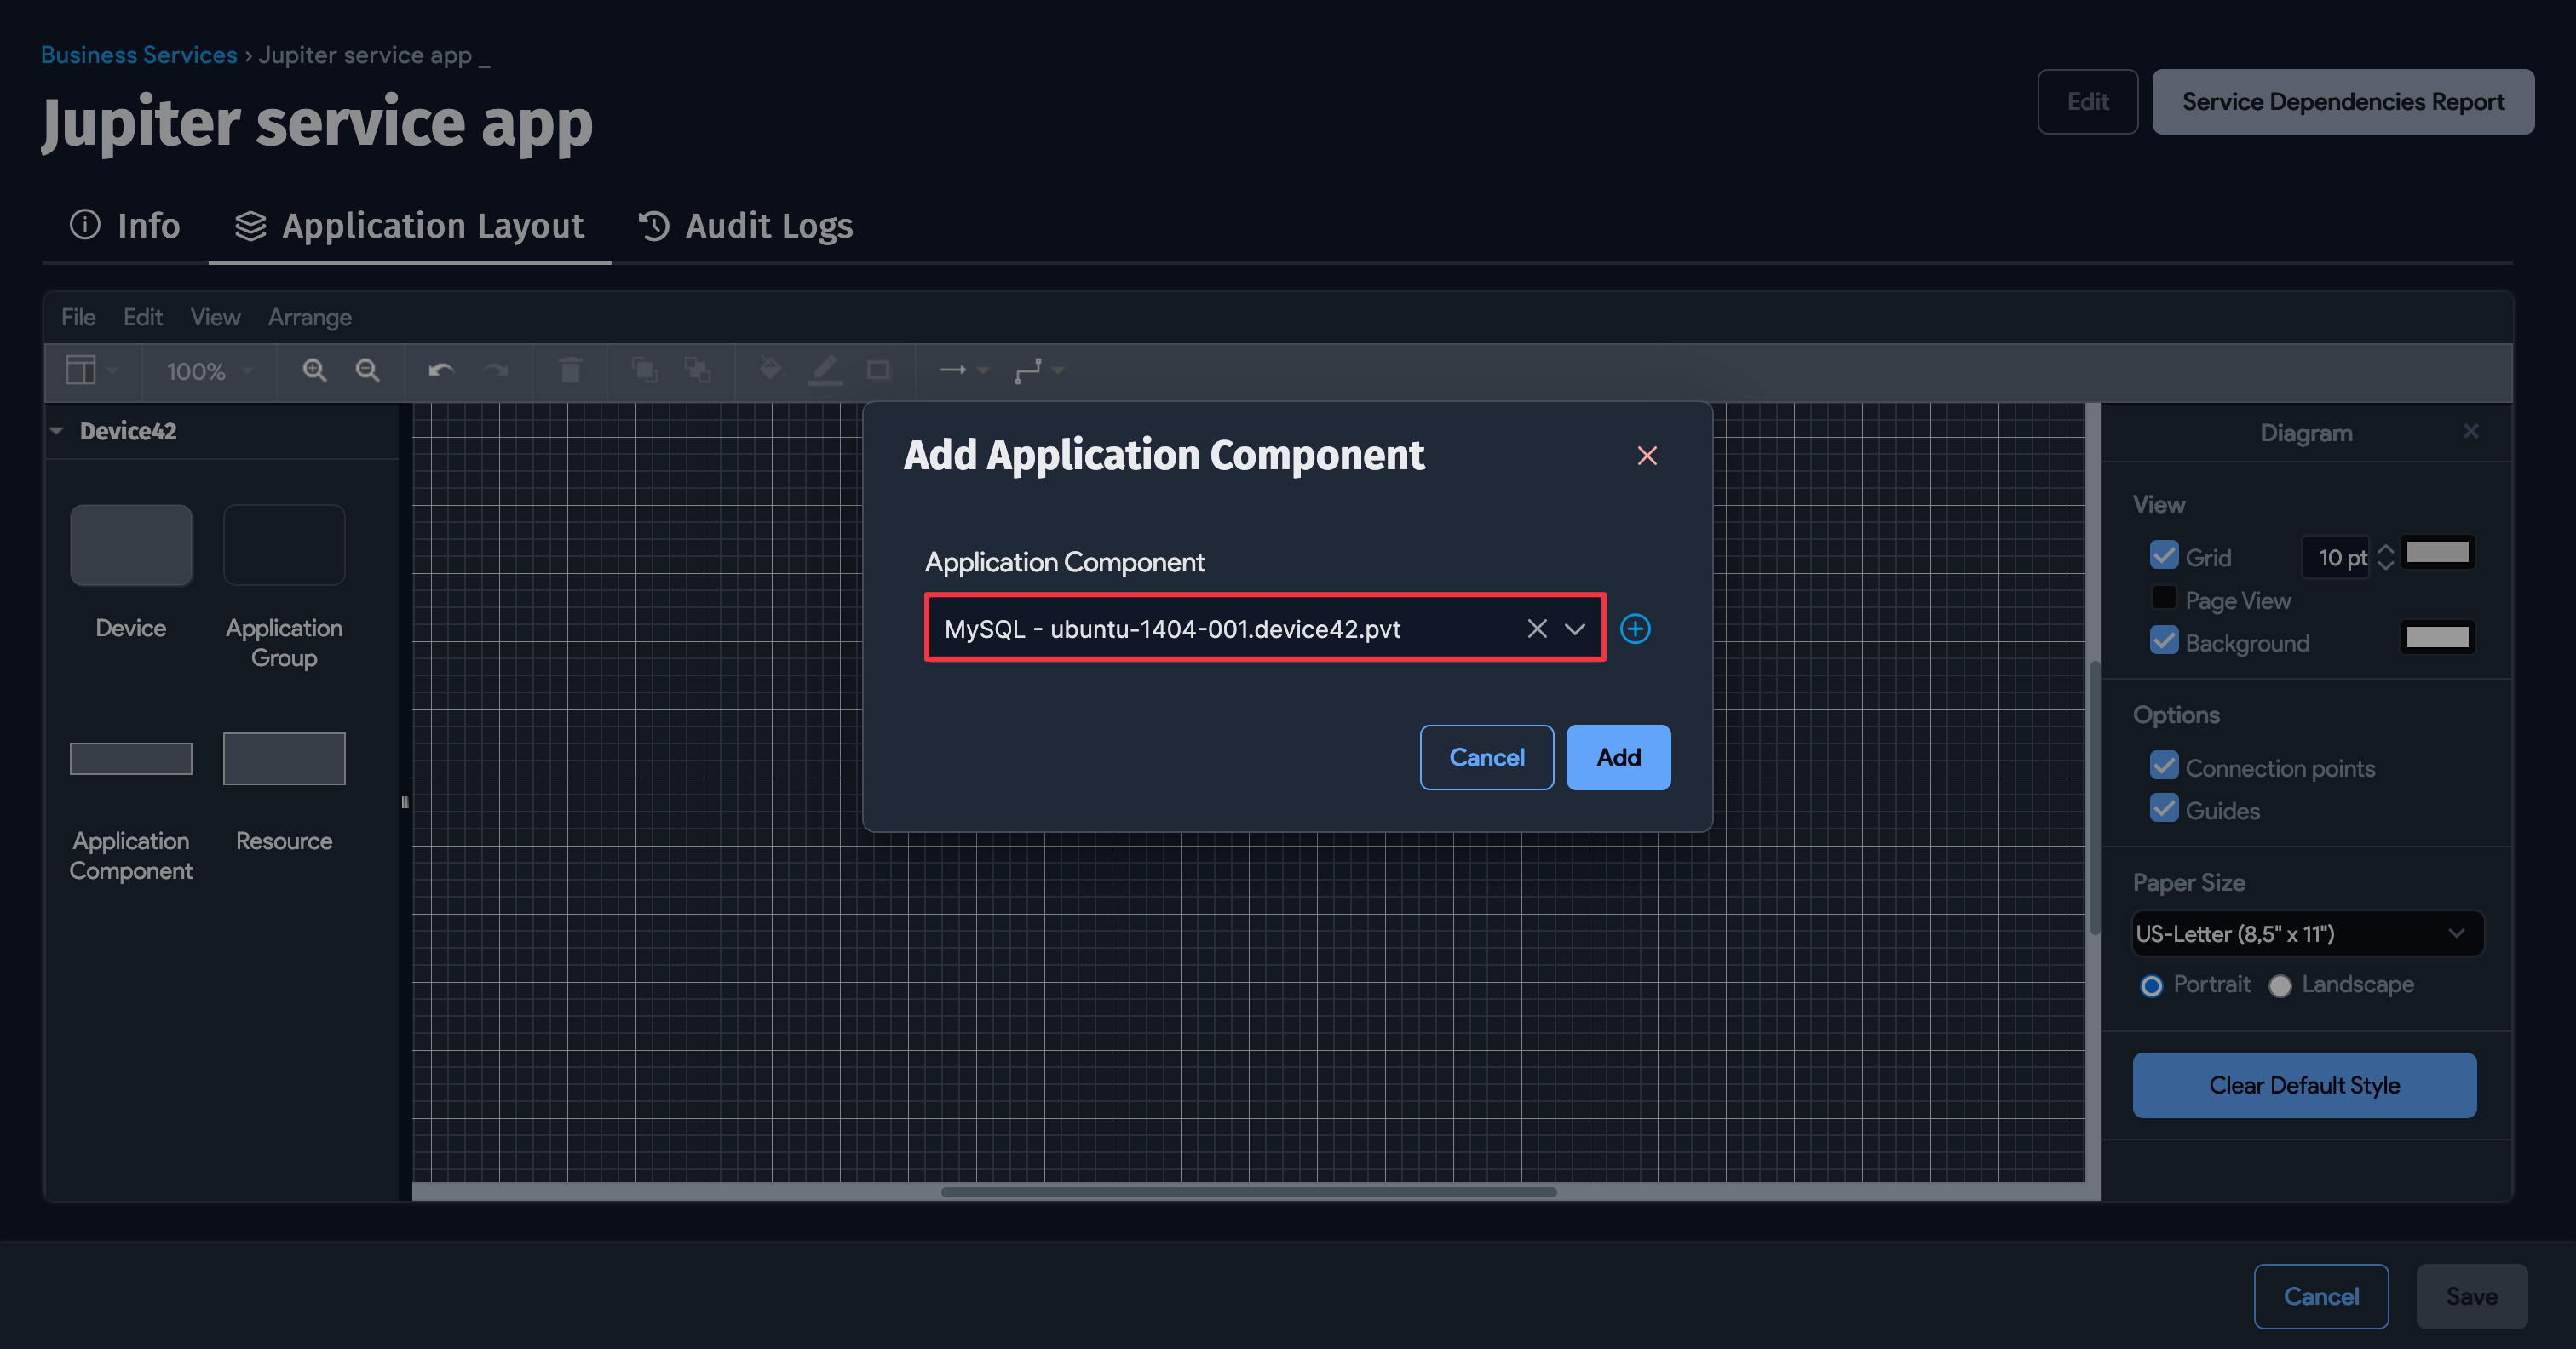
Drag the Application Component block to the canvas to open the Add Application Component box.
Search for a component by typing its name in the search box. You can also click the + button to add a new component.
Add Application Groups
Efficiently keep track of changes and additions to devices by setting up an Application Group. After adding an Application Group to an application, configure an alert to send notifications when devices change within or are added to the Application Group. First, add a new Application Group as follows:
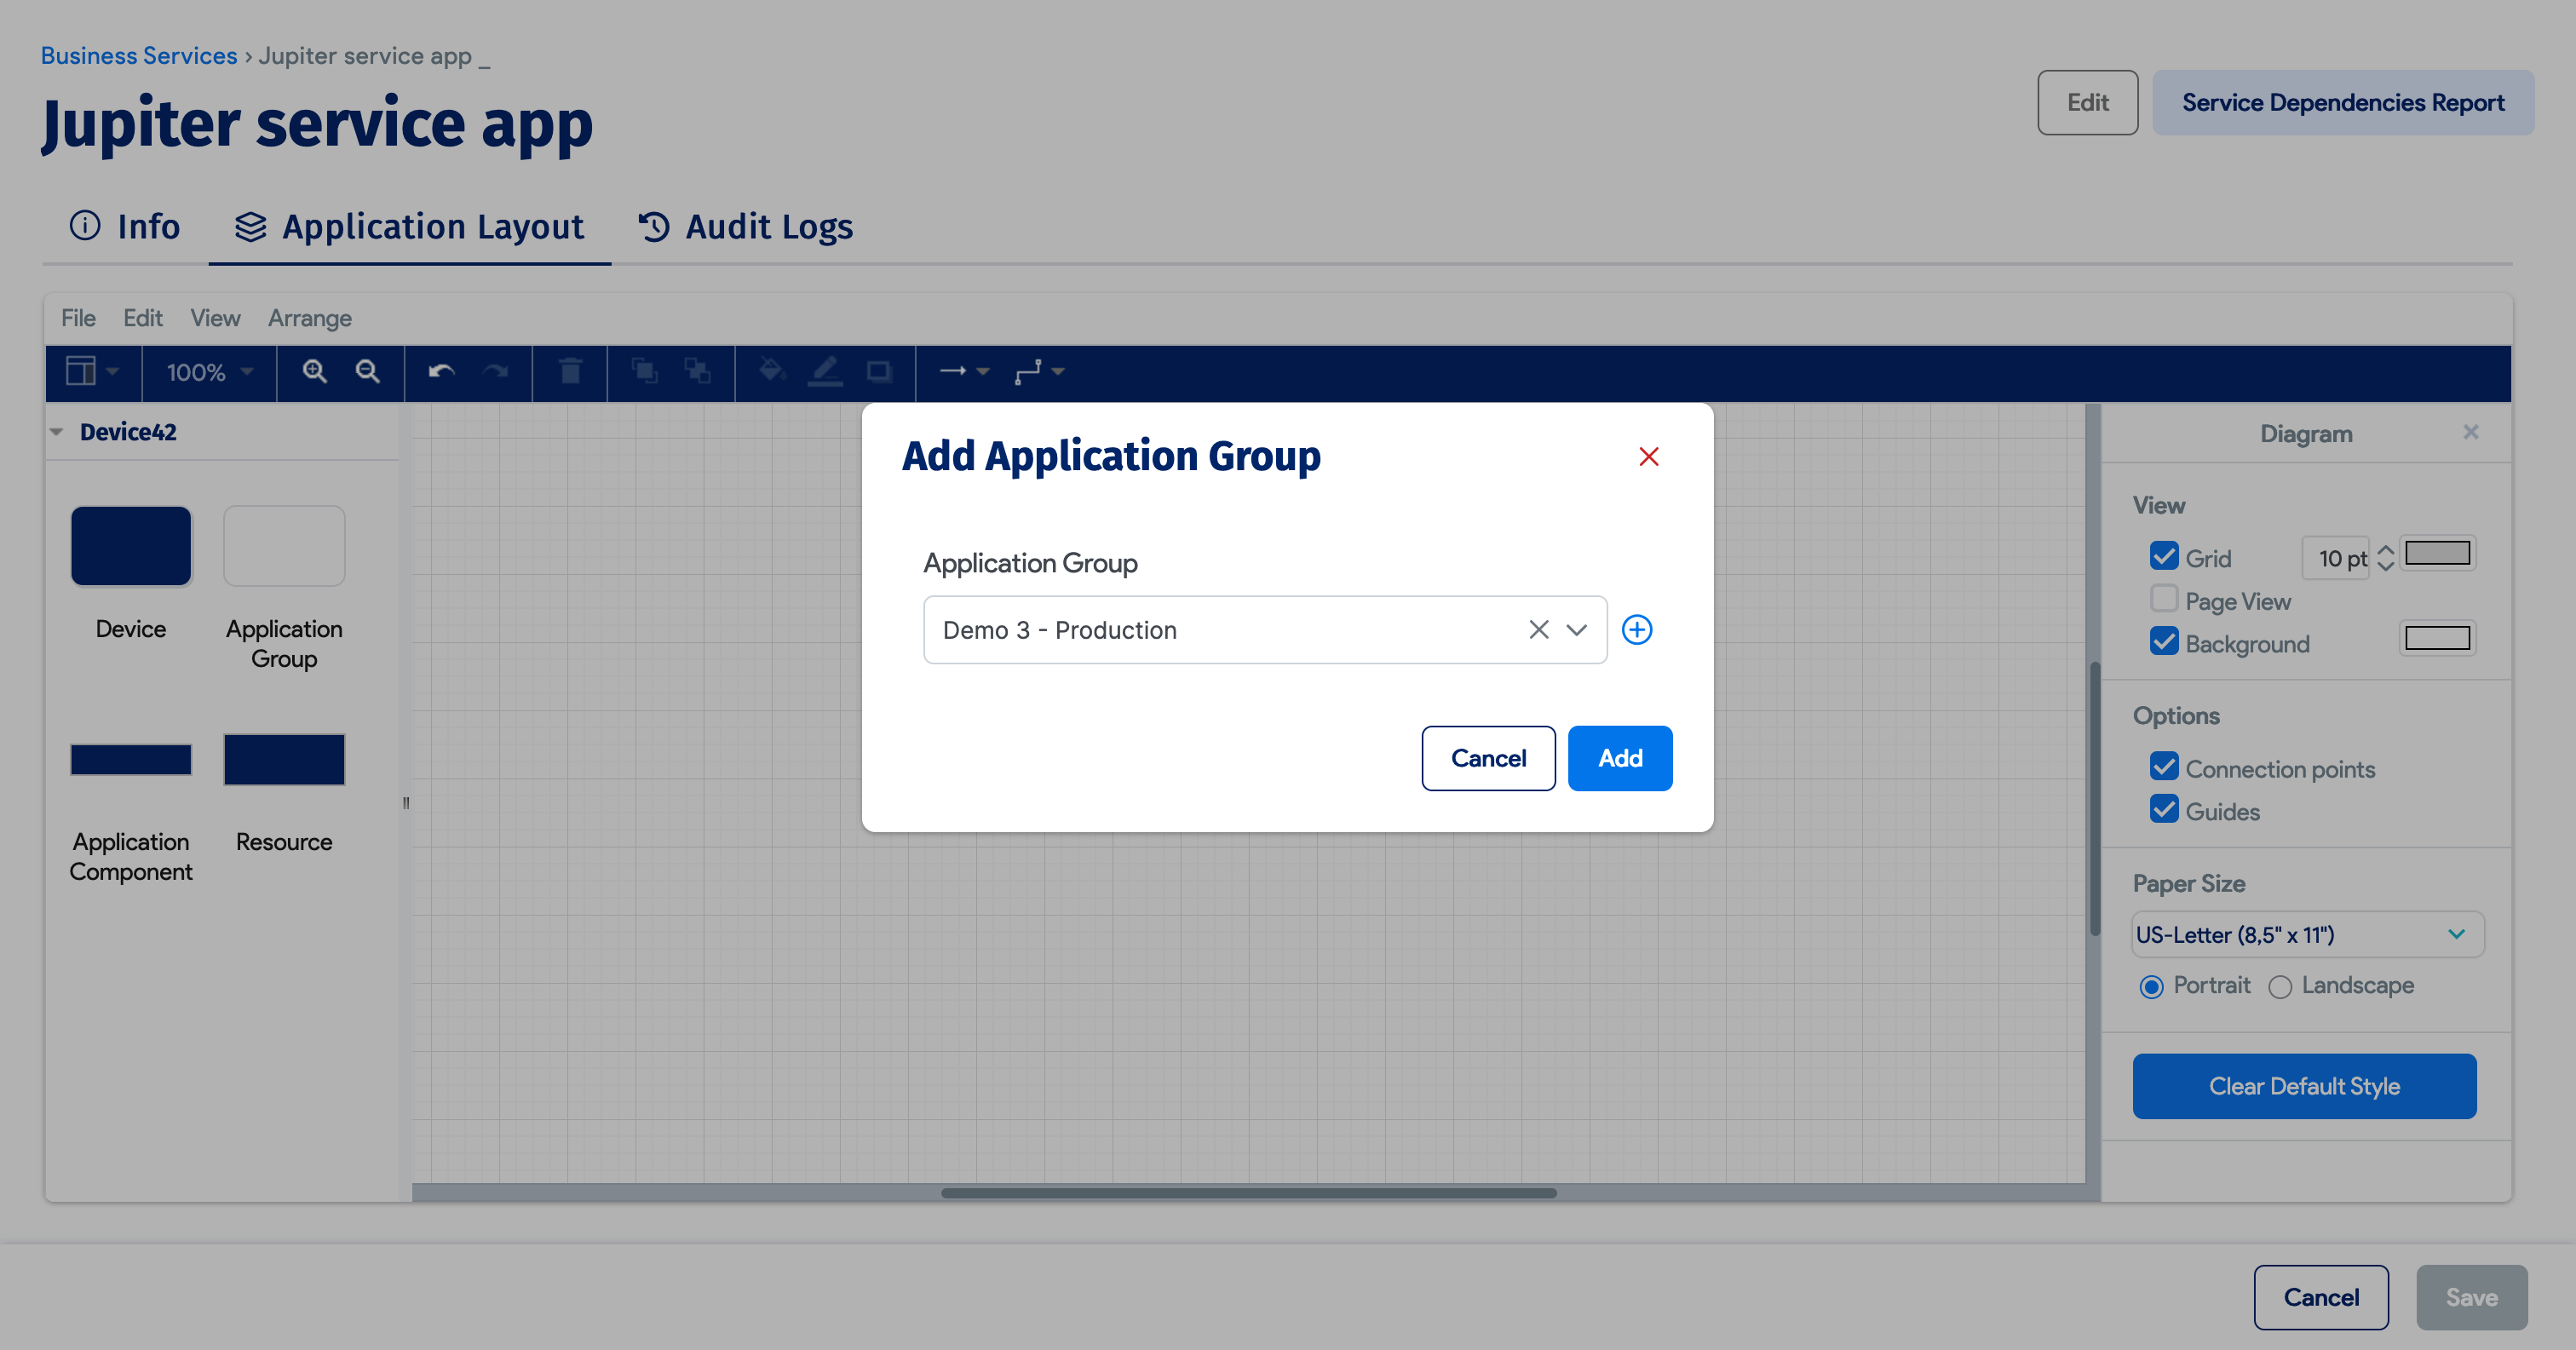
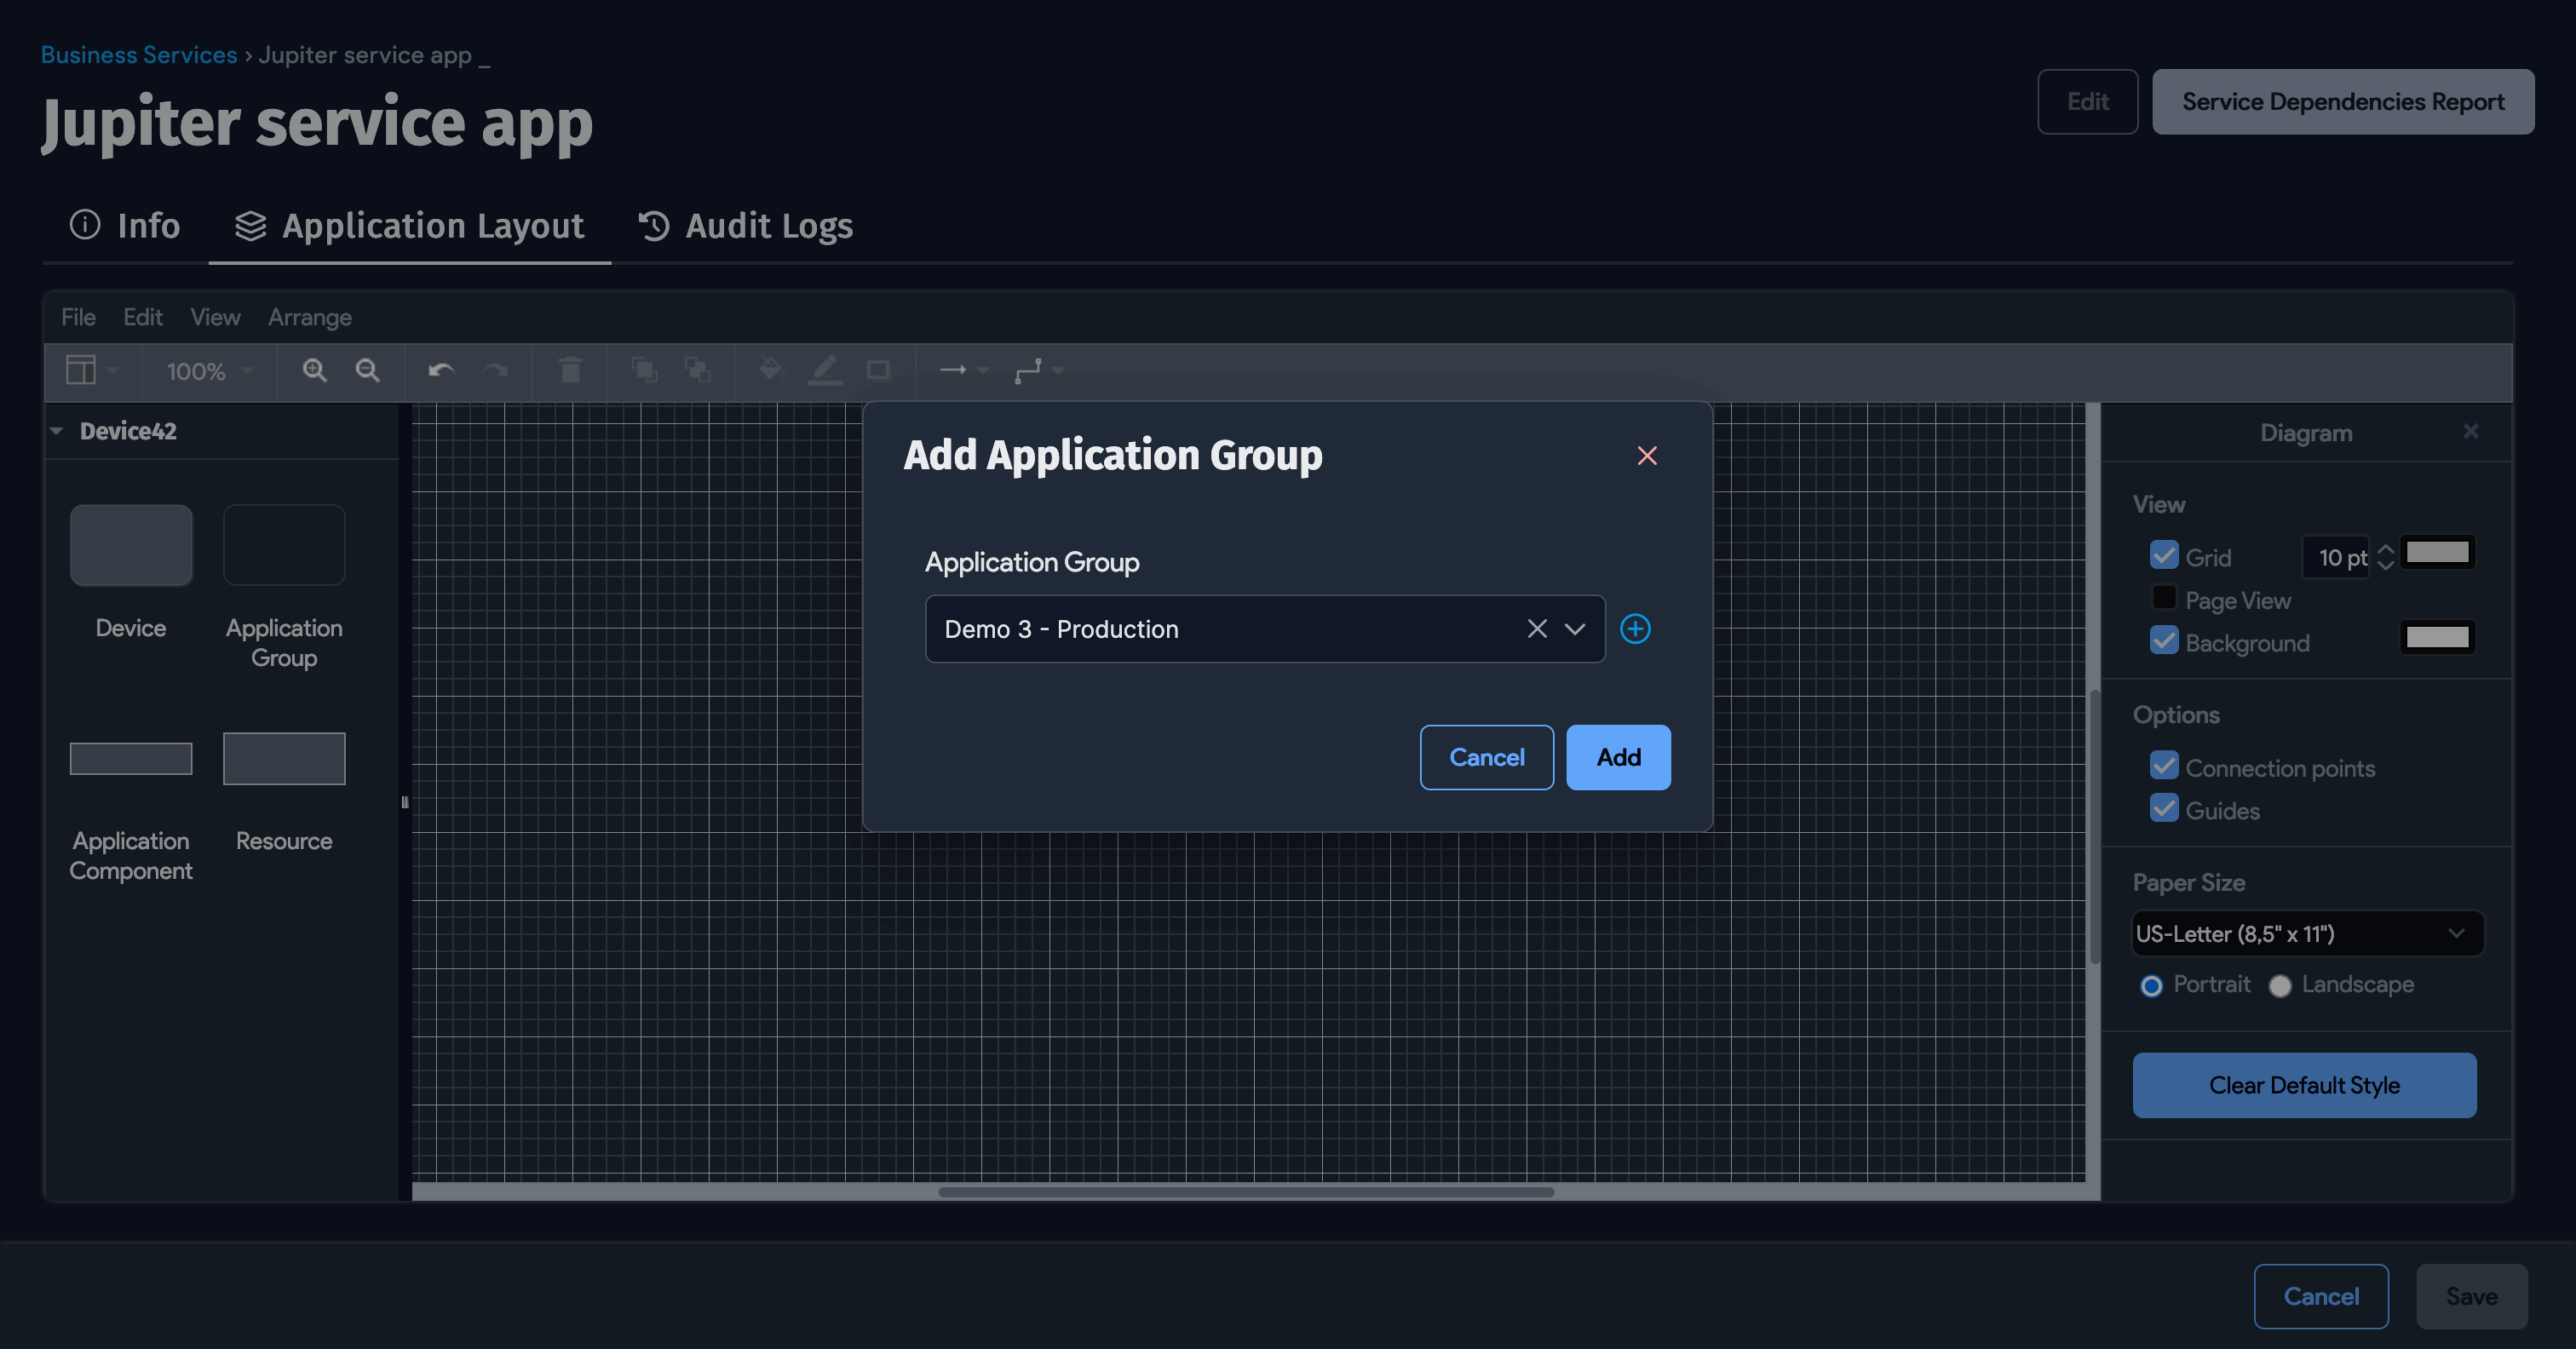
- Drag an Application Group block to the canvas to bring up the Add Application Group box. Search for an Application Group by typing the name of the Application Group in the search box. You can also click the + button to add a new Application Group.
Add Devices
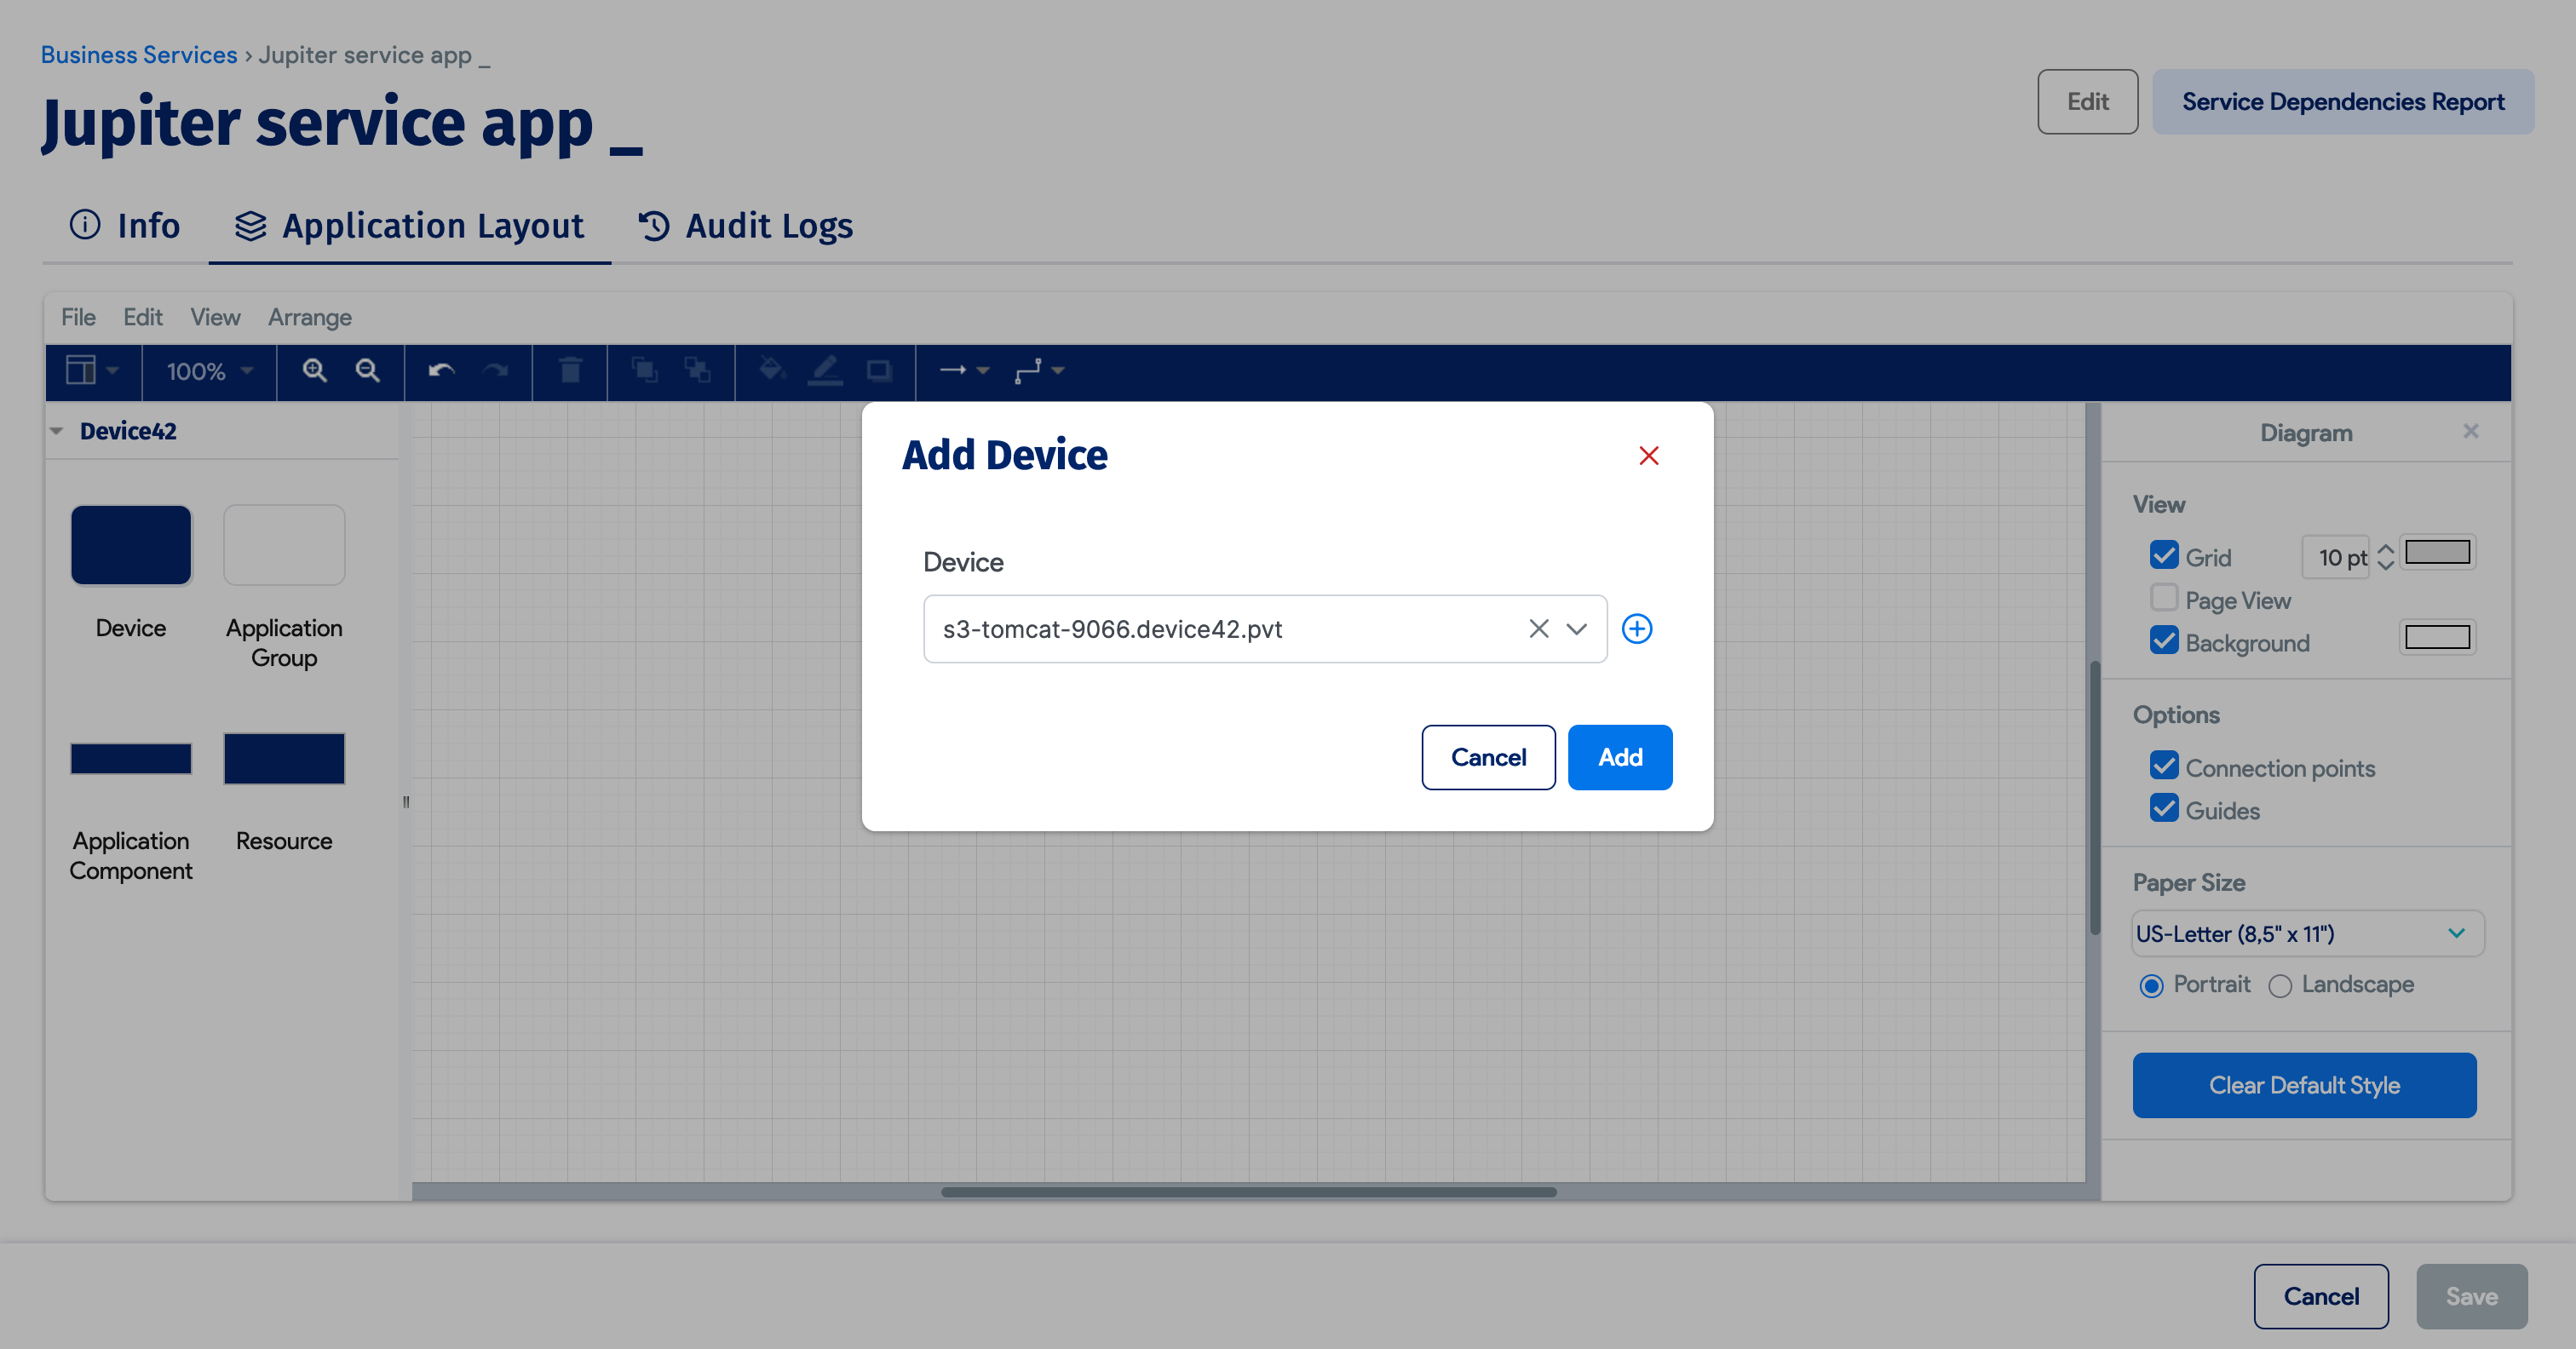
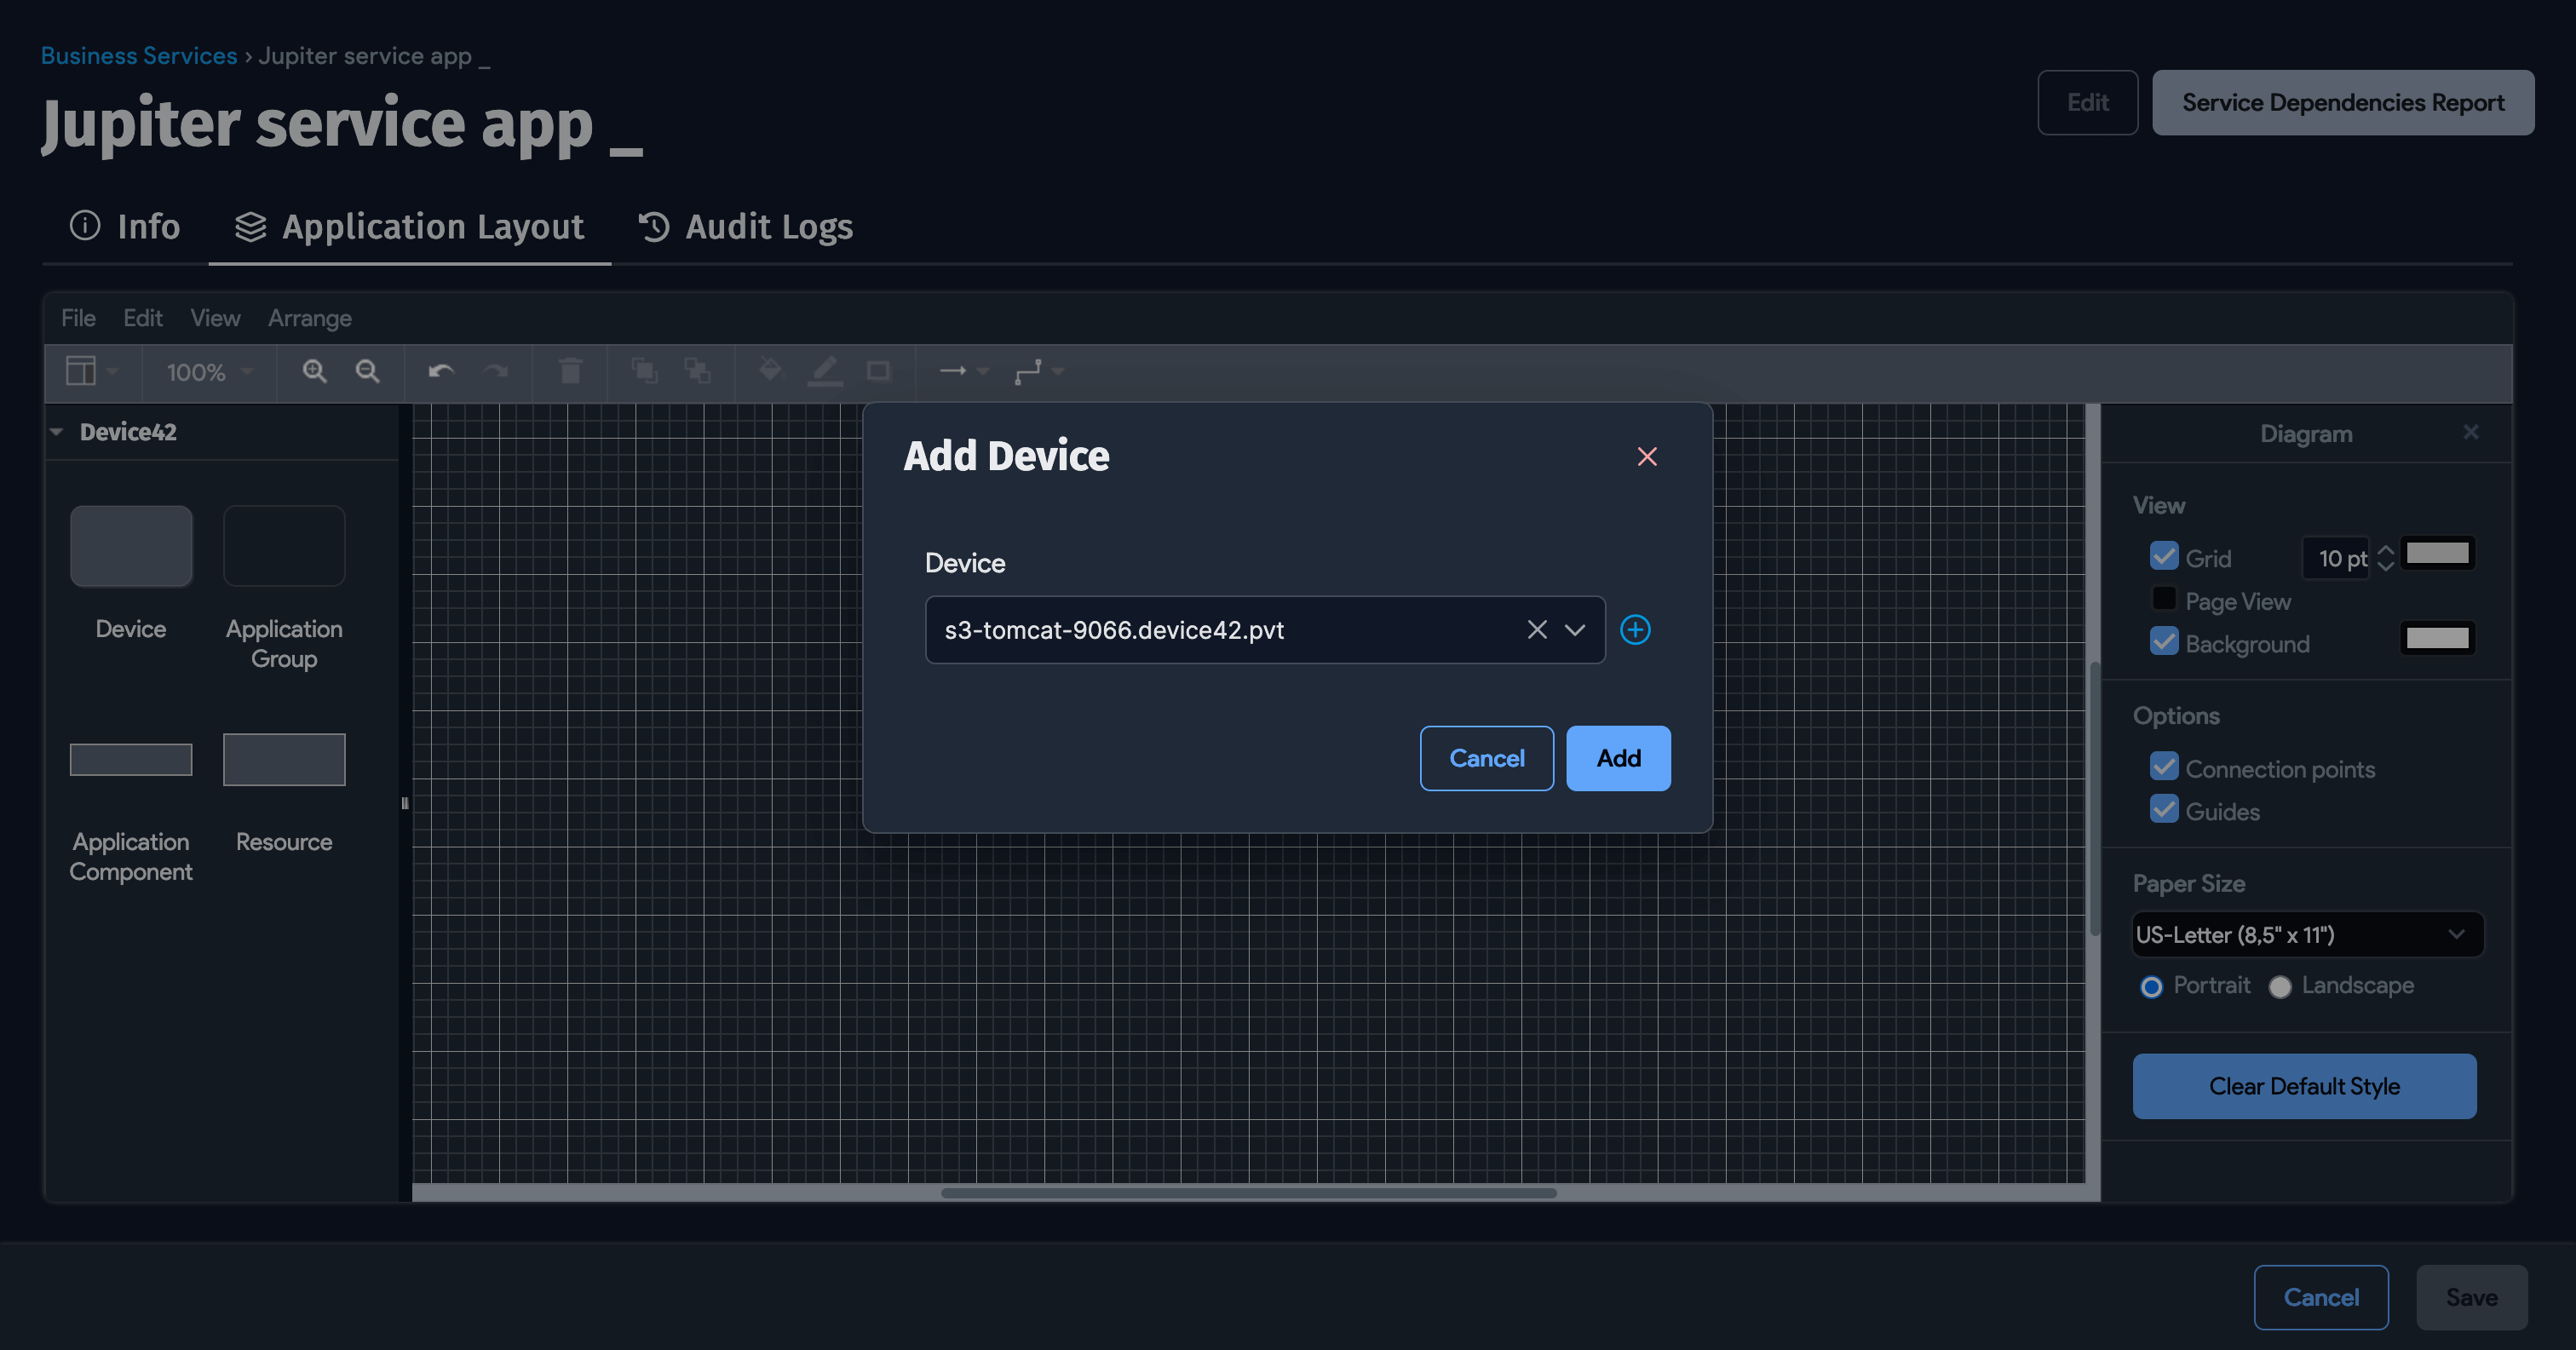
To add a device to a Business Service, drag a Device block to the canvas – this will open the Add Device box. You can search for a device by typing the name of the device in the search box.
Select a device from the list, and then click Add. Device42 adds the device to the canvas. Additionally, you can click the + button to add a new device.
Draw Connections
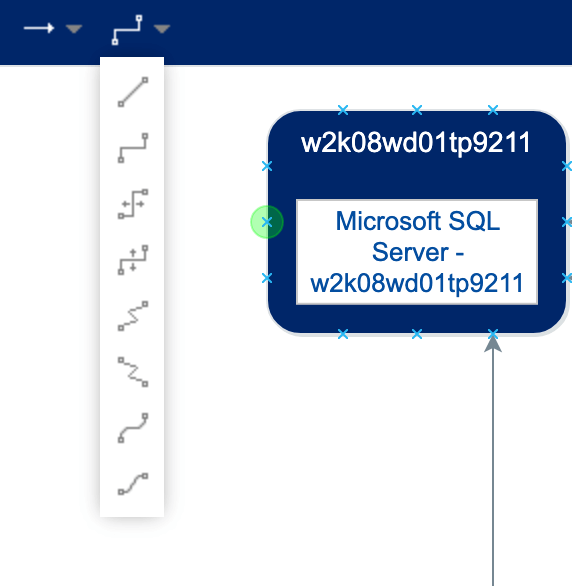
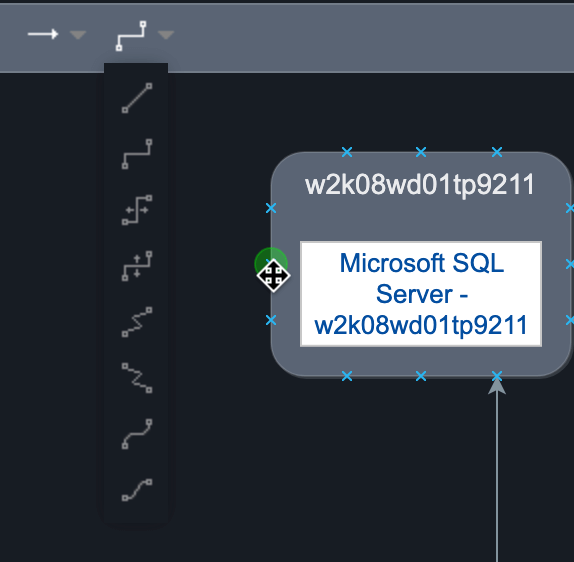
Hover over items to reveal a green circle, then click the circle and drag your cursor to draw the line to the item you want the first item to connect to. You can change the line's appearance using the line options dropdown in the toolbar.
Include Text
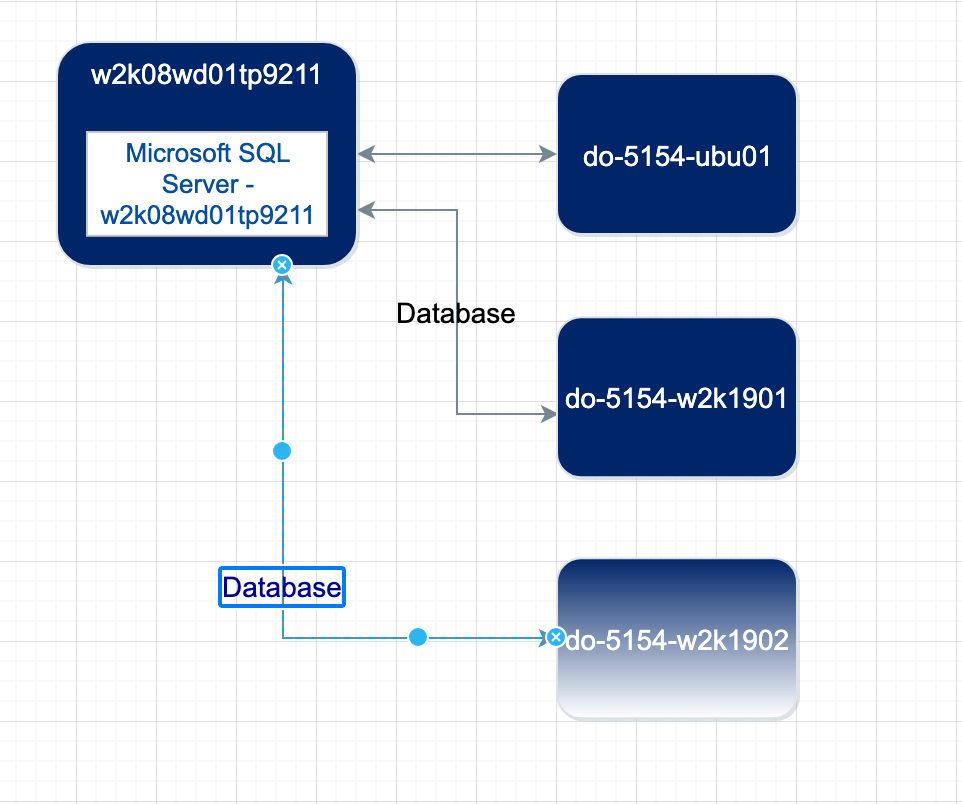
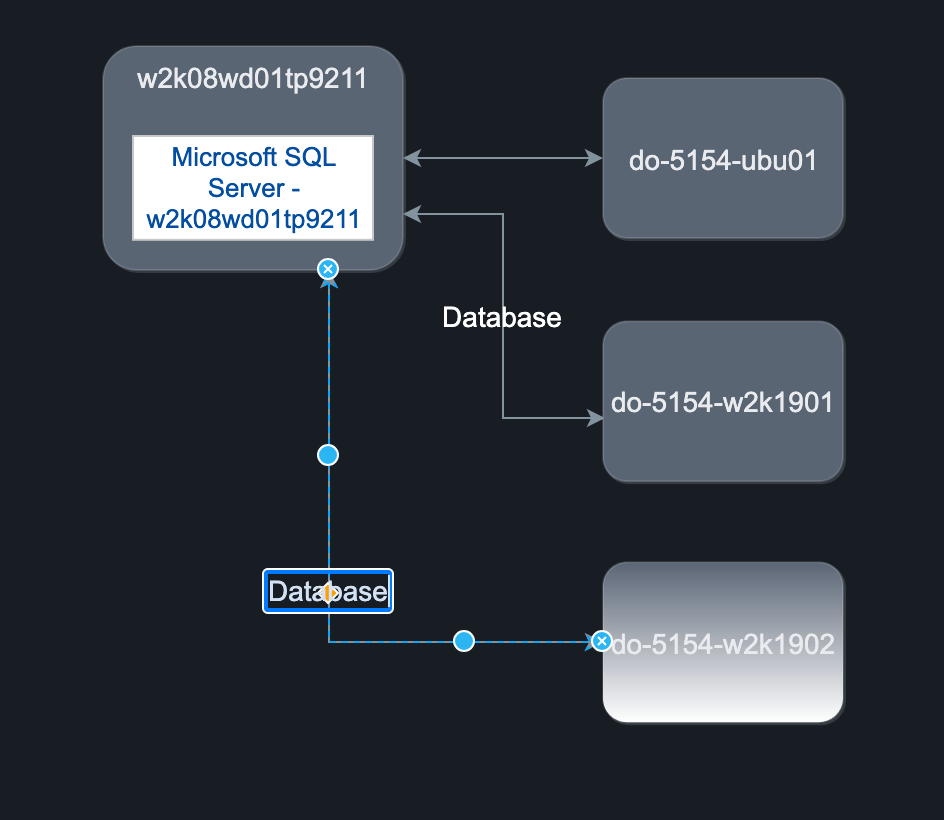
Double-click anywhere on the canvas to create a text box with a background color.
To label connection lines, click on a connection line and type the description or name of the connection it represents.
Save the Visualization
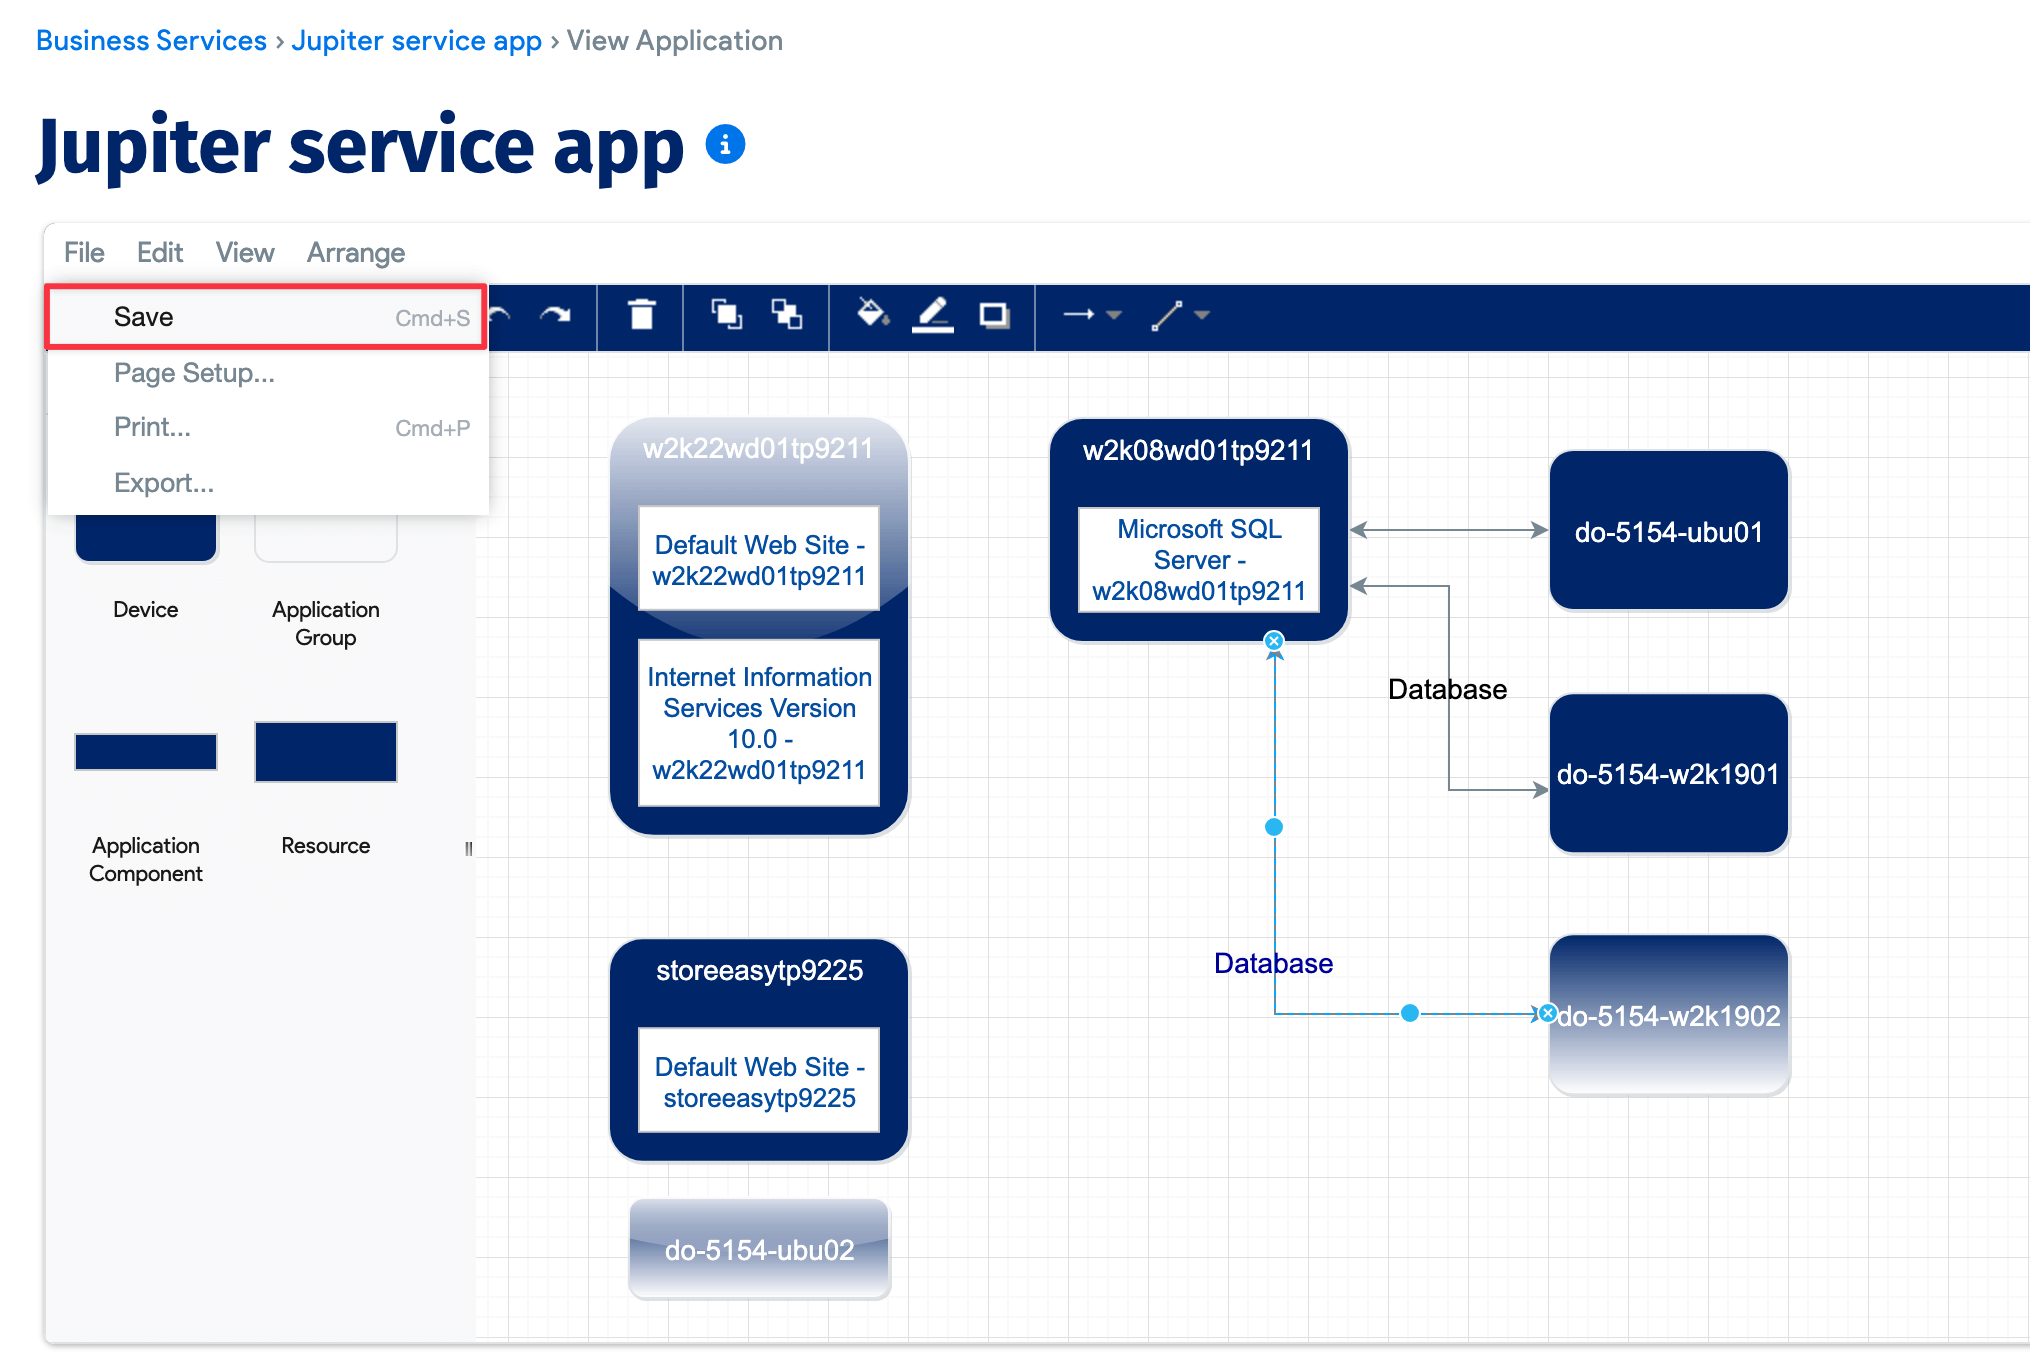
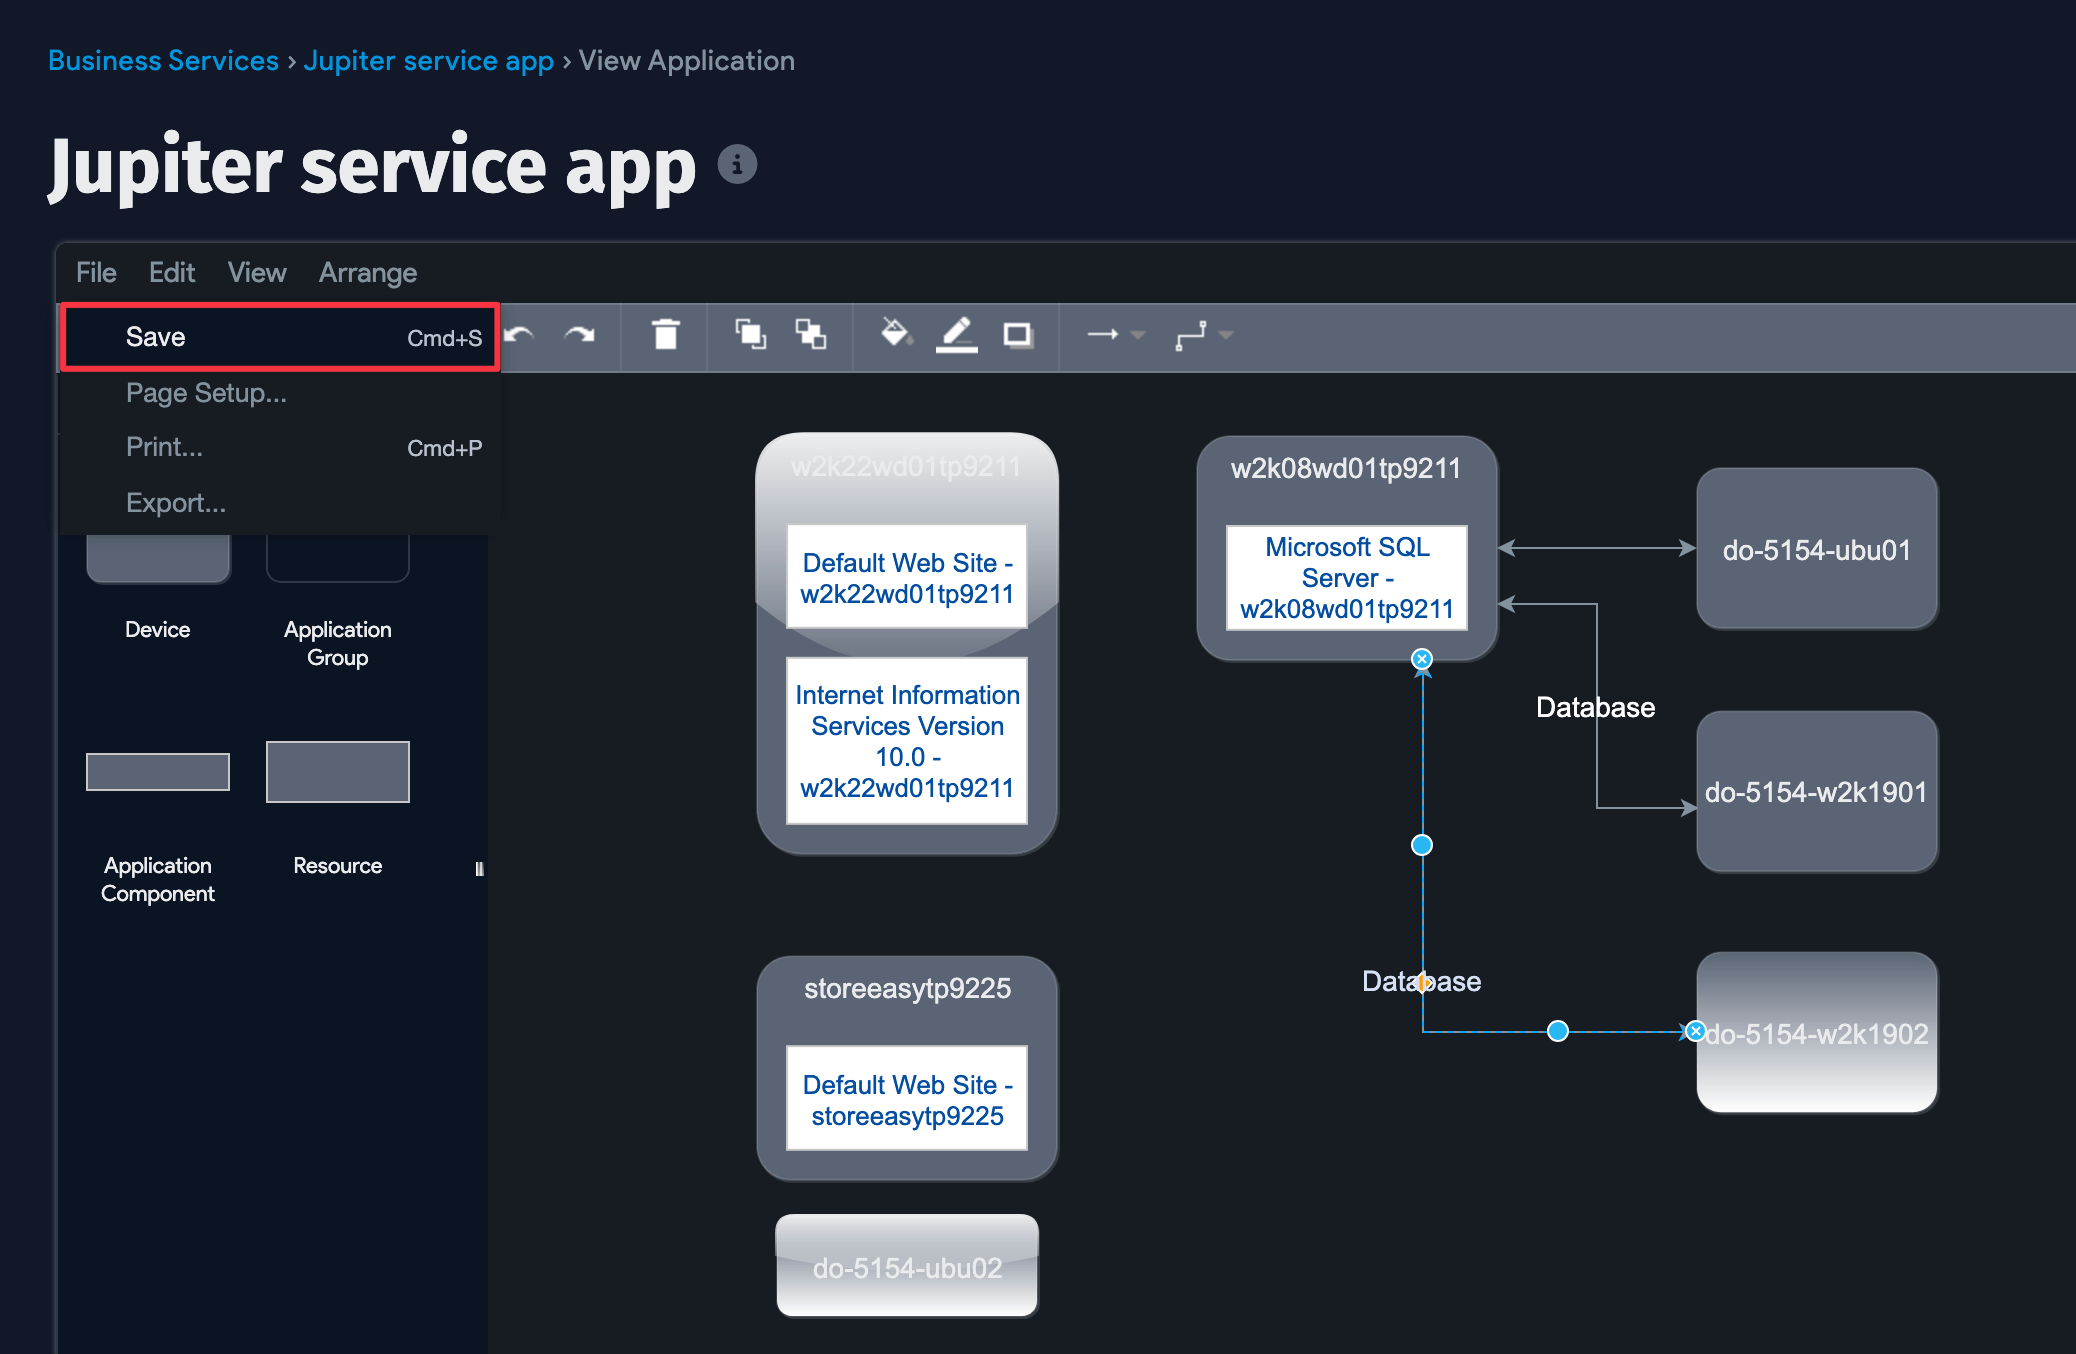
Click the File menu at the top of the canvas and select Save.
Edit Business Service Values
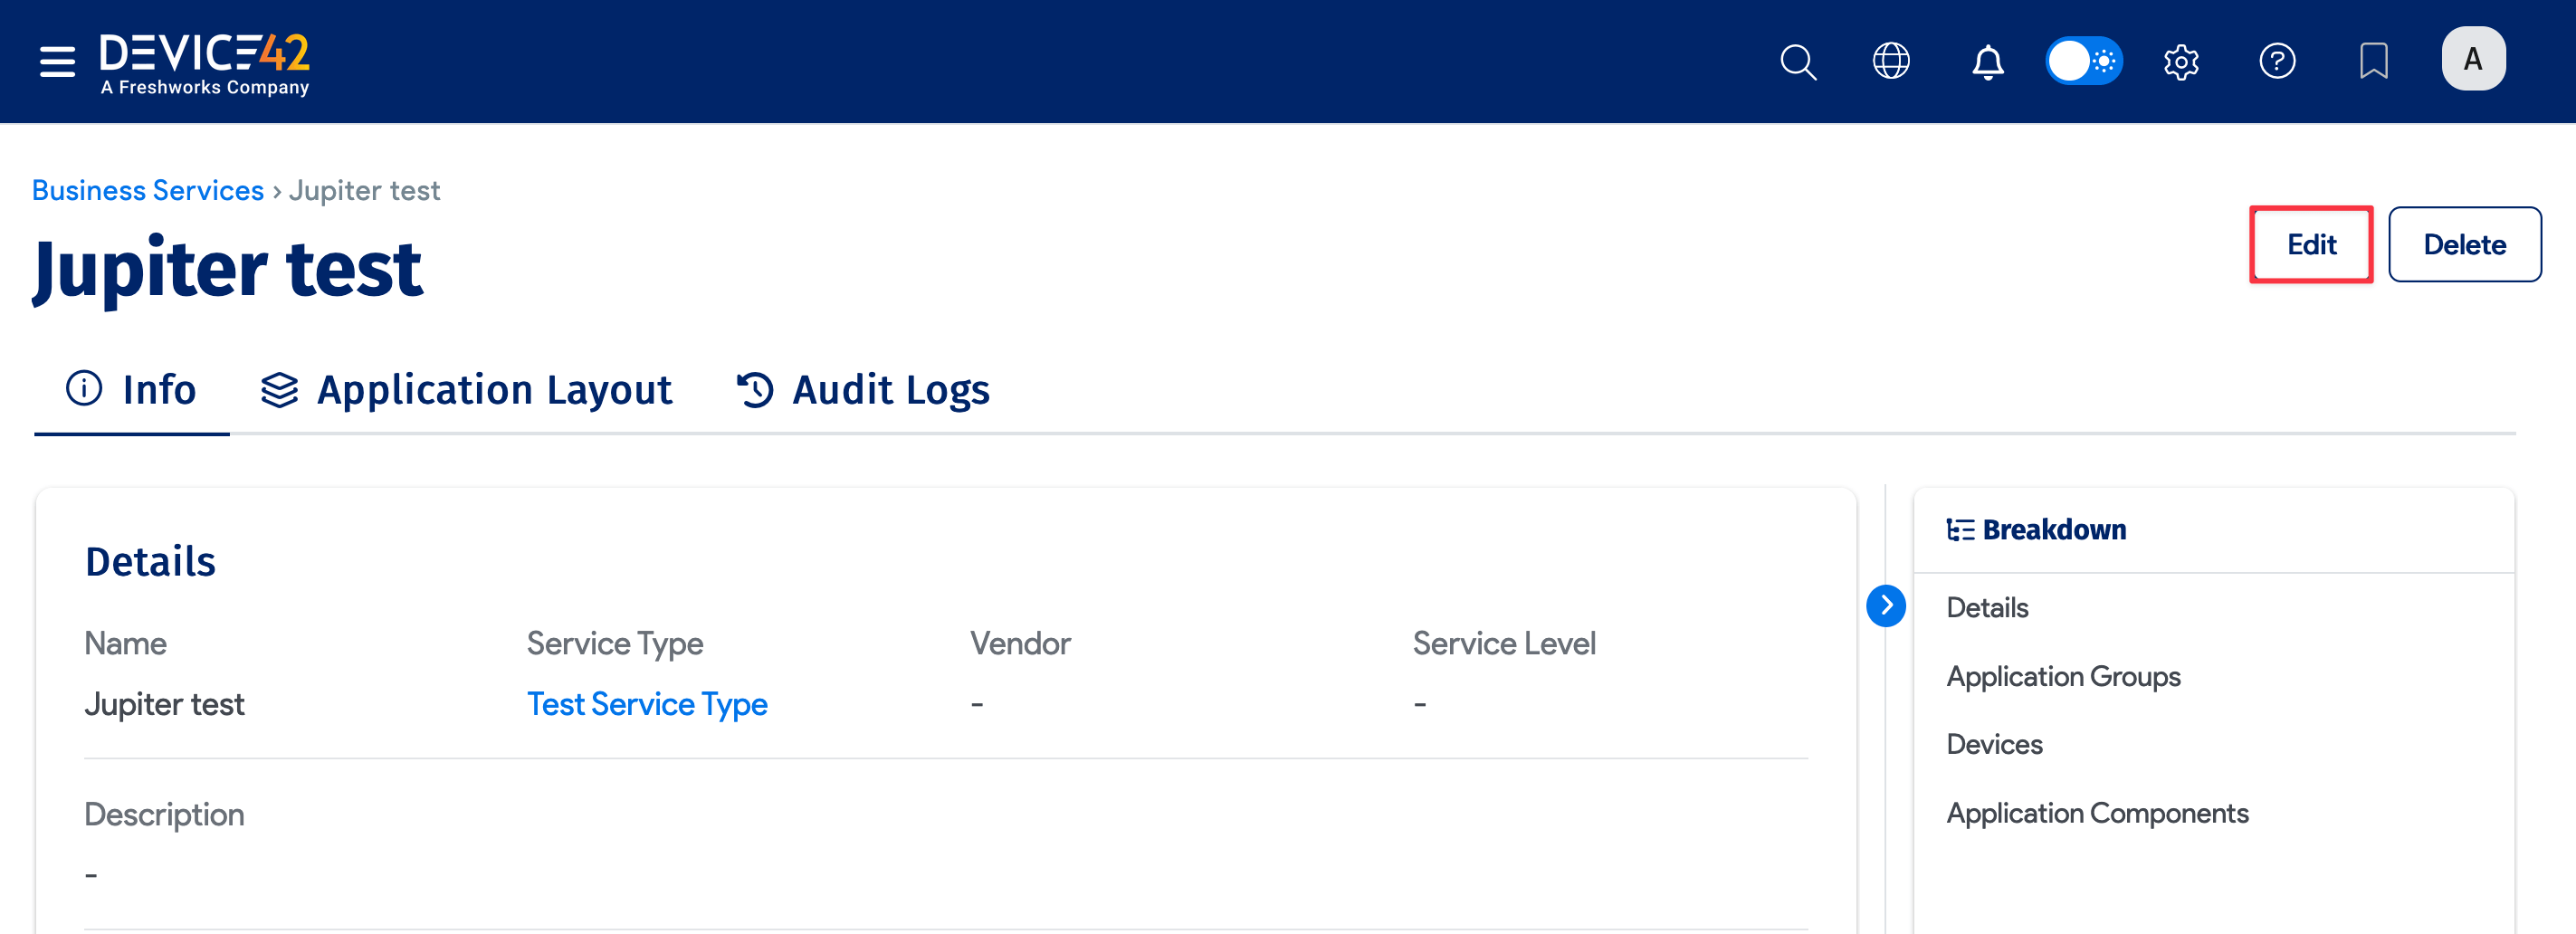
Click the Edit button on a Business Service's view page, make your changes, and click Save.


Edit or Delete a Service Type
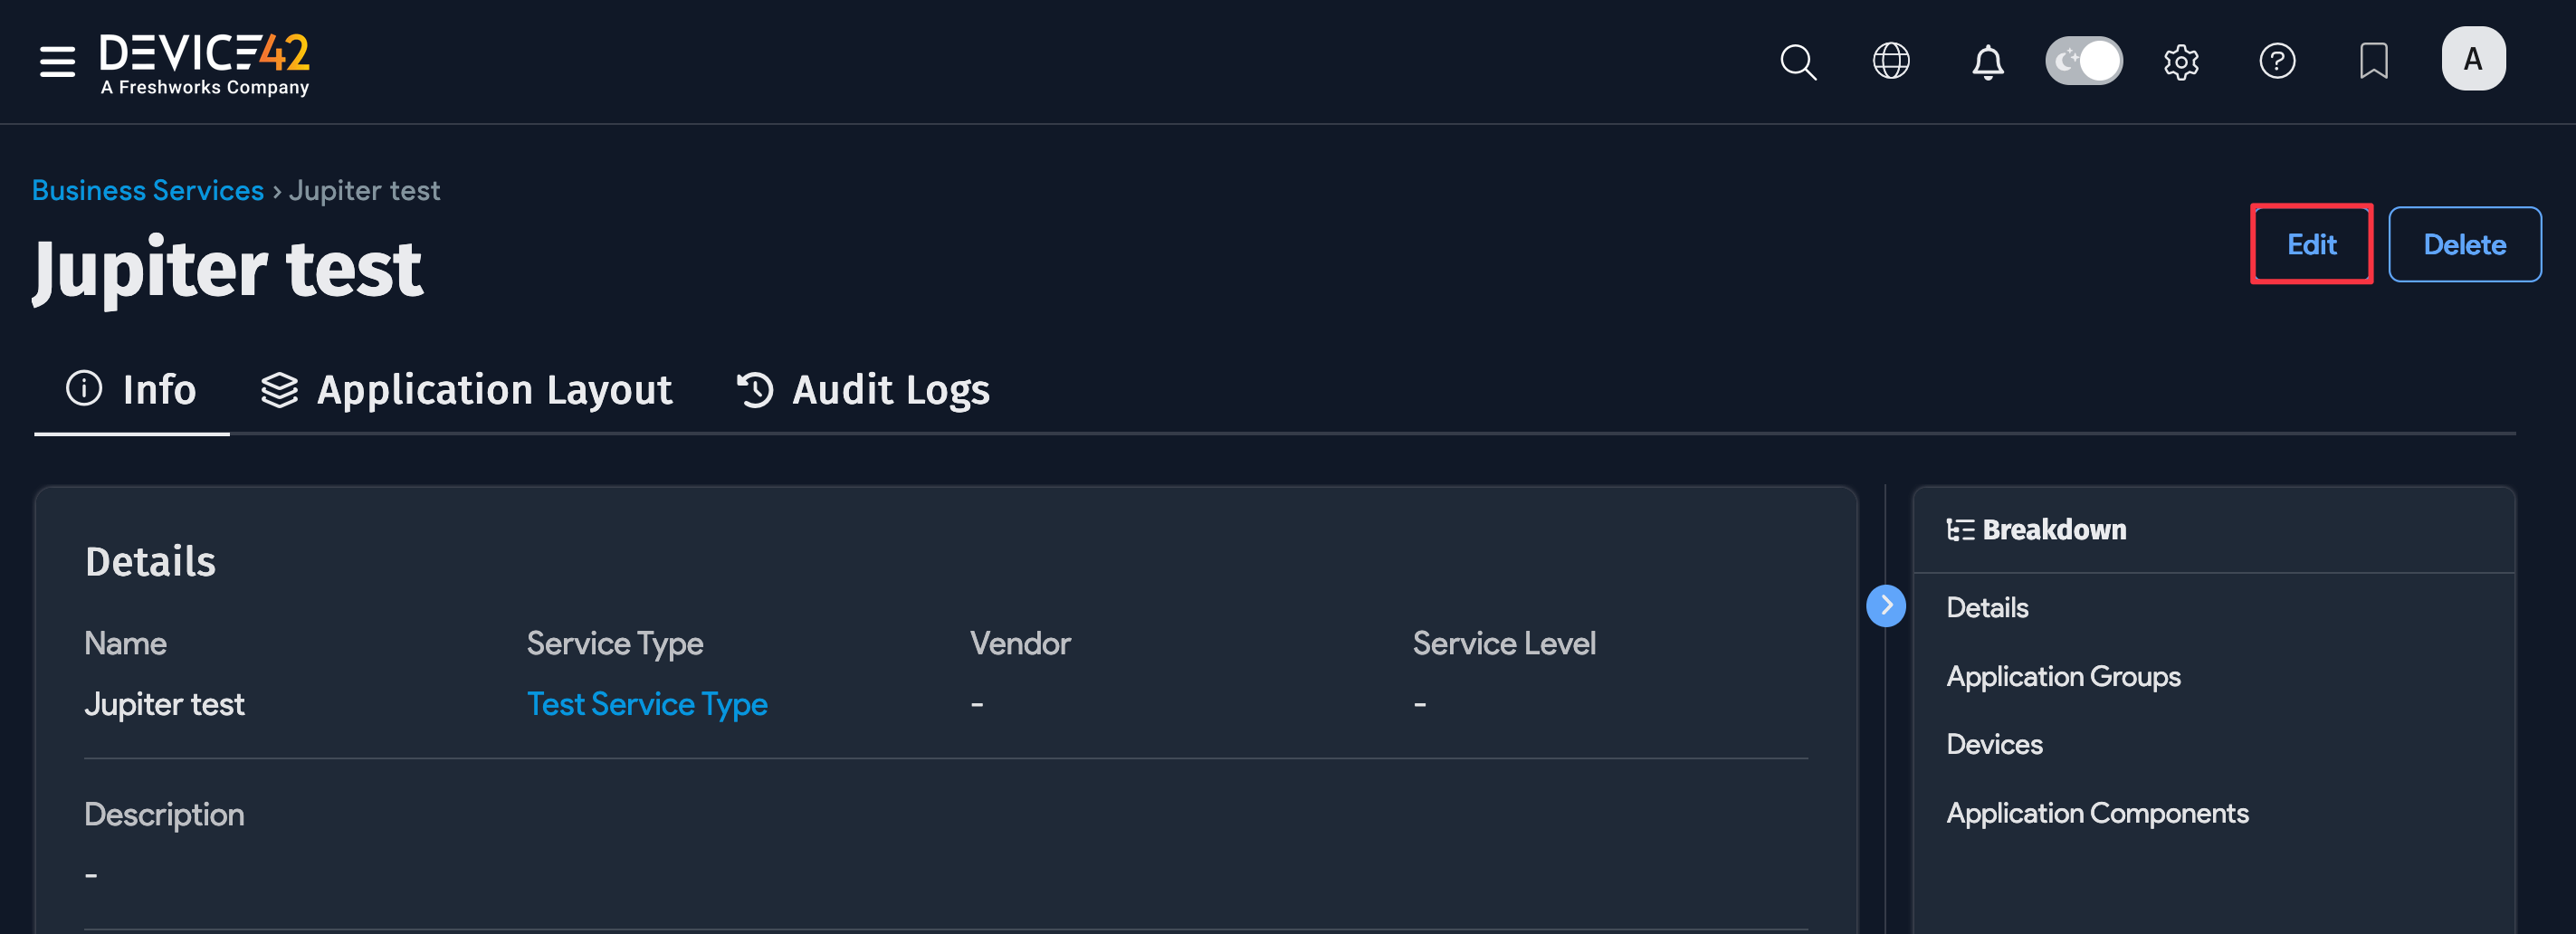
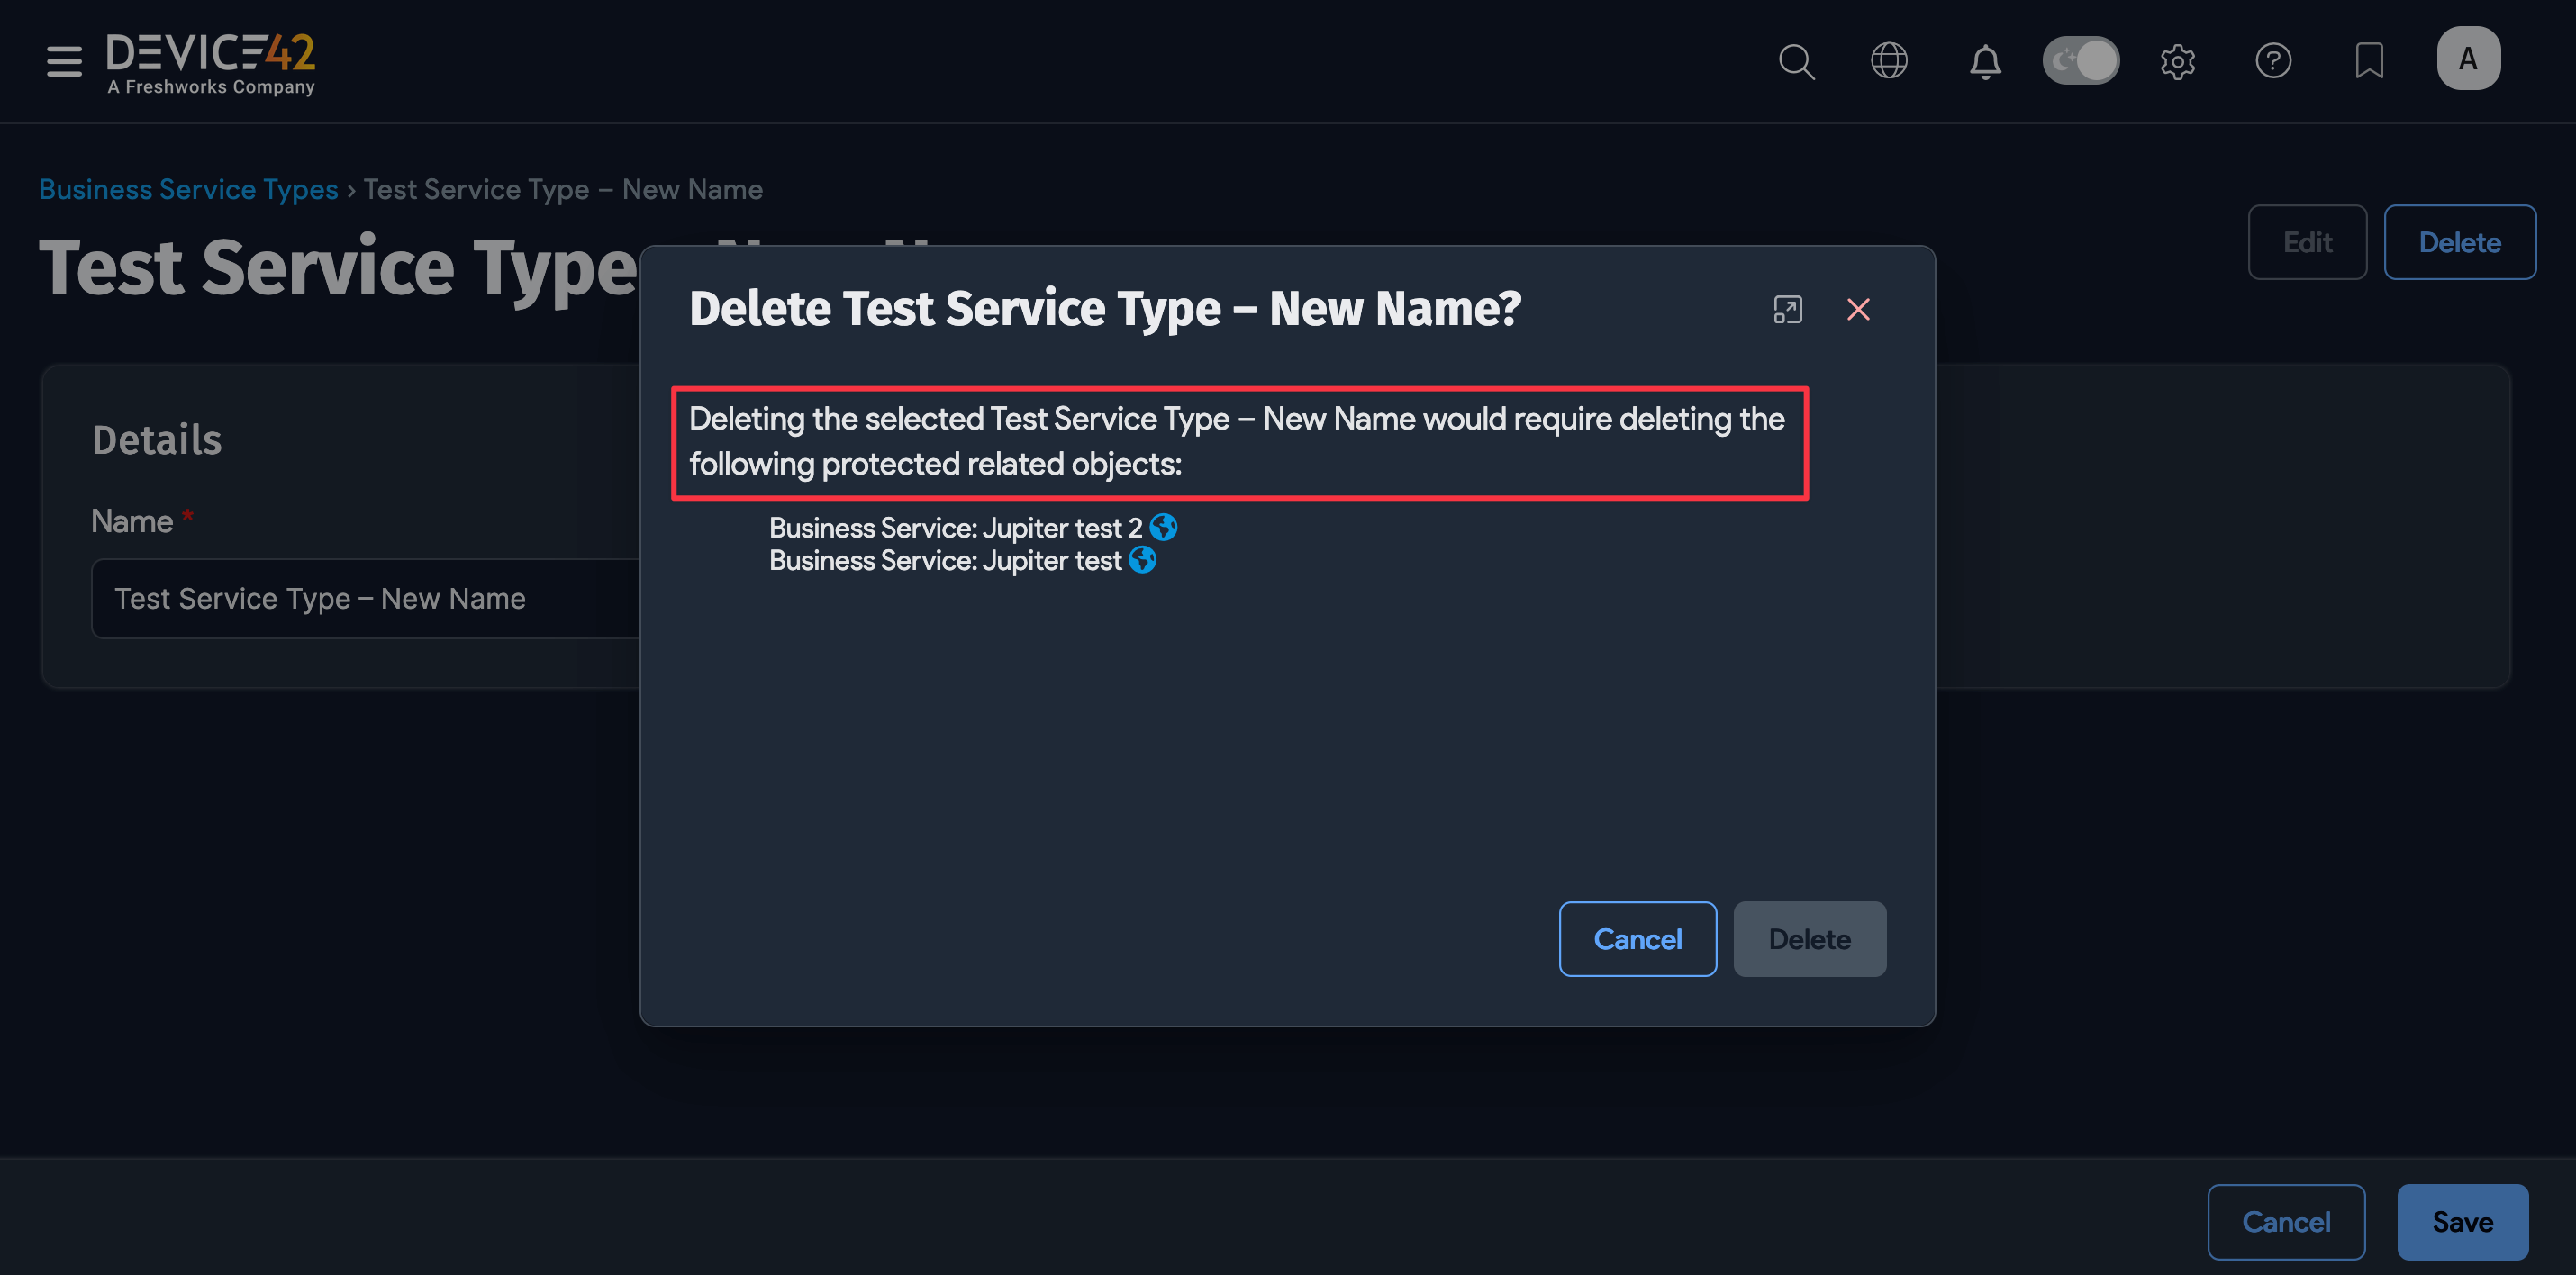
Navigate to the Business Service's view page and click on the name of the Service Type to access the Service Type's edit and delete options.
-
Click Edit and make your changes.


-
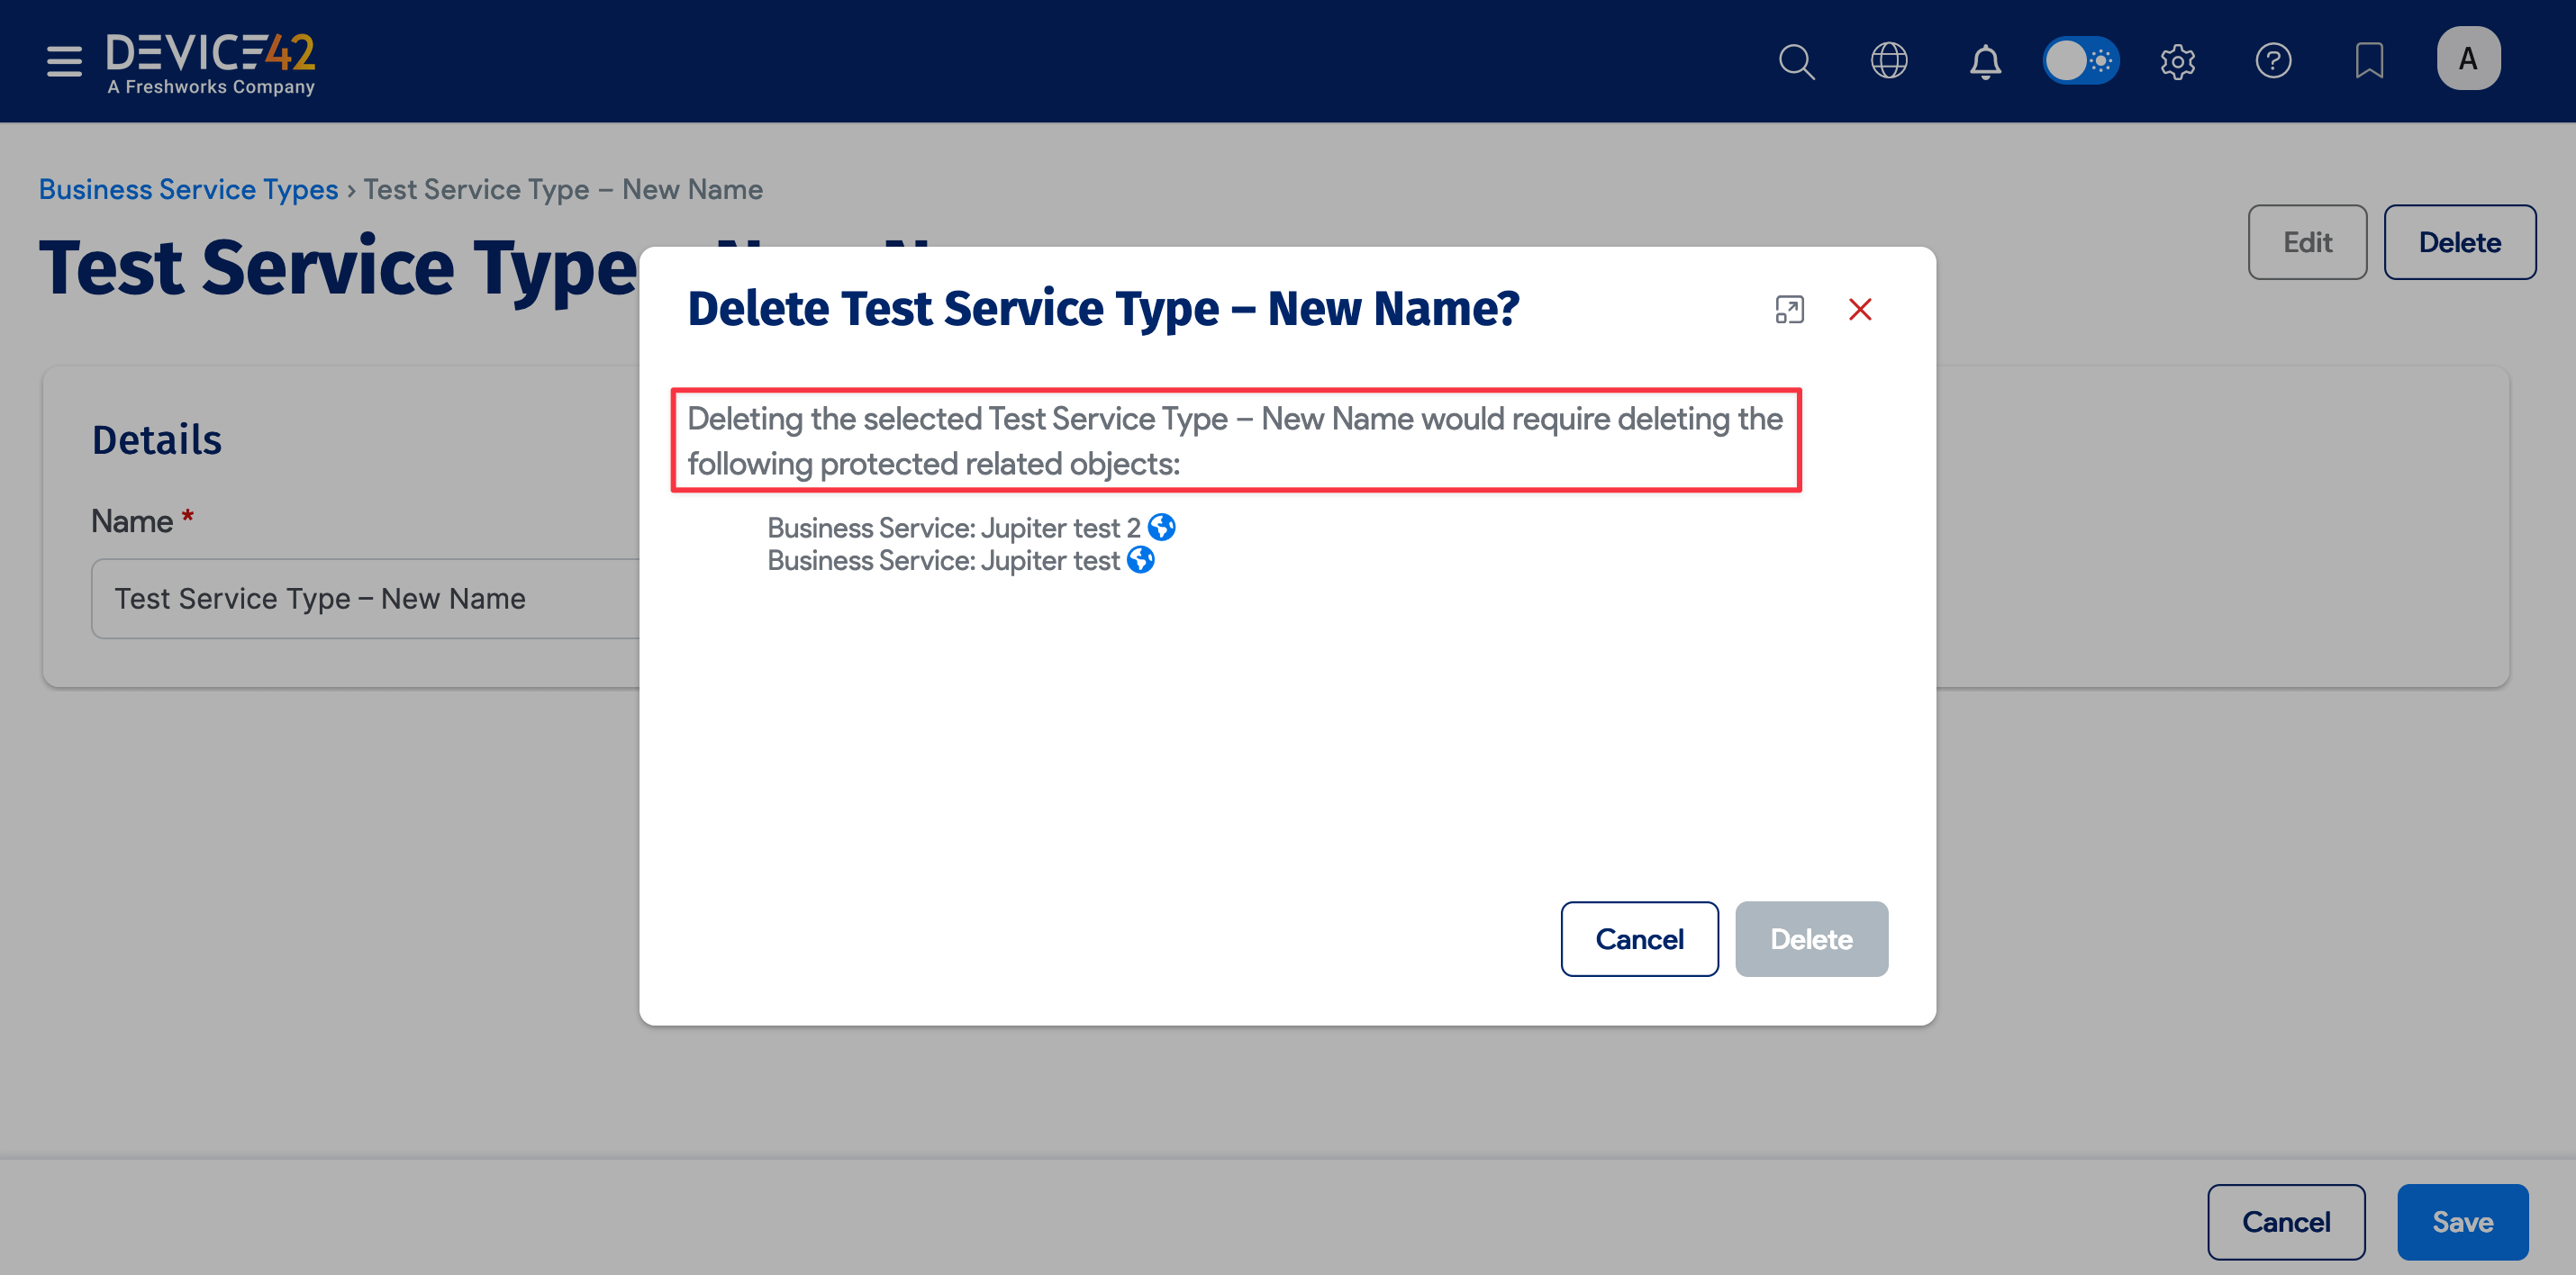
Deleting a Service Type will delete the Business Services that use that Service Type.
Clone a Business Service
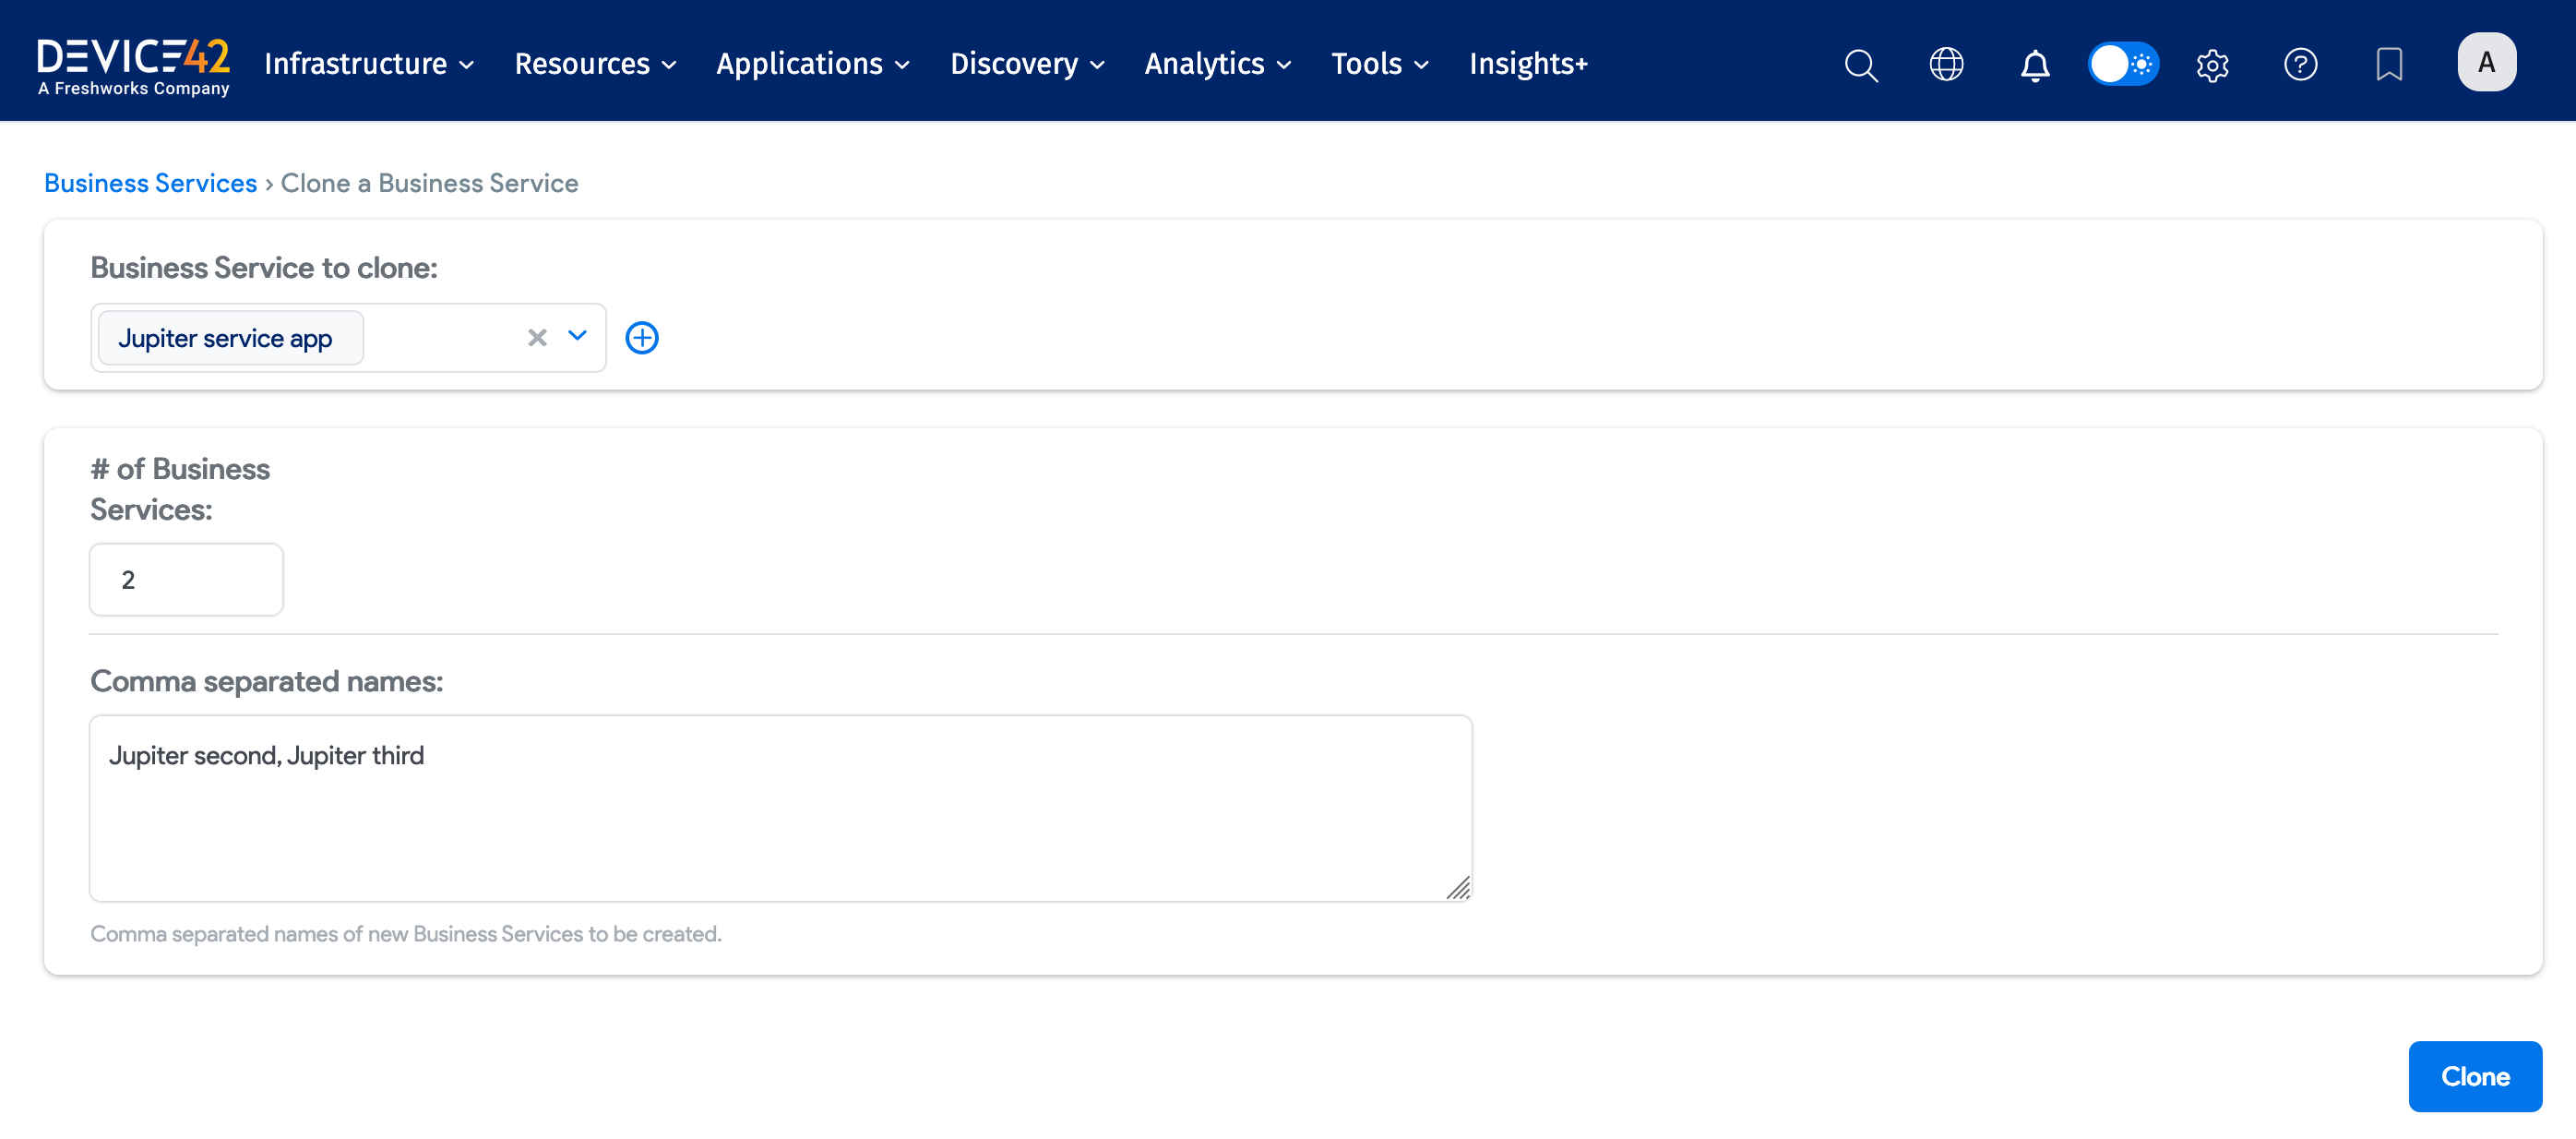
From the Business Services list page, you can easily clone an existing Business Service. You might want to do this to experiment without editing the original, as the base of a new Business Service, or even to plan out a future deployment or migration. Cloning a Business Service will also clone its Custom Field values.
From the Business Services list page, select the checkbox for the application you want to clone, and then click Clone Business Service.


- Click the Business Services to clone magnifying glass to select (or search for) the application you want to clone.
- Enter the # of Business Services to make and the name or names (Comma separated names) to give the newly cloned Business Services and click Clone.
Custom Fields
Store more information about your Business Services by configuring custom fields.
Navigate to Tools > Custom Fields, select Business Services from the list to go to the Business Services Custom Fields list page, and click Create.
Select the relevant object type metadata option:
- Text
- Number
- Date
- Yes/No
- URL
- Picklist
- JSON
- Markup
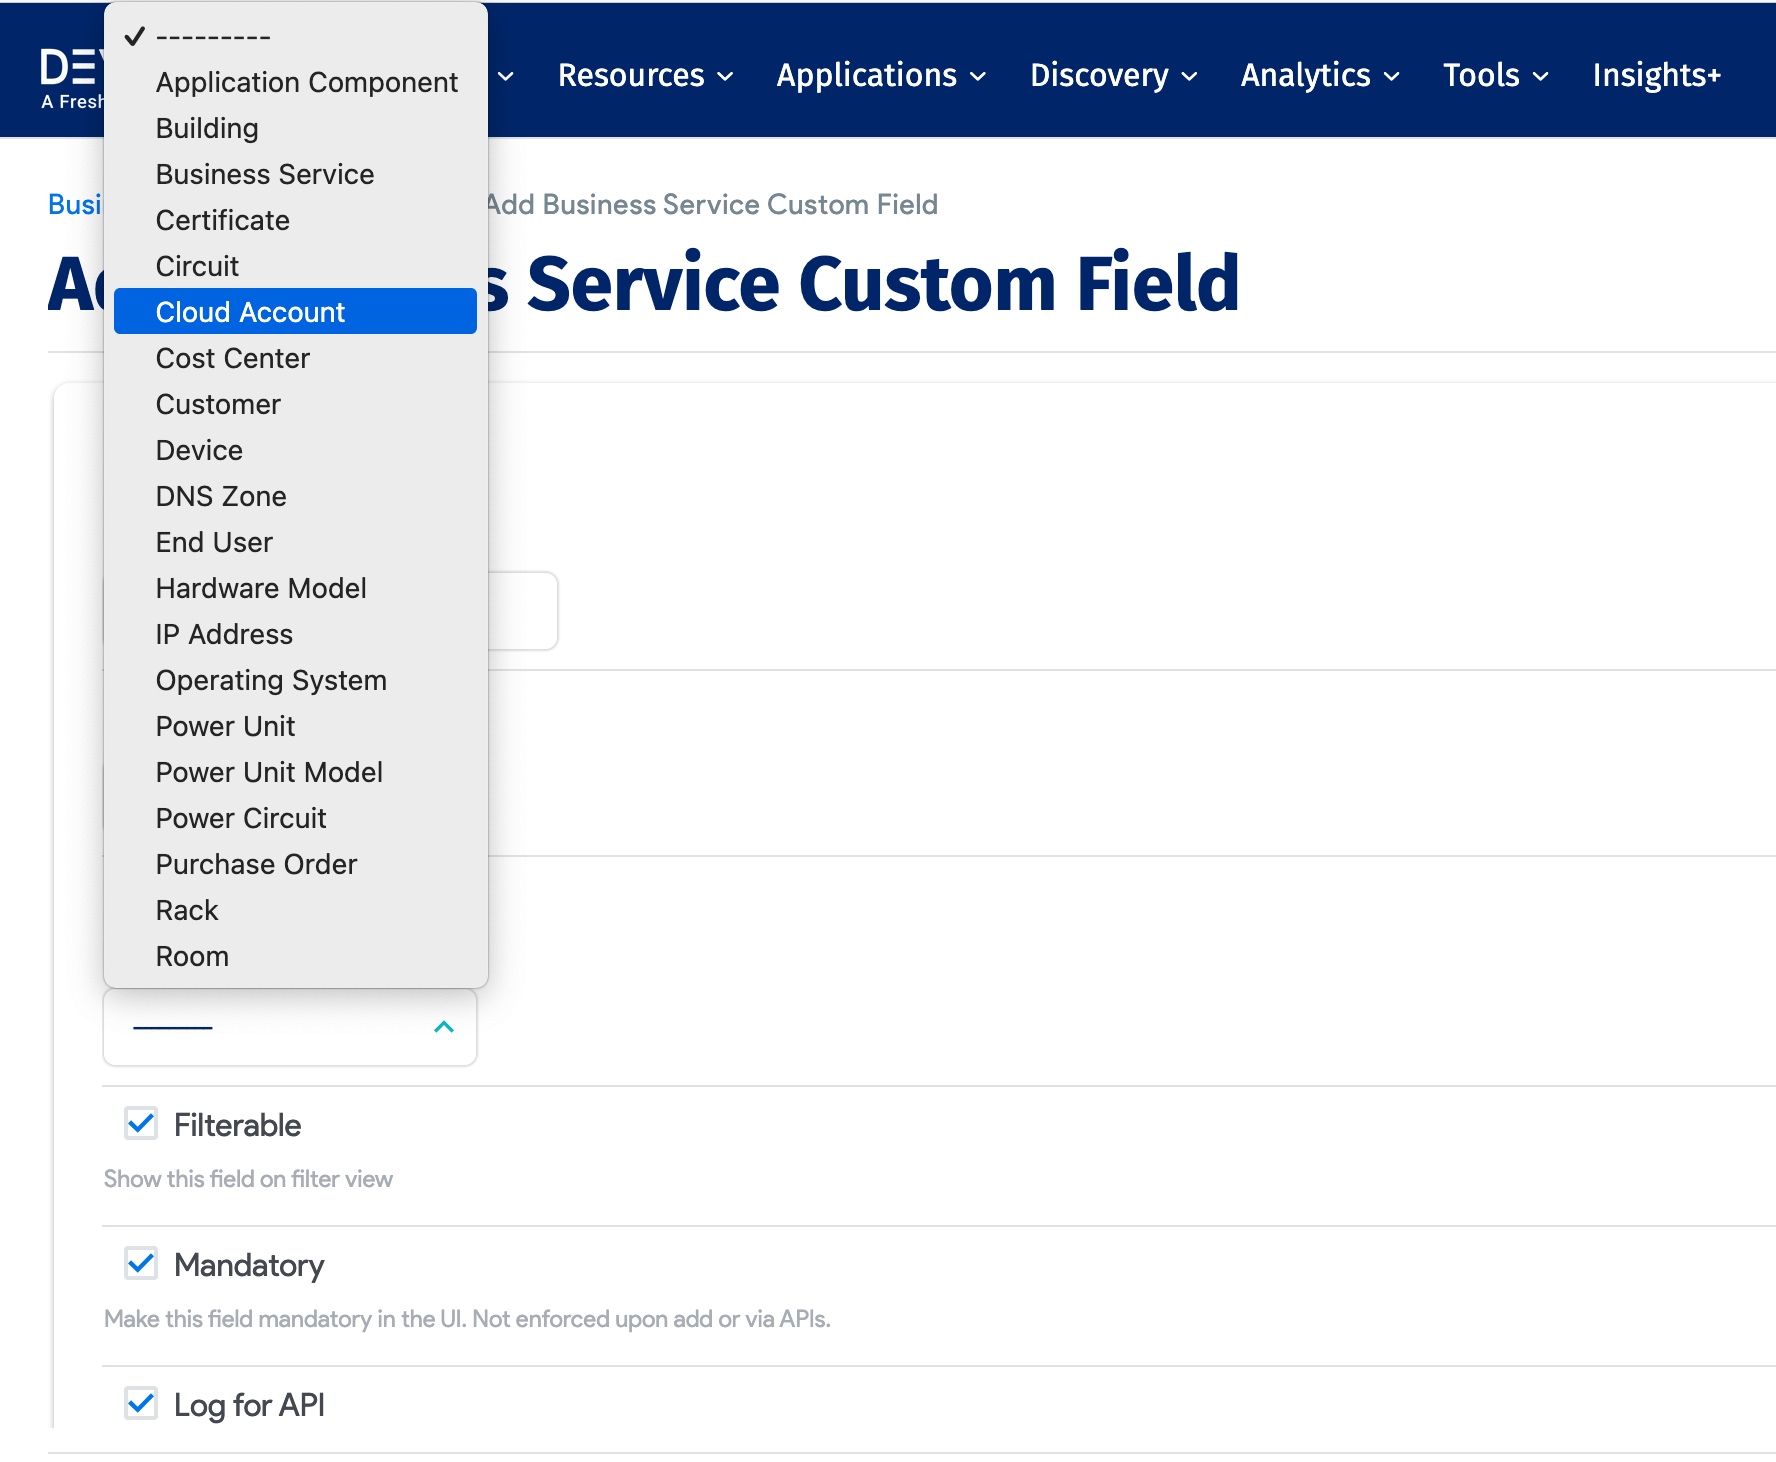
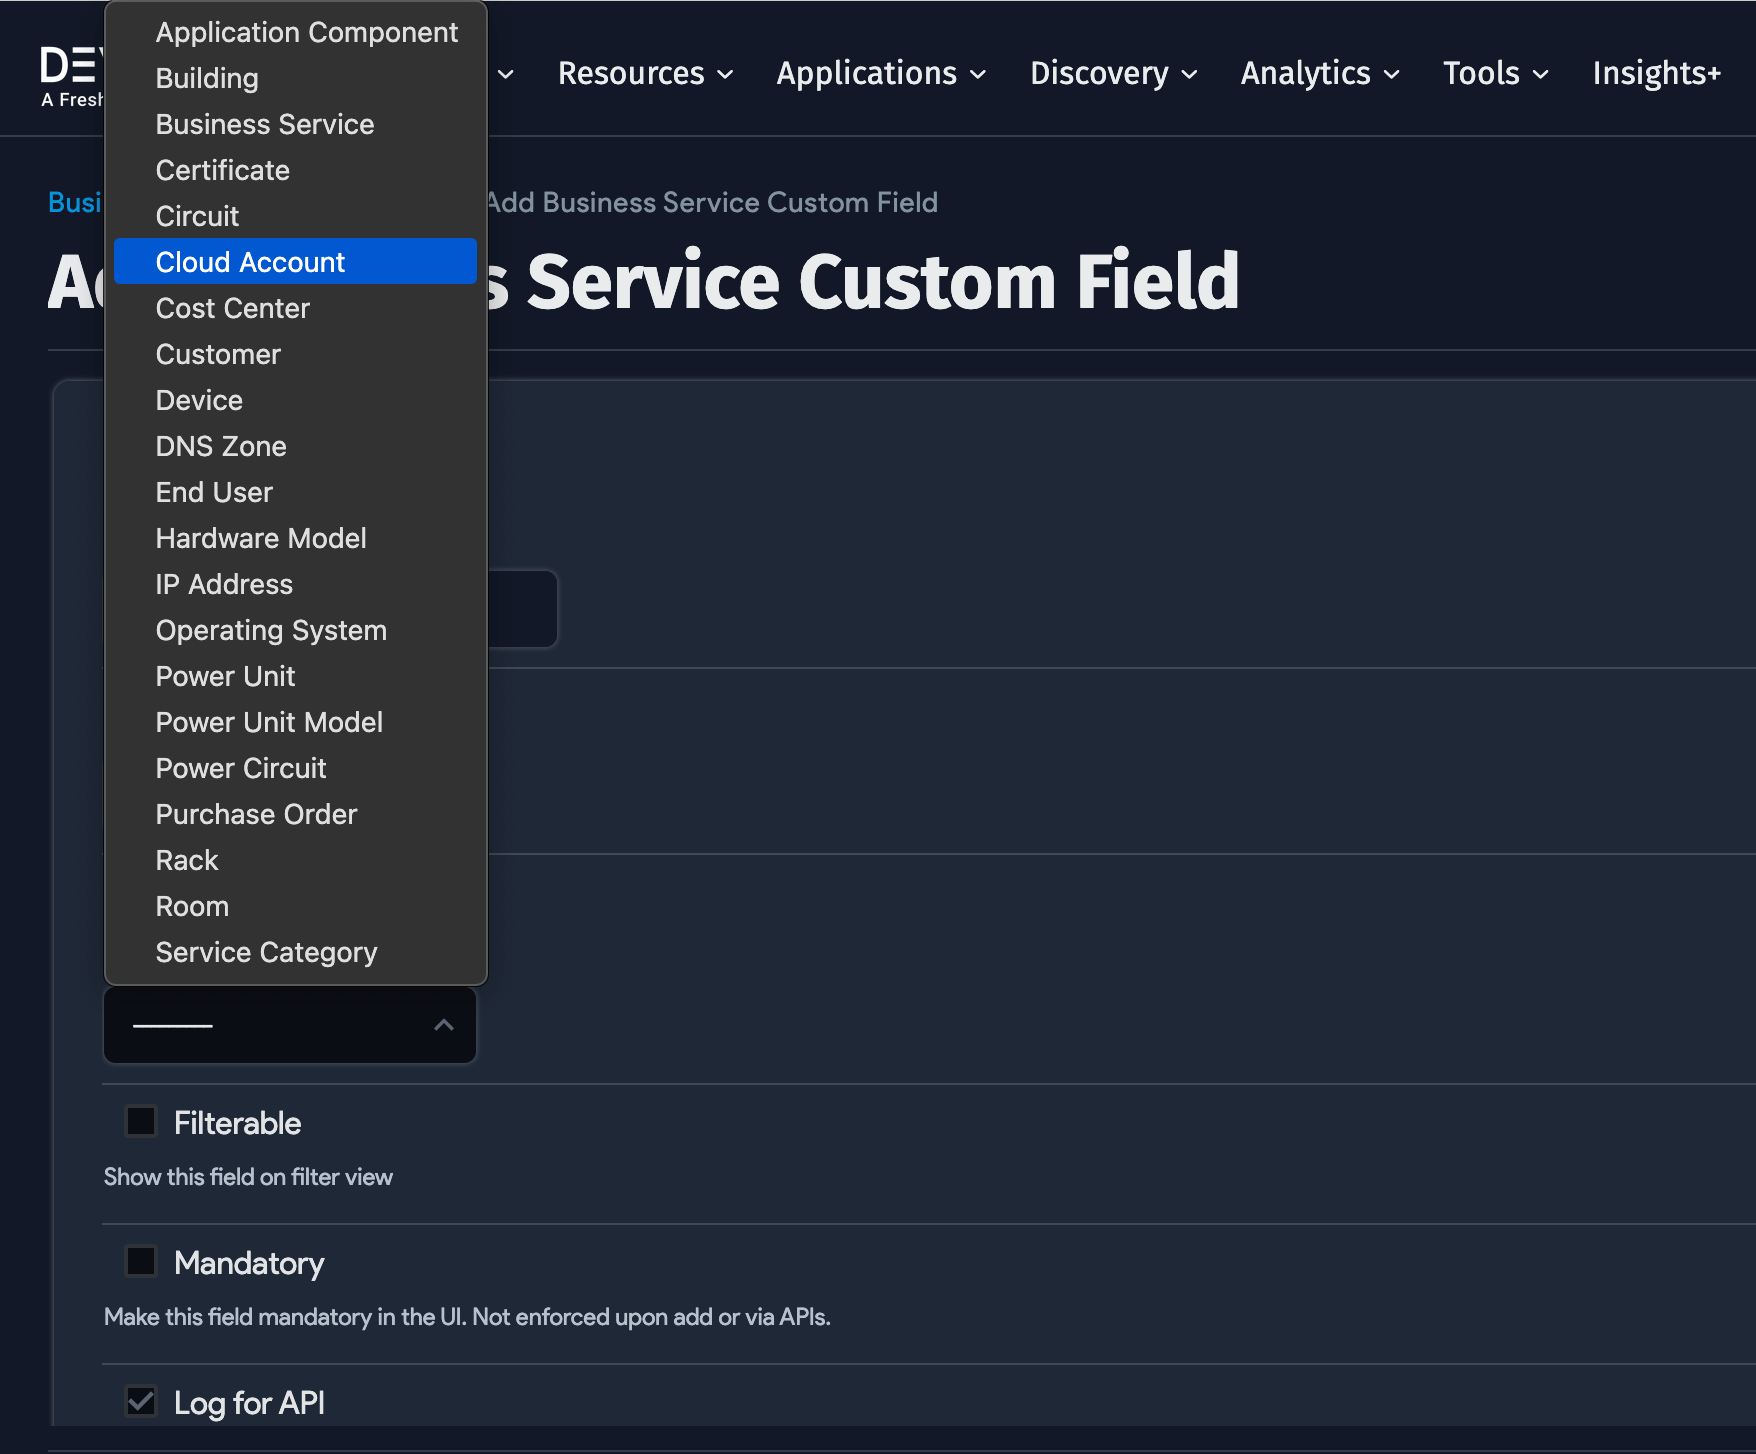
- Related Field: Use this option to link the custom field to an existing CI type within Device42.
Cloud Accounts are now available as a related field for custom fields, allowing you to effectively link a Business Service to a Cloud Account.
Alerts
To ensure you continue getting alerts for your existing Business Services, you need to edit each Business Service and add the relevant Application Group (previously known as "Affinity Group") to it.
Business Services are now linked to Application Groups so that you can set up alerts to notify you when a new Application Group dependency is found.
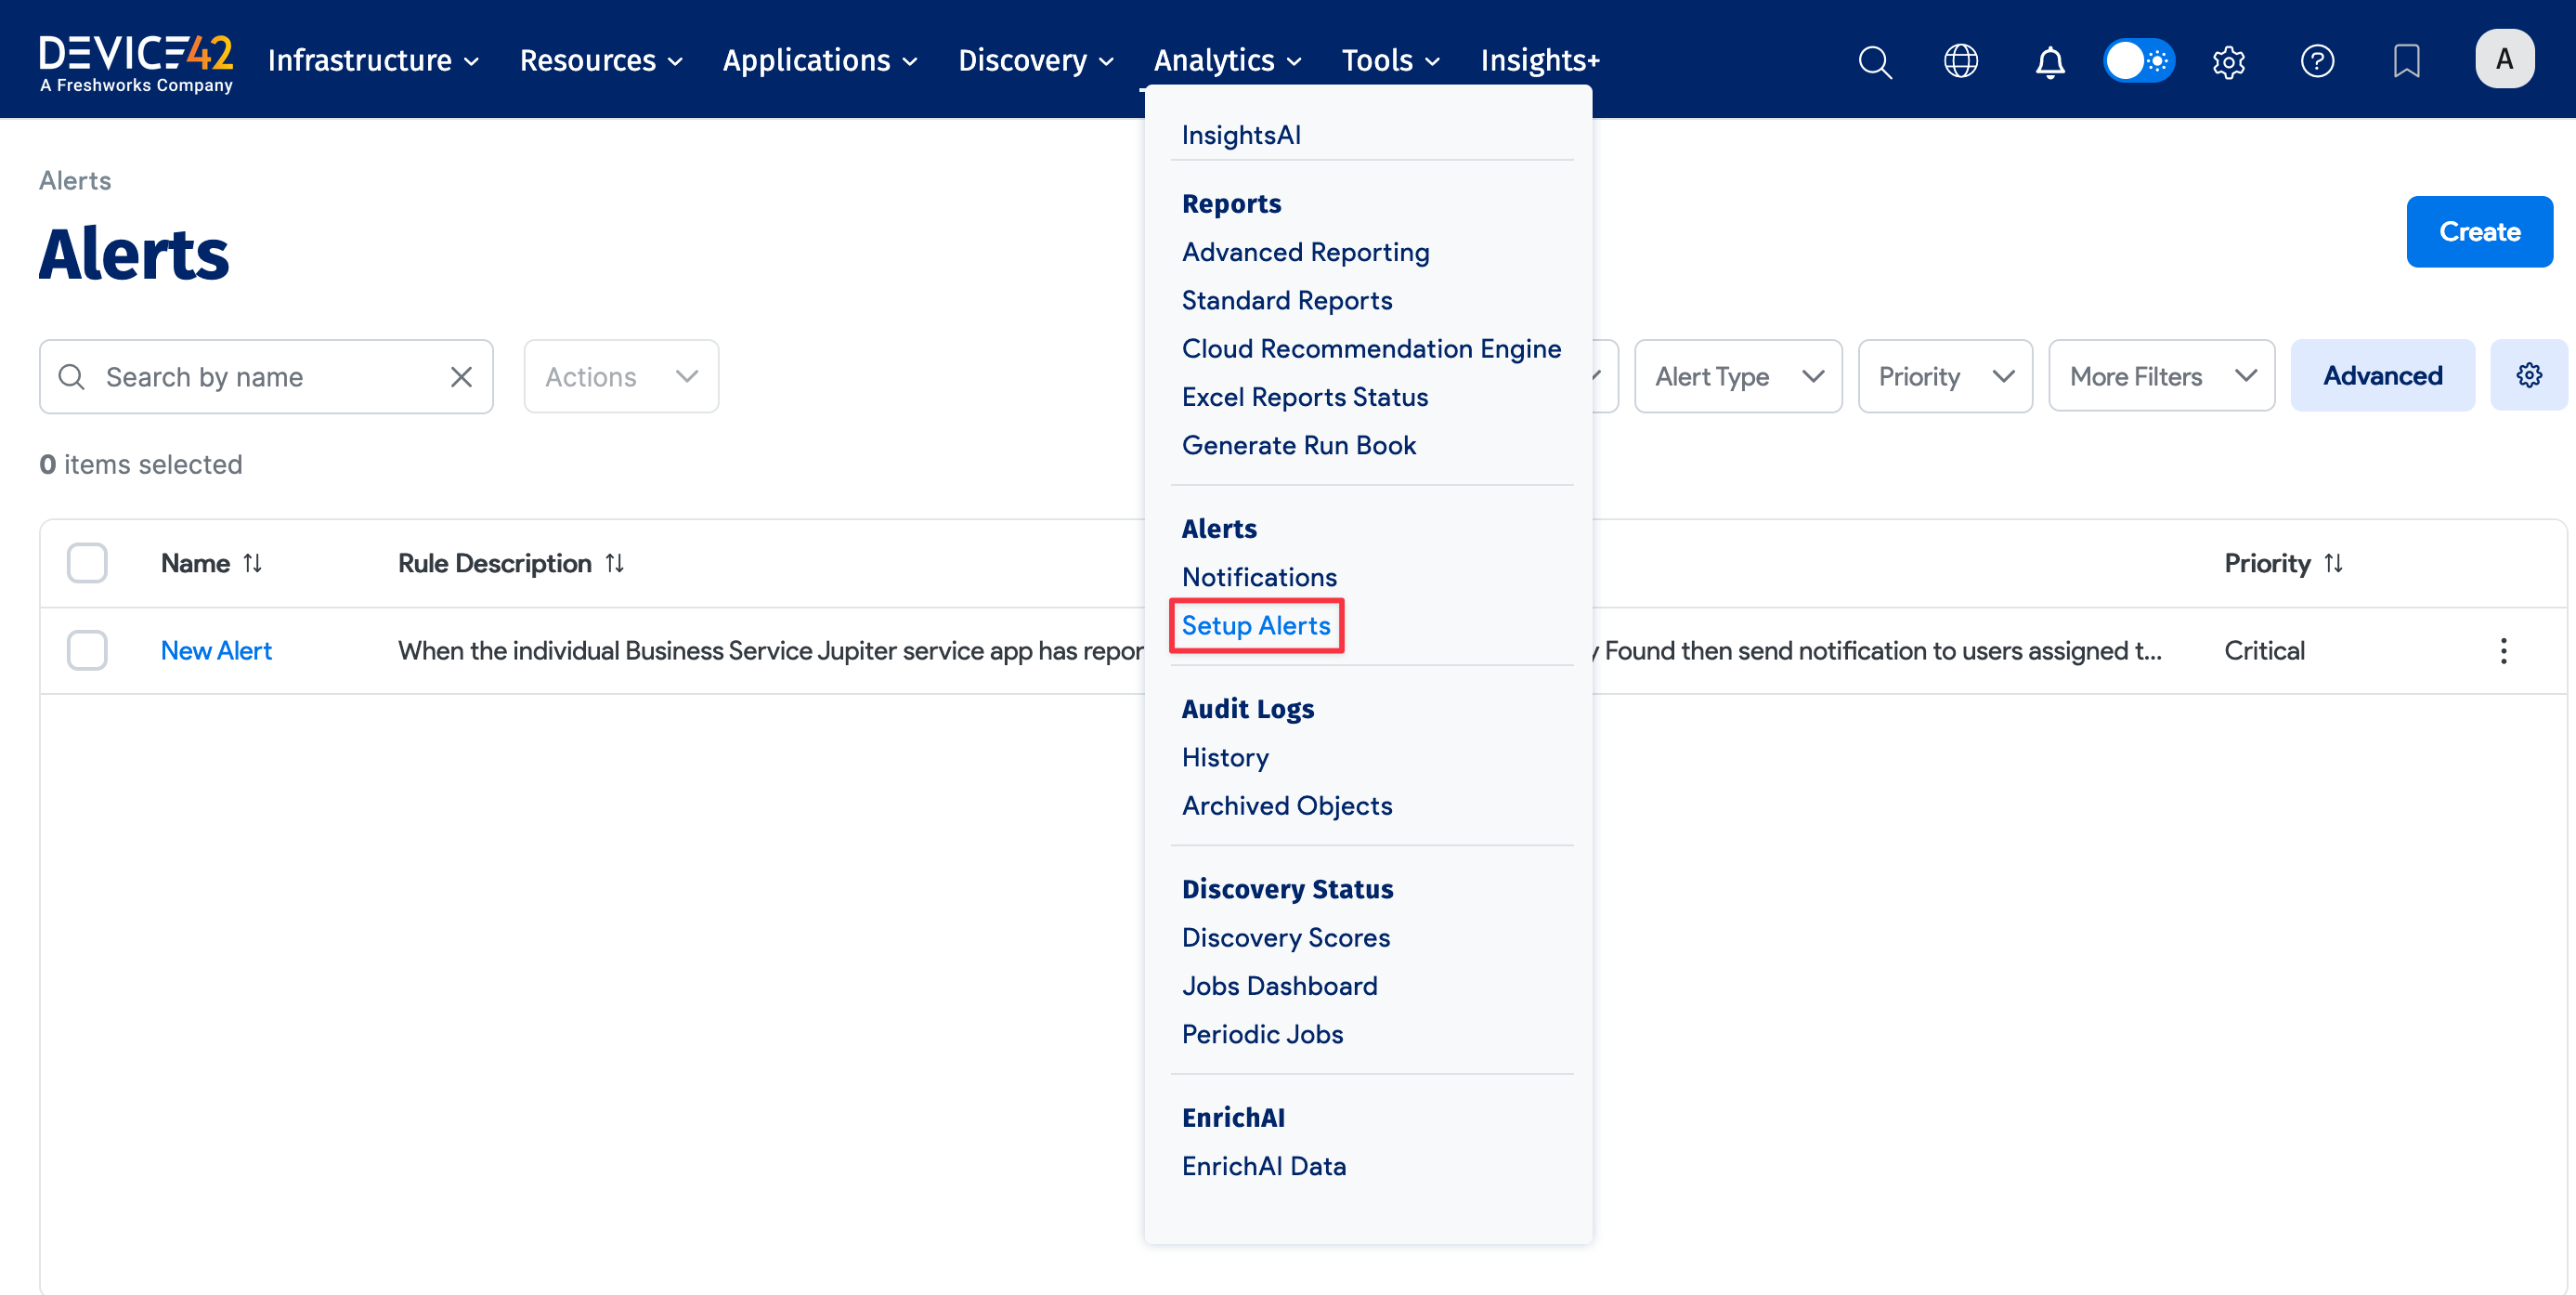
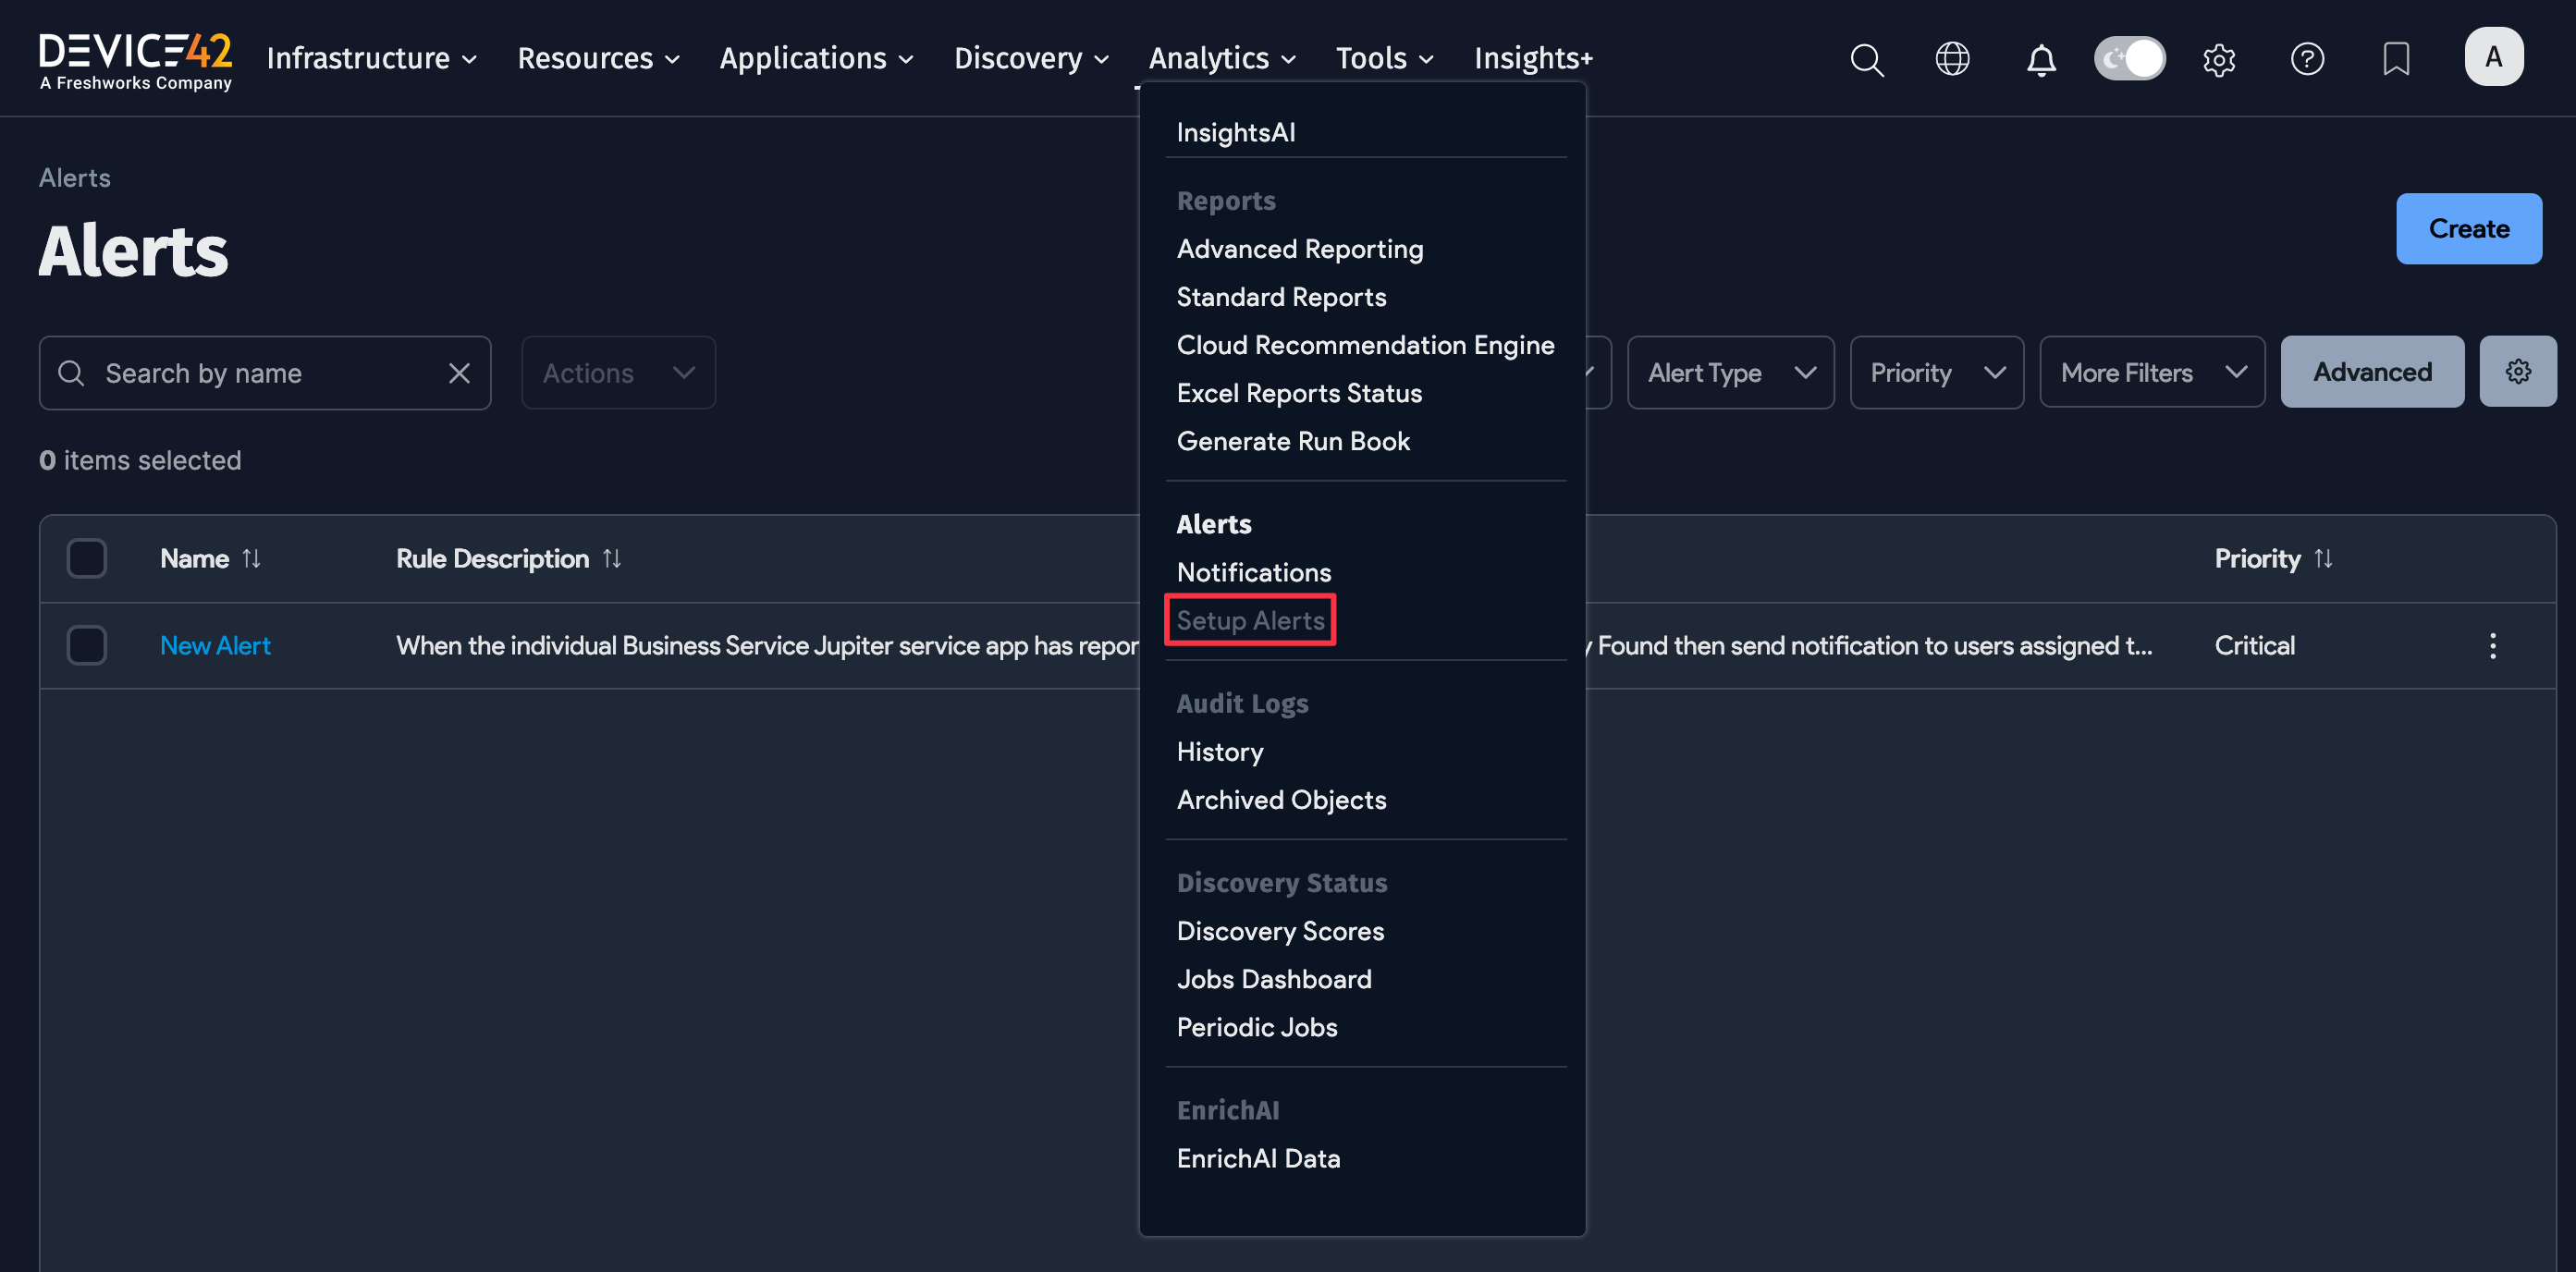
Select Analytics > Setup Alerts from the Device42 main menu and click Create.
- Enter a Name for the alert, and then select Business Service for the alert Rule Type. Each Rule Type has associated Triggers, which define the conditions that will generate an alert.
- For the Trigger, select New Application Group Dependency Found or Application Group Dependency Removed.
- Select the Alert Type.
- If you select D42 Notification, select or add the Escalation Profile to use for the alert. You can use Escalation Profiles to set up email notification escalation tiers. Select Tools > Admins & Permissions > Escalation Profiles to add or edit Escalation Profiles.
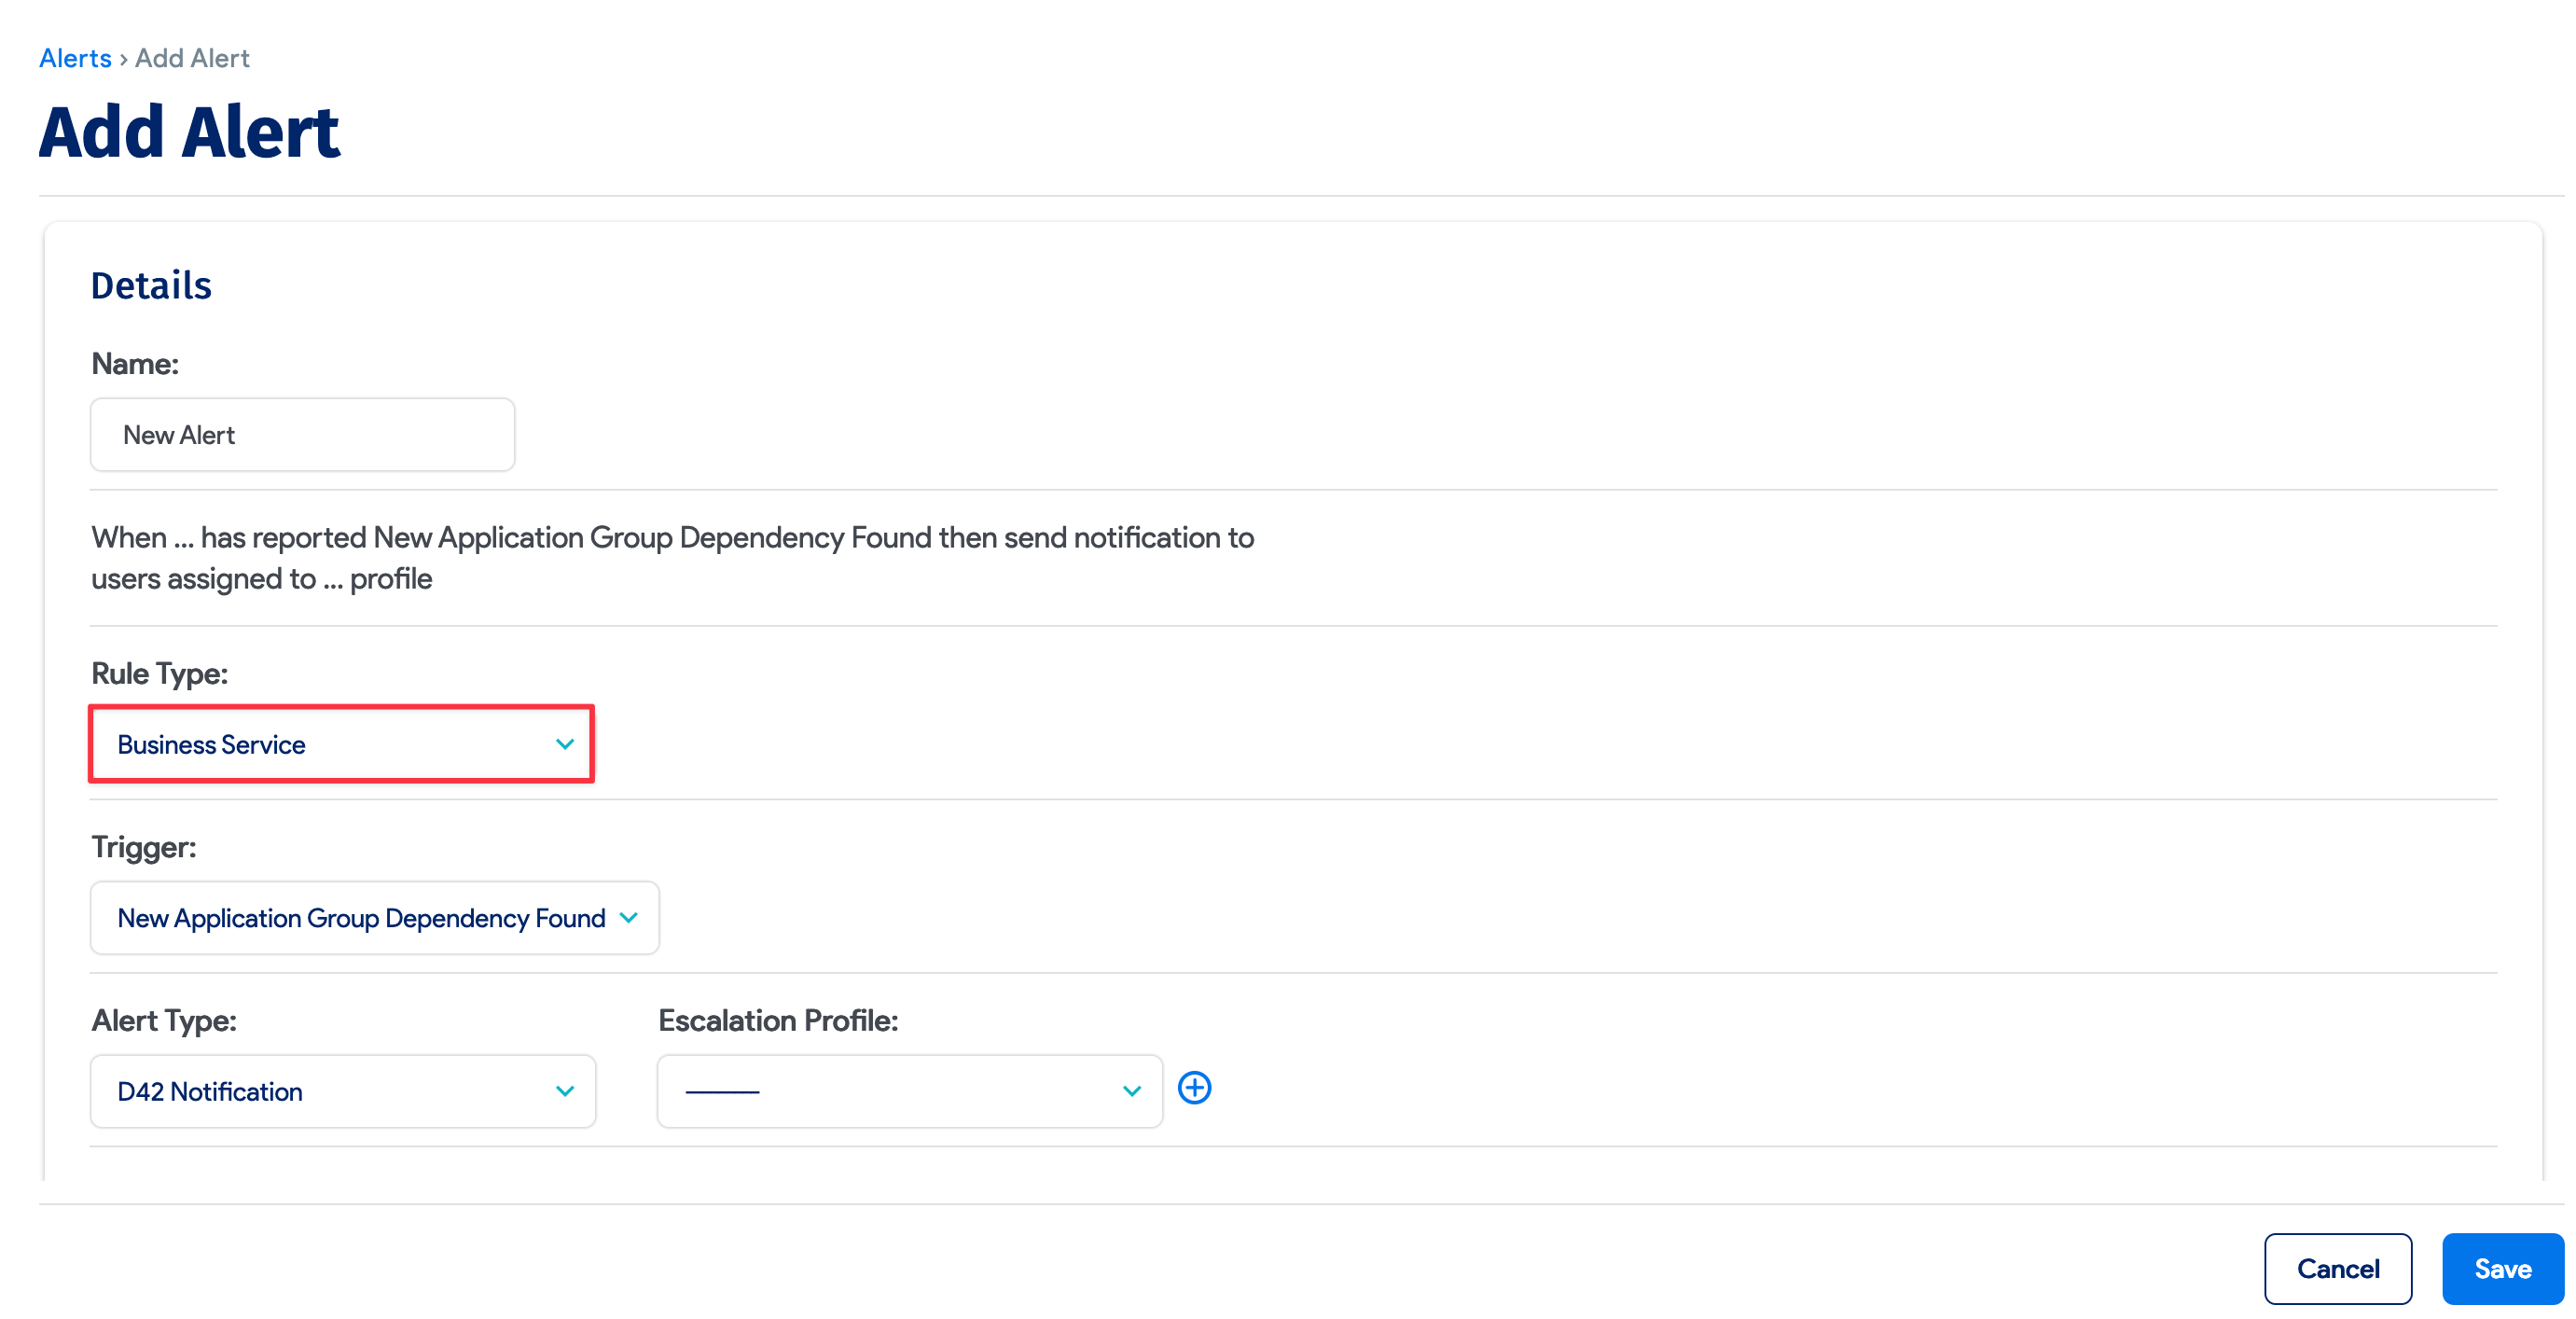
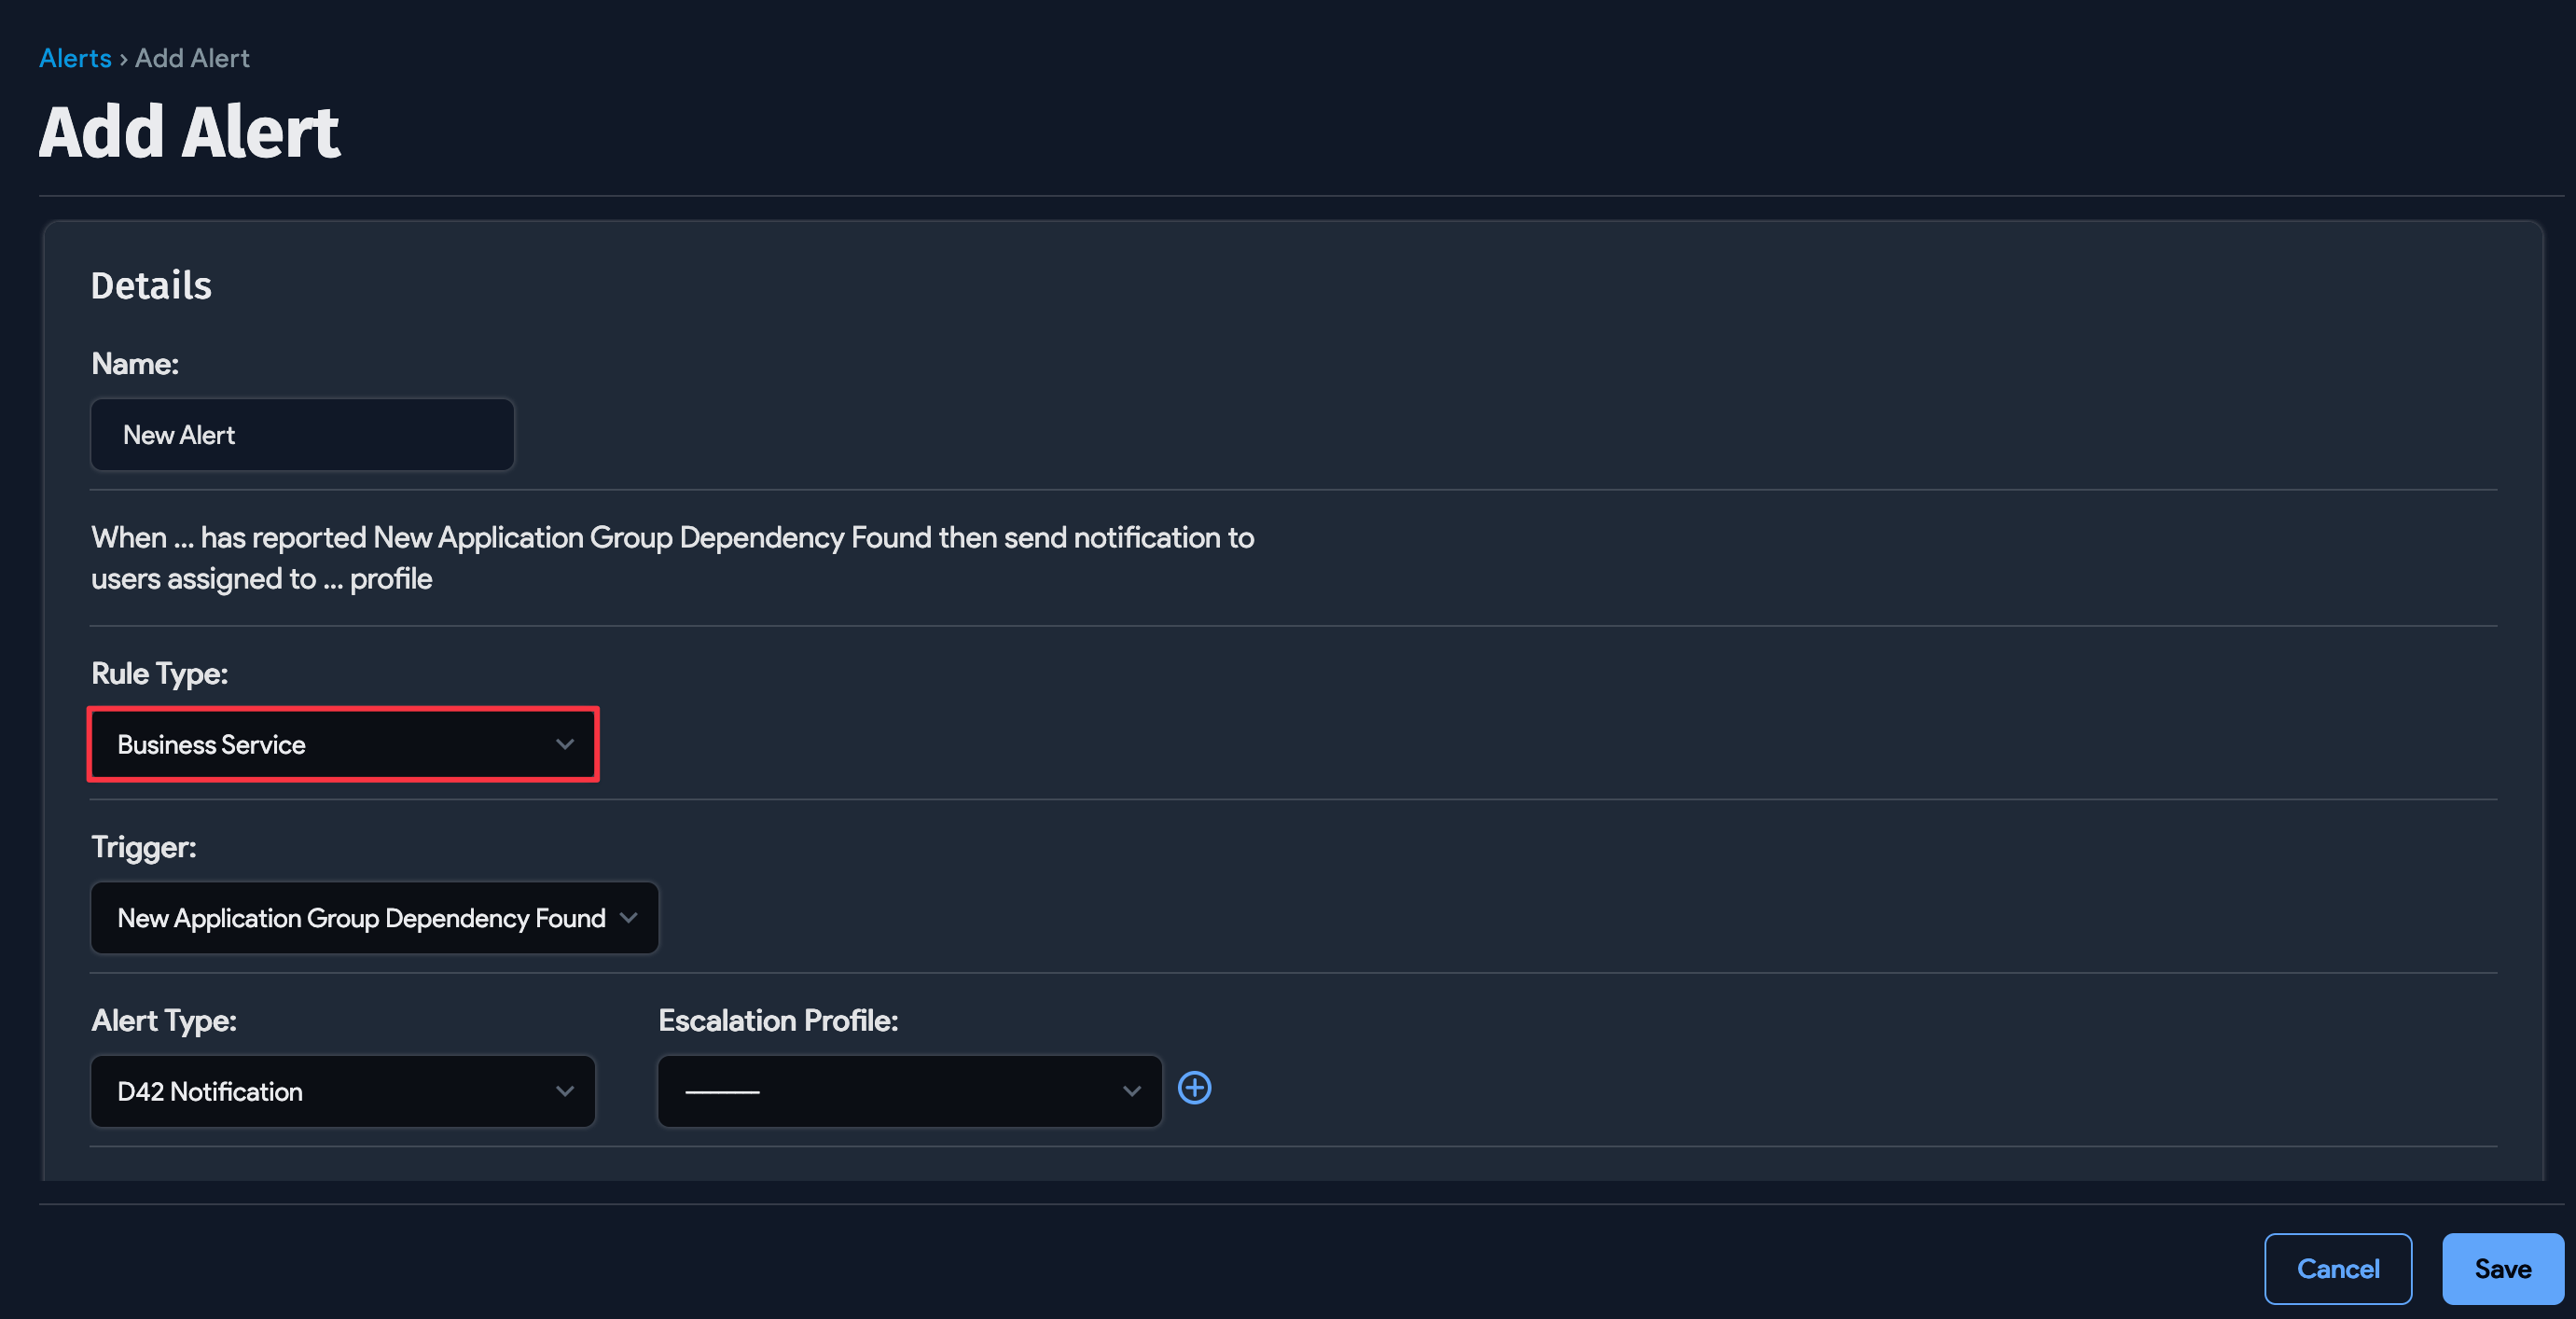
As you construct your alert, Device42 displays the alert definition based on the options you select and enter. For example:
When the individual Business Service Jupiter service app has reported New Application Group Dependency Found then send notification to users assigned to Main profile.
Auto Apply Changes
Make maintaining Business Services easier by automatically adding and removing connections. Check the Auto Apply changes box when configuring the alert. Connections to a newly found AG dependency will be made automatically, and if an AG dependency is removed, the Business Service connection will be automatically removed. You will receive a notification of these events as part of the alert.
The Auto Apply changes option is unchecked by default. If left disabled, you'll receive a notification with the Add or Remove connection option for manually making changes to the Business Service.
Apply To Selected Objects
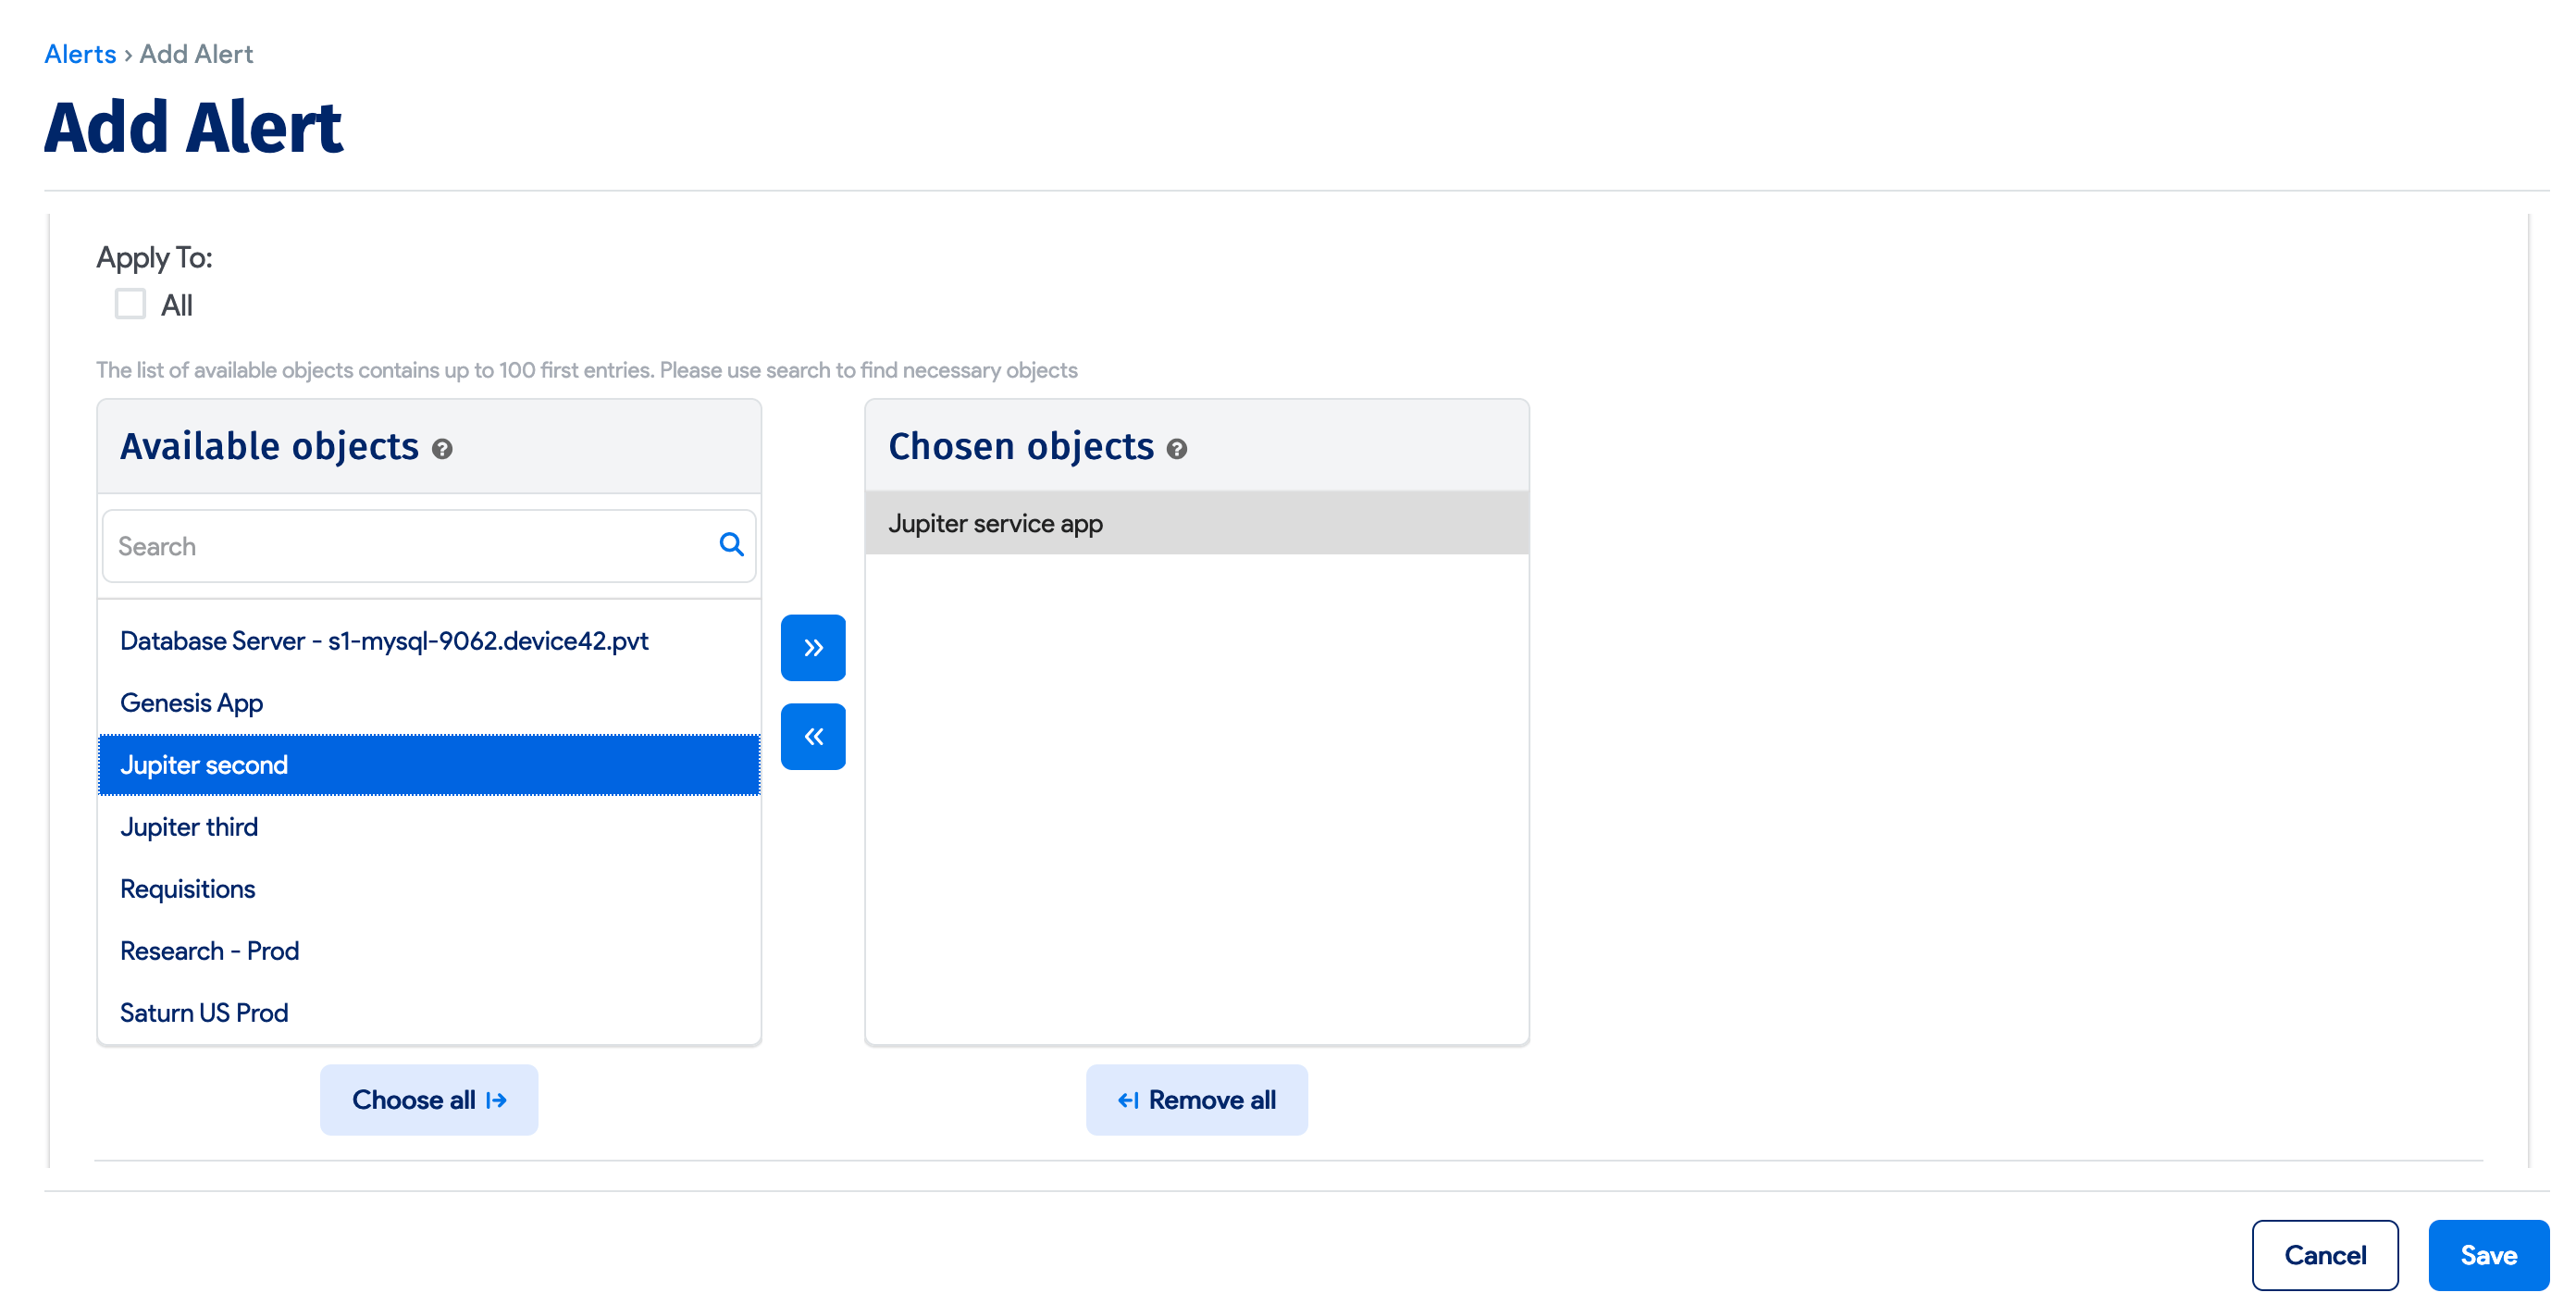
Depending on which alert Rule Type you select, you may also see an Apply To: option, which you will use to select the objects you want to apply the alert to. Use the Available objects list on the left to select the objects you want to add to the Chosen objects list on the right.
More Alert Options
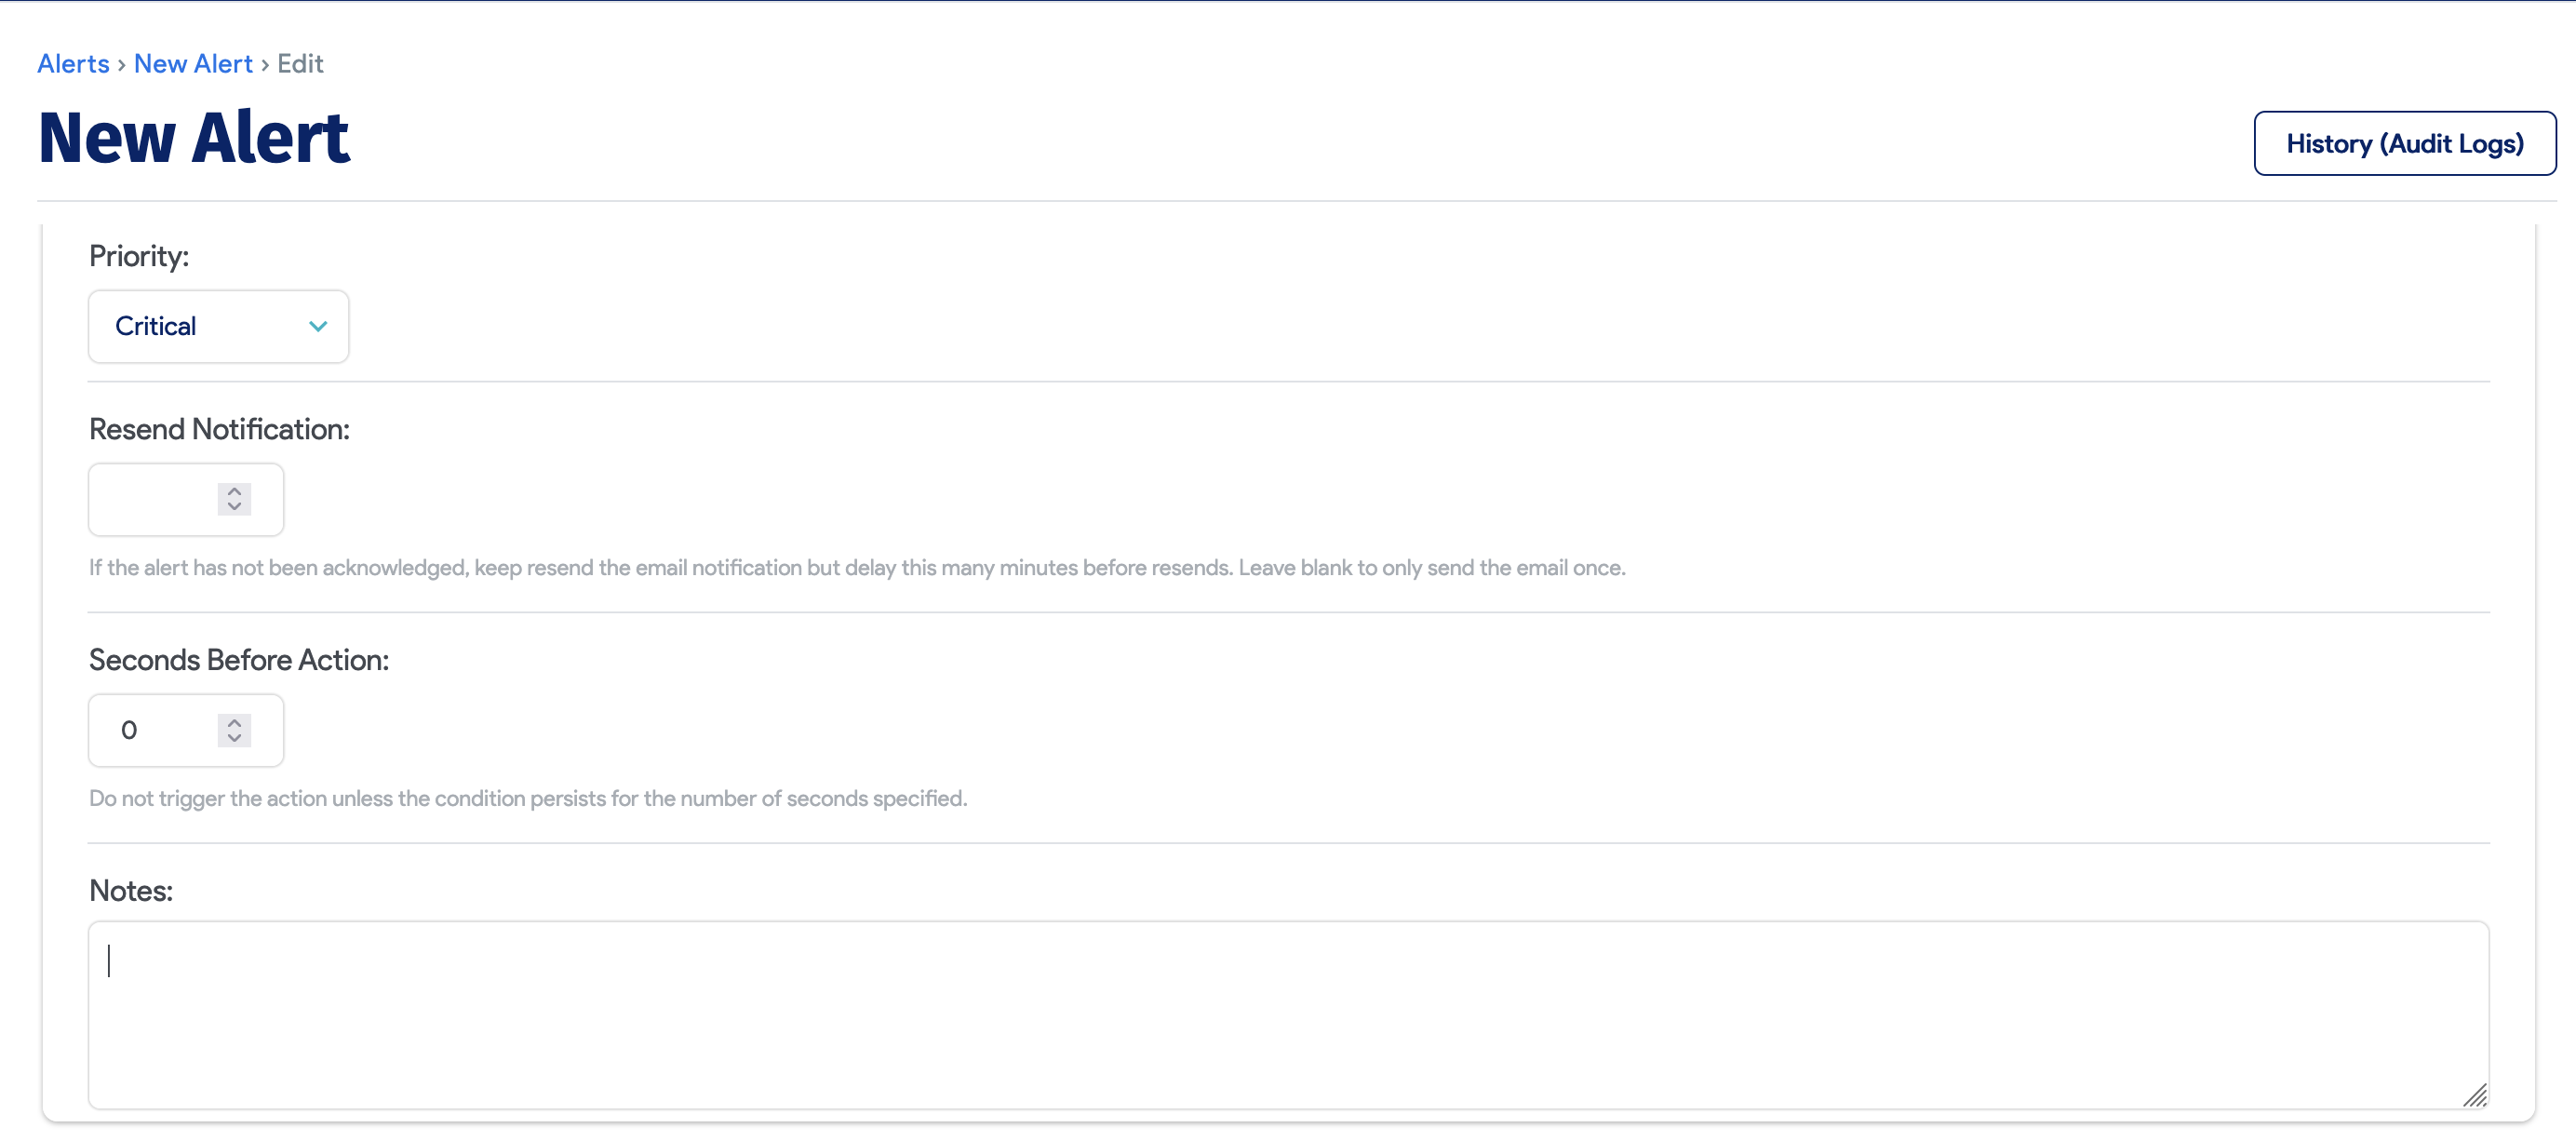
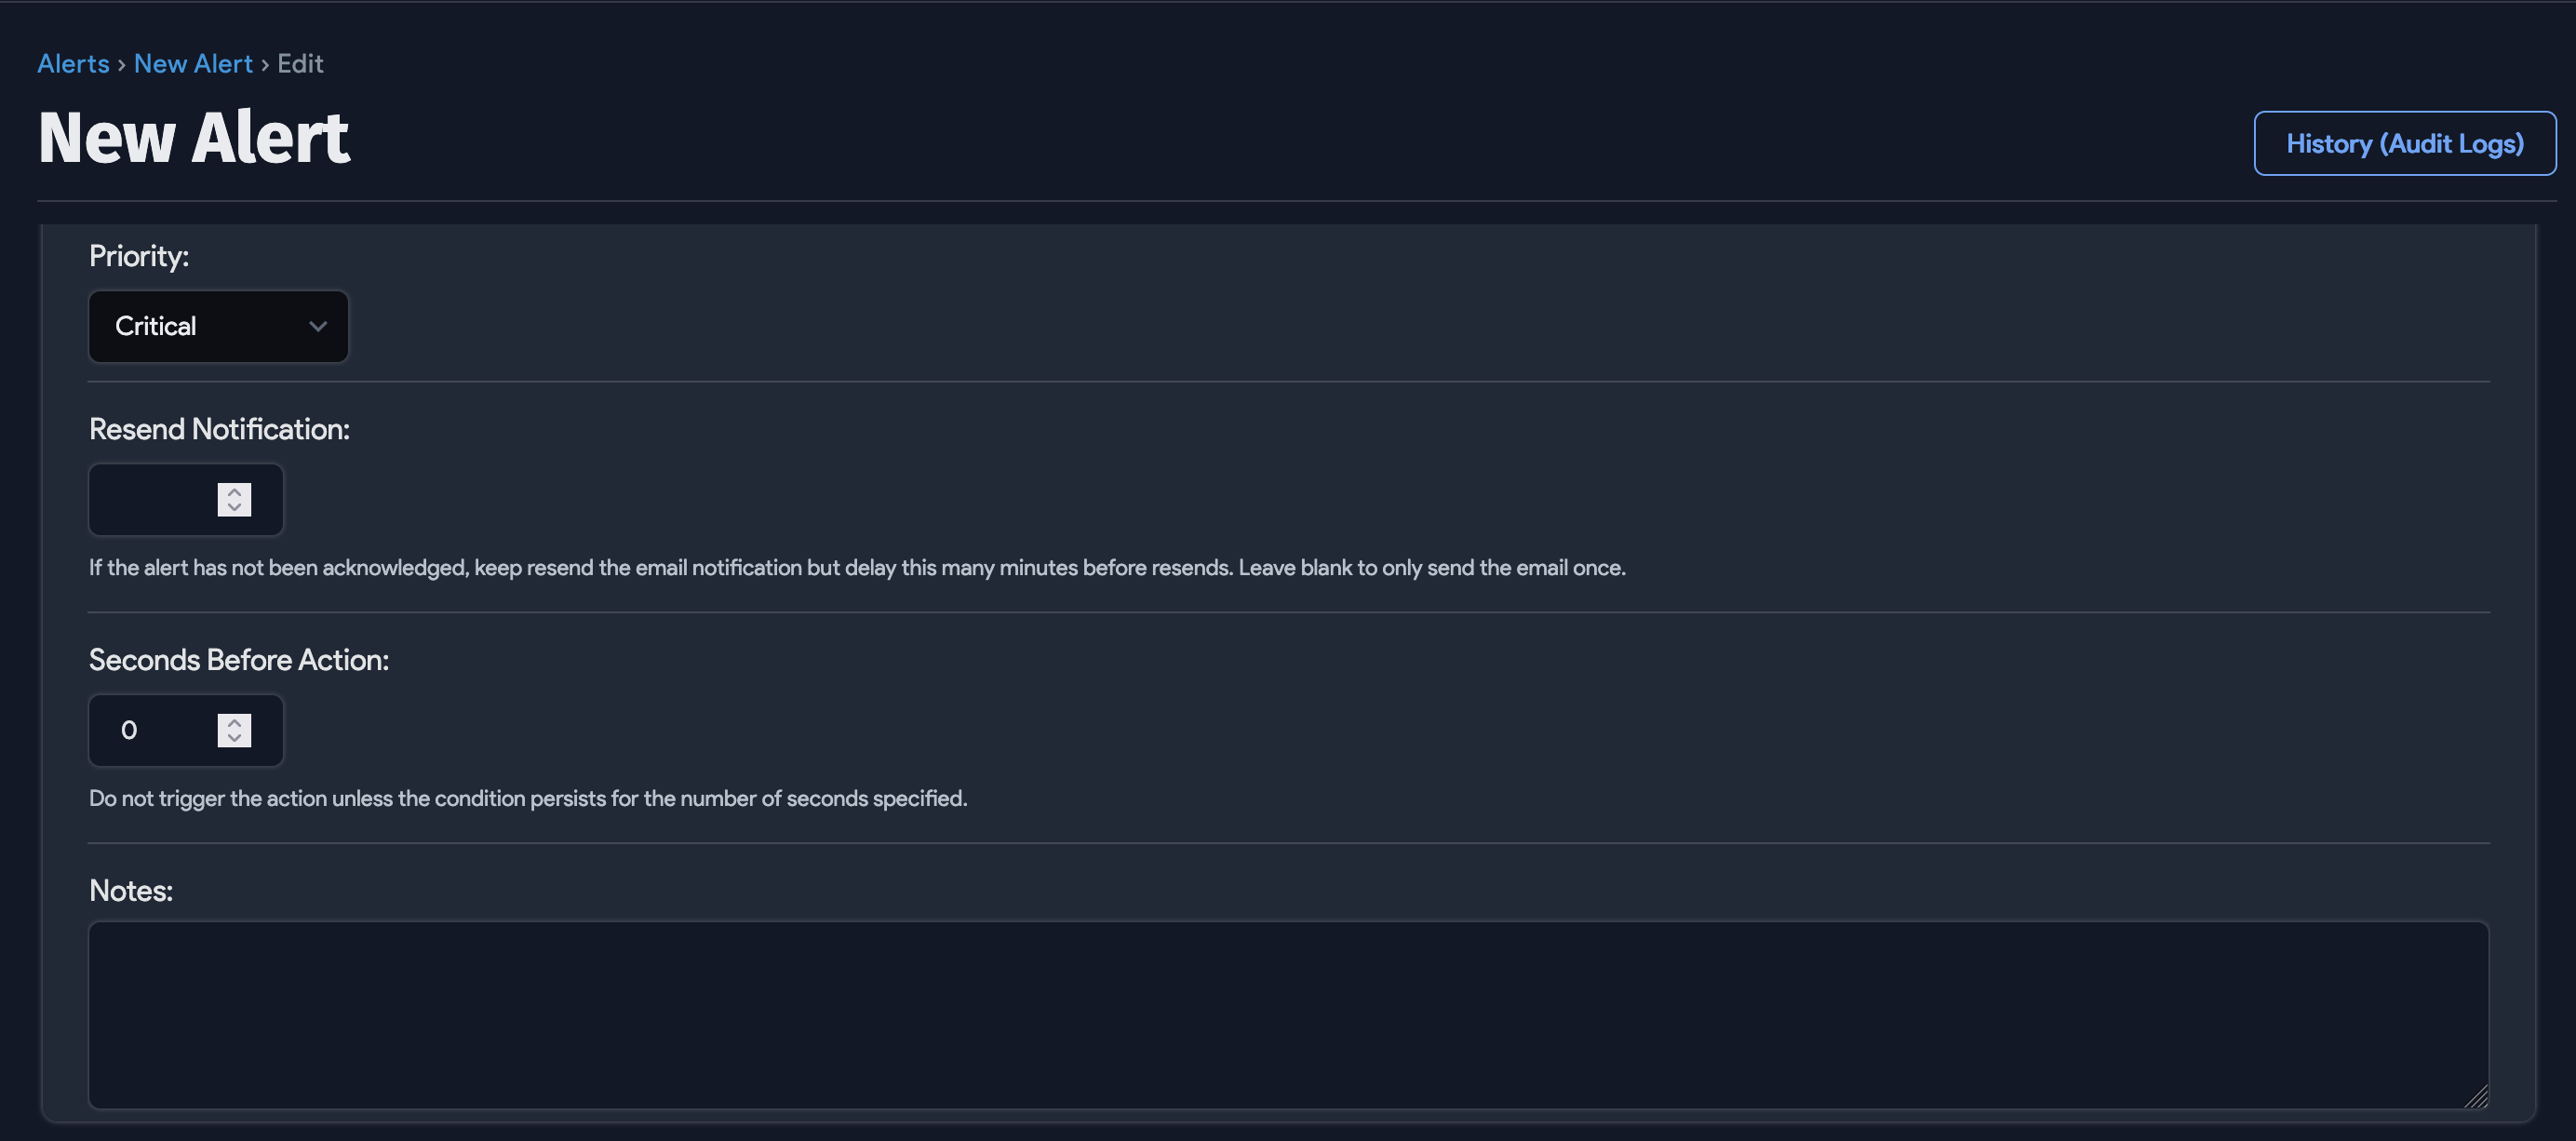
- Priority: Choose between Critical, High Priority, Medium Priority, and Low Priority.
- Resend Notification: Number of seconds to wait before sending an email notification for the alert. Leave this field blank to send the email only once.
- Seconds Before Action: Number of seconds that the alert condition (the trigger) exists before Device42 generates the alert.
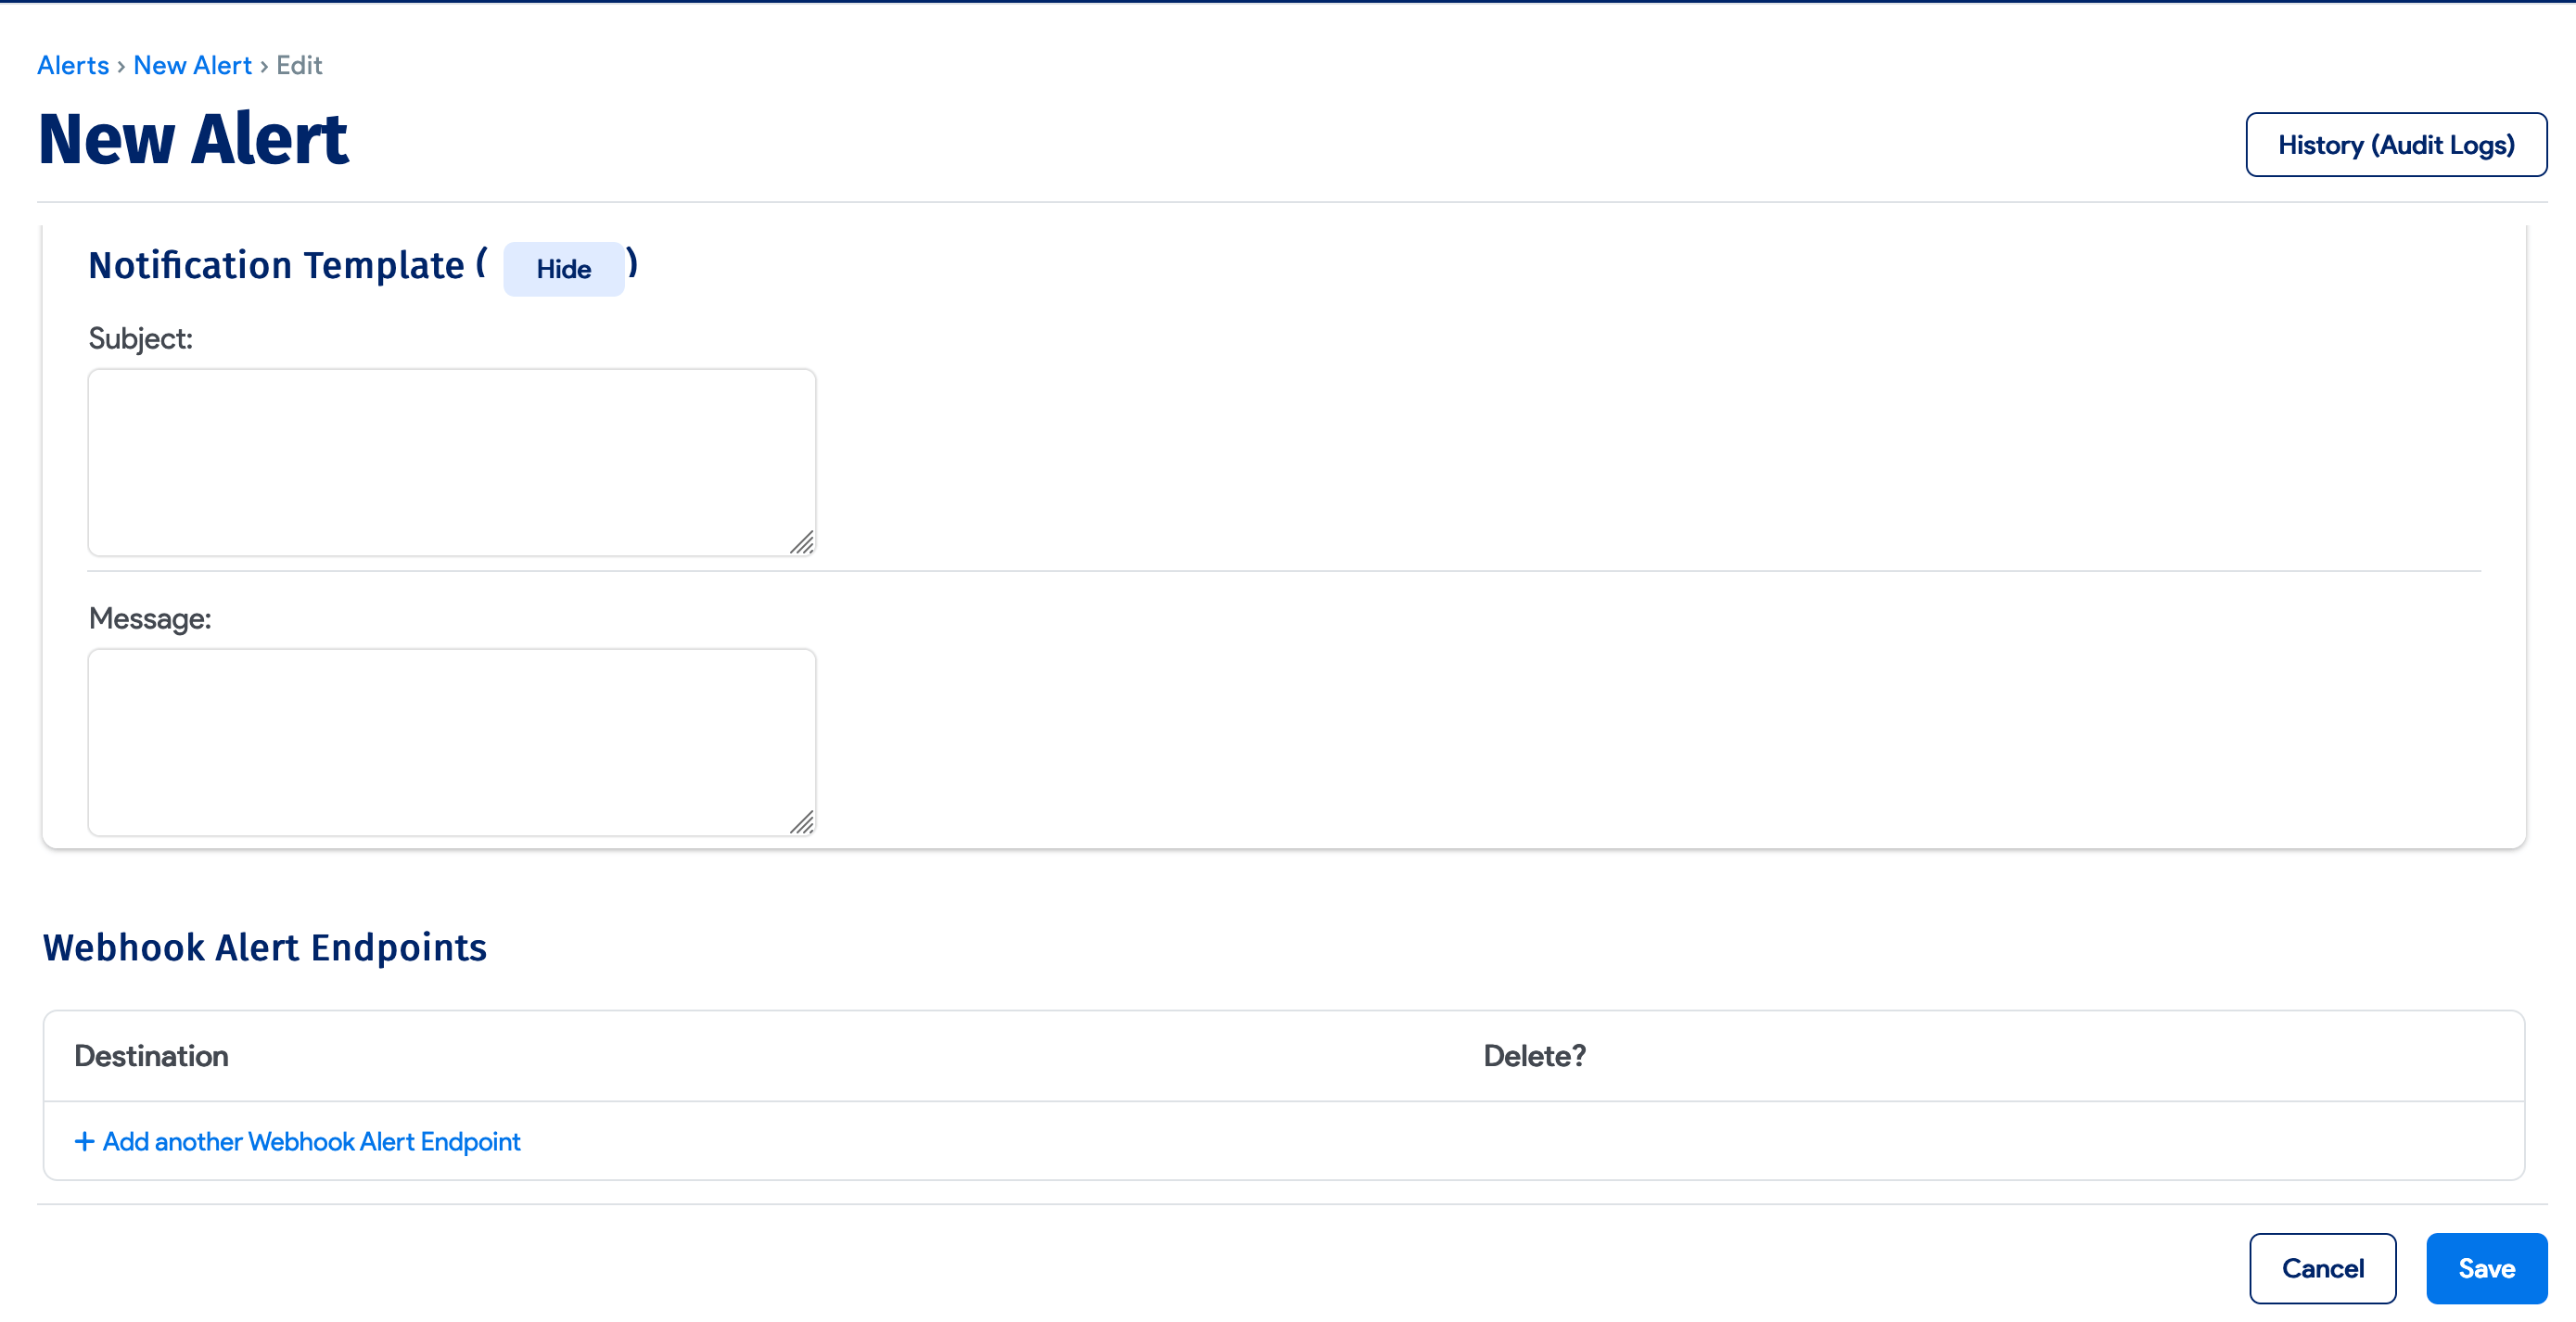
- Notification Template: Customize the alert notification and Save the alert.
See Alert Rule Types and Triggers for more information.
View Alert Notifications
If you select D42 Notification as the Alert Type when you create an alert, Device42 generates a notification when the alert condition triggers the alert.
Select Analytics > Notifications from the menu bar.
![]()
The page displays notifications for all the triggered alerts that have the Alert Type set to Device42 Notification. Click My Notifications or All Notifications to see the notification lists.
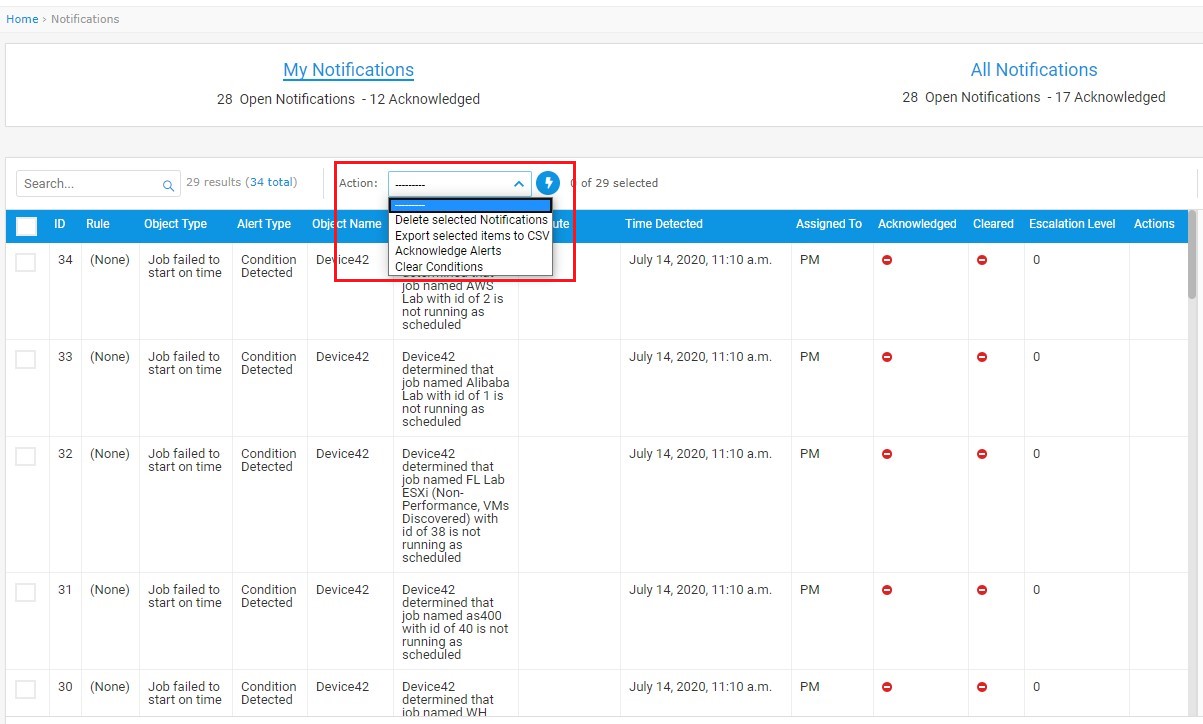
See the Notifications and Customizing Alerts with Notification Variables sections of the Alerts and Notifications documentation for more details.
Edit the Visualization
Delete a Device
To delete a device (or other objects on the canvas), either select the device and press the Delete key, or right-click on a selected device and select Delete from the context menu.

Removing a device does not remove connections on the canvas, nor does it affect the calculated information stored in Application Groups.
Rename a Device
To rename a device (or other objects on the canvas), select the device, double-click the device name, and type a new name.
The name change does not change the device record and is only for display in this specific Business Service visualization.
Add or Edit Connections in a Visualization
You can add and edit connections between objects on the canvas.
-
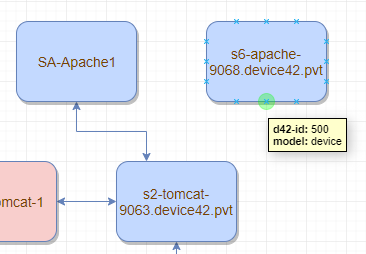
Hover over a device object to display the object’s connection points (green dots). Click a green dot and drag the connection to a point on any other object.
-
To delete a connection, select the connection and press the Delete key, or right-click and select Delete from the context menu.
Deleting a connection does not affect the calculated information stored in Application Groups.
Delete a Business Service
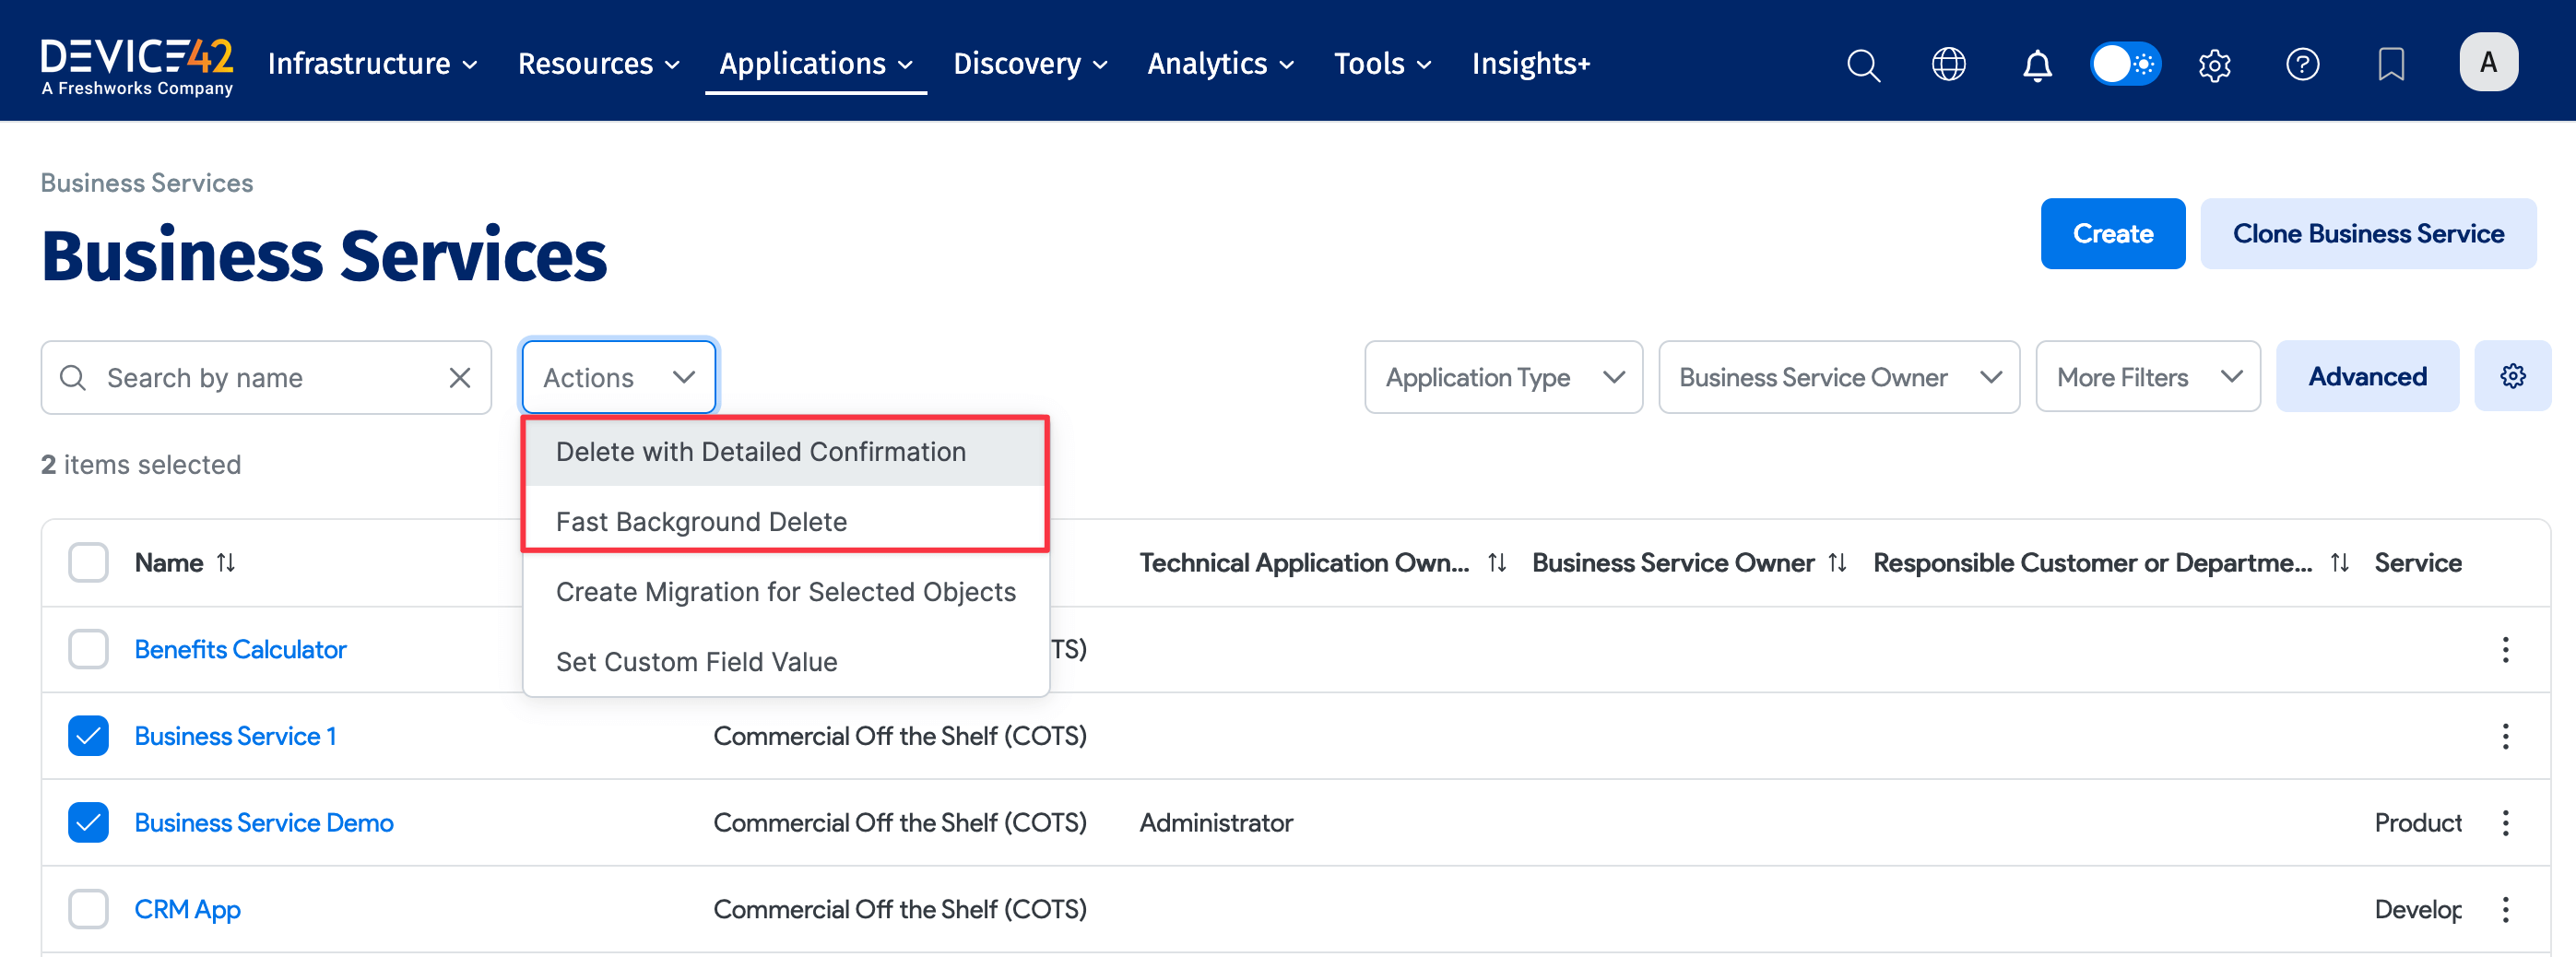
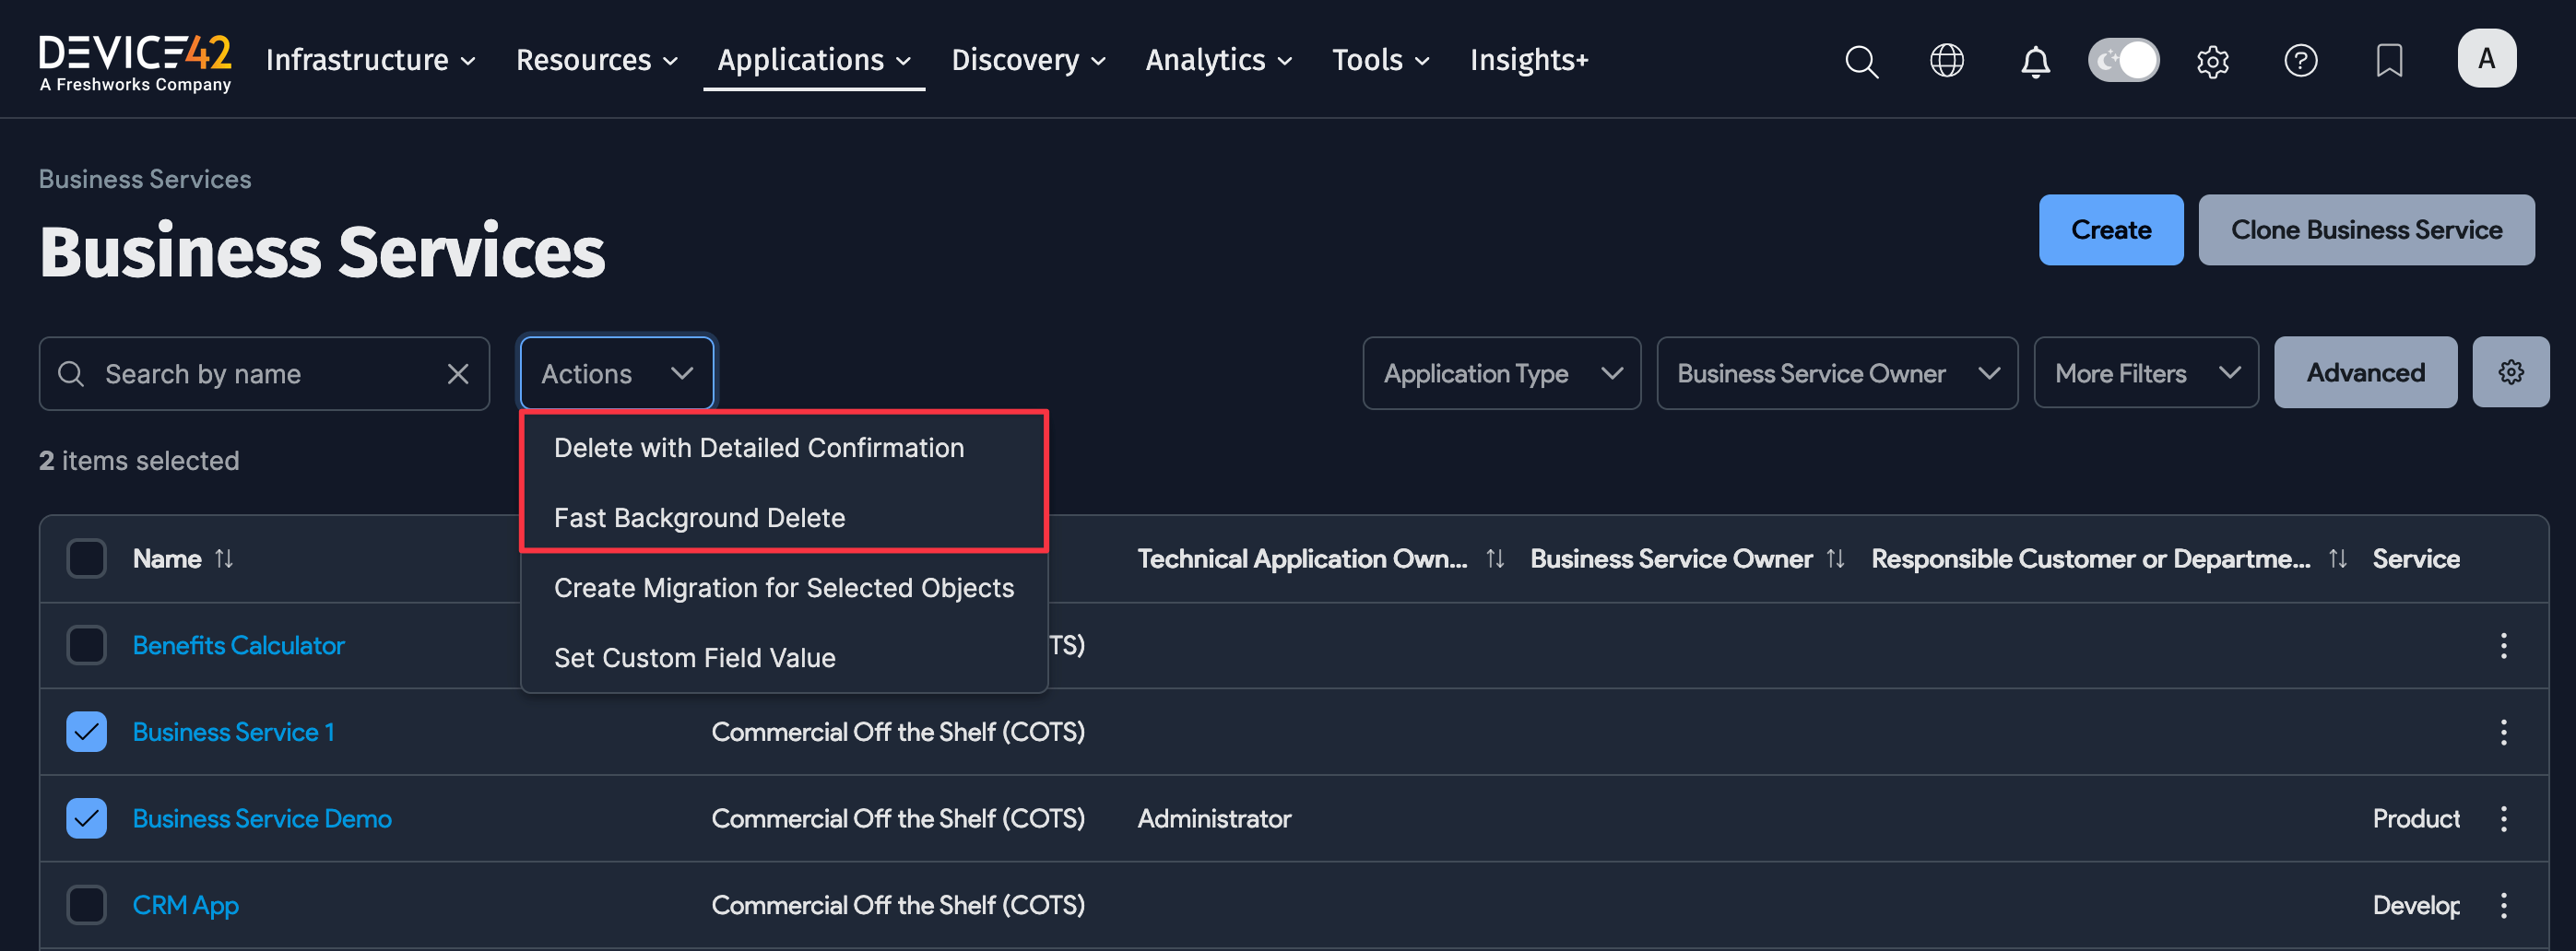
From the Applications > Business Services page, select the Business Service(s) you want to delete and choose one of the delete options from the Actions dropdown.
View a Device's Business Service
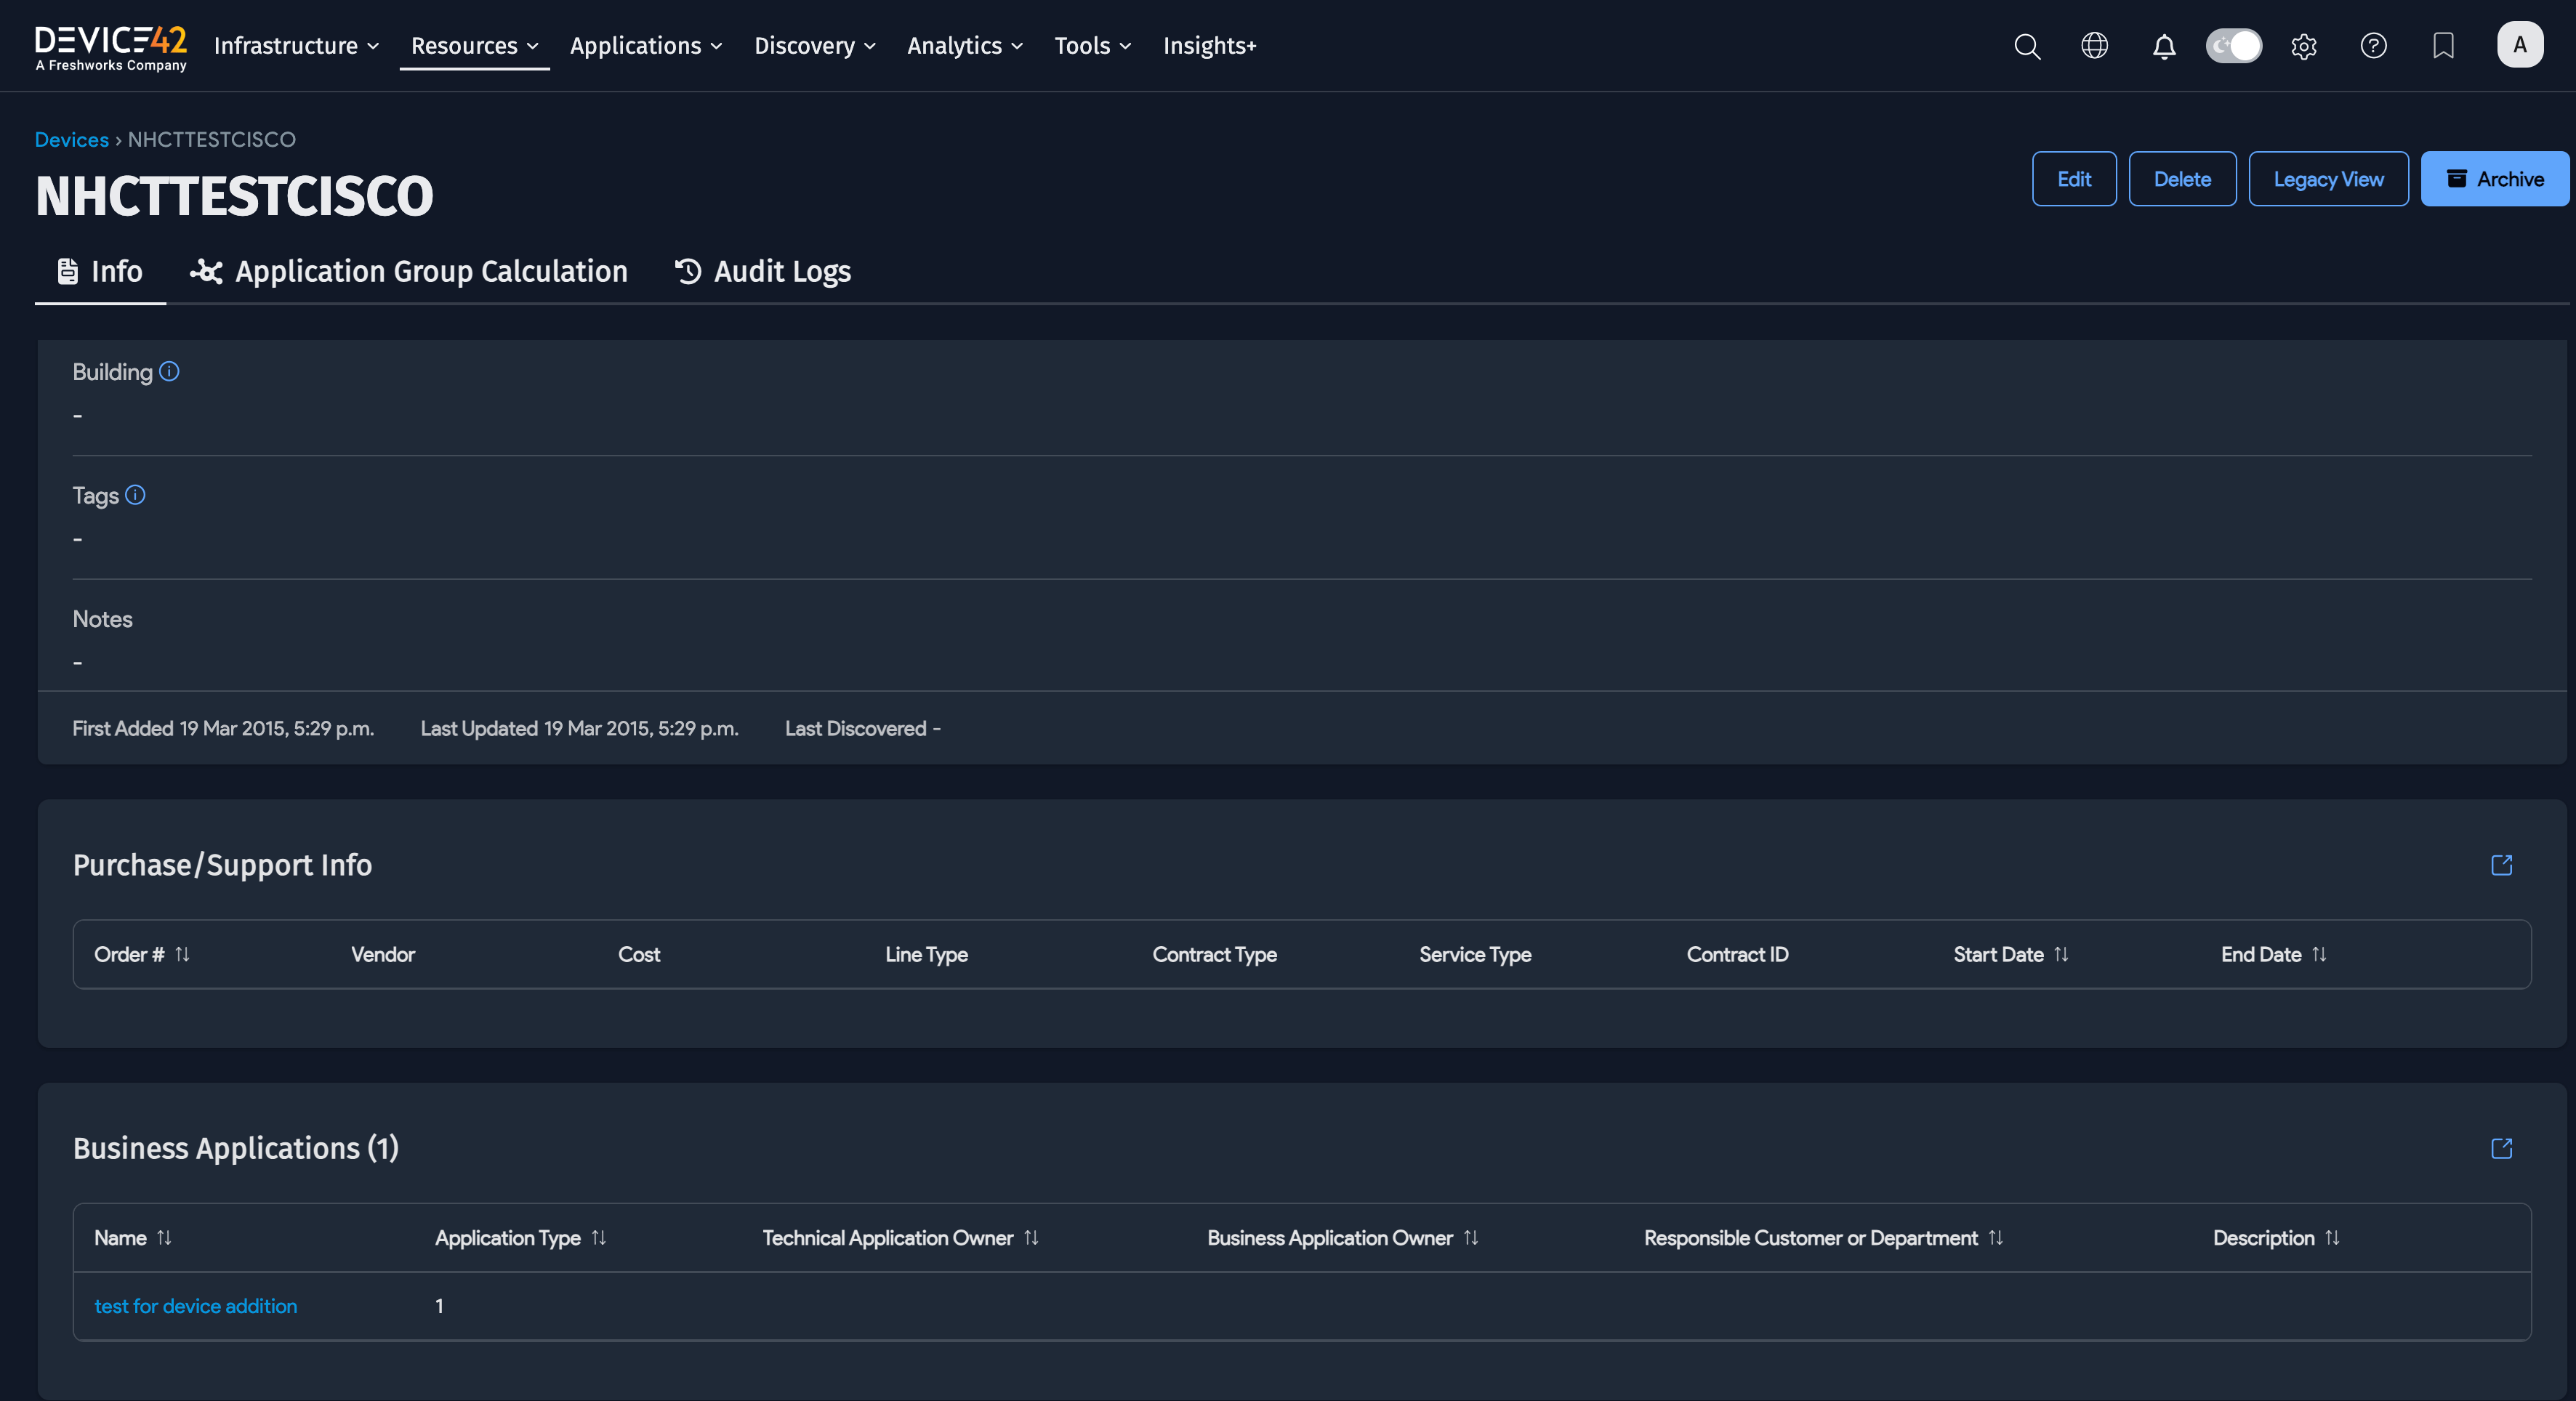
To view which Business Services a device belongs to without running a custom report or opening multiple tabs, open the device's Info tab.
Migrate Business Services
You can export Business Services directly for migration to third-party migration software suites. Device42 currently supports export to Microsoft Azure, RiverMeadow, and Carbonite.
-
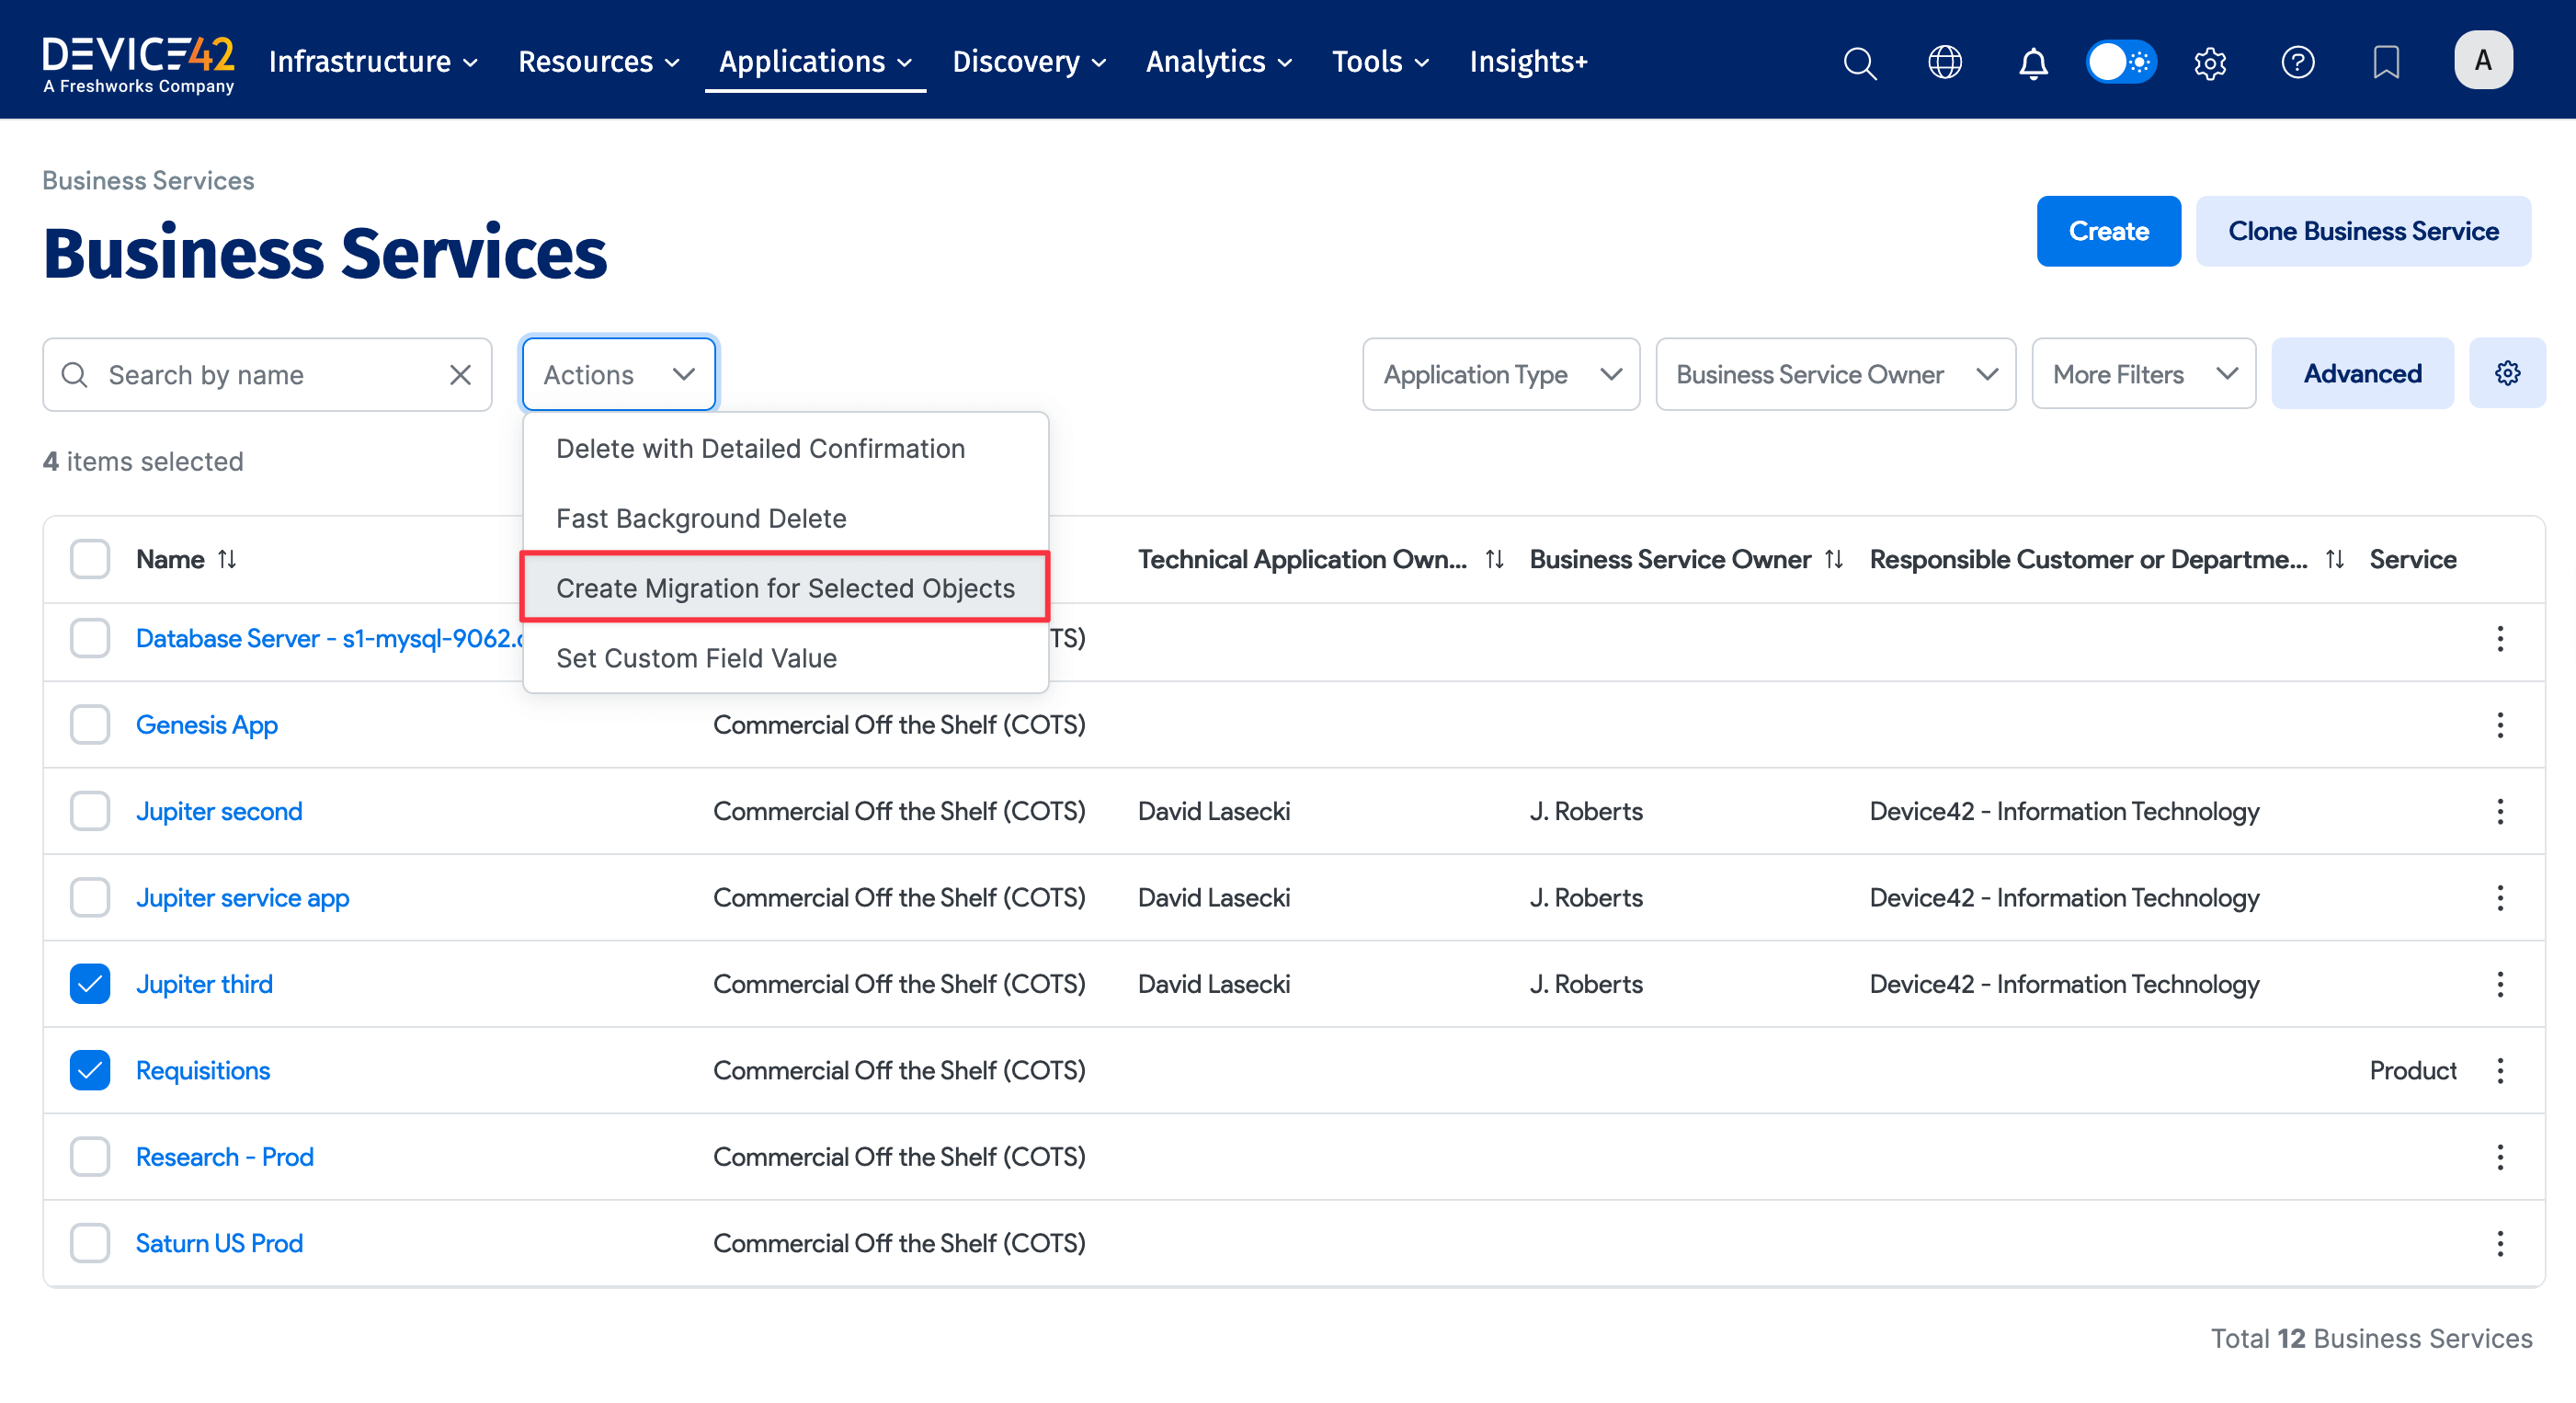
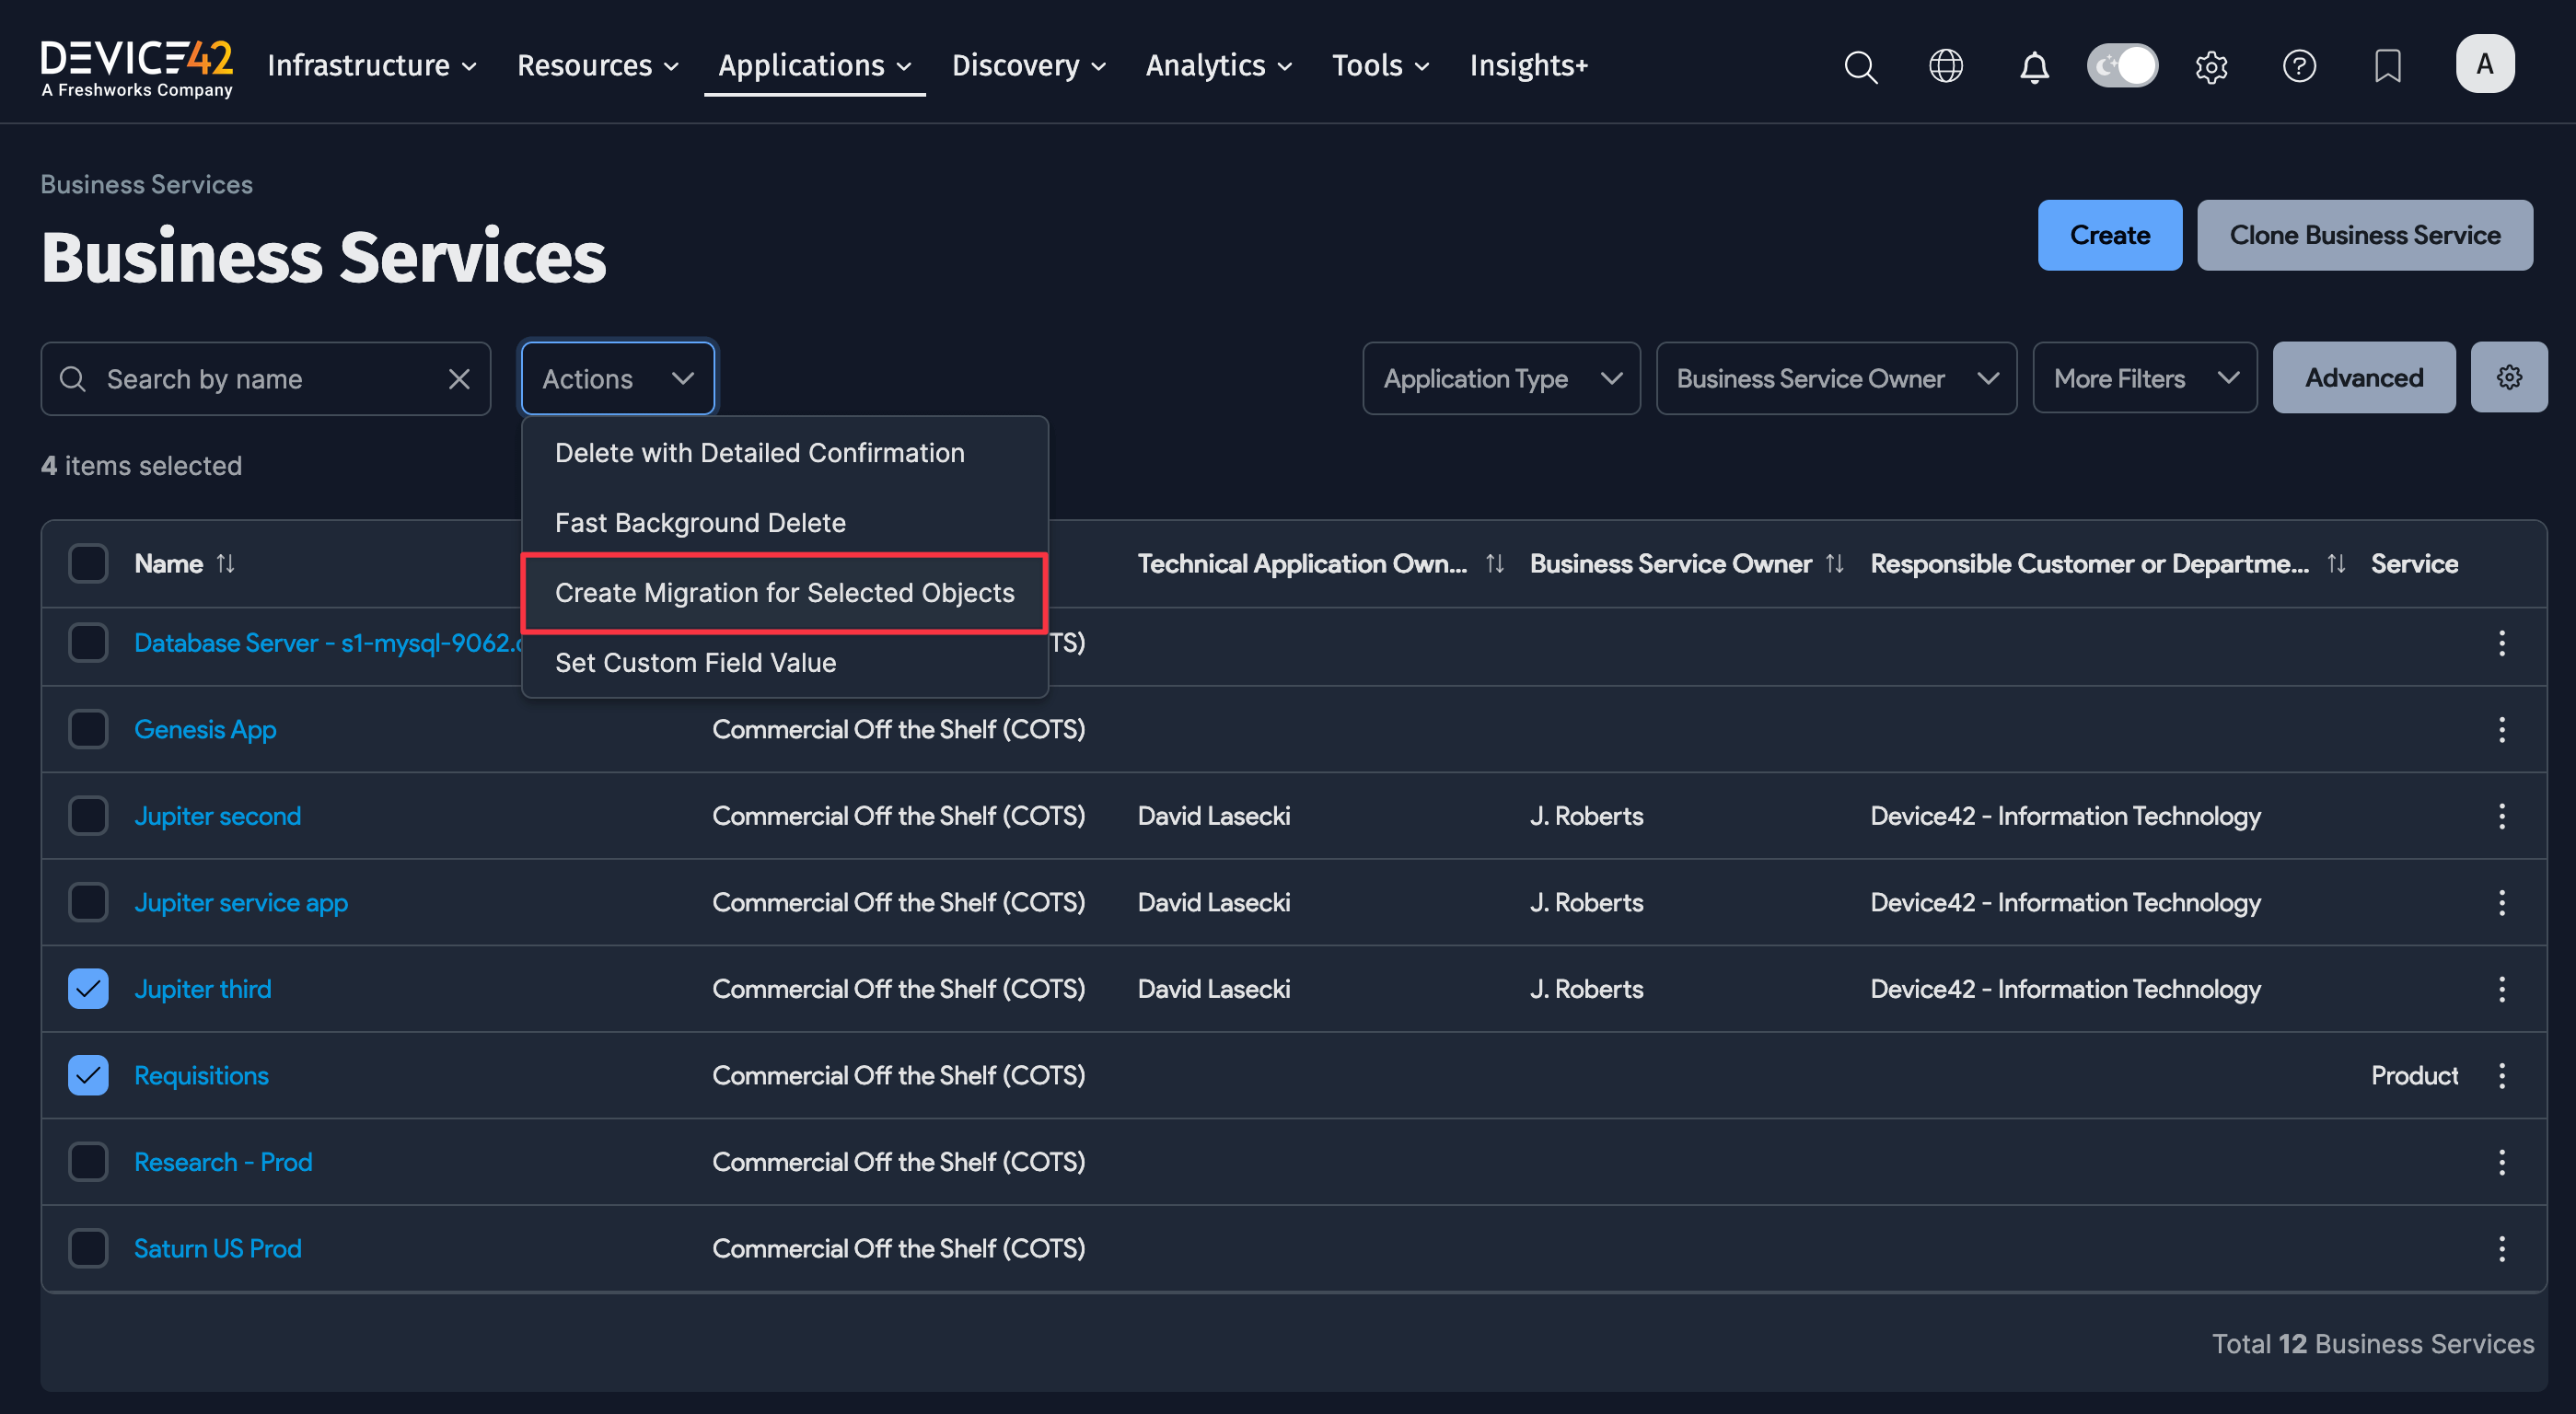
From Applications > Business Services, select the applications you want to migrate and choose the Create Migration for Selected Objects action from the Actions dropdown.
-
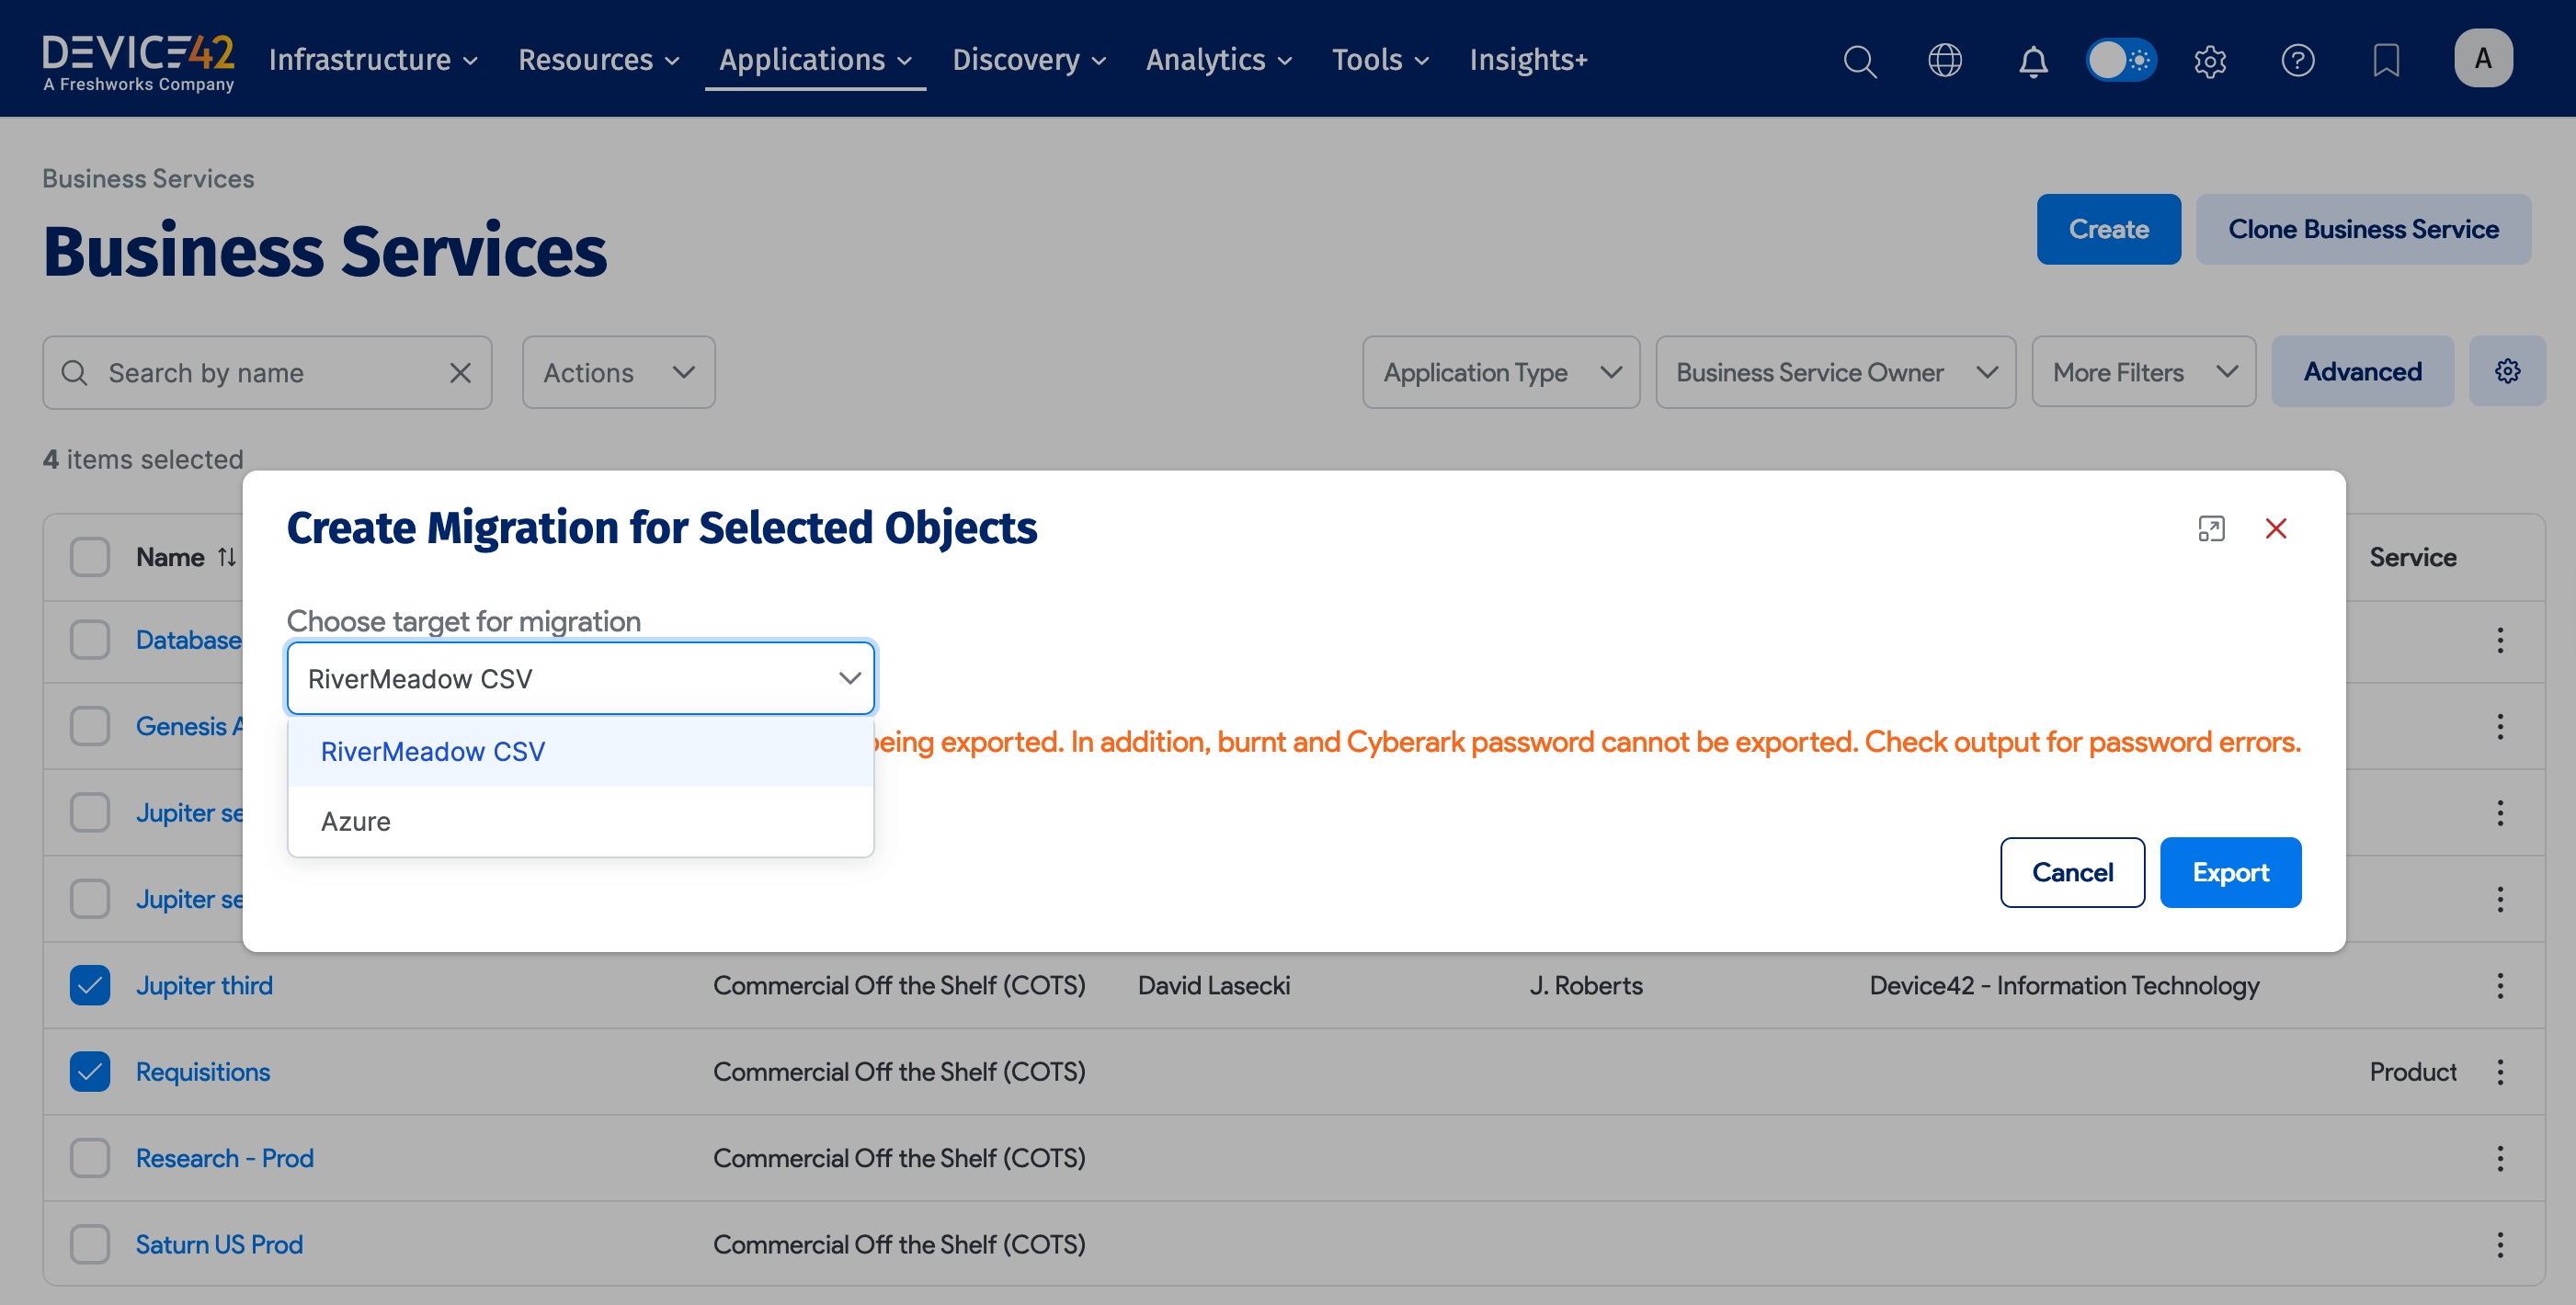
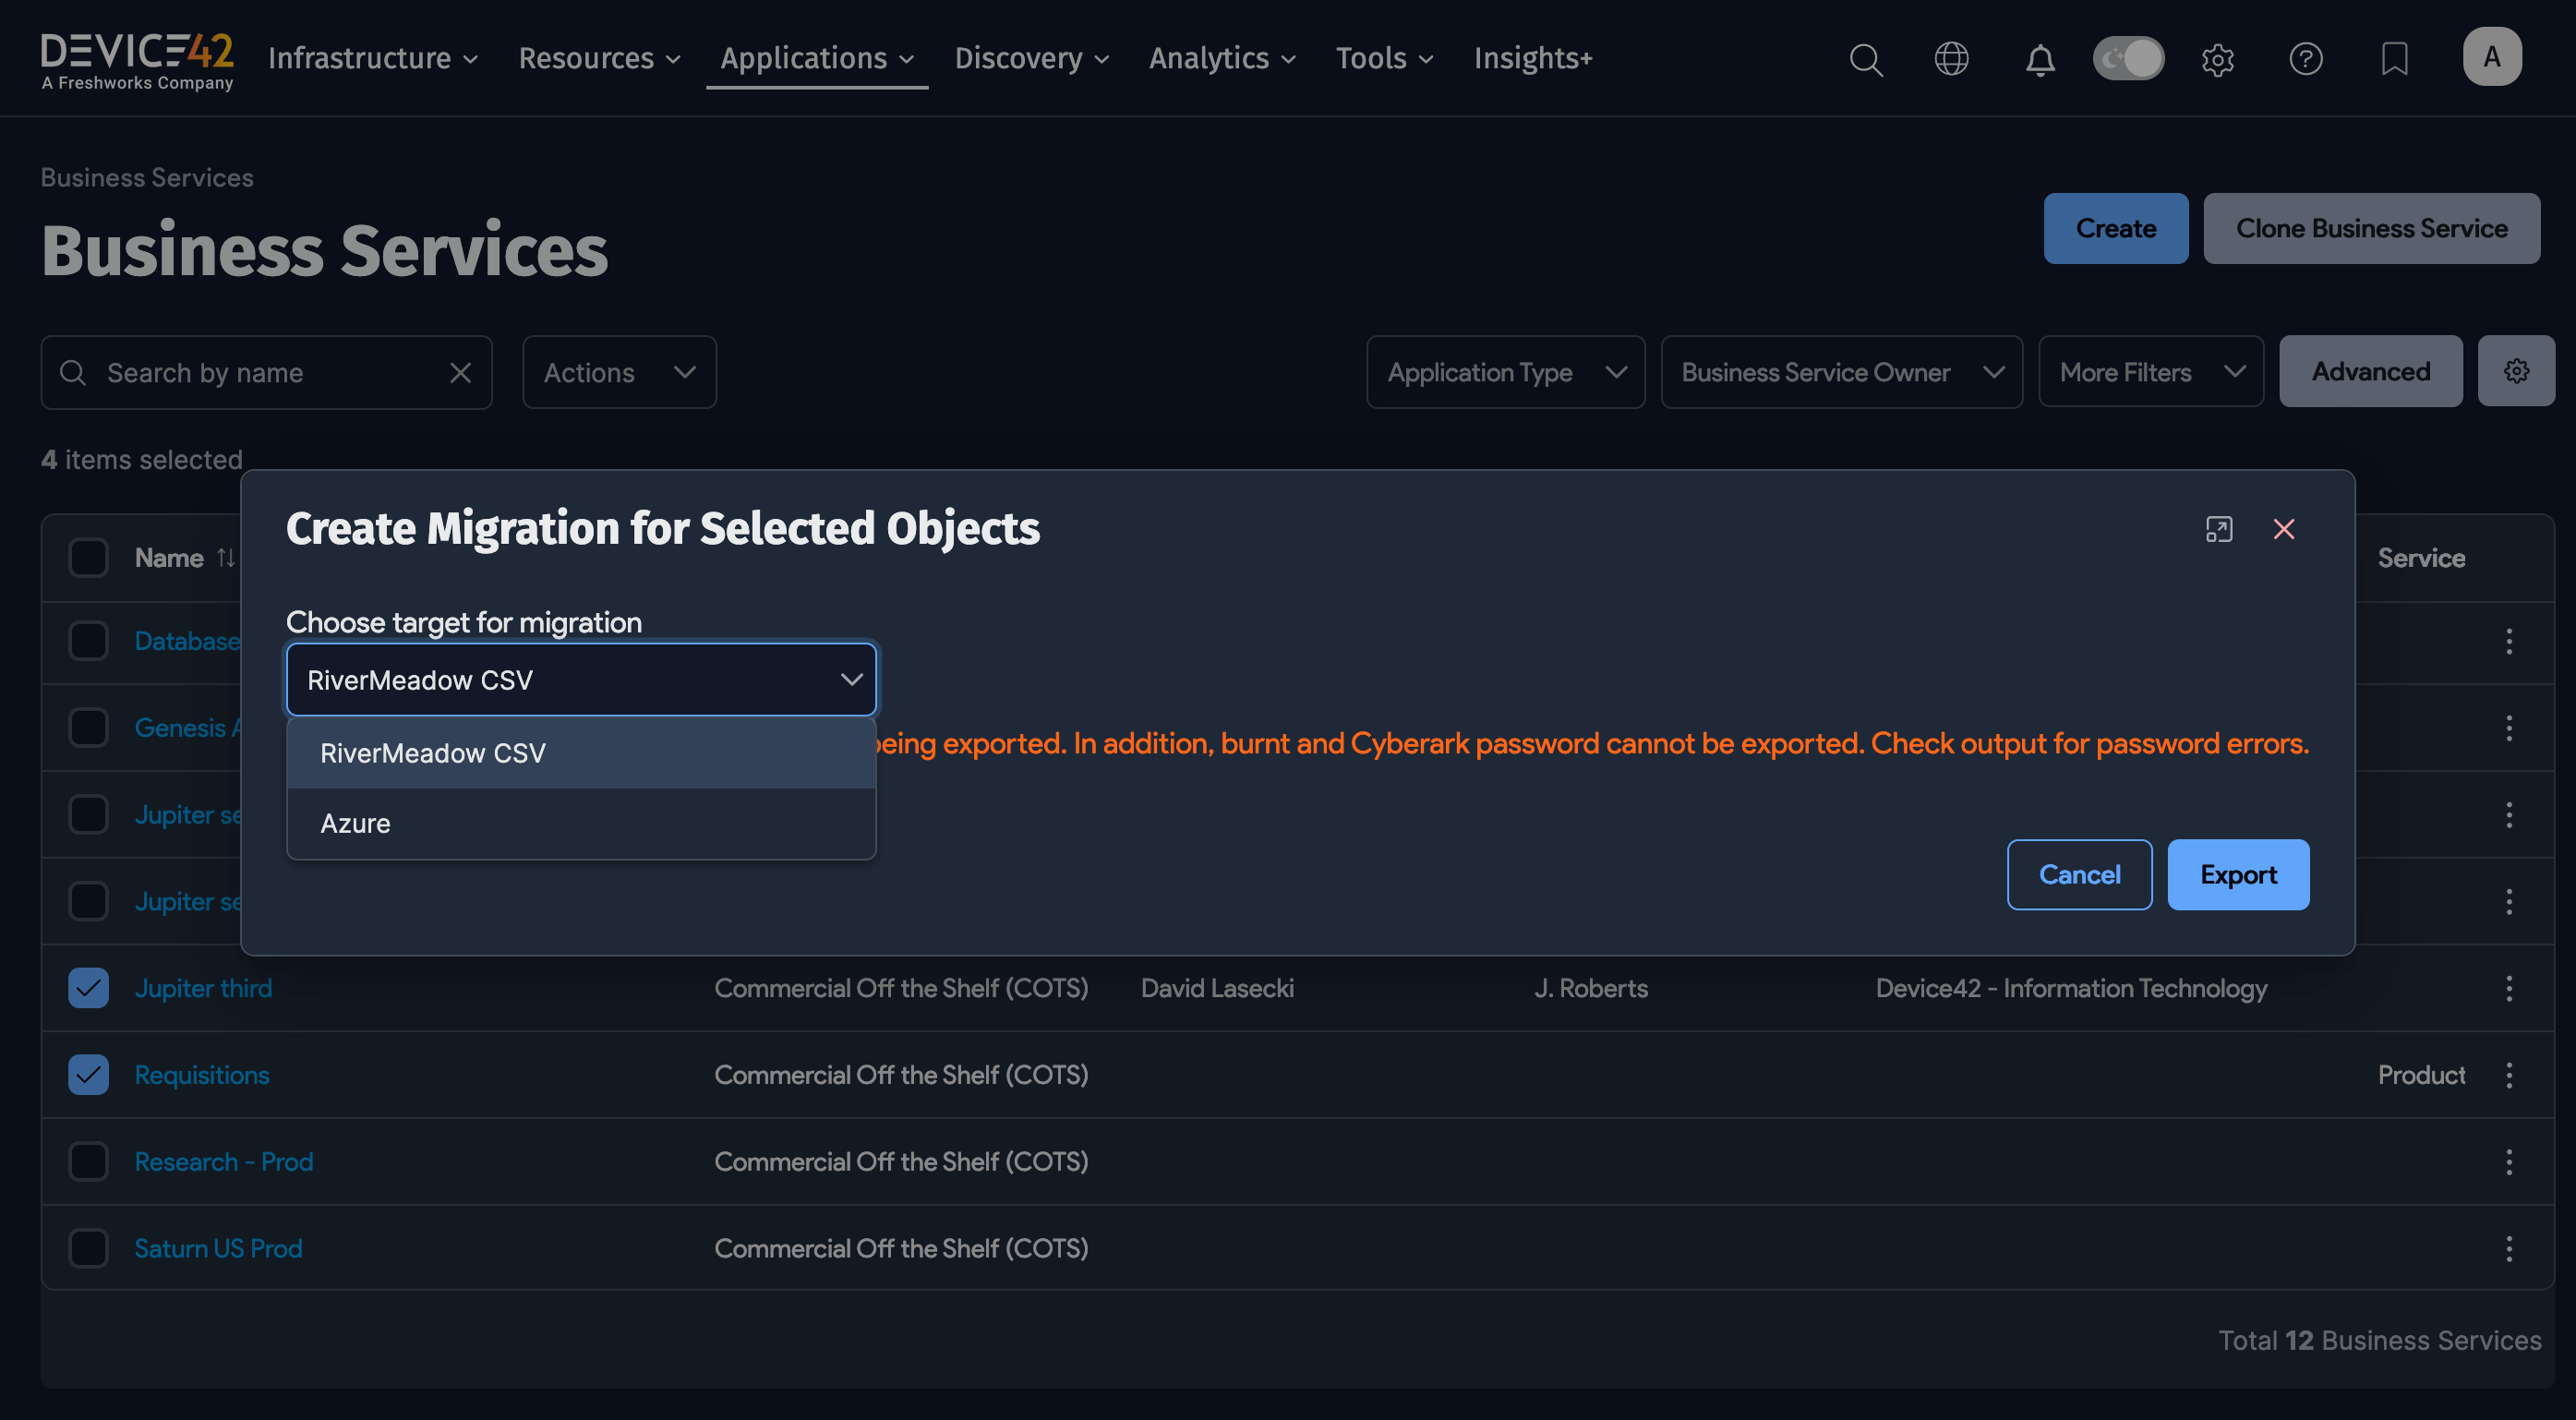
Choose between RiverMeadow CSV and Microsoft Azure Migrate from the dropdown.
Export to Microsoft Azure Migrate (Cloud Migrations)
Device42 can export one or more of your Business Services directly to the Microsoft Azure cloud platform via Azure Migrate.
For detailed instructions on how to export a business service to the Azure cloud, go to the Azure Migrate integration page.
Export to RiverMeadow
Click the Export button to export a CSV file with the IP address(es) and credentials for the server instance(s) that power your chosen Business Services.
Save the exported CSV and then open it using RiverMeadow to perform your migration.
We're currently adding support for more migration software, which will be released shortly. Should you have any questions, please contact support@device42.com.
Accessing Business Services Through DOQL
You can access further Business Services information using the Device42 Object Query Language (DOQL).
The following views support the applications and relationships in Business Services:
view_businessapplication_v1view_businessapplicationelement_v1view_businessapplicationconnection_v1
Explore Existing Business Services
Business Services display information about the Devices and Application Components associated with each Business Service. Device42 automatically categorizes Application Components as Database, Application Layer, Web Server, Load Balancer, or Other. Application Component information also appears on the Business Service visualization canvas (see below).
Select Applications > Business Services from the Device42 menu to display a list of the existing Business Services.


-
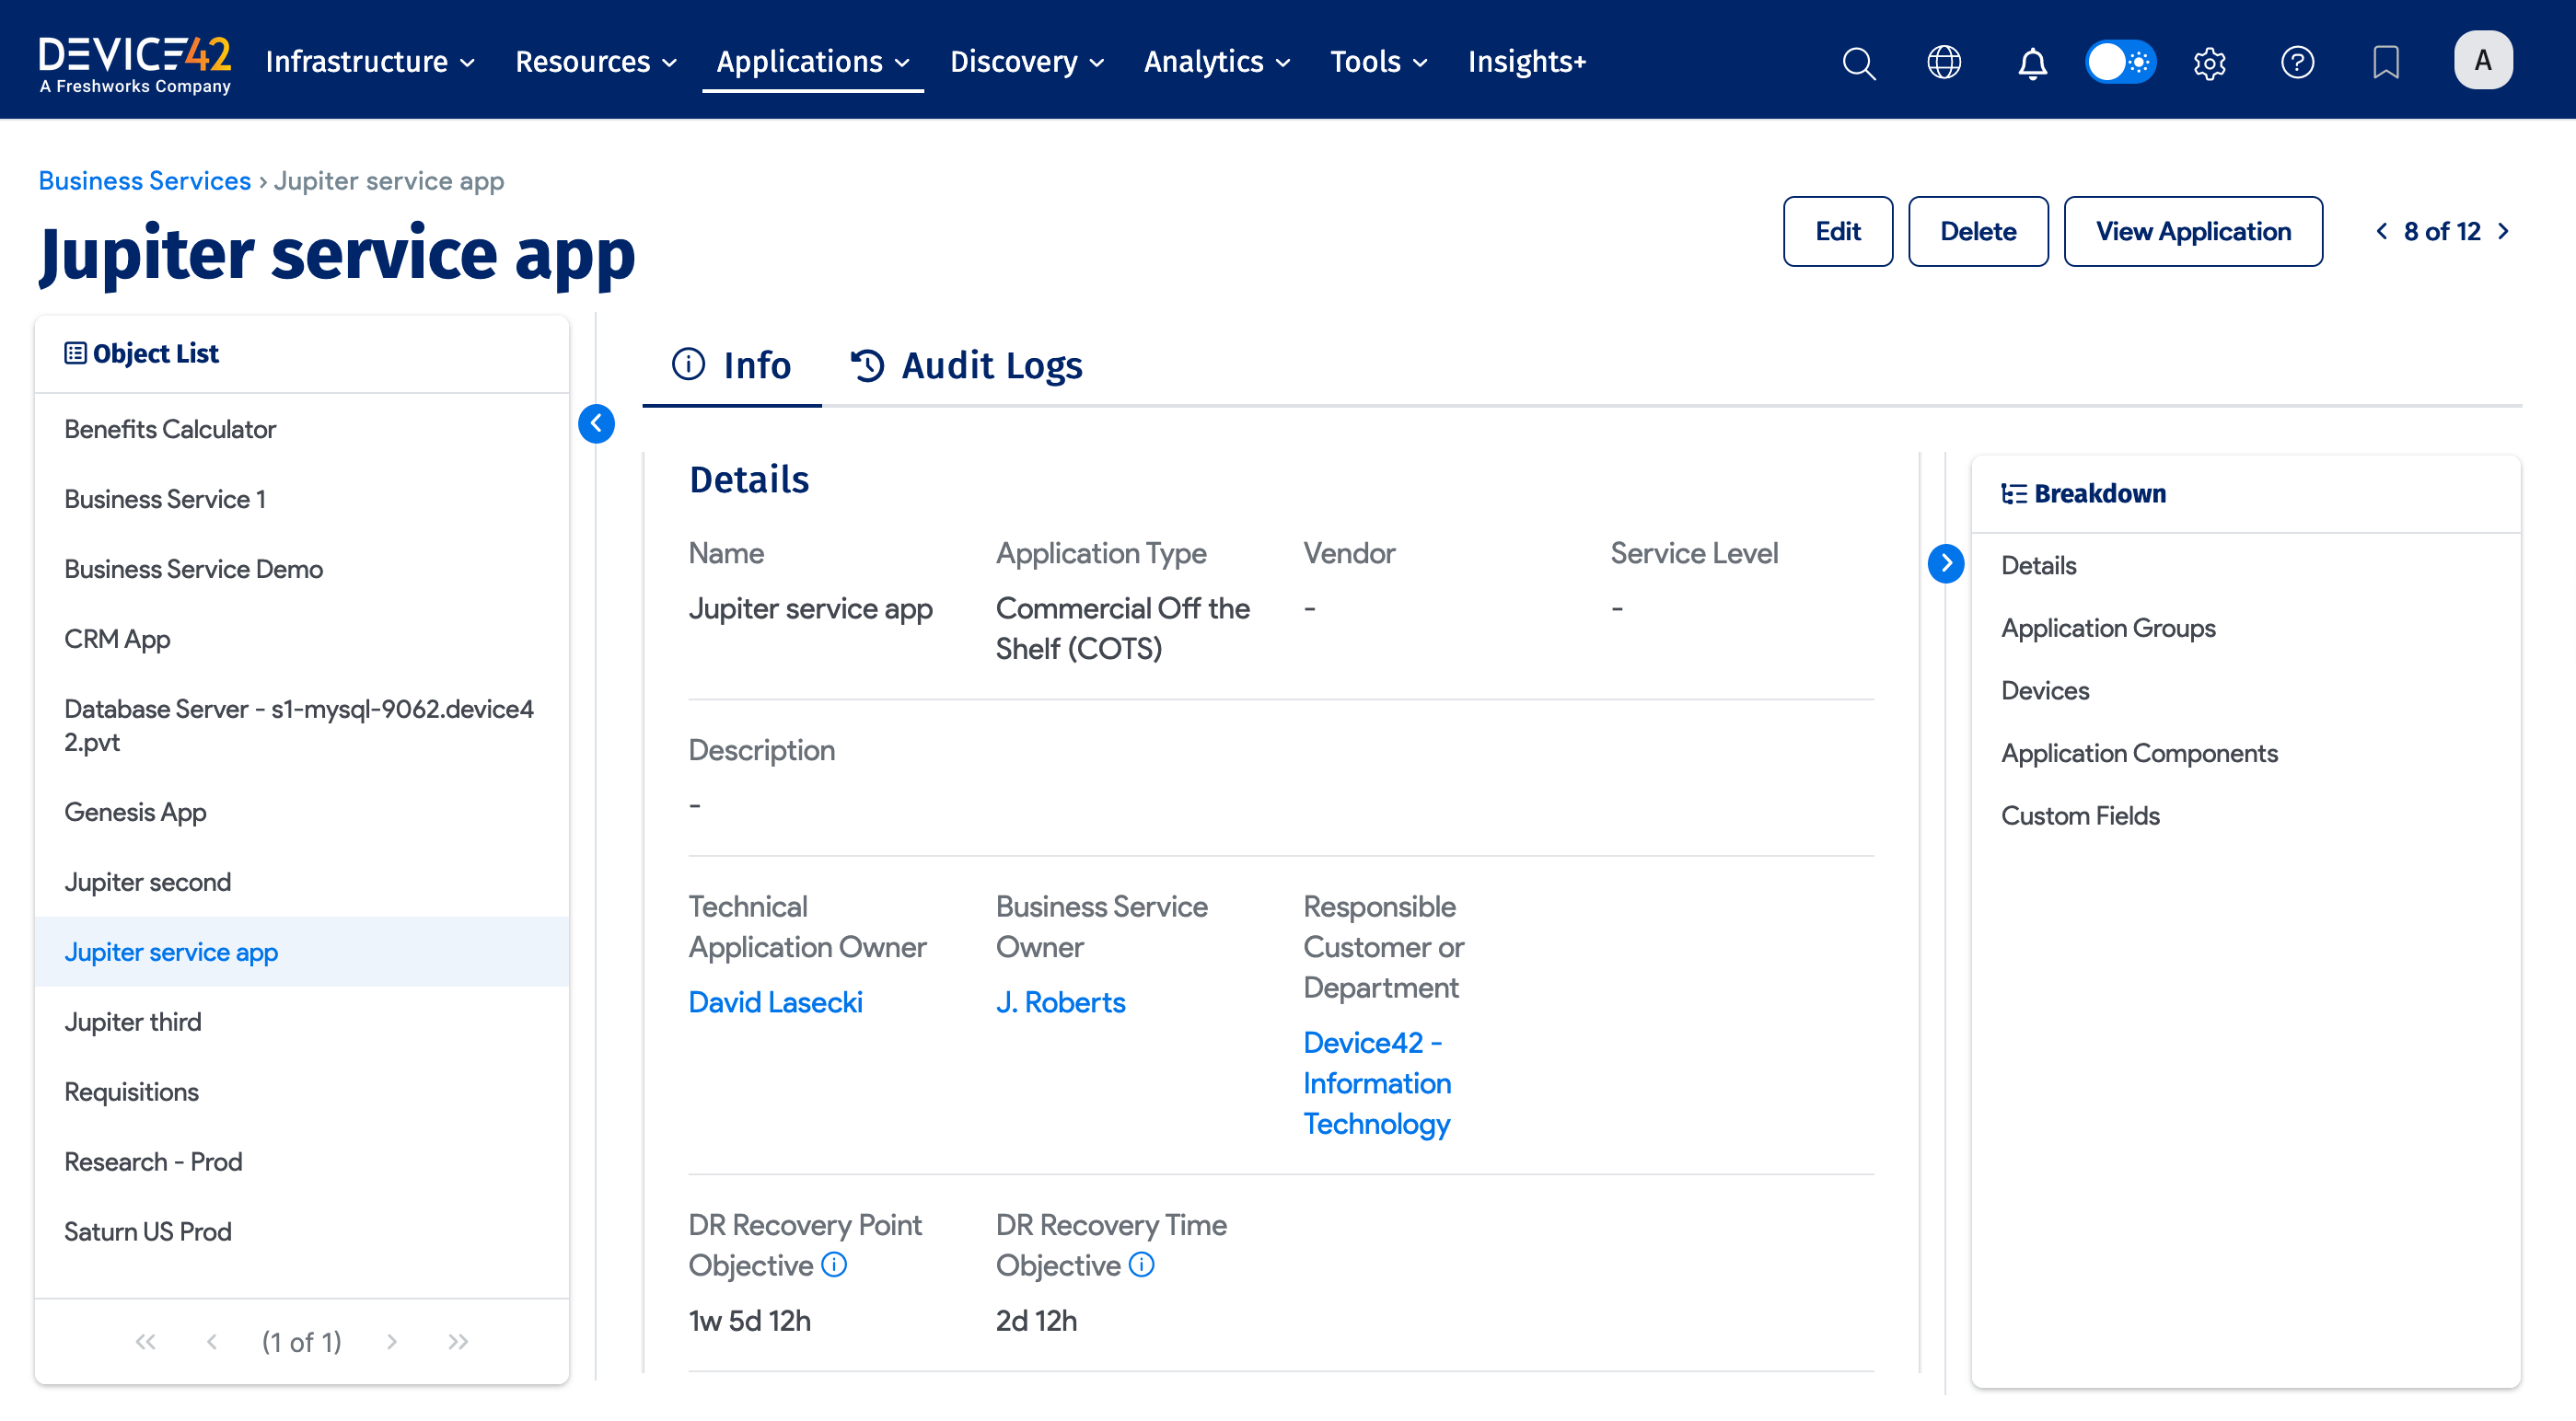
Click on a Business Service to open the info panel. The left Object List panel allows you to select other Business Services, and the right Breakdown panel displays information about the selected Business Service.
-
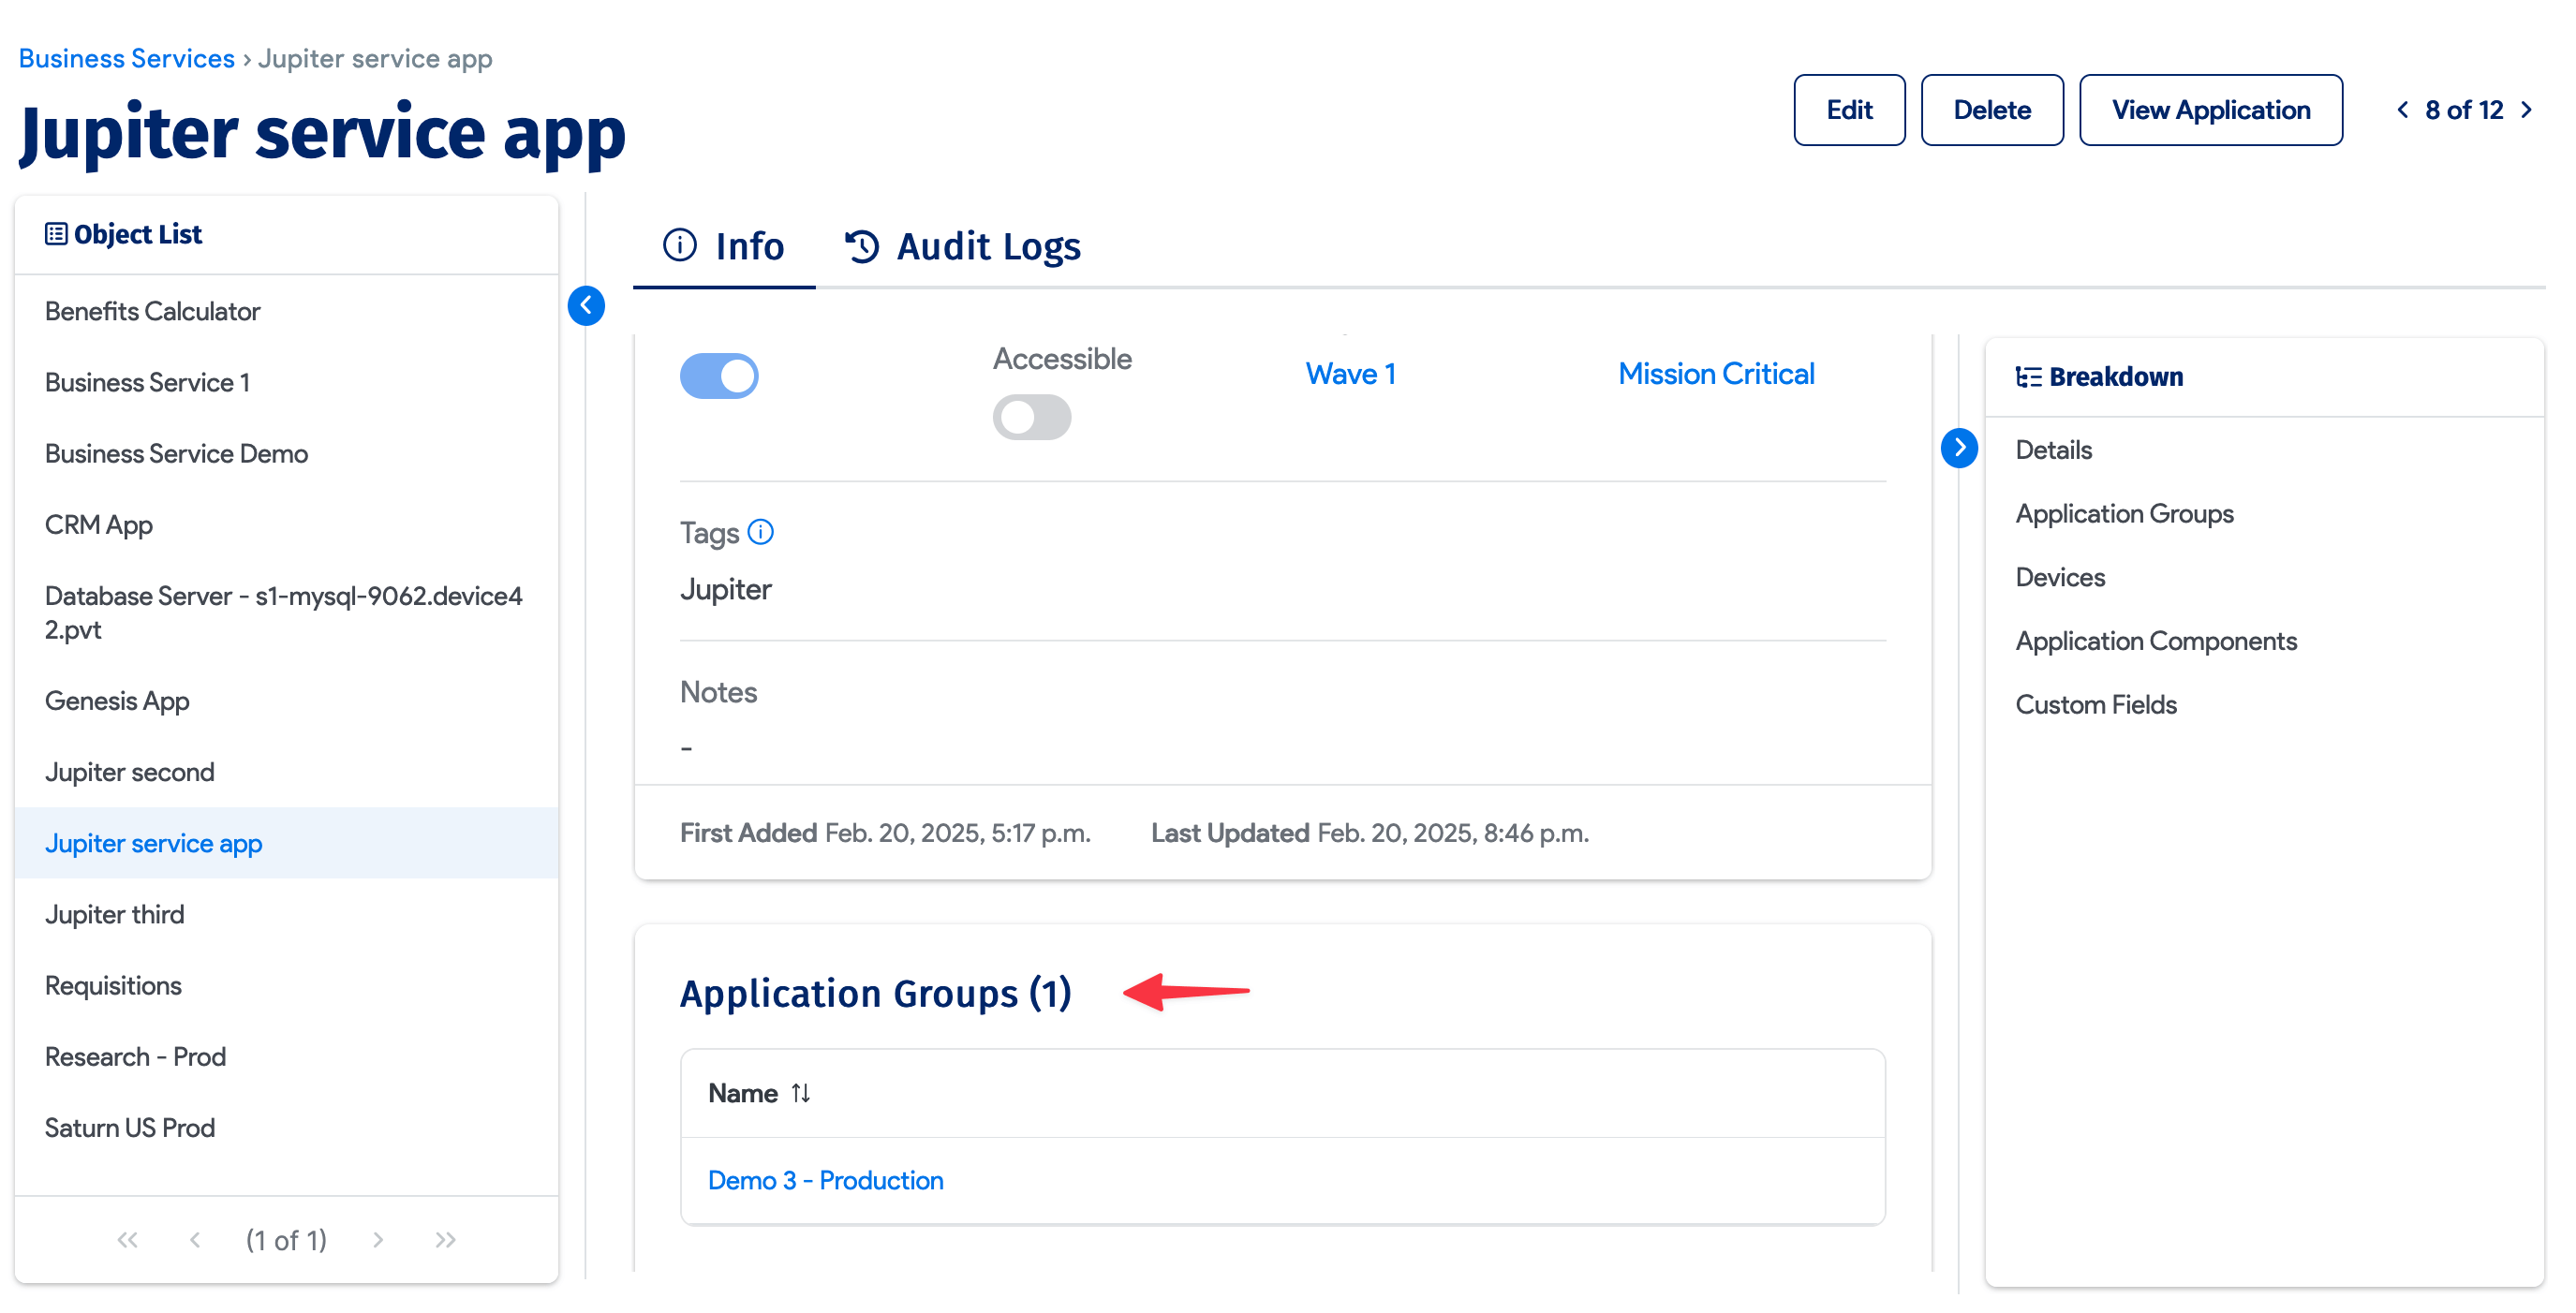
Any Application Groups included in the Business Service are displayed under Info.
-
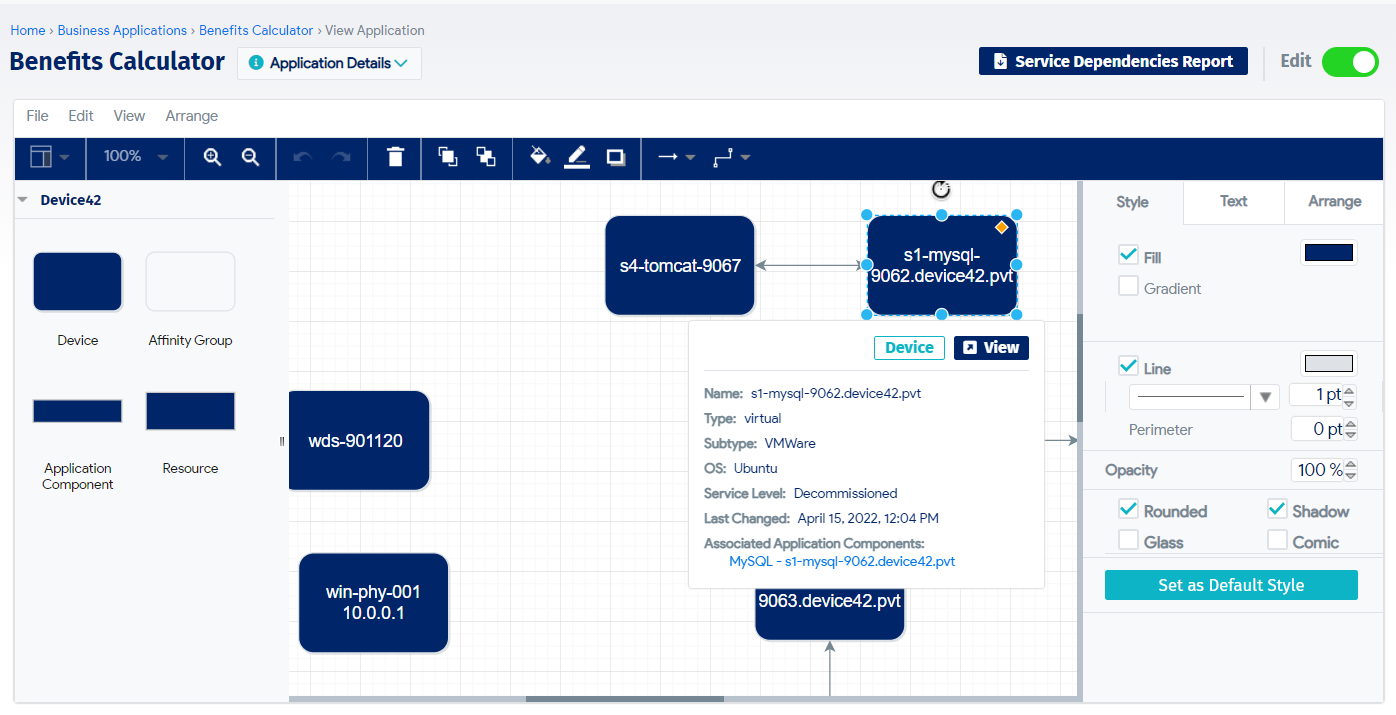
Click the View Application button to see the visualization of the application. Hover over Application Details to see more information about the application. The left panel contains icons for adding Devices, Application Groups, or Application Components to your Business Service and a menu bar above the icons. You can now also run a Service Dependencies Report for the Business Service, which will detail all the communications for the devices within that Business Service.

-
Click a Device, Application Group, or Application Component object on the canvas to see more details about the selected item. Links in the details box or below the object redirect you to the view pages for those items.
